Inside Dell Latitude 7390 2-in-1 – disassembly, internal photos and upgrade options
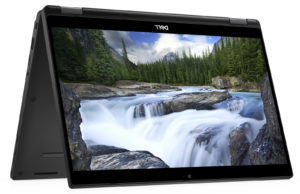
Dell Latitude 13 7390 2-in-1 is an impressive small laptop. However, it bears some of the drawbacks of this size of a device, which we will show you in a minute. Let’s dig into it!
Check out all Dell Latitude 7390 2-in-1 prices and configurations in our Specs System or read more in our In-depth Review.
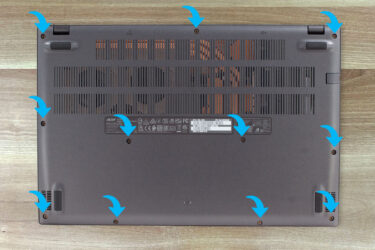
1. Removing the bottom plate
As this is a 13.3-inch 2-in-1 device, you won’t expect it to have service panels and you need to remove the whole bottom panel to access the internals. Don’t worry, it is fairly easy to do so. A total of 8 Phillips head screws keep you away from the guts of the Latitude 7390 2-in-1.
2. Memory
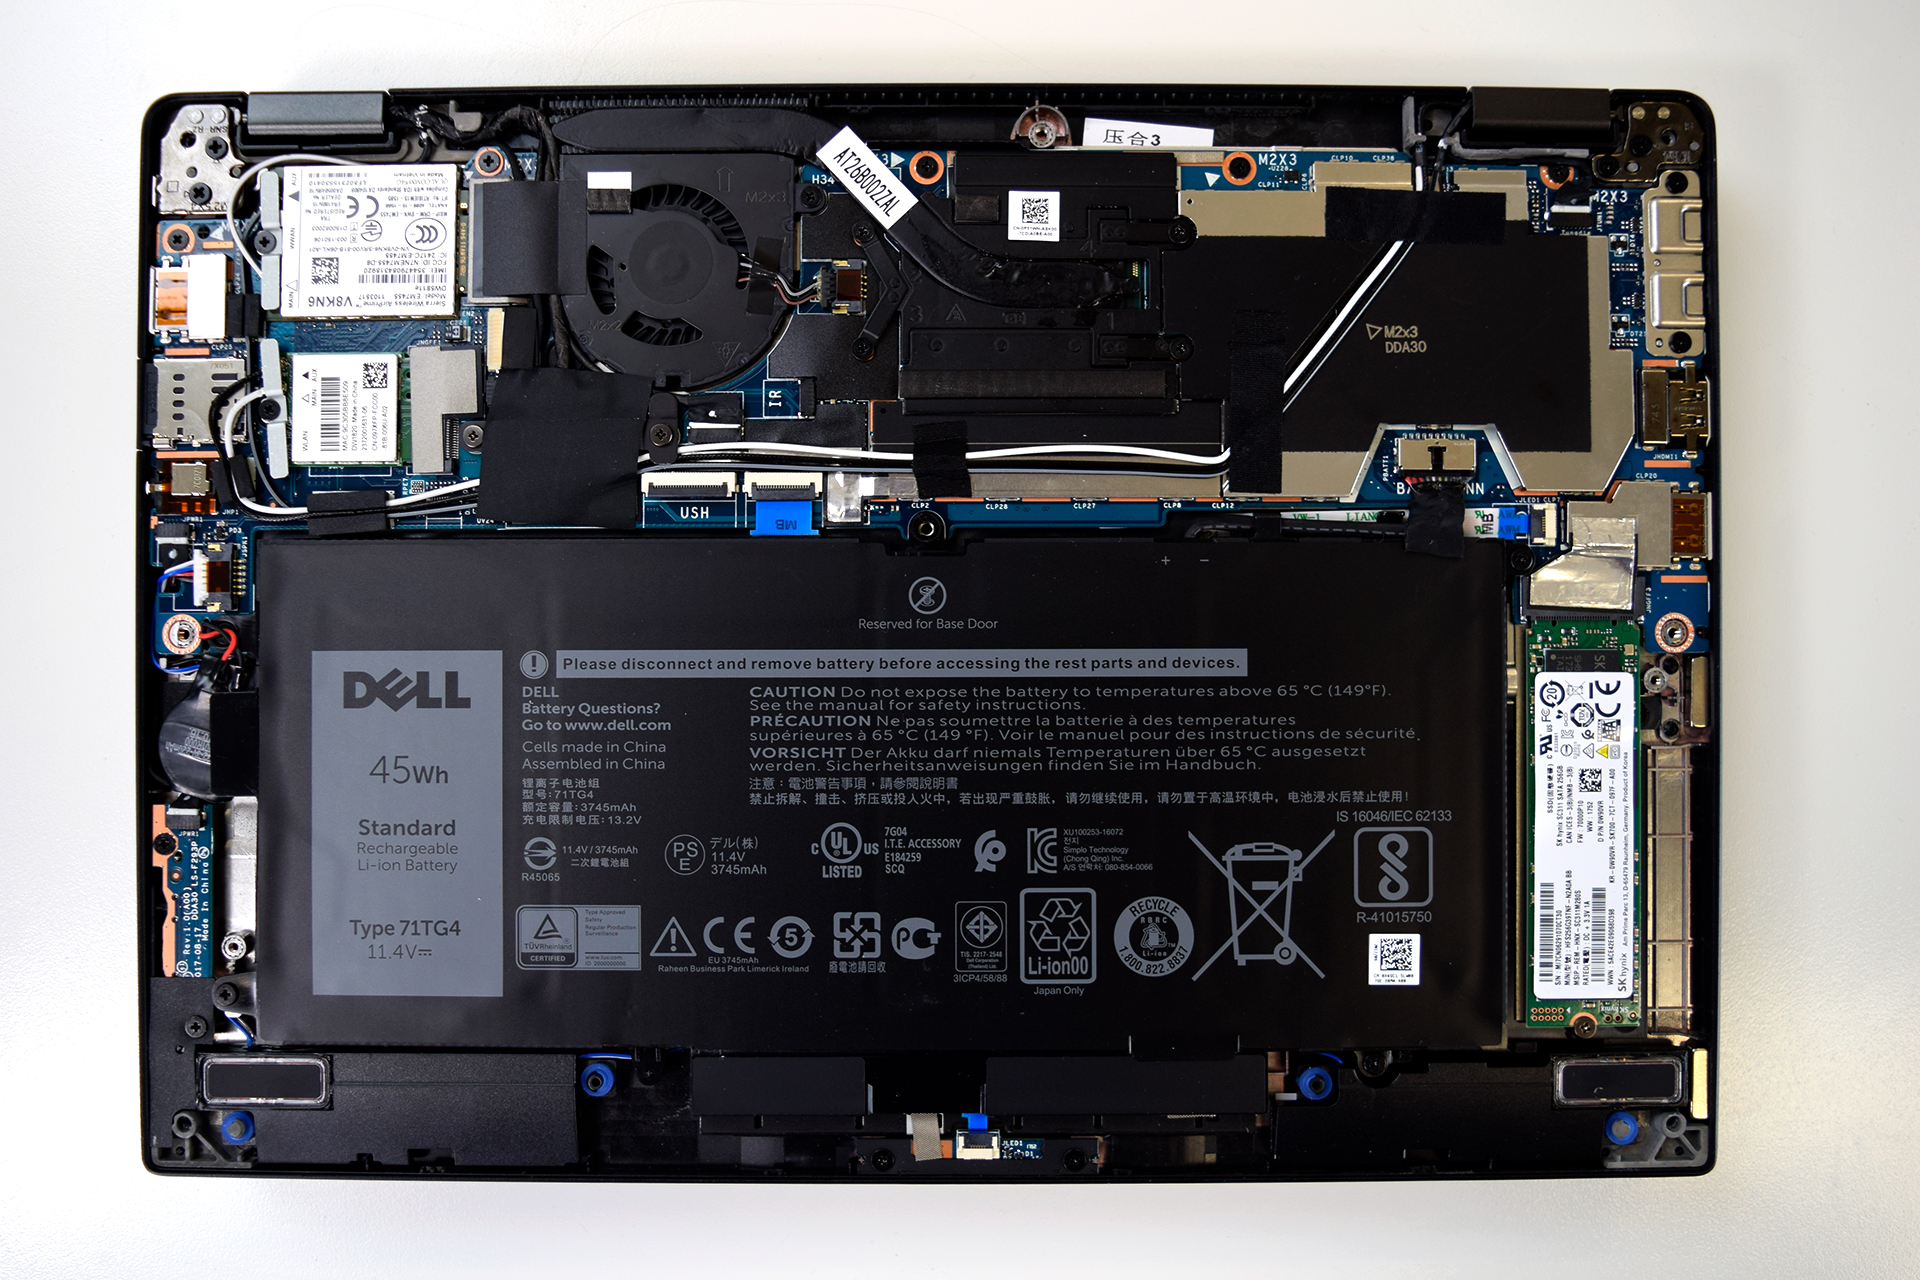
Sadly, the LPDDR3 chips are soldered onto the motherboard, and for this reason, the RAM cannot be upgraded. They are hidden beneath a panel, right next to the processor.
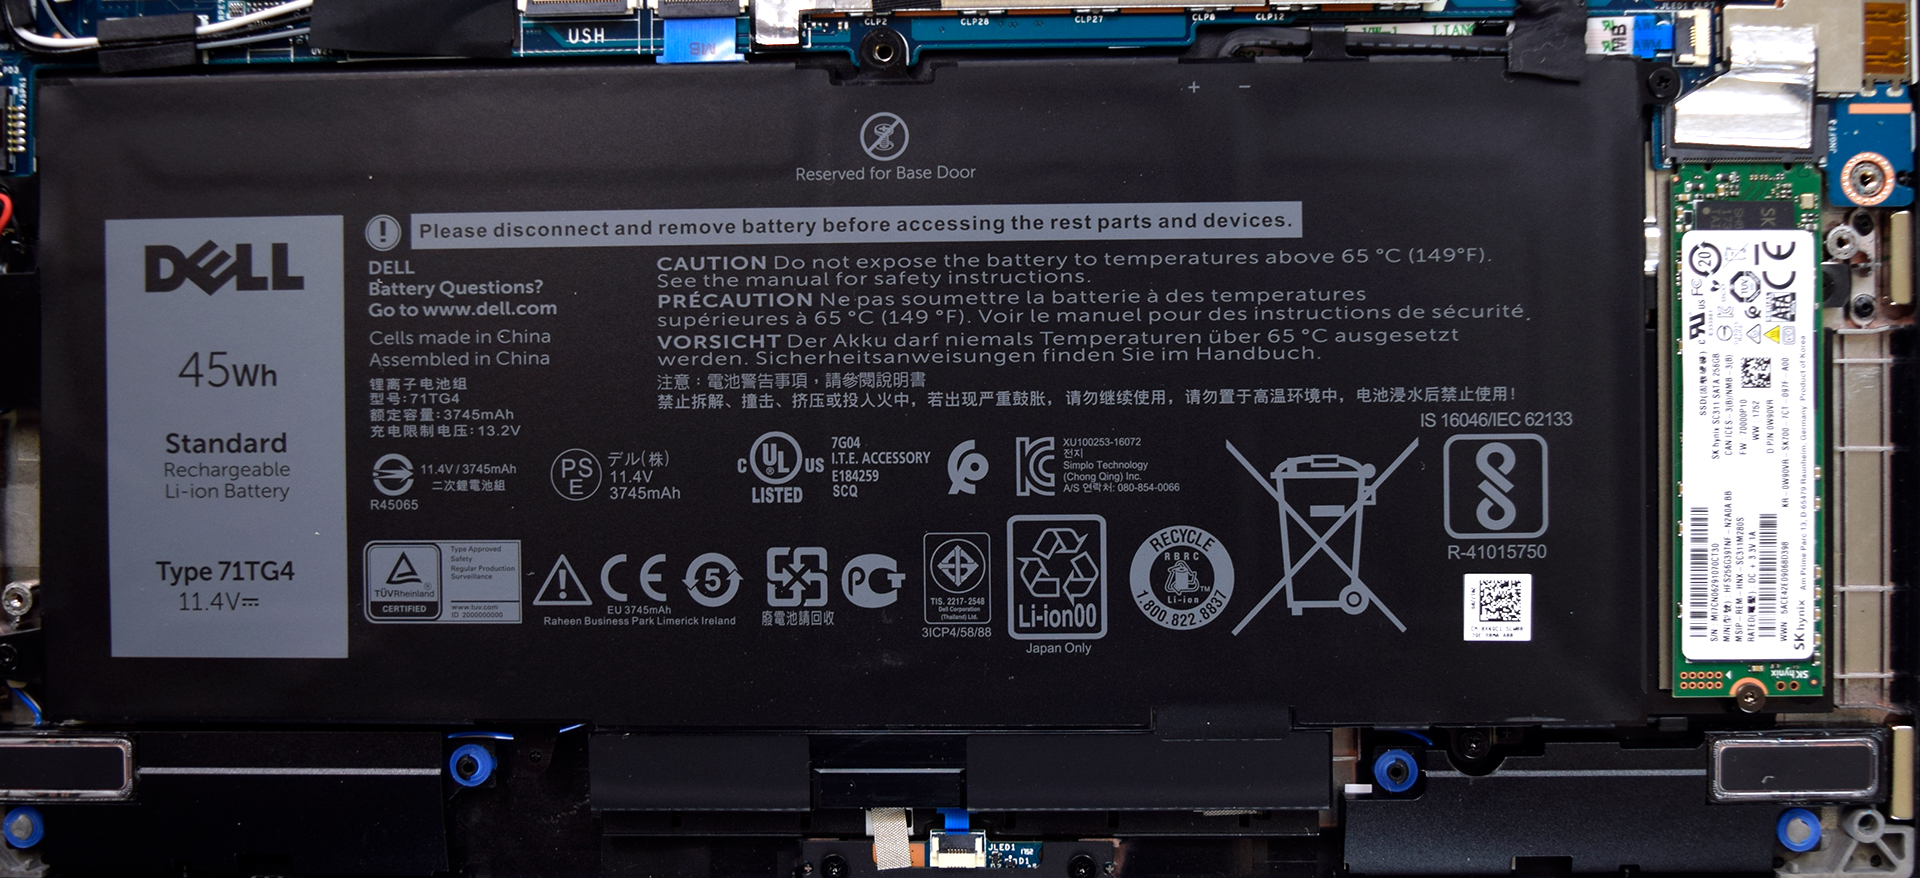
3. Battery and Storage
Although 45Wh doesn’t sound like a lot, the results that Latitude 13 7390 2-in-1 got in our tests were very impressive, with more than 11 hours of web browsing. In the storage compartment, there is only one slot and it is an M.2 one which supports super-fast PCIe NVMe drives. However, the one installed in this unit is a 256 GB SK Hynix SC311 SATA drive.
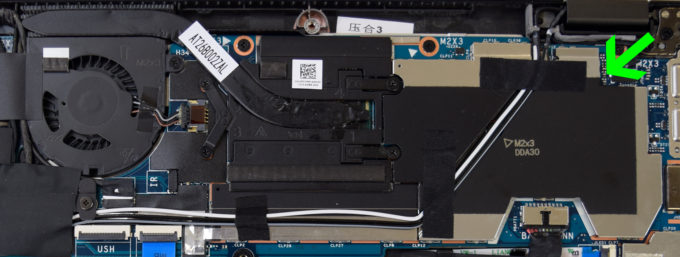
4. Cooling system
There is only one short heat pipe that connects the CPU to the heatsink. Additionally, there is also a single super small fan which tends to get very noisy at high loads.