Acer Nitro 16





- Date Published: 20 Jun 2023
- AMD Ryzen 5 7535HS
- NVIDIA GeForce RTX 4050 (Laptop, 140W)
- 16.0", WQXGA (2560 x 1600), 165 Hz, IPS
- 2000GB SSD
- 32GB DDR5
- 2.70 kg (6 lbs)
Review
Acer Nitro 16 in-depth review
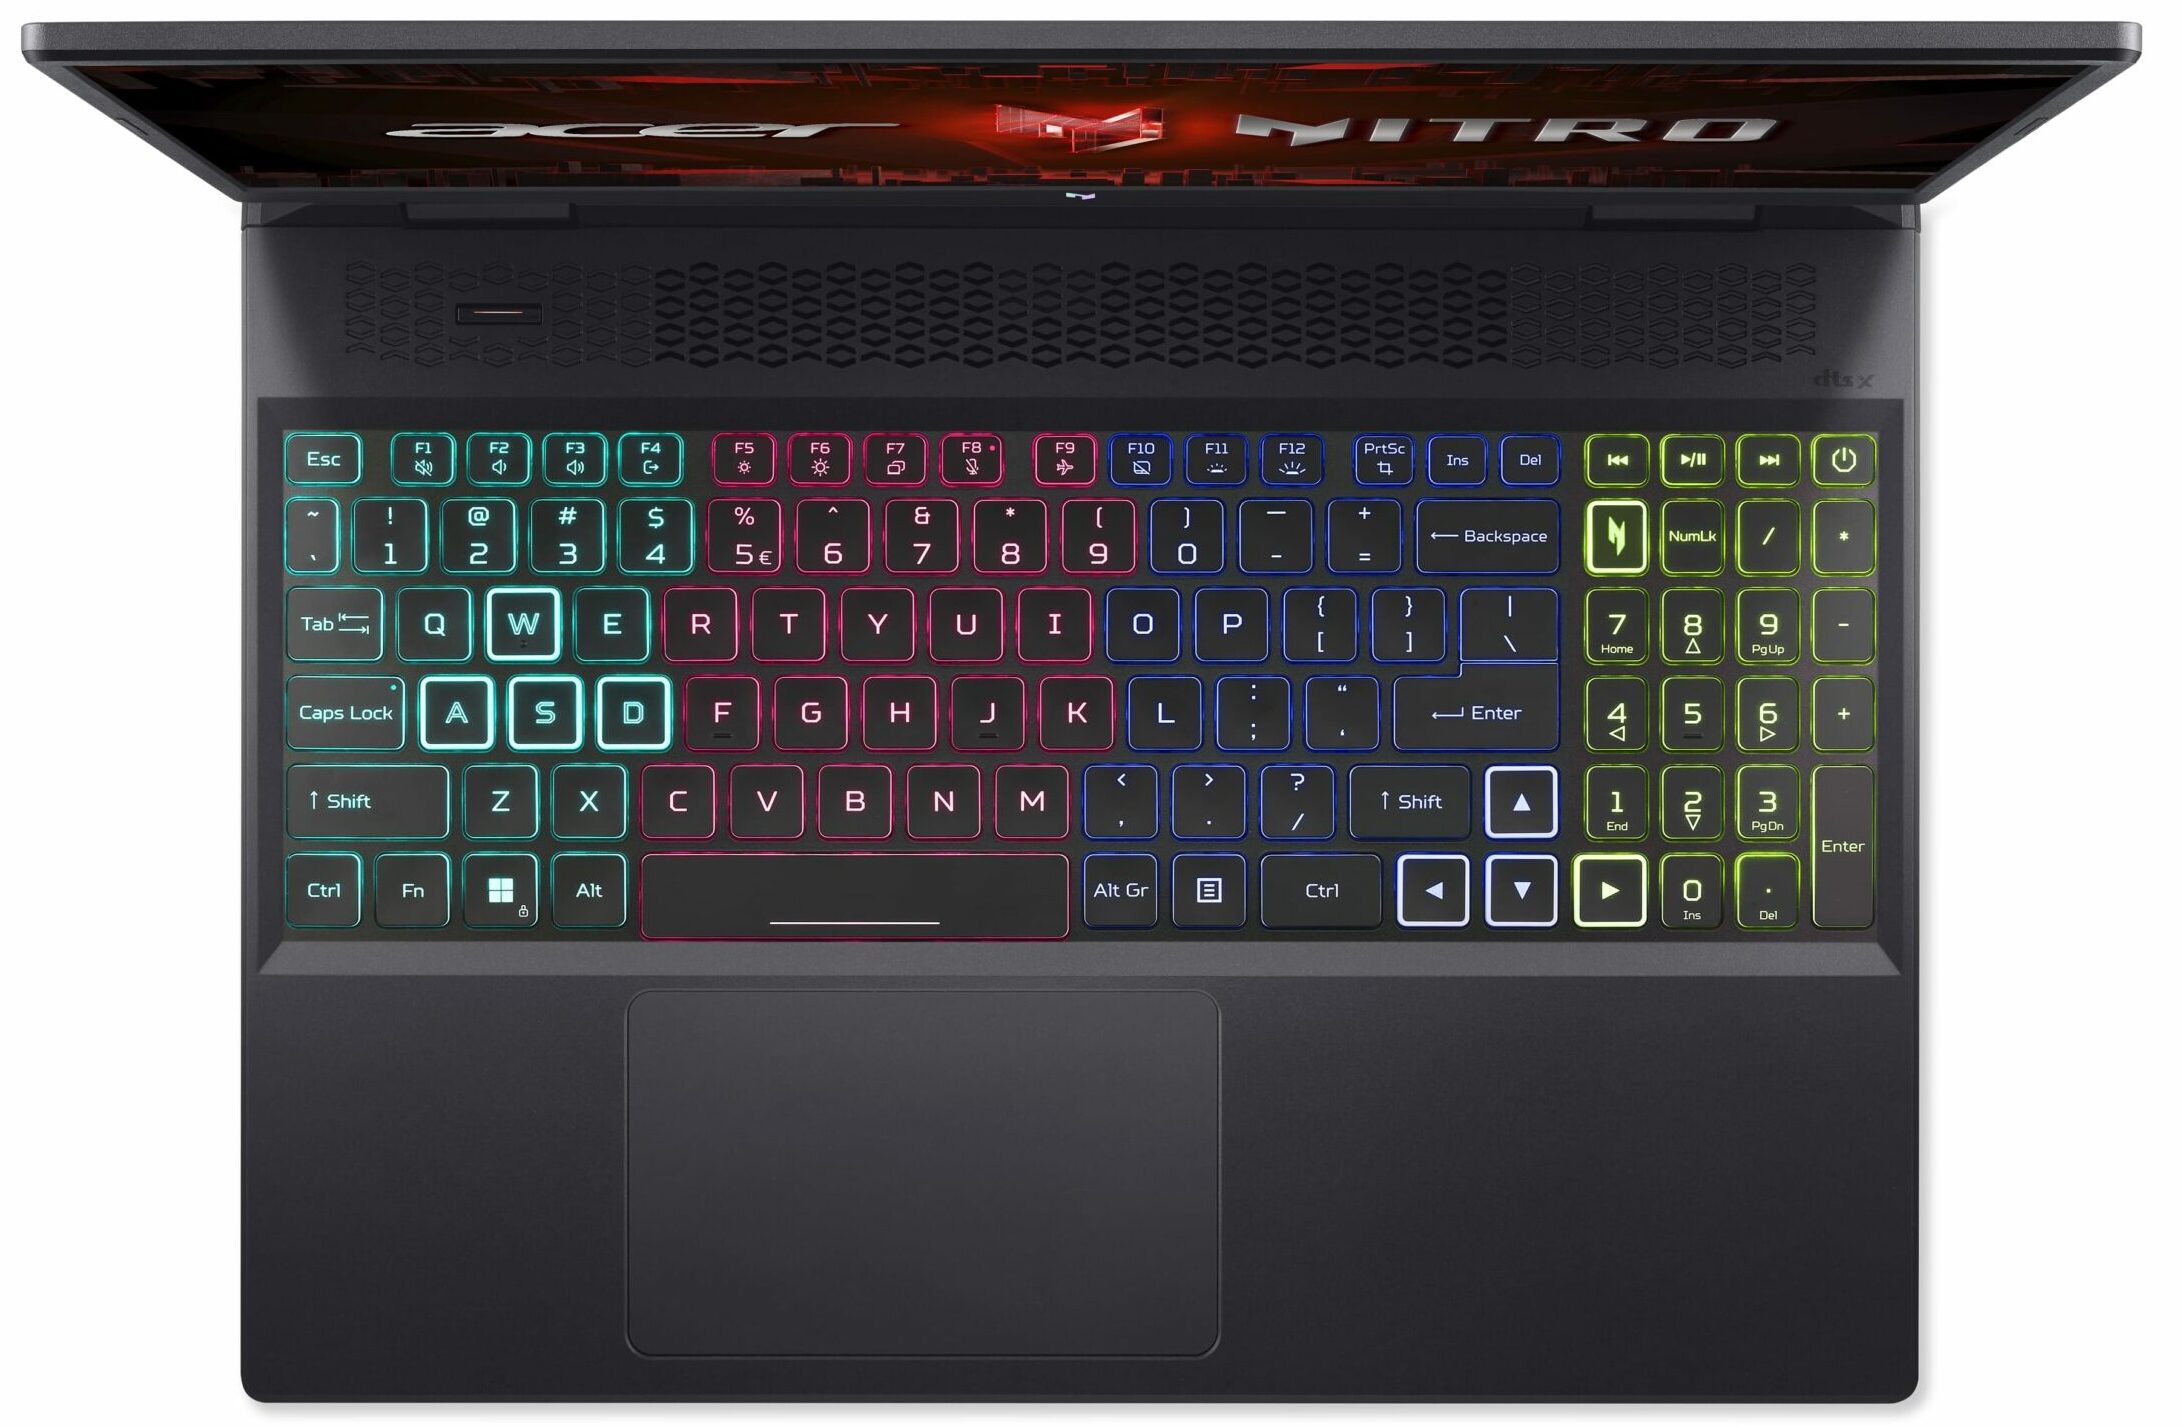
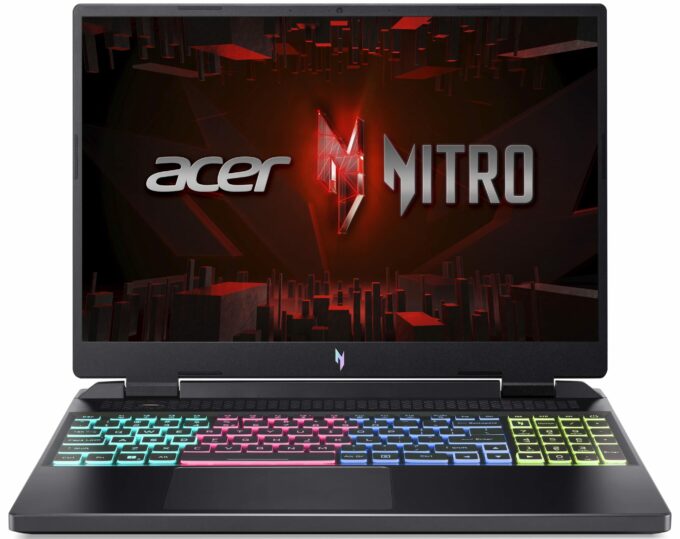
You can already find a lot of Zen 4-based laptops in different form factors. One of the iterations is the Acer Nitro 16 (AN16-41). Over the years, the Nitro lineup evolved and now some of these devices are close to the performance levels of the more premium Predator machines. The AN16-41 model boats some pretty mouthwatering specs like NVIDIA Ada Lovelace GPU options with hefty TGPs and Zen 4 or refreshed Zen 3+ CPU variants. The top processor model is the AMD Ryzen 9 7940HS. Here, we have a 16" 16:10 display so yes, the screen is taller. You can choose between two 165Hz panels - one 1200p and one 1600p. The notebook also brings goodies to the table such as Nvidia Advanced Optimus, G-Sync, and a MUX switch. Just like many other Nitro devices, the upgradability is good and the same applies[...]
Read the full review
Pros
- 2x M.2 Gen 4 slots + 2x DDR5 RAM SODIMMs
- Covers 98% of the sRGB color gamut and has accurate color representation with our "Design and Gaming" profile (BOE NV160WUM-NY2 (BOE0B72))
- Fast panel with quick response times (BOE NV160WUM-NY2 (BOE0B72))
- No PWM (BOE NV160WUM-NY2 (BOE0B72))
- G-Sync support + MUX switch
- Good I/O
- Comfortable input devices
- Great battery life for a gaming laptop
- Solid base
- The CPU and the GPU can maintain high frequencies during full load
Cons
- Flexy lid
- Noisy fans in "Turbo" mode
- The NVMe gets hot during benchmarking
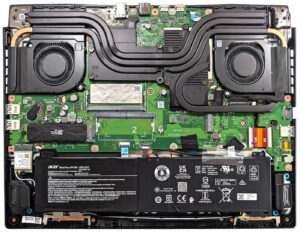
Disassembly, maintenance and upgrade options
Step 1: Accessing the InternalsEnsure the Acer Nitro 16 (AN16-41) is powered off and placed on a soft, clean surface to prevent scratches or damage. Remove the 11 Phillips-head screws from the bottom of the laptop. Carefully lift the bottom panel by holding the two plastic exhausts firmly on the back to pop it open.Hint: Be gentle during this process to avoid damaging the internal clips or the laptop casing.Step 2: Removing the BatteryDetach the battery connector from the motherboard to disconnect the power. Lift the 90.61Wh battery away from the chassis. N[...]
Read more