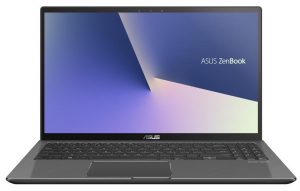
Inside ASUS ZenBook Flip 15 UX562 – disassembly and upgrade options
If you are an artist and you need a large 2-in-1 notebook to help you in your endeavors, probably the ZenBook Flip 15 UX562 is one of your most decent choices.
Check out all ASUS ZenBook Flip 15 UX562 prices and configurations in our Specs System or read more in our In-Depth review.
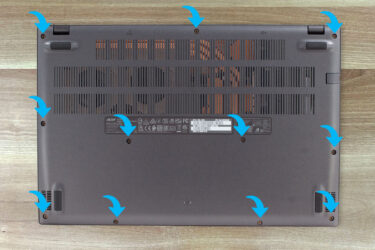
1. Remove the bottom plate
There are 11 Torx-head screws that hold the bottom plate to the chassis. Should you remove it, you will have access to the internals of this notebook. However, after you are done unscrewing around, you need to pry the panel with a plastic tool. Don’t be afraid to use force, but be patient.
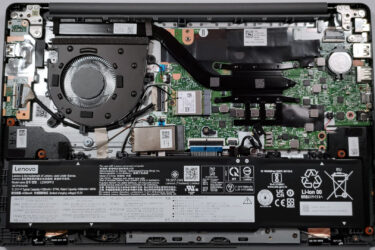
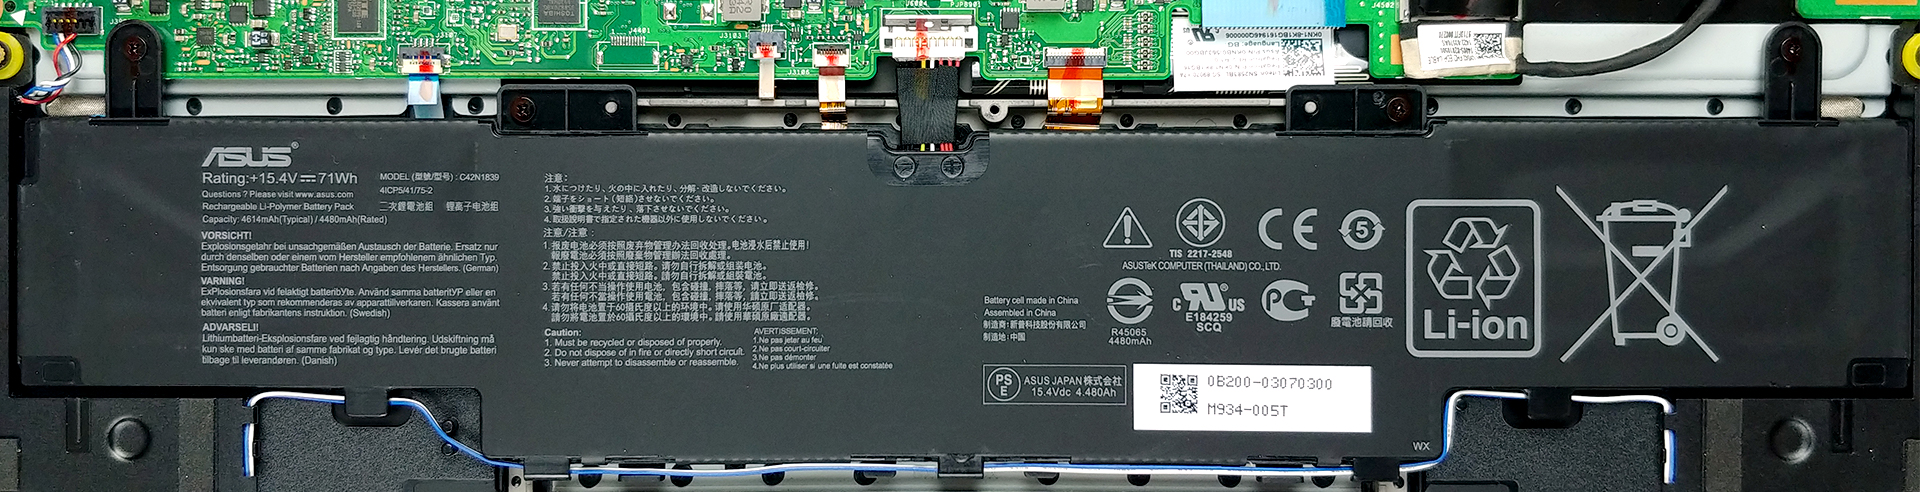
2. Battery
This laptop is equipped with a pretty hefty 71Wh battery pack. It provides a very decent battery life, and before you proceed with disassembling the notebook, you would want to remove the battery connector from the motherboard.
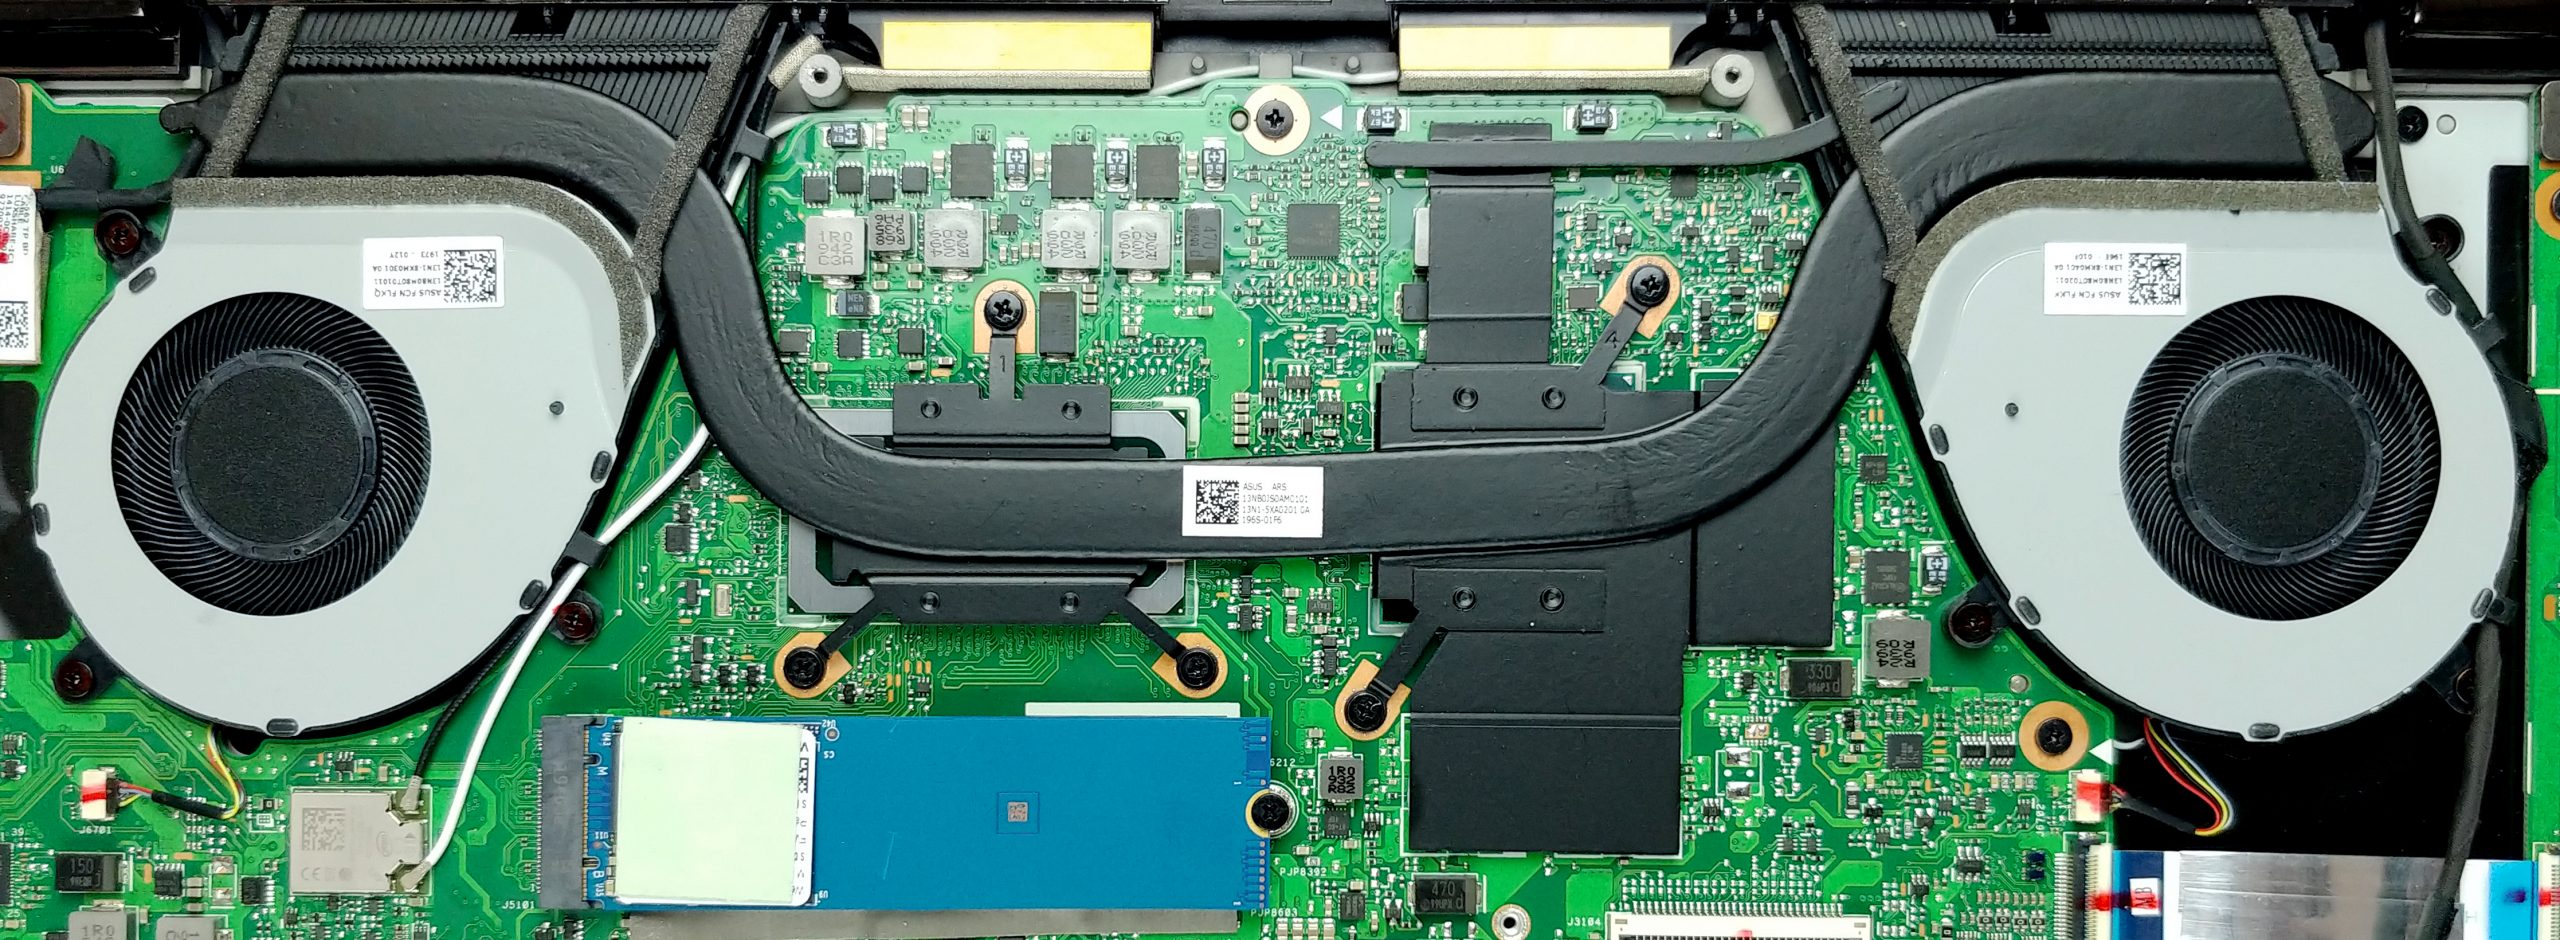
3. Cooling system and storage
Interestingly, there is only one heat pipe cooling both the CPU and the GPU. In contrast to the ZenBook Flip 15 UX561, which had two – that go to separate fans. Again, there are two fans here, but they cool the same heat pipe, essentially. Here, you can also see the M.2 PCIe x4 drive, just below the CPU. Sadly, the memory is soldered to the motherboard, so you won’t be able to upgrade in this aspect.
Check out all ASUS ZenBook Flip 15 UX562 prices and configurations in our Specs System or read more in our In-Depth review.