Inside HP ZBook 15u G6 – disassembly and upgrade options
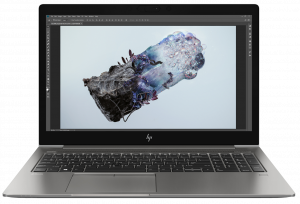
Whether you need a mobile workstation or not, the ZBook 15u G6 would be a good choice. It features ULV hardware, both in terms of CPU and GPU, but the fact, that it uses a professionally certified AMD graphics card gives it the edge when it comes to commercial use.
Check out all HP ZBook 15u G6 prices and configurations in our Specs System or read more in our In-Depth review.
1. Remove the bottom plate
The backplate comes off when you unscrew the 10 Phillips head screws and then pry it from the chassis – easy peasy, lemon squeezy.
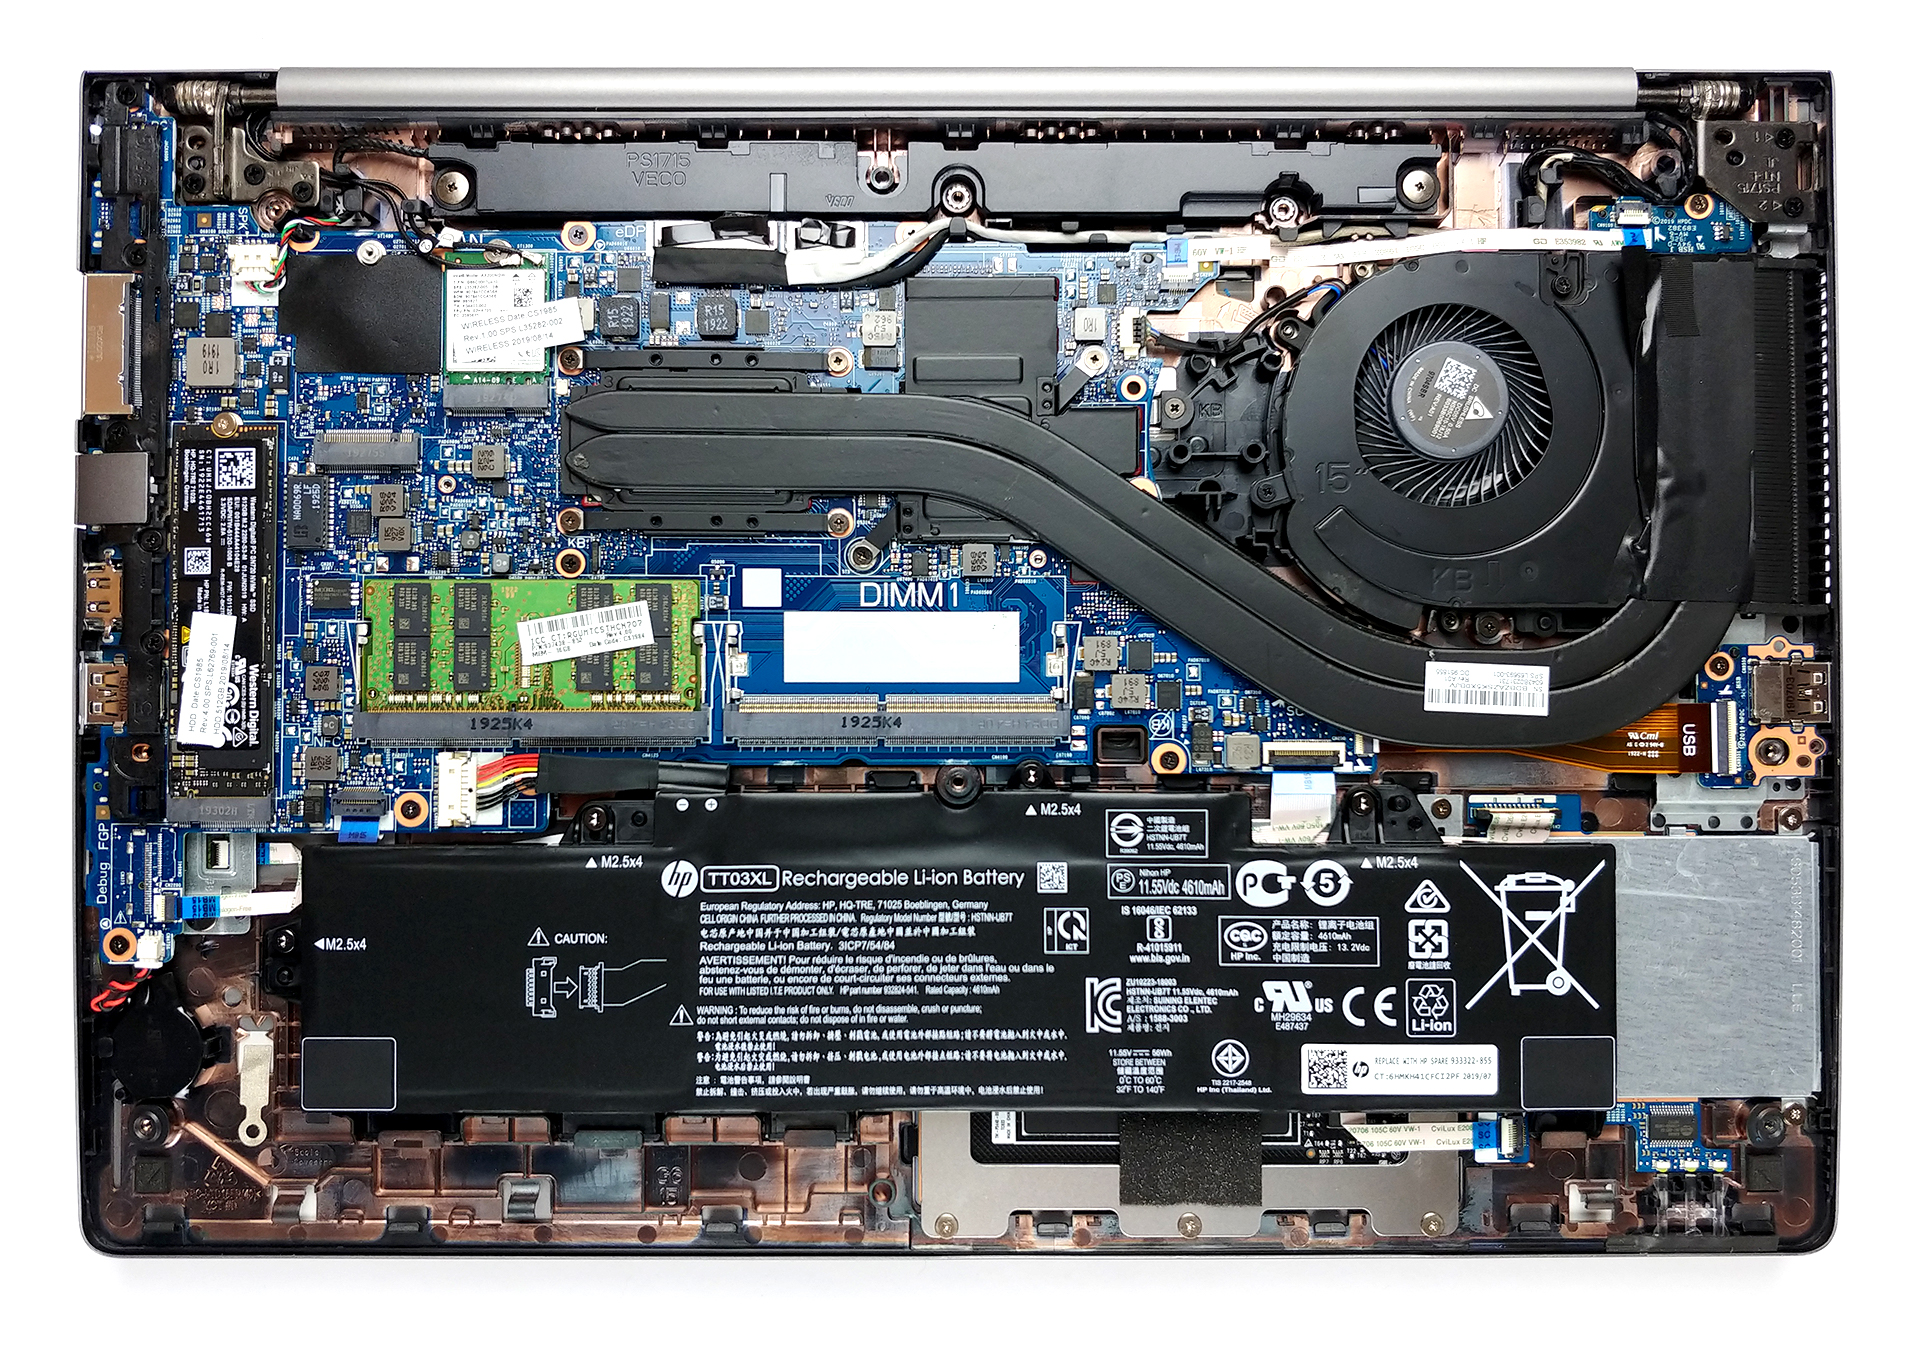
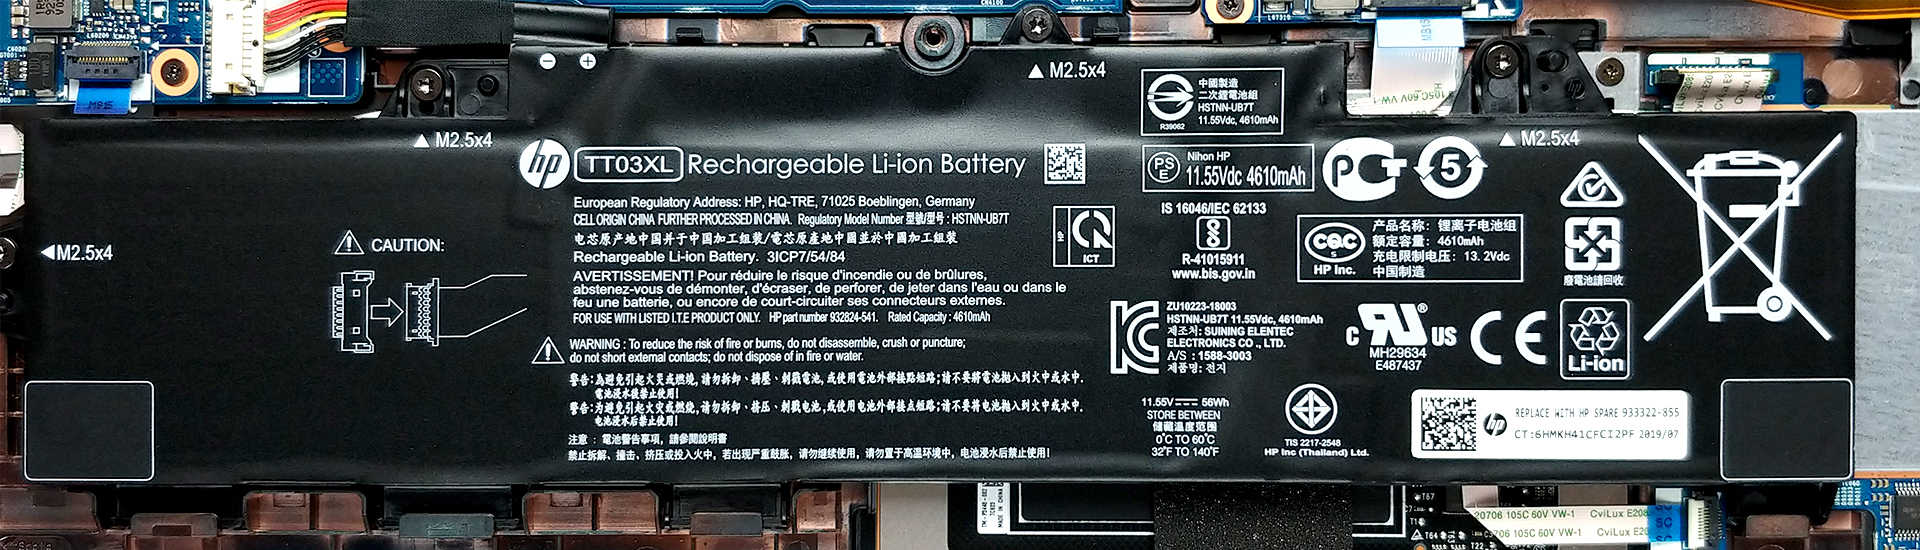
2. Battery
Interestingly, the battery is held in place by four Torx-head screws. Usually, it is the other way around – Torx for the backplate and Phillips for the battery. Nevertheless, the screws here are of very high quality. The capacity here is 56Wh and before you proceed, please, unplug the connector from the motherboard.
3. Memory and storage
Just beneath the two chips, there are two RAM DIMMs that are able to hold up to 32GB of DDR4 memory, while on their left, you can see the M.2 PCIe x4 NVMe drive slot.

4. Cooling system
In terms of cooling, HP uses two heat pipes to drive away the heat from both the CPU and the GPU. The configuration features one thin and one rather bulky heat pipe. Sadly, the single fan at the end means, the thermal efficiency is being reduced.

Check out all HP ZBook 15u G6 prices and configurations in our Specs System or read more in our In-Depth review.


