Inside Lenovo V155 (15) – disassembly and upgrade options
You need a business notebook, but your budget is tight? Then the Lenovo V155 (15) is definitely worth checking out.
Check out all Lenovo V155 (15) prices and configurations in our Specs System or read more in our In-Depth review.

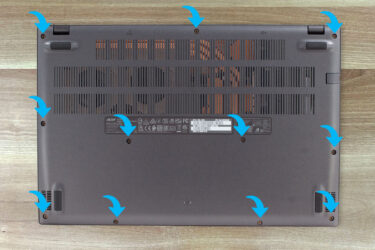
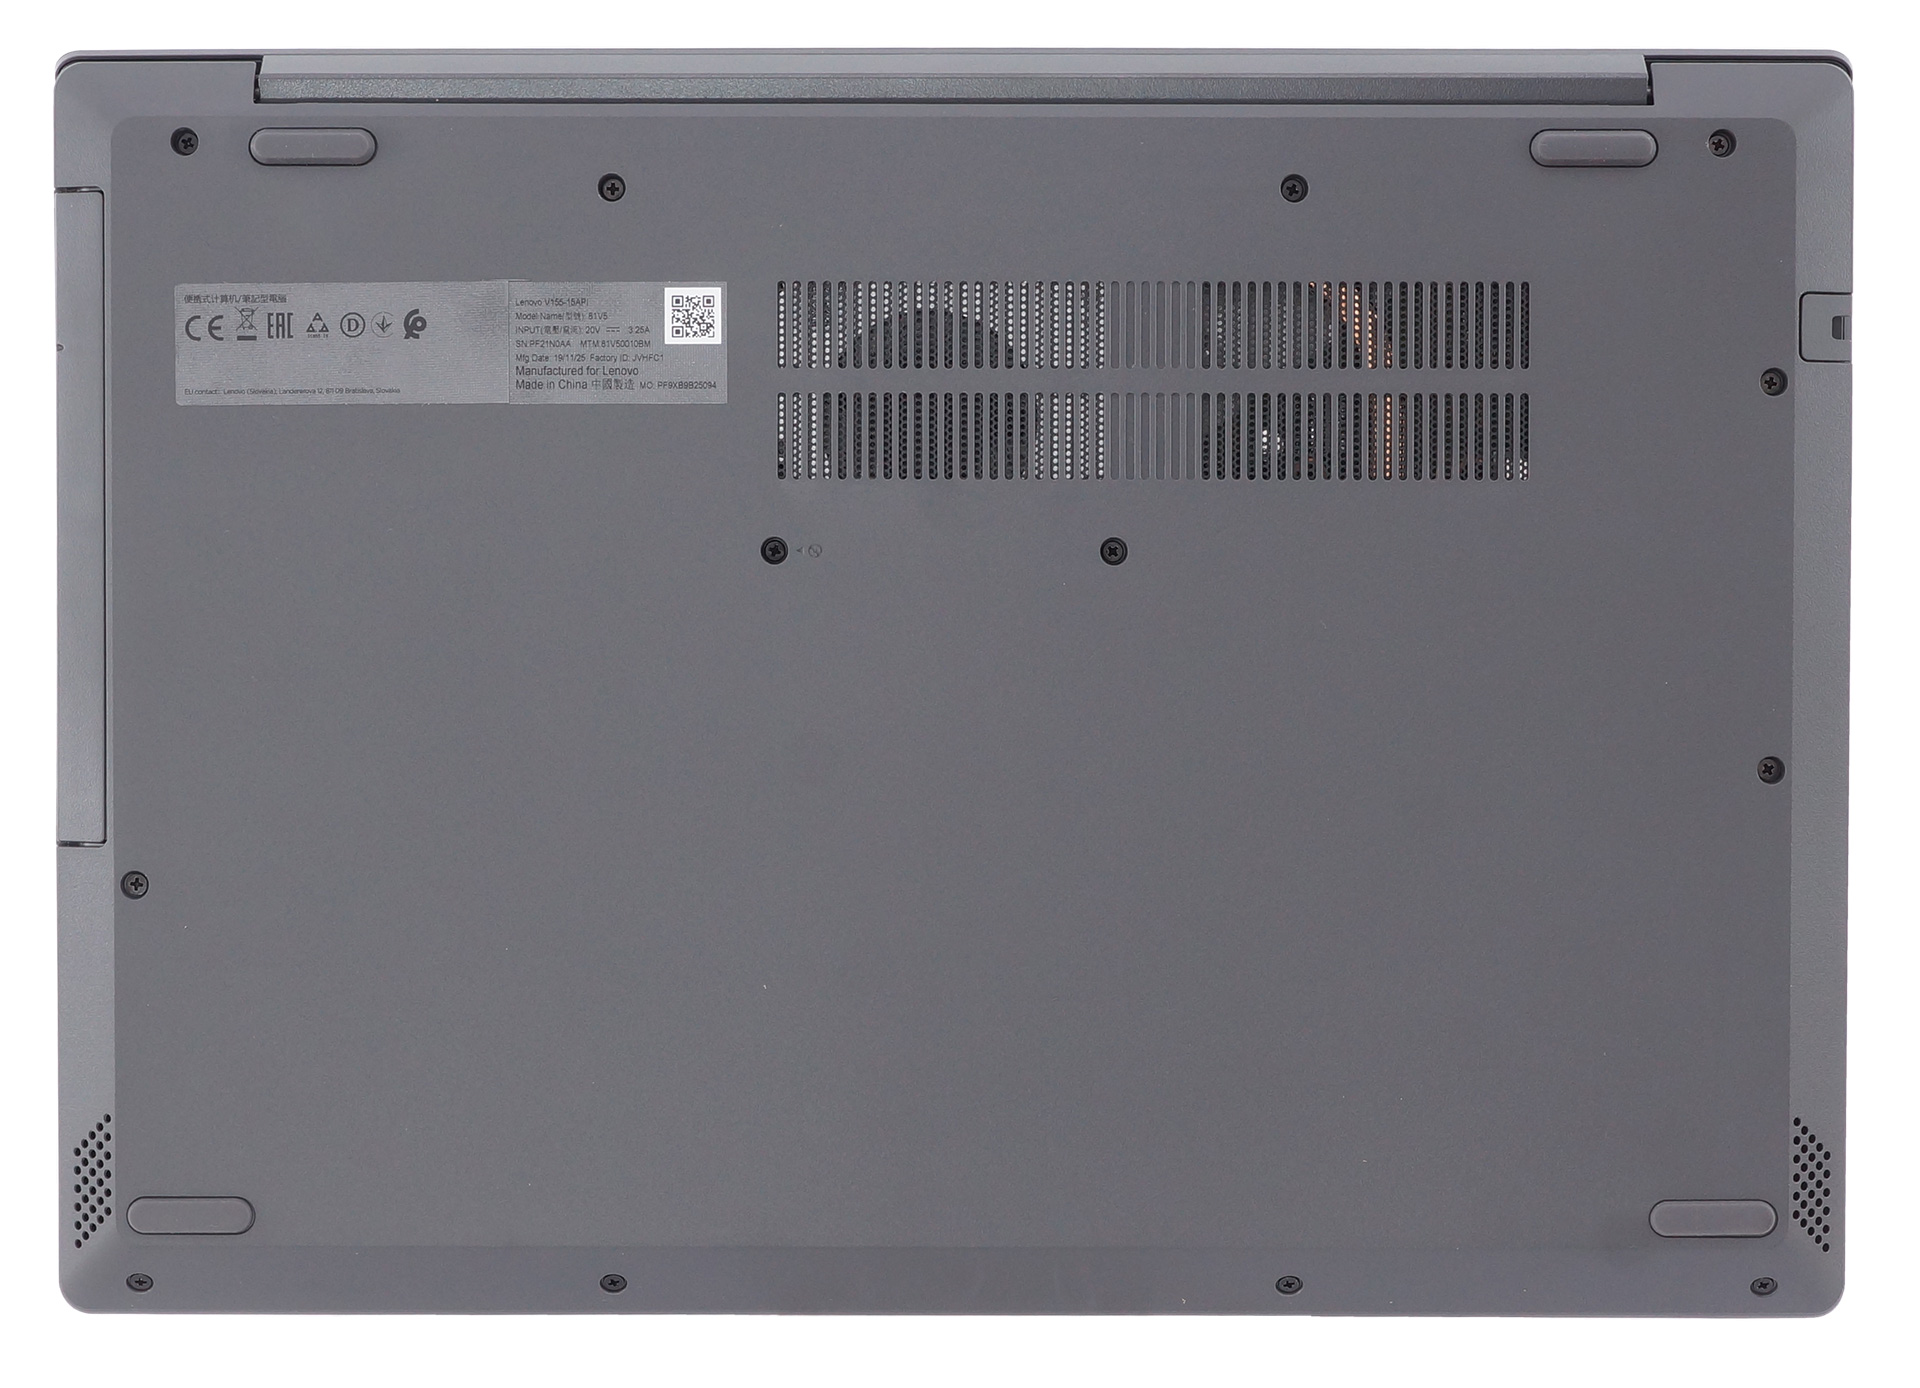
1. Remove the bottom plate
So, the first thing you need to do is to remove the optical drive. There is a screw, marked on the bottom panel, that shows you which is the proprietory one. After you remove it, continue by unscrewing 12 more Phillips-head screws and then pry the bottom panel with a plastic tool.
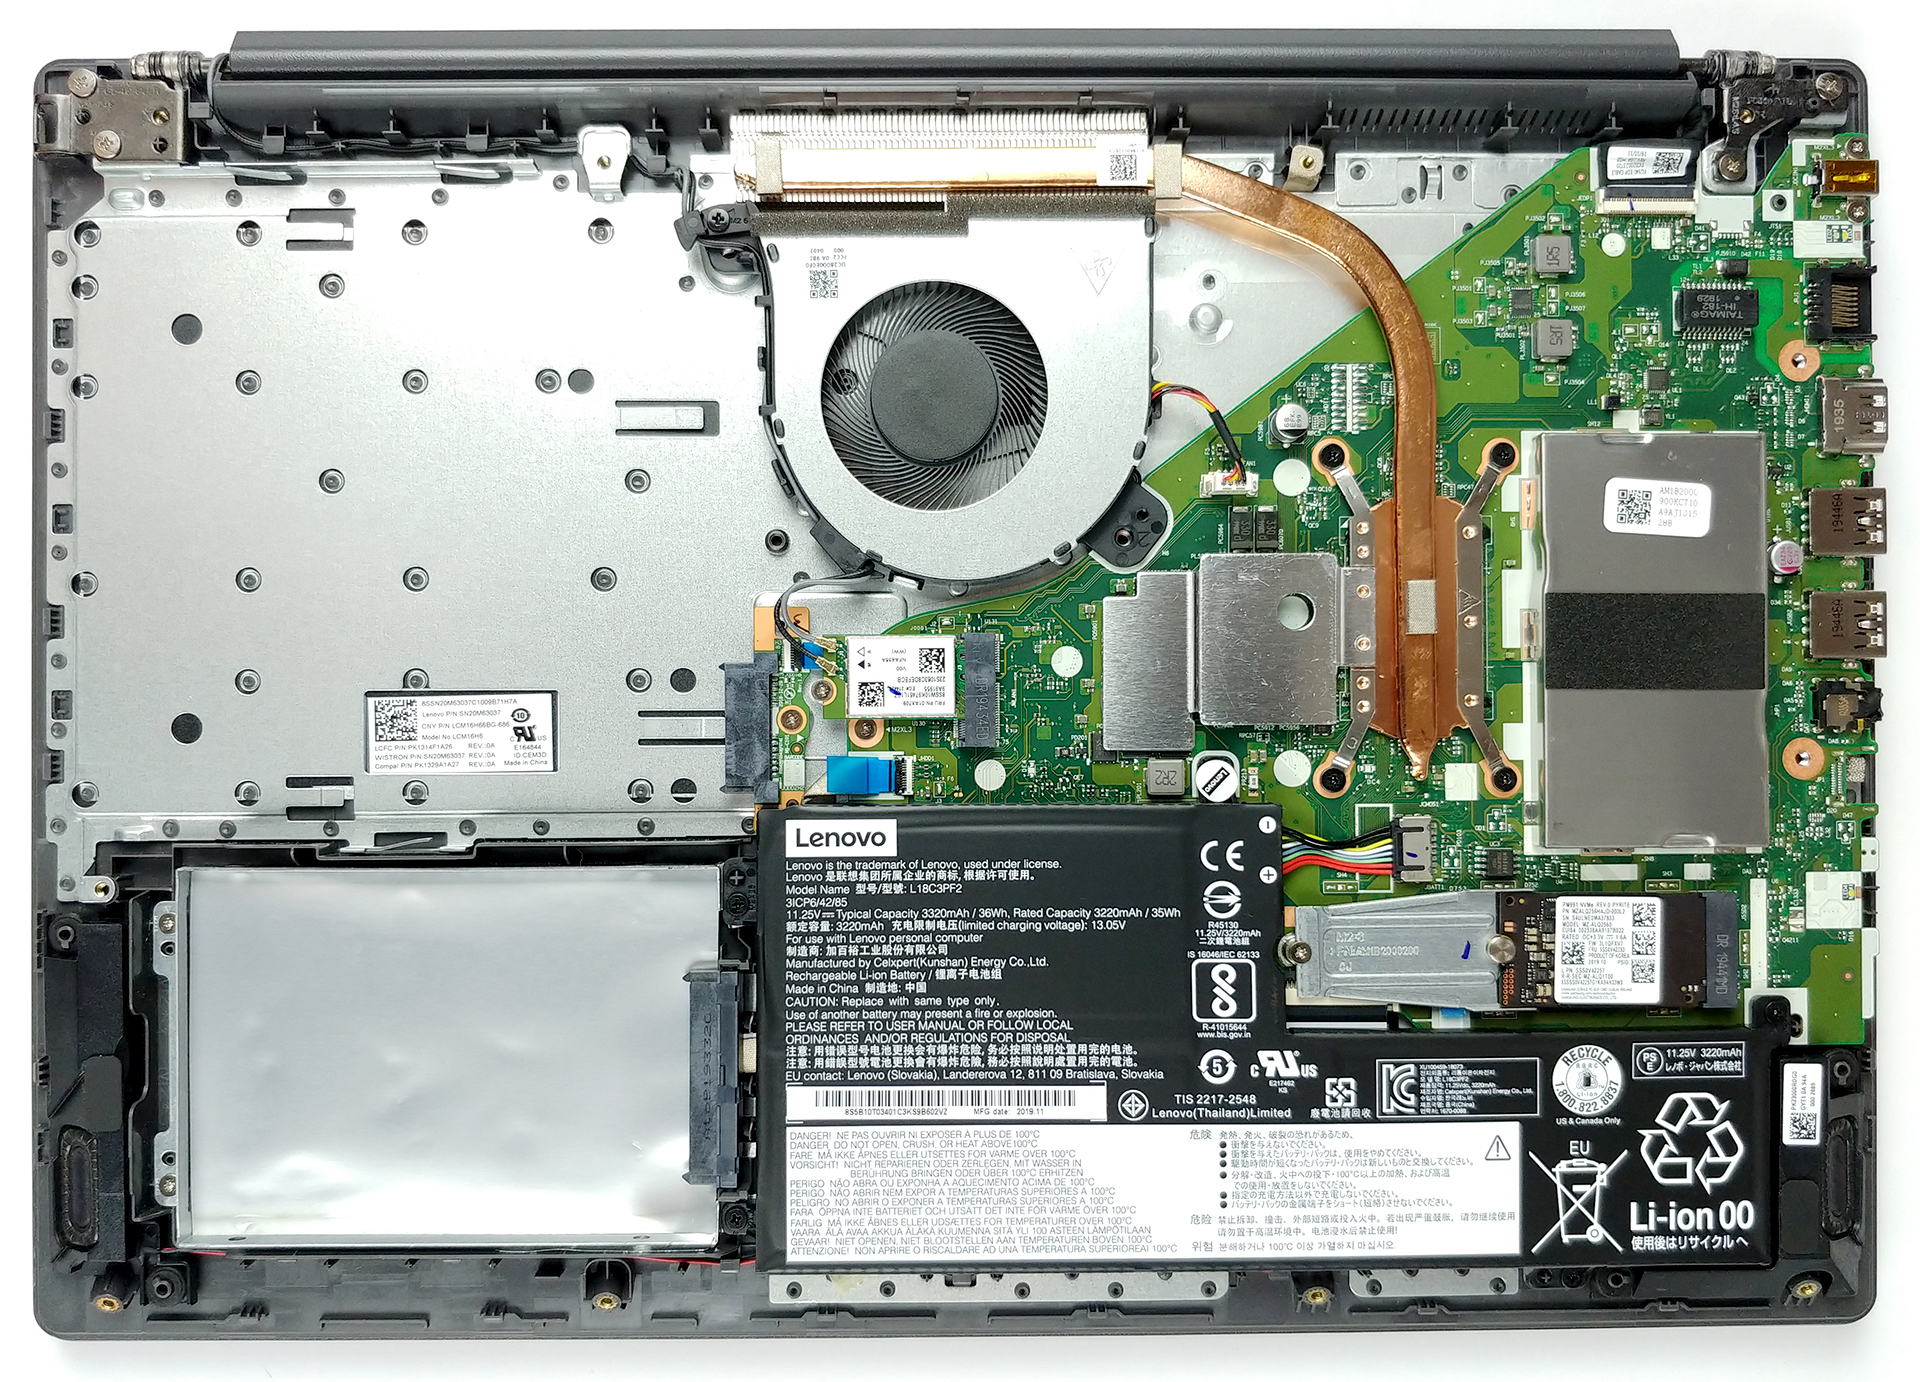
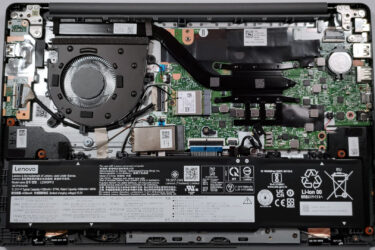
2. Battery
Sadly, for a 15-inch notebook, the battery capacity is only 36Wh.
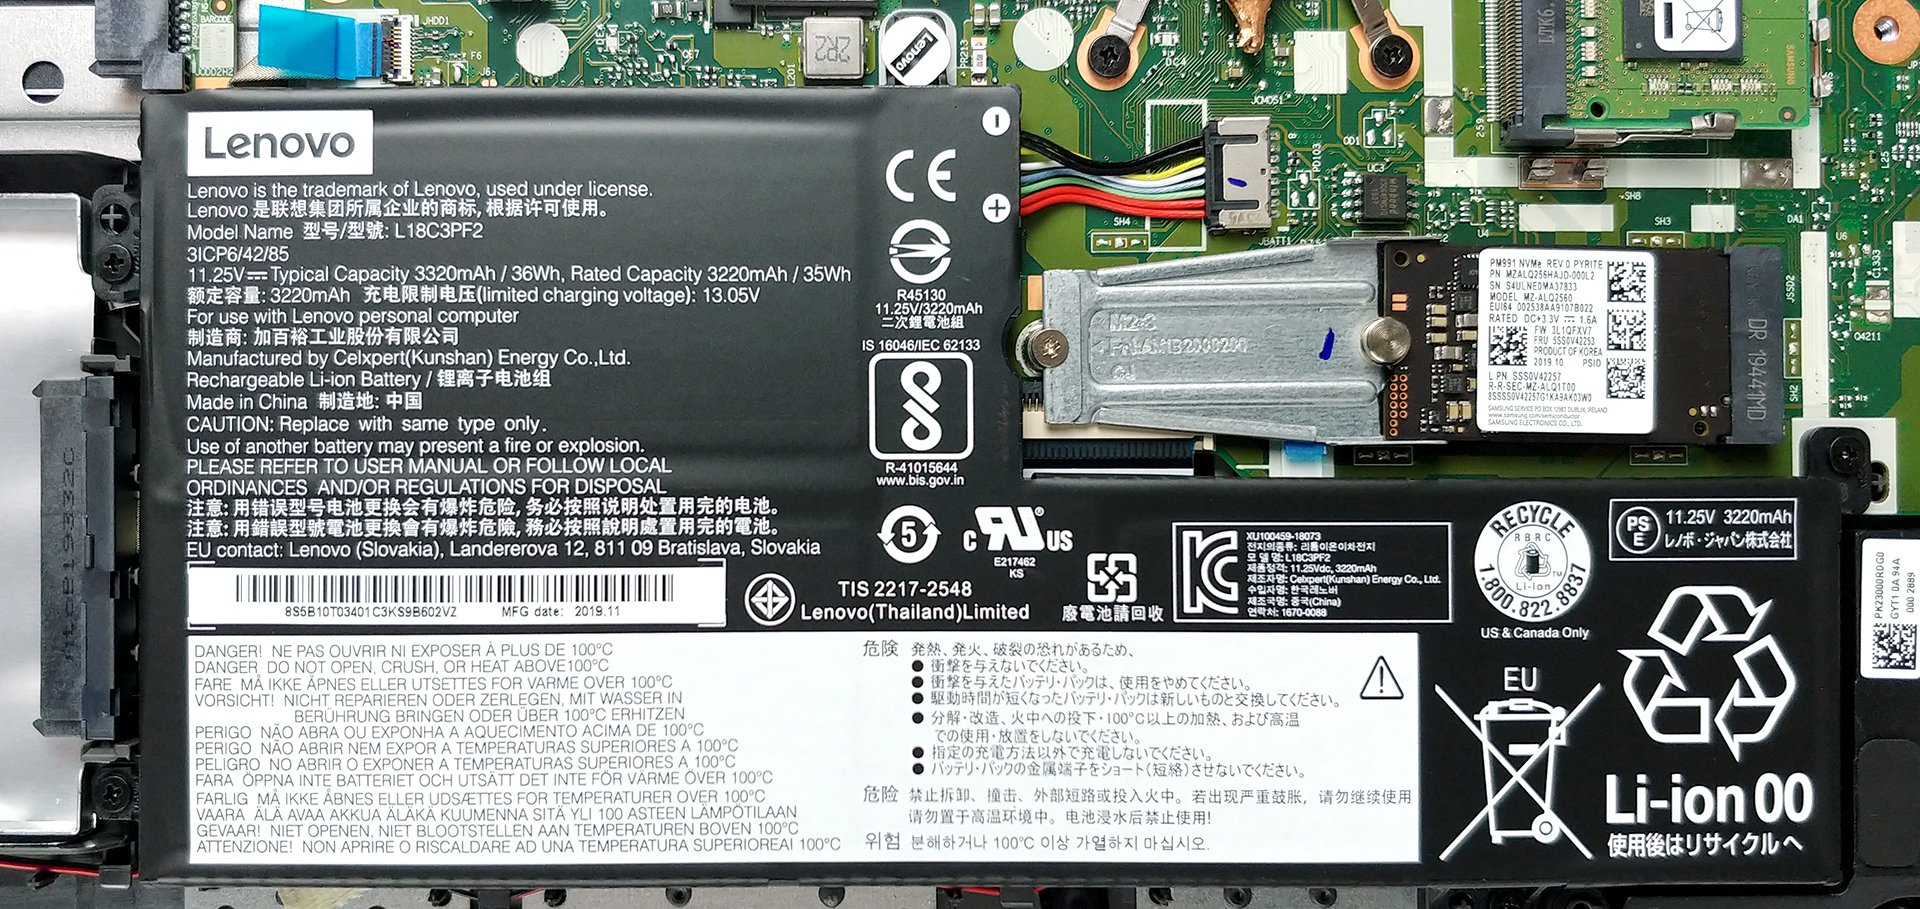
3. Memory and storage
Some of you won’t like seeing that there are 4GB of memory soldered to the motherboard. On the bright side, there is one RAM SODIMM slot, for a combined total of 16GB (according to Lenovo). Additionally, there is a protective shell that sits on top of the slot. Storage-wise, you will see a 2.5″ SATA drive slot, as well as an M.2 PCIe x4 slot.

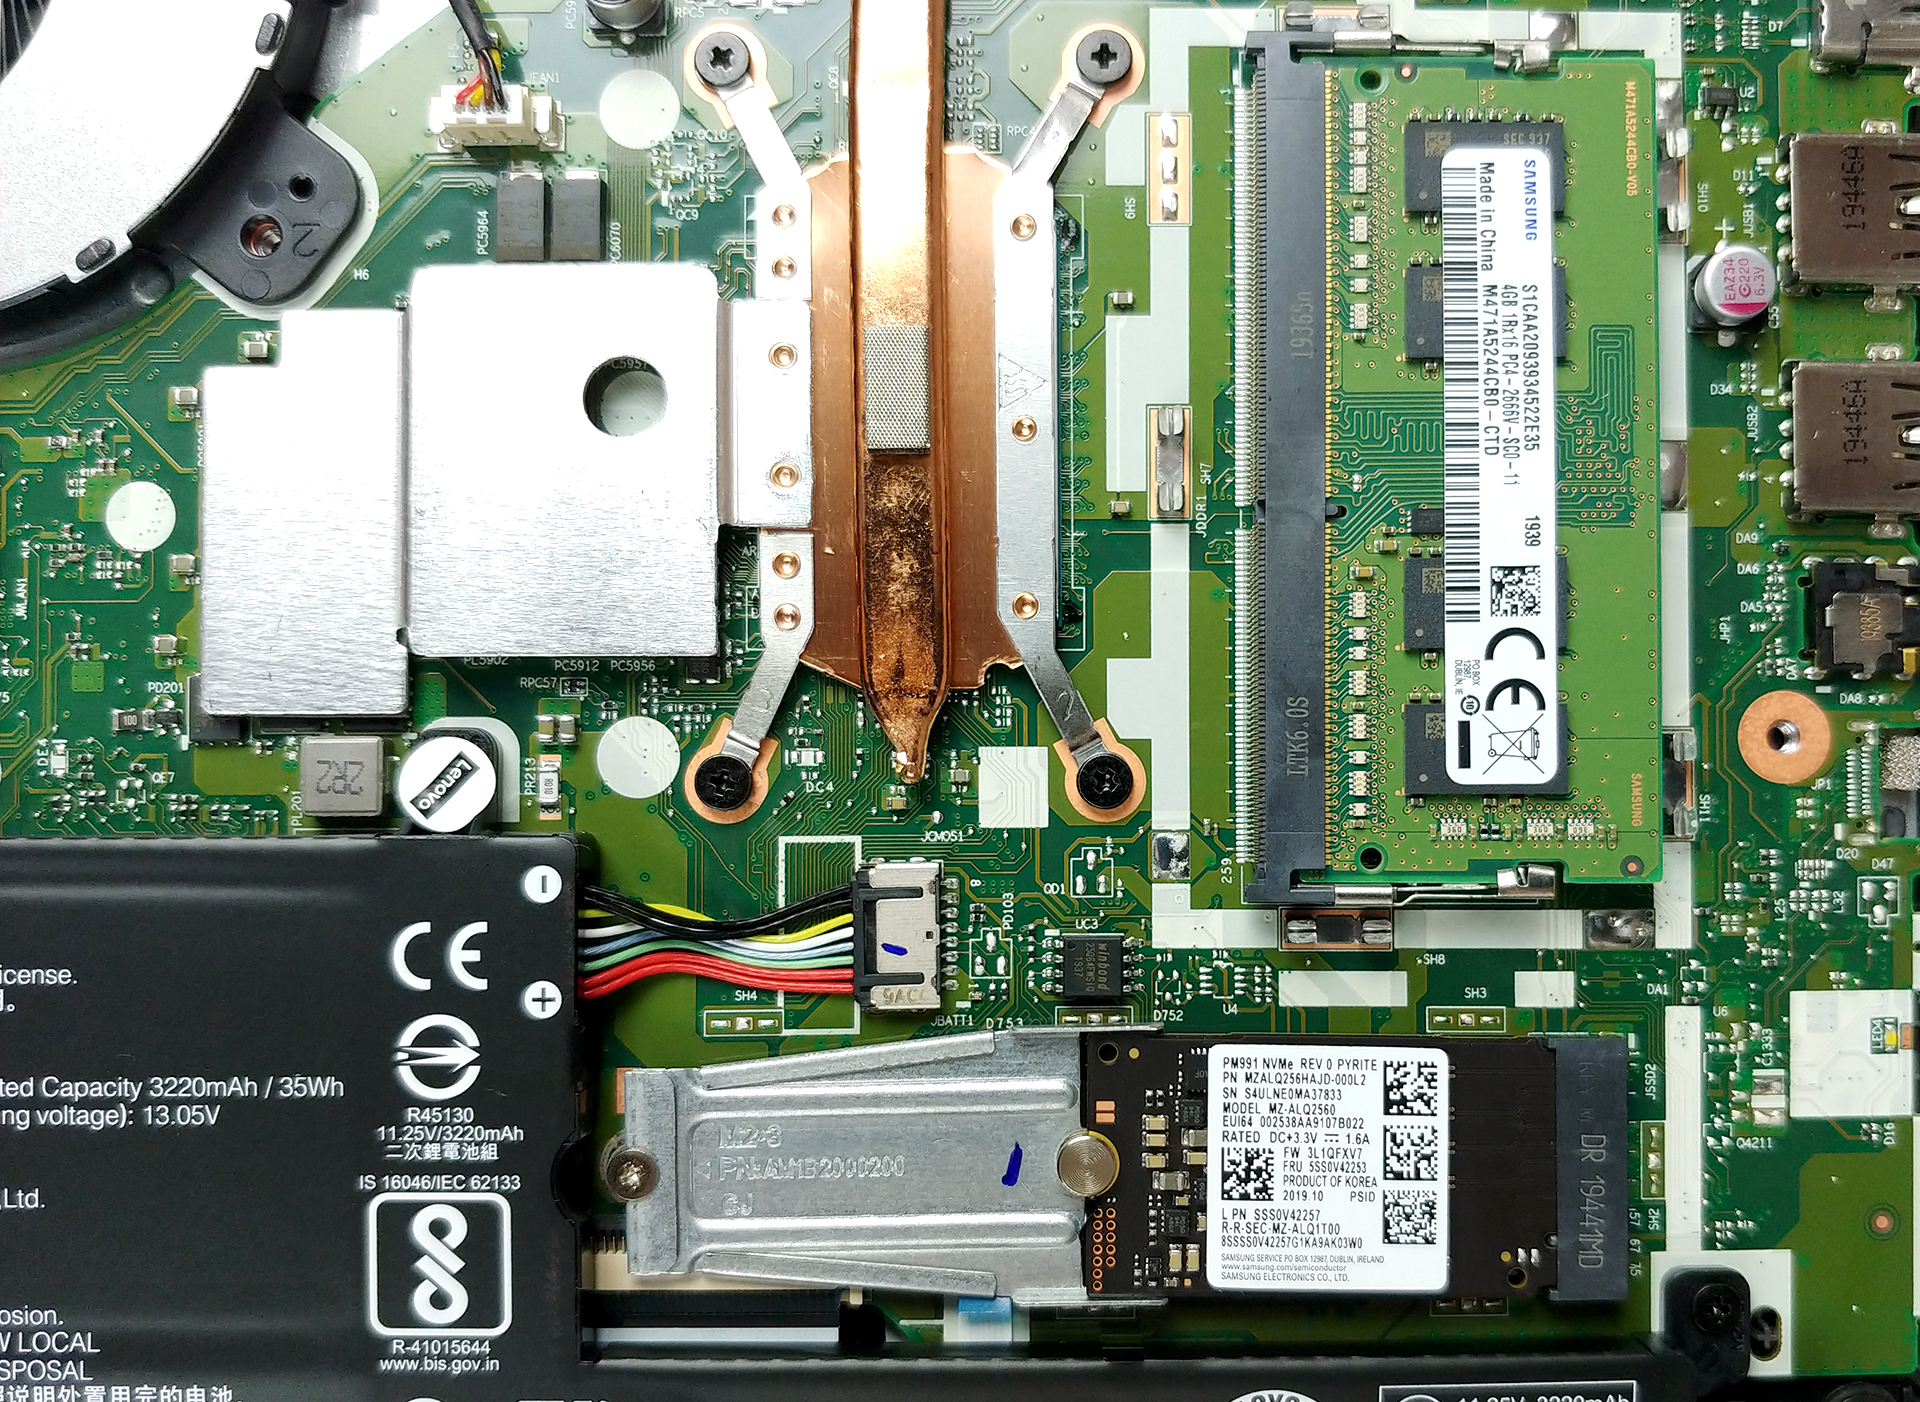
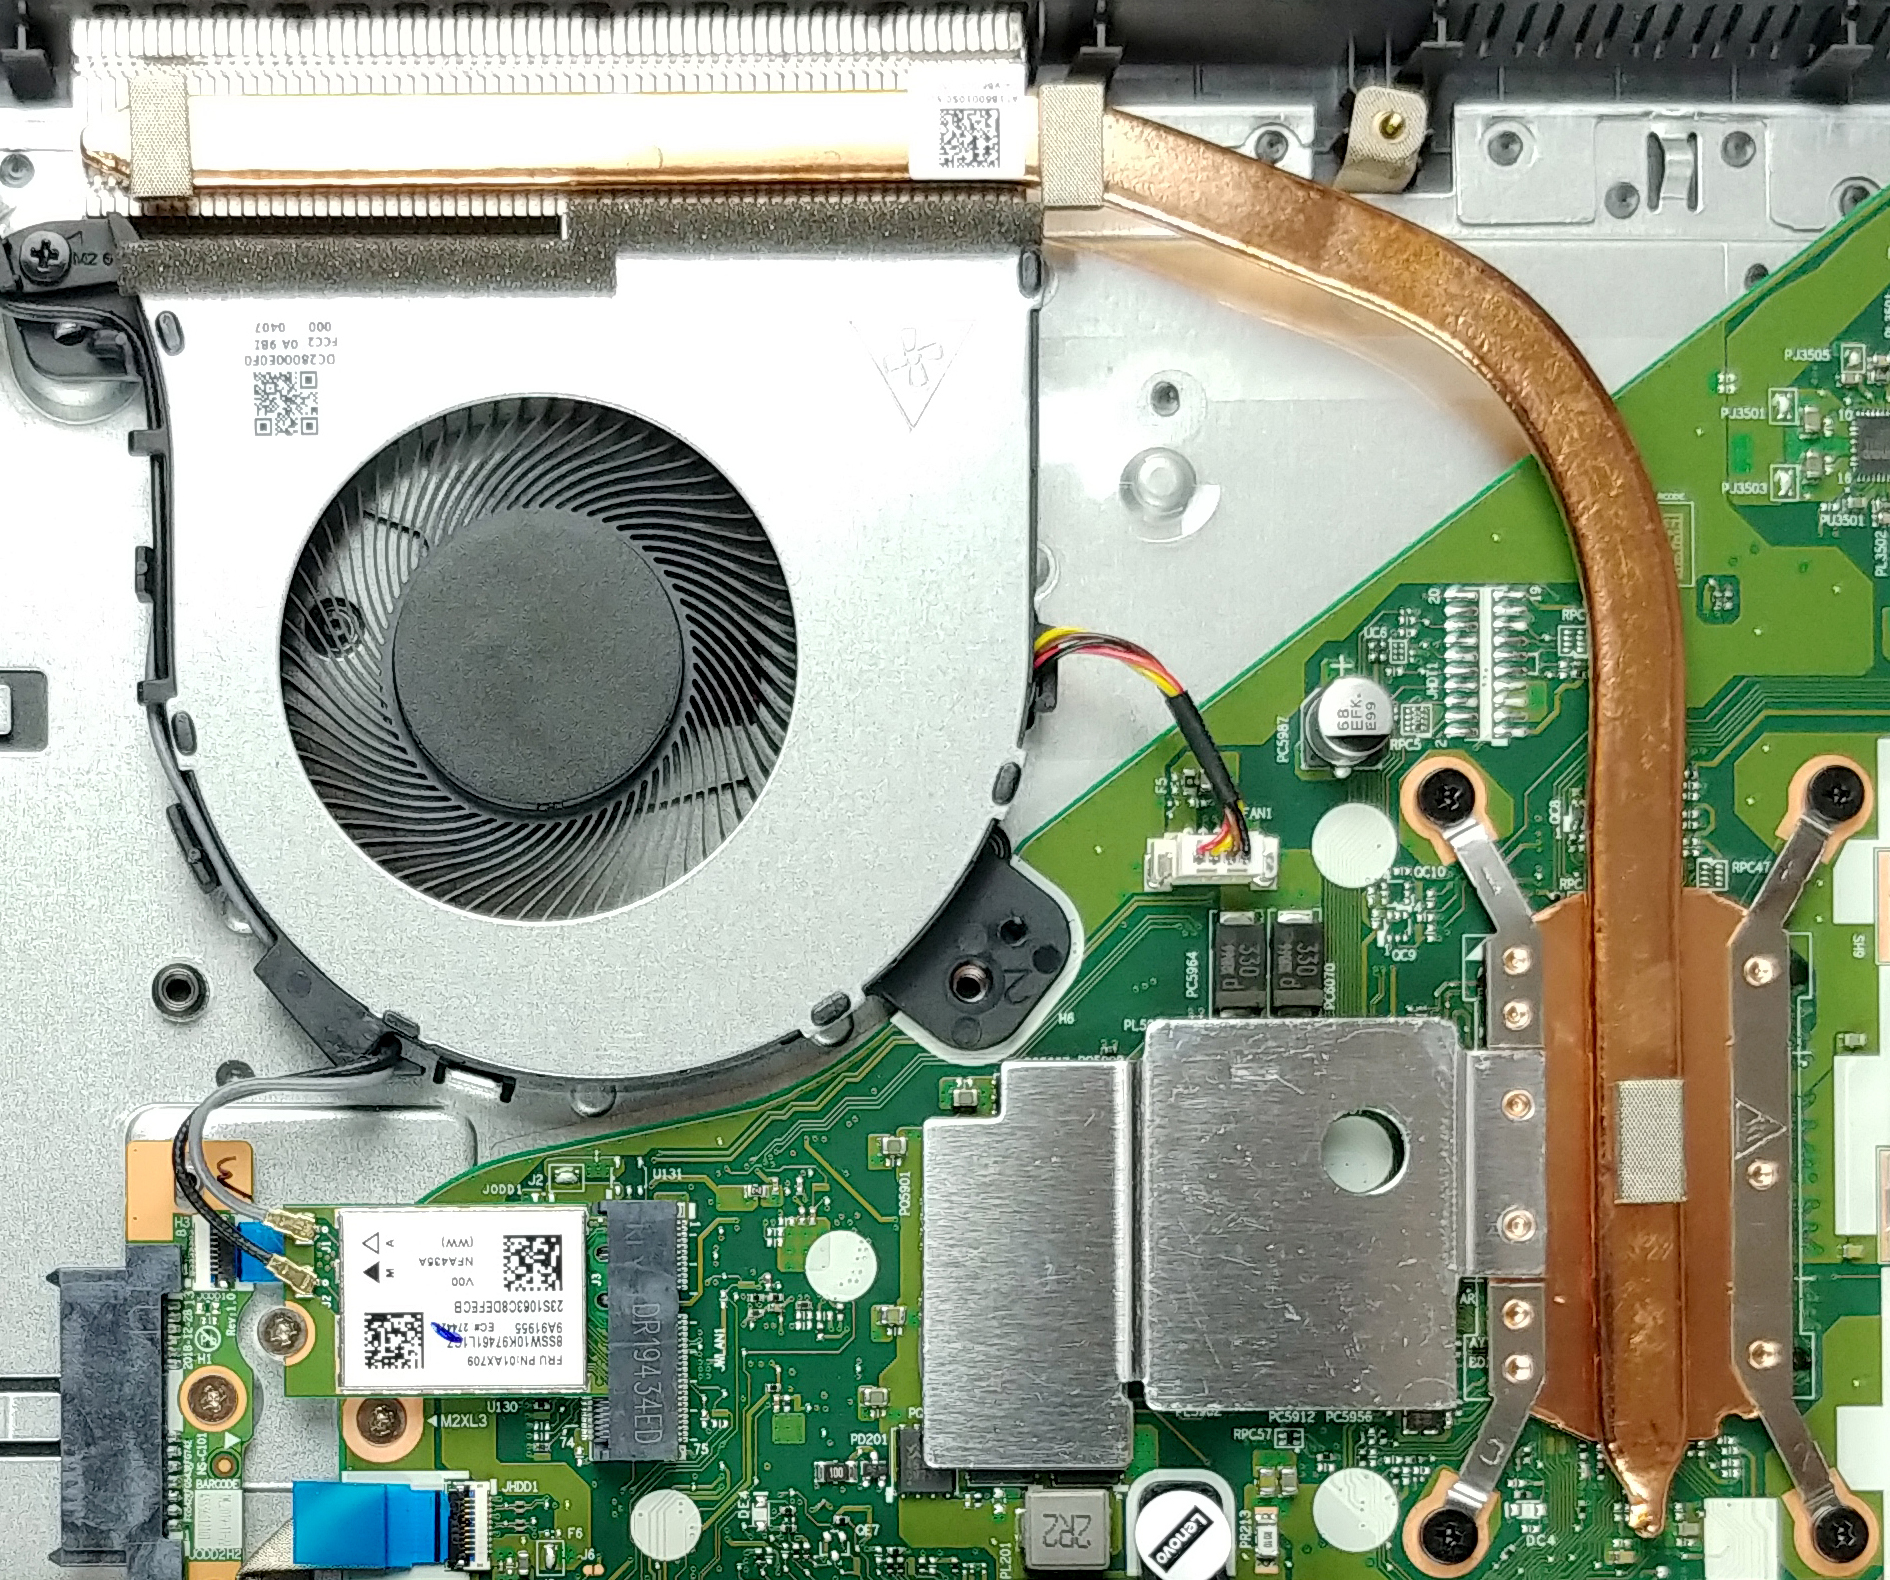
4. Cooling system
In terms of cooling, Lenovo uses a very thin heat pipe and a rather big fan. We are going to check its efficiency later in the review.
Check out all Lenovo V155 (15) prices and configurations in our Specs System or read more in our In-Depth review.