ASUS ZenBook UX410UQ – disassembly, internal photos and upgrade options
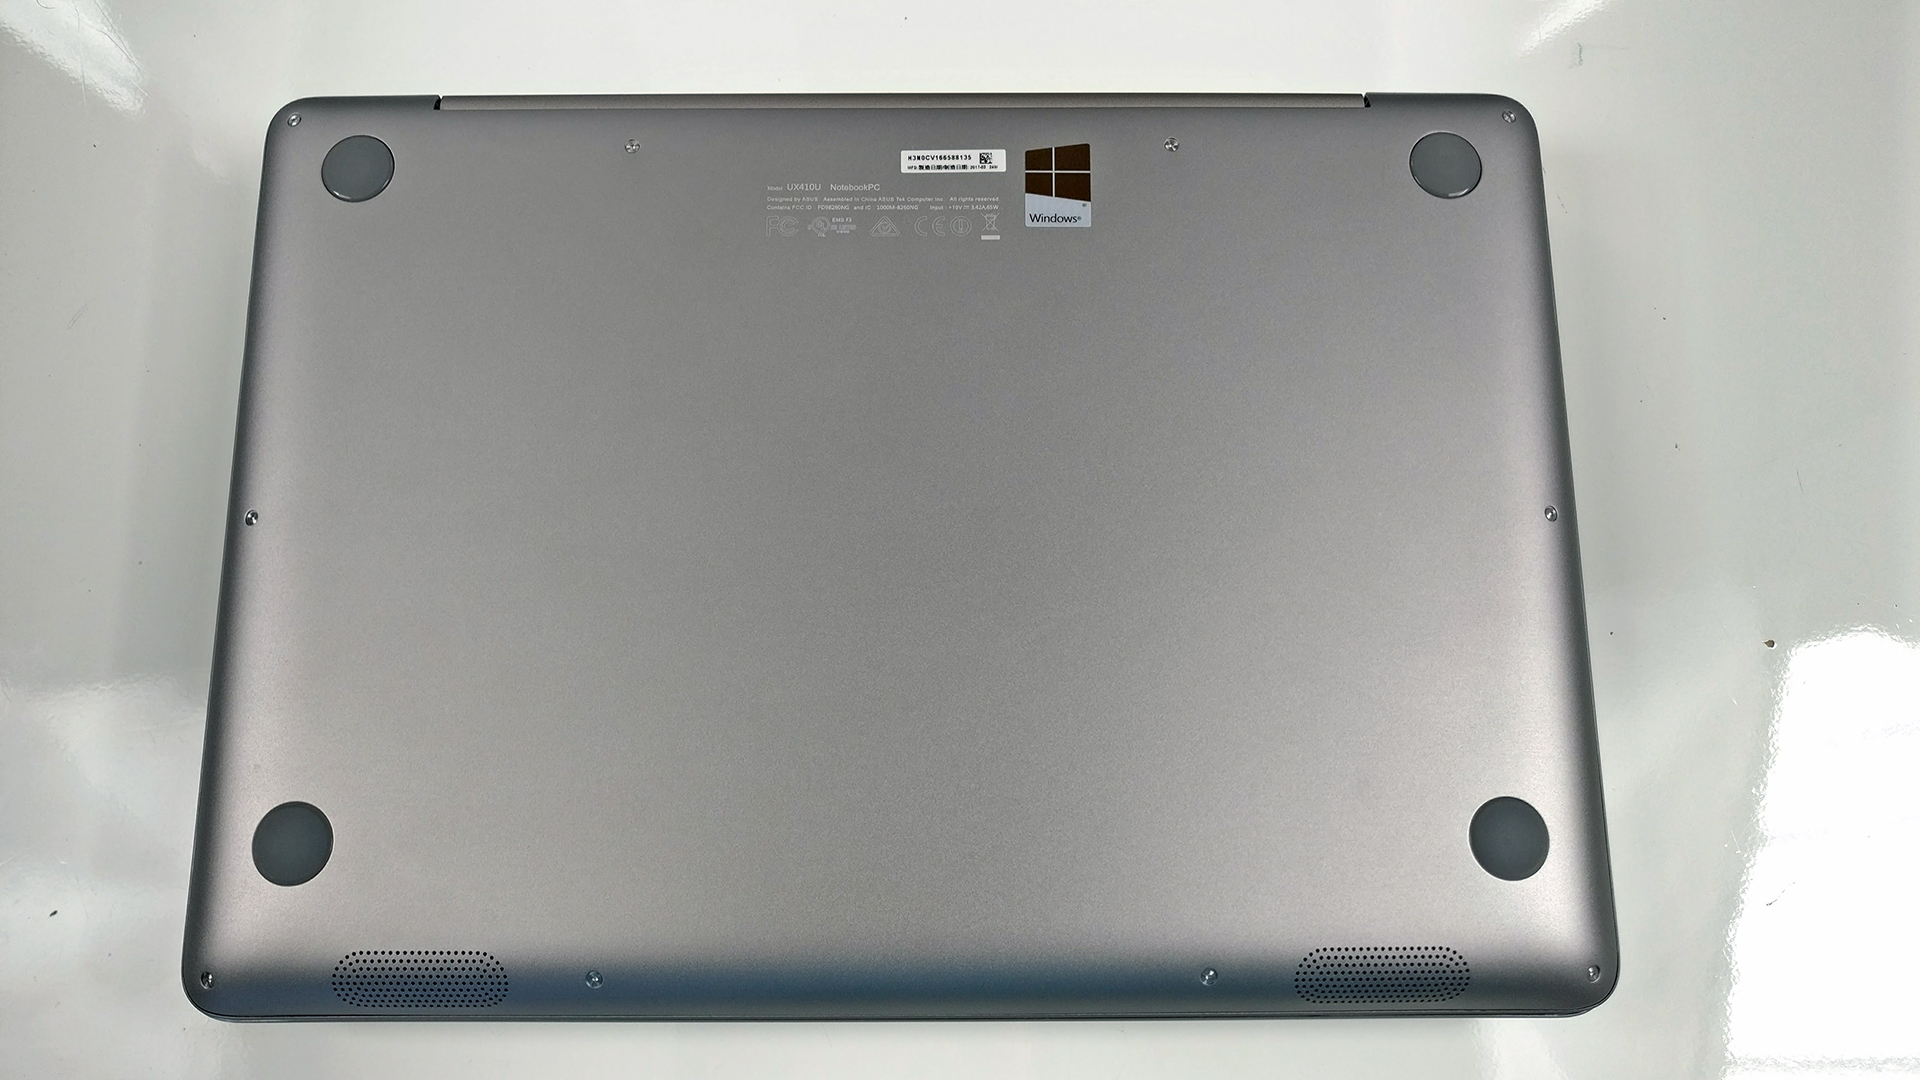
The 14-inch ultrabook allows easy access to the internals by just removing the bottom aluminum piece. This way you can access the storage options, memory and the cooling system for maintenance.
You can find the available models here: http://amzn.to/2eLeLI9
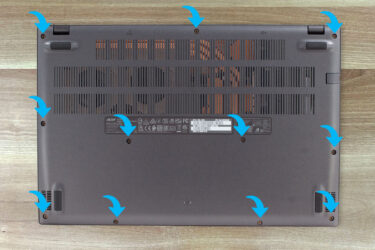
1. Removing the bottom plate
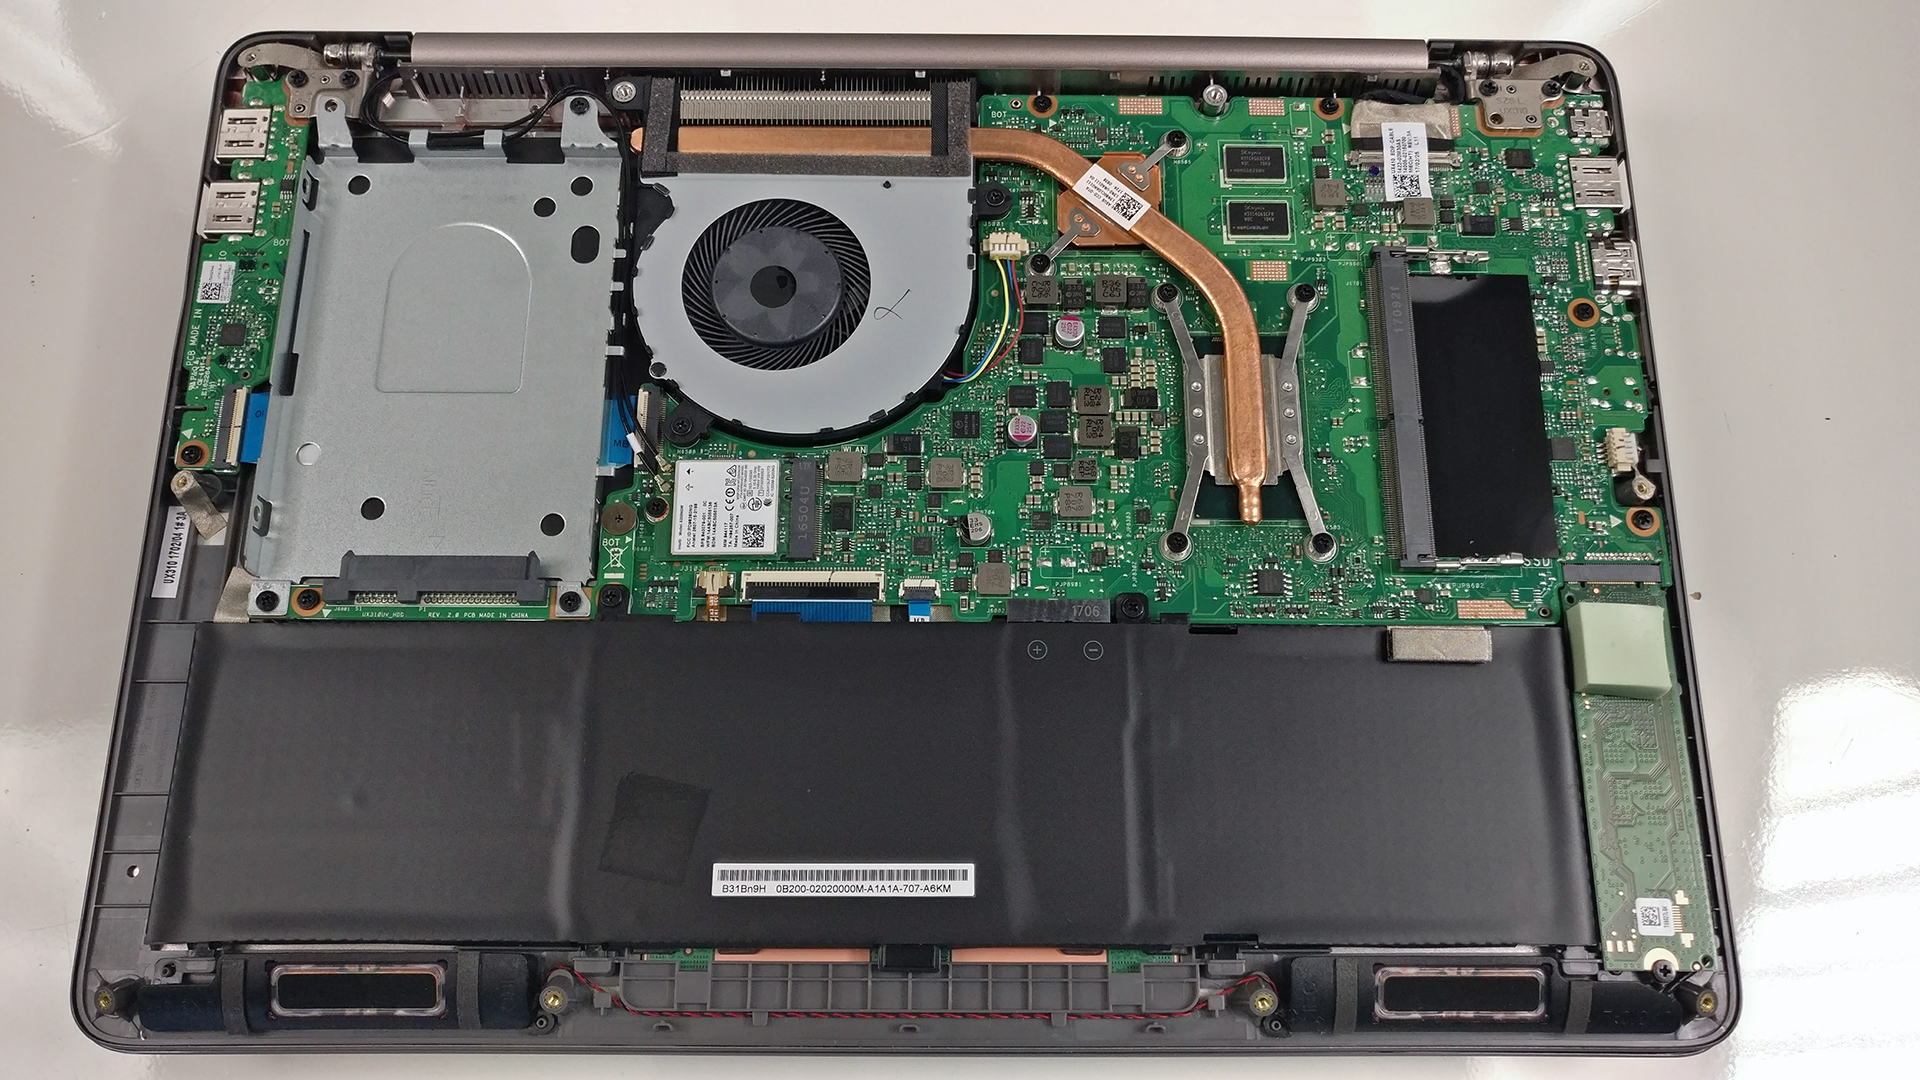
You have to remove all the screws around the bottom and then gently pry it up with some sort of thin plastic tool. This will reveal everything you’d want to access on the machine.
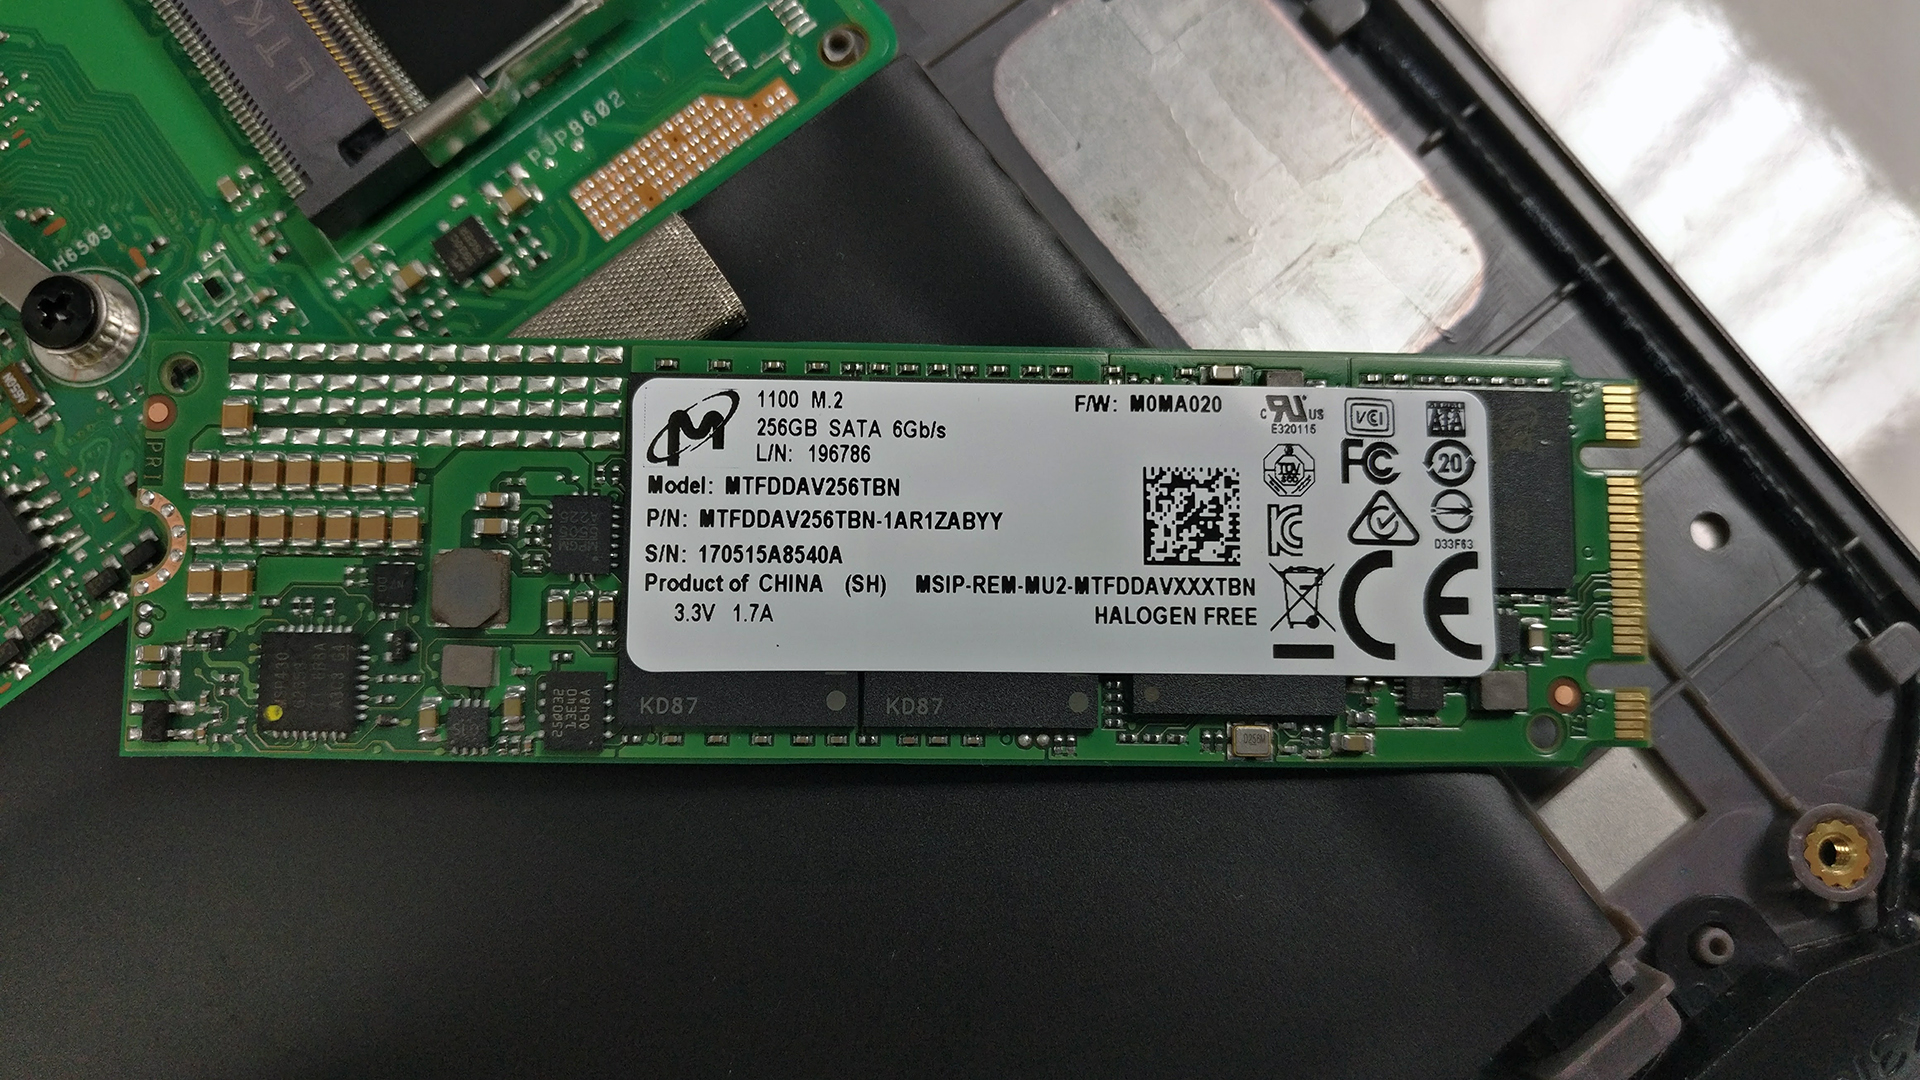
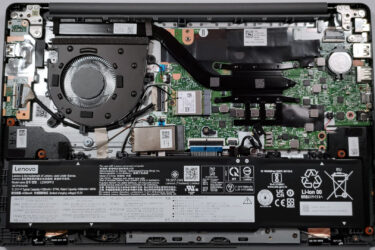
2. Storage
We were really impressed by the fact that this small 14-inch fellow crammed inside a typical 13-inch chassis, comes not only with an M.2 SSD slot but with a 2.5-inch drive bay as well. Our configuration featured only the M.2 SSD leaving the 2.5-inch slot empty. The SSD provided by ASUS was a Micron 256GB SATA SSD but the slot can handle PCIe NVMe SSD (2280) as well.
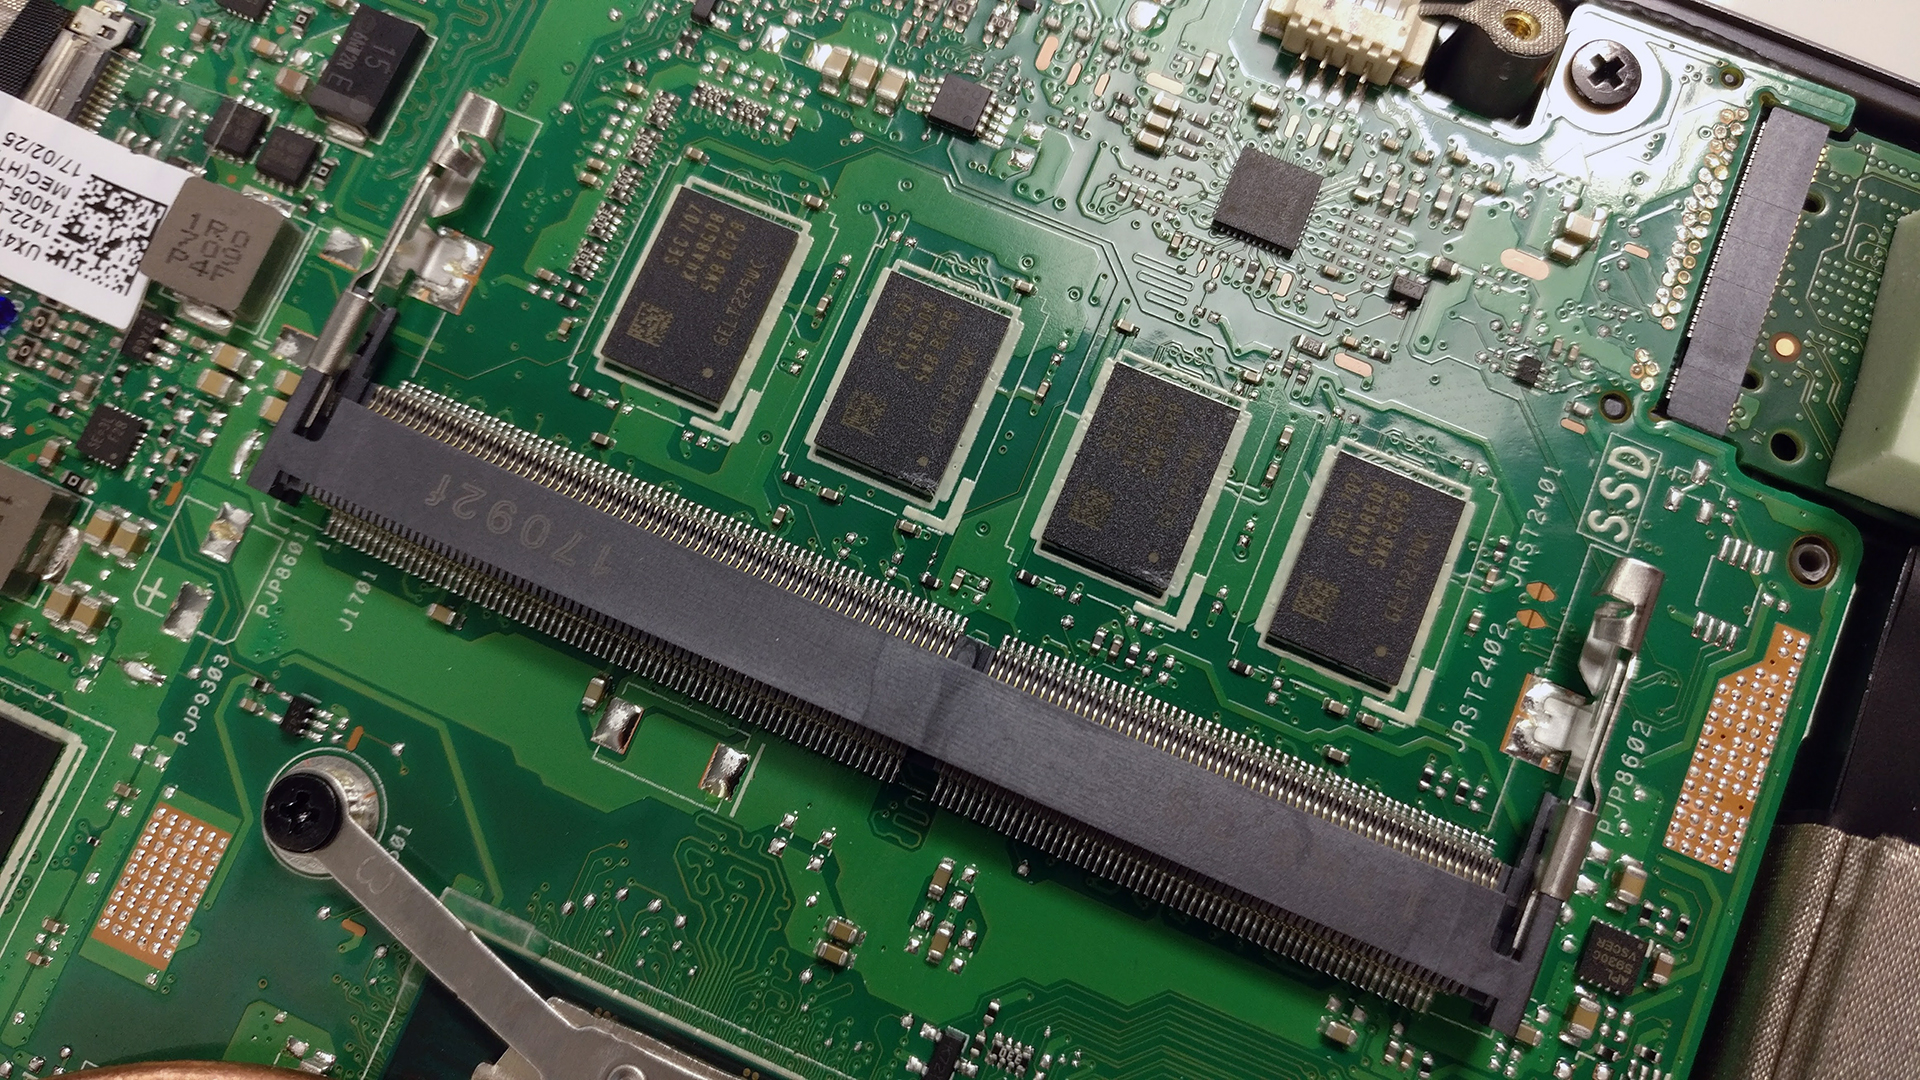
3. Memory, battery and Wi-Fi
As we move to the memory slots, we are surprised again by the empty RAM chip slot. It appears that the laptop comes with 8GB of DDR4-2400 soldered RAM and another slot available for an upgrade. It can be configured with another 16GB of DDR4 memory. Usually ultrabooks come only with soldered memory.
The most commonly found Intel 8260NGW Wi-Fi adapter is placed near the cooling fan.

The unit comes with 48Wh battery that appears to be more than enough according to our tests.

4. Cooling system
A single heat pipe connecting both heat sinks and the cooling fan takes care of the cooling. Pretty simple but not as effective as we would wish.

The full review of the ASUS ZenBook UX410UQ can be found here.
You can find the available models here: http://amzn.to/2eLeLI9


Asus UX410UQ seriously can held NVMe memory..? Sure..?