ASUS ROG Zephyrus M16 (GU604, 2023) review – gaming devices can’t really get any better
Disassembly, Upgrade options, and Maintenance
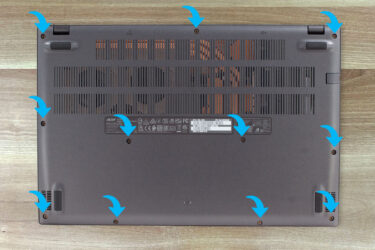
To get inside this device, you first need to remove a total of 7 rubber caps. Then, undo all 15 Phillips-head screws, and pry the bottom panel with a plastic tool. Start from the gap opened by the screw in the bottom left corner.
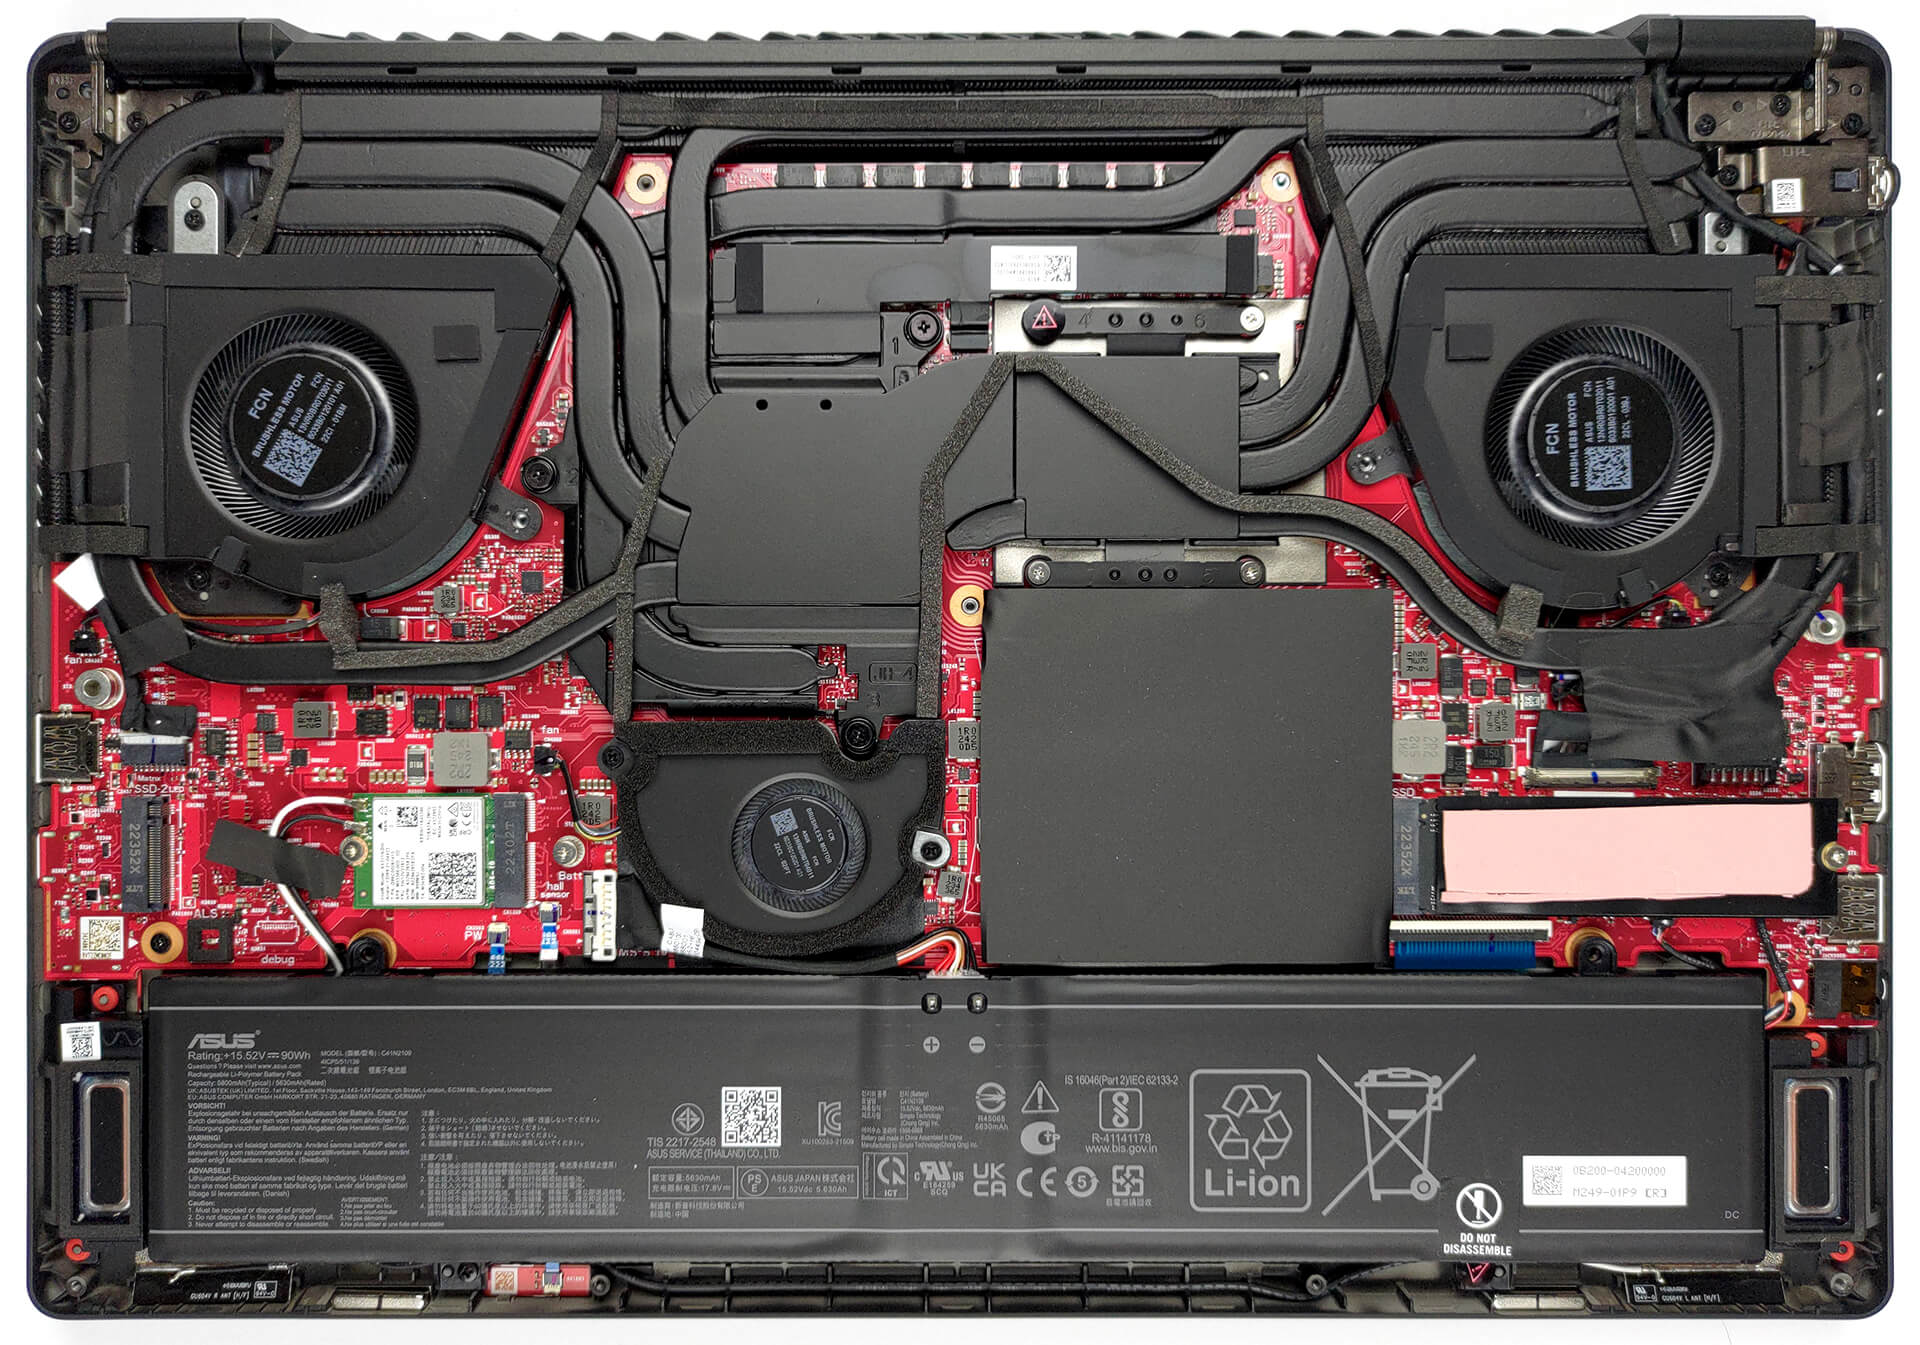
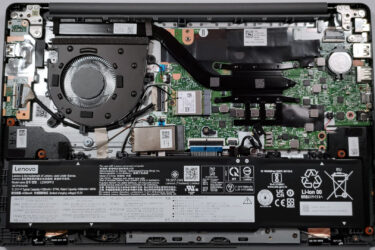
Here, we find a 90Wh battery. To remove it, unplug the battery connector from the motherboard, and undo the two Phillips-head screws, which mount the battery to the chassis.
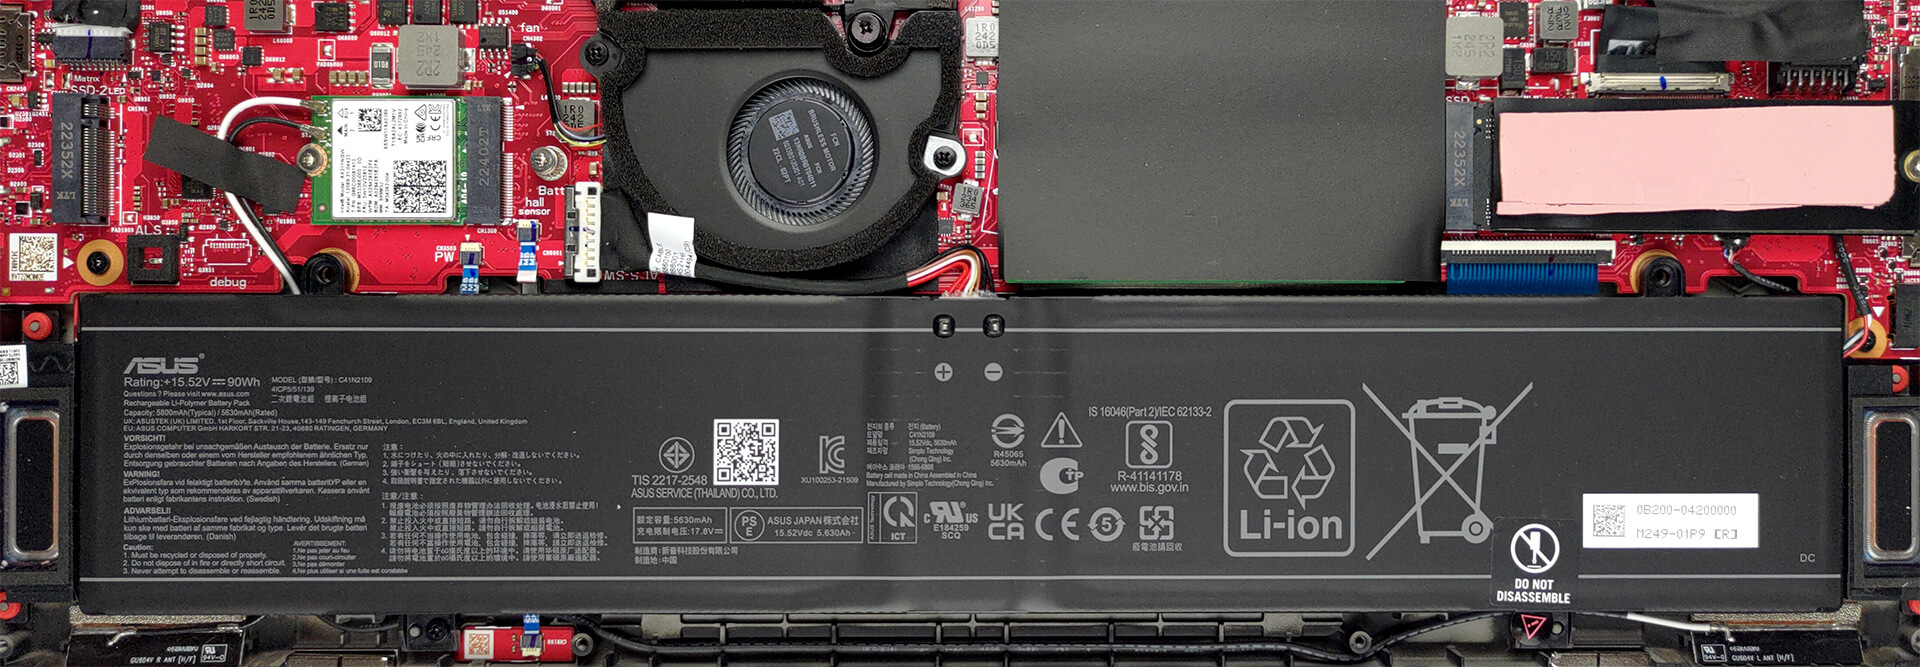
Underneath black insulation, you will find the two SODIMM slots. They work with DDR5 RAM and support a maximum total of 64GB. Then, there are the two M.2 PCIe x4 slots. They both support Gen 4 SSDs.

Cooling-wise, there are three heat pipes, shared between the CPU and the GPU. You get one more for each of them, which leads to a heat sink of its own. A sixth heat pipe deals with the VRMs and the graphics memory, while two fans blow through the four heat sinks. A system fan, located right above the battery runs some cool air through the final heat sink.