Inside Lenovo ThinkBook 13s – disassembly and upgrade options
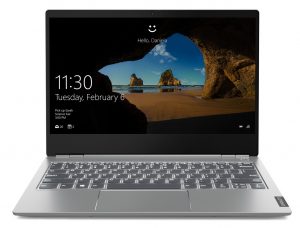
The ThinkBook 13s is a new addition to the Lenovo family. It looks like an interesting prospect that would sit somewhere between the ThinkPad and the Ideapad series. In this article, you’re going to see how to get access to the internals and how to eventually upgrade the device.
Check out all Lenovo ThinkBook 13s prices and configurations in our Specs System, or read our In-Depth review.
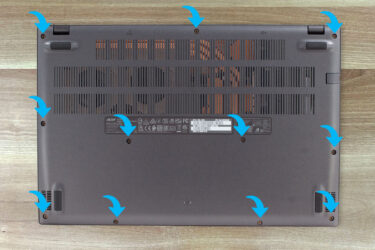
1. Remove the bottom plate
Lenovo has given 9 Torx screws (T5) the job of securing the bottom plate in place. Indeed, the Torxes are a little harder to find than the regular Phillips screwdriver that is sitting in every home. However, they are now more accessible than ever and you can buy it from almost every supermarket. So after you undo the screws comes the tricky part. Shoving your plastic pry tool between the bottom plate and the body. We recommend starting from the front-facing edges, as we found it easier to go from there.
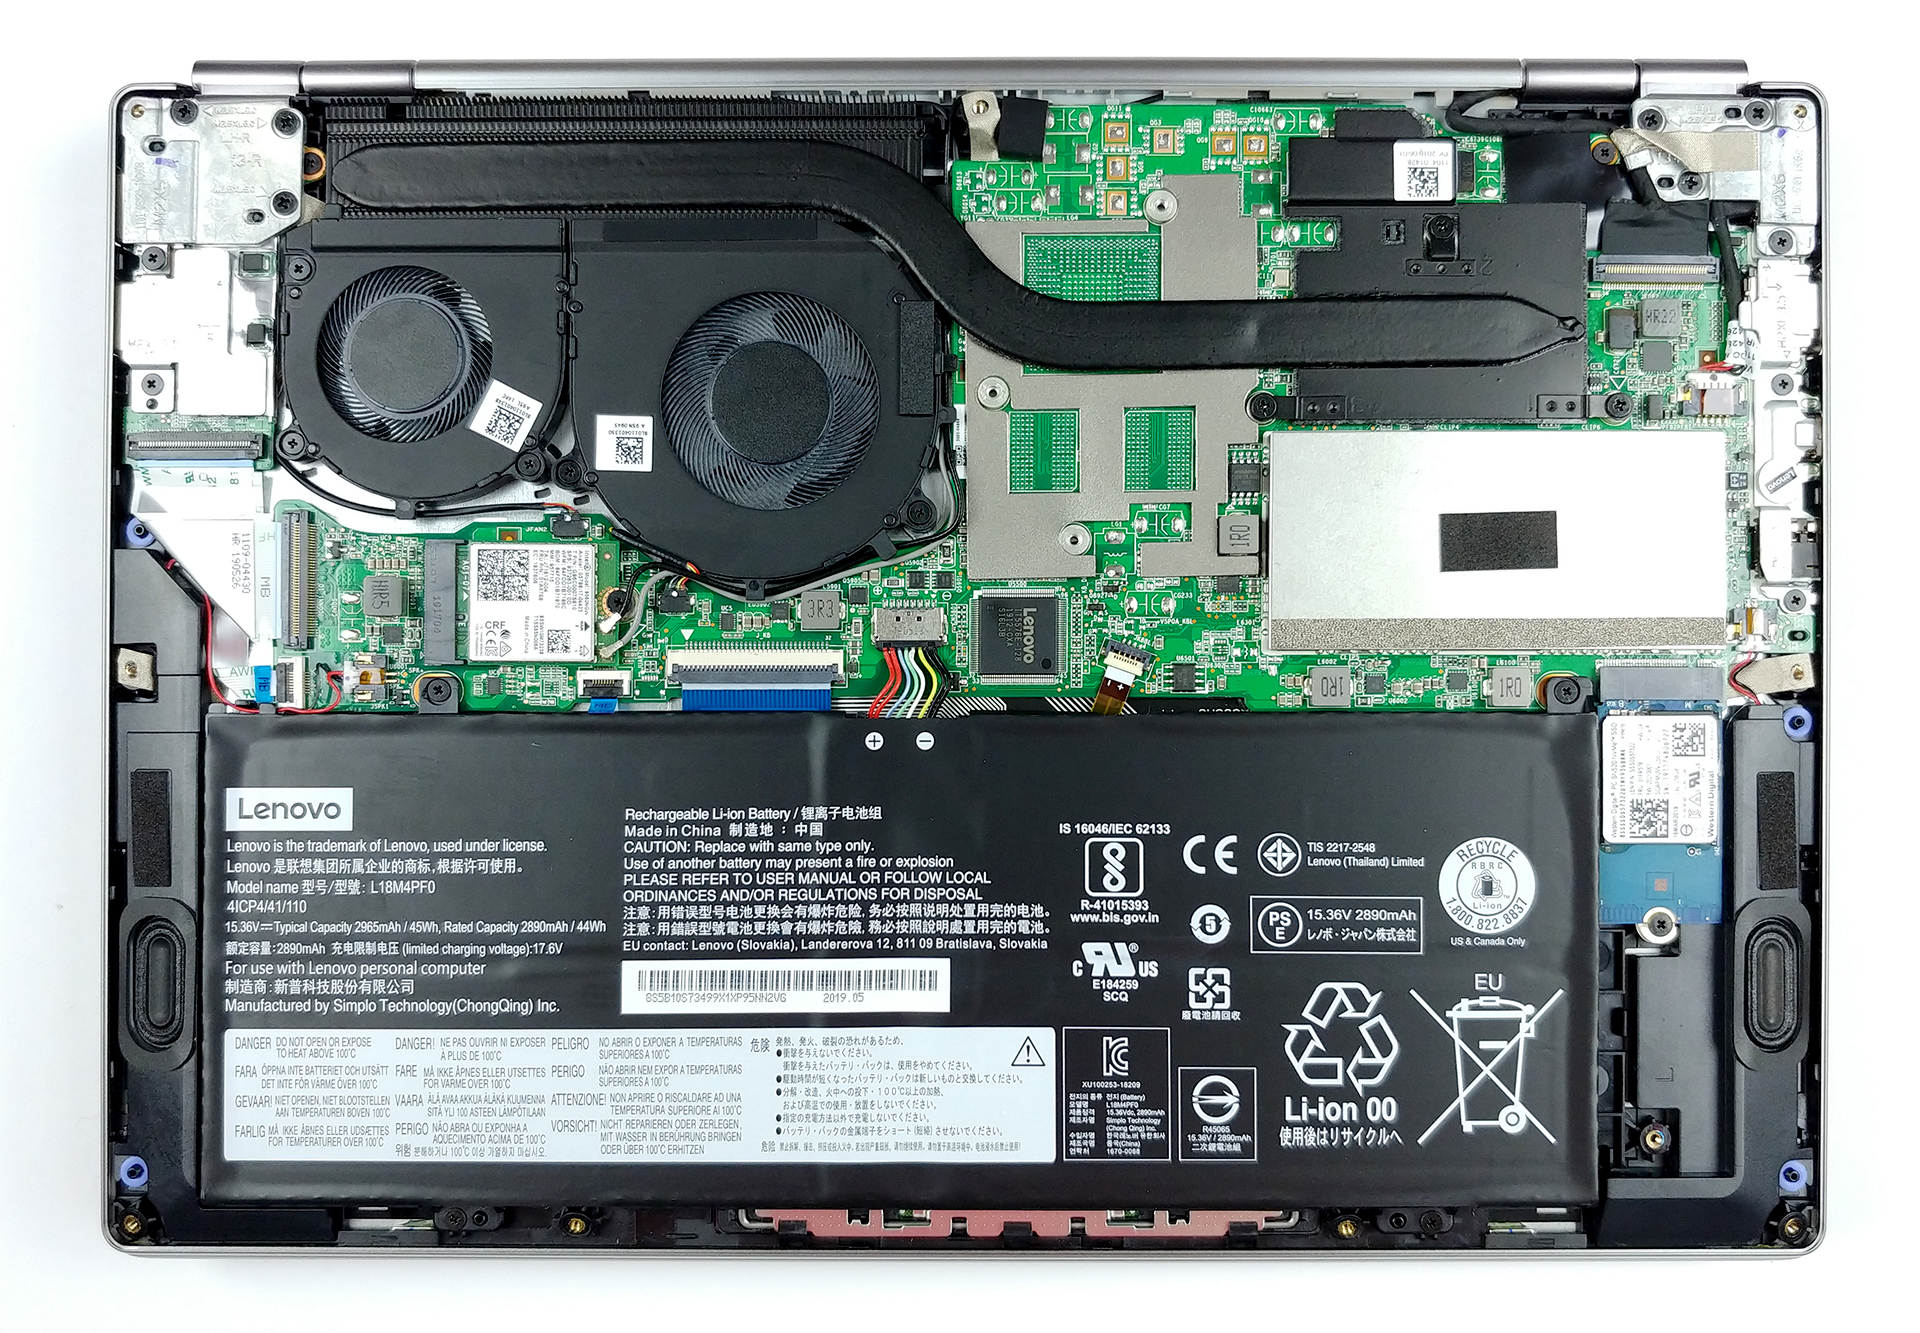
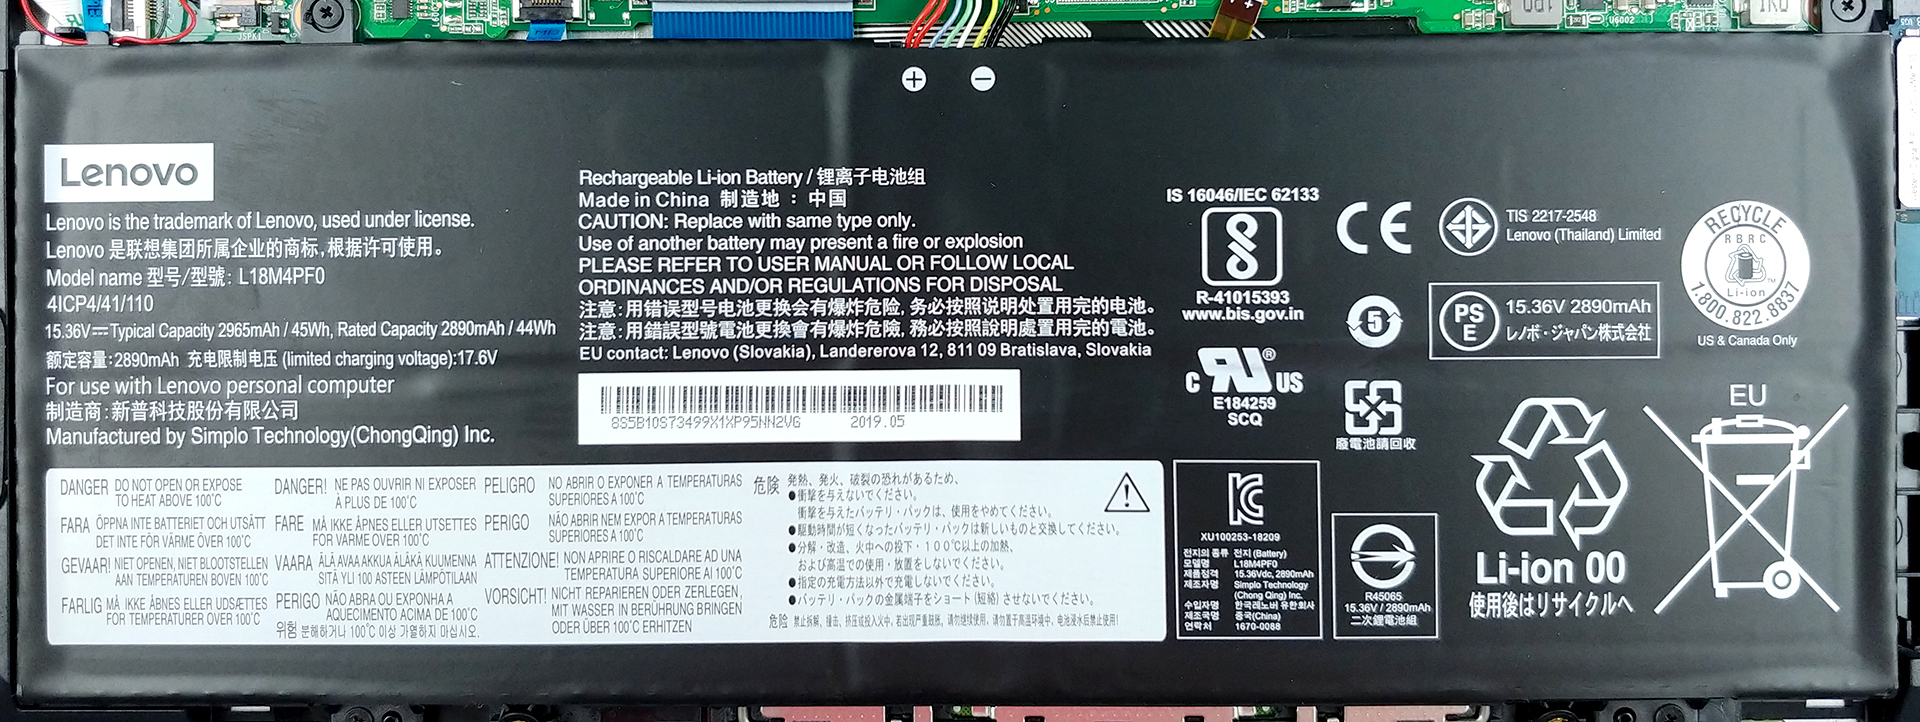
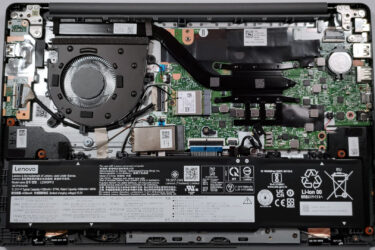
2. Battery
After you’ve opened up the laptop you need to unplug the battery connector. Eventually, if you need to change the battery itself, you have to remove the four Phillips-head screws out of the way. Only then you would be able to remove the 45Wh package. Speaking of the size of the battery, despite it takes half of the area inside of the laptop, it is not one of the biggest out there. However, we managed to get pretty impressive battery life out of it – more than 10 hours and a half of Web browsing and around 9 hours and a half of video playback.
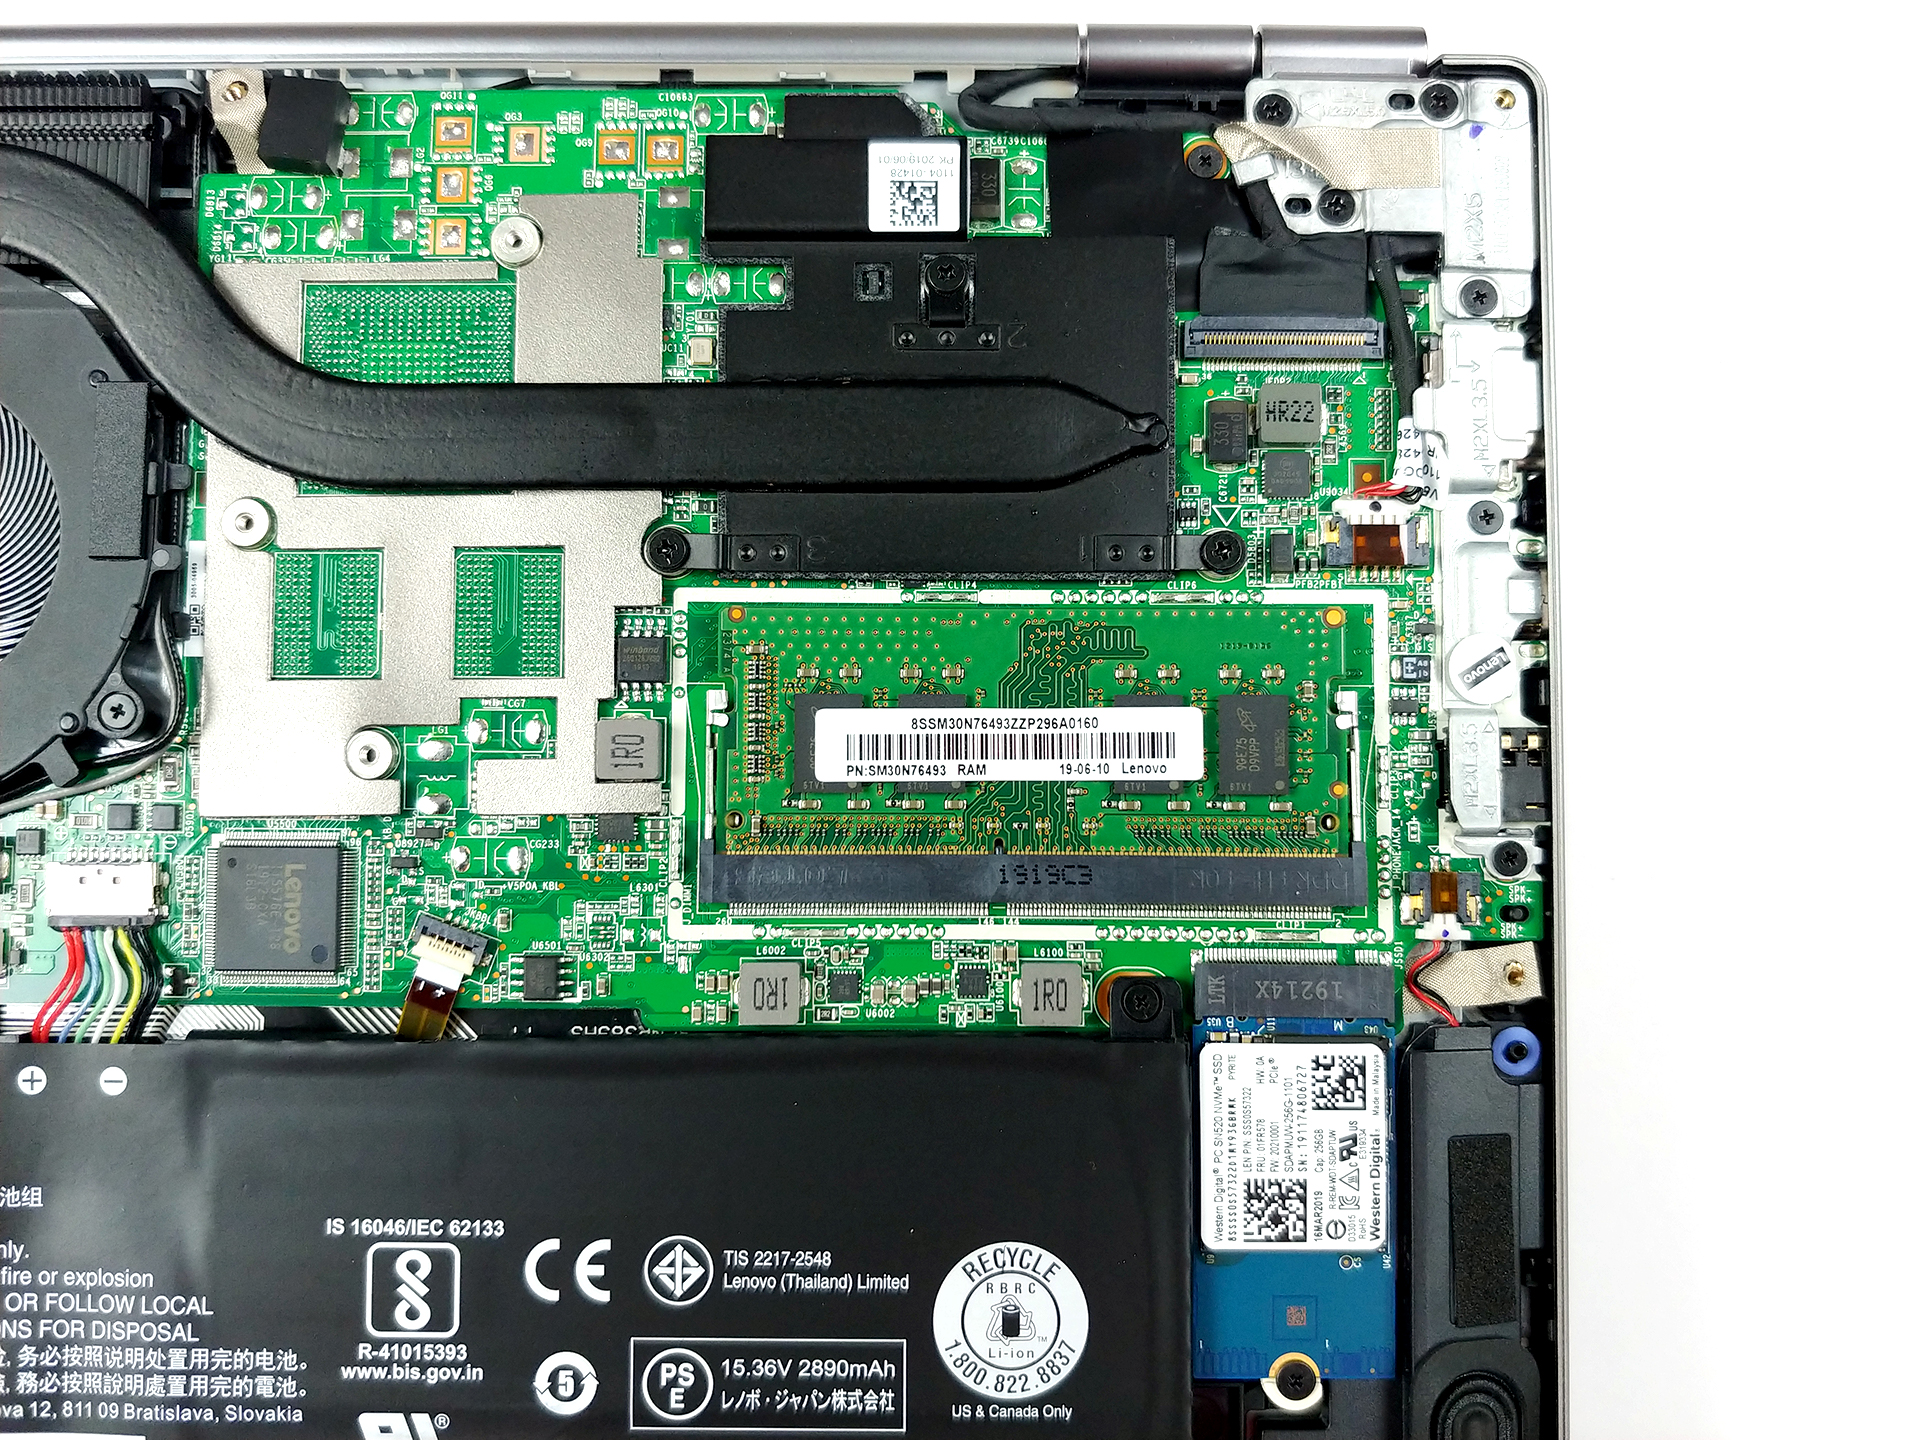
3. Memory and storage
In order to keep the package tight, Lenovo had to deal with some compromises. It only has one RAM DIMM (but yet, it still has one), and there is no 2.5″ SATA drive slot. On the bright side, there is an M.2 slot with NVMe support.
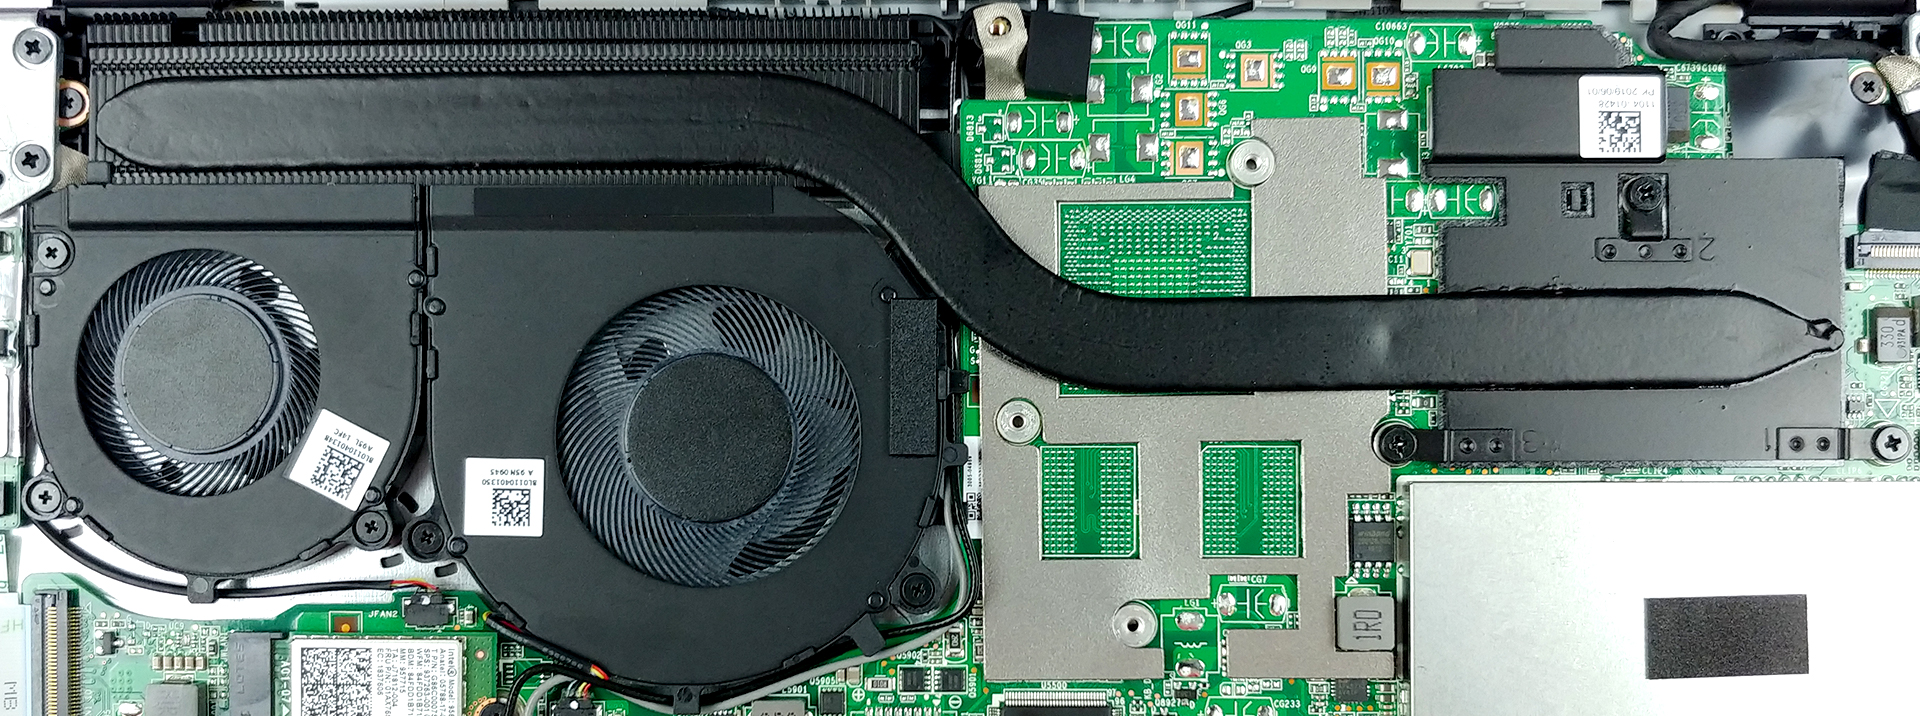
4. Cooling system
Here is where the ThinkBook 13s caught us by surprise – It has two fans that cool down that exceptionally long heatsink in a design similar to the Acer Nitro 5. However, Lenovo has put fans with different diameters, with the bigger one being the closest to the processor. Interestingly, the manufacturer has gone for only one heat pipe. On the bright side, it is quite bulky. After all, keep in mind we’re dealing with an ultrabook – not a large power-hungry gaming beast.
Check out all Lenovo ThinkBook 13s prices and configurations in our Specs System, or read our In-Depth review.


Please advise if you have a video how to replace keyboard on the Lenovo Thinkbook 13s