Inside Lenovo ThinkPad X1 Carbon 7th Gen – disassembly and upgrade options
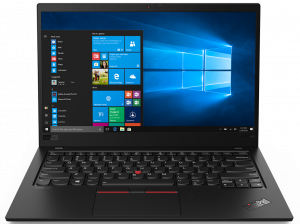
From the two ThinkPad X1 series, the Carbon is the smaller and the lighter one. In contrast to the Extreme edition, it incorporates ULV processors, which are a lot more efficient but provide quite less performance.
Check out all Lenovo ThinkPad X1 Carbon 7th Gen prices and configurations in our Specs System or read more in our In-Depth review.

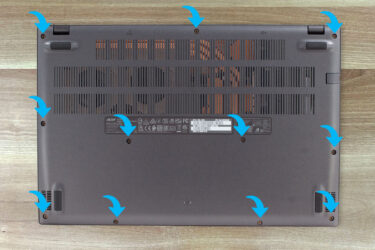
1. Remove the bottom plate
Thankfully, this notebook’s bottom panel is held only by five Phillips-head screws. After you remove them, pry the back of the panel with a plastic tool and then just lift it up.
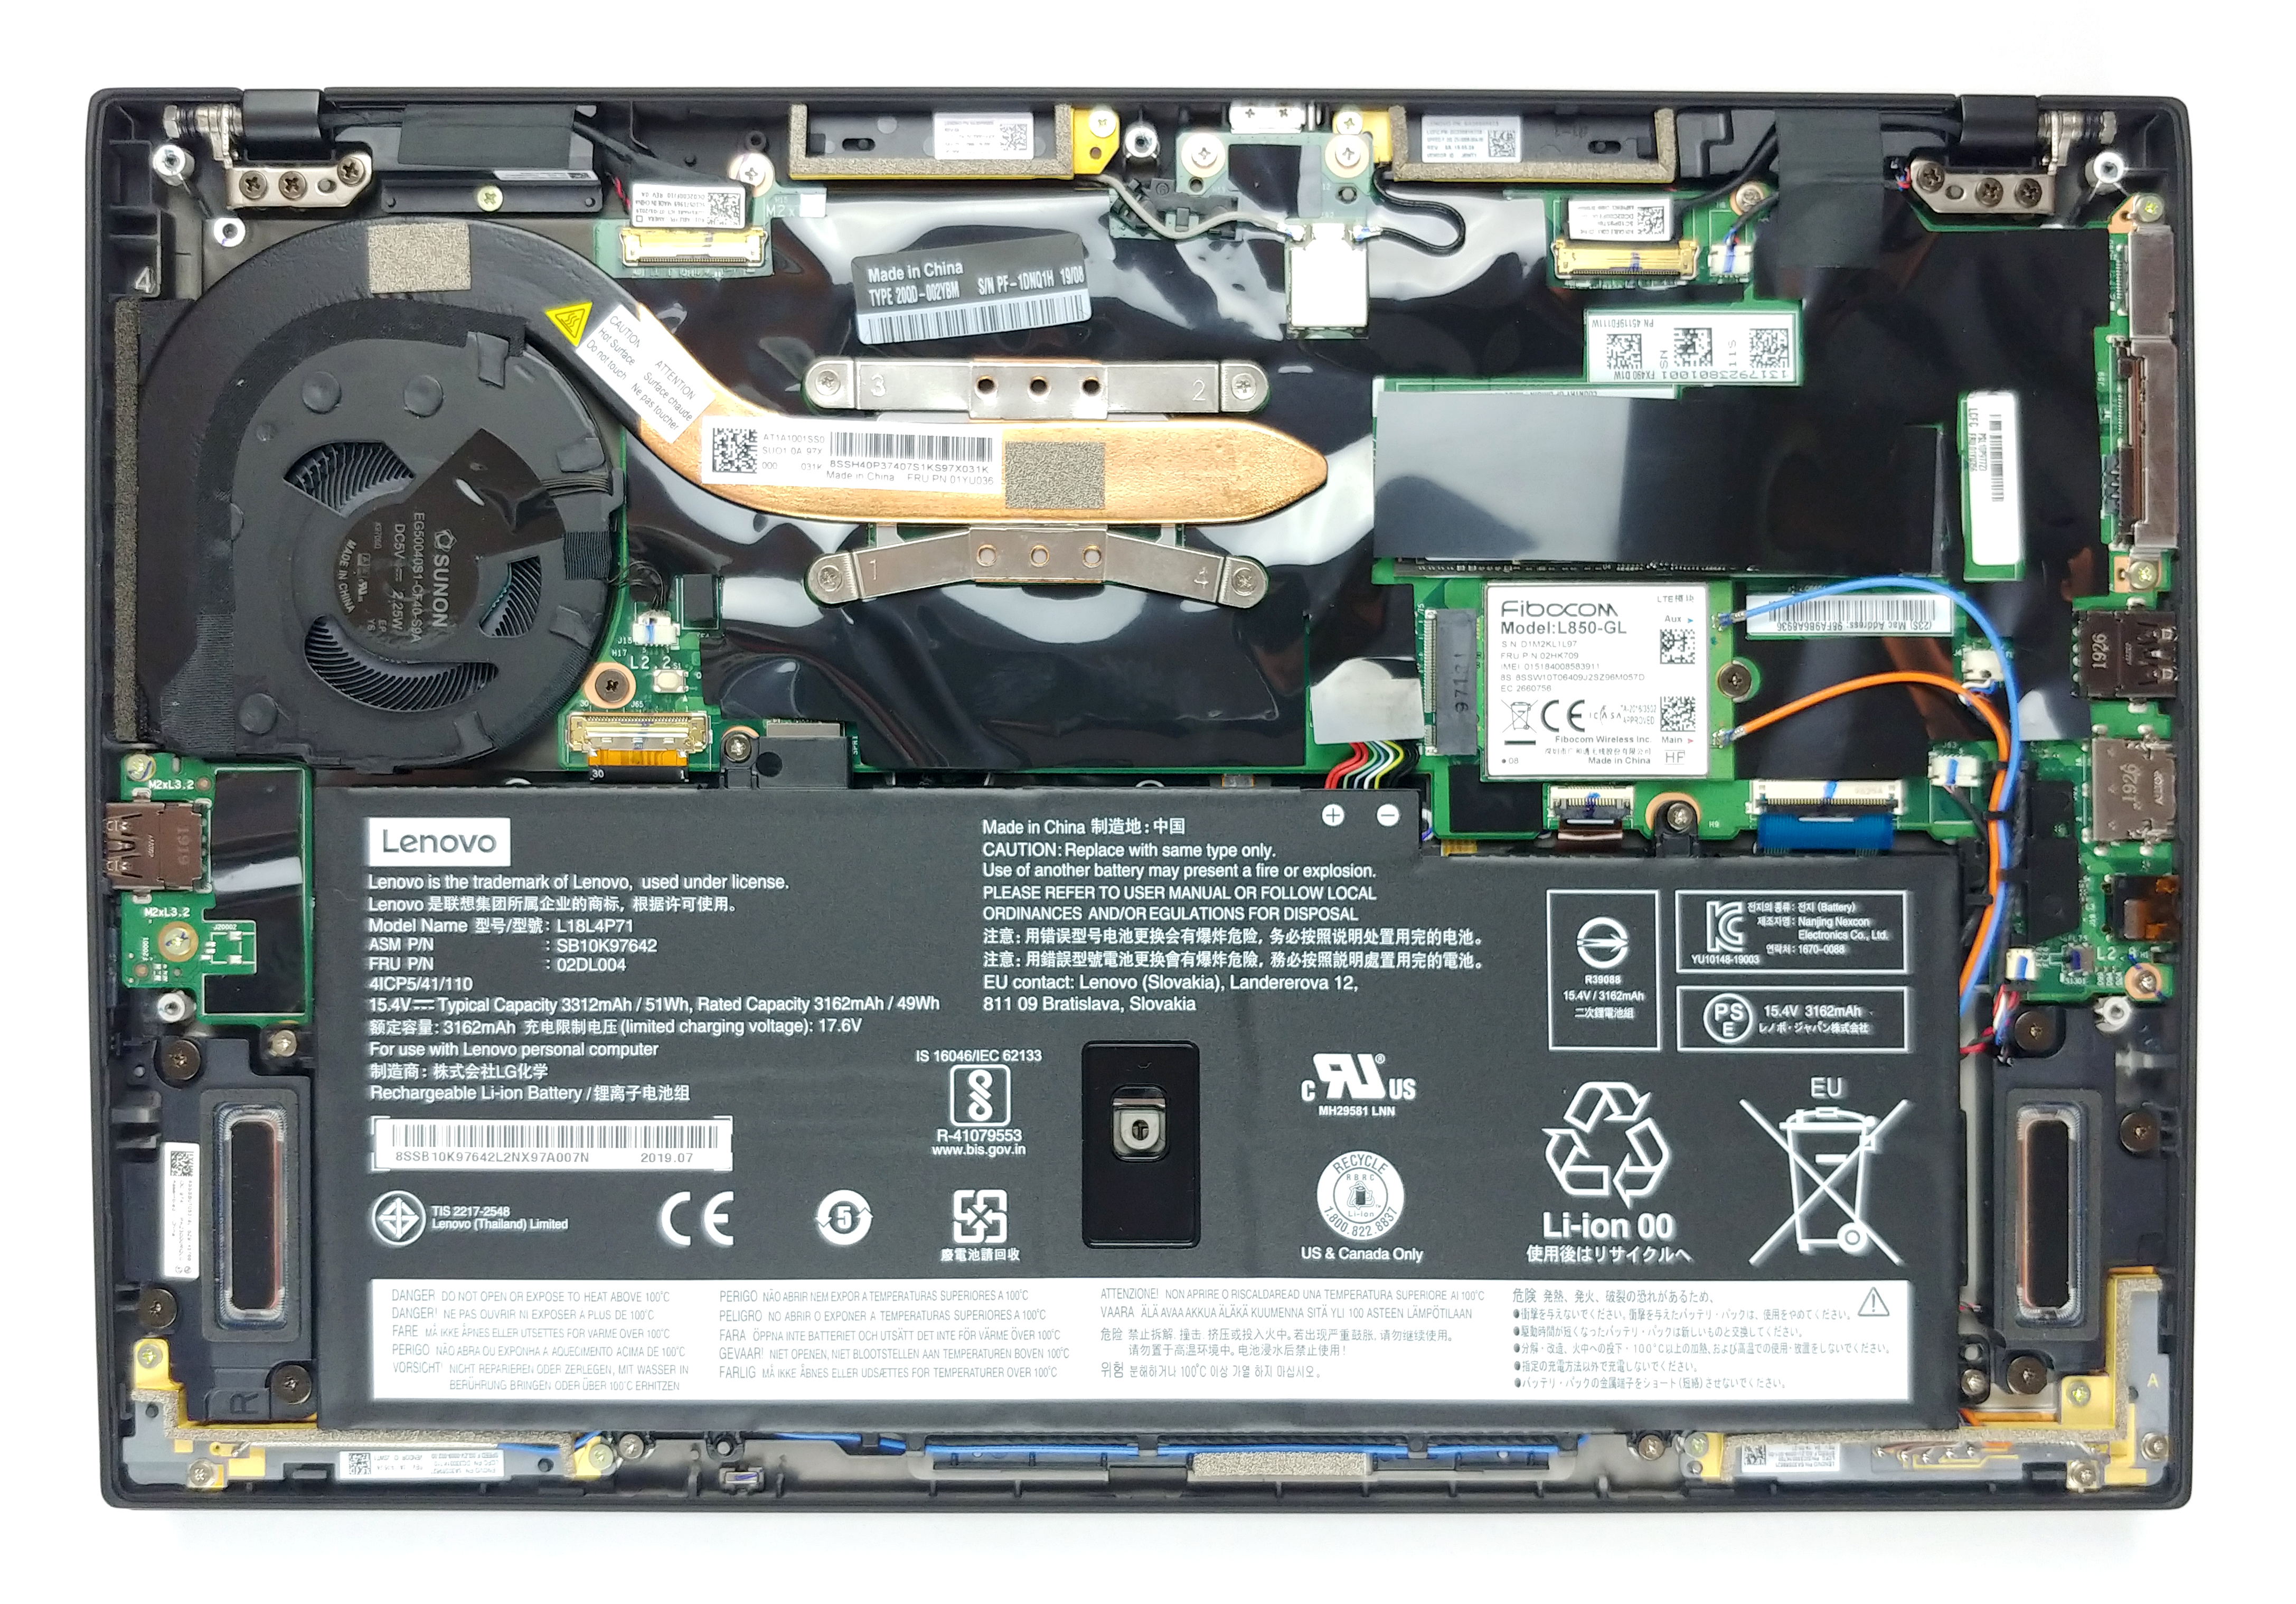
2. Battery
Given the energy-efficient hardware, Lenovo has put a 51Wh unit inside – a significant downgrade from the 80Wh, seen on the Extreme edition. There are 6 screws that mount the battery onto the chassis. Additionally, you would want to unplug the connector from the motherboard.

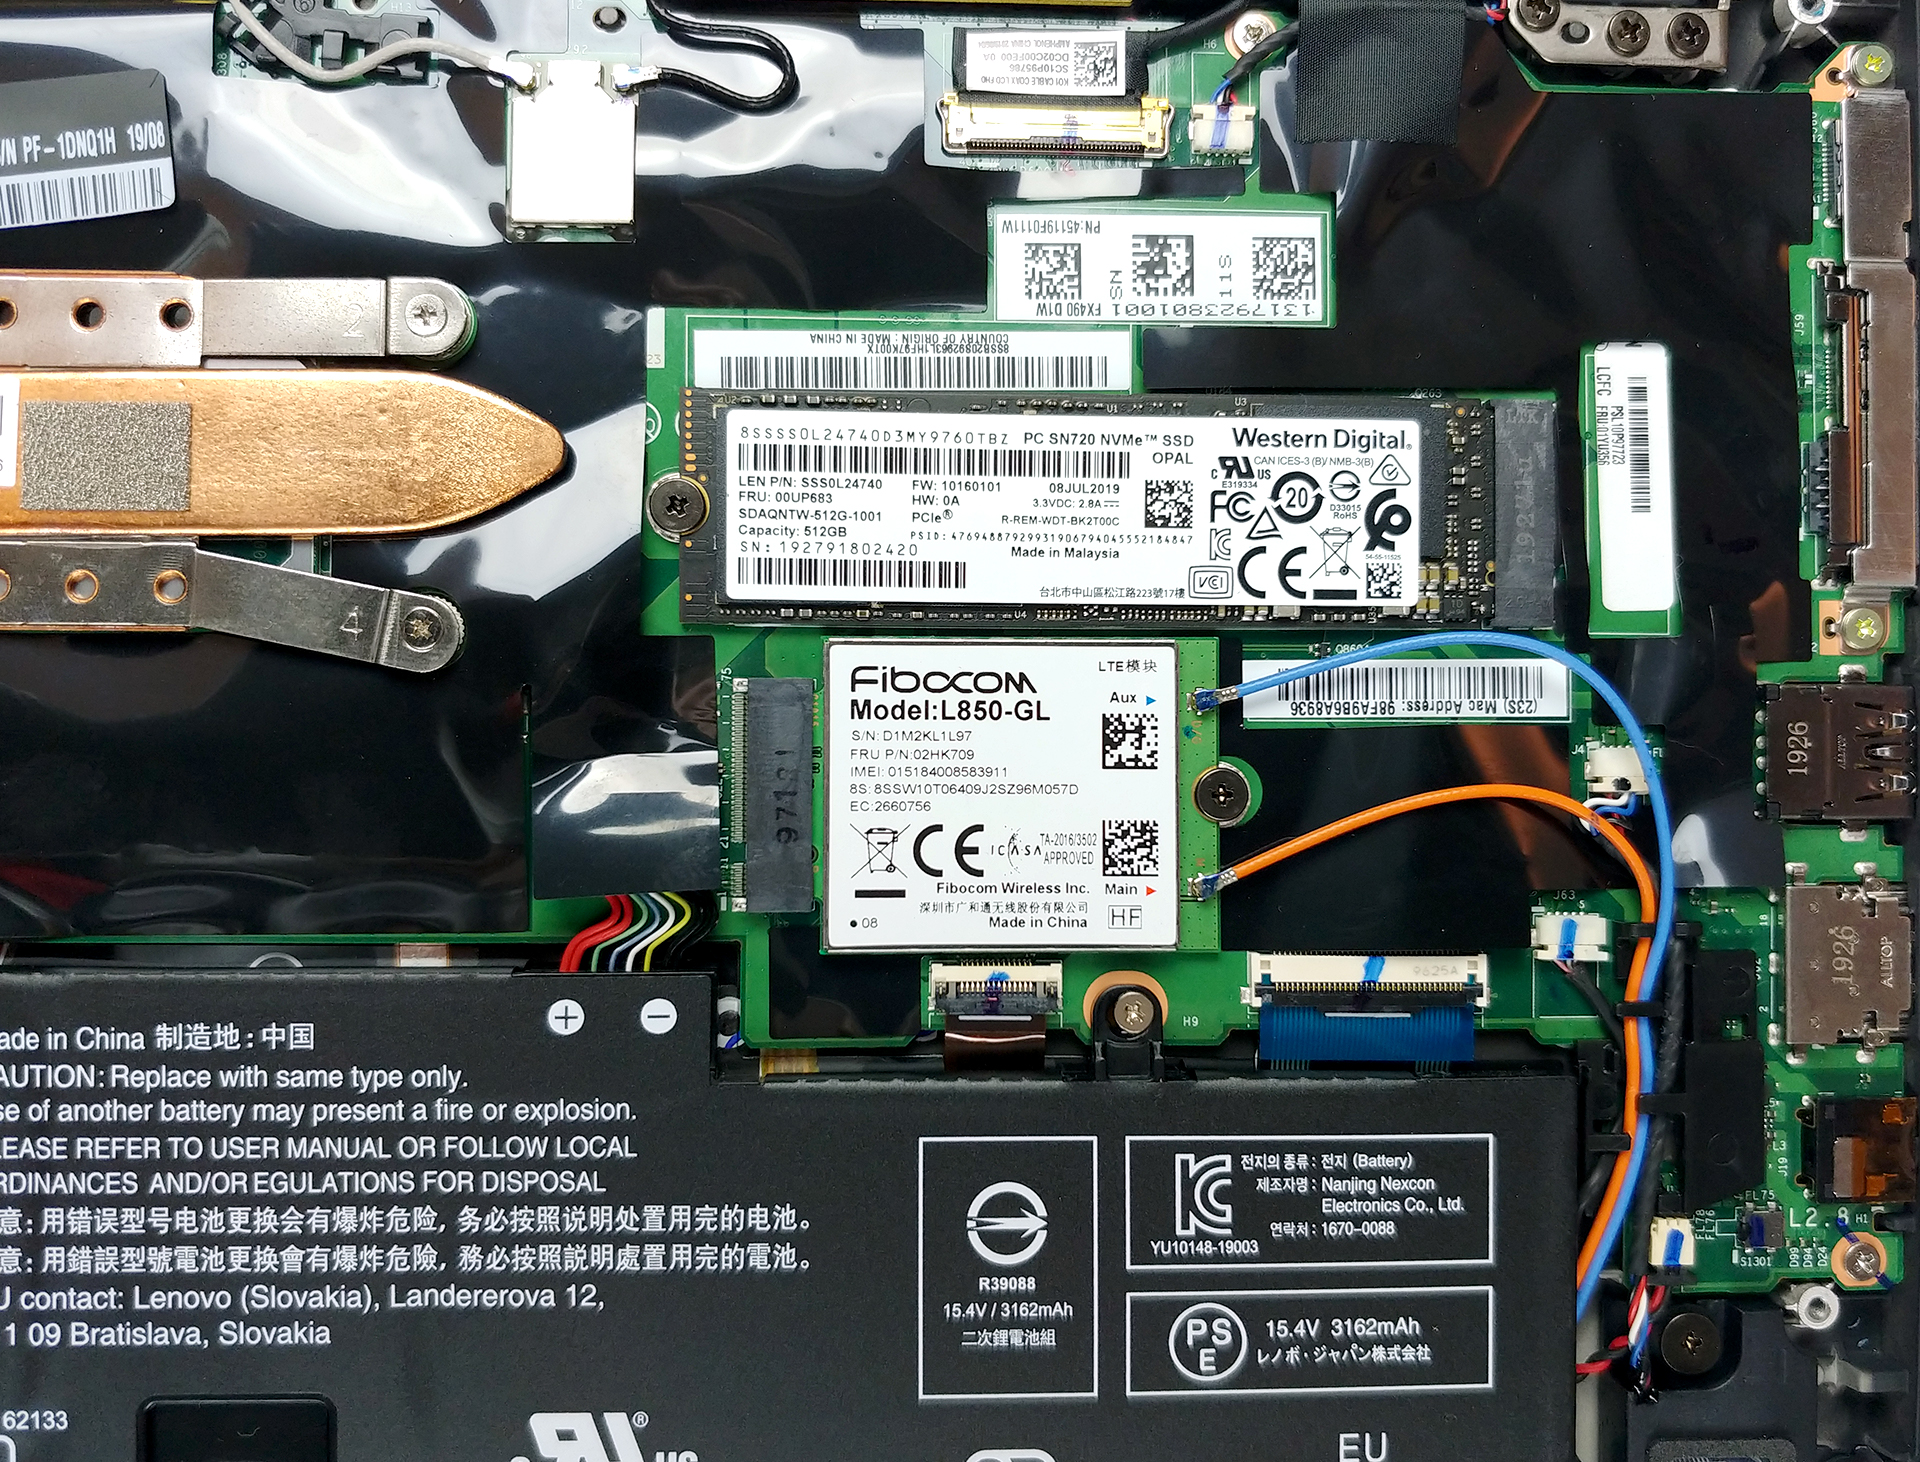
3. Memory and storage
Sadly, but yet kind of expectedly, you won’t be able to upgrade the memory on this laptop. The only thing you have access to is the storage, which represents an M.2 PCIe x4 slot.
4. Cooling system
As you can see, the cooling features a super bulky heat pipe – something rarely seen on 13-inch ultrabooks. Other than that, the setup is pretty standard.

Check out all Lenovo ThinkPad X1 Carbon 7th Gen prices and configurations in our Specs System or read more in our In-Depth review.