Inside Lenovo ThinkBook Plus – disassembly and upgrade options
A second display and good upgradability? That sounds like a great deal.
Check out all Lenovo ThinkBook Plus prices and configurations in our Specs System or read more in our In-Depth review.

1. Remove the bottom plate
This device’s bottom panel is held in place by 9 Torx-head screws. After you undo them, you have to pry the panel away with a plastic tool. The easiest way to start is from around the hinges.
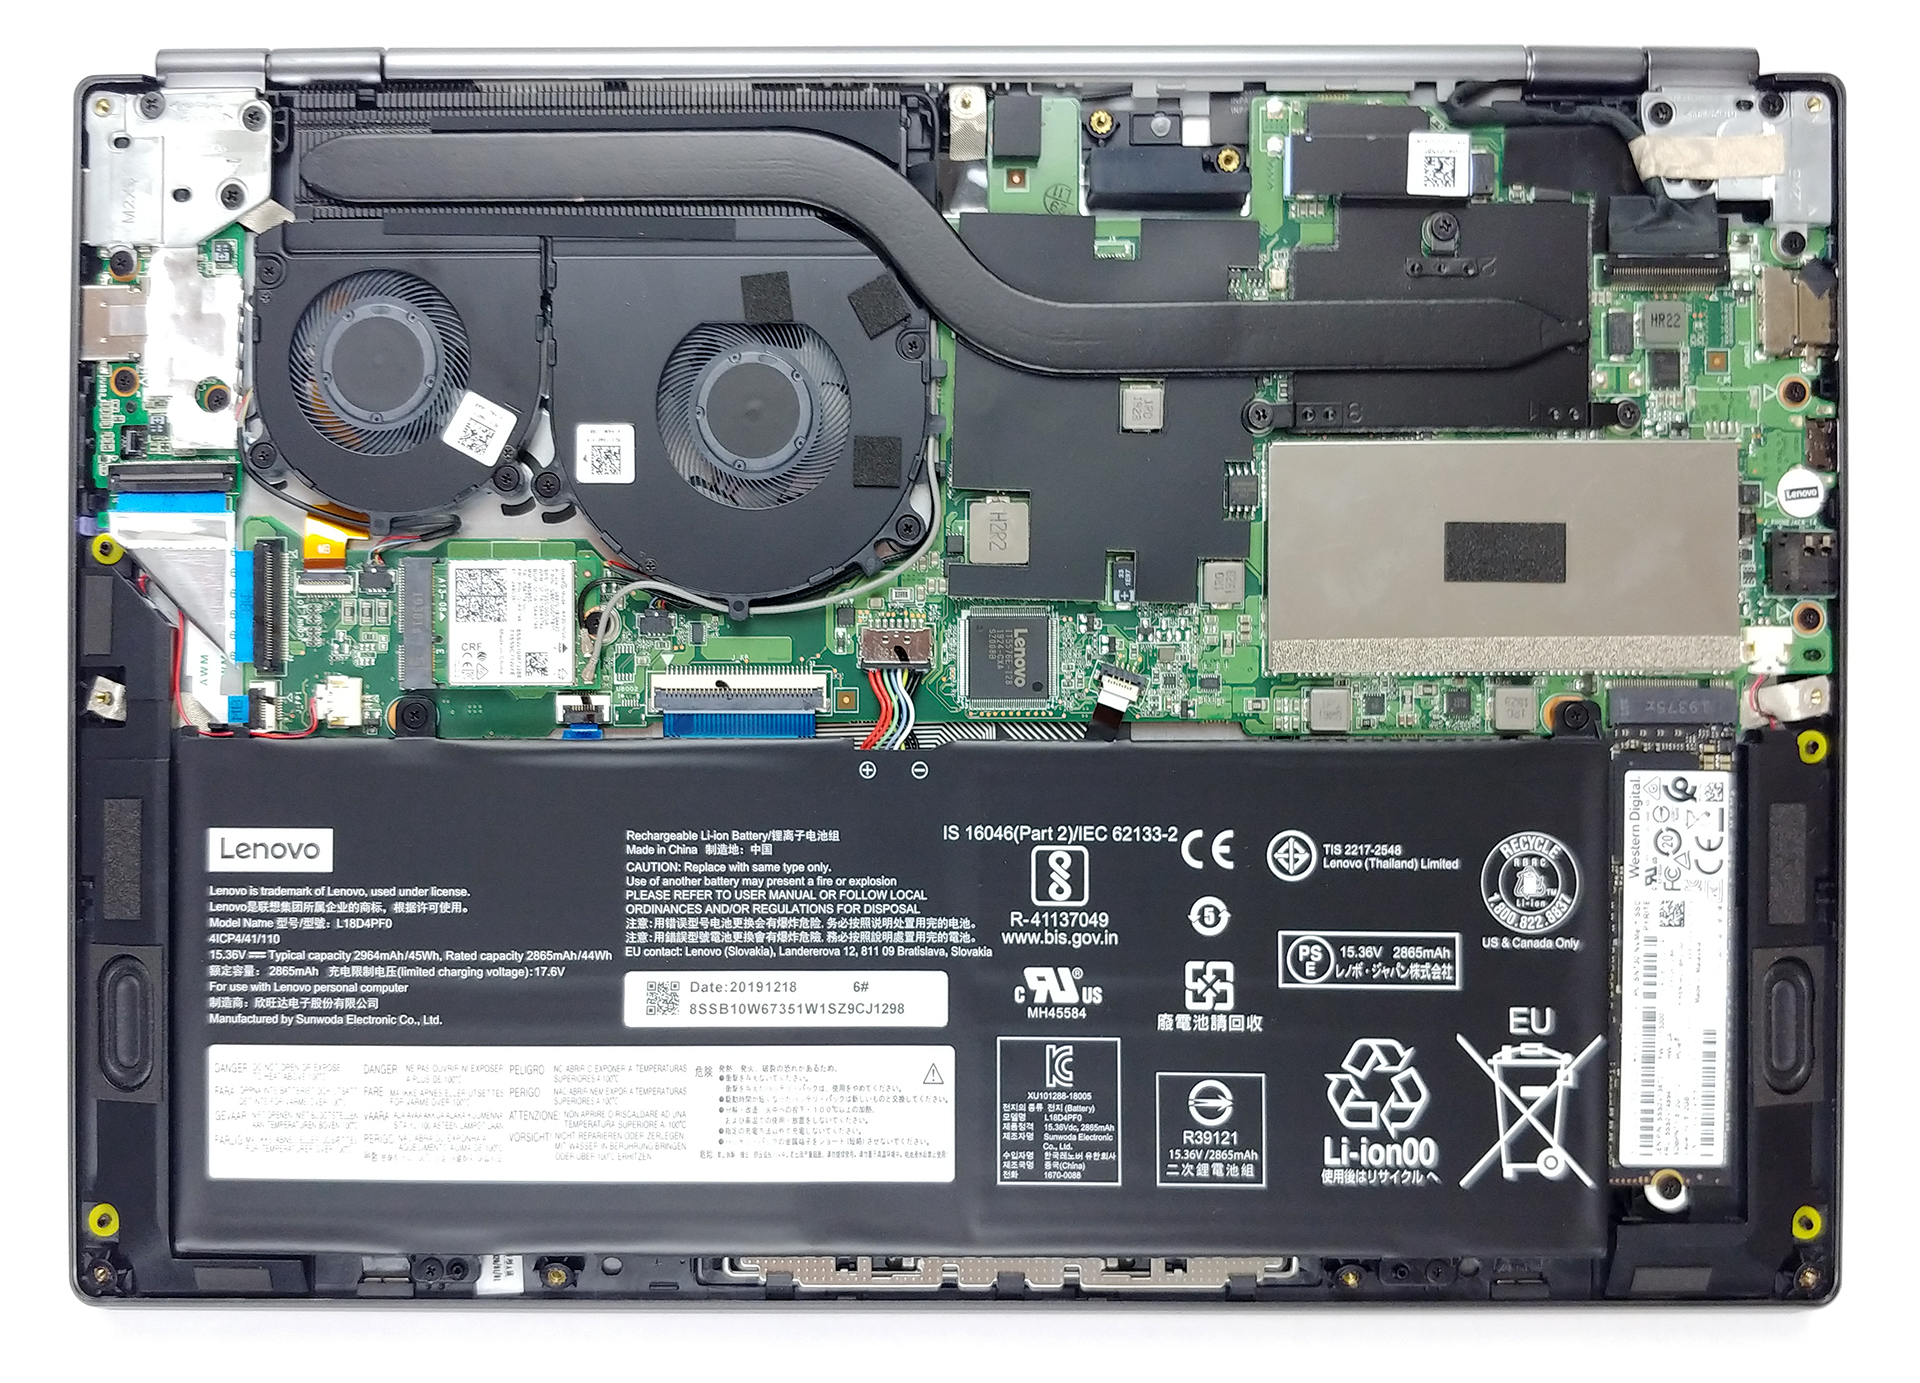
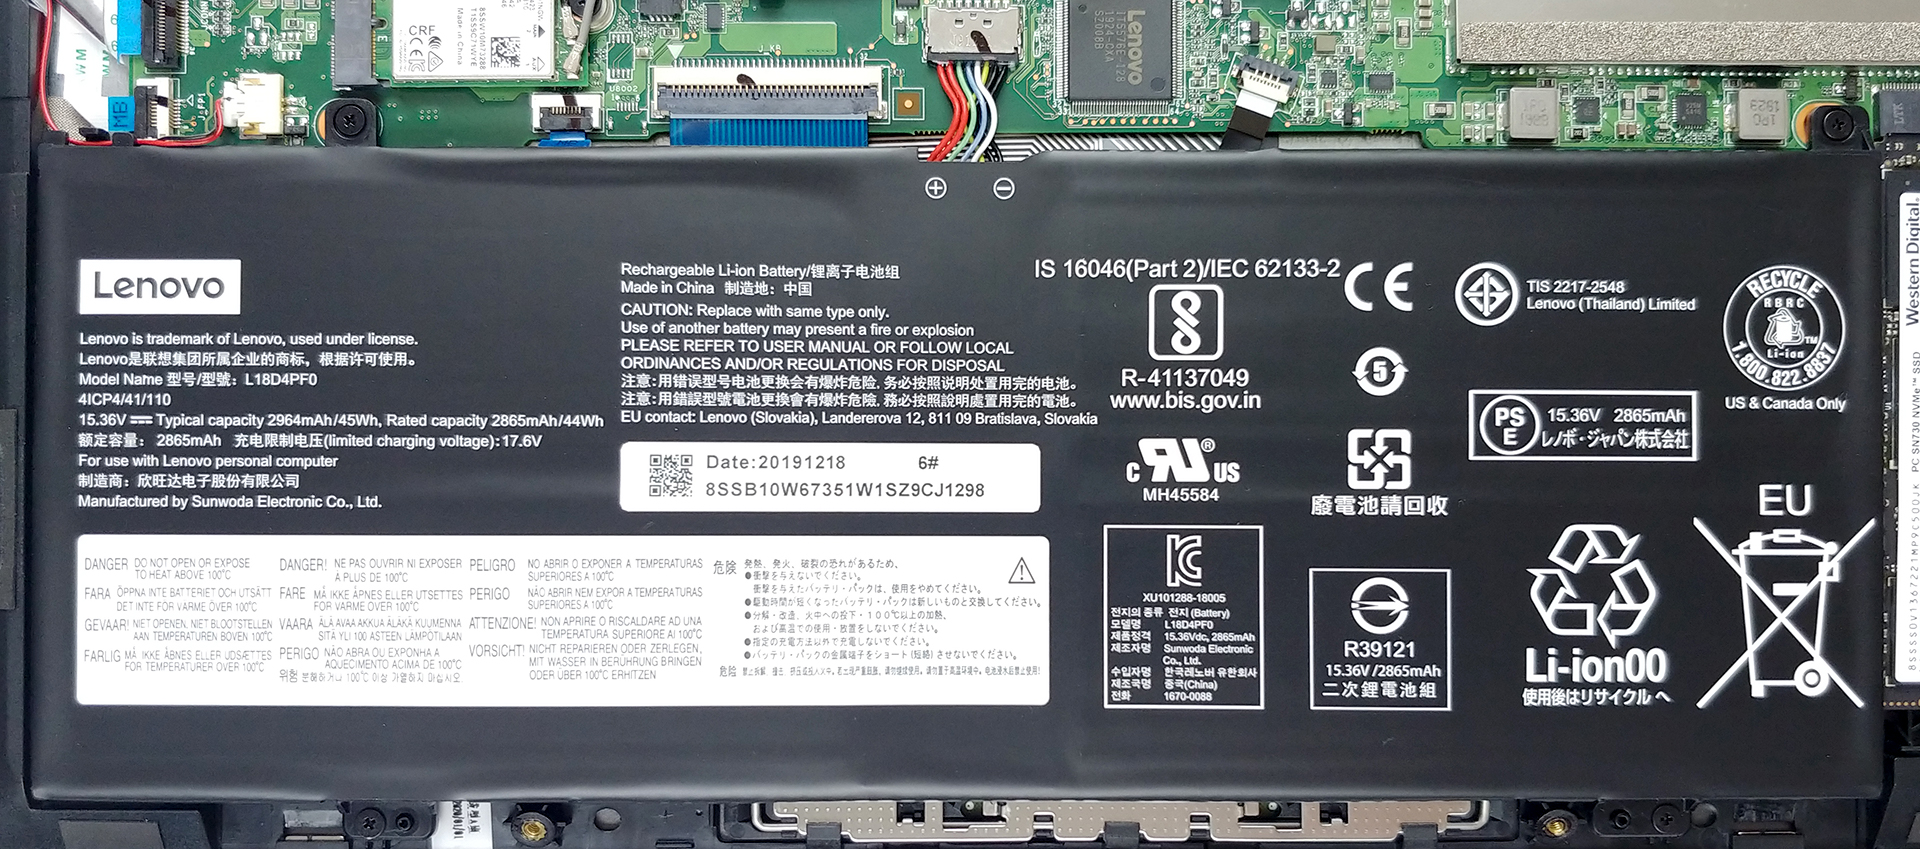
2. Battery
In terms of battery, this laptop is equipped with a 45Wh unit.
3. Memory and storage
Quite frankly we weren’t expecting to see upgradable memory, but thankfully, Lenovo has provided a single RAM SODIMM slot, which supports up to 16GB of DDR4 memory, ticking at 2666 MHz. Storage-wise, there is a single M.2 PCIe x4 slot.

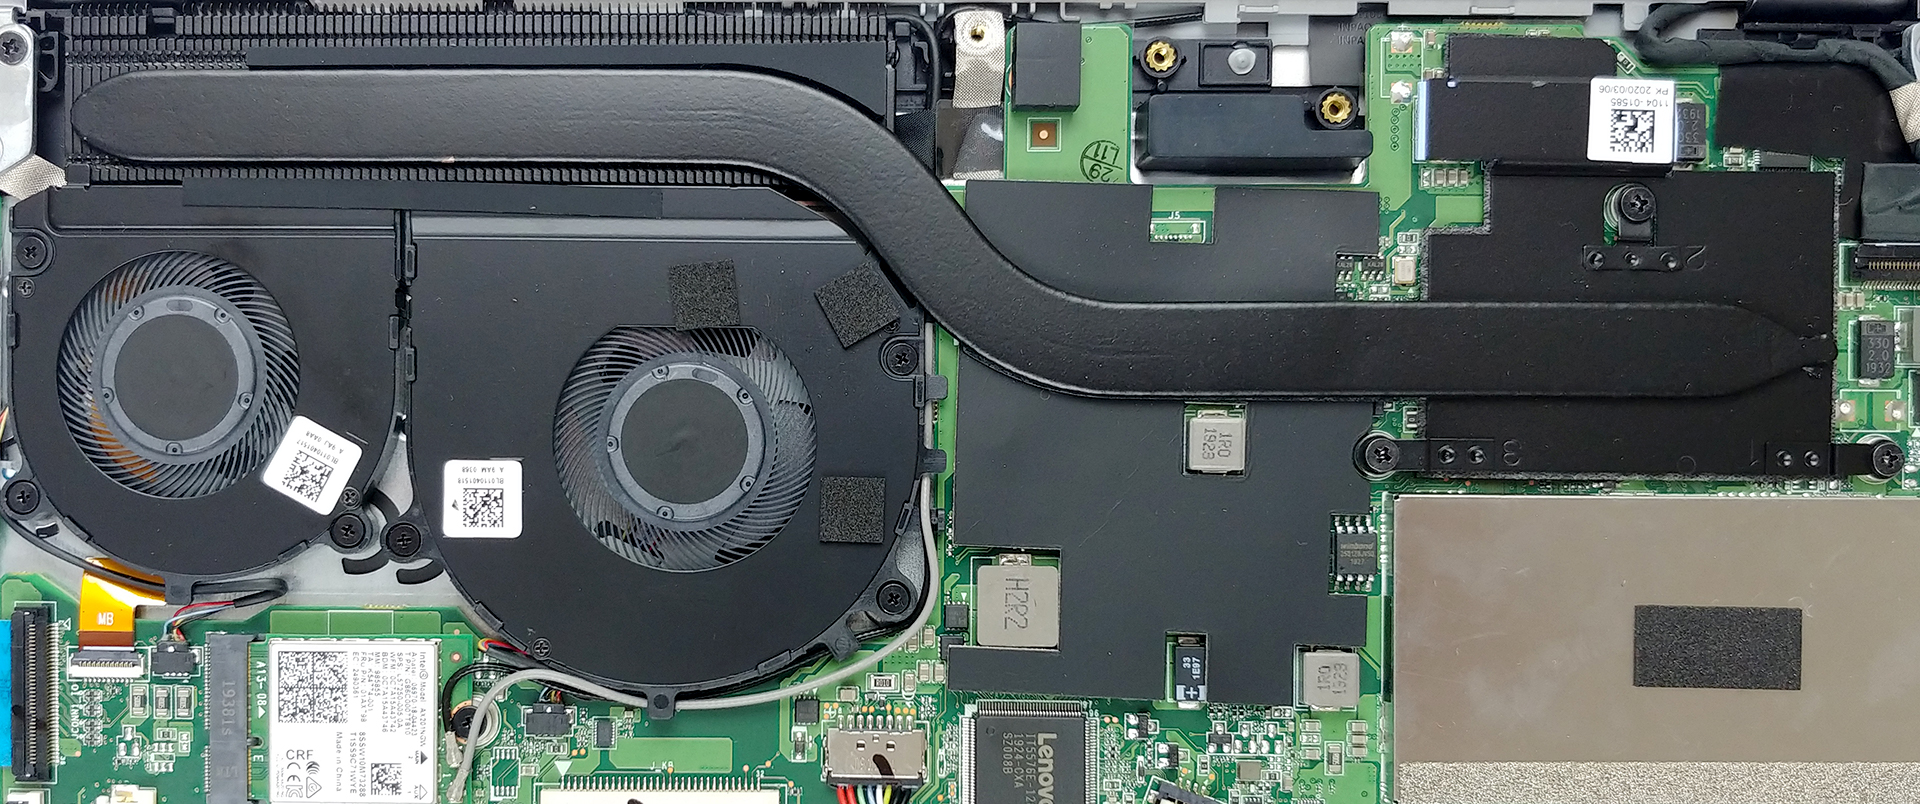
4. Cooling system
As you can see, the cooling comprises two fans, a thick heat pipe, and a rather long heat sink.
Check out all Lenovo ThinkBook Plus prices and configurations in our Specs System or read more in our In-Depth review.


![[juni 2026] Bestverkochte laptopmerken op Amazon Global – Apple’s ongeëvenaarde dominantie in aantal verkochte exemplaren en omzet](https://laptopmedia.com/wp-content/uploads/2026/07/GLOBAL-Best-Brands-400x225.jpg)
![[juni 2026] Amazon Global: Top 10 bestverkochte laptops – De nieuwe MacBook Neo van Apple stormt naar de eerste plaats en zet de markt op zijn kop dankzij zijn betaalbaarheid](https://laptopmedia.com/wp-content/uploads/2026/07/Best-Selling-Laptops-GLOBAL-Top-10-400x225.jpg)
![[juni 2026] Amazon Global: Top 10 van best verkochte gaminglaptops – De Nitro V 16S AI van Acer domineert de verkoopcijfers, terwijl ASUS qua totale omzet aan kop gaat](https://laptopmedia.com/wp-content/uploads/2026/07/Best-Selling-Gaming-Laptops-GLOBAL-Top-10-400x225.jpg)
![[juni 2026] Wereldwijde ranglijst van bestverkochte laptop-GPU’s op Amazon – De NVIDIA RTX 5060 is de bestverkochte speciale GPU](https://laptopmedia.com/wp-content/uploads/2026/07/Best-Selling-GPUs-GLOBAL-Top-10-400x225.jpg)
![[juni 2026] Wereldwijde ranglijst van bestverkochte laptop-CPU’s op Amazon – Apple M5 domineert, AMD Ryzen 7 260 verovert een stevig aandeel in het premiumsegment](https://laptopmedia.com/wp-content/uploads/2026/07/Best-Selling-CPUs-GLOBAL-Top-10-400x225.jpg)
