How to open MSI Thin A15 B7V – disassembly and upgrade options

How to open the bottom panel
- Shut down the laptop completely and unplug the charger and all peripherals.
- Place the notebook upside down on a soft, clean surface to avoid scratching the lid.
- Undo the twelve Phillips-head screws that secure the bottom panel.
- There are no hidden screws or warranty stickers, but keep track of the screw positions for easier reassembly.
- Starting from one of the side edges, insert a thin plastic pry tool between the panel and the chassis and gently release the clips.
- Work slowly around the perimeter. The clips can be tight, so apply even pressure and avoid twisting the tool.
- Leave the hinge side for last — it will pop free once the other clips are released.
- Lift the bottom panel away from the chassis and set it aside.
Hint: If a section feels stuck, move a few centimeters away and try again instead of forcing the same point — this reduces the risk of cracking the plastic.
Battery
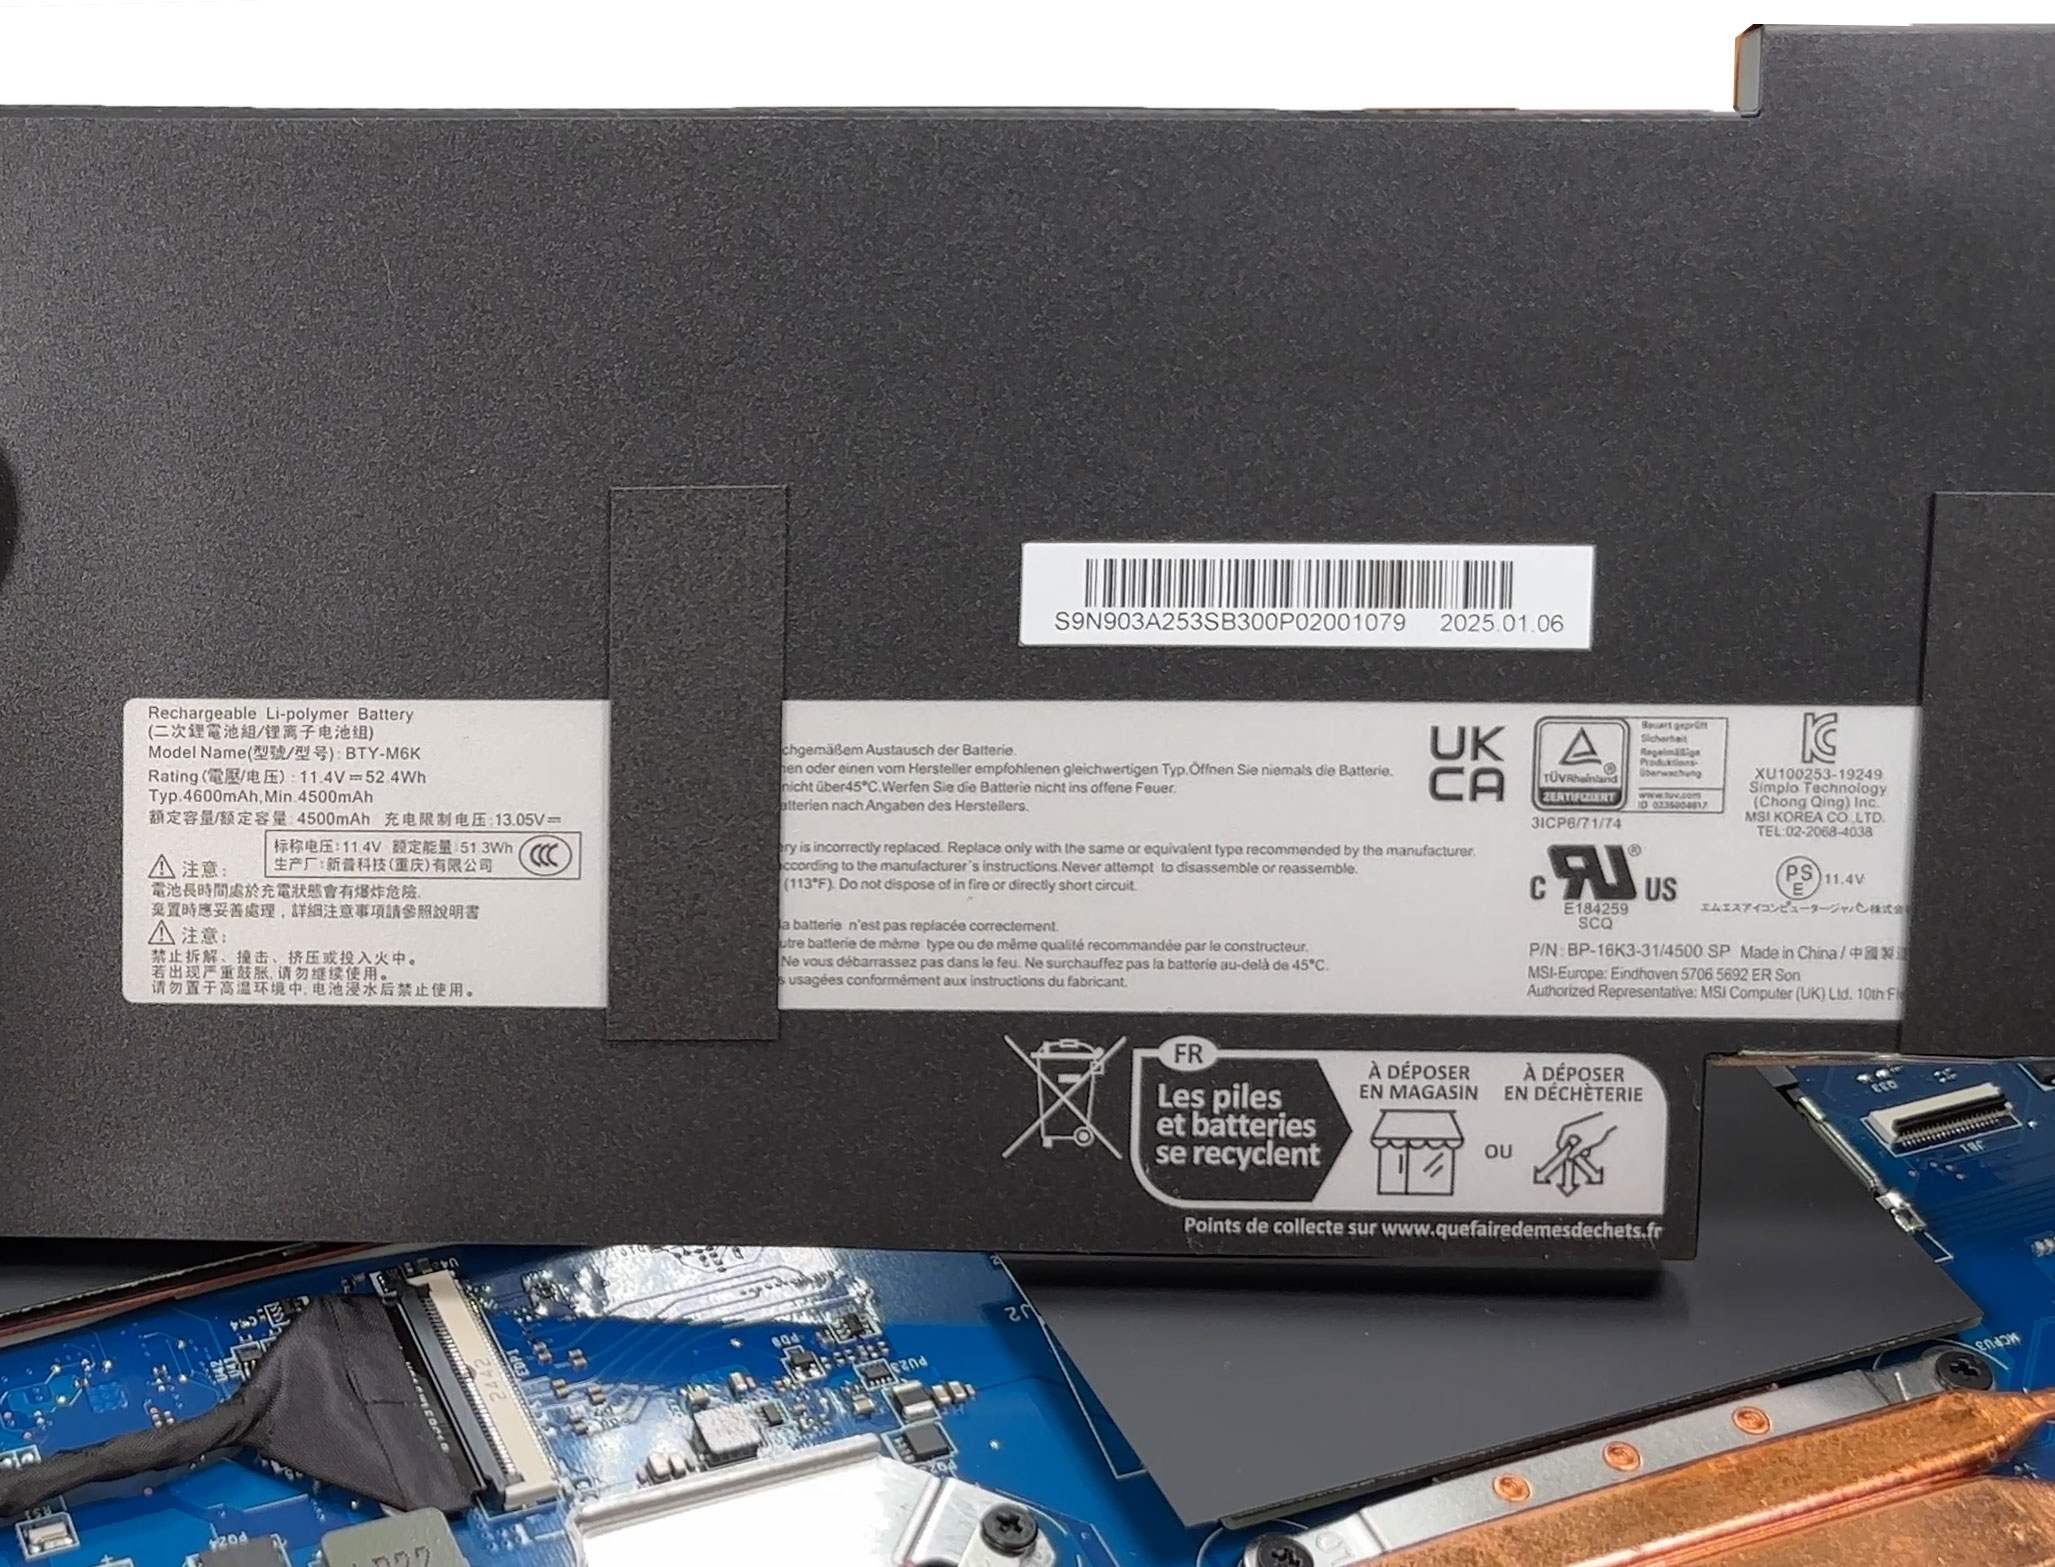
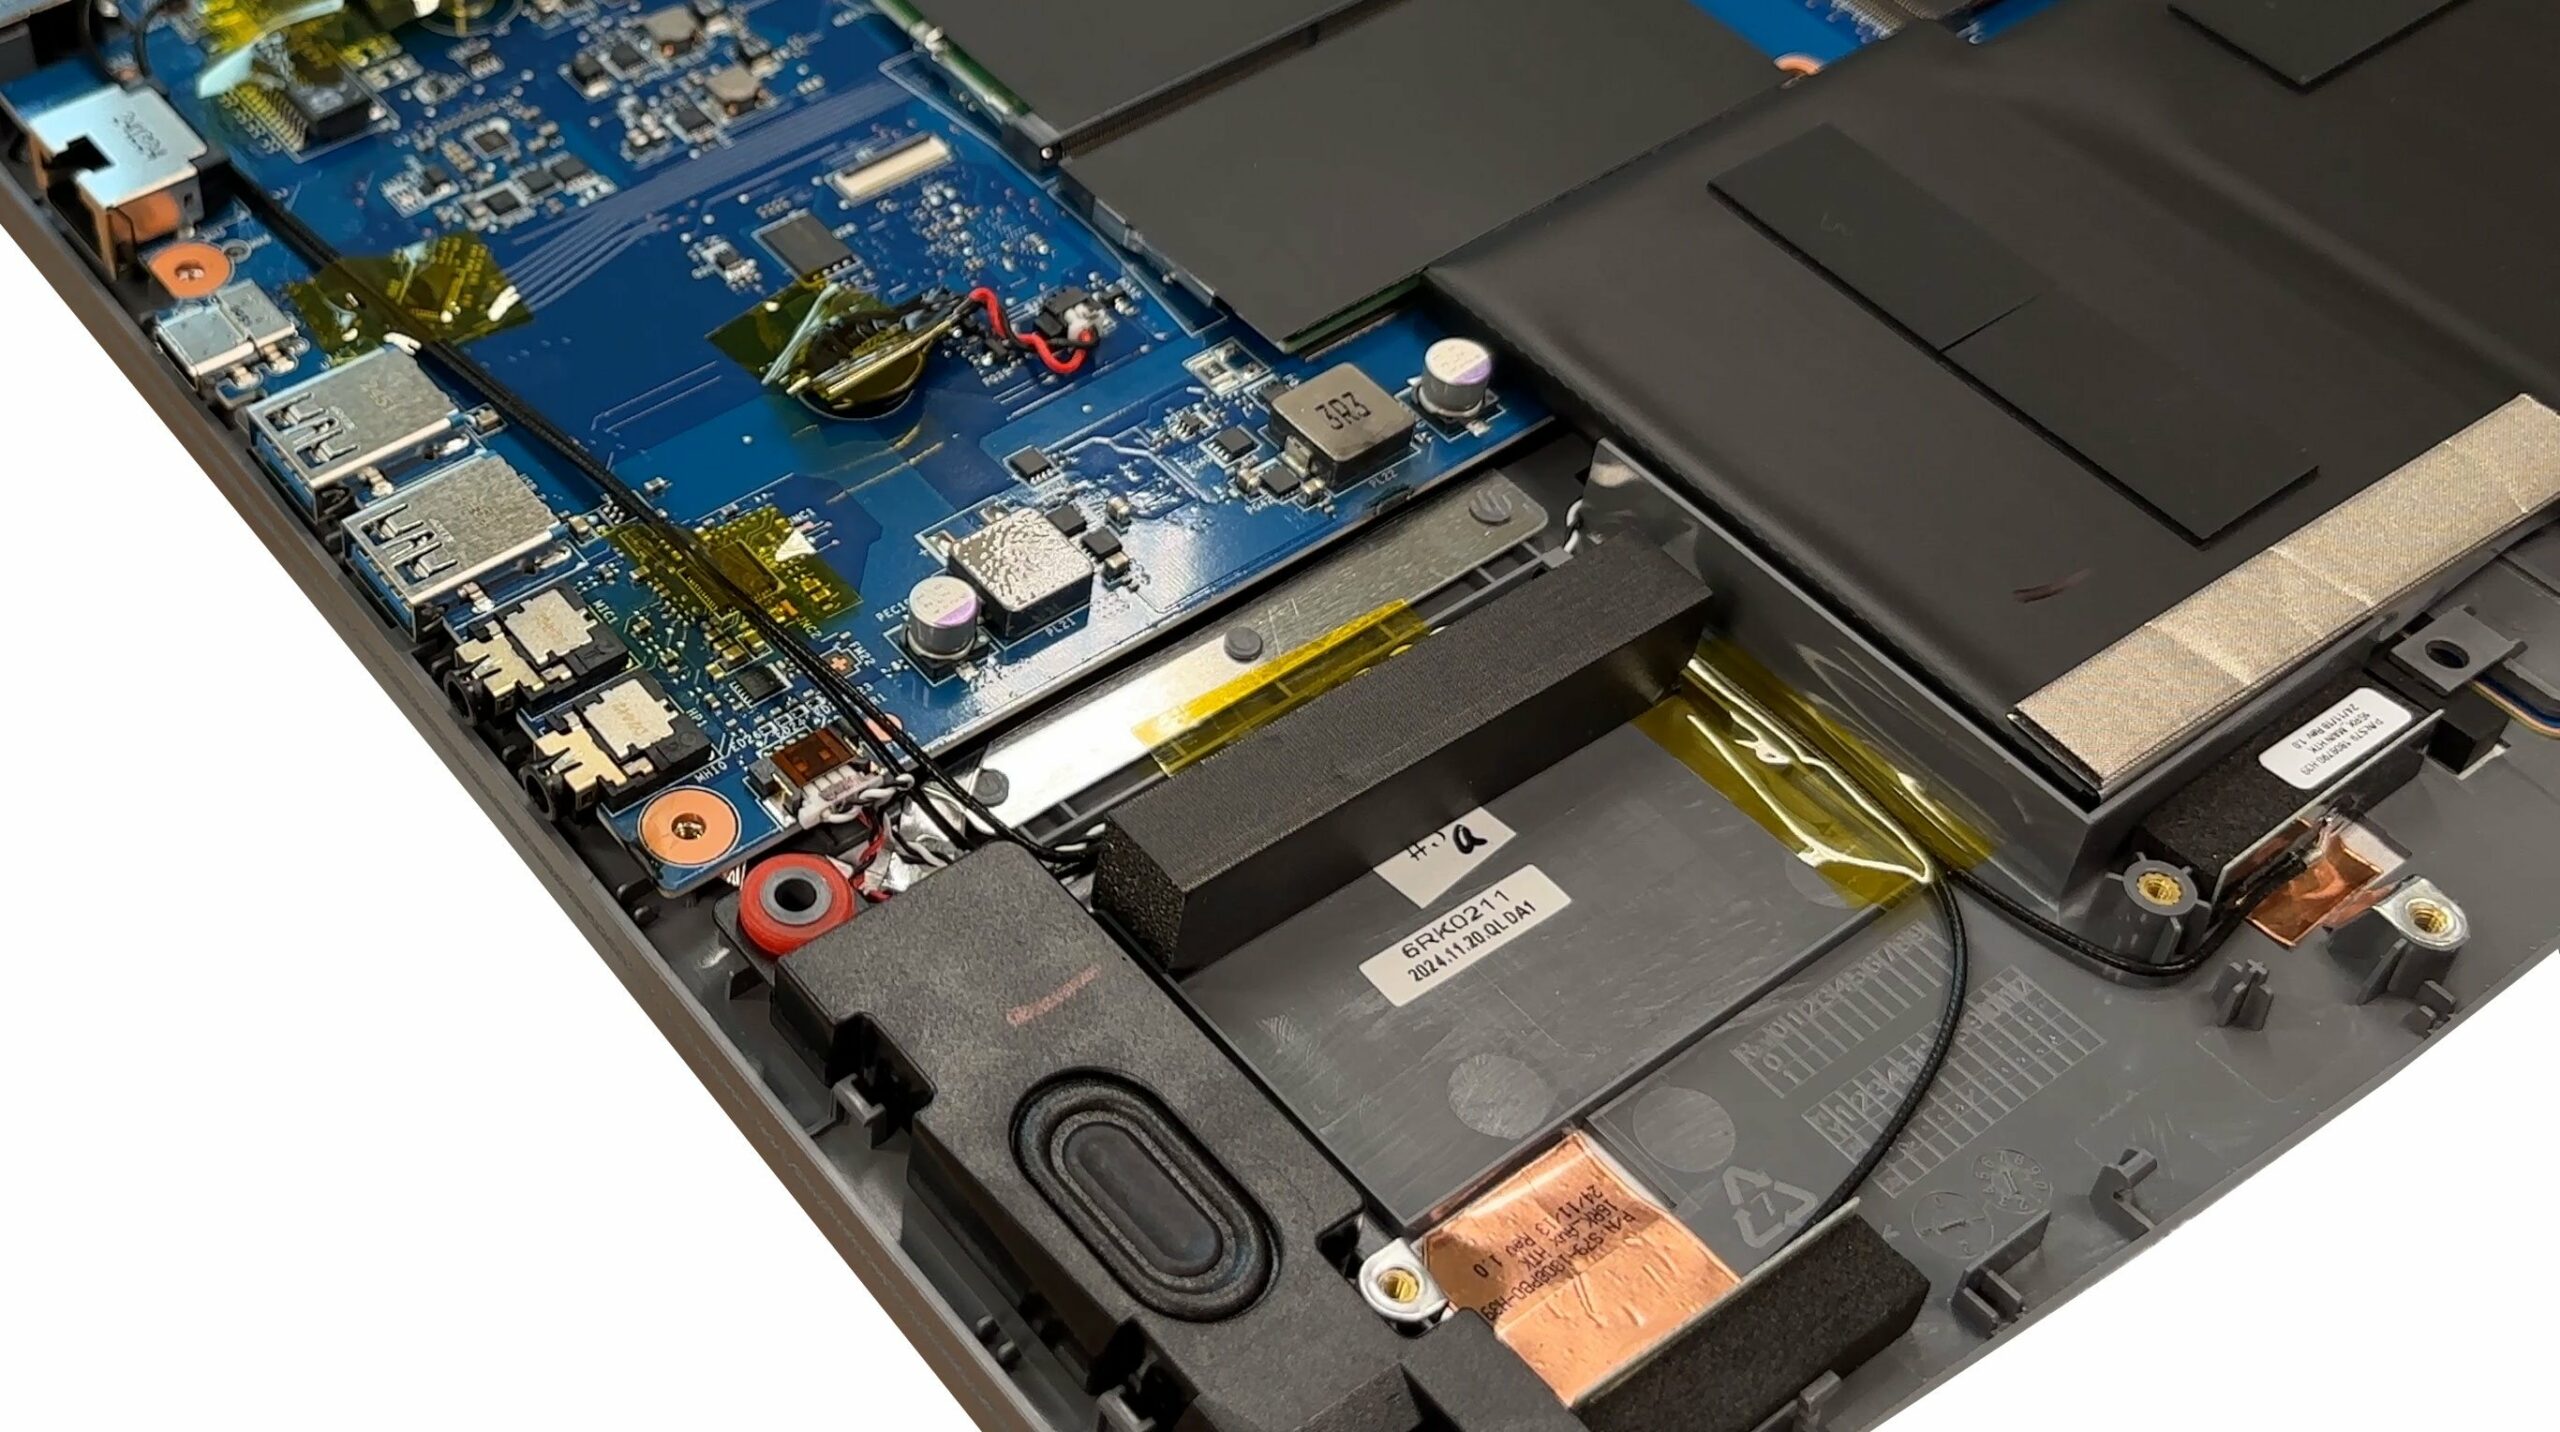
- Locate the 52.4 Wh Li-polymer battery pack (labelled BTY-M6K) along the front edge of the chassis.
- Gently pull the battery connector out of its socket on the motherboard, parallel to the board. Don’t lift it vertically to avoid damaging the pads.
- Carefully free the pack from the adhesive patches that hold it in the tray by prying under the battery edges with a plastic tool.
- Lift the battery out of the chassis.
- For installation, position the new battery flat in the tray, press it down so it adheres to the pads, and reconnect the cable firmly.
More info: The battery is not screwed down; it is secured by its connector and a few adhesive spots, so removal and replacement are possible without touching other components.
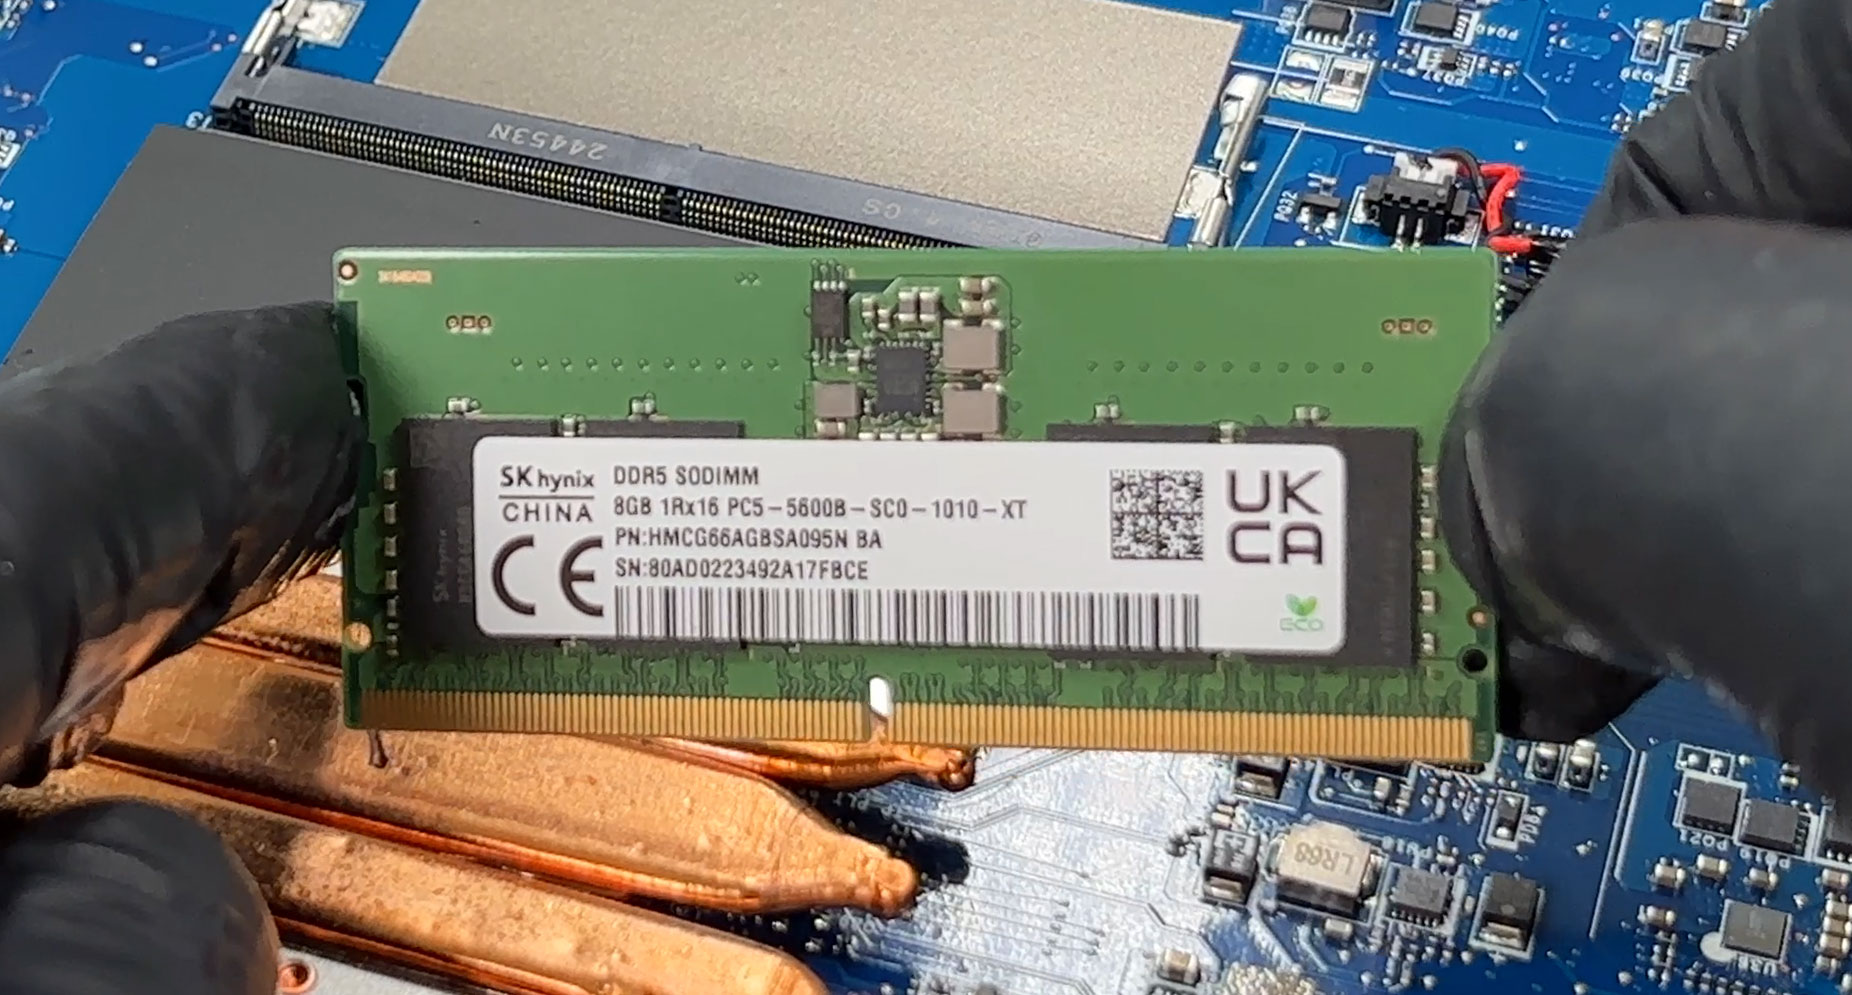
Memory (RAM) upgrade
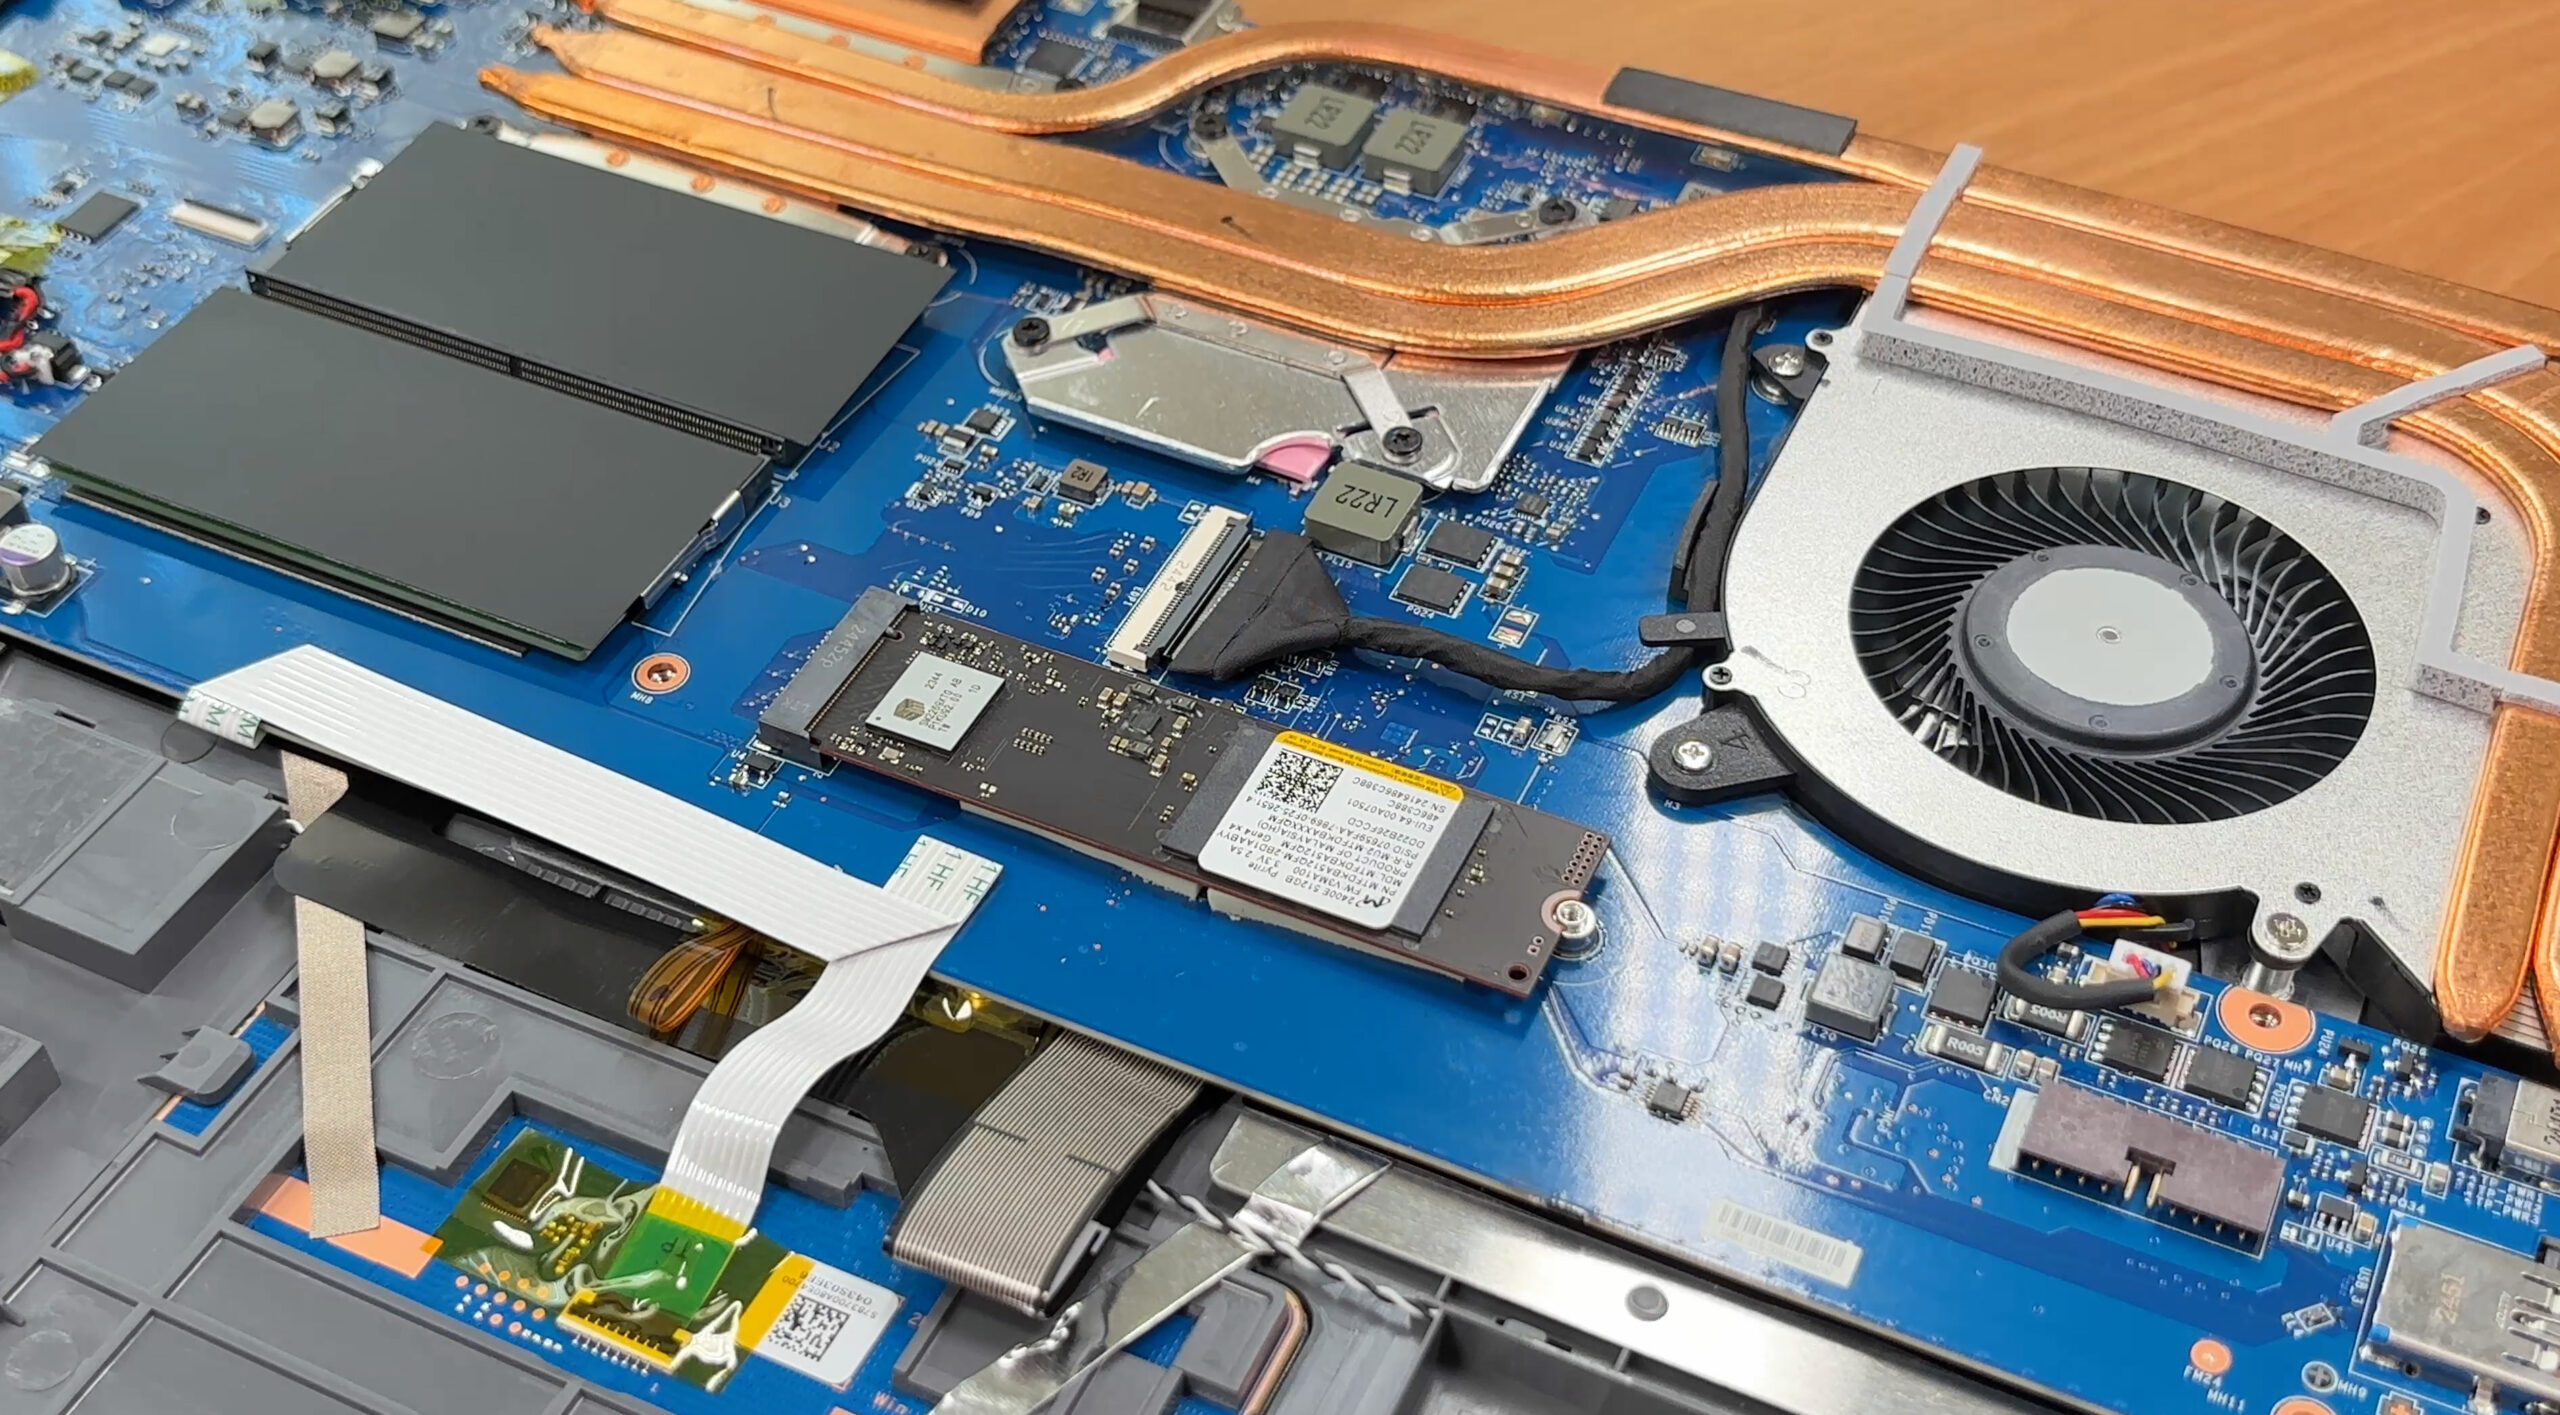
- Locate the two DDR5 SO-DIMM slots near the center of the motherboard, partly covered by low-profile thermal shields.
- If shields are present, carefully lift or peel them back just enough to access the slots, keeping the pads intact for re-use.
- To remove an existing module, push the metal retention clips on both sides outward. The RAM stick will pop up at an angle.
- Slide the module out of the slot along the same angle.
- Align the notch of the new DDR5 SO-DIMM with the key in the slot and insert it at about a 30° angle until fully seated.
- Press the module down gently until both side clips click into place.
- Re-position the thermal shield over the modules if you lifted it earlier.
More info: The platform supports DDR5-4800 memory up to 64 GB in dual-channel mode (2 x 32 GB). The sample configuration uses 2 x 8 GB SK hynix modules.
You can buy DDR5 SO-DIMM RAM modules here: Buy from Amazon.ca (#CommissionsEarned)
Storage upgrade
- Find the single M.2 2280 slot wired for PCIe 4.0 x4, located near the center-right of the motherboard.
- Peel back or lift the metallized protective label covering the SSD area just enough to access the drive and screw.
- To remove the existing SSD:
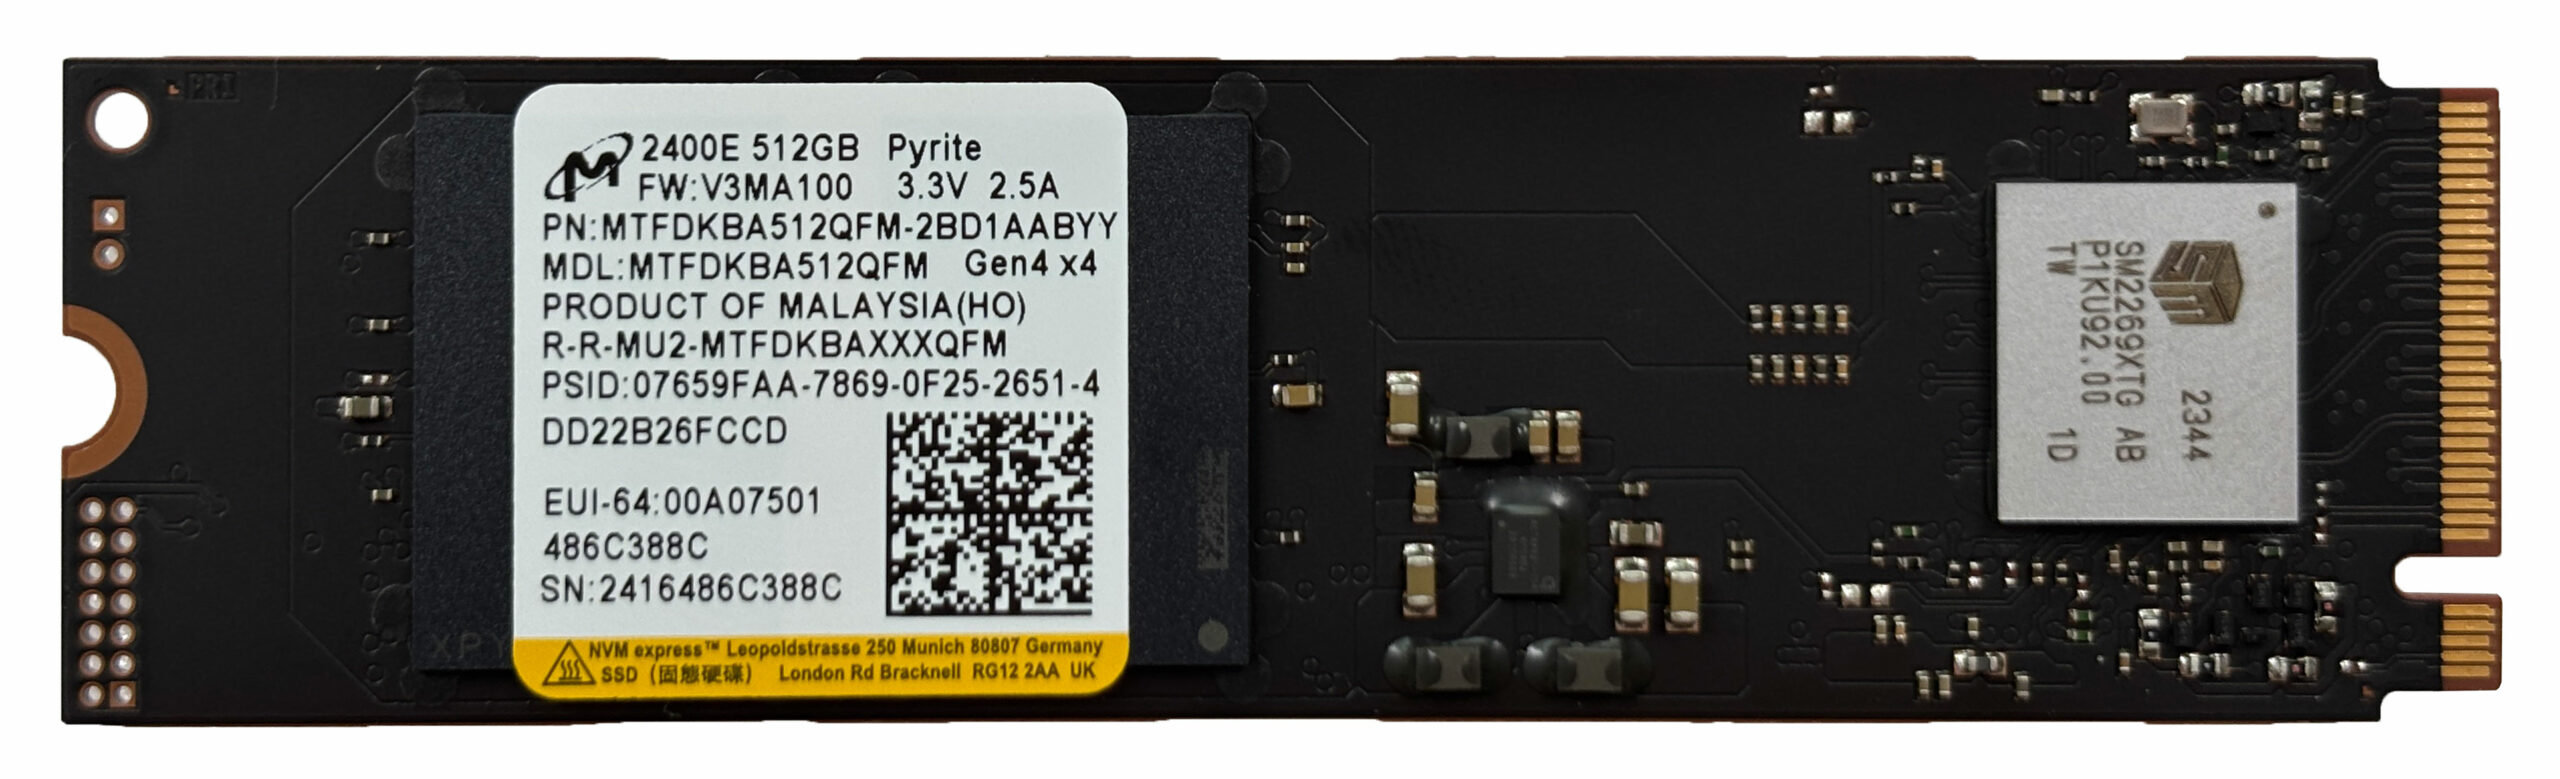
- Undo the mounting screw at the end of the installed drive (e.g. Micron 2400E 512 GB).
- Let the SSD spring up slightly, then pull it out of the connector at an angle.
- To install a new SSD:
- Insert a 2280-length PCIe Gen 4 NVMe SSD into the slot at about 30°.
- Push the drive down gently and secure it with the mounting screw.
- Lay the protective label back over the SSD so it sits flat.
More info: The platform supports one PCIe 4.0 x4 NVMe SSD. Since there is only a single slot, choose capacity and performance accordingly if you plan to use this machine long term.
You can buy PCIe Gen 4 NVMe SSDs here: Buy from Amazon.ca (#CommissionsEarned)
Hint: Don’t forget to check out our Top M.2 SSDs Performance Rankings for insights on the best storage options available.
Wireless card and audio board
- Locate the M.2 Wi-Fi card (near the edge of the motherboard), secured by a single screw and two antenna leads.
- To replace the wireless card:
- Gently disconnect the Main and Aux antenna cables by lifting them straight up from the card.
- Undo the mounting screw, let the card tilt up, and slide it out of the slot.
- Install the new Wi-Fi module in reverse order and reconnect both antennas.
- The separate audio board and ports are screwed to the chassis and can be removed once their cables are disconnected, allowing replacement if they fail.
Speakers
- Locate the two down-firing speaker boxes in the front corners of the chassis.
- Undo the screws that secure each speaker module to the base.
- Carefully unplug the speaker cable from the motherboard, noting its routing.
- Lift each speaker module out together with its rubber grommets and housing.
- Install replacement speakers by positioning them in their recesses, reconnecting the cable, and tightening the screws.
More info: Each speaker is a self-contained module with its own chamber and isolation grommets, which makes replacement straightforward if audio issues arise.
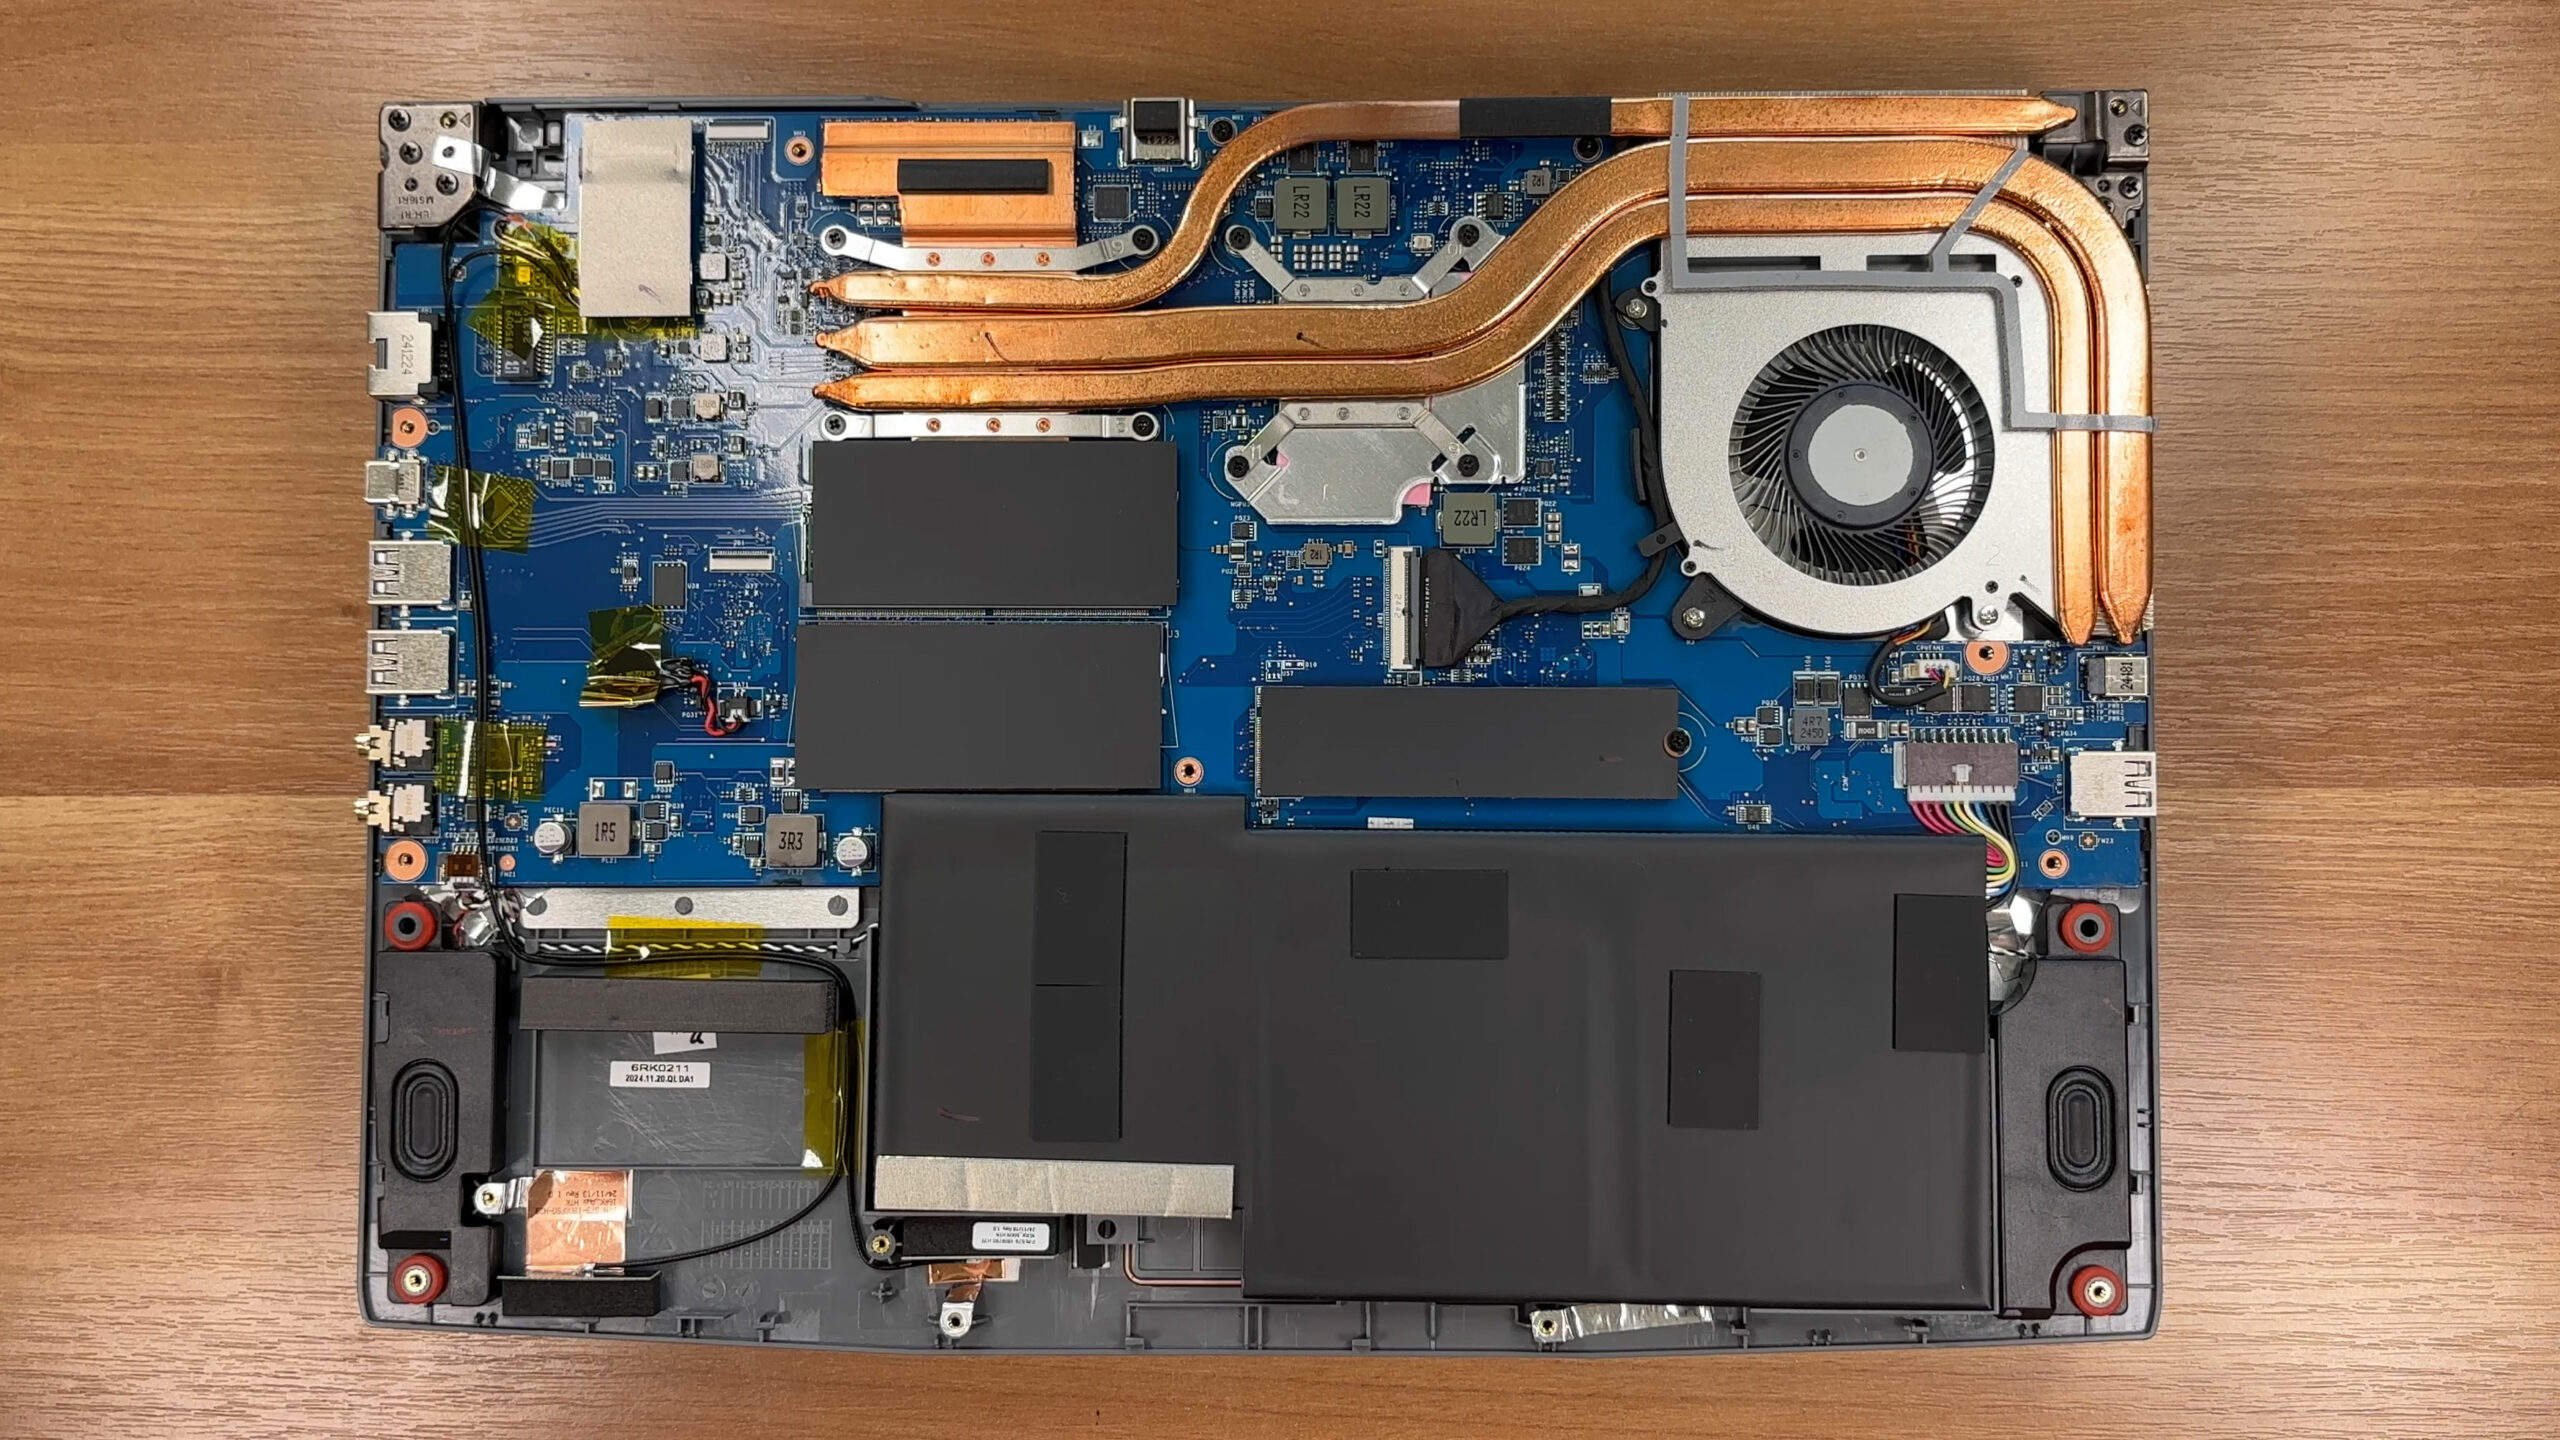
Cooling system
- Identify the cooling assembly: a single blower-style fan, several copper heat pipes, and a fin stack on the right-hand side.
- Low-profile thermal shields cover the VRM area and memory slots to help spread heat away from critical components.
- For basic cleaning:
- Hold the fan blades in place and blow compressed air through the heatsink fins from the inside out to push dust away.
- Avoid overspinning the fan with compressed air to protect the bearings.
- If you plan to remove the heatsink for repasting, follow the printed screw order (if present) when loosening and tighten gradually in a cross pattern during reassembly.
More info: The shared heat pipe network services both CPU and GPU, so keeping the fins and fan dust-free is important for stable gaming performance.
Summary: MSI Thin A15 B7V offers unnecessary difficult access to two user-replaceable RAM slots, a single PCIe 4.0 M.2 slot, a swappable Wi-Fi card, a screw-in audio board, and a replaceable 52.4 Wh battery, with the main upgrade limitation being the presence of only one storage slot.
MSI Thin A15 (B7Ux / B7Vx) in-depth review
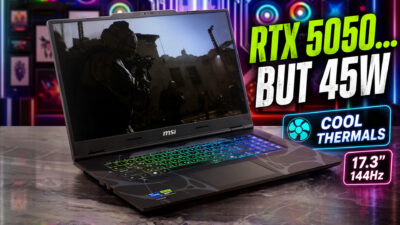
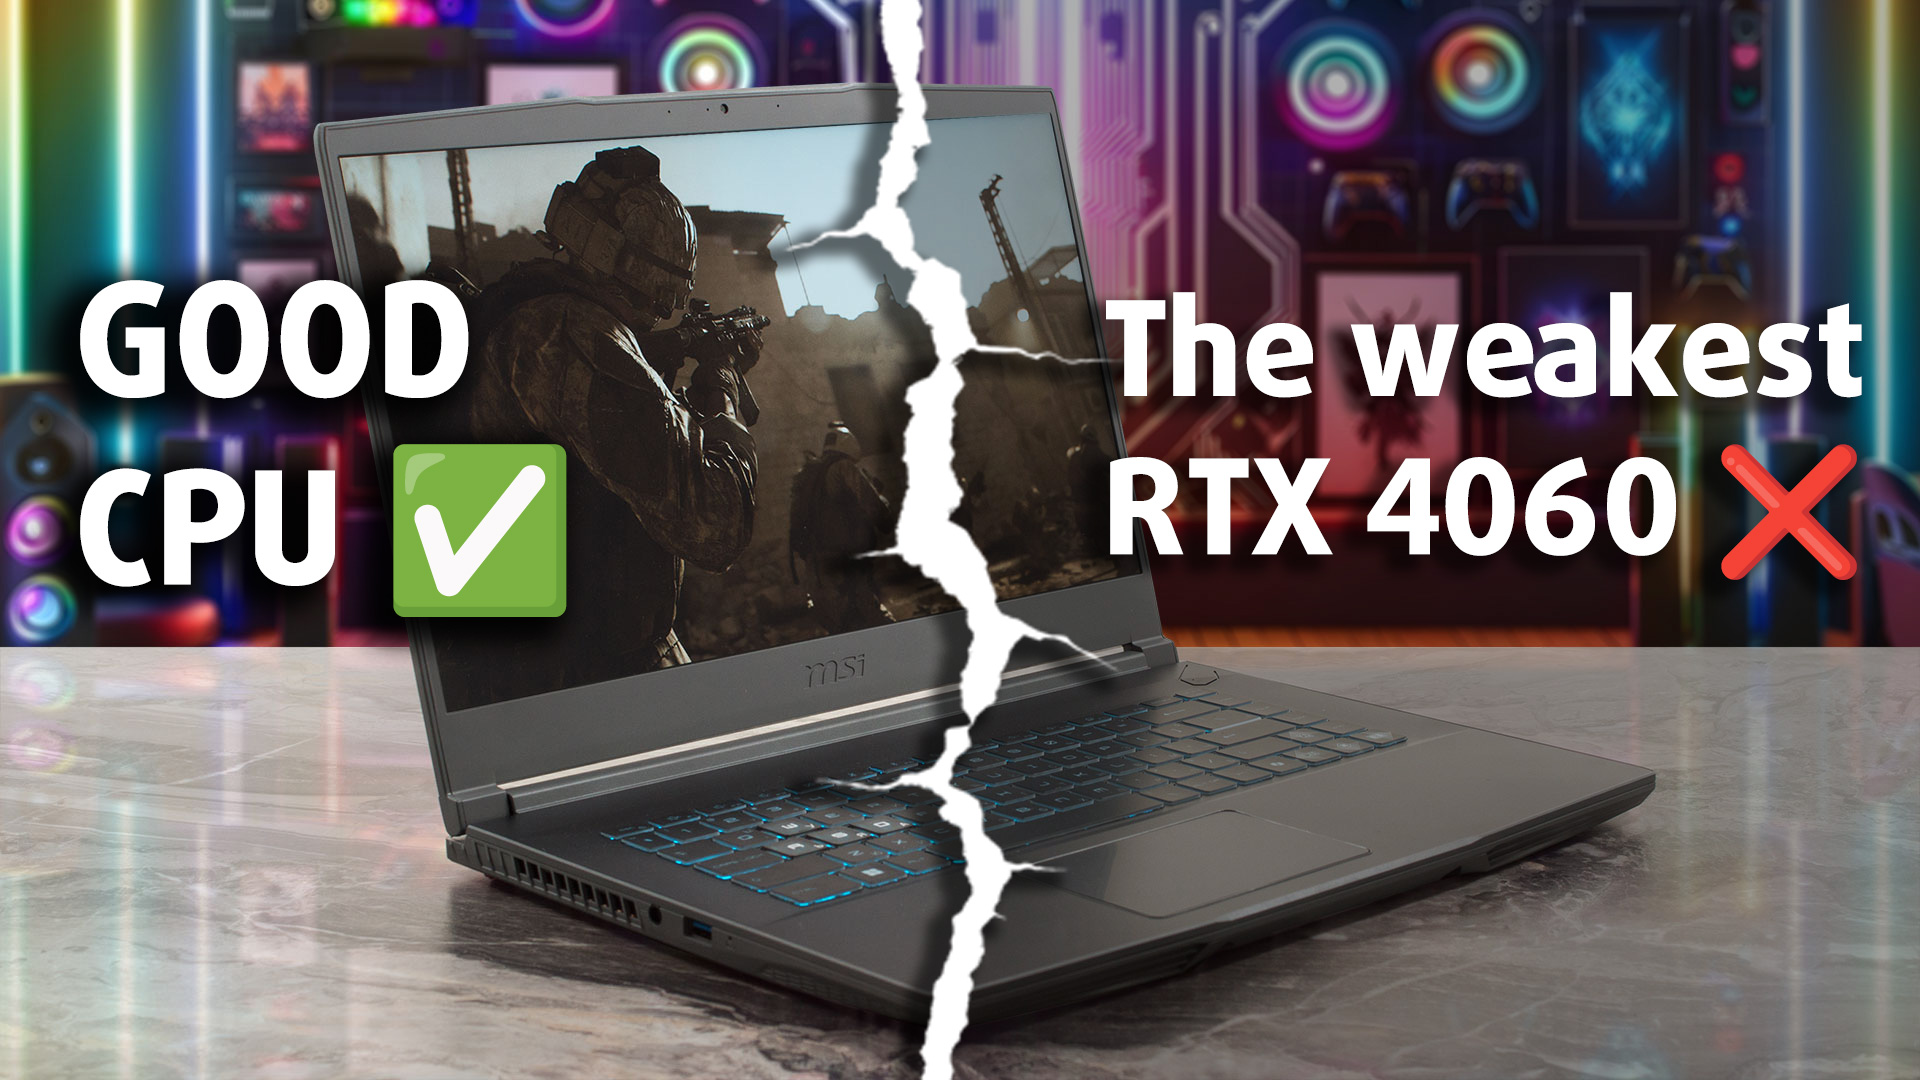
The MSI Thin A15 makes a clear promise right in its name: it aims to deliver a gaming experience in a portable, lightweight package. To achieve this slim profile without melting its components, MSI has made a drastic and defining decision: to severely limit the power of its graphics card. The result is a laptop with an RTX 4060 that, in many cases, performs worse than cheaper machines equipped with an RTX 4050. This is the central paradox of the Thin A15. It's a machine that boasts phenomenal cooling and excellent stability, but at what cost to performance? Is its quiet, cool operation eno[...]
Pros
- Excellent thermal management keeps the system very cool
- Lightweight and highly portable for a gaming laptop
- PWM-free display with a great low-glare finish is easy on the eyes
- Good CPU performance for the price
- Two user-accessible RAM slots for easy upgrades
- Great performance stability with no thermal throttling
Cons
- Severely power-limited GPU (45W) results in subpar performance
- Display has very poor color coverage
- Poor battery life
- Only a single M.2 slot for storage
- Rattling trackpad and no keyboard backlight on some models


![[May 2026] Global Ranking of Best-Selling Laptop GPUs on Amazon – Apple Dominates with 45% Share, Sweeps Top 3 Spots; NVIDIA’s RTX 5060 Leads the Dedicated GPU Pack](https://laptopmedia.com/wp-content/uploads/2026/06/Best-Selling-GPUs-GLOBAL-Top-10-400x225.jpg)
![[May 2026] Global Ranking of Best-Selling Laptop CPUs on Amazon – Apple Crushes Competition with 45.2% Market Share, M5 Dominates](https://laptopmedia.com/wp-content/uploads/2026/06/Best-Selling-CPUs-GLOBAL-Top-10-400x225.jpg)
![[May 2026] Amazon Germany: Top 7 Best-Selling Gaming Laptops – Lenovo Legion 5i Crowned Champion Amidst Fierce Mid-Range Competition](https://laptopmedia.com/wp-content/uploads/2026/06/Best-Selling-Gaming-Laptops-DE-Top-10-1-400x225.jpg)
![[May 2026] Amazon Italy: Top 10 Best-Selling Laptops – Apple MacBook Neo Reigns Supreme, Premium Models Capture Dominant Revenue Share](https://laptopmedia.com/wp-content/uploads/2026/06/Best-Selling-Laptops-IT-Top-10-400x225.jpg)
![[May 2026] Best-Selling Laptop Brands on Amazon Italy – Apple Dominates Across All Metrics](https://laptopmedia.com/wp-content/uploads/2026/06/IT-Best-Brands-400x225.jpg)