Inside Lenovo Ideapad Creator 5 (15) – disassembly and upgrade options
A budget notebook bearing the Creator moniker. What could possibly go wrong?
Check out all Lenovo Ideapad Creator 5 (15) prices and configurations in our Specs System or read more in our In-Depth review.

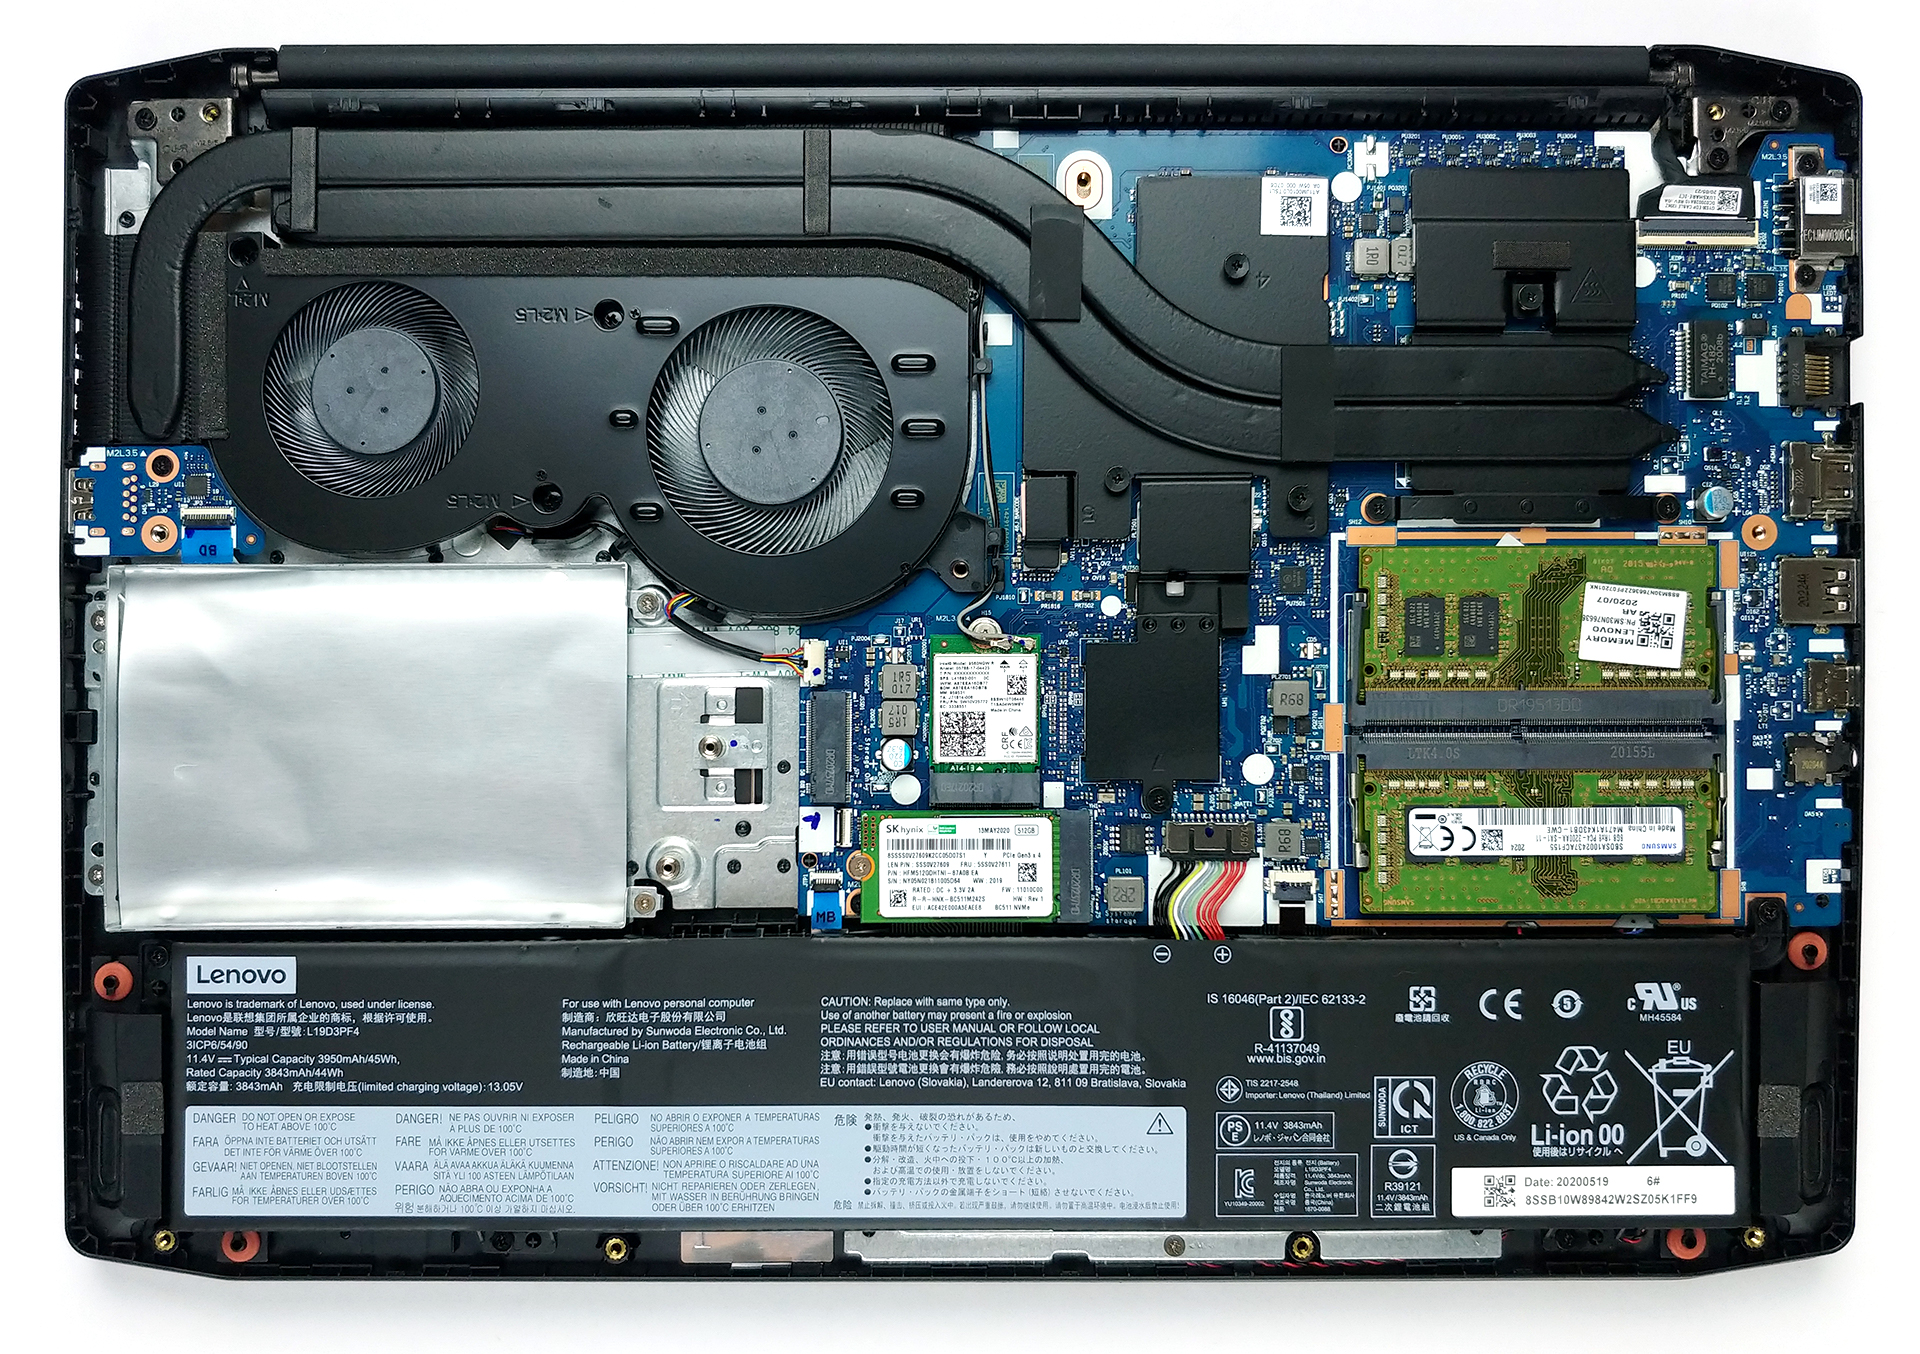
1. Remove the bottom plate
What keeps the bottom panel in place, are 10 Phillips-head screws and some clips. After you undo the screws, just pry the panel with a plastic tool, which is pretty easy on this specimen.
2. Battery
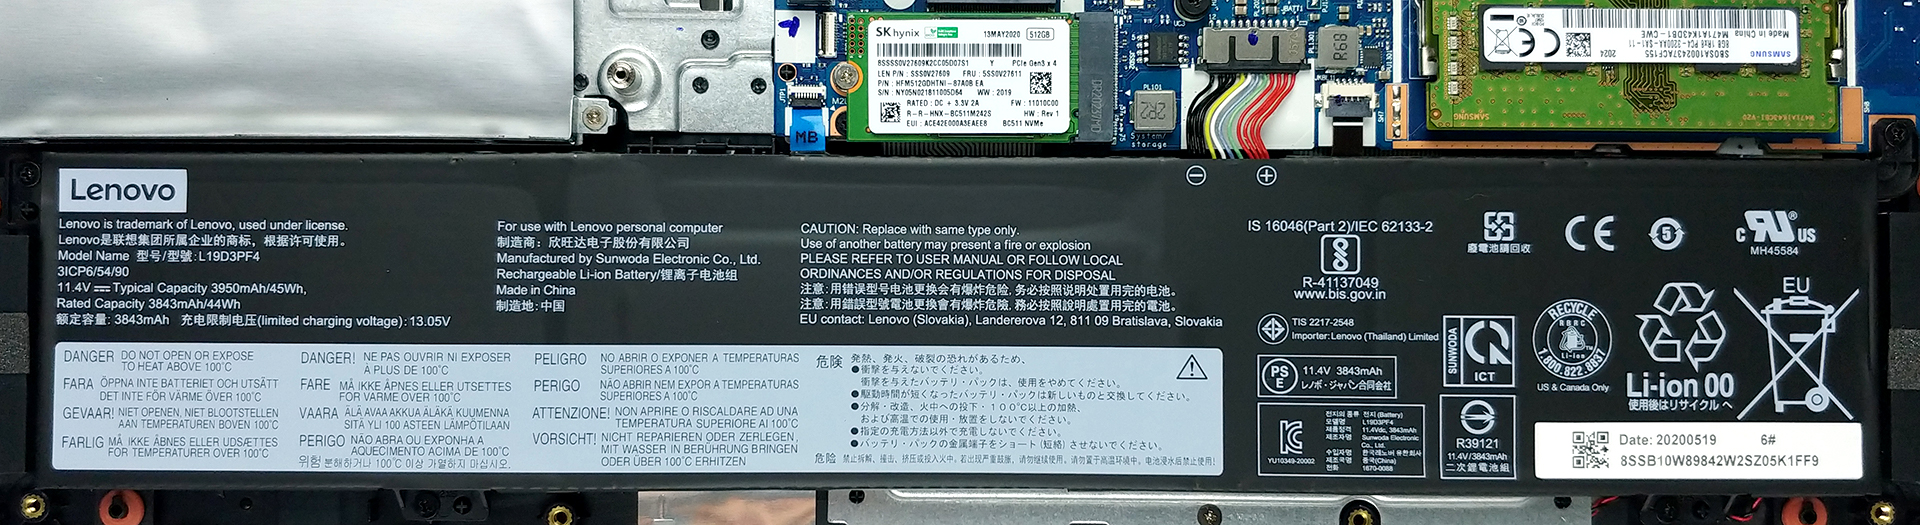
Sadly, the battery pack is only a 45Wh unit.
3. Memory and storage
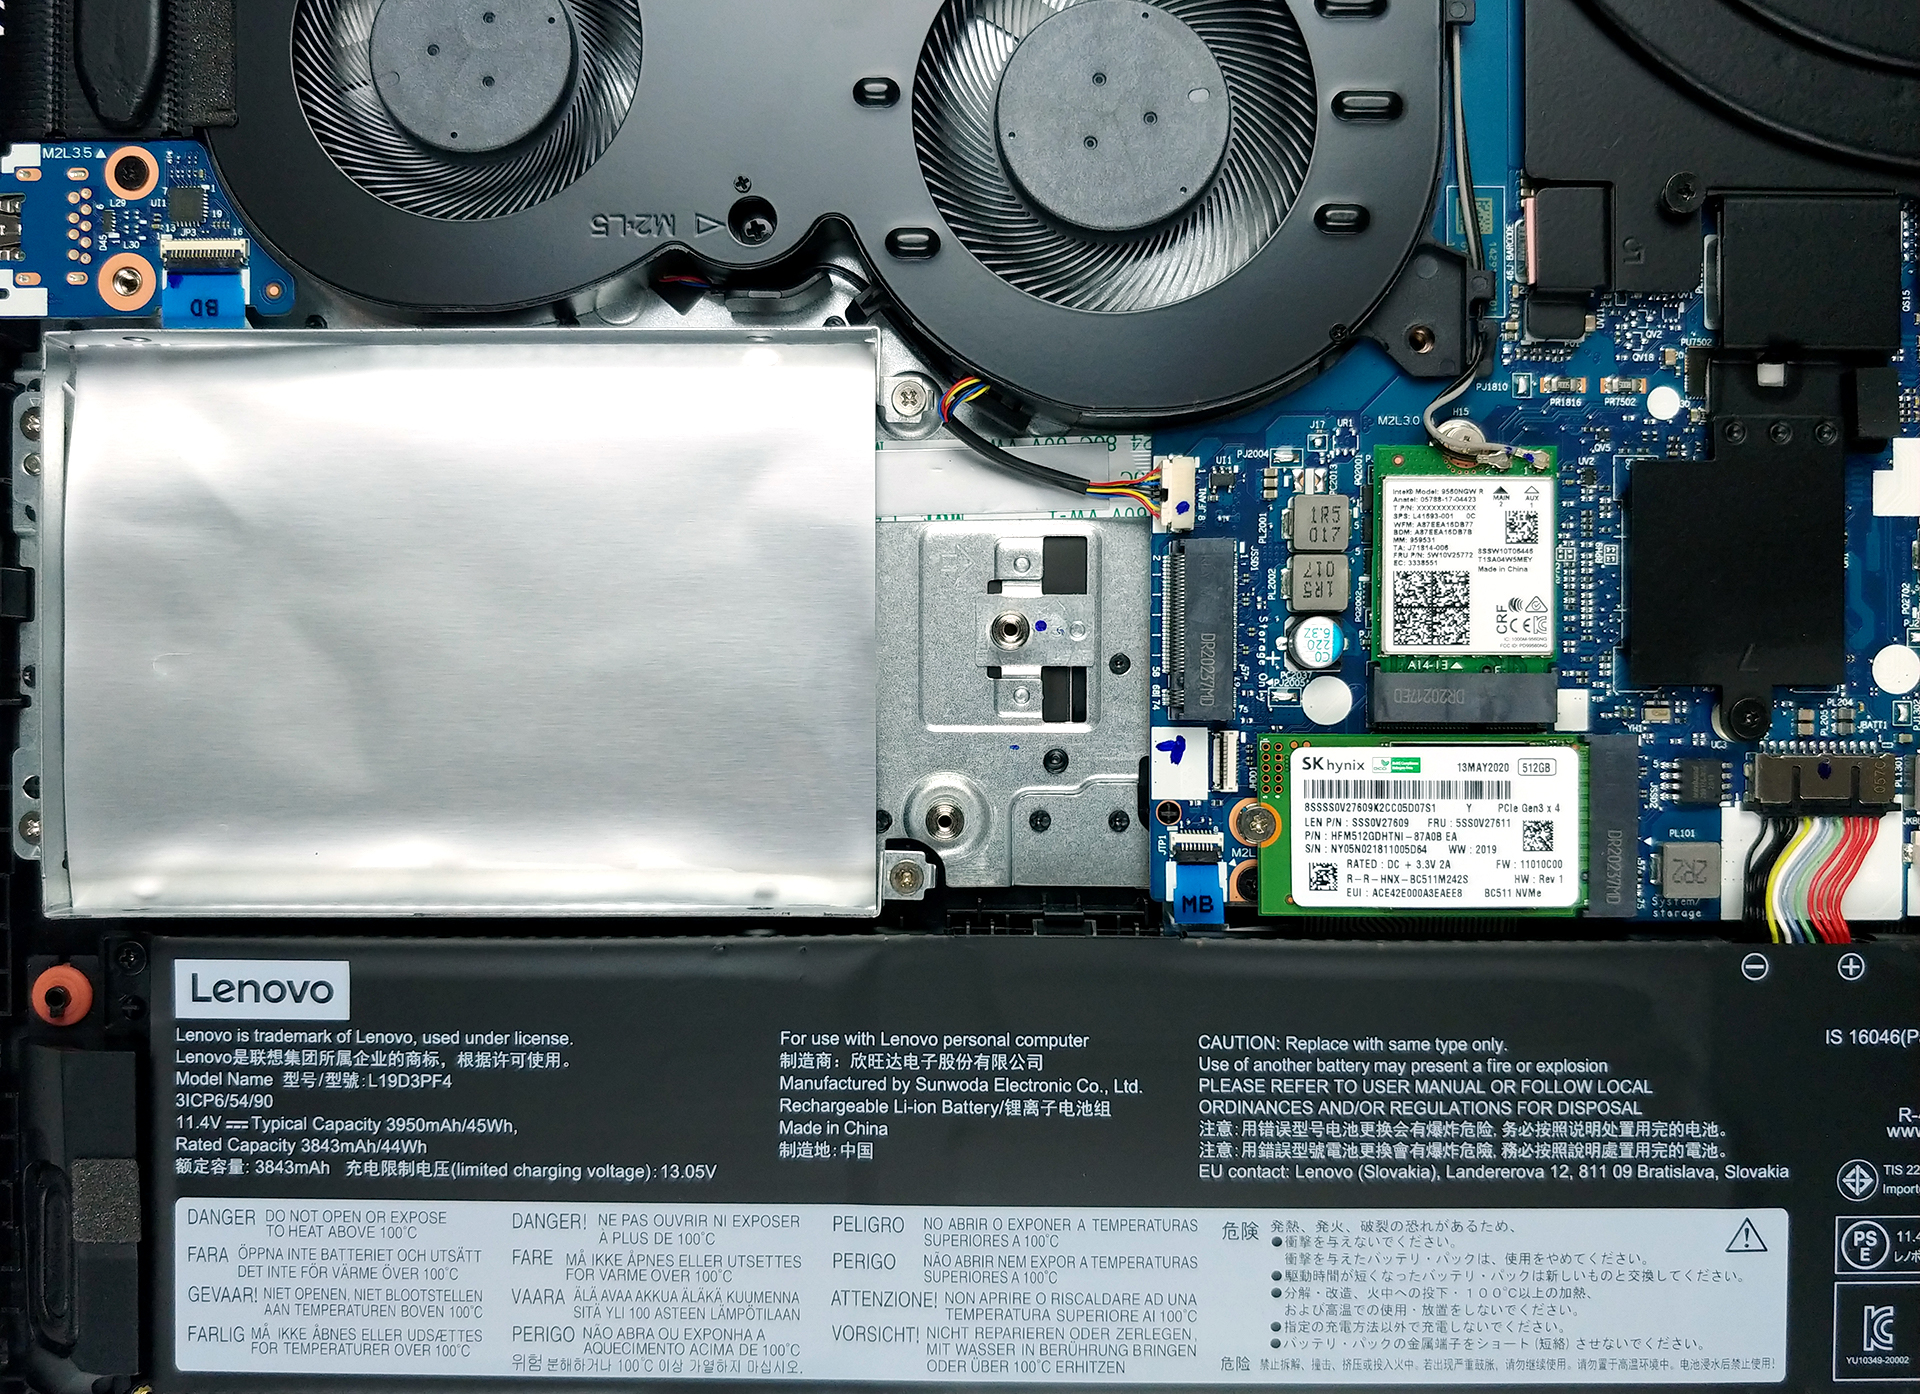
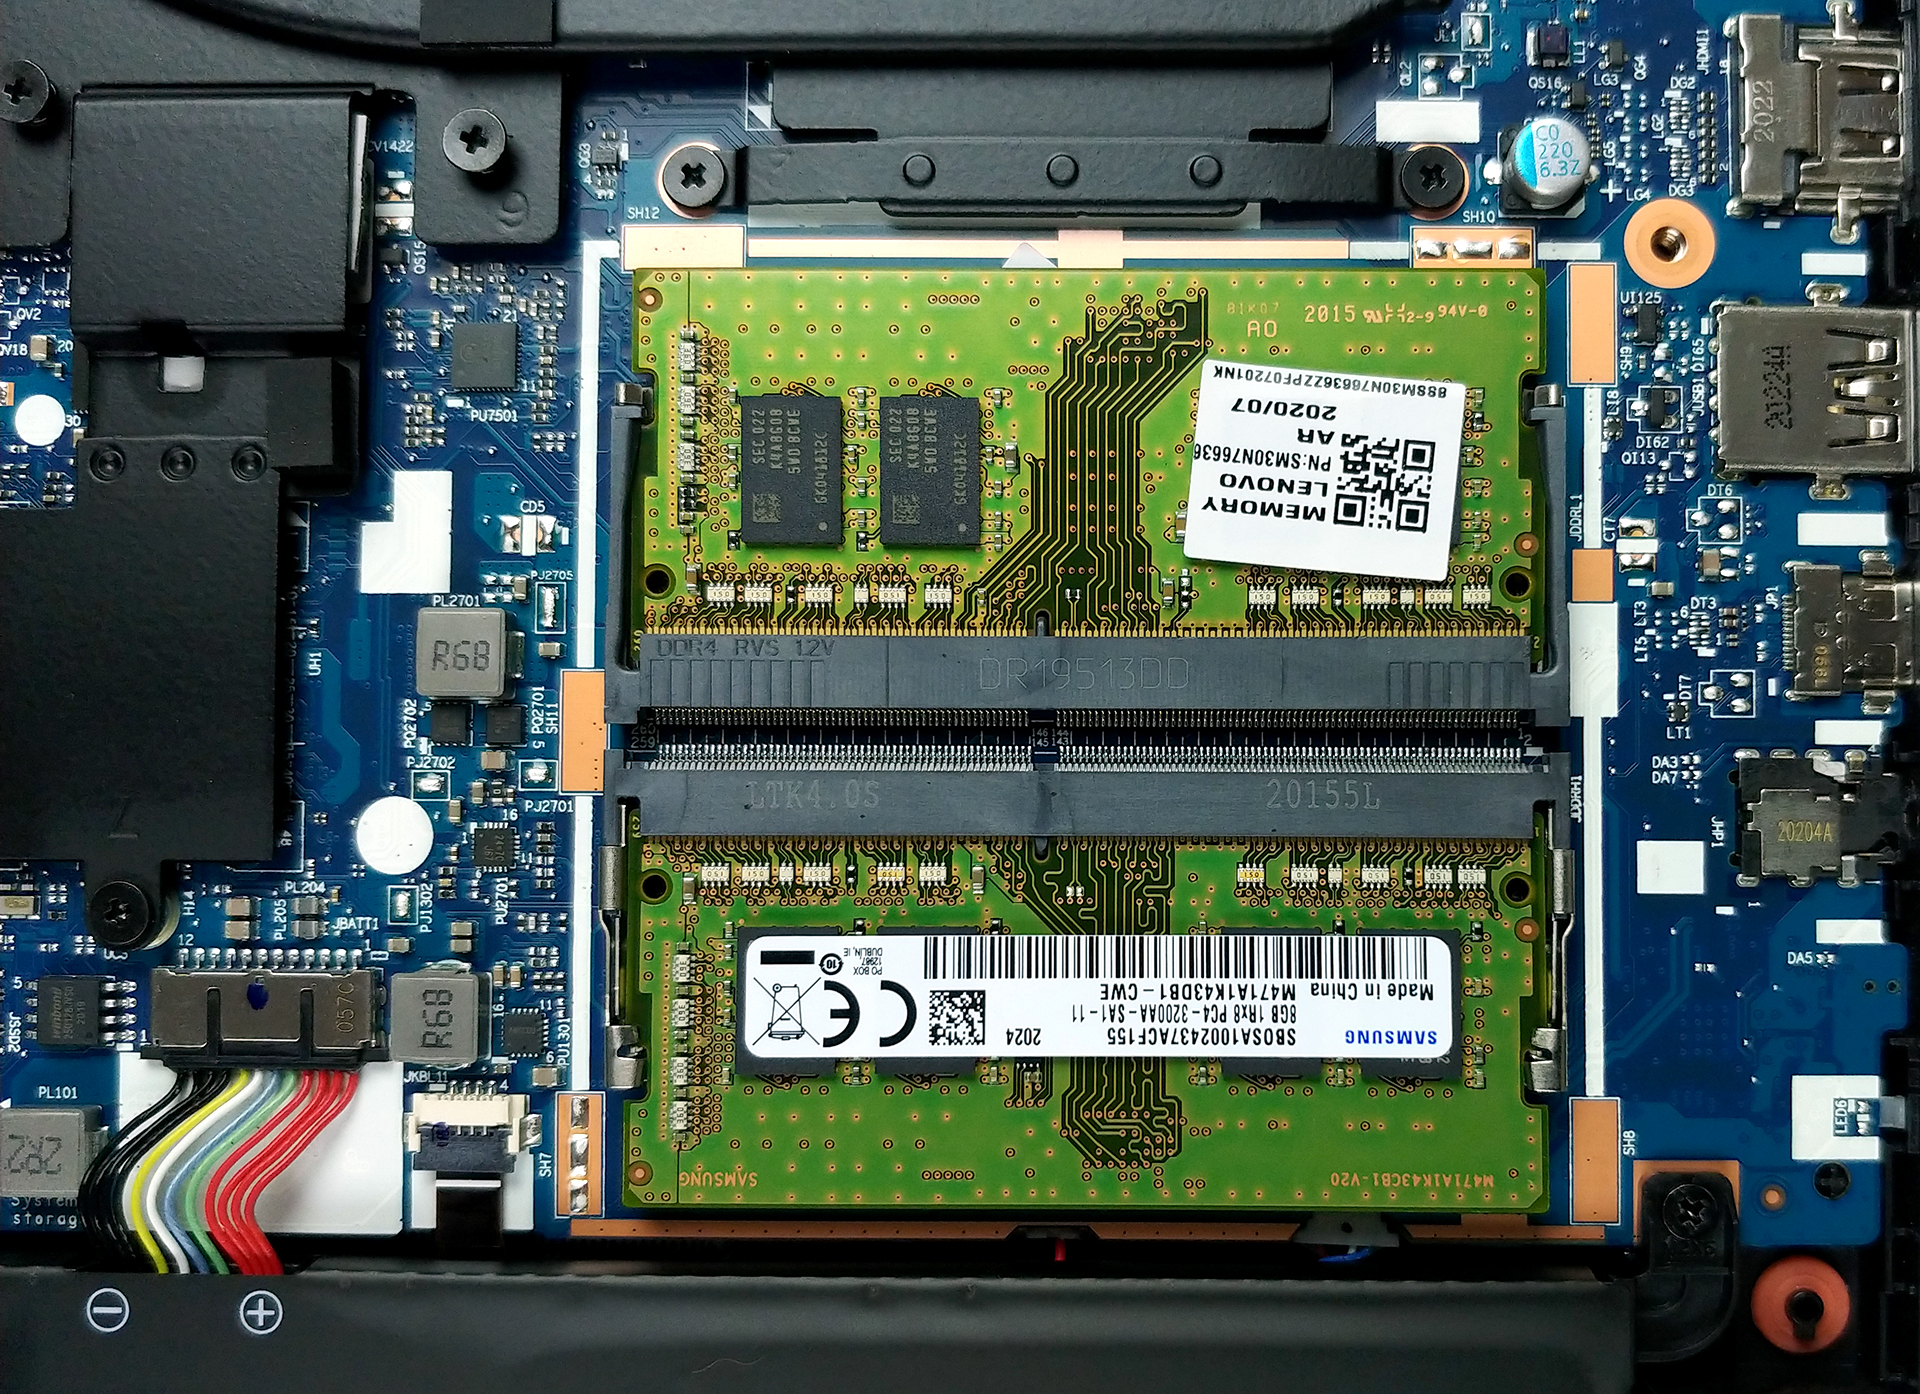
In terms of storage, you have one M.2 PCIe x4 slot, as well as a 2.5-inch SATA drive slot. And as you can see, there is one more M.2 slot, which is placed right next to the SATA drive bay, meaning you can choose it, instead of the latter. As of the memory, the notebook supports 32GB of DDR4 RAM in dual-channel mode.
4. Cooling system
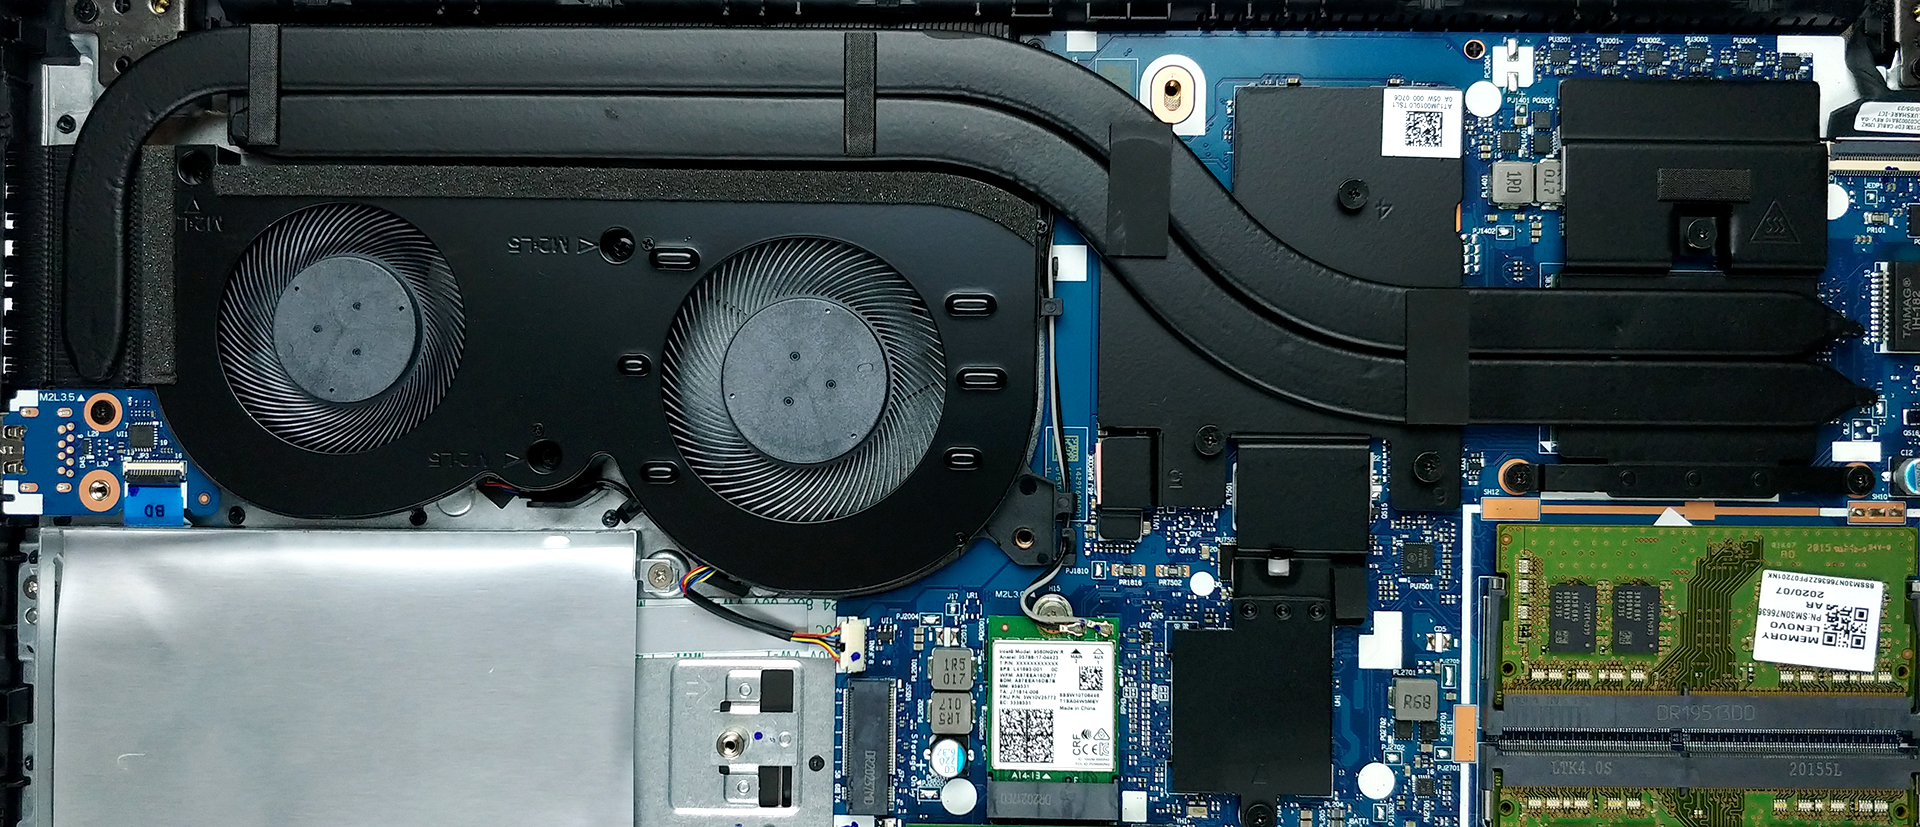
Expectedly, as this laptop is pretty much an Ideapad Gaming 3 in disguise, we see the same cooling solution. It employs two heat pipes shared between both the CPU and the GPU, as well as two fans with different sizes.
Check out all Lenovo Ideapad Creator 5 (15) prices and configurations in our Specs System or read more in our In-Depth review.
 Author: Alex Iliev

![[June 2026] Best-Selling Laptop Brands on Amazon Global – Apple’s Unrivaled Dominance in Units and Revenue](https://laptopmedia.com/wp-content/uploads/2026/07/GLOBAL-Best-Brands-400x225.jpg)
![[June 2026] Amazon Global: Top 10 Best-Selling Laptops – Apple’s New MacBook Neo Storms to #1, Reshaping the Market with Affordability](https://laptopmedia.com/wp-content/uploads/2026/07/Best-Selling-Laptops-GLOBAL-Top-10-400x225.jpg)
![[June 2026] Amazon Global: Top 10 Best-Selling Gaming Laptops – Acer’s Nitro V 16S AI Dominates Sales, While ASUS Leads Overall Revenue](https://laptopmedia.com/wp-content/uploads/2026/07/Best-Selling-Gaming-Laptops-GLOBAL-Top-10-400x225.jpg)
![[June 2026] Global Ranking of Best-Selling Laptop GPUs on Amazon – NVIDIA RTX 5060 is the Top-Selling Dedicated GPU](https://laptopmedia.com/wp-content/uploads/2026/07/Best-Selling-GPUs-GLOBAL-Top-10-400x225.jpg)
![[June 2026] Global Ranking of Best-Selling Laptop CPUs on Amazon – Apple M5 Dominates, AMD Ryzen 7 260 Gets Solid Premium Share](https://laptopmedia.com/wp-content/uploads/2026/07/Best-Selling-CPUs-GLOBAL-Top-10-400x225.jpg)