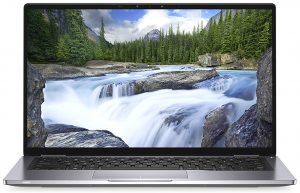
Inside Dell Latitude 7400 2-in-1 – disassembly and upgrade options
Despite its fancy look, the Latitude 7400 2-in-1 is pretty easy to get inside of. However, you won’t be able to upgrade much – be warned.
Check out all Dell Latitude 7400 2-in-1 prices and configurations in our Specs System or read more in our In-Depth review.
1. Remove the bottom plate
If you want to get inside the Latitude 7400 2-in-1, there are 10 Phillips-head screws that stay attached to the panel after you unscrew them (similarly to the other Latitude devices). After you do that, start prying the bottom panel from the back – around the hinges. Then, lift the backside of the plate and slide it upwards, and you should be able to access the internals, already.

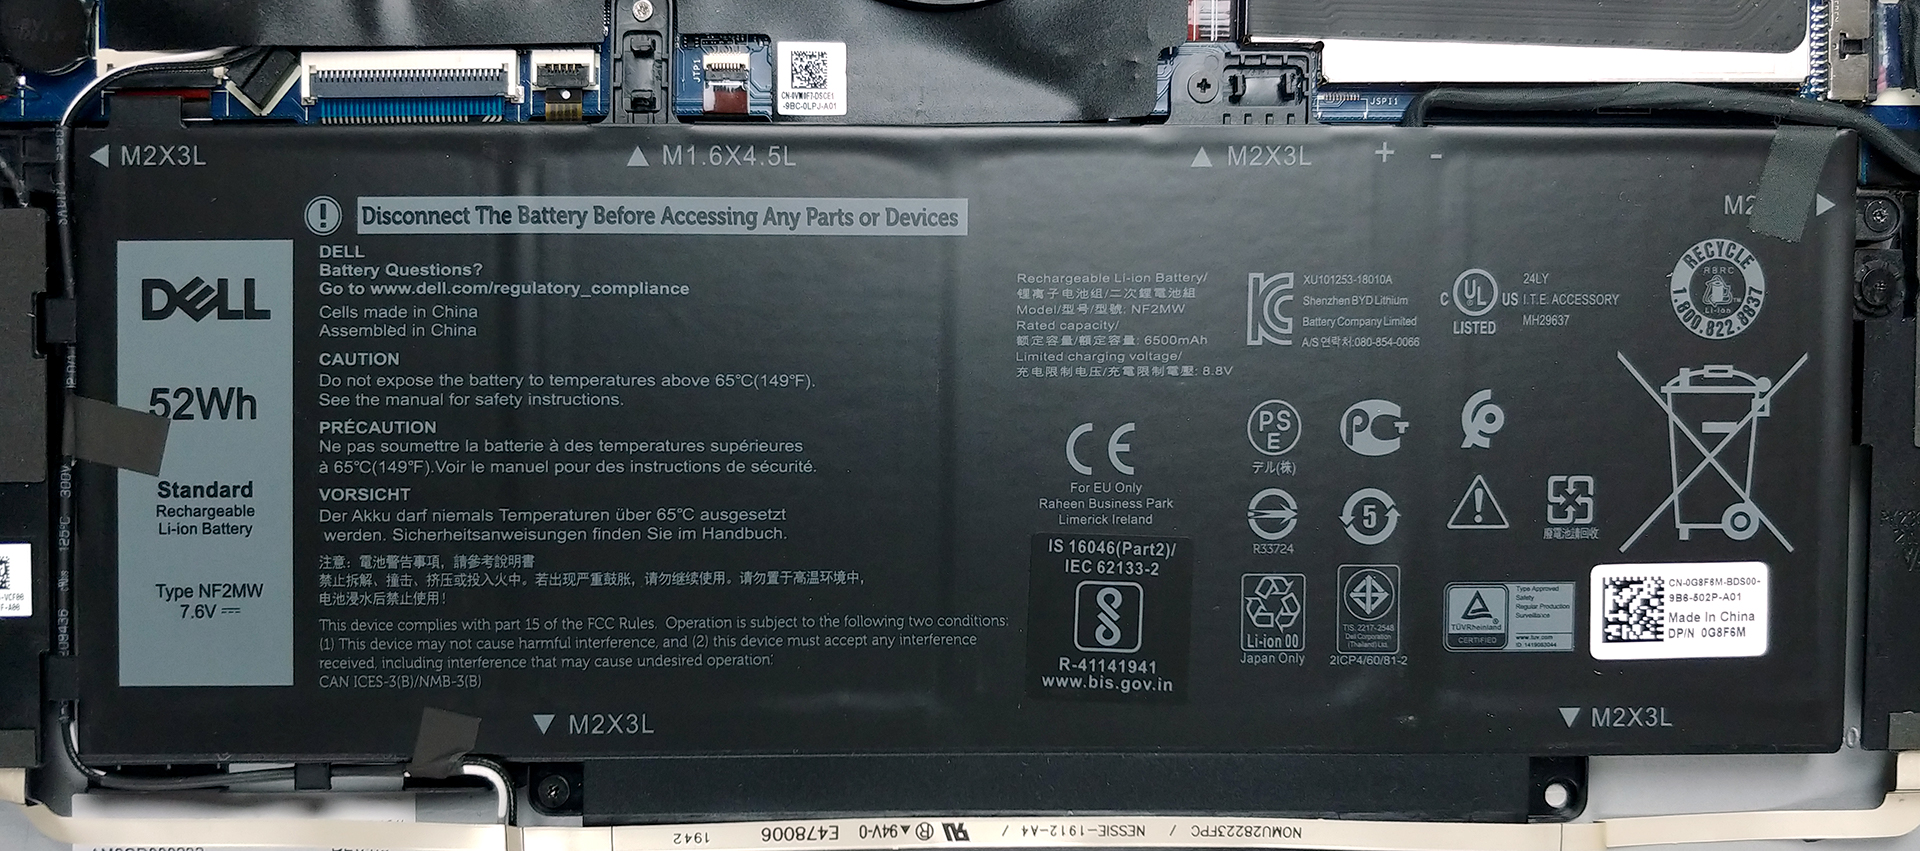
2. Battery
Battery-wise, there are two options – a 78Wh one, and a smaller – 52Wh, which our laptop uses.
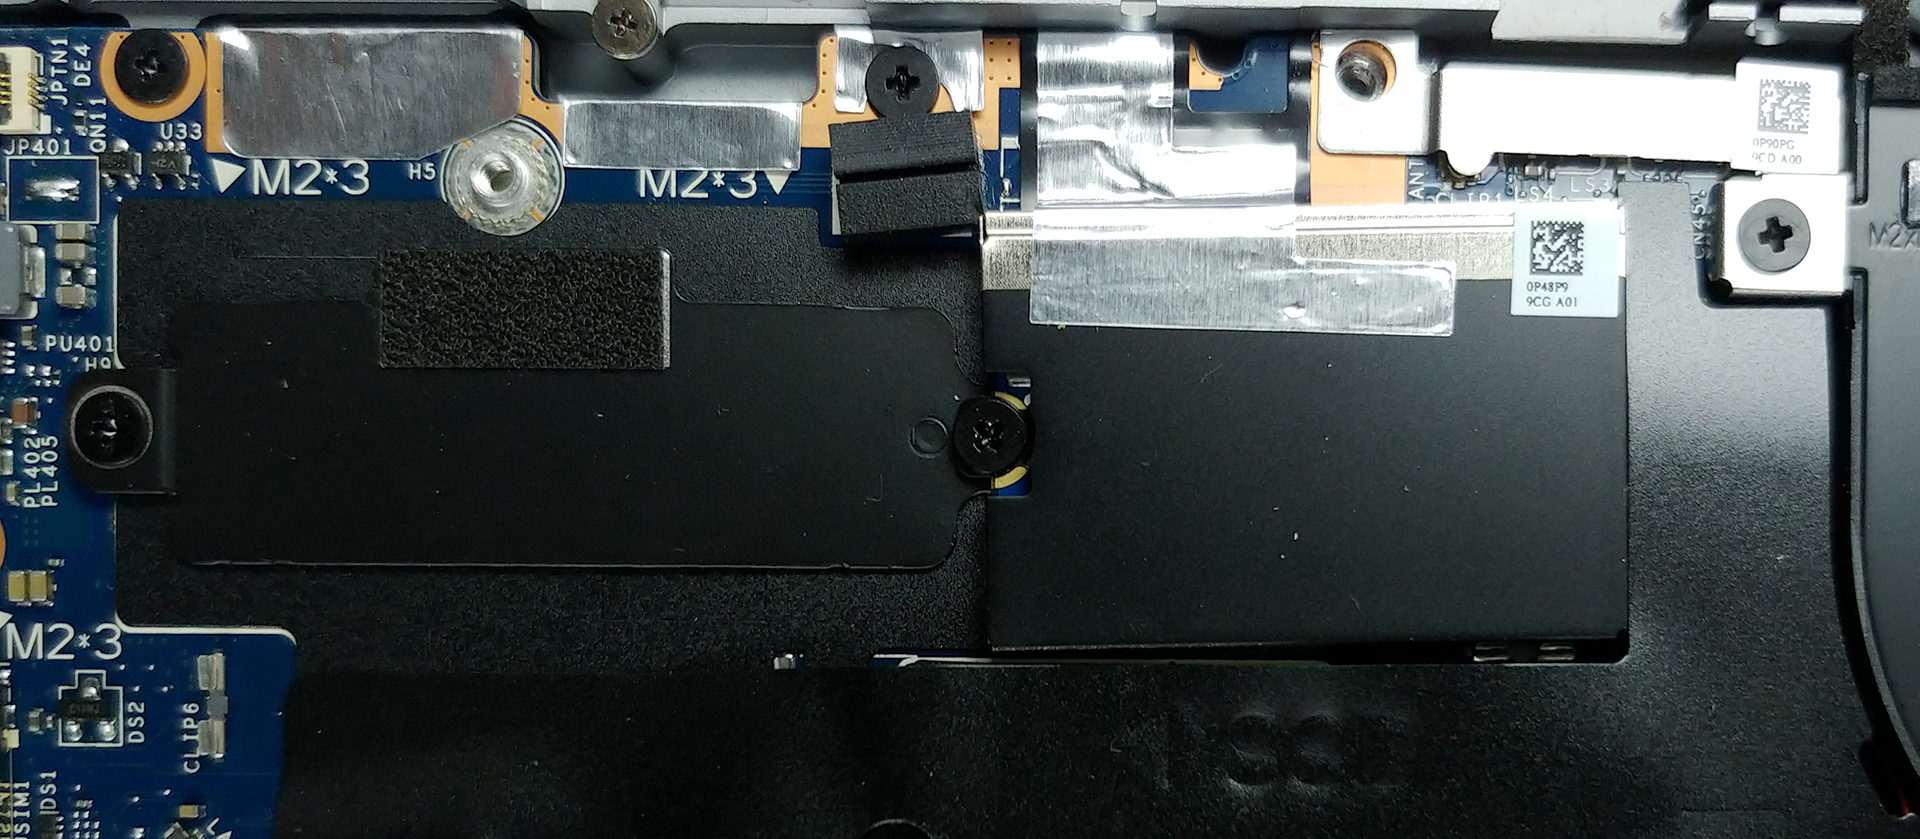
3. Memory and storage
As of the upgradability, well, the memory is soldered and is of LPDDR3 type. The maximum offering from Dell is 16GB and sadly, you won’t be able to upgrade it. However, it supports PCIe x4 M.2 drives for storage.
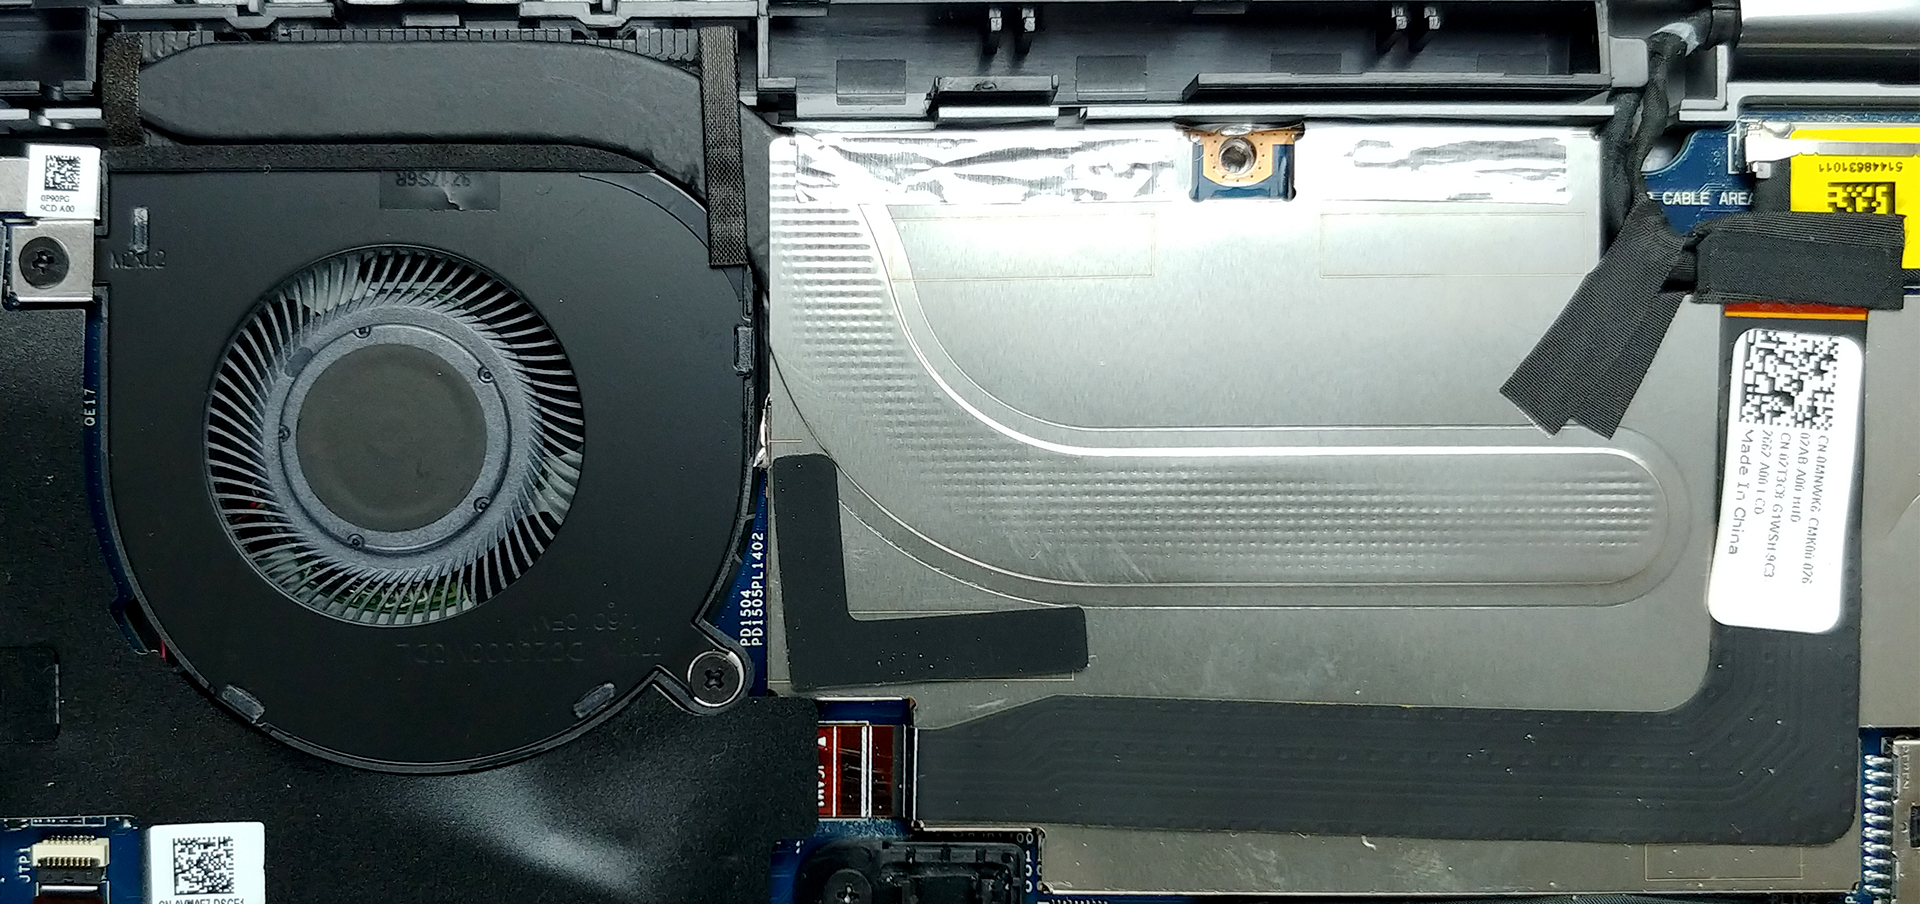
4. Cooling system
Its cooling features a single heat pipe, as well as a single (rather small) fan to blow the heat away from the heat sink.
Check out all Dell Latitude 7400 2-in-1 prices and configurations in our Specs System or read more in our In-Depth review.