Inside Dell Latitude 13 7370 – disassembly, internal photos and upgrade options
As all silent ultrabooks, the Latitude 13 7370 from Dell doesn’t offer a lot of room for upgrade, except storage, of course. However, doing so is a fairly easy task.
You can find the available configurations here: http://amzn.to/2ugBrpV
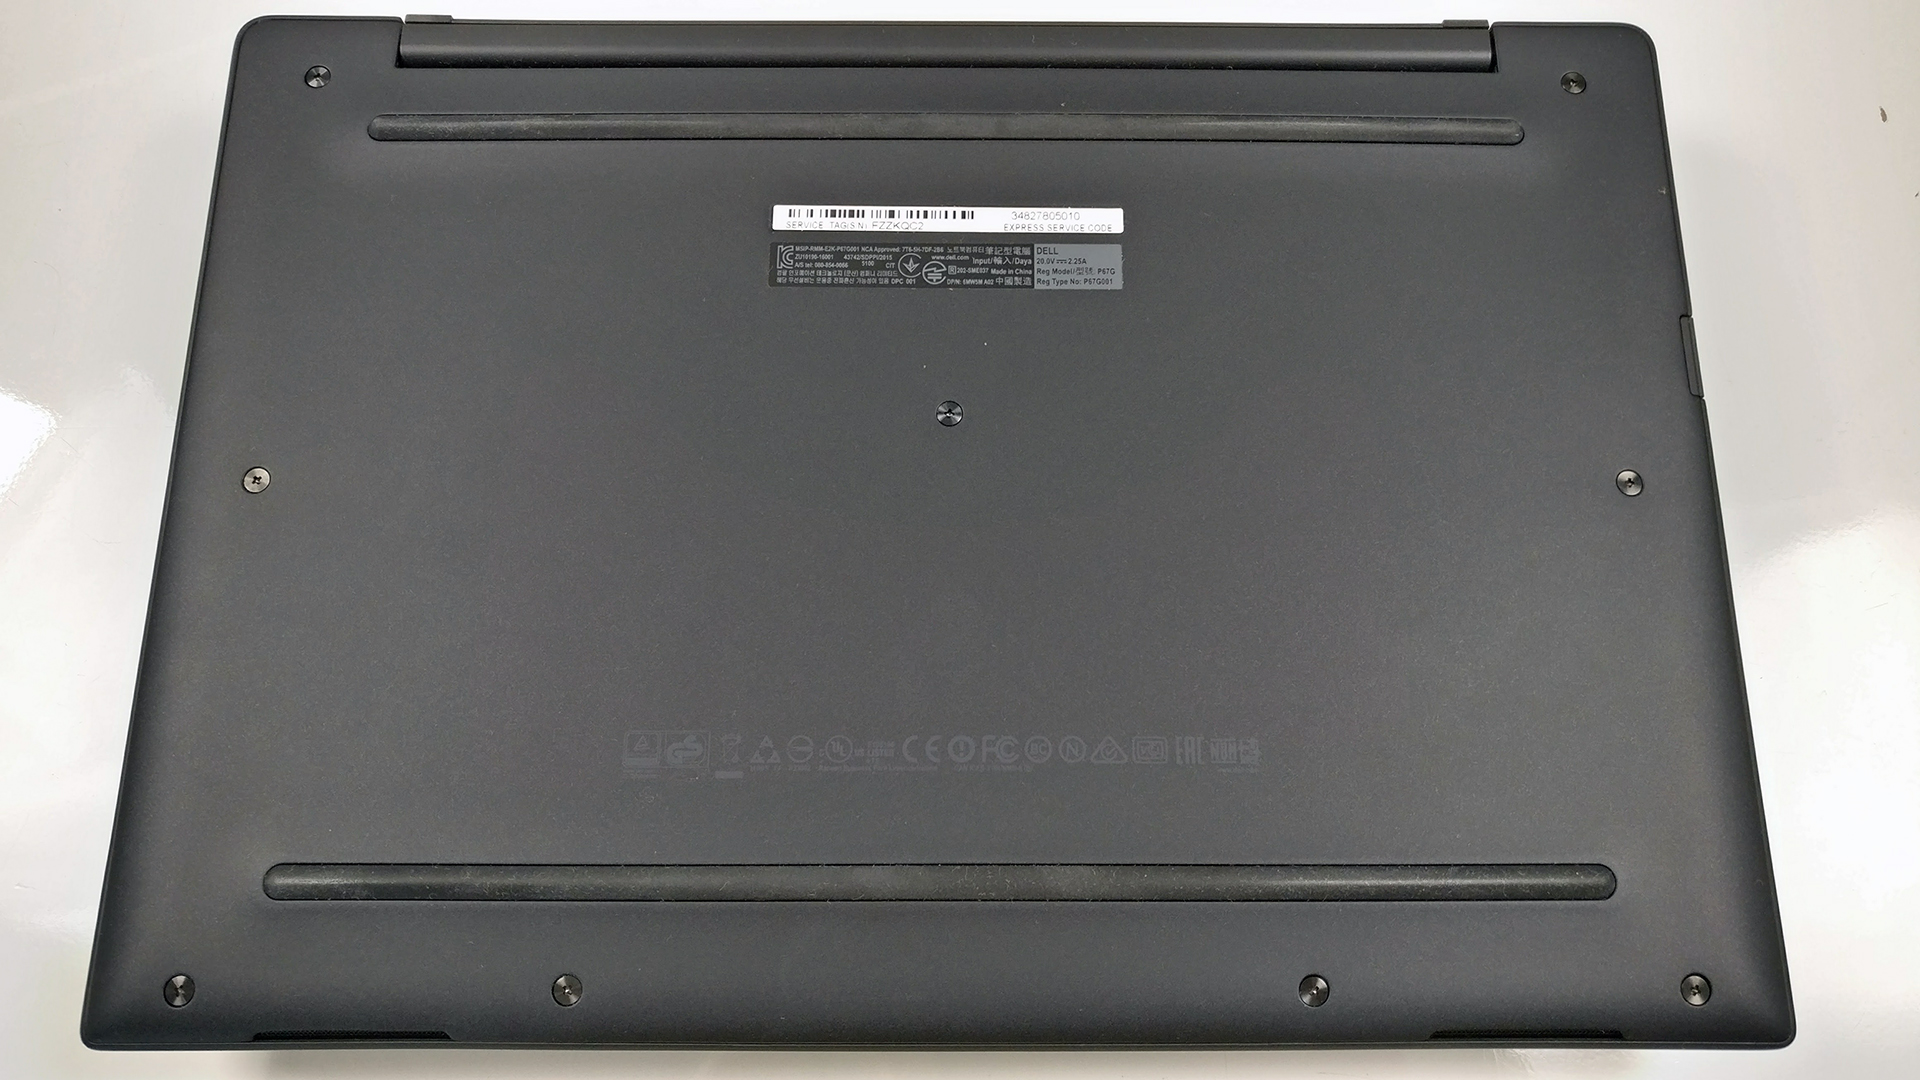
1. Removing the bottom piece
Unscrew all the bolts around the bottom and don’t try to fully remove them, they are attached to the plate.

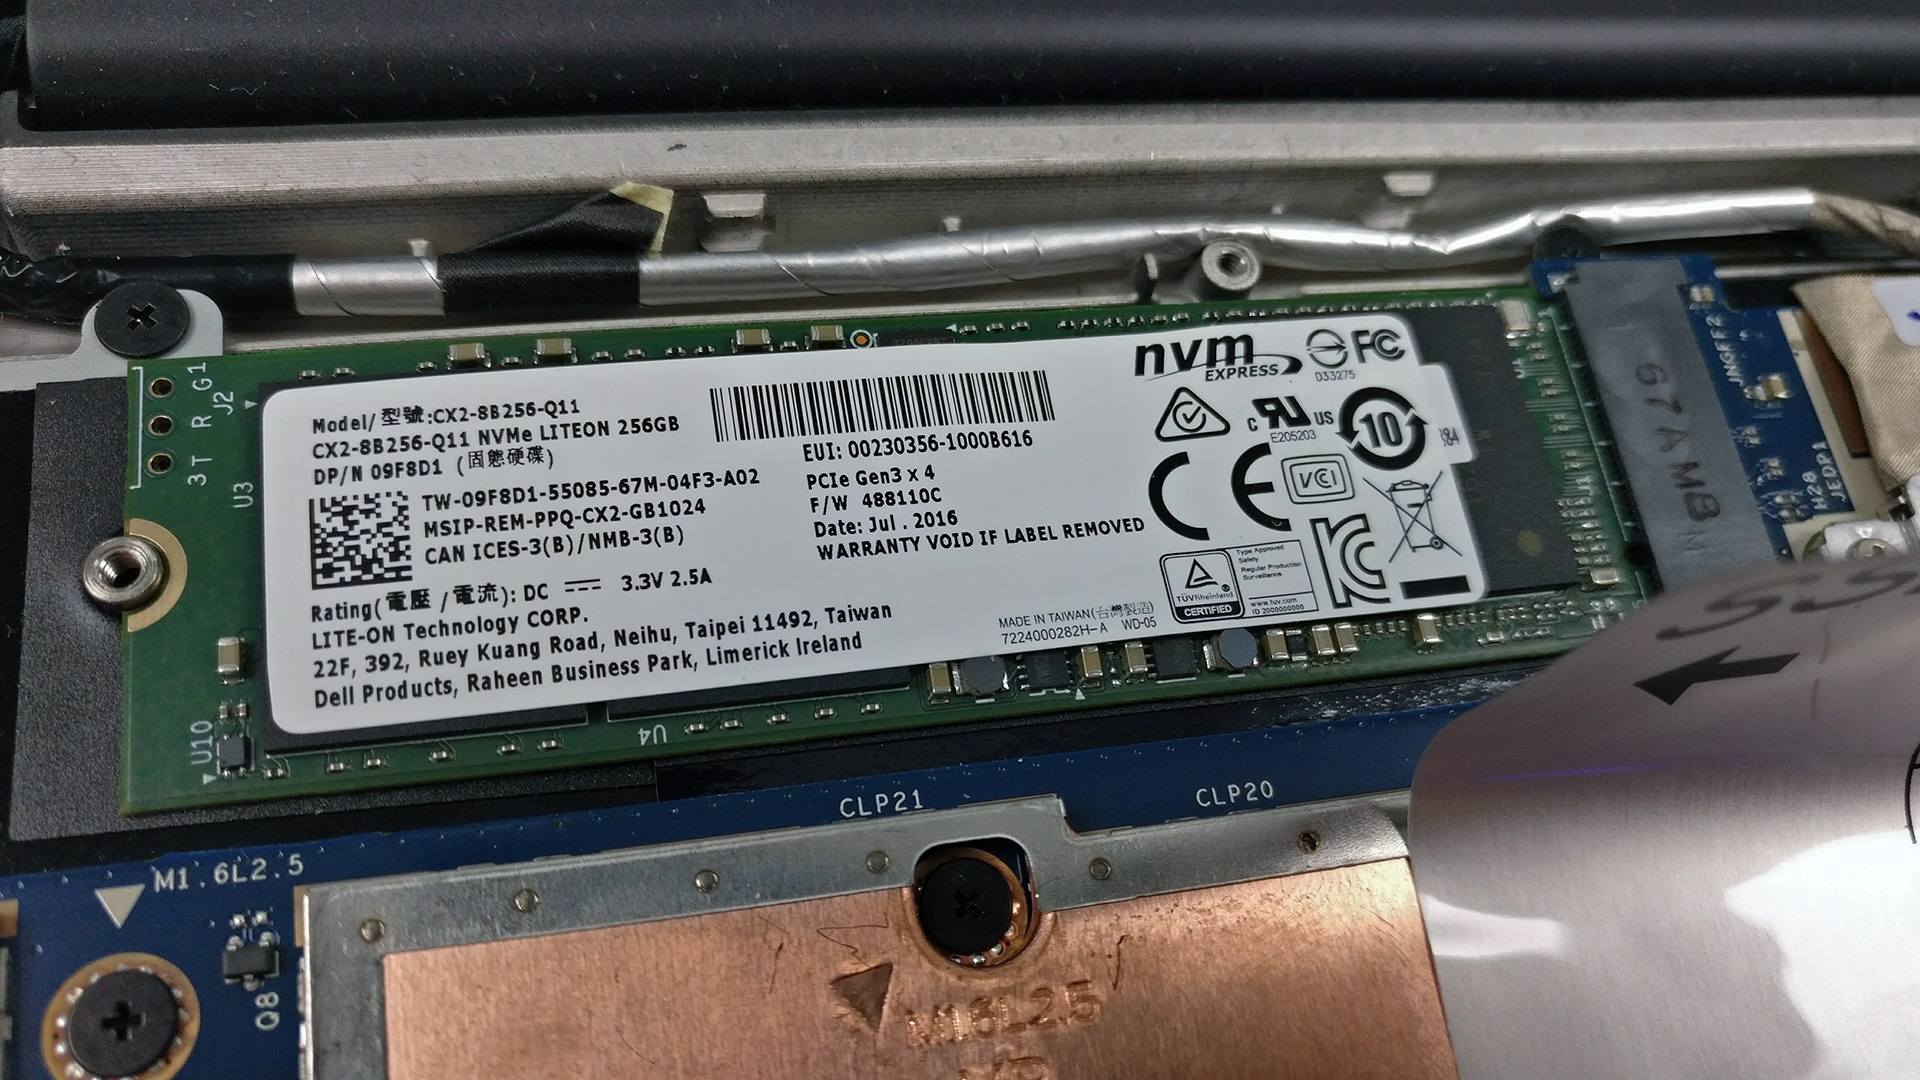
2. Storage
The storage configuration has only one M.2 SSD slot and our unit came equipped with a Lite-On PCIe NVMe SSD (2280) with 256GB capacity.
3. Memory, battery and Wi-Fi
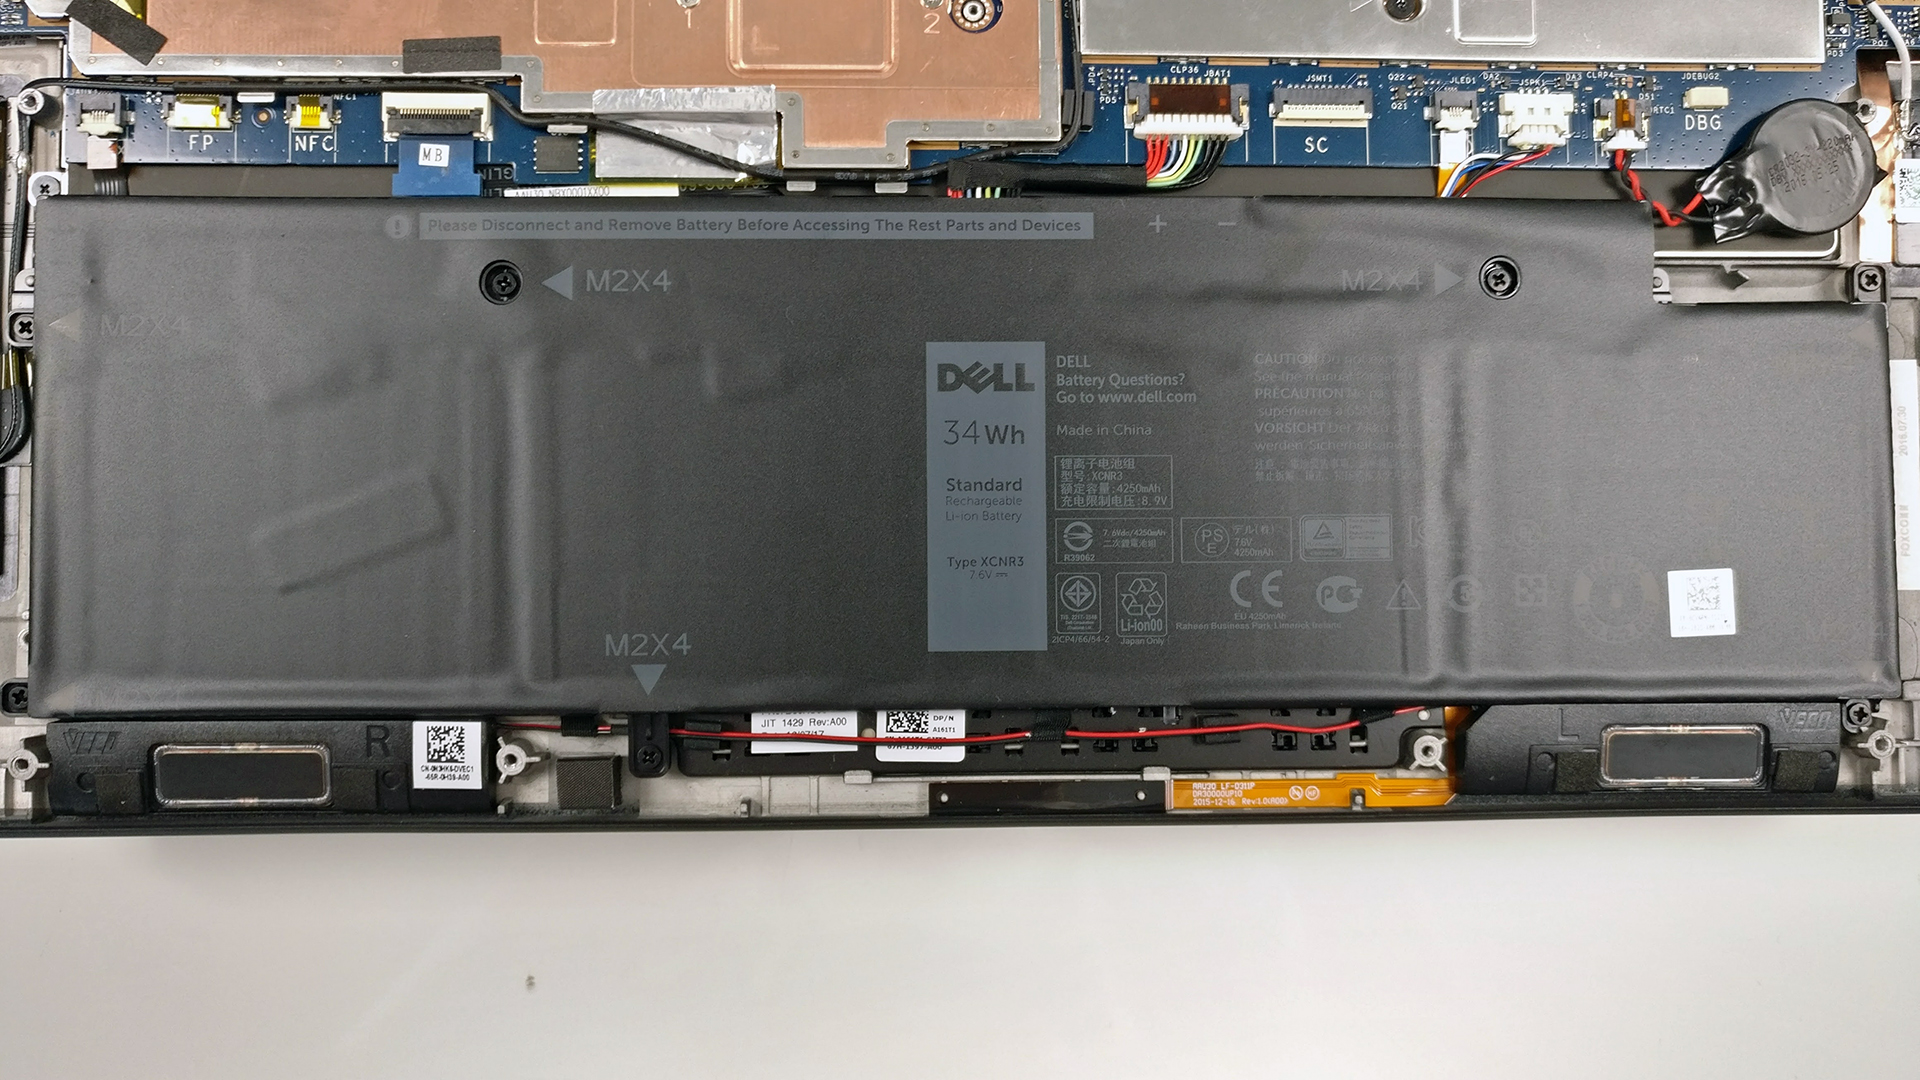
Of course, all RAM slots are soldered to the motherboard – this means no further upgrade can be made. You are stuck with 8GB of LPDDR3-1866 memory, which should be enough in most cases.
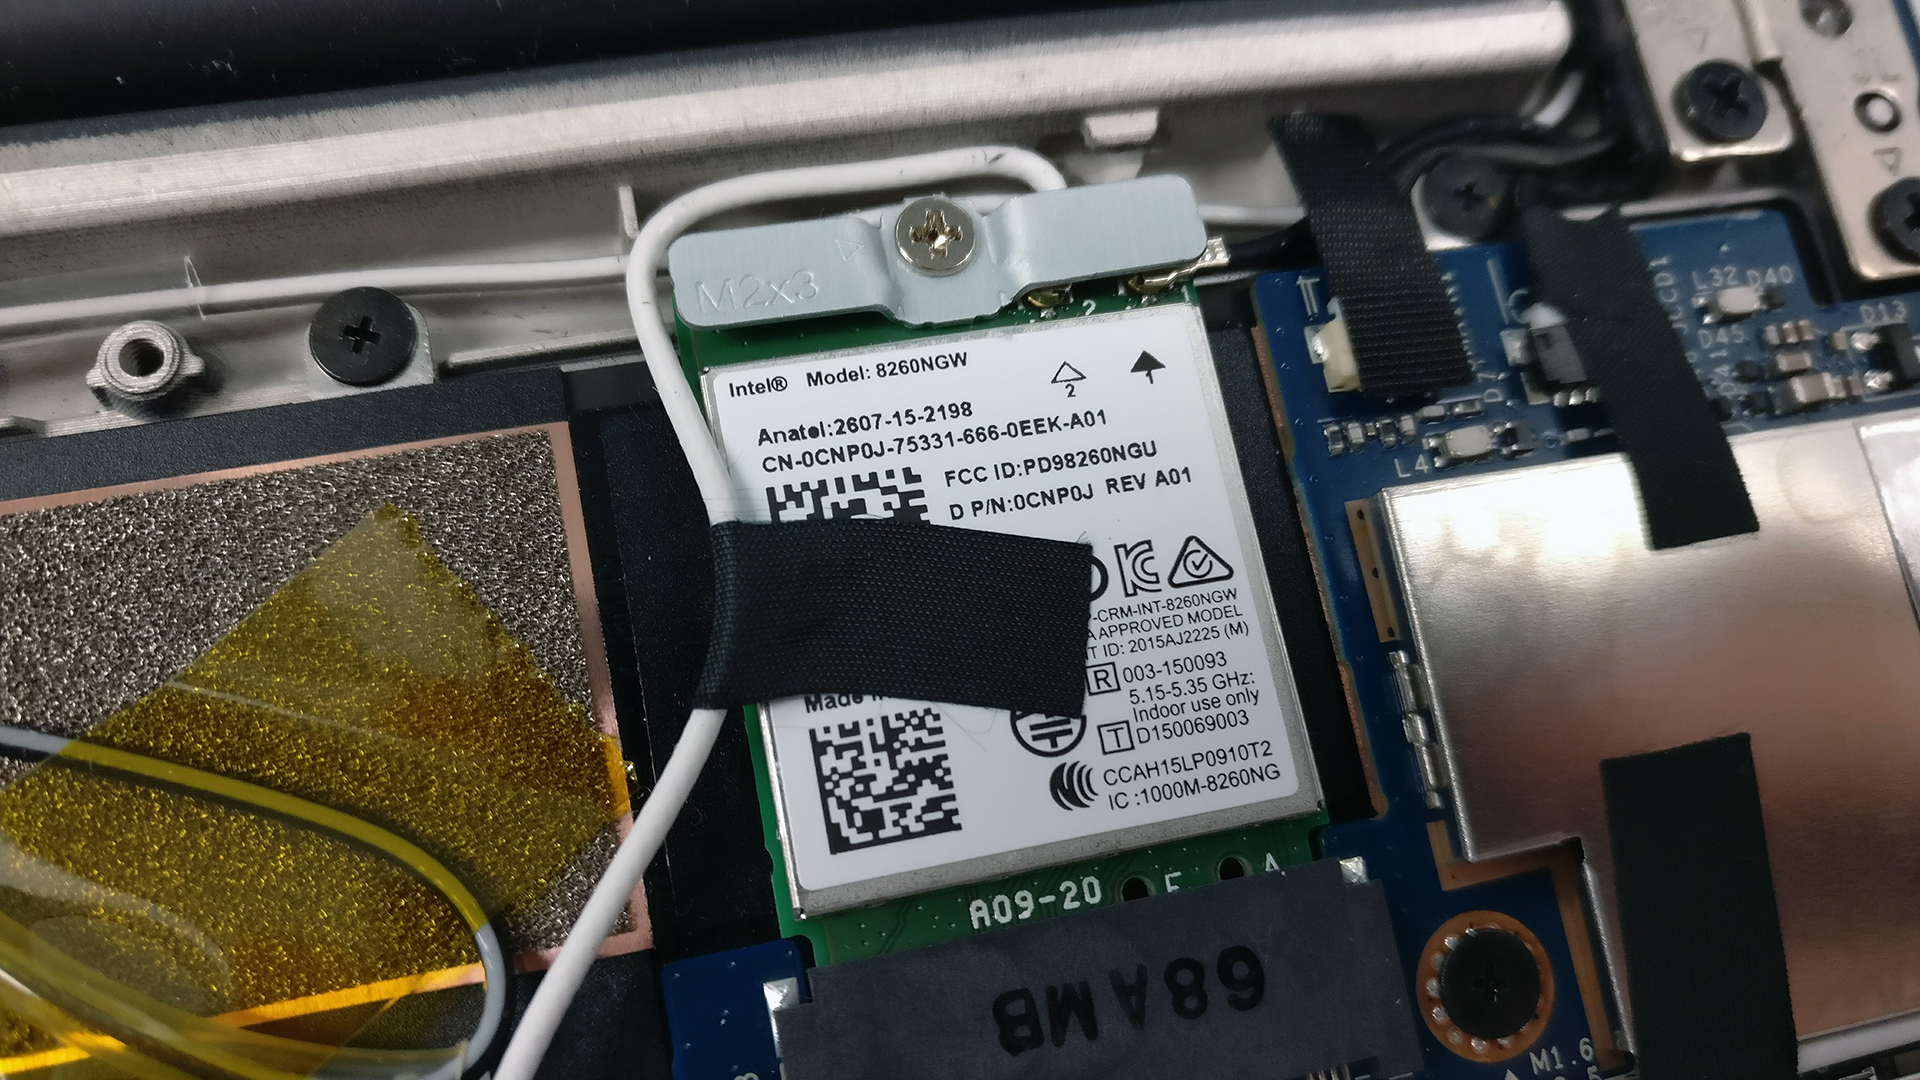
The Wi-Fi module is located in the upper-right corner (with the bottom facing upwards) and it’s Intel 8260NGW.
 </a
</aWith just 34Wh of battery, the ultrabook performed fairly well.
4. Cooling system
The notebook uses a passive cooling solution since the Core m7-6Y75 allows it. And judging by the benchmarks, the machine’s cooling solution is more than sufficient.
The full review of the Dell Latitude 13 7370 can be found here.
You can find the available models here: http://amzn.to/2ugBrpV


![[June 2026] Best-Selling Laptop Brands on Amazon Global – Apple’s Unrivaled Dominance in Units and Revenue](https://laptopmedia.com/wp-content/uploads/2026/07/GLOBAL-Best-Brands-400x225.jpg)
![[June 2026] Amazon Global: Top 10 Best-Selling Laptops – Apple’s New MacBook Neo Storms to #1, Reshaping the Market with Affordability](https://laptopmedia.com/wp-content/uploads/2026/07/Best-Selling-Laptops-GLOBAL-Top-10-400x225.jpg)
![[June 2026] Amazon Global: Top 10 Best-Selling Gaming Laptops – Acer’s Nitro V 16S AI Dominates Sales, While ASUS Leads Overall Revenue](https://laptopmedia.com/wp-content/uploads/2026/07/Best-Selling-Gaming-Laptops-GLOBAL-Top-10-400x225.jpg)
![[June 2026] Global Ranking of Best-Selling Laptop GPUs on Amazon – NVIDIA RTX 5060 is the Top-Selling Dedicated GPU](https://laptopmedia.com/wp-content/uploads/2026/07/Best-Selling-GPUs-GLOBAL-Top-10-400x225.jpg)
![[June 2026] Global Ranking of Best-Selling Laptop CPUs on Amazon – Apple M5 Dominates, AMD Ryzen 7 260 Gets Solid Premium Share](https://laptopmedia.com/wp-content/uploads/2026/07/Best-Selling-CPUs-GLOBAL-Top-10-400x225.jpg)
