Acer Predator Helios 16 (PH16-71) review – liquid metal meets a huge power draw
LaptopMedia.com
Reviews and Analysis
Acer Predator Helios 16 (PH16-71) review - liquid metal meets a huge power draw
Page 8
| 1
Disassembly, Upgrade options, and Maintenance
To get inside this machine, you need to undo 10 Torx-head screws. Use a T6 screwdriver. After that, pry the bottom panel with a plastic tool and lift it away from the chassis.

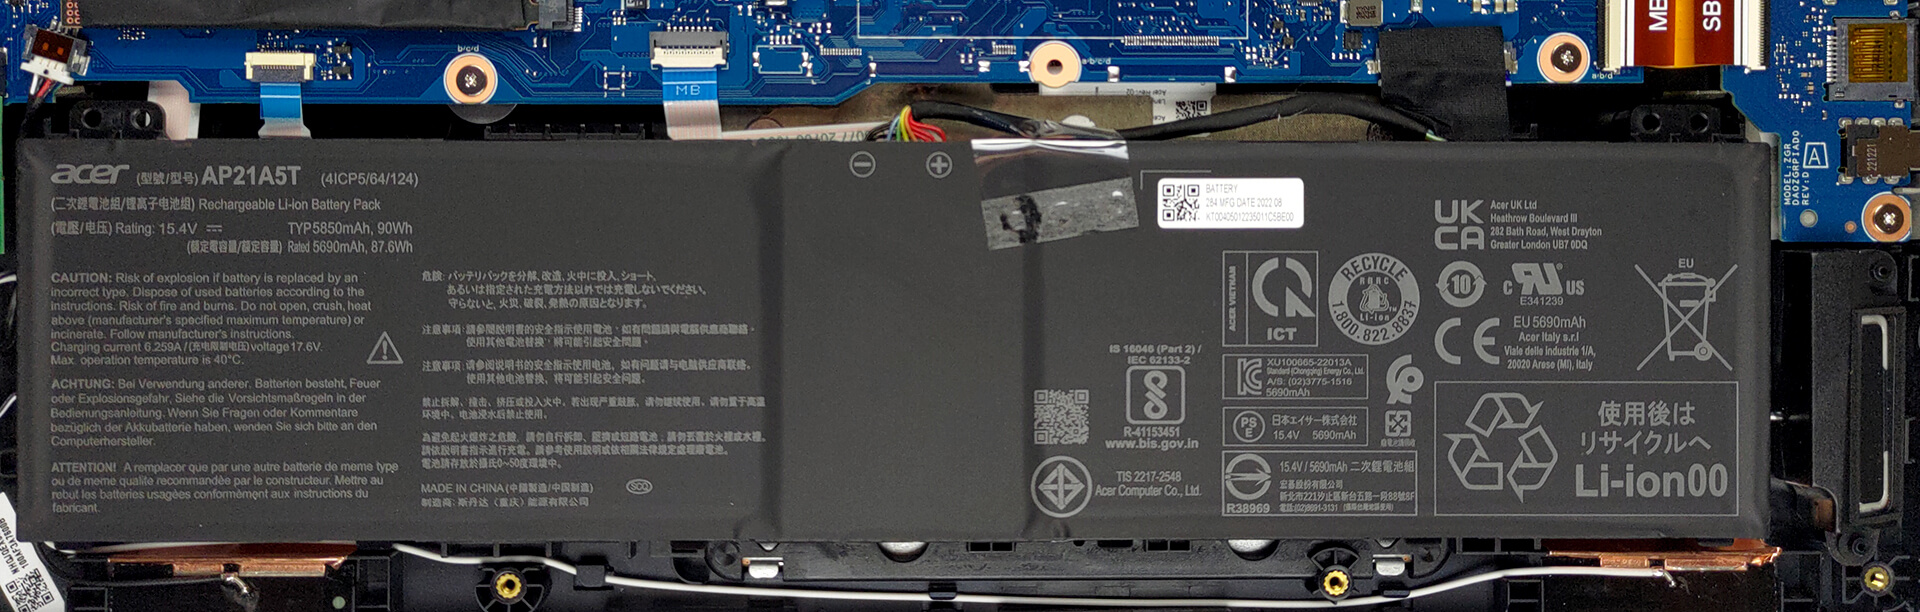
Here, we find a 90Wh battery pack. To take it out, just unplug the connector from the motherboard.
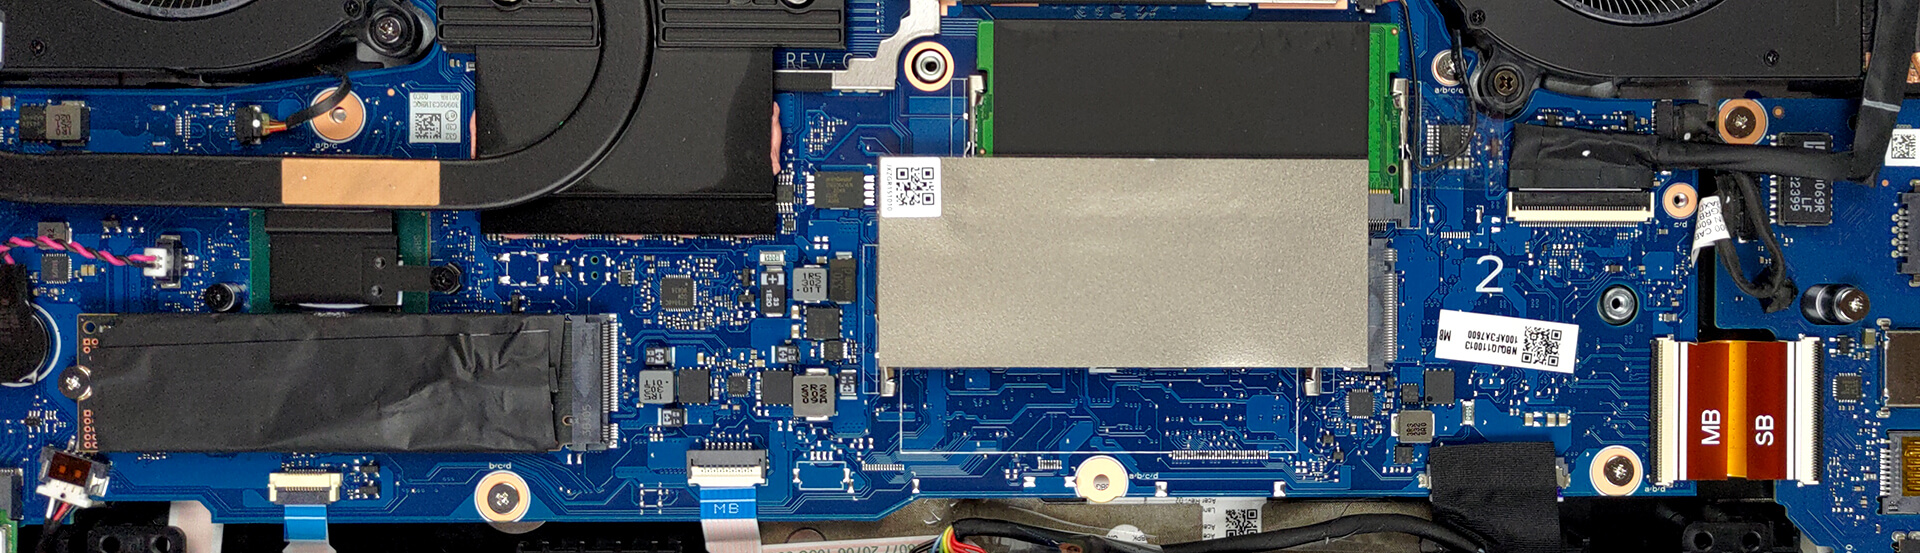
In terms of memory, you get two SODIMM slots, which work with DDR5 RAM. As for storage, there are two M.2 PCIe x4 slots, which support Gen 4 SSDs.
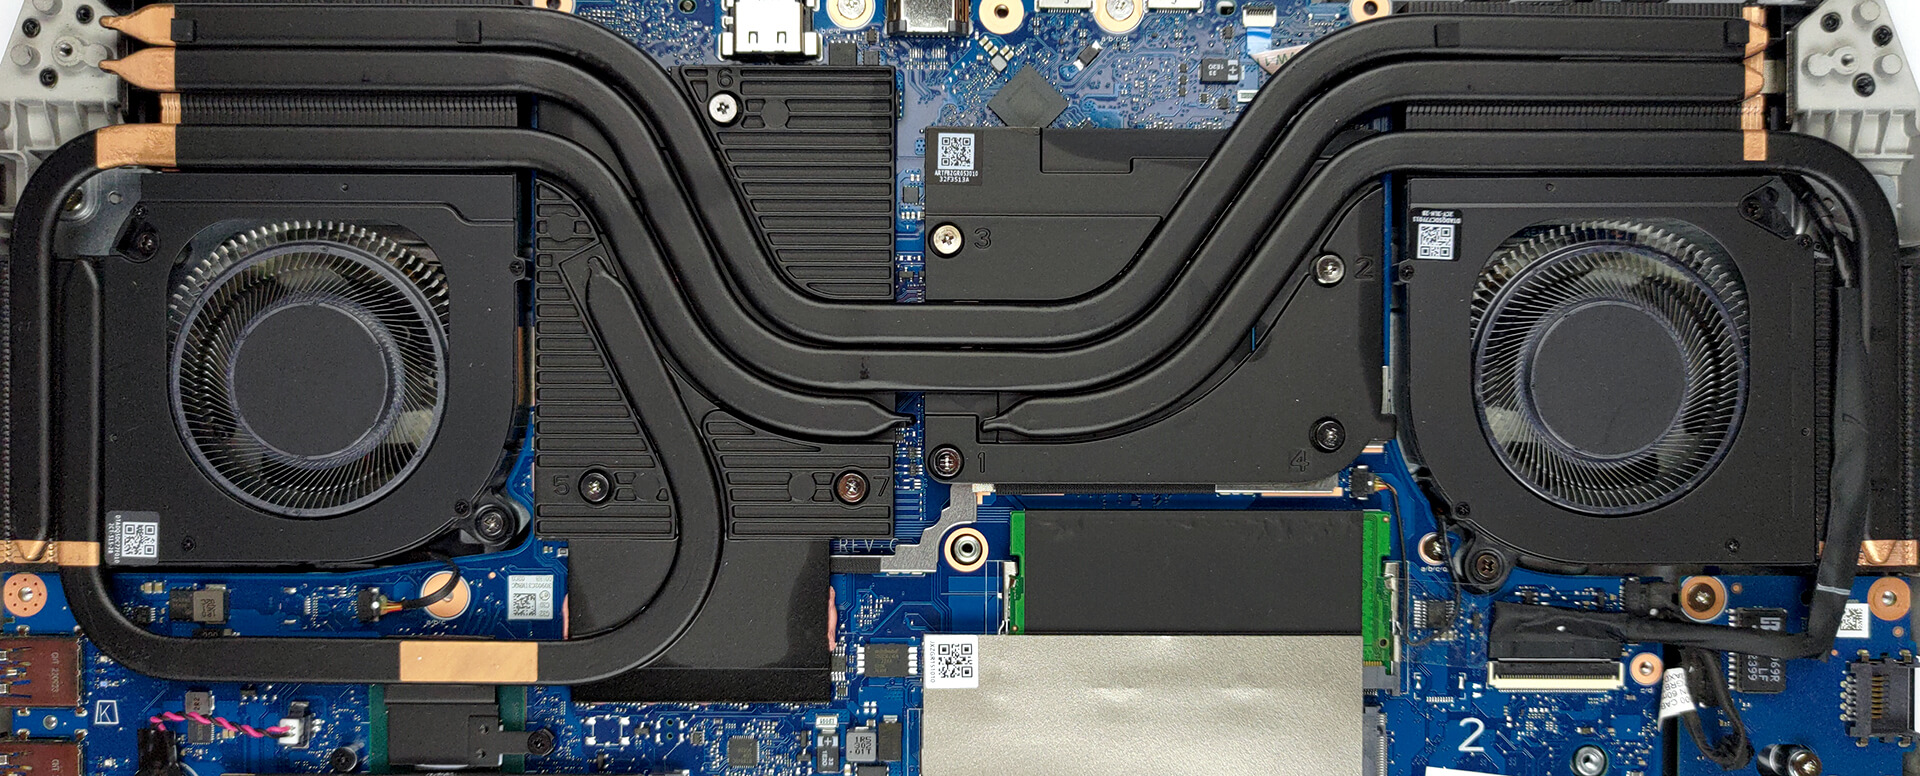
For cooling, you get two heat pipes, shared between the CPU and the GPU. There is one more for the processor, and two more dedicated to the graphics card. Then, four heat sinks and two fans take care of heat dissipation. In addition, there are a couple of heat spreaders for the VRMs and the graphics memory.


Thanks, Alex. Very helpful. Question on the HDMI port: do you know whether it’s truly FRL? I’ve seen a lot that are actually TMDS or otherwise less than true FRL specs. I can’t find anything in the Acer’s documentation.