Inside Acer Predator Helios 700 – disassembly and upgrade options
As one of the most capable gaming laptops you can find on the market, the Helios 700 should provide easy upgrade capabilities to its users. Stay with us to see what does the Predator Helios 700 look on the inside.
Check out all Acer Predator Helios 700 prices and configurations in our Specs System or read more in our In-Depth review.
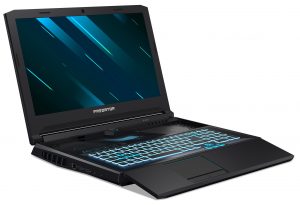
1. Servicing
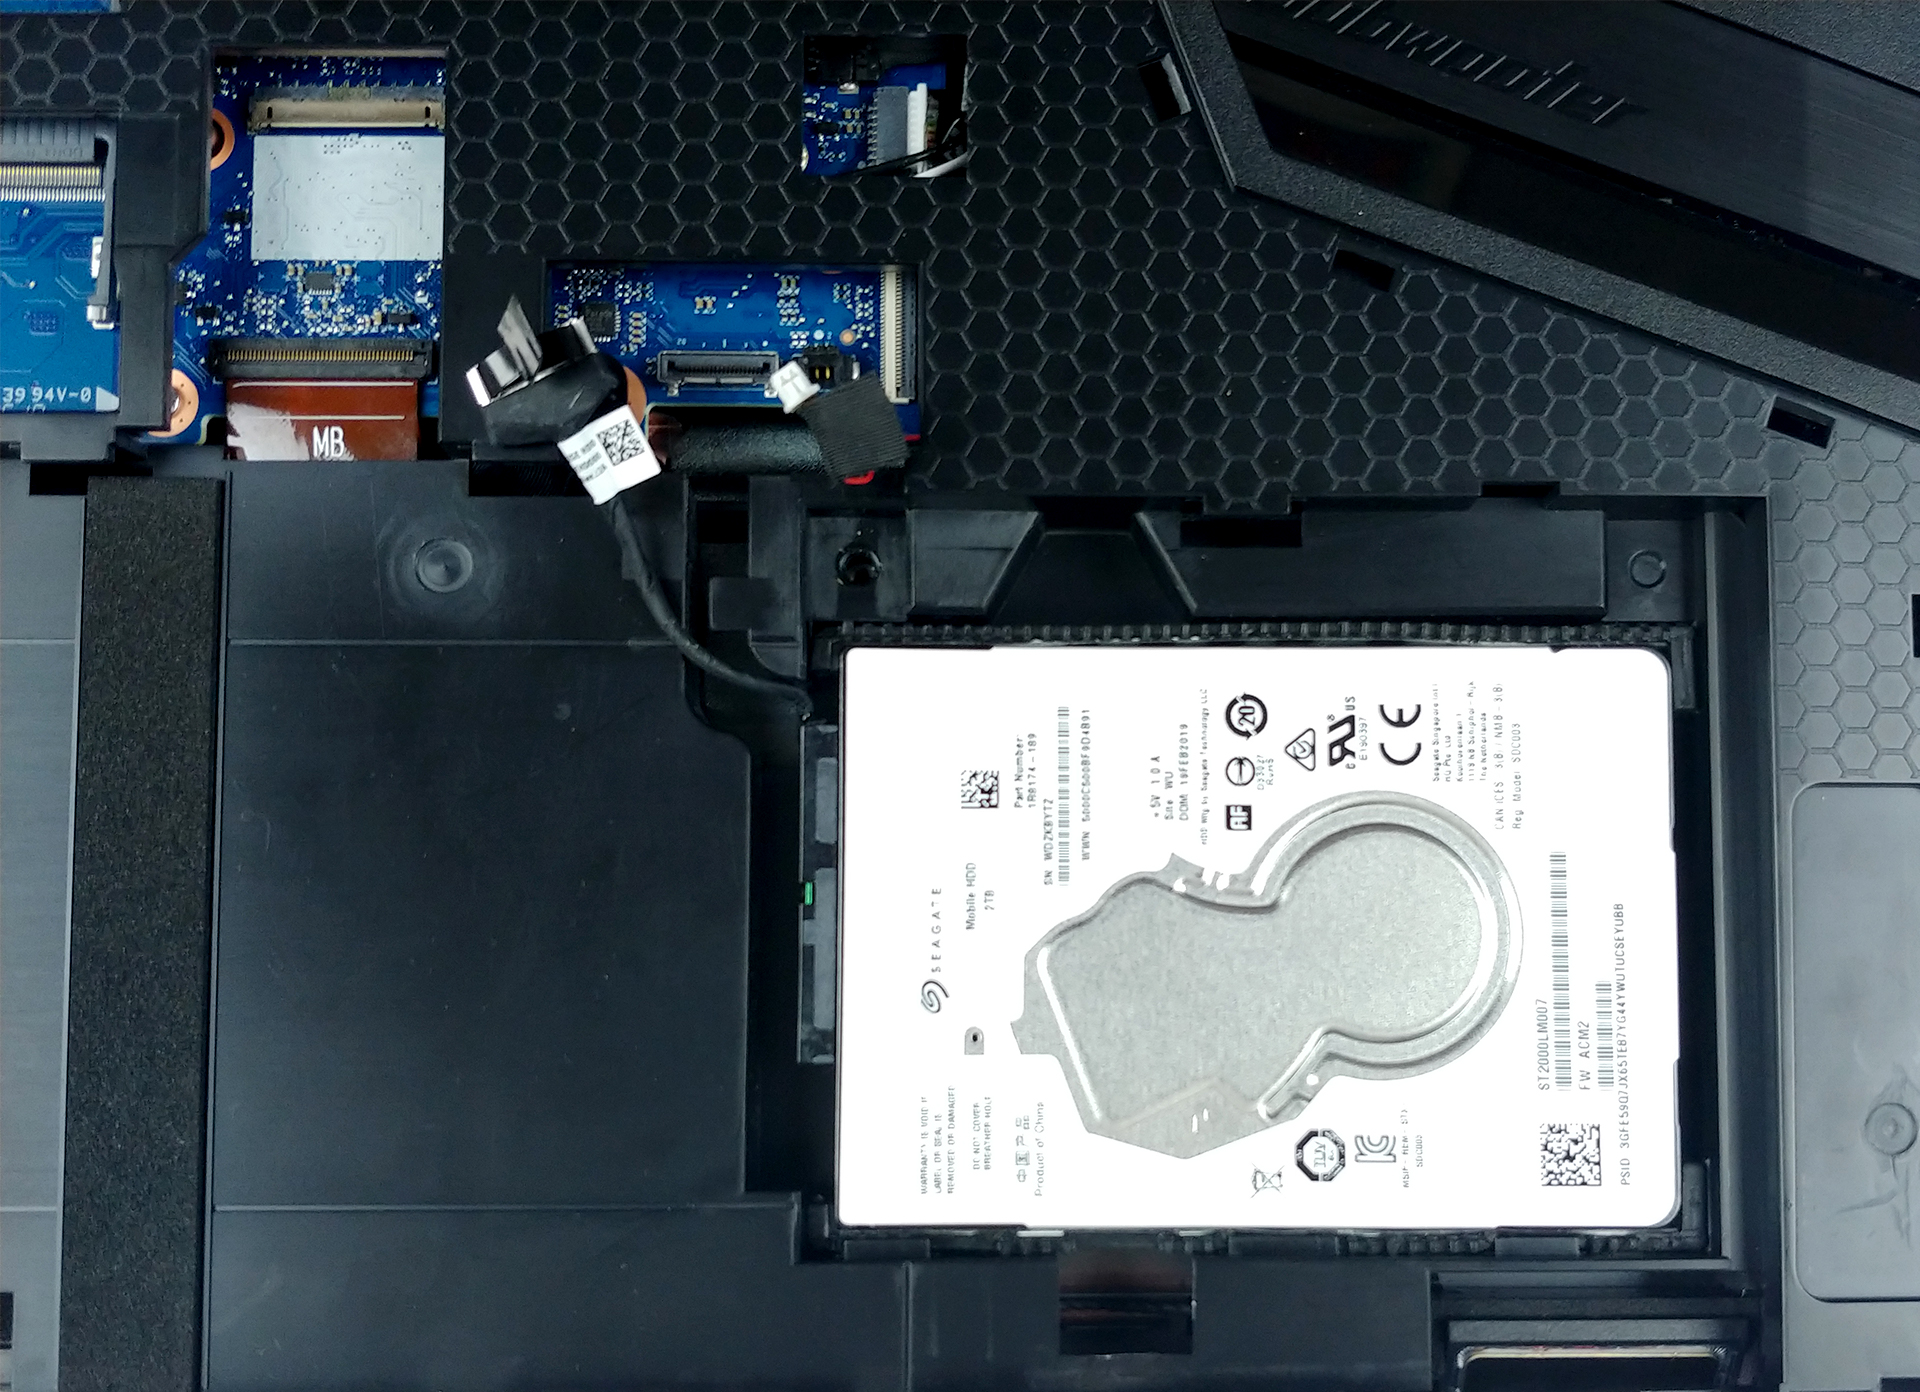
As a legacy to the older generation of fat and bulky gaming laptops, Acer has included a servicing lid. In fact, it is quite large and is held in place by only two Phillips-head screws. After you undo them, you can almost ever interchangeable part of the Helios 700. After you remove the battery, which is held only by some clips, you can go and upgrade the RAM (supports 64GB of DDR4) and the storage – there are two M.2 NVMe slots, that support RAID 0, and there is an additional SATA drive slot, located under a safety cap beneath the battery.

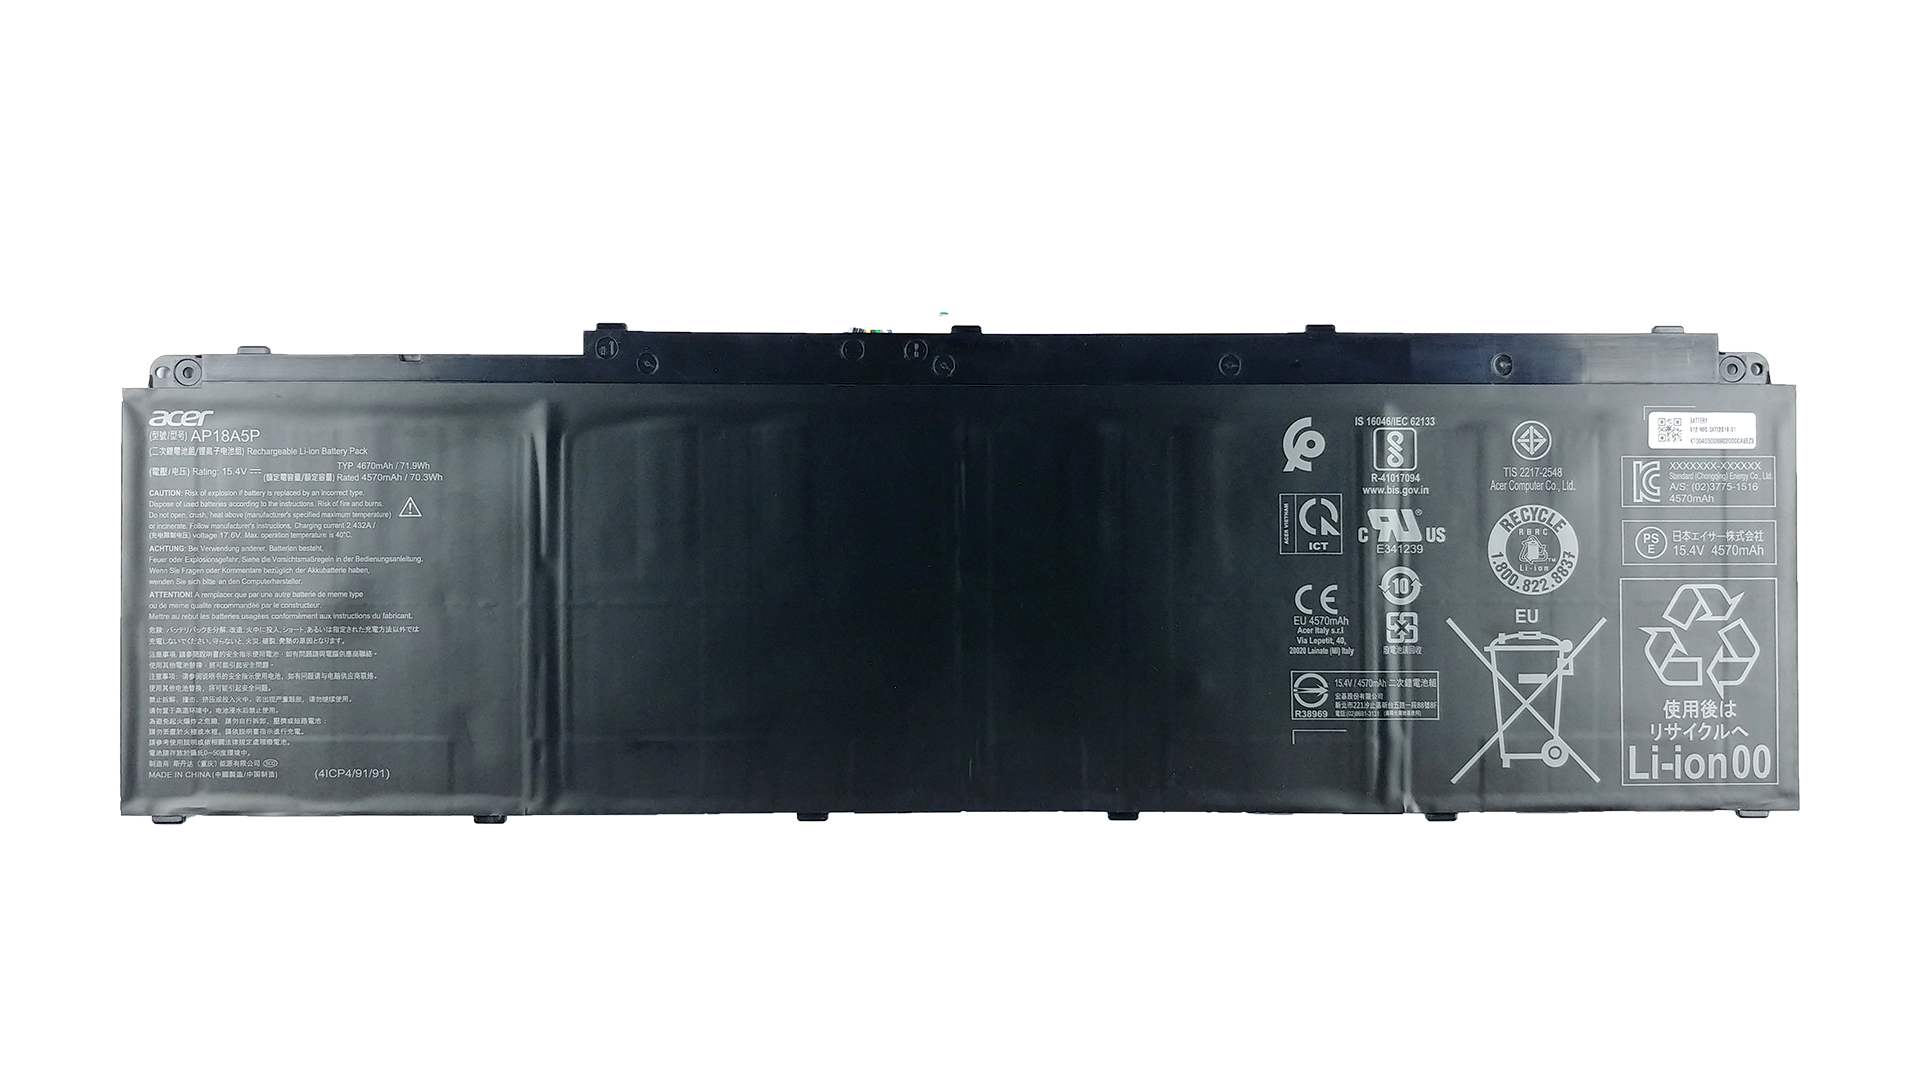
2. Battery
Speaking of the battery, it holds a 70Wh charge capacity and is extremely thin. Expectedly, the laptop won’t last a lot of time only on battery power, so make sure you don’t do sensitive work away from the plug.
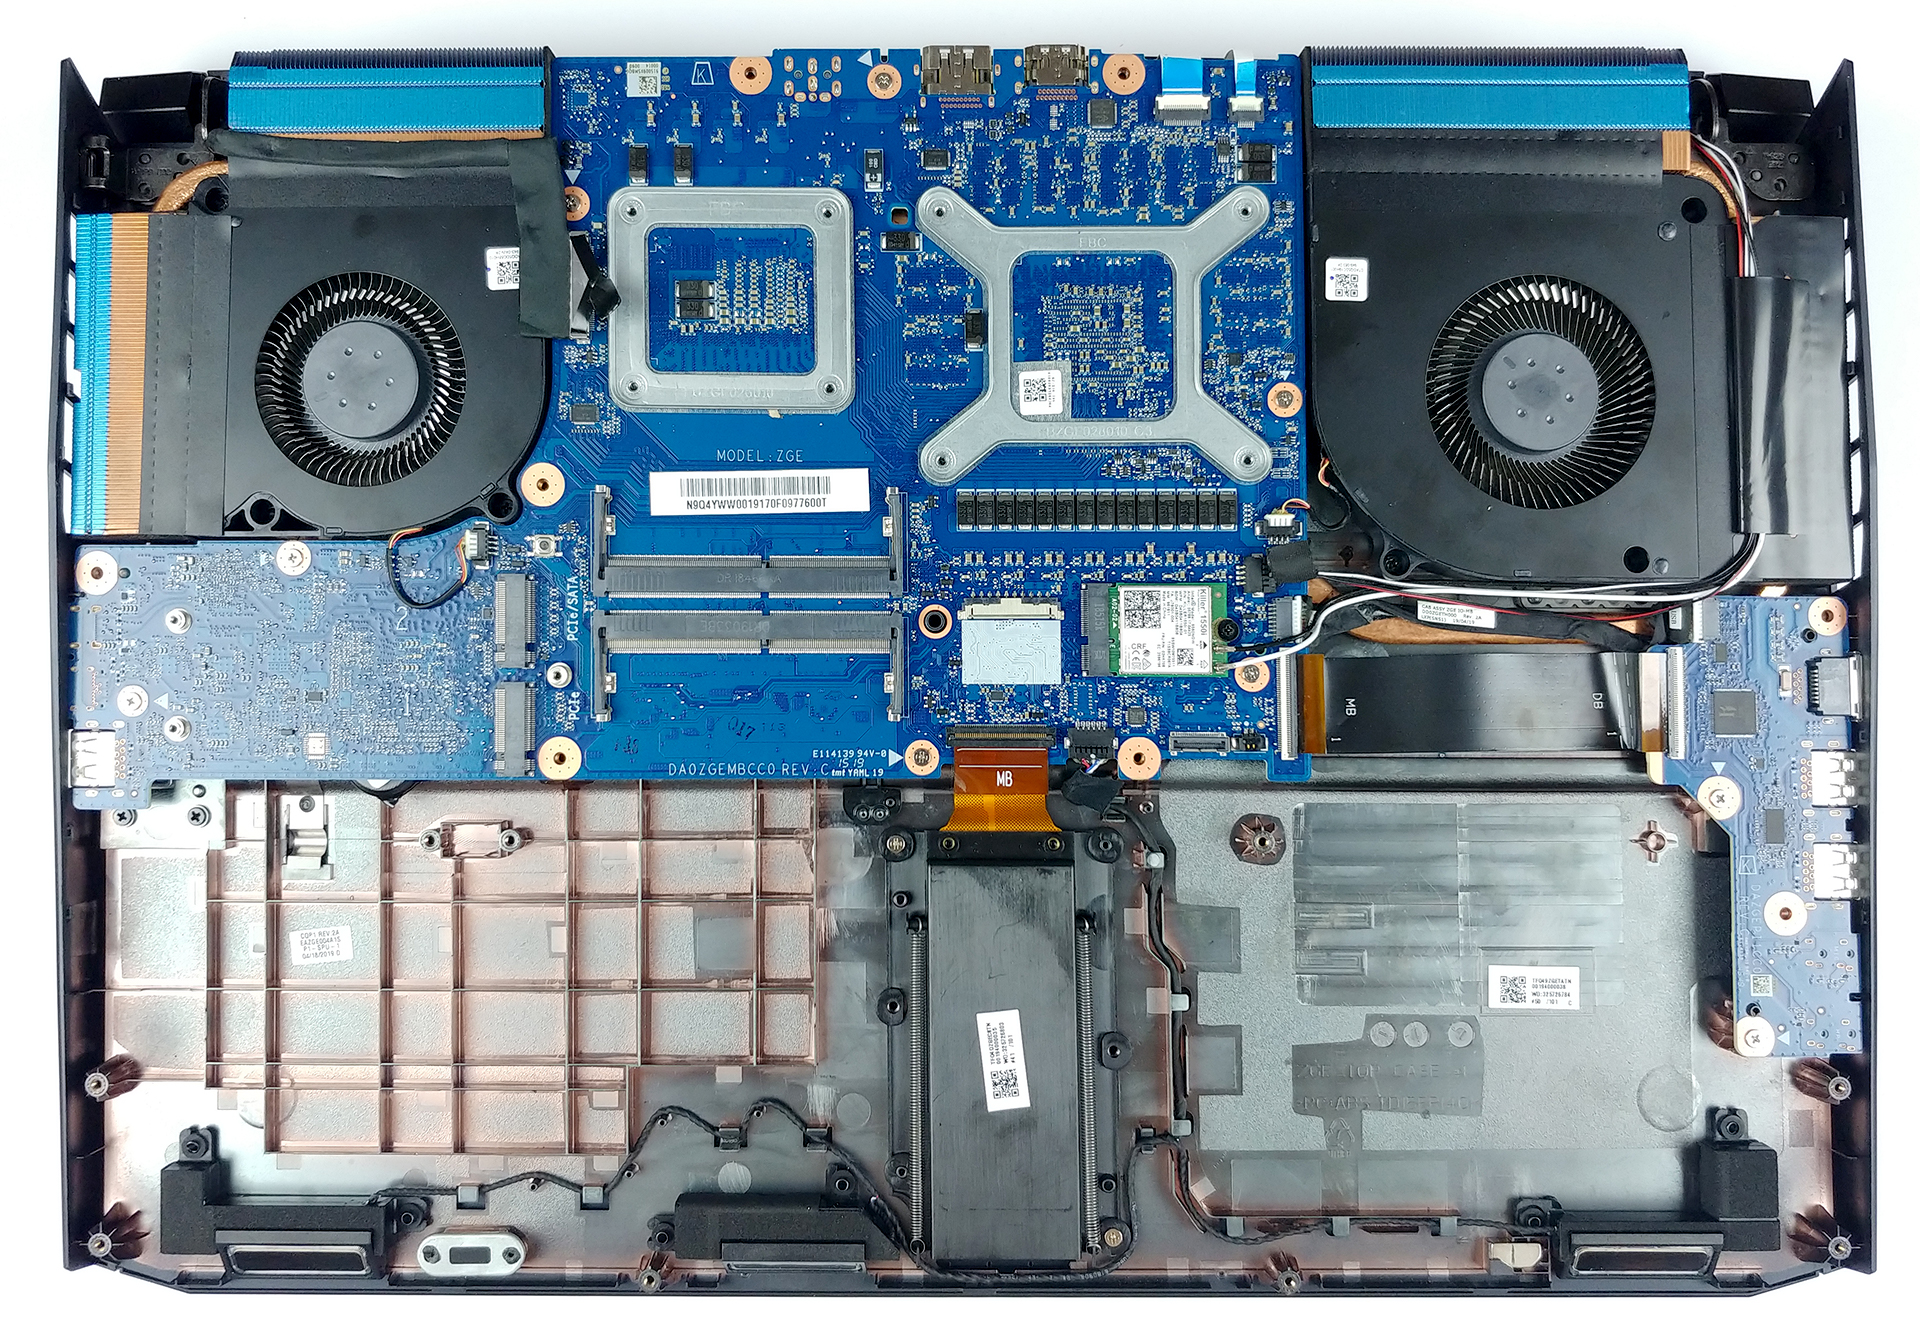
3. Cooling system
In order to reach the cooling, you need to remove the entire bottom panel. This can be done by unscrewing the rest of the 13 Phillips-head screws and the pry it open (it works even by hand). This reveals two enormous fans that are roughly the size of a desktop GPU blower. Sadly, though, the heat pipes are located on the other side of the motherboard, so if you want to repaste your chips, you need to take the entire assembly apart.
Check out all Acer Predator Helios 700 prices and configurations in our Specs System or read more in our In-Depth review.
 Author: Alex Iliev

![[2026. június] Az Amazon Global legkelendőbb laptopmárkái – az Apple páratlan dominanciája az eladott darabszám és a bevétel tekintetében](https://laptopmedia.com/wp-content/uploads/2026/07/GLOBAL-Best-Brands-400x225.jpg)
![[2026. június] Amazon Global: A 10 legkelendőbb laptop – Az Apple új MacBook Neo-ja az első helyre tör, és megfizethető árával újjáformálja a piacot](https://laptopmedia.com/wp-content/uploads/2026/07/Best-Selling-Laptops-GLOBAL-Top-10-400x225.jpg)
![[2026. június] Amazon Global: A 10 legkelendőbb játékos laptop – az Acer Nitro V 16S AI vezeti az eladási listát, míg az ASUS az összbevétel tekintetében áll az élen](https://laptopmedia.com/wp-content/uploads/2026/07/Best-Selling-Gaming-Laptops-GLOBAL-Top-10-400x225.jpg)
![[2026. június] Az Amazonon legkelendőbb laptop-grafikus kártyák globális ranglistája – az NVIDIA RTX 5060 a legkelendőbb dedikált grafikus kártya](https://laptopmedia.com/wp-content/uploads/2026/07/Best-Selling-GPUs-GLOBAL-Top-10-400x225.jpg)
![[2026. június] Az Amazonon legkelendőbb laptop-processzorok globális rangsora – az Apple M5 vezet, az AMD Ryzen 7 260 pedig jelentős részesedést szerez a prémium szegmensben](https://laptopmedia.com/wp-content/uploads/2026/07/Best-Selling-CPUs-GLOBAL-Top-10-400x225.jpg)

Where are the other two ram slots? It has to be four?
Right in front of your face in the last picture
If they are the other two then were are the first two that make up the four slots available?
I still need to find all four slots… the video only shows the two obvious ones… where are the other two? please advice…
it must be four slots.. i can see two.. can you see all four right in front of your face on the last picture?
That is just with the whole back cover off, it’s only two showing in that picture.
They are on the flip side of the board, only 2 are accessible by only taking off the back panel. Have to take out the mobo to even get to them unfortunately.
Turn the board around. You have to remove the fans first then motherboard comes out.
Well then…show the rest of the disassembly, don’t just tease us.