How to open ASUS Zenbook 14 Flip OLED (UP3404) – disassembly and upgrade options
LaptopMedia.com
Guides
How to open ASUS Zenbook 14 Flip OLED (UP3404) – disassembly and upgrade options
| 0
#CommissionsEarned

1. Removing the Bottom Panel
- Before you start, ensure the laptop is powered off and disconnected from any external power sources.
- Place the laptop upside-down to access the bottom panel.
- Remove the two rubber back feet to reveal two hidden Phillips-head screws. Use a plastic tool to gently pry them off.
- Undo the two Phillips-head screws.
- Use a plastic pry tool to gently separate the bottom panel from the chassis.
- Carefully lift the bottom panel to access the internal components.
Caution: Be gentle to avoid damaging the internal components.

2. Battery Removal
- Disconnect the battery connector from the mainboard. This may require a gentle pull with a plastic tool.
- Undo the six Phillips-head screws fixing the battery to the chassis.
- Lift the battery out of the chassis.
More info: The battery is a 75Wh unit capable of 14 hours and 35 minutes of web browsing, or 11 hours and 7 minutes of video playback.

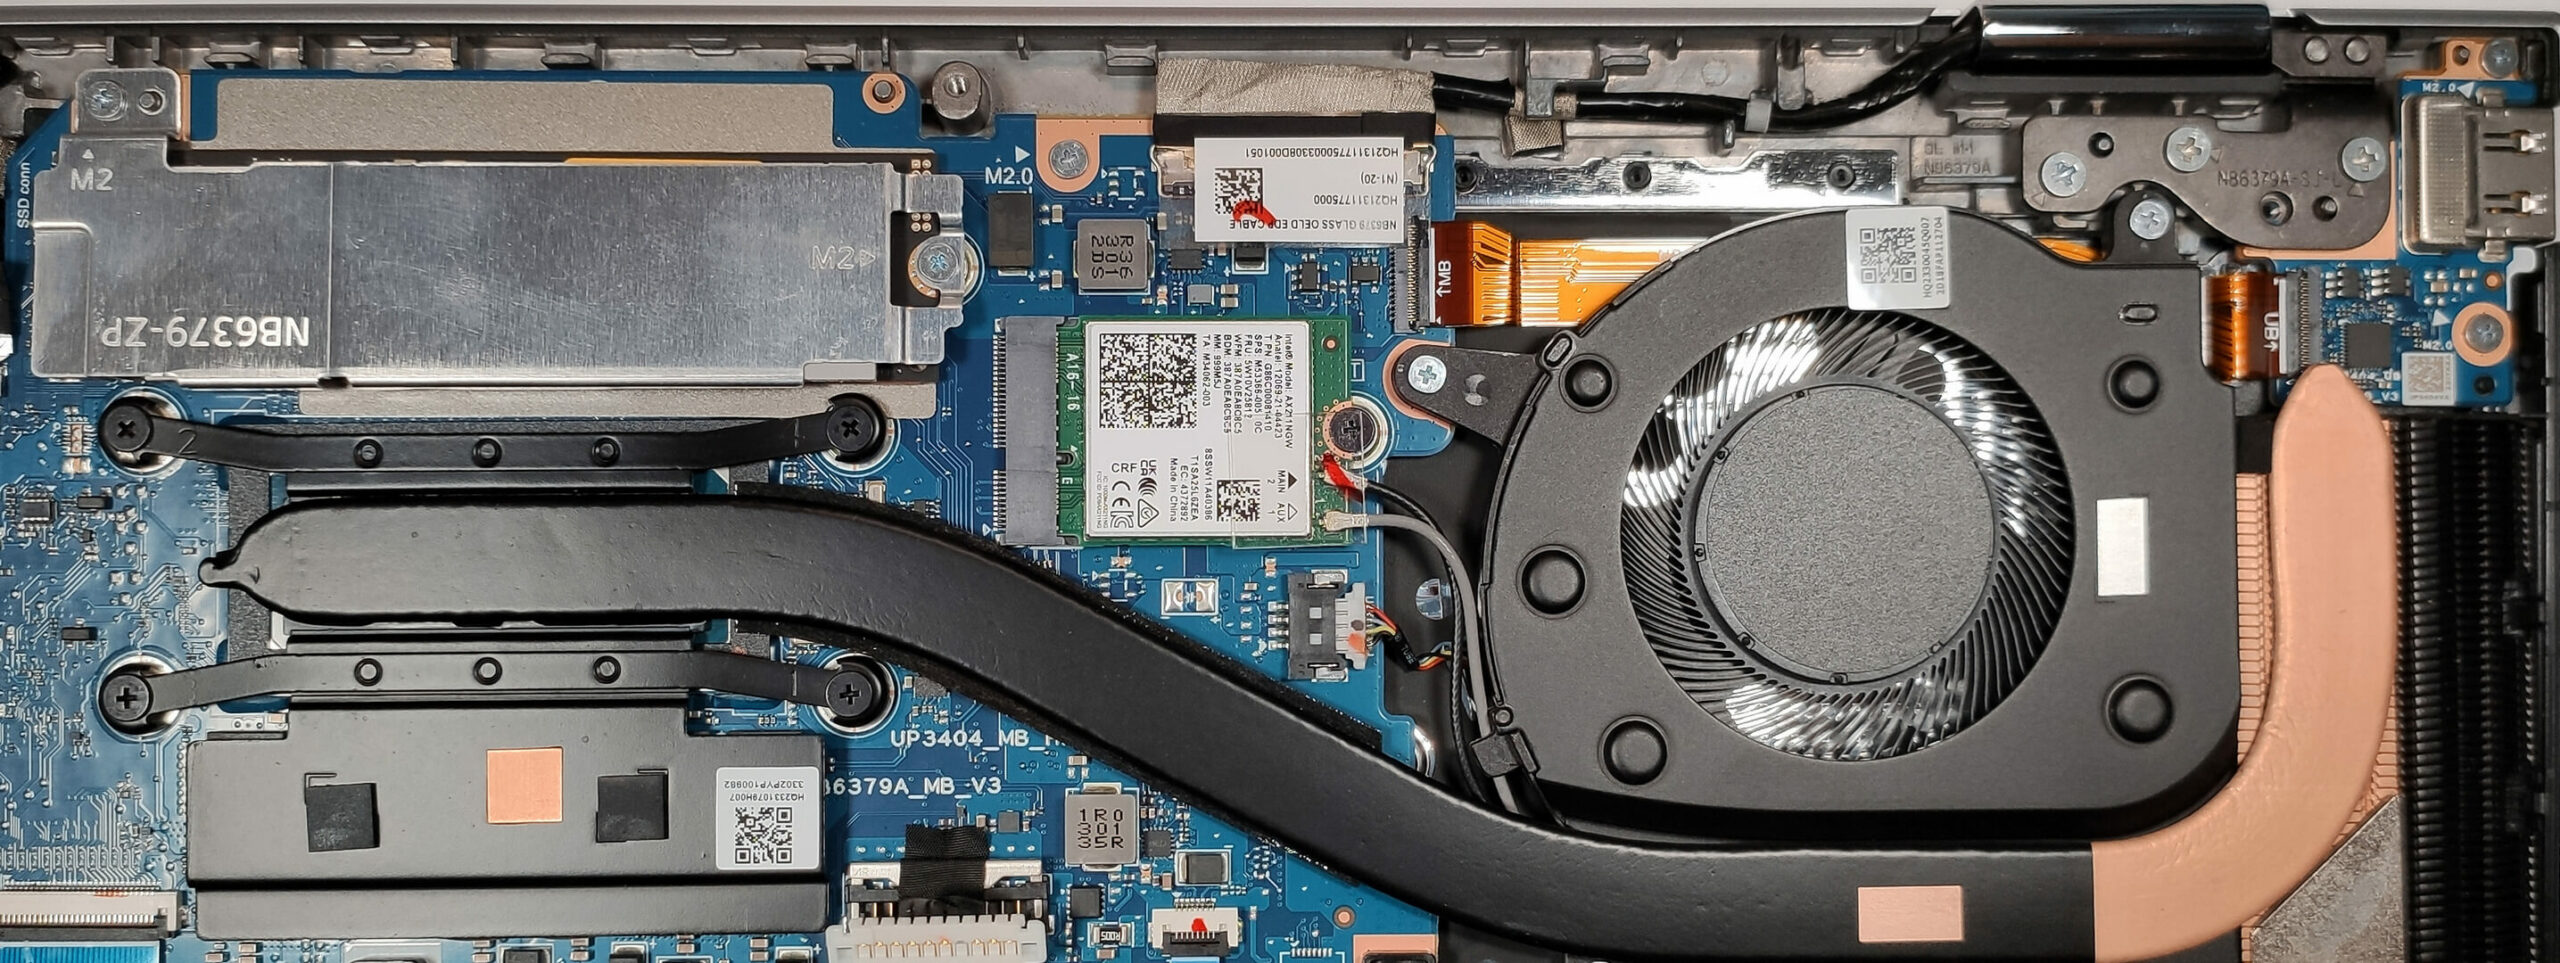
3. Upgrading the SSD
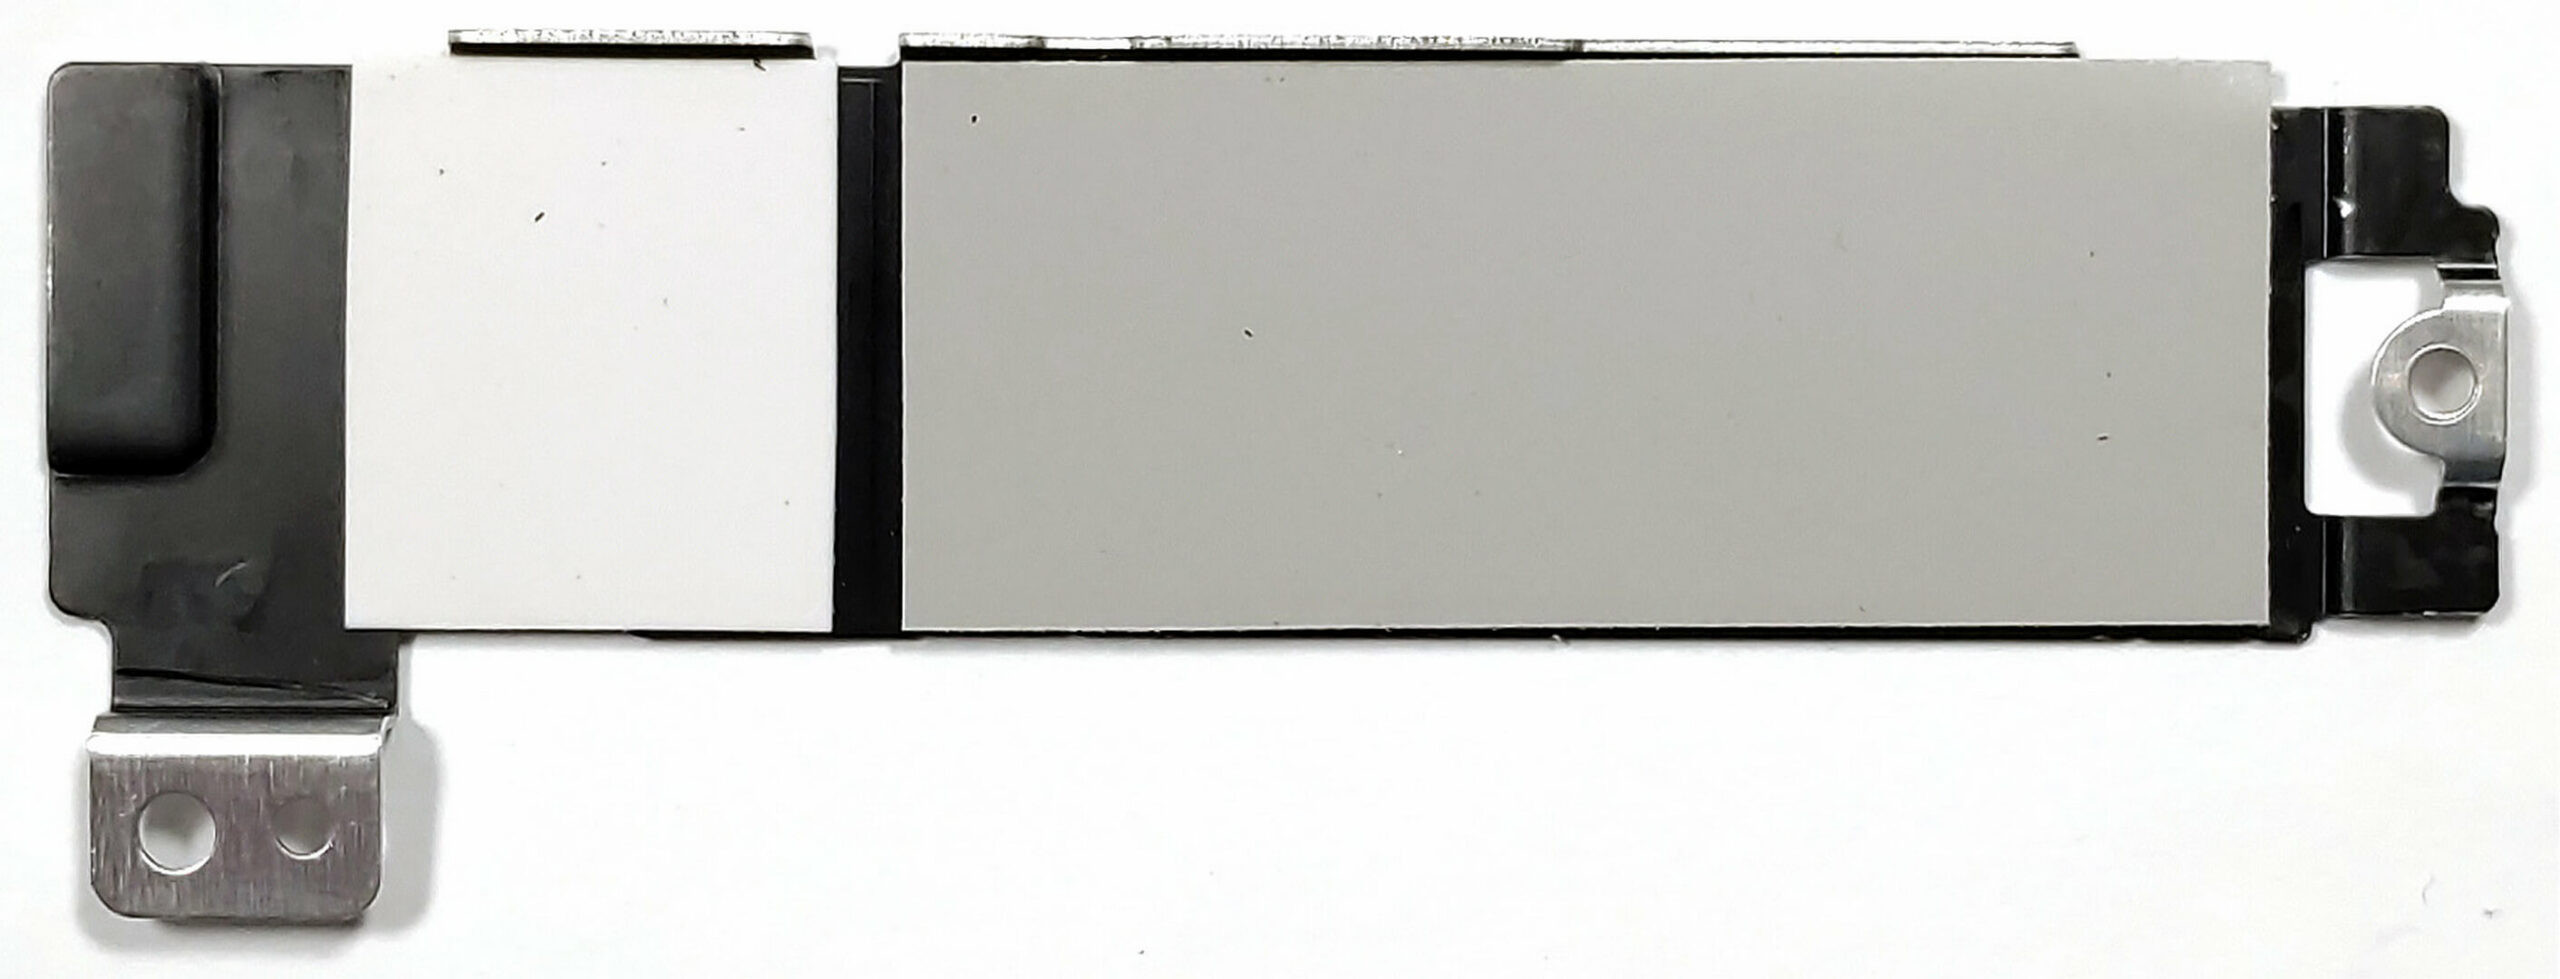
- ASUS Zenbook 14 Flip OLED (UP3404) features just one M.2 slot for Gen 4 SSDs which is located n the motherboard.
- Remove the metal plate covering the NVMe SSD by undoing its securing screws.
- Gently slide out the existing SSD.
- Insert the new Gen 4 M.2 SSD into the slot and secure it with the screw.
- Reattach the metal plate over the new SSD.
You can buy Gen 4 M.2 SSD modules here: Buy from Flipkart.com
More info: The laptop supports Gen 4 SSDs for storage upgrades.


4. Cooling System
- The cooling system comprises one fan, a thick heat pipe, one decently sized heat sink, and a heat spreader.
- Regular maintenance, like cleaning the fans and replacing the thermal paste, can help maintain optimal thermal performance.
- Locate the cooling fan and heat sink on the motherboard.
- Remove the screws securing the fan and gently lift it out.
- Undo the screws holding the heat sink and carefully remove it.
- Clean the fan and heat sink with compressed air and isopropyl alcohol.
- Reapply thermal paste to the CPU and GPU before reattaching the heat sink.
- Reinstall the cooling fan and secure it with its screws.
Caution: Ensure the thermal paste is applied thinly and evenly.
More info: The cooling system comprises one fan, a thick heat pipe, one decently sized heat sink, and a heat spreader.
5. Memory Information
– The memory is soldered onto the motherboard, with up to 16GB of LPDDR5 -4800MHz RAM in dual-channel mode. Unfortunately, this means it is not upgradable.
#CommissionsEarned
Subscribe
0 Comments