Inside ASUS ASUSPRO B9440 – disassembly, internal photos and upgrade options
Like most ultrabooks nowadays, access to the internals is rather easy but upgradability is pretty limited – you can only upgrade the storage.
You can find the available configurations here: http://amzn.to/2xhmAdO
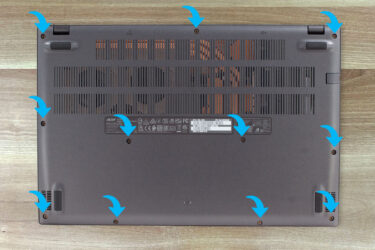
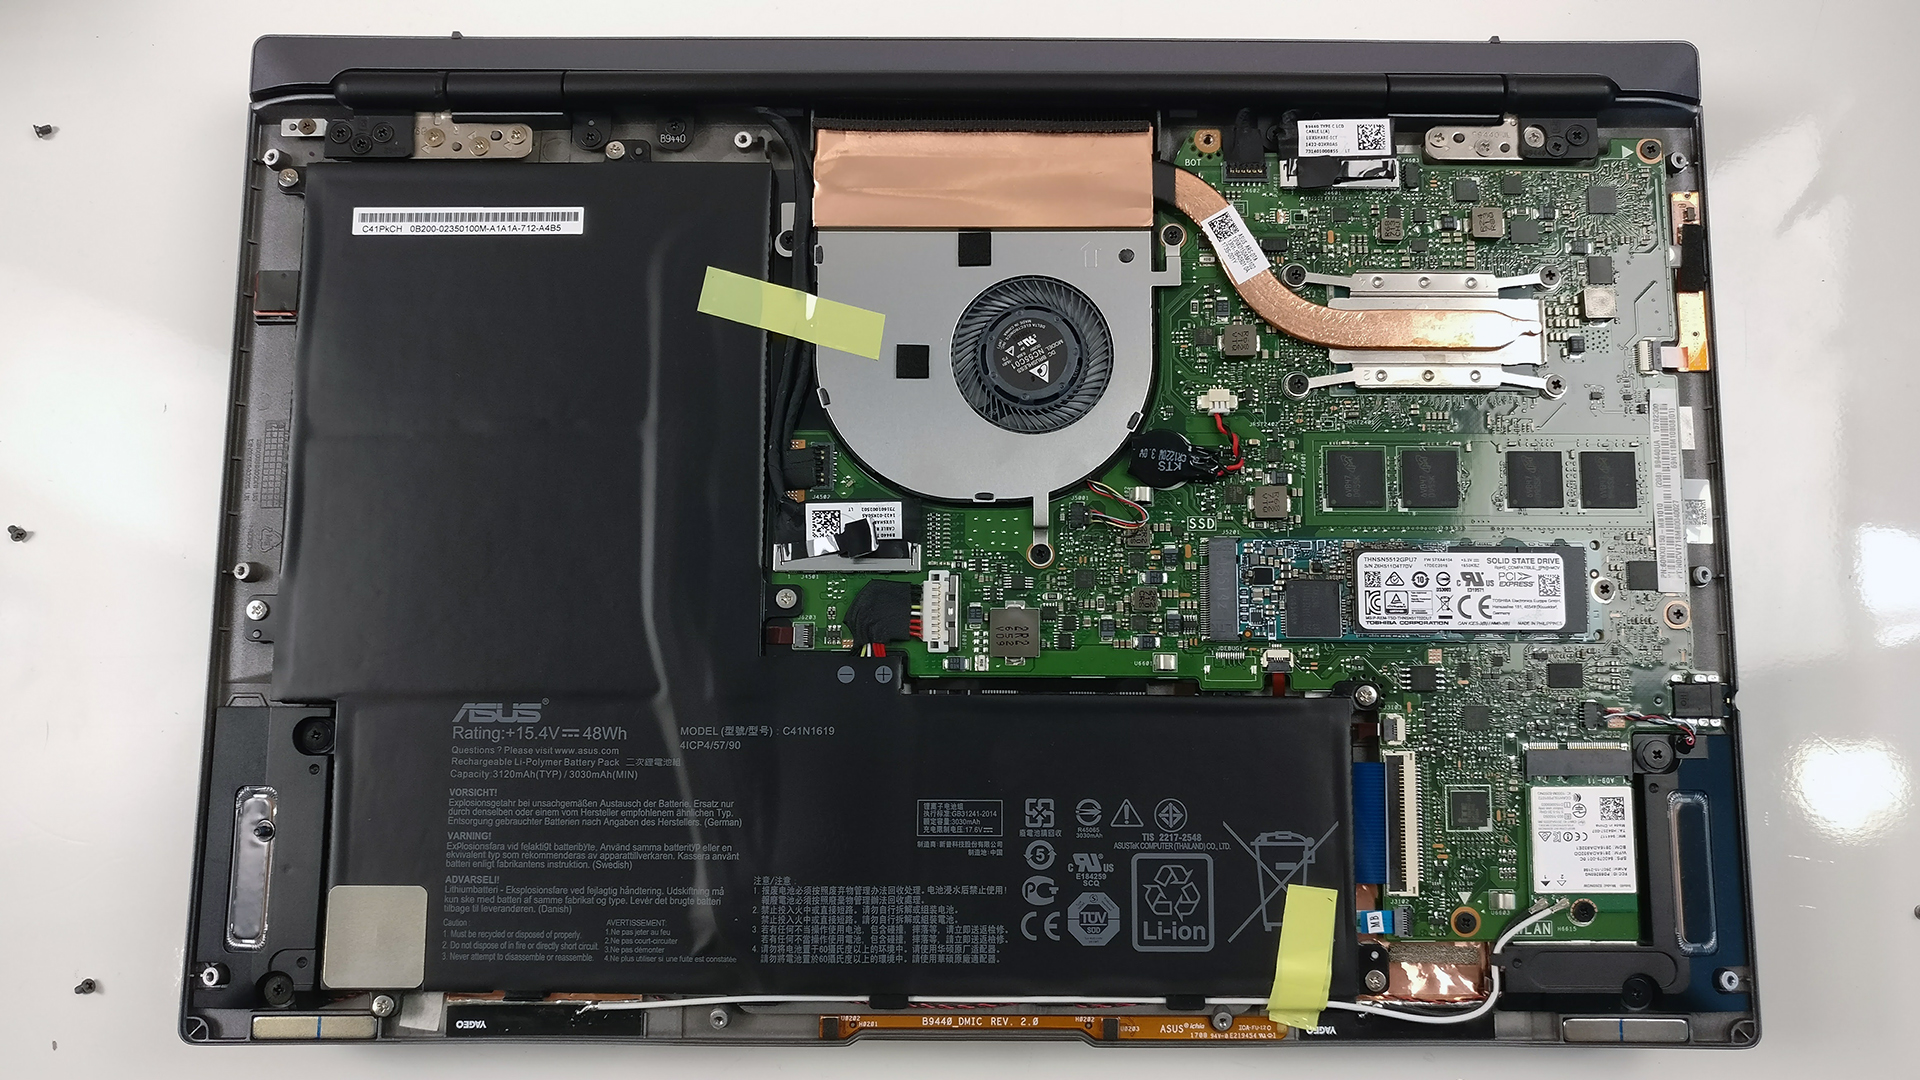
1. Removing the bottom plate
The bottom plate comes off quite easily – you just have to remove all the screws and gently pry it up. This will give you access to pretty much all of the internals.
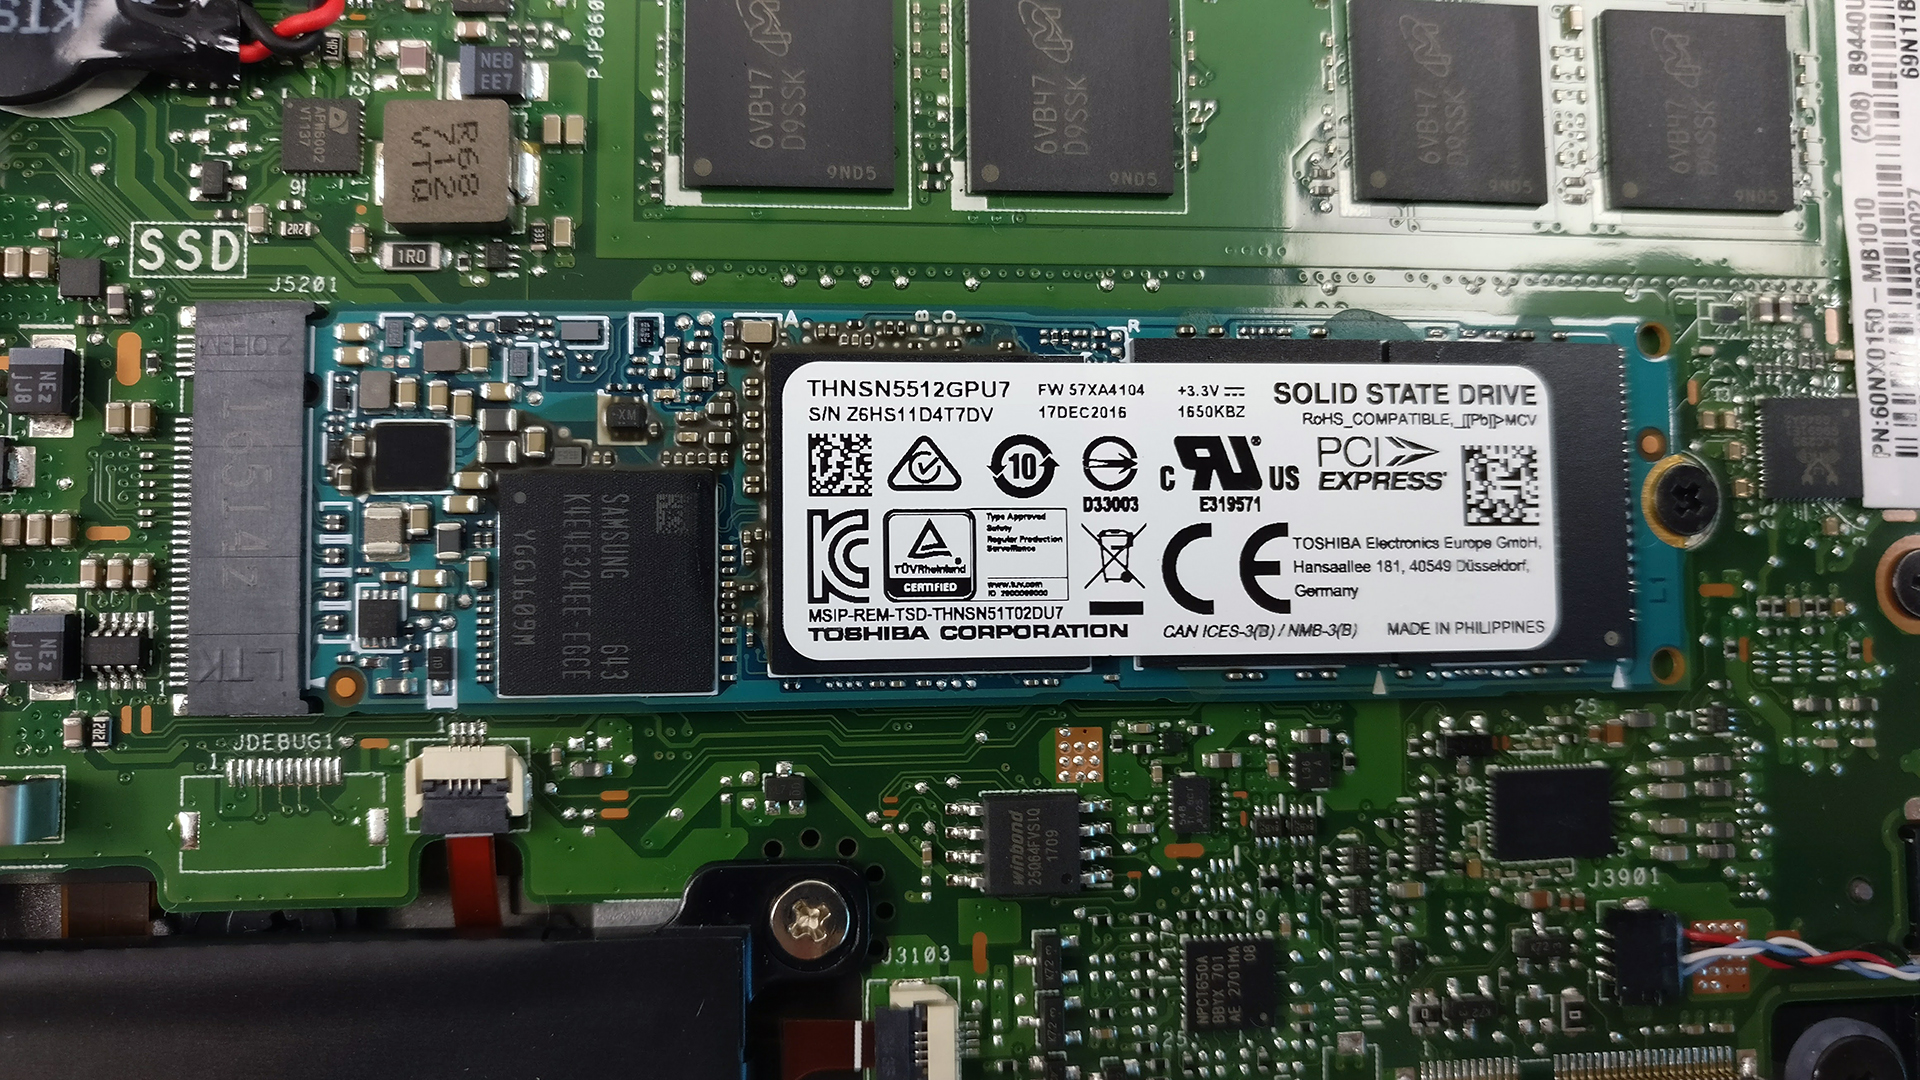
2. Storage
The unit we’ve tested came with a 2280 Toshiba THNSN5512GPU7 M.2 PCIe NVMe SSD with 512GB capacity. Of course, you can always upgrade it if needed.
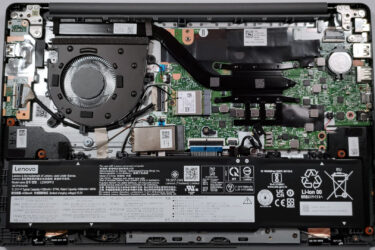
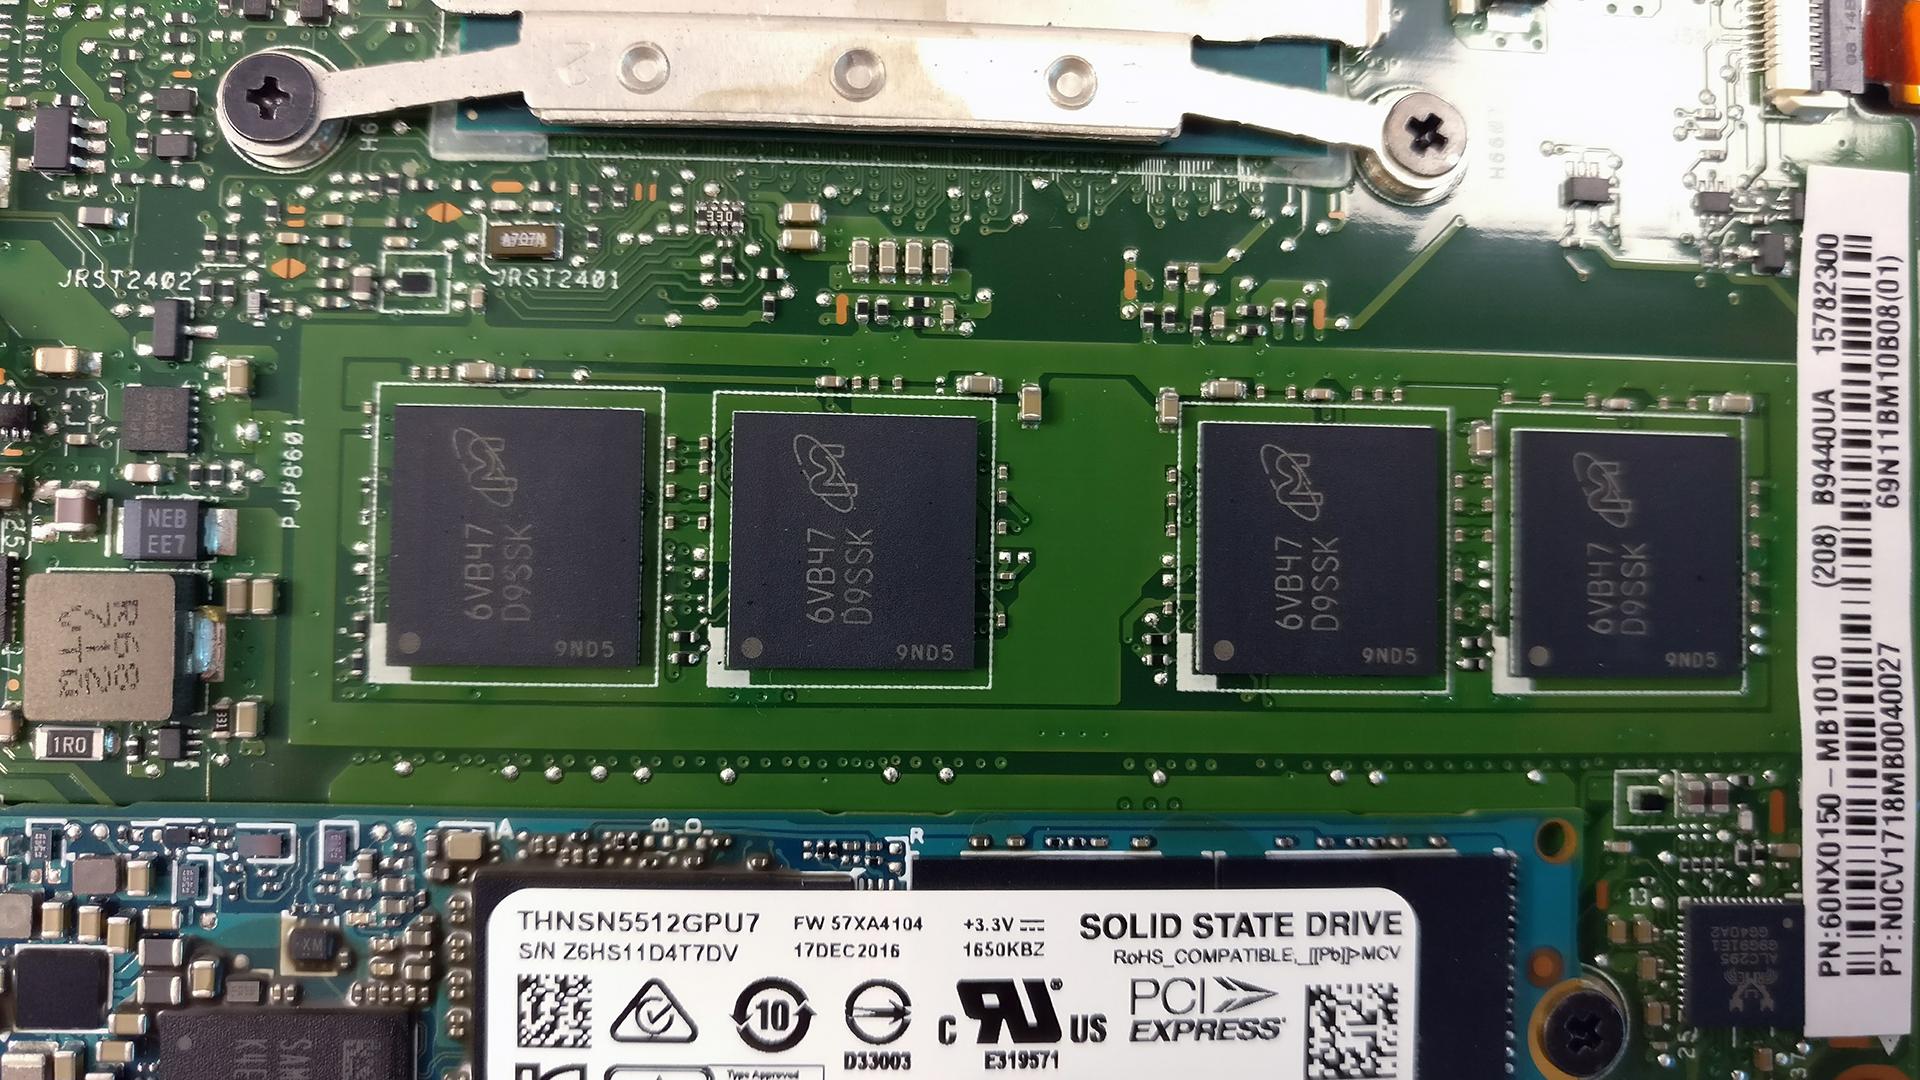
3. Memory, battery and Wi-Fi
As expected, the motherboard comes with soldered memory and cannot be upgraded.
The Intel 8265NGW Wi-Fi module is placed near one of the loudspeakers as shown in the photo below.

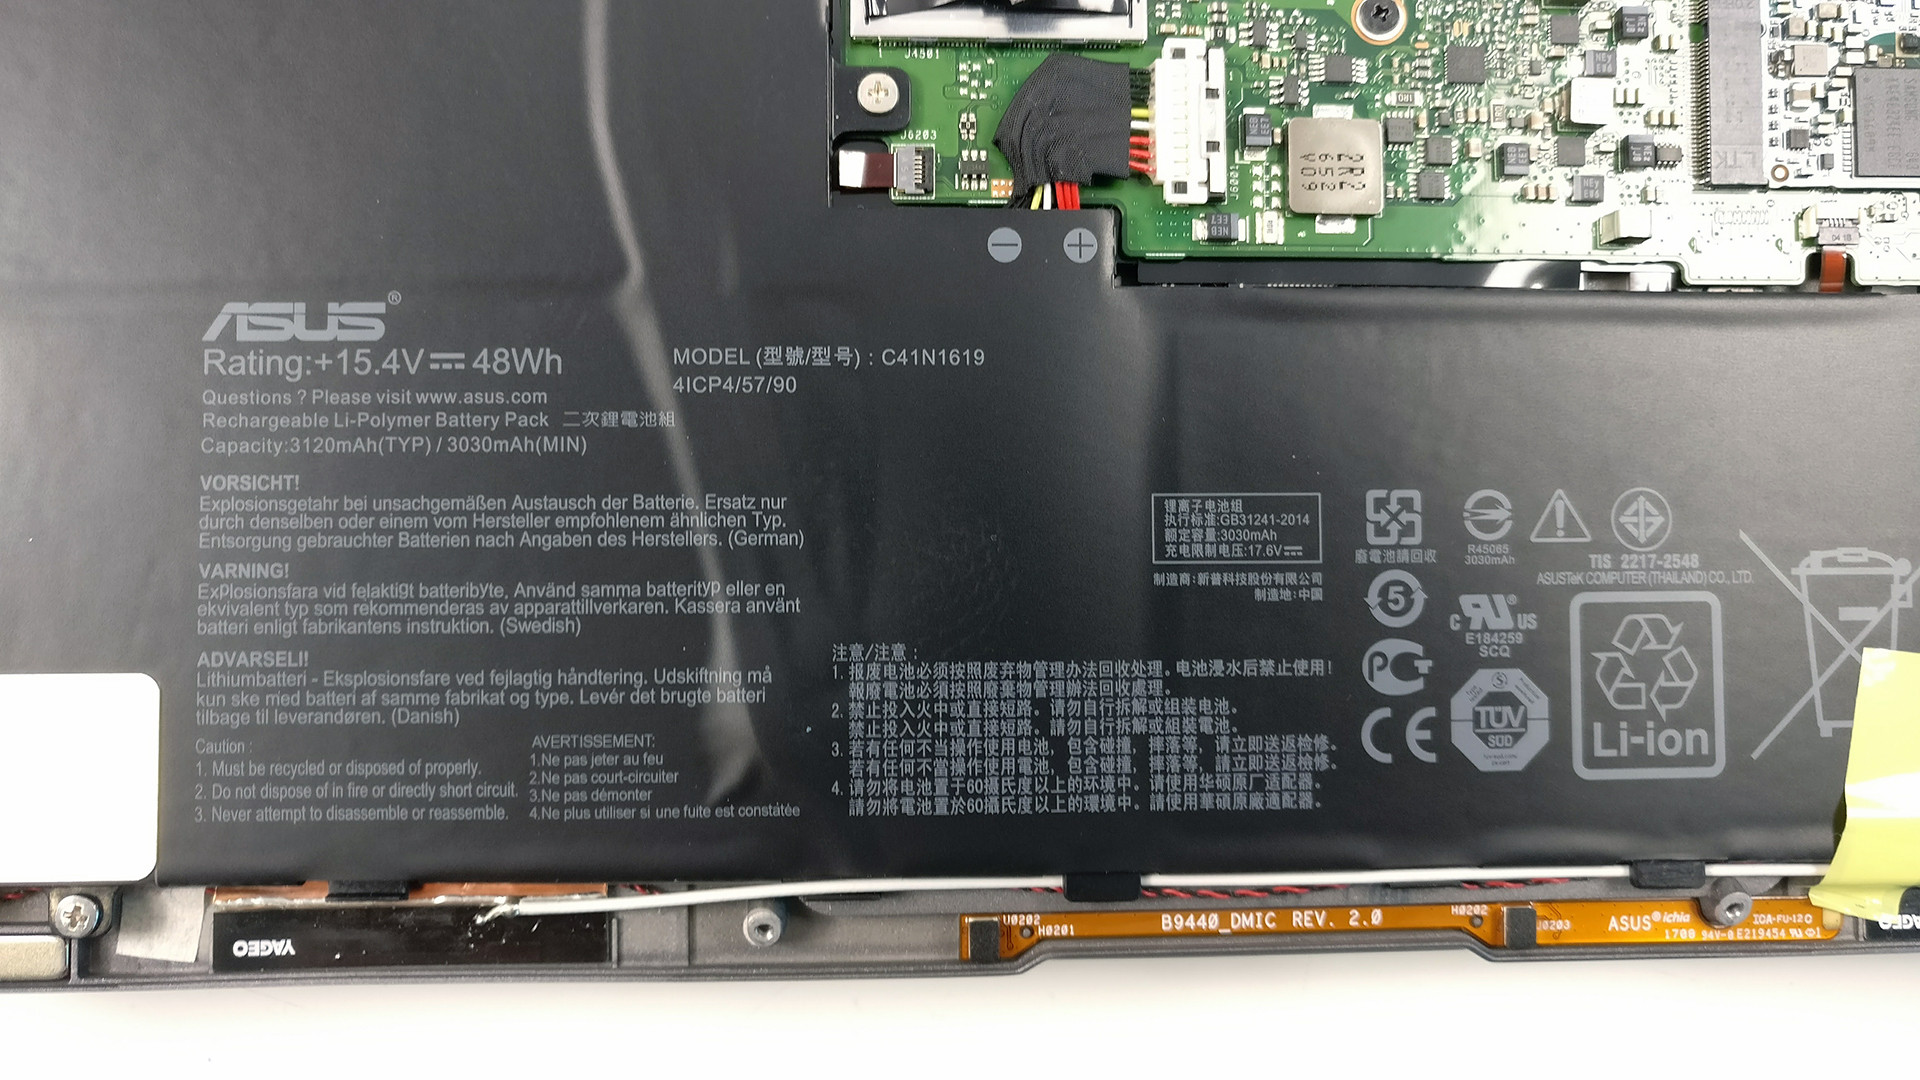
It’s surprising how this small chassis fits a 48Wh battery, which, by the way, provides good runtimes.

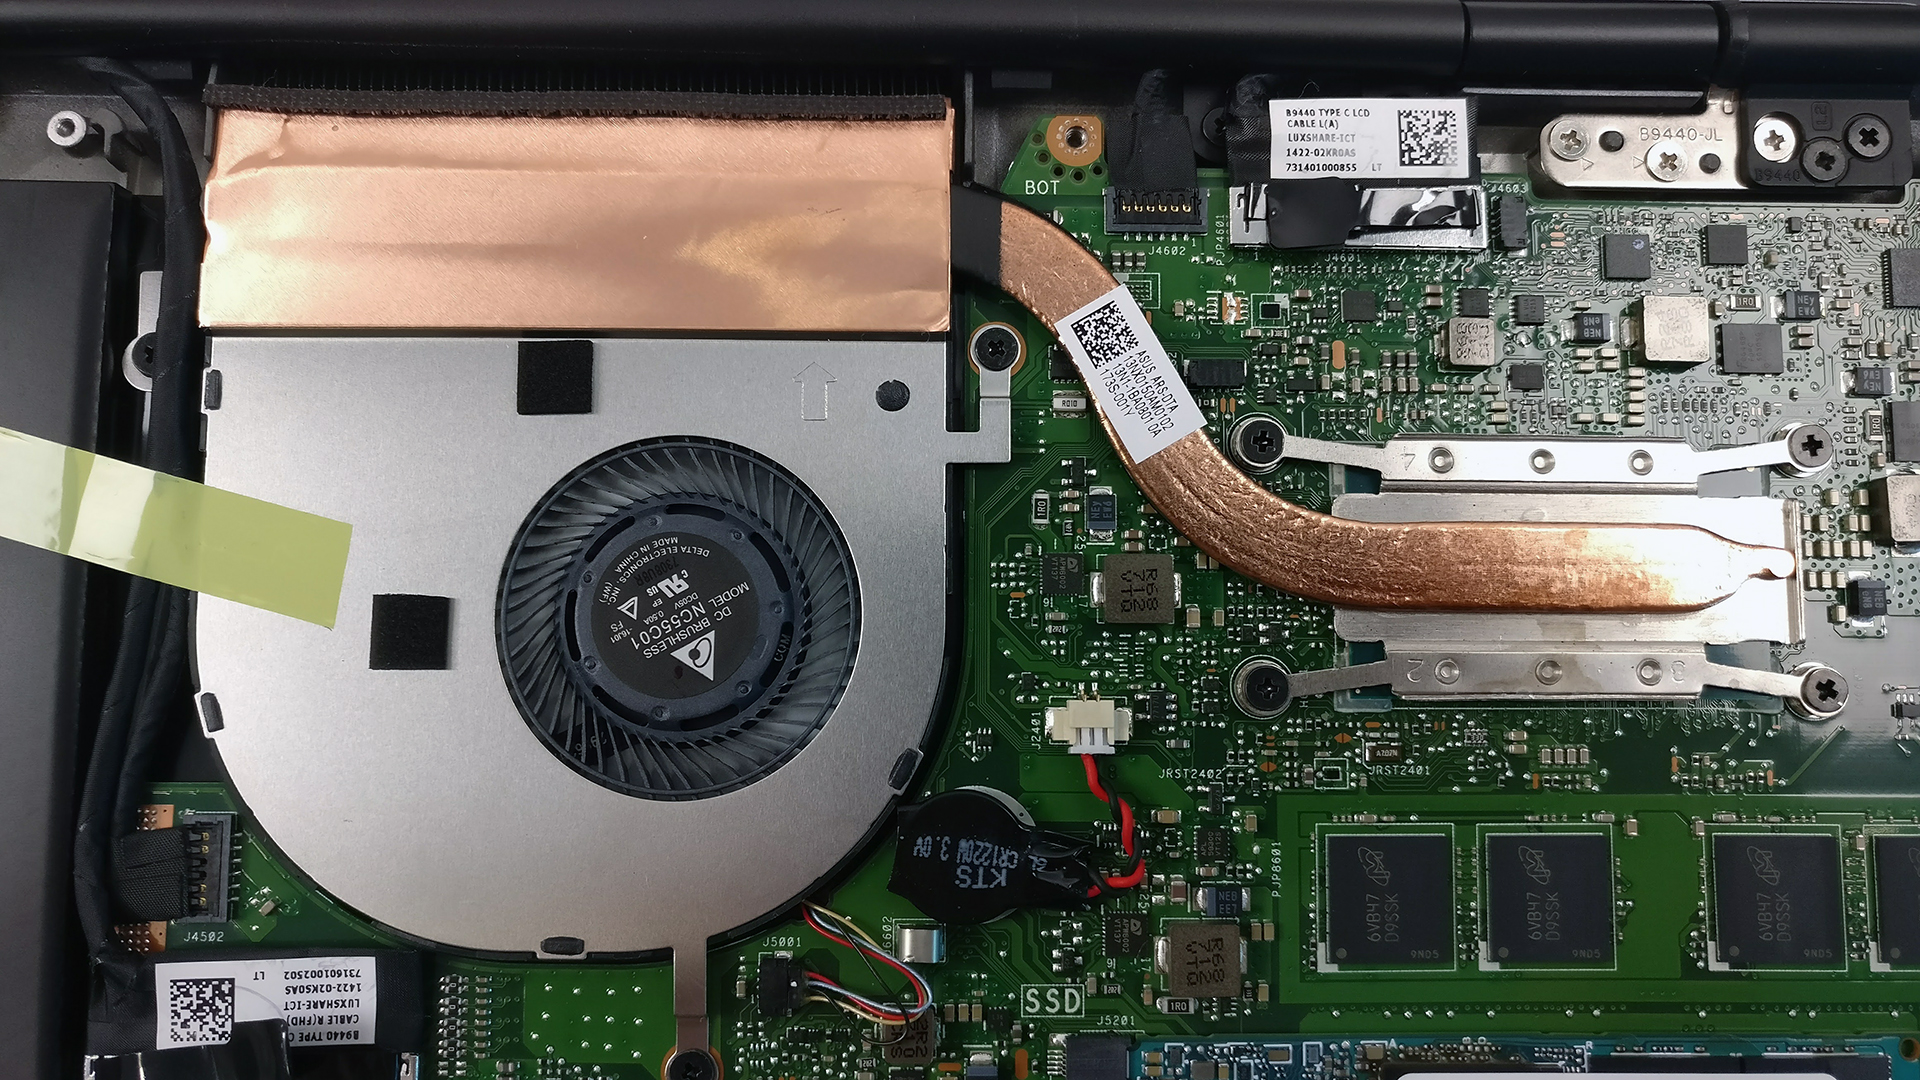
4. Cooling system
The cooling design is as simple as it gets – just one short heat pipe connecting the cooling fan and the heat sink and our tests show that it’s sufficient for the current hardware.
The full review of the ASUS ASUSPRO B9440 can be found here.