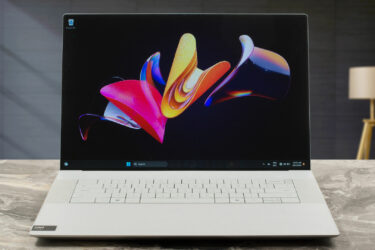
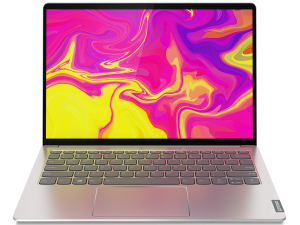
Inside Lenovo Ideapad S540 (13) – disassembly and upgrade options
The Ideapad S540 (13) delivers a surprisingly good performance with rather low temperatures. But what else does it have to impress?
Check out all Lenovo Ideapad S540 (13) prices and configurations in our Specs System or read more in our In-Depth review.
1. Remove the bottom plate
Getting inside of this notebook is easy, provided you have the right tools for the job. Its bottom panel is secured by 9 Torx-head screws. After you remove them, you can start the prying process from the backside of the panel. Then carefully move to the sides, and you should be able to easily lift it away.
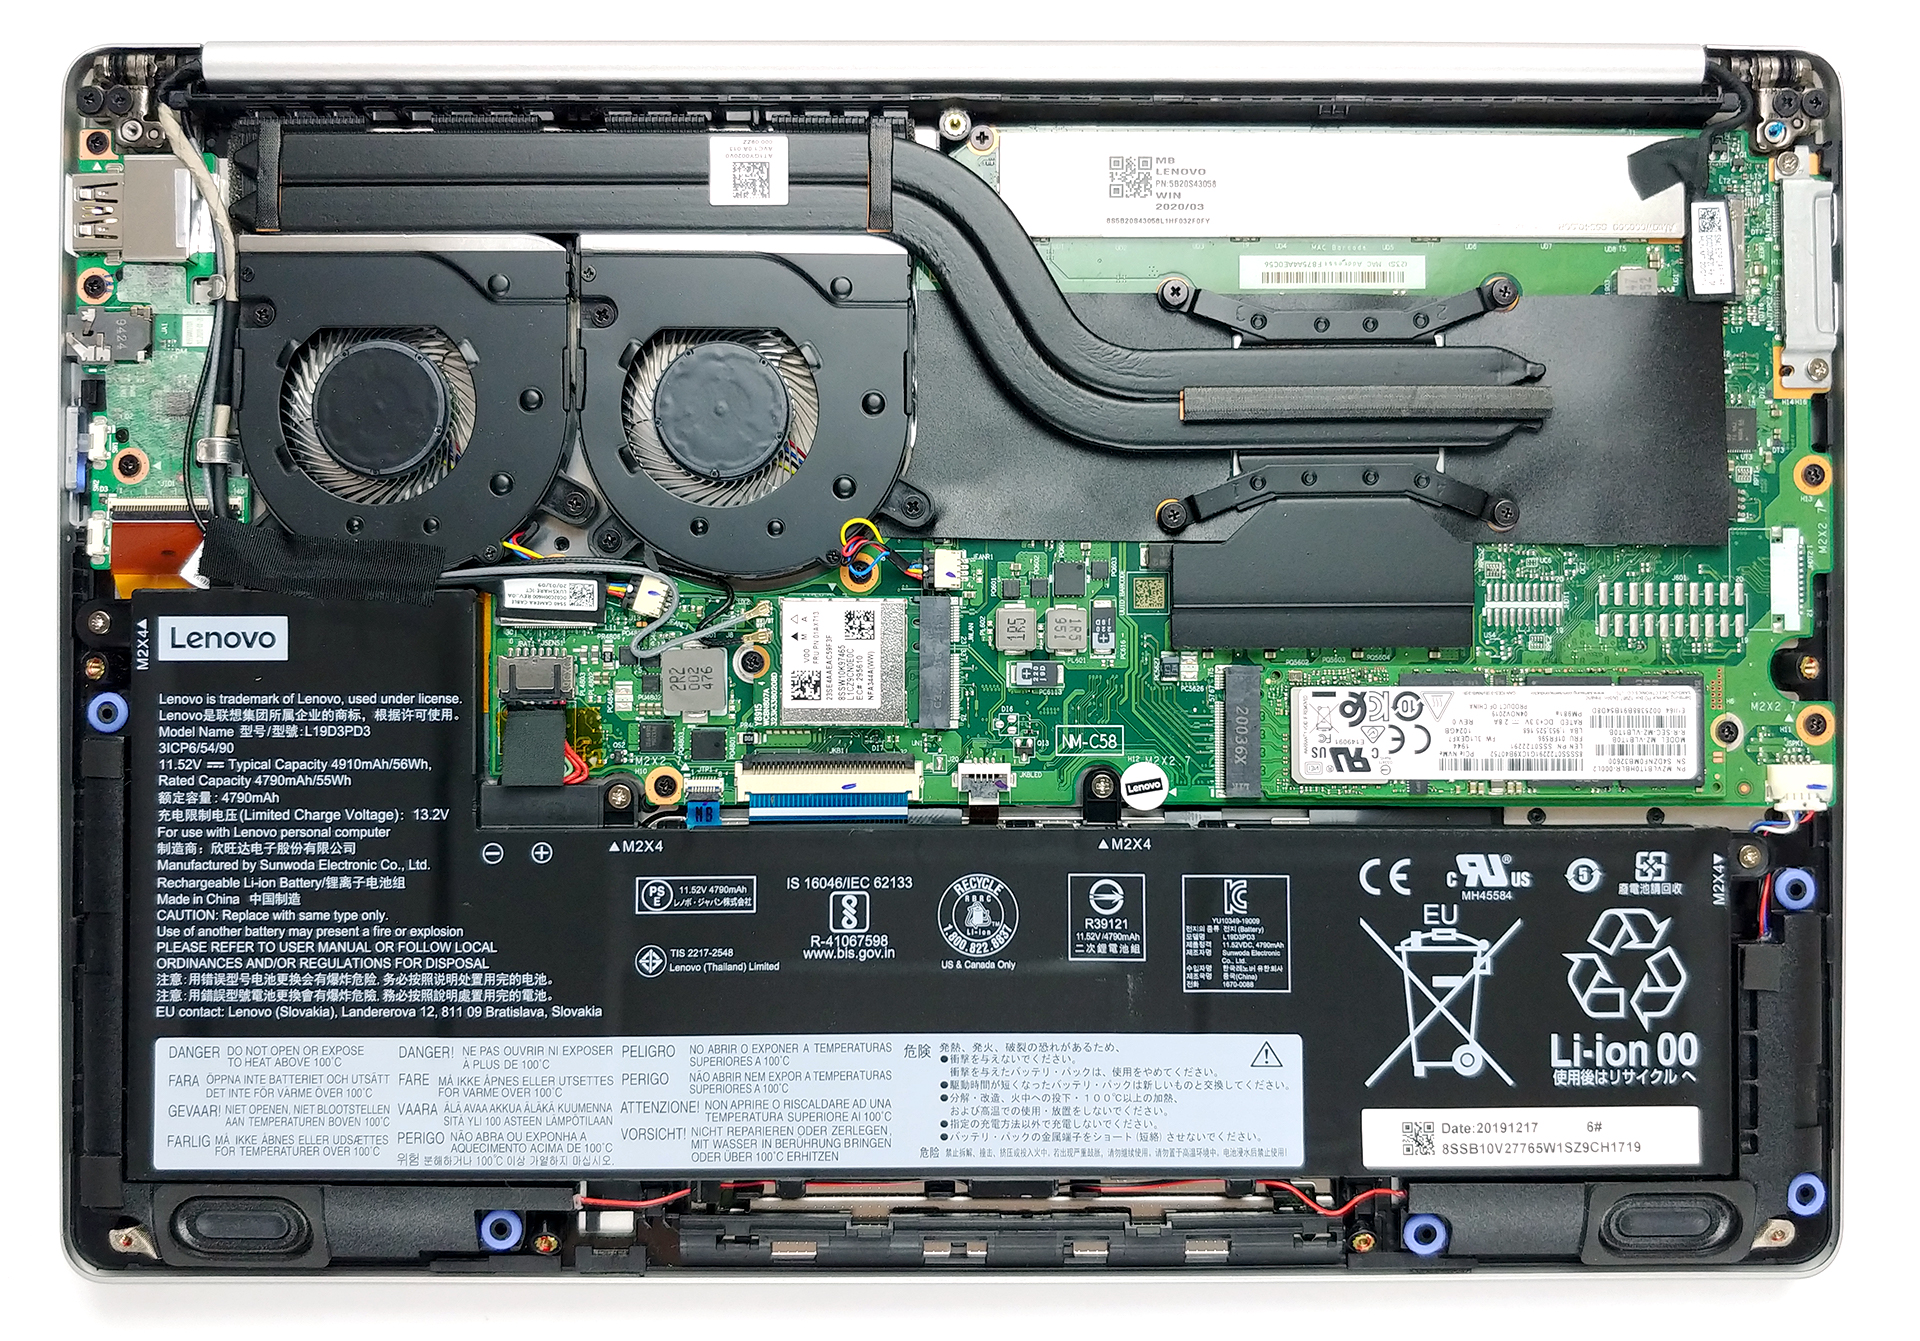
2. Battery
Battery-wise, Lenovo has put a decent 56Wh unit inside of the Ideapad S540 (13).
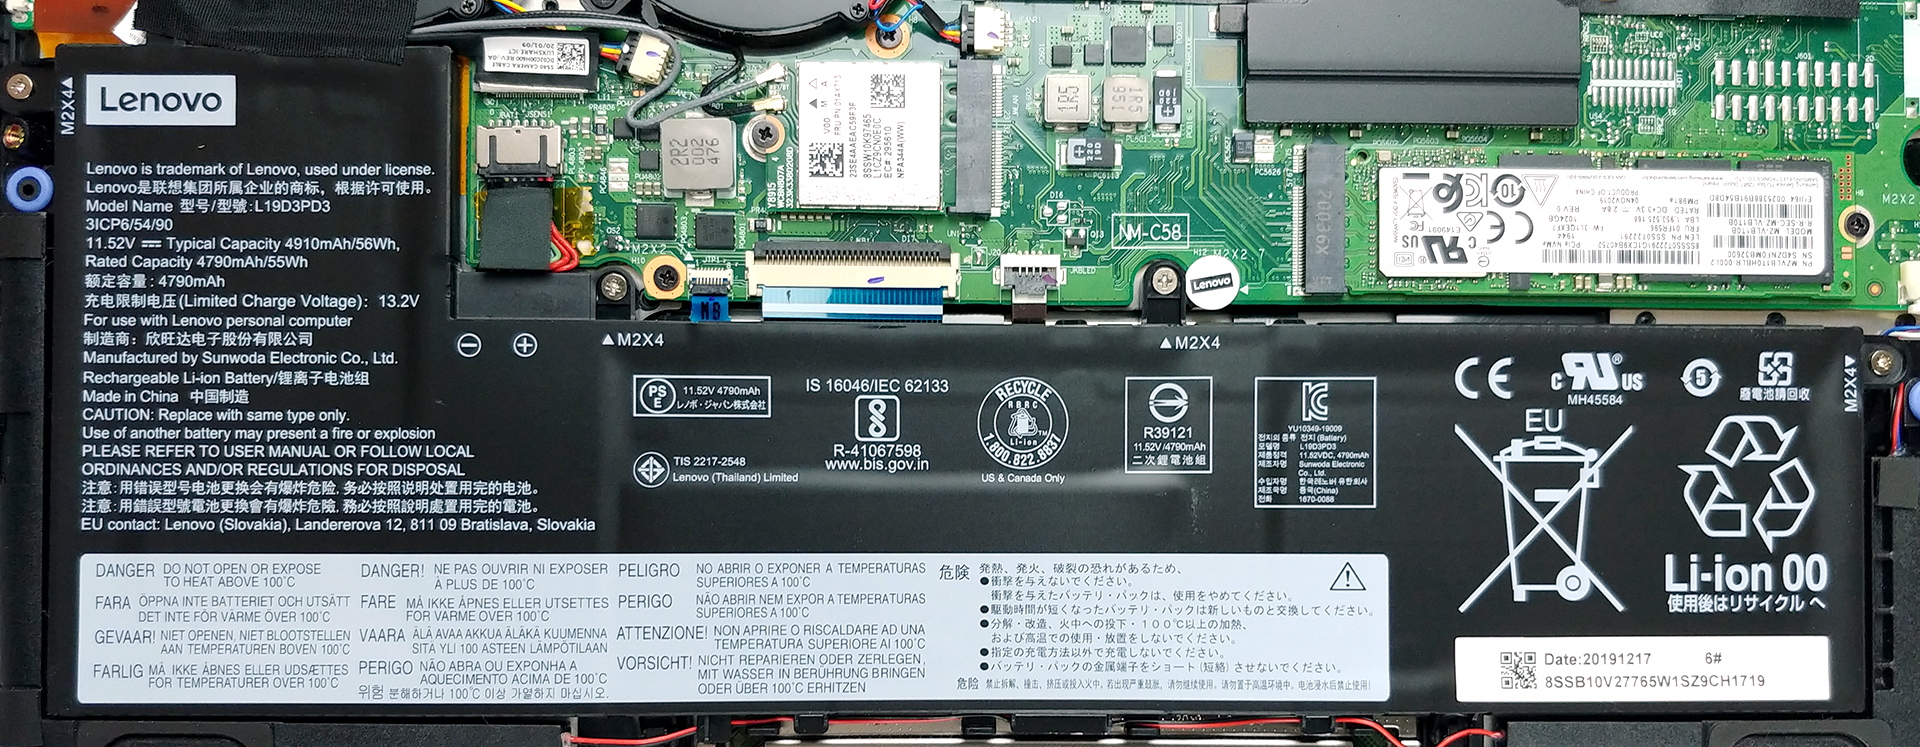
3. Memory and storage
As of the upgradability, as you can see, all of the memory is soldered to the motherboard. Pick your configurations wisely. On the bright side, there is a single M.2 PCIe x4 slot for fast storage.

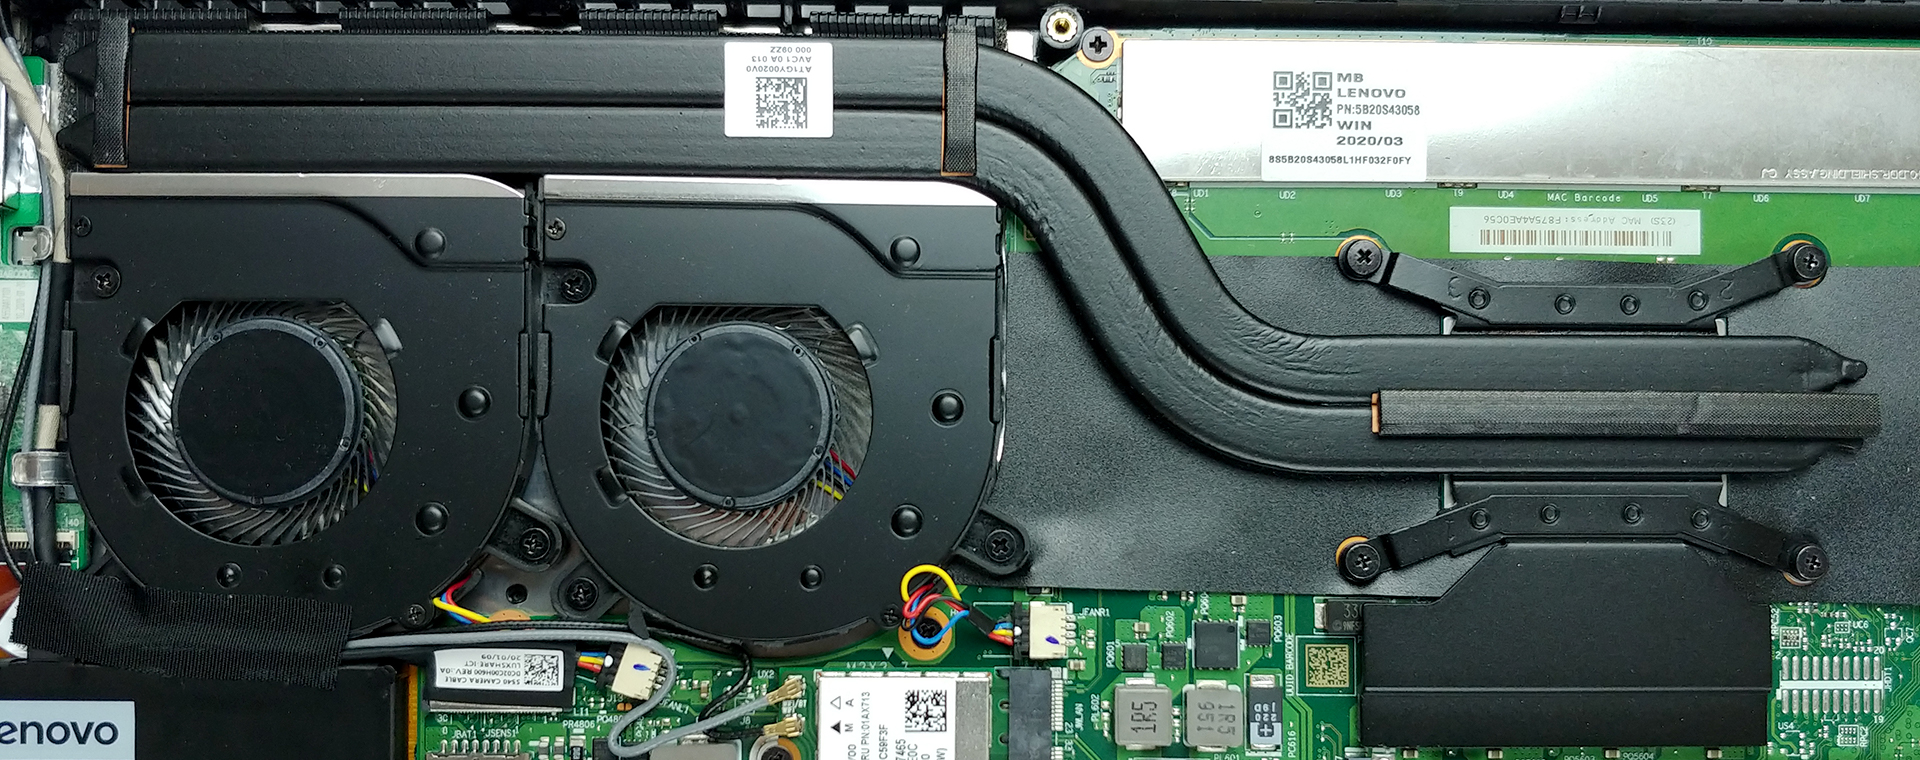
4. Cooling system
Once you’re inside, you’ll see a pretty potent-looking cooling solution. There are two heat pipes, and two fans working hard to dissipate the heat from the processor. Keep in mind we have the AMD version here, and we all know the 3000-series Ryzen mobile processors are far easier to cool than their Intel counterparts.
Check out all Lenovo Ideapad S540 (13) prices and configurations in our Specs System or read more in our In-Depth review.