Inside Lenovo ThinkPad 13 Gen 2 – disassembly, internal photos and upgrade options
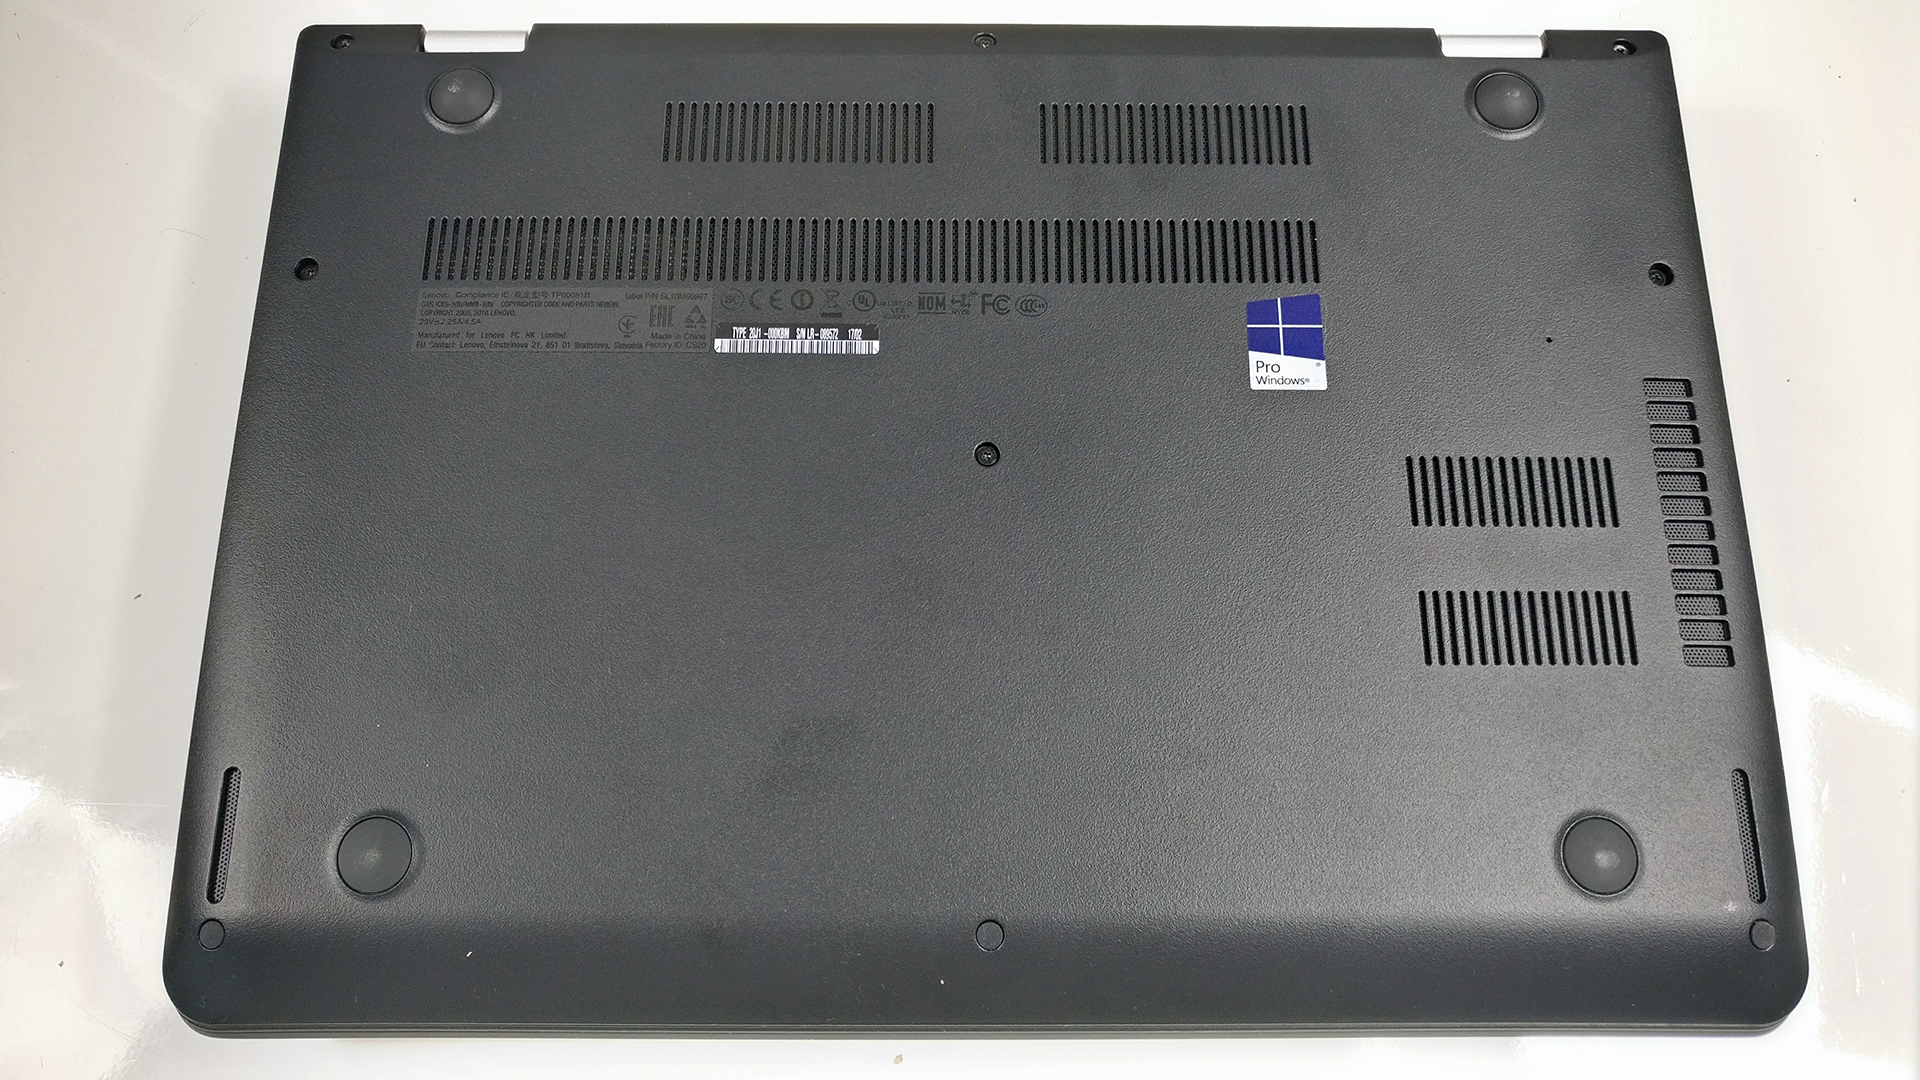
No service hatches, which means that the bottom plate should be removed in order to access the internals.
You can find the available models here: http://amzn.to/2udJB2D
1. Removing the bottom piece
It’s really easy – remove all the screws around the bottom and pry it up. This will reveal everything you’d need to upgrade or clean.

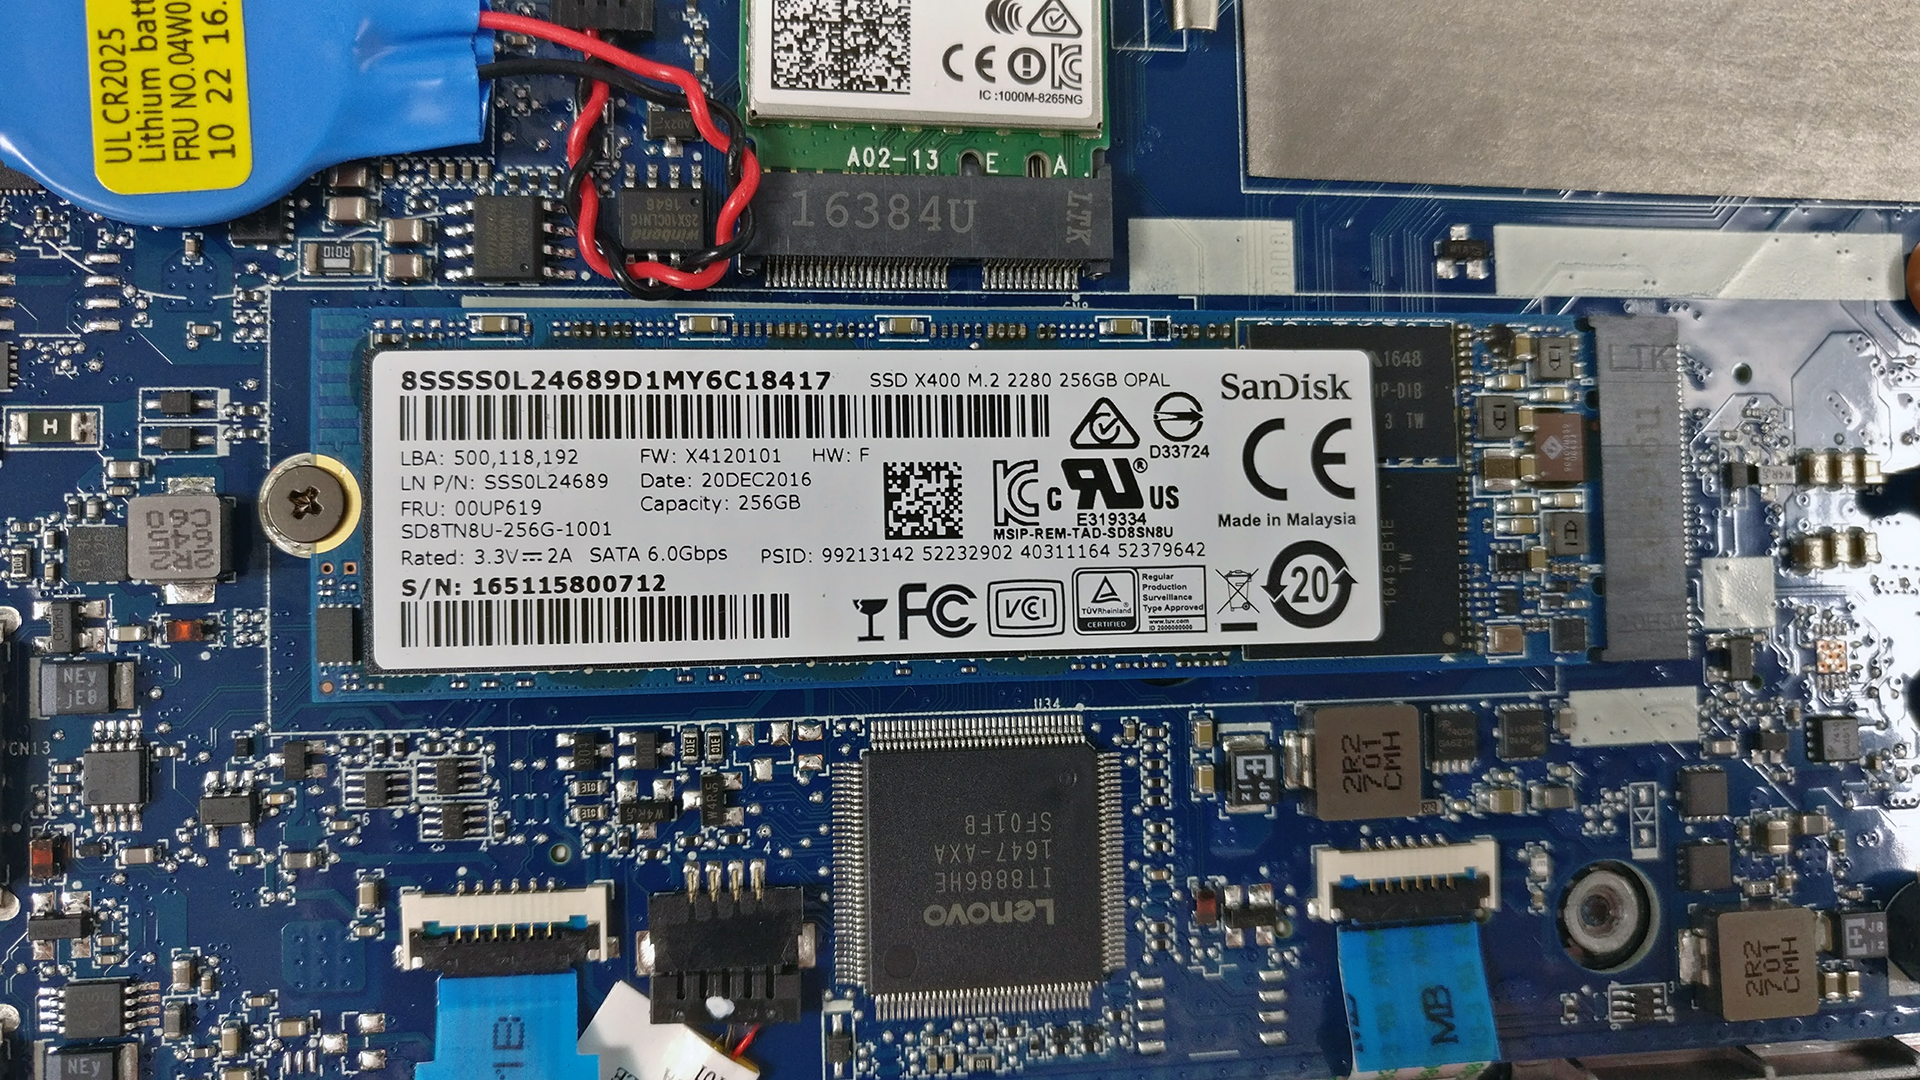
2. Storage
Although the laptop supports M.2 PCIe NVMe SSDs, the unit we received was equipped with a SanDisk X400 2280 SSD running on the SATA III interface.
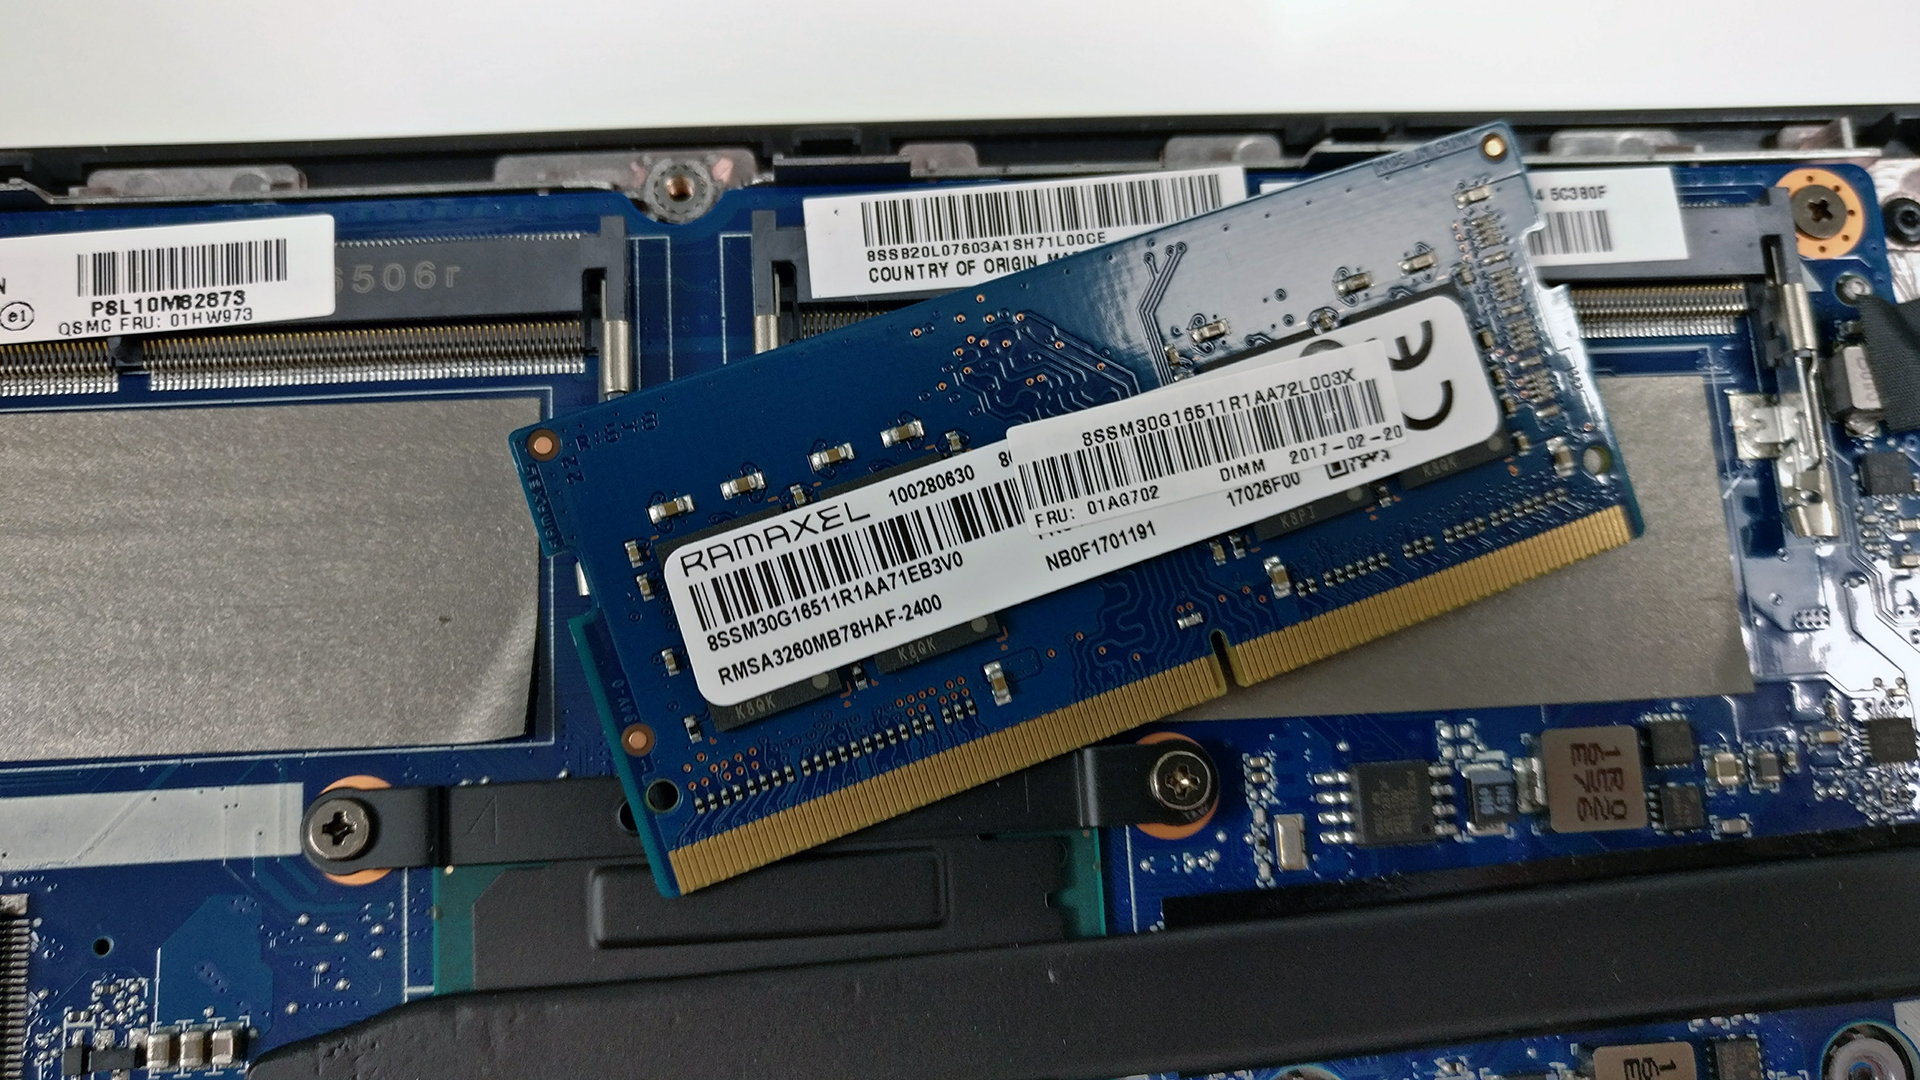
3. Memory, battery and Wi-Fi
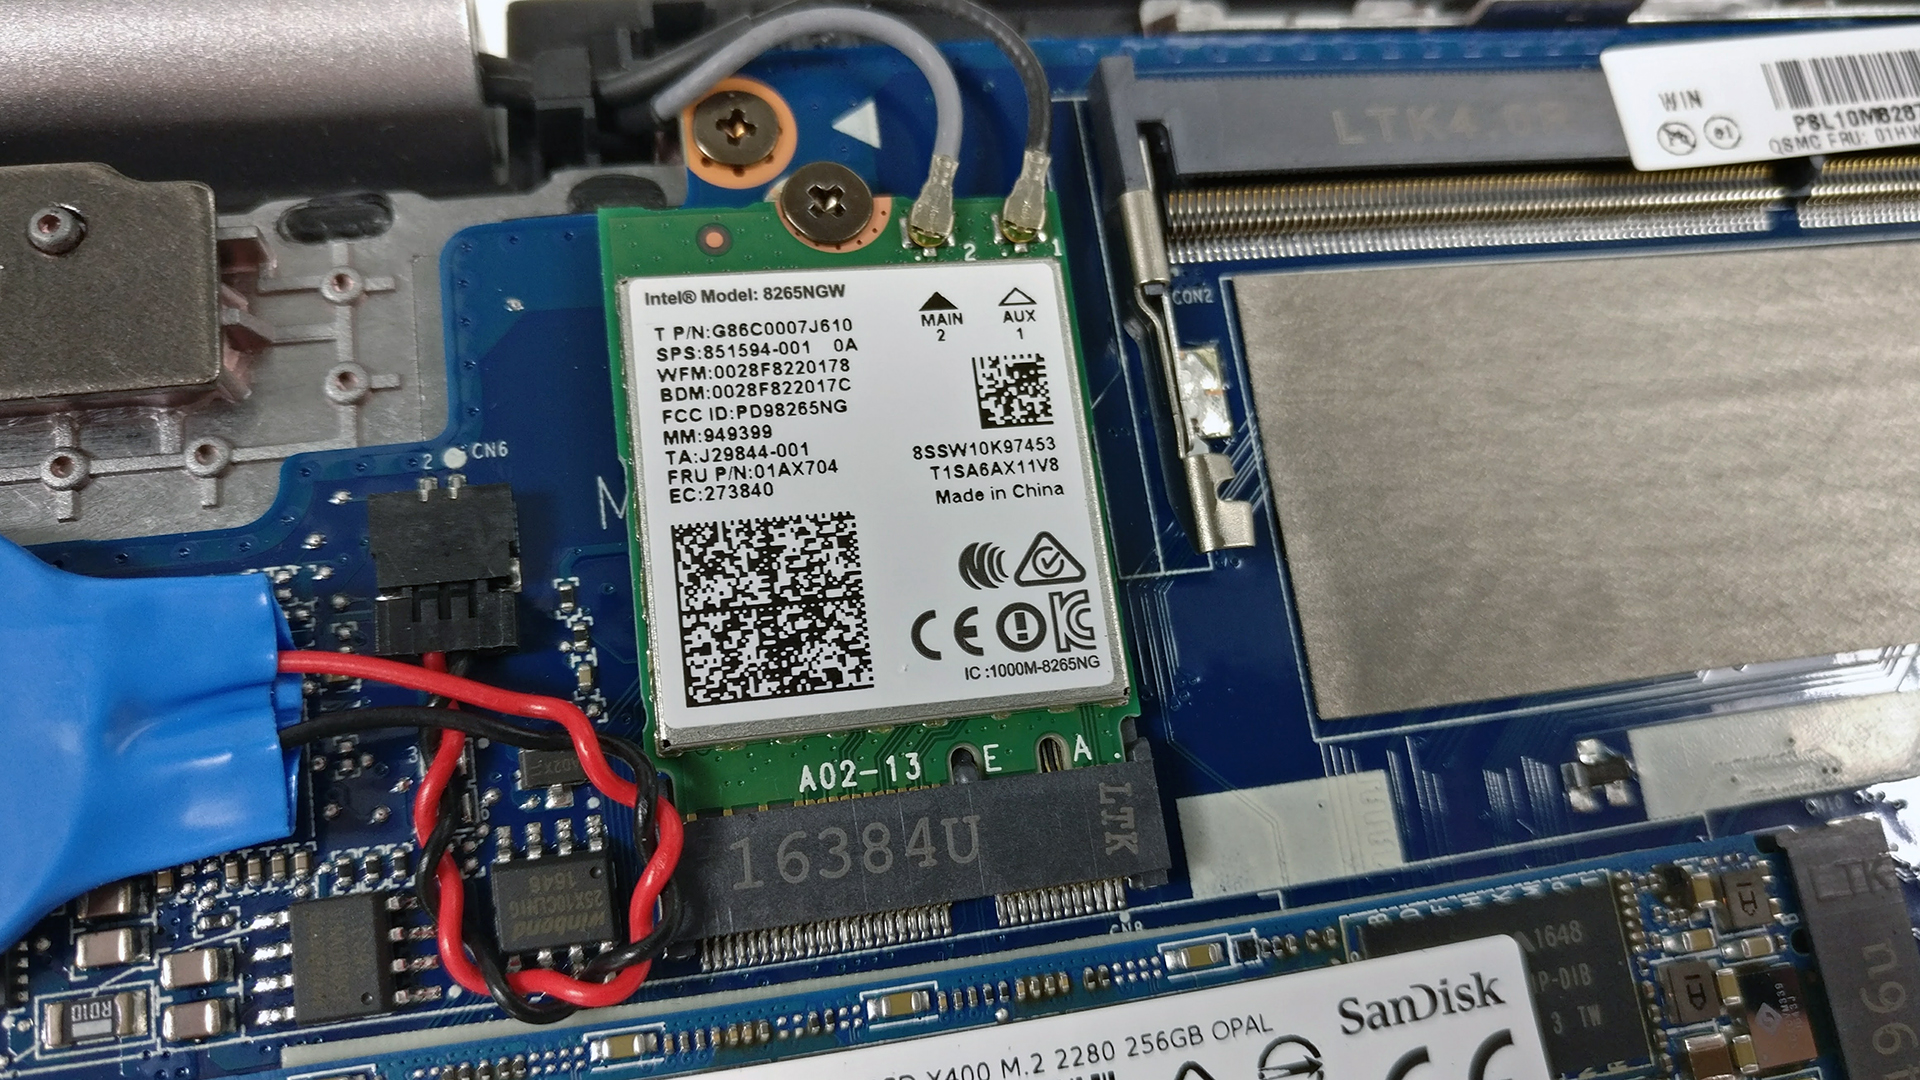
Surprisingly, the 13-incher sports two RAM slots but only one of them was taken with 8GB of DDR4-2133 chip.
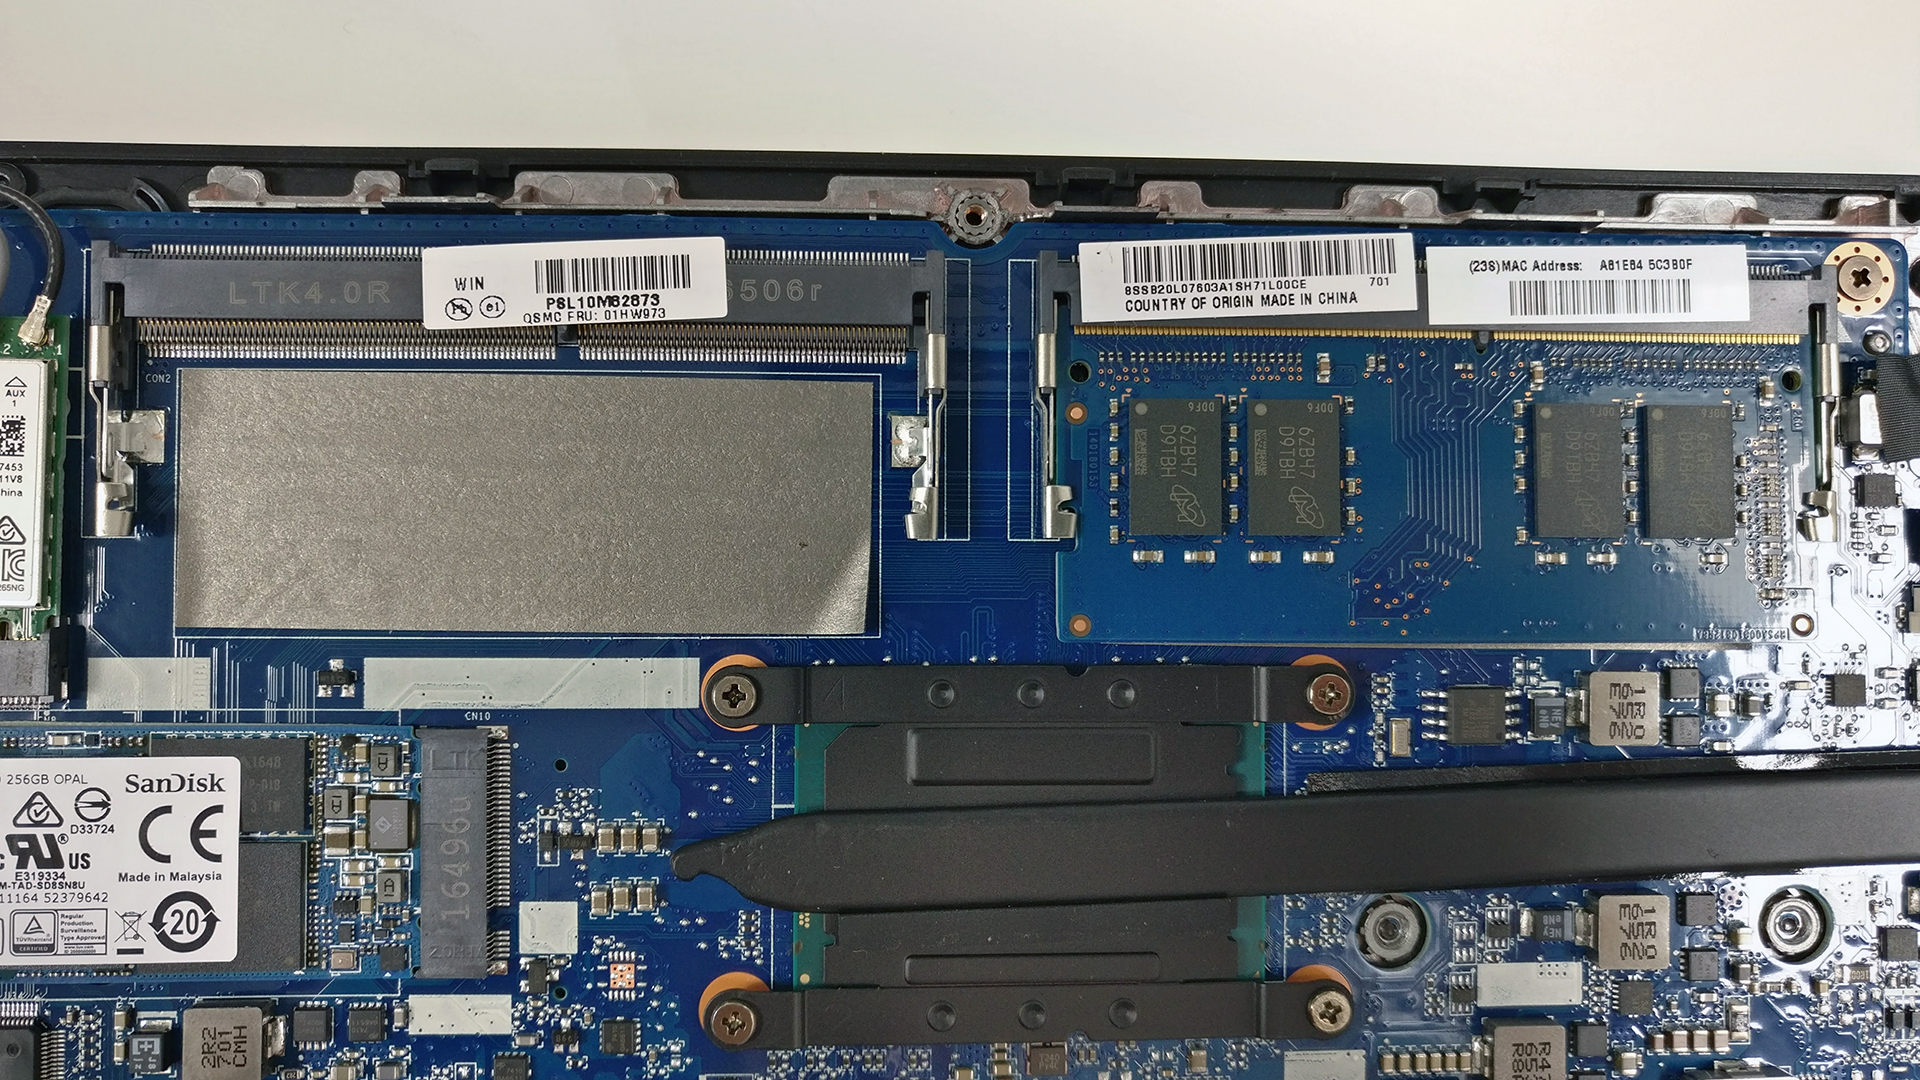
The Wi-Fi module located next to the RAM slots – Intel 8265NGW.
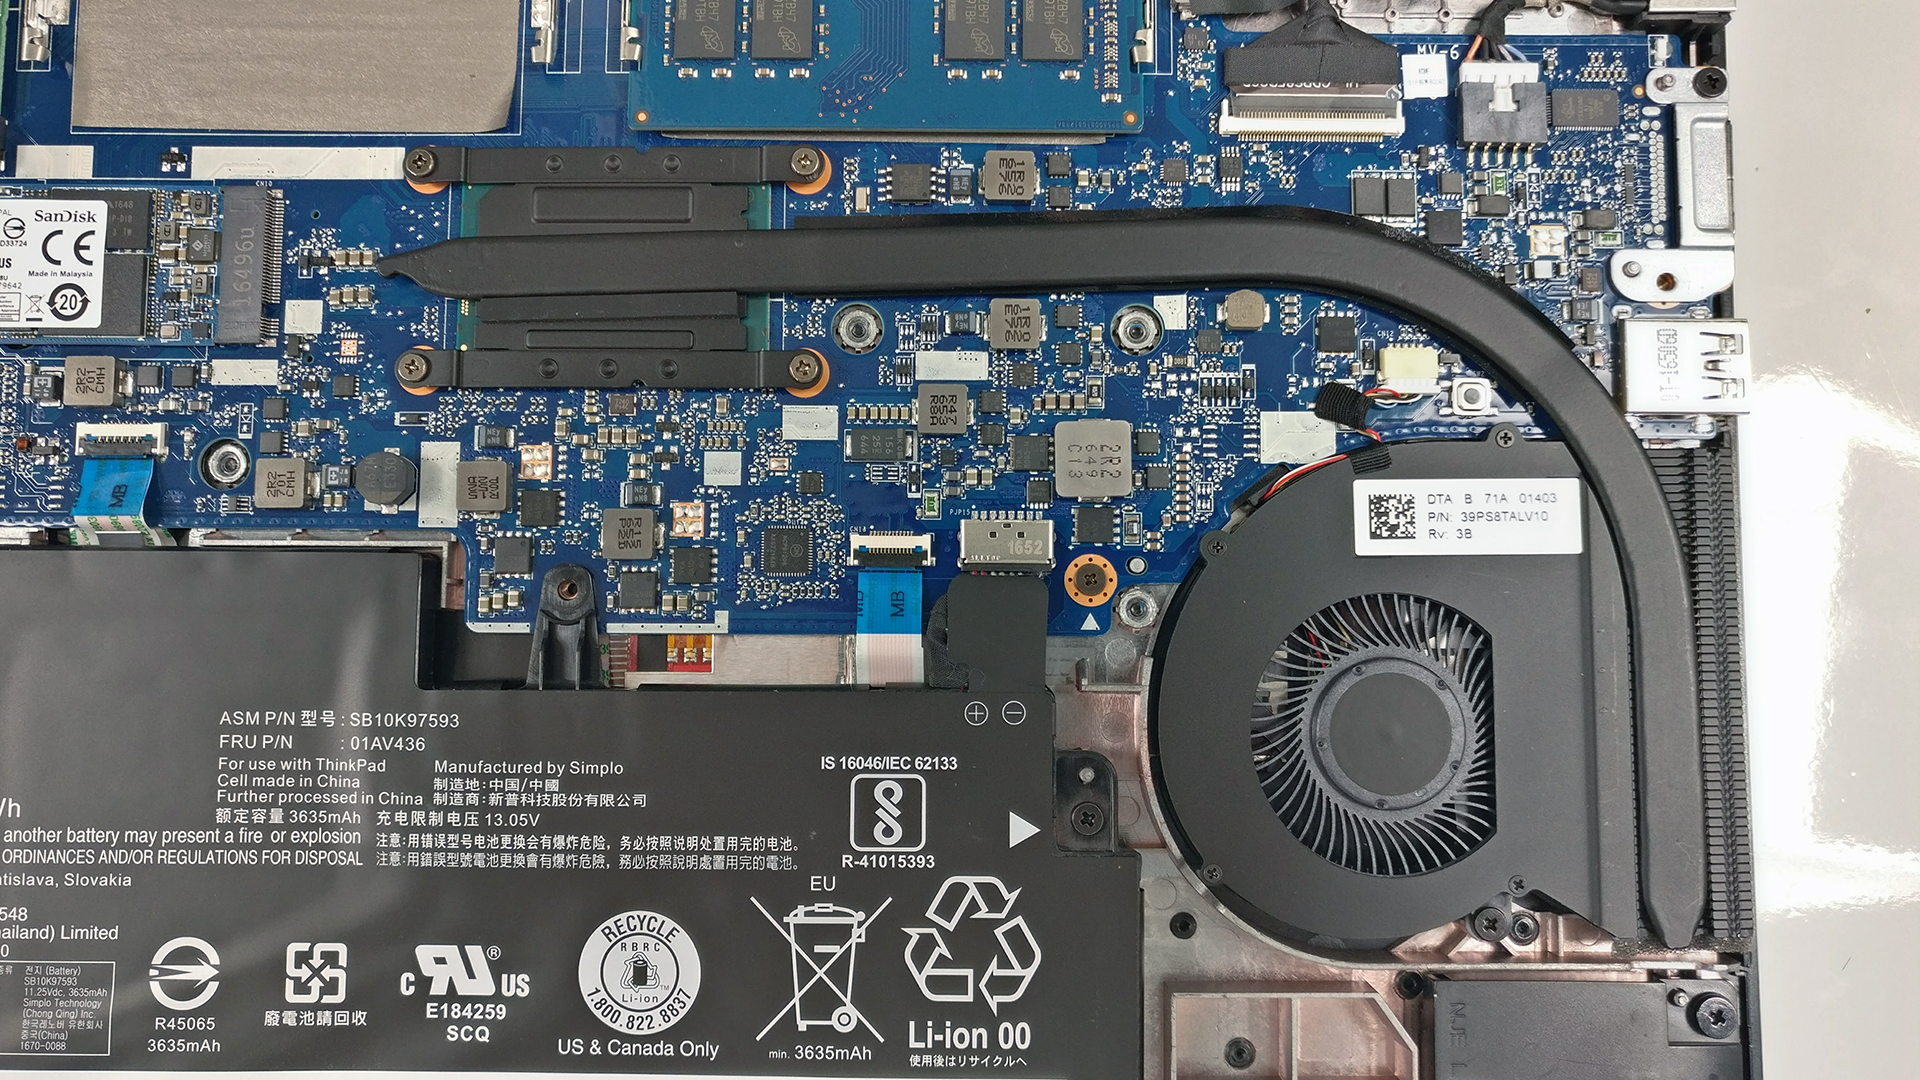
The laptop features relatively big 42Wh battery.

4. Cooling system
The cooling system is simple and consists of a single heat pipe connecting the heat sink to the cooling fan.
The full review of the Lenovo ThinkPad 13 Gen 2 can be found here.
You can find the available models here: http://amzn.to/2udJB2D


![[June 2026] Best-Selling Laptop Brands on Amazon Global – Apple’s Unrivaled Dominance in Units and Revenue](https://laptopmedia.com/wp-content/uploads/2026/07/GLOBAL-Best-Brands-400x225.jpg)
![[June 2026] Amazon Global: Top 10 Best-Selling Laptops – Apple’s New MacBook Neo Storms to #1, Reshaping the Market with Affordability](https://laptopmedia.com/wp-content/uploads/2026/07/Best-Selling-Laptops-GLOBAL-Top-10-400x225.jpg)
![[June 2026] Amazon Global: Top 10 Best-Selling Gaming Laptops – Acer’s Nitro V 16S AI Dominates Sales, While ASUS Leads Overall Revenue](https://laptopmedia.com/wp-content/uploads/2026/07/Best-Selling-Gaming-Laptops-GLOBAL-Top-10-400x225.jpg)
![[June 2026] Global Ranking of Best-Selling Laptop GPUs on Amazon – NVIDIA RTX 5060 is the Top-Selling Dedicated GPU](https://laptopmedia.com/wp-content/uploads/2026/07/Best-Selling-GPUs-GLOBAL-Top-10-400x225.jpg)
![[June 2026] Global Ranking of Best-Selling Laptop CPUs on Amazon – Apple M5 Dominates, AMD Ryzen 7 260 Gets Solid Premium Share](https://laptopmedia.com/wp-content/uploads/2026/07/Best-Selling-CPUs-GLOBAL-Top-10-400x225.jpg)

Thanks for helping get me started! I’d like to note that there are 3 screws under the small rubber pads at the bottom and you should be able to open the first few clips with a spludger, after that it should just peel right off without breaking clips.