Inside Dell Latitude 14 9410 2-in-1 – disassembly and upgrade options
Most convertibles on the market struggle with their upgrade options. This notebook is not an exception.
Check out all Dell Latitude 14 9410 2-in-1 prices and configurations in our Specs System or read more in our In-Depth review.
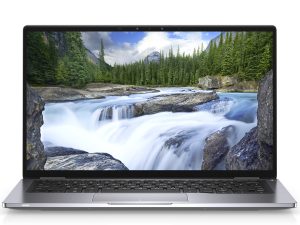
1. Remove the bottom plate
There are 10 captive Phillips-head screws that hold the bottom panel to the chassis. Undo them, and then pry the panel with a plastic tool, and you’re inside.
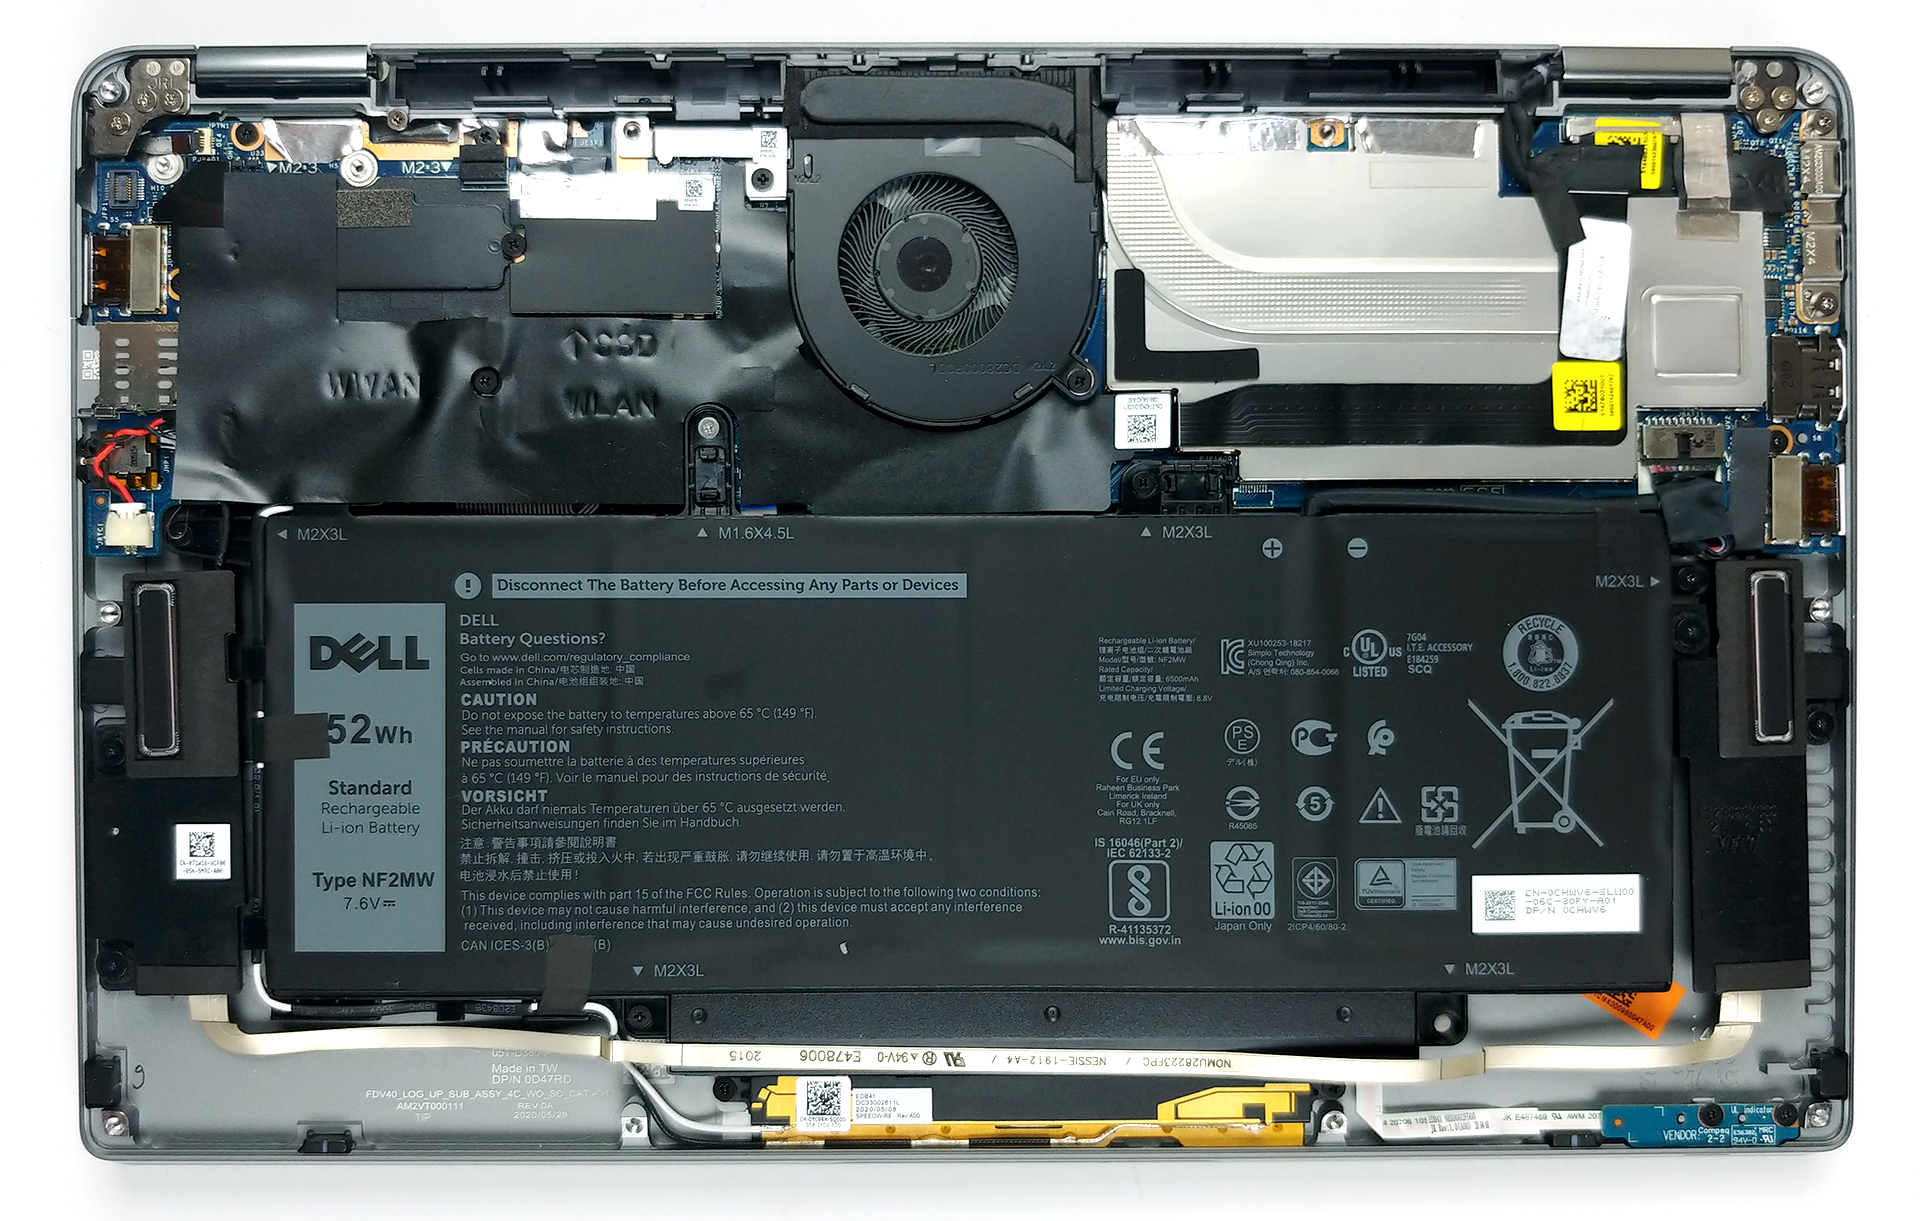
2. Battery
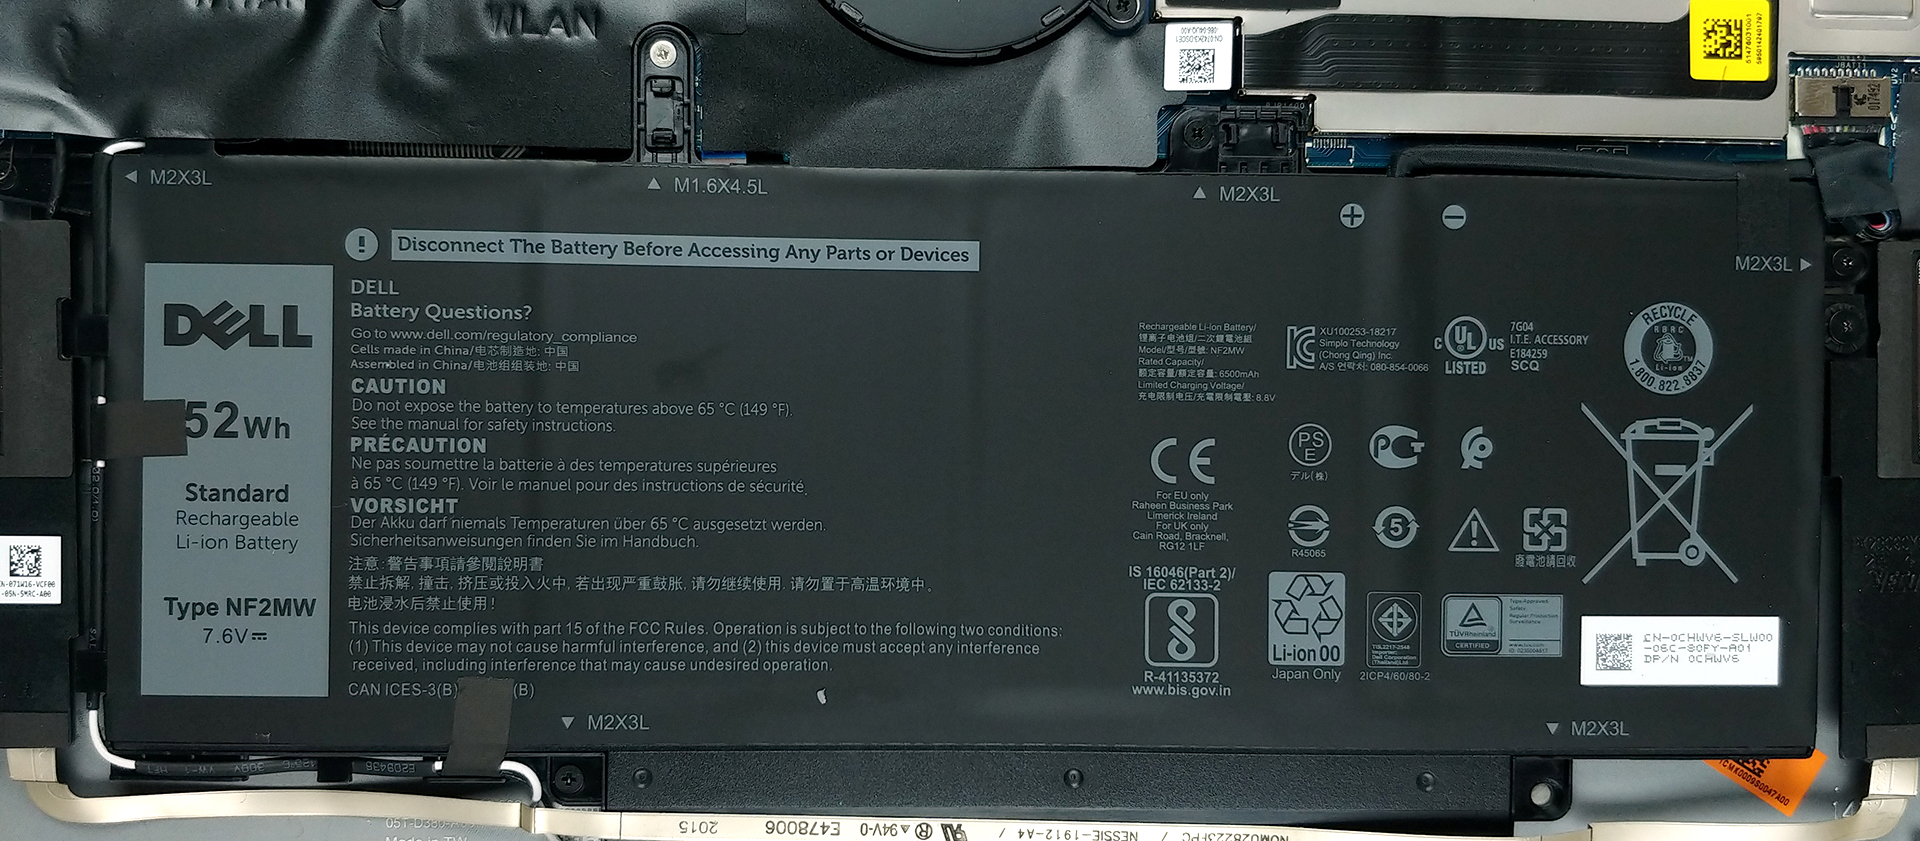
Preferably, the first thing you need to do, once you’re inside, is to disconnect the battery plug. By the way, this notebook comes with a 52Wh pack.
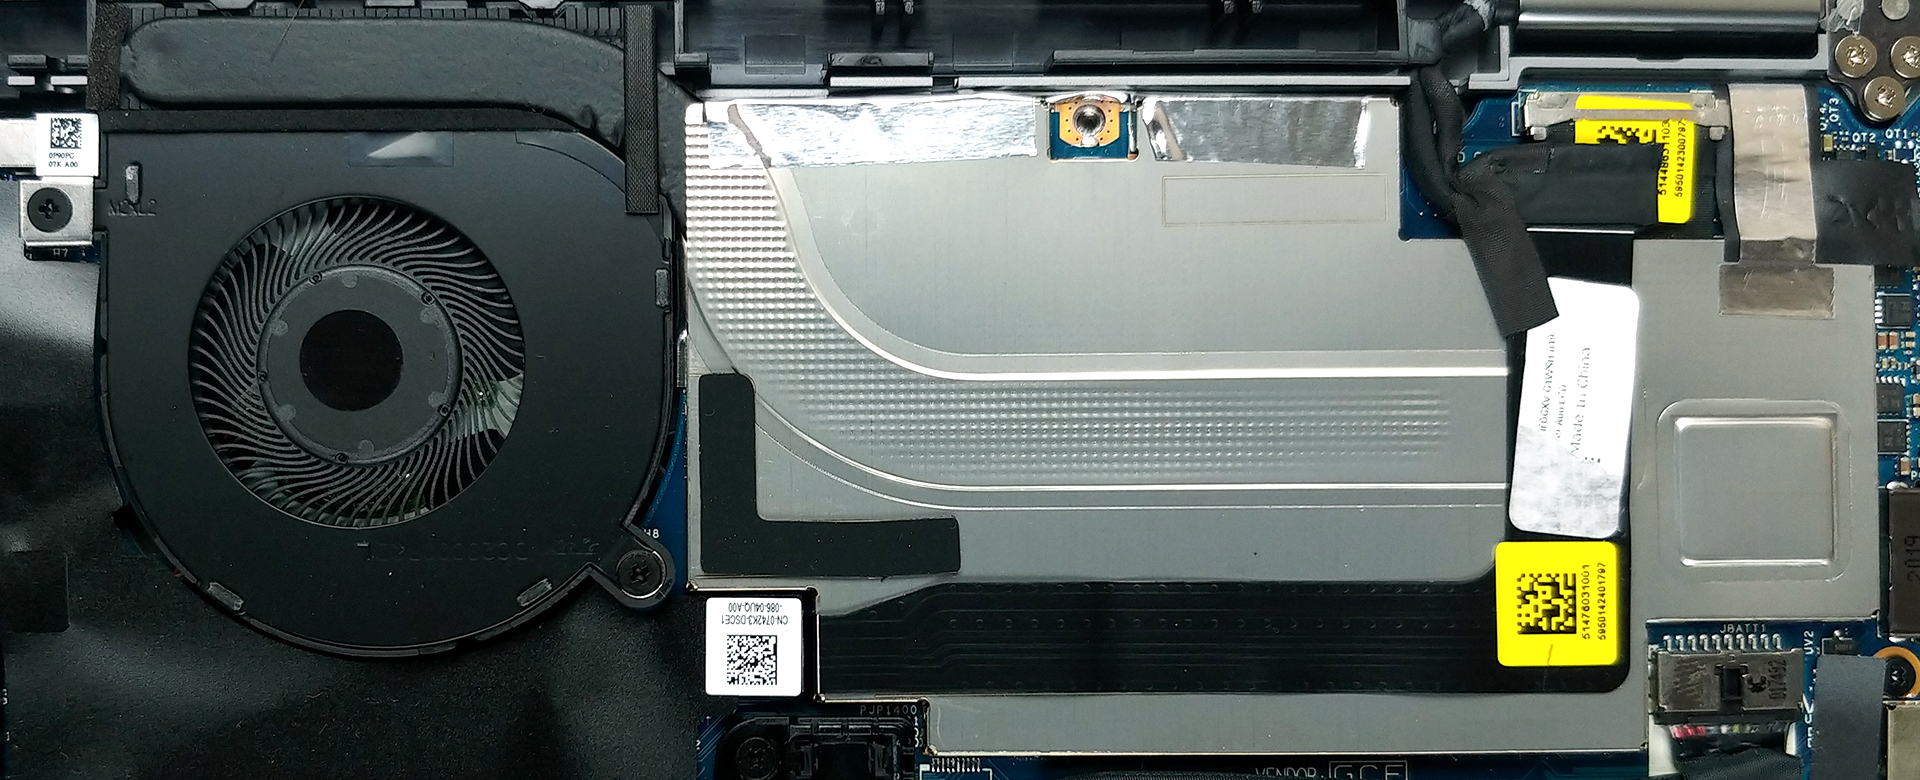
3. Memory and storage
After you have removed the battery connector, you can check the single M.2 PCIe x4 drive slot. Sadly, you can only change what you have there, and not add more. Additionally, the memory is soldered to the motherboard, and it also can’t be upgraded. Here, Dell provides two options – 8GB or 16GB of LPDDR3 memory, working at merely 2133 MHz.
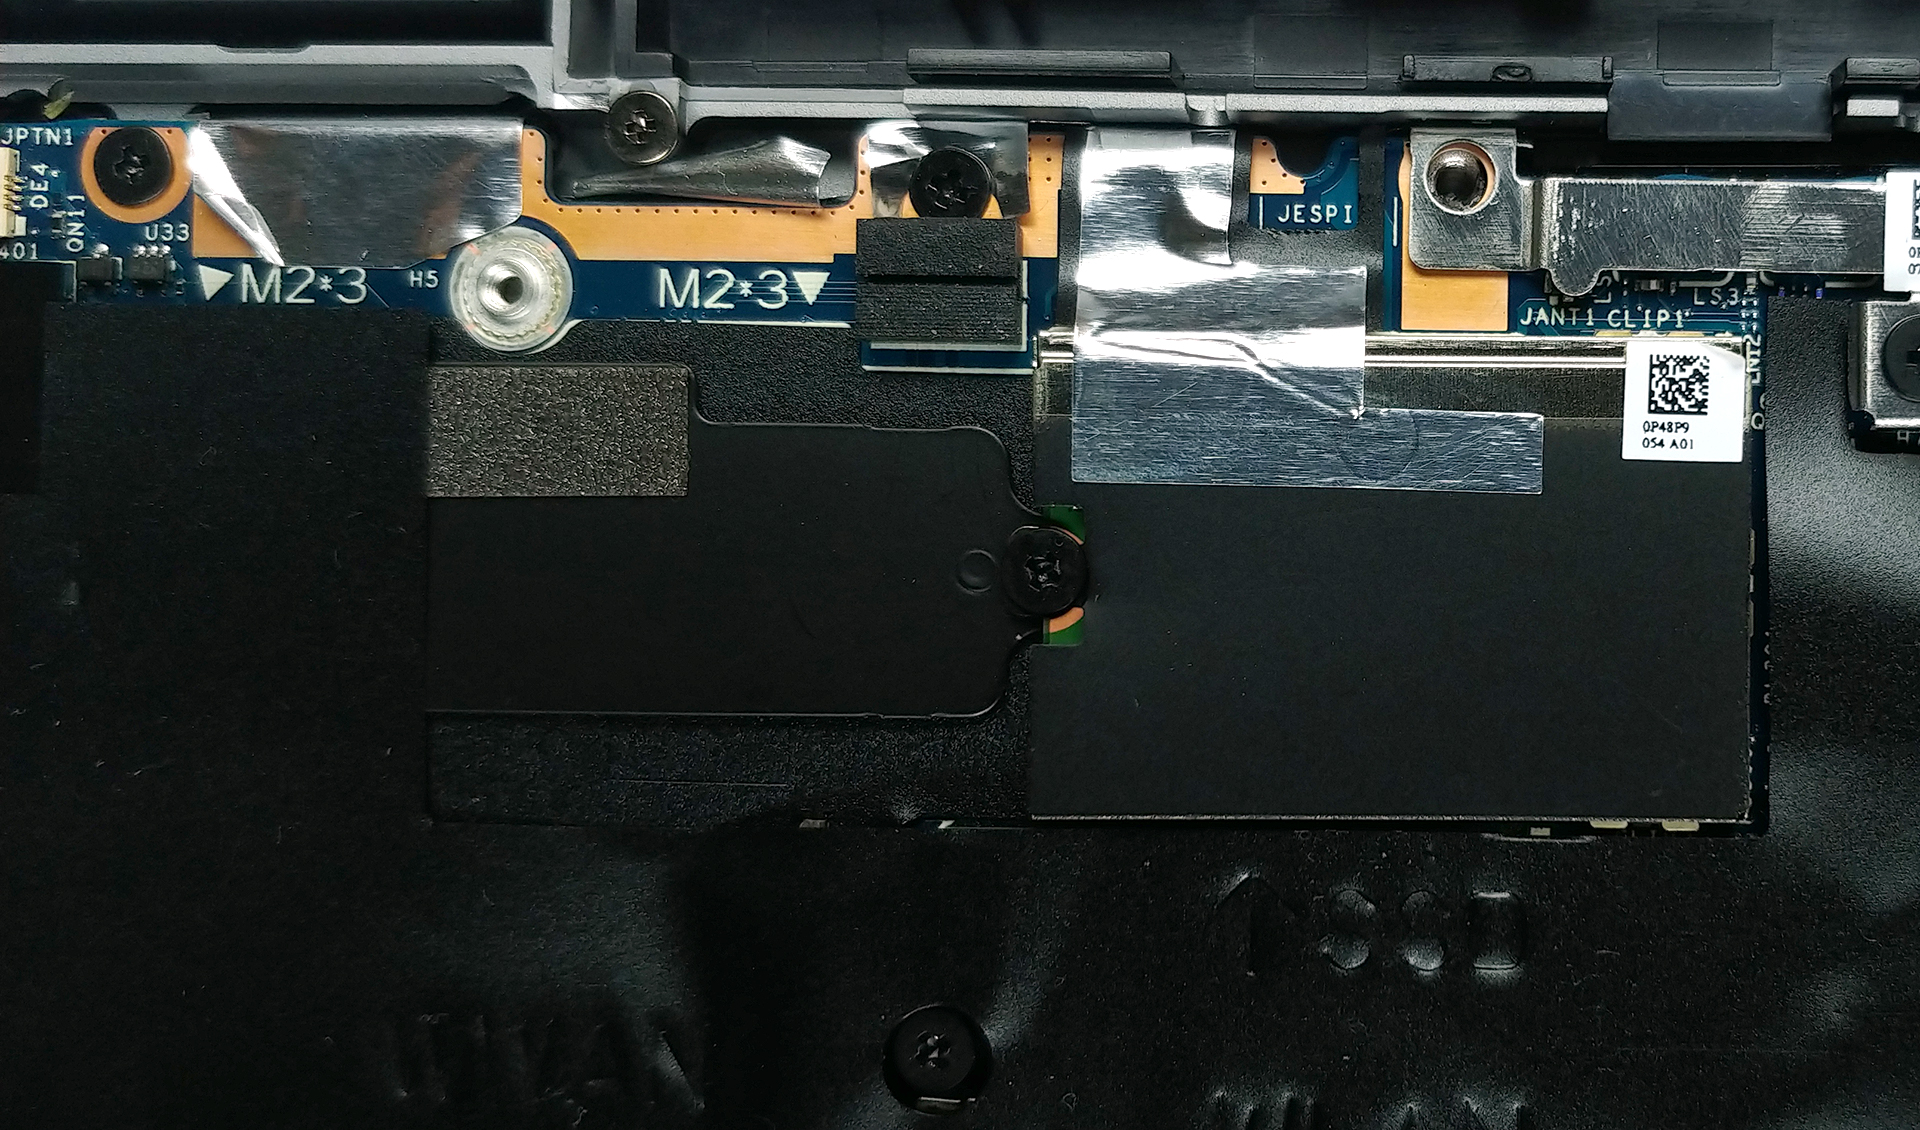
4. Cooling system
For cooling, Dell has opted for a rather thin heat pipe, and some metal brackets, covering the mounting mechanism, the soldered memory, and the VRMs. And to blow away the heat from the chassis, it uses a tiny fan.
Check out all Dell Latitude 14 9410 2-in-1 prices and configurations in our Specs System or read more in our In-Depth review.
 Author: Alex Iliev

![[Giugno 2026] Le marche di laptop più vendute su Amazon Global – Il dominio incontrastato di Apple in termini di unità vendute e fatturato](https://laptopmedia.com/wp-content/uploads/2026/07/GLOBAL-Best-Brands-400x225.jpg)
![[Giugno 2026] Amazon Global: i 10 laptop più venduti – Il nuovo MacBook Neo di Apple conquista il primo posto, rivoluzionando il mercato grazie al suo prezzo accessibile](https://laptopmedia.com/wp-content/uploads/2026/07/Best-Selling-Laptops-GLOBAL-Top-10-400x225.jpg)
![[Giugno 2026] Amazon Global: i 10 laptop da gaming più venduti – Il Nitro V 16S AI di Acer domina le vendite, mentre ASUS è in testa per fatturato complessivo](https://laptopmedia.com/wp-content/uploads/2026/07/Best-Selling-Gaming-Laptops-GLOBAL-Top-10-400x225.jpg)
![[Giugno 2026] Classifica globale delle GPU per laptop più vendute su Amazon – La NVIDIA RTX 5060 è la GPU dedicata più venduta](https://laptopmedia.com/wp-content/uploads/2026/07/Best-Selling-GPUs-GLOBAL-Top-10-400x225.jpg)
![[Giugno 2026] Classifica globale delle CPU per laptop più vendute su Amazon: l’Apple M5 domina, mentre l’AMD Ryzen 7 260 conquista una quota significativa nel segmento premium](https://laptopmedia.com/wp-content/uploads/2026/07/Best-Selling-CPUs-GLOBAL-Top-10-400x225.jpg)