Inside HP Pavilion 15 Gaming Notebook – disassembly, internal photos and upgrade options
It’s been a while since we posted our review of HP’s second attempt at gaming notebooks and we were left with somehow mixed feelings. However, for a notebook like this, we were pretty surprised by the effective cooling system, which is greatly overhauled compared to the standard version of Pavilion 15, and the storage options – M.2 SSD support. Be careful when disassembling, though, it’s a bit tricky.
You can check the price and availability of the notebook at Amazon.com.
1. Preparing the notebook for a teardown
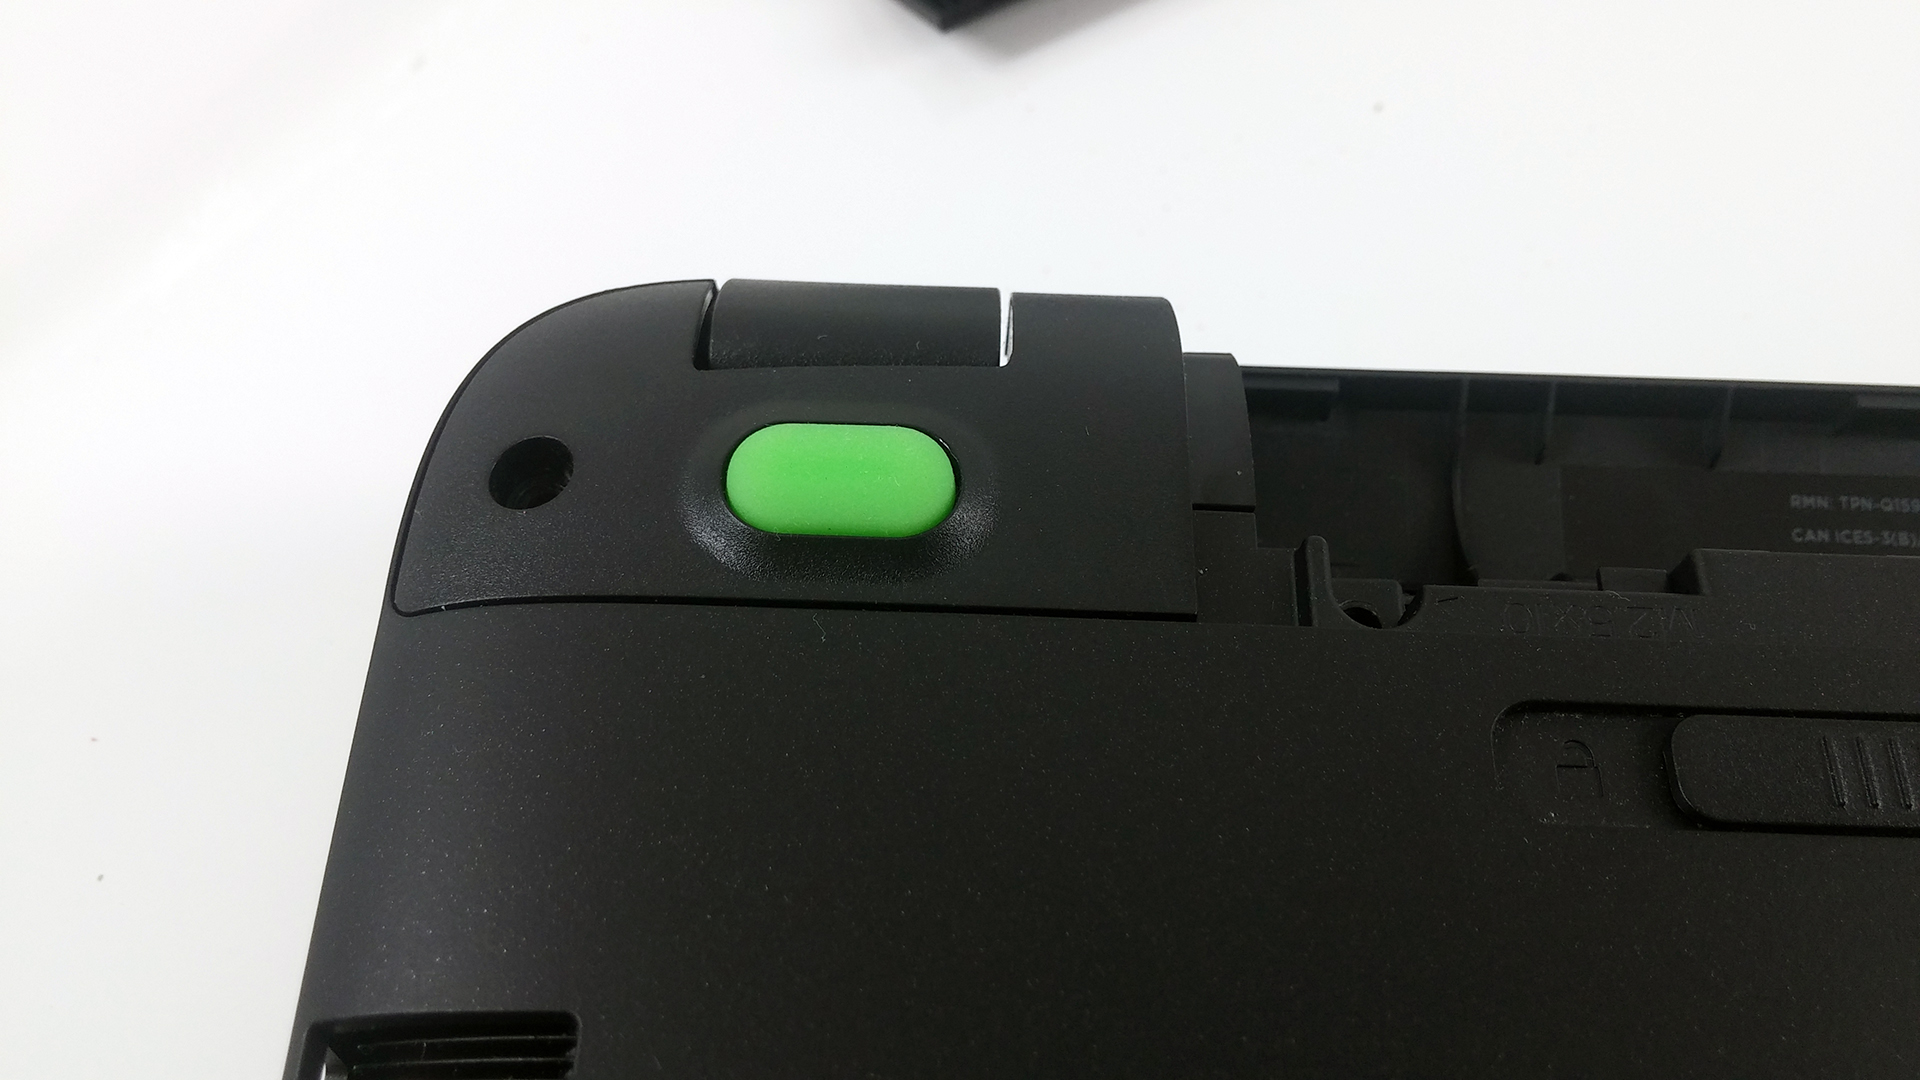
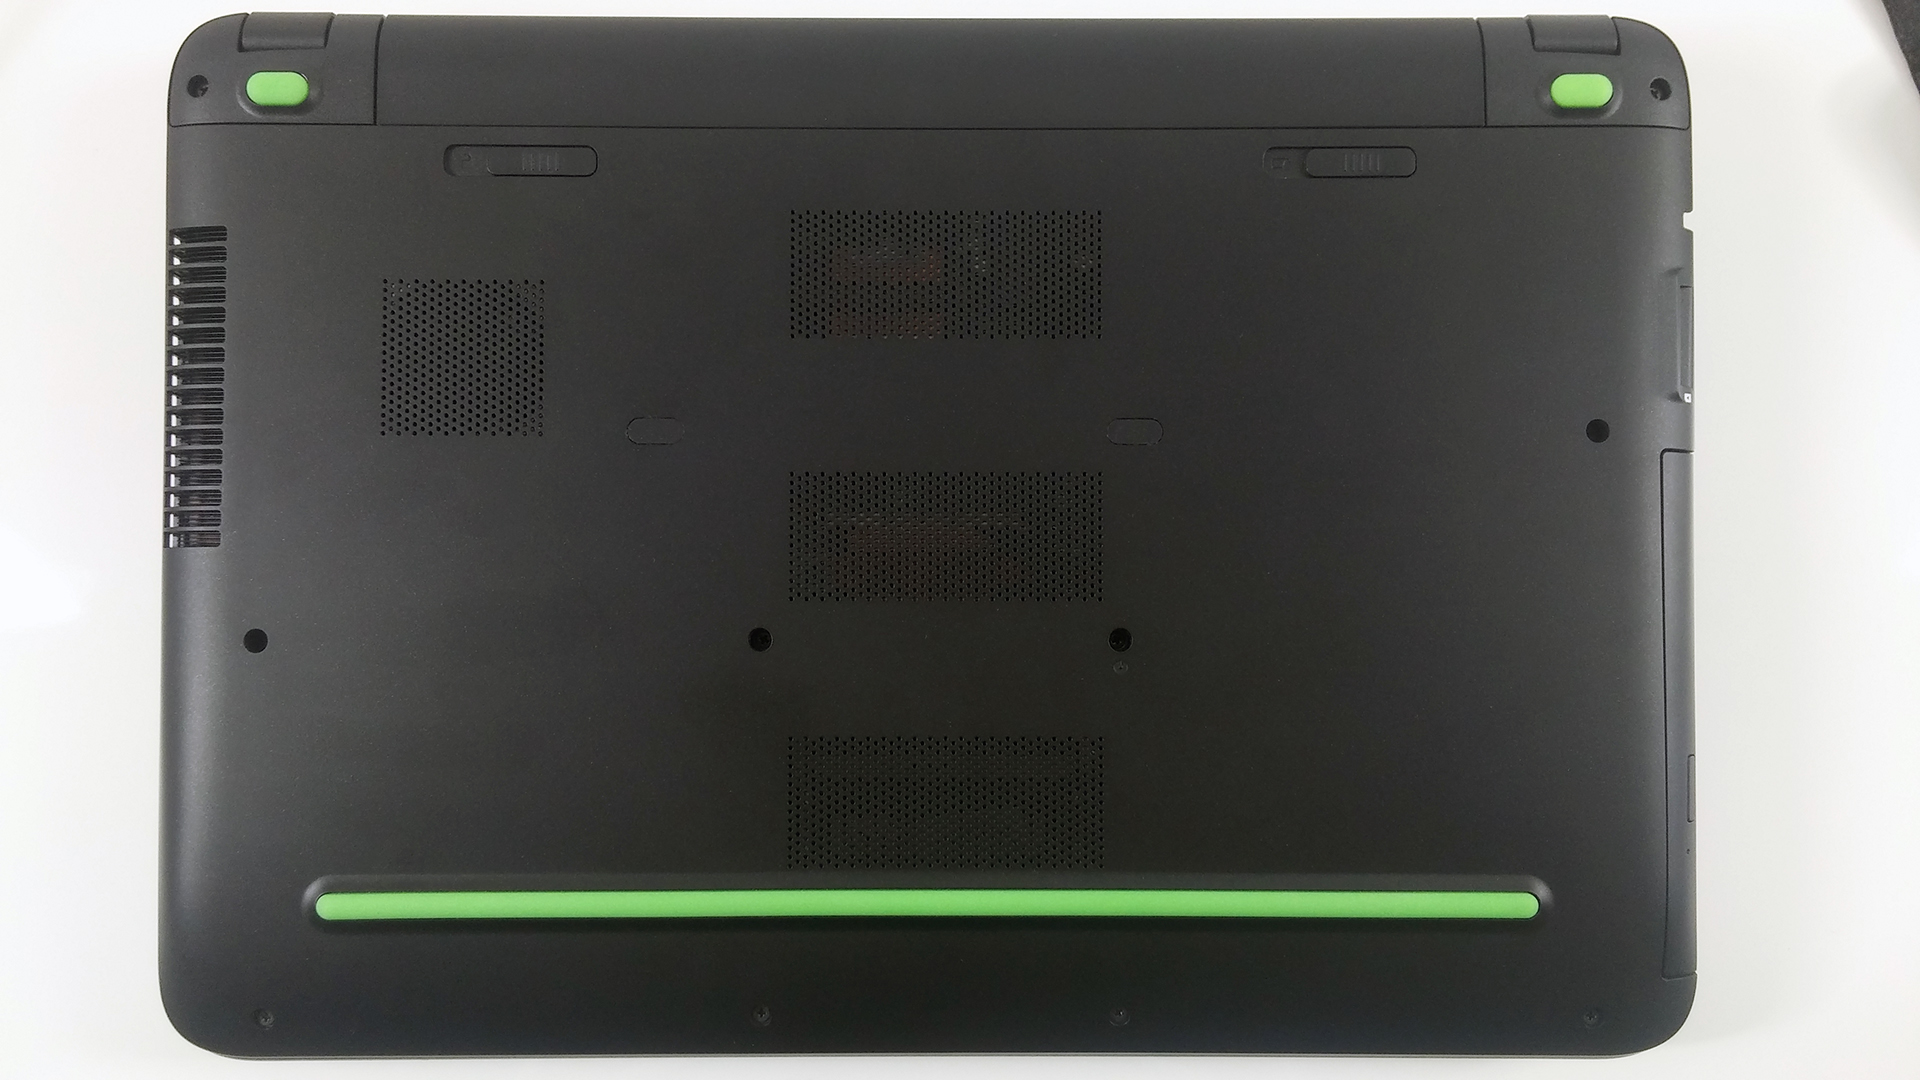
At first glance, the notebook is fairly easy to disassemble but unfortunately, it’s the other way around. First off, turn the “switches” near the battery and detach it. Speaking of which, it’s rated at 48Wh and it’s a good thing that it’s user-replaceable. Then, unscrew all the visible bolts and proceed with popping out the caps with the back silicone feet. After you’ve removed them, there is one more screw under each leg.
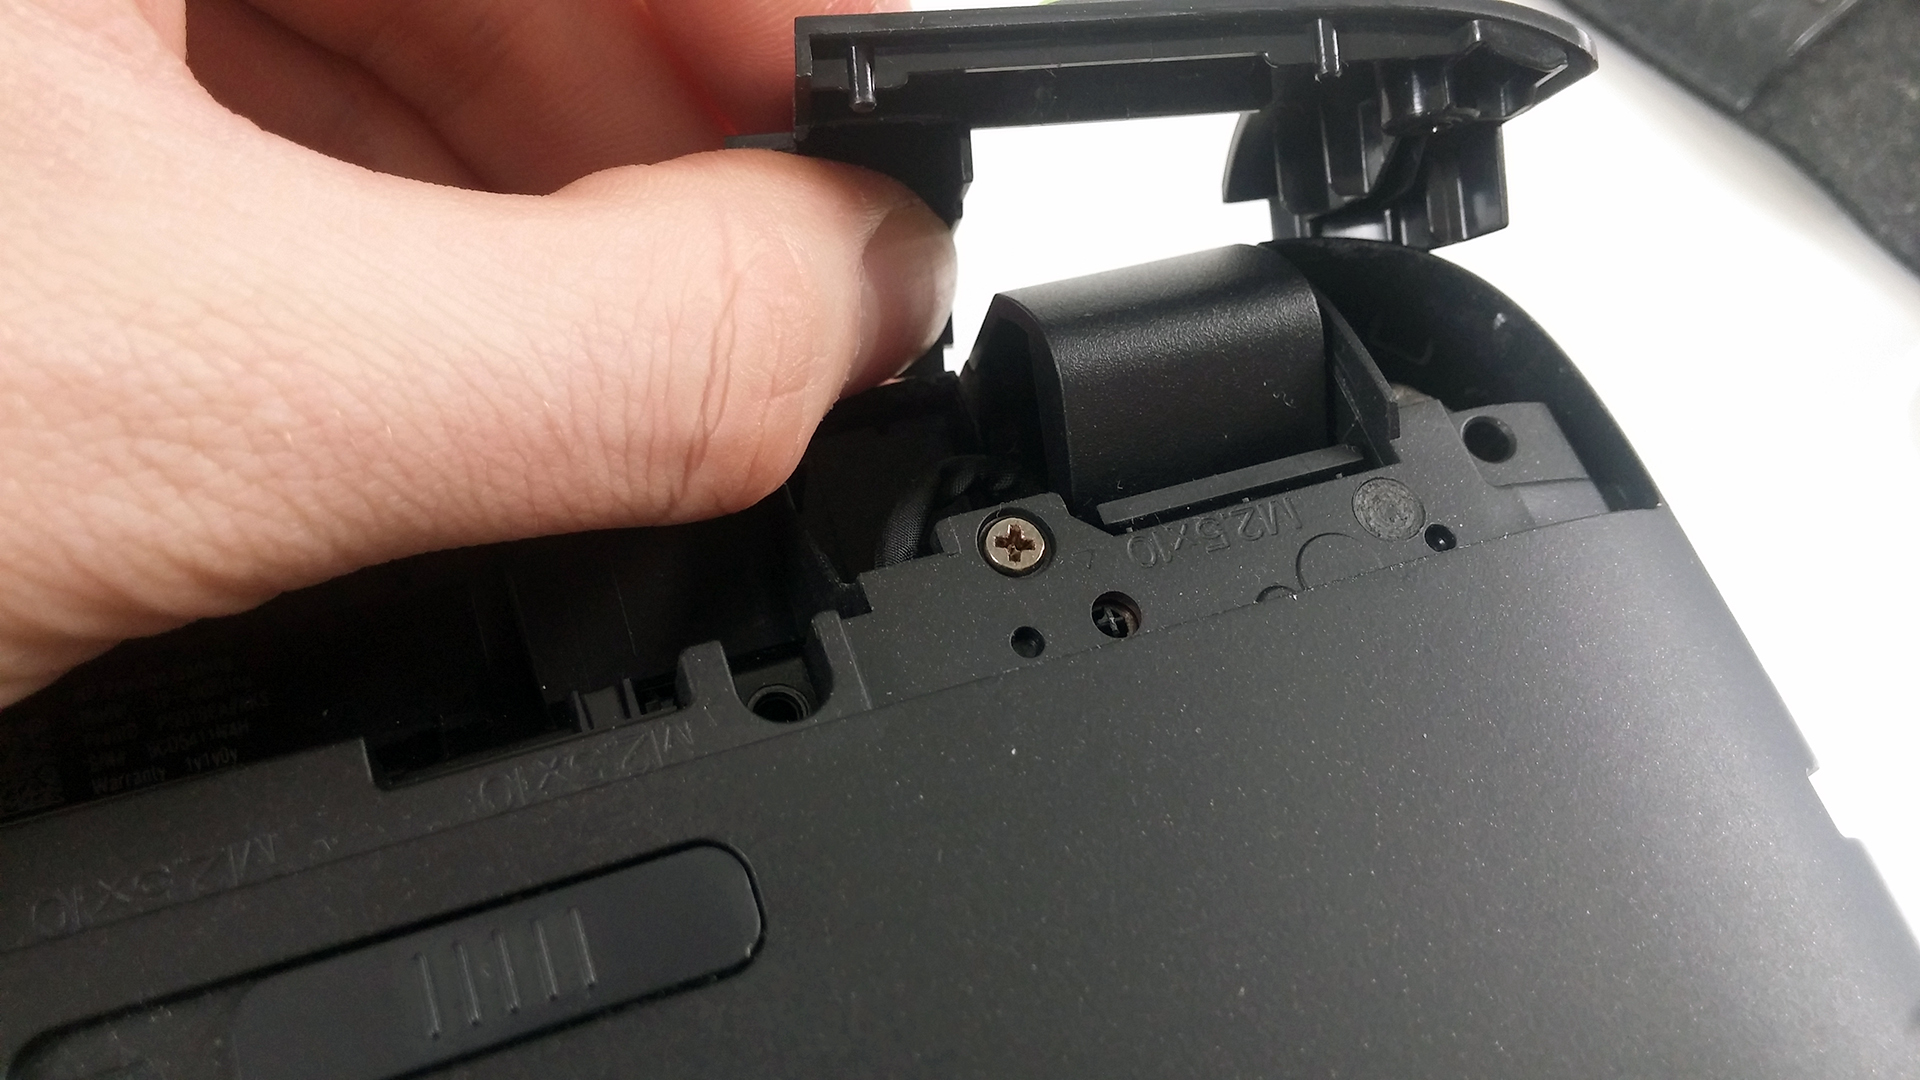
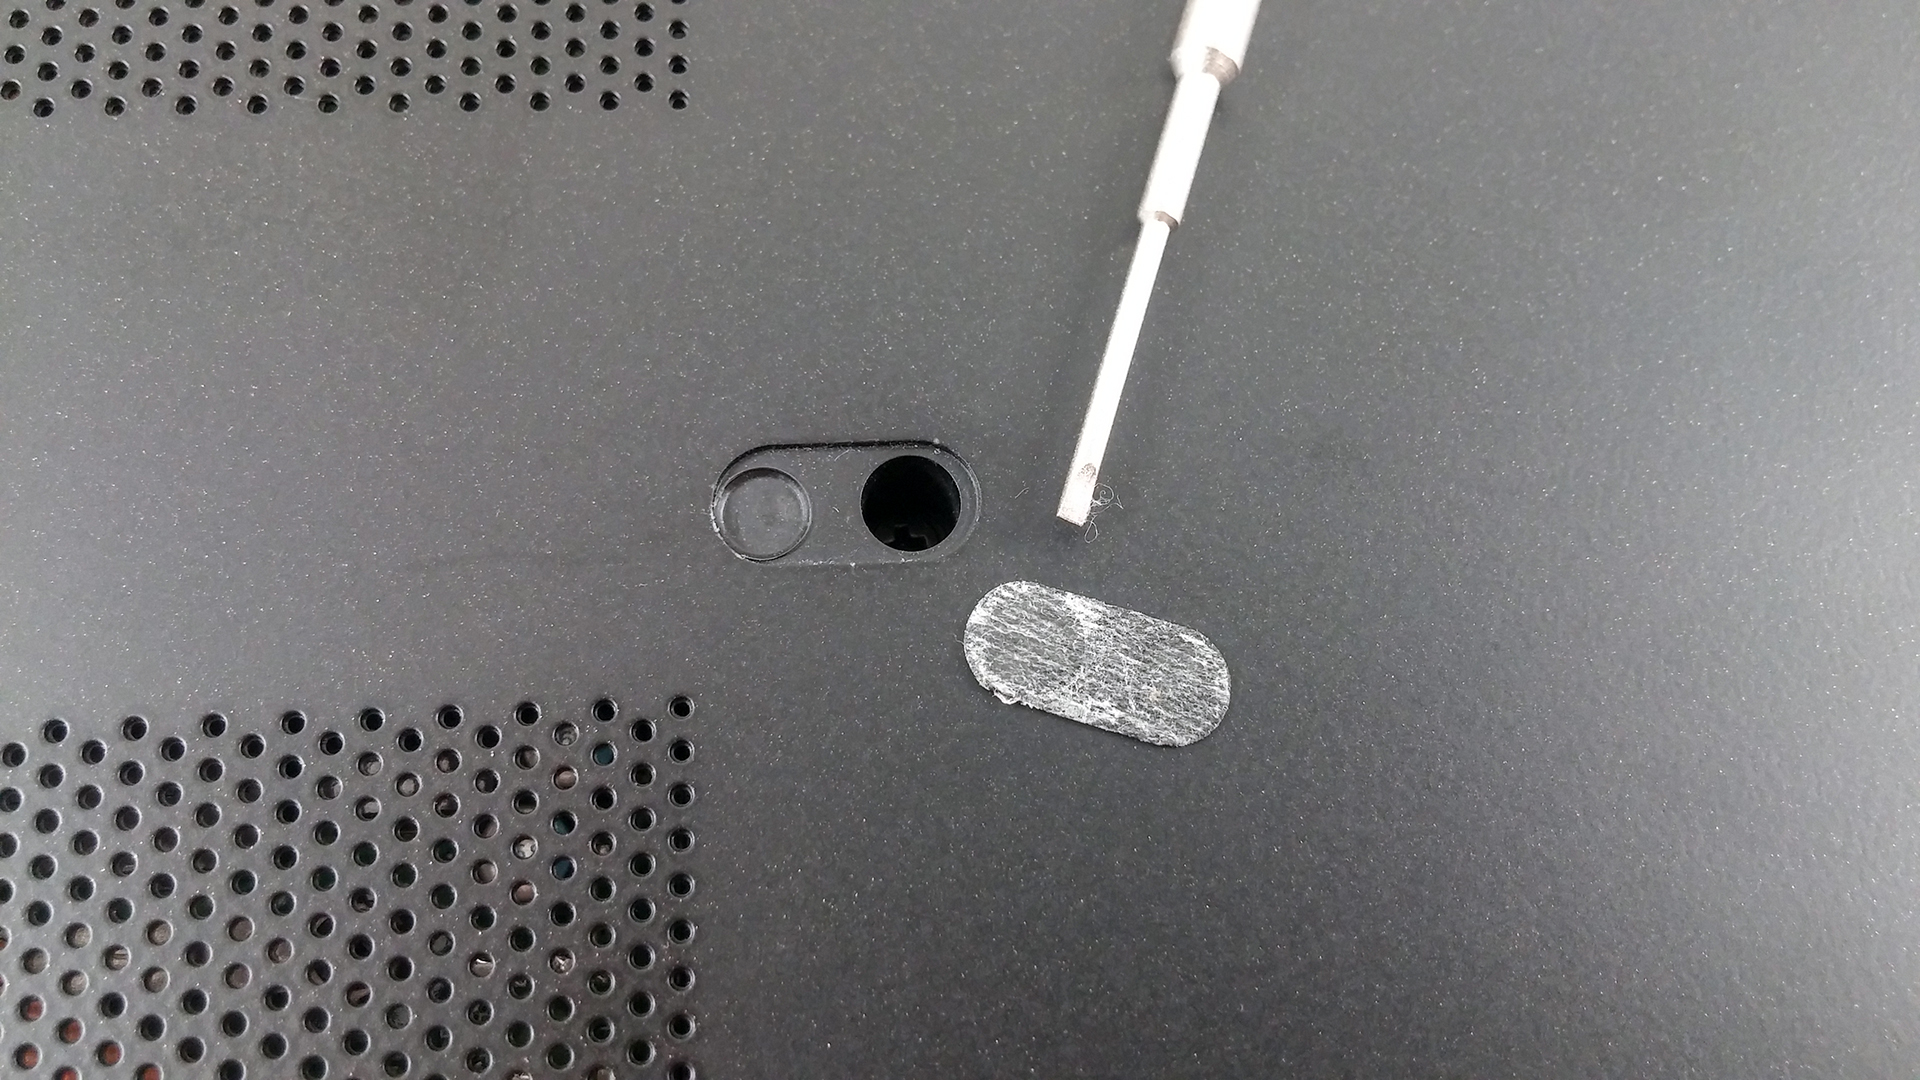
Then, gently pry up the paper caps that are glued in the center of the bottom piece. There are two more screws hiding there. Finally, remove the optical drive.

2. Removing the bottom plate
Since all the screws have been removed, proceed with prying up the keyboard tray. A small and thin plastic card or tool should do the trick. After you’ve removed it, you will see all the internals and the cooling system.

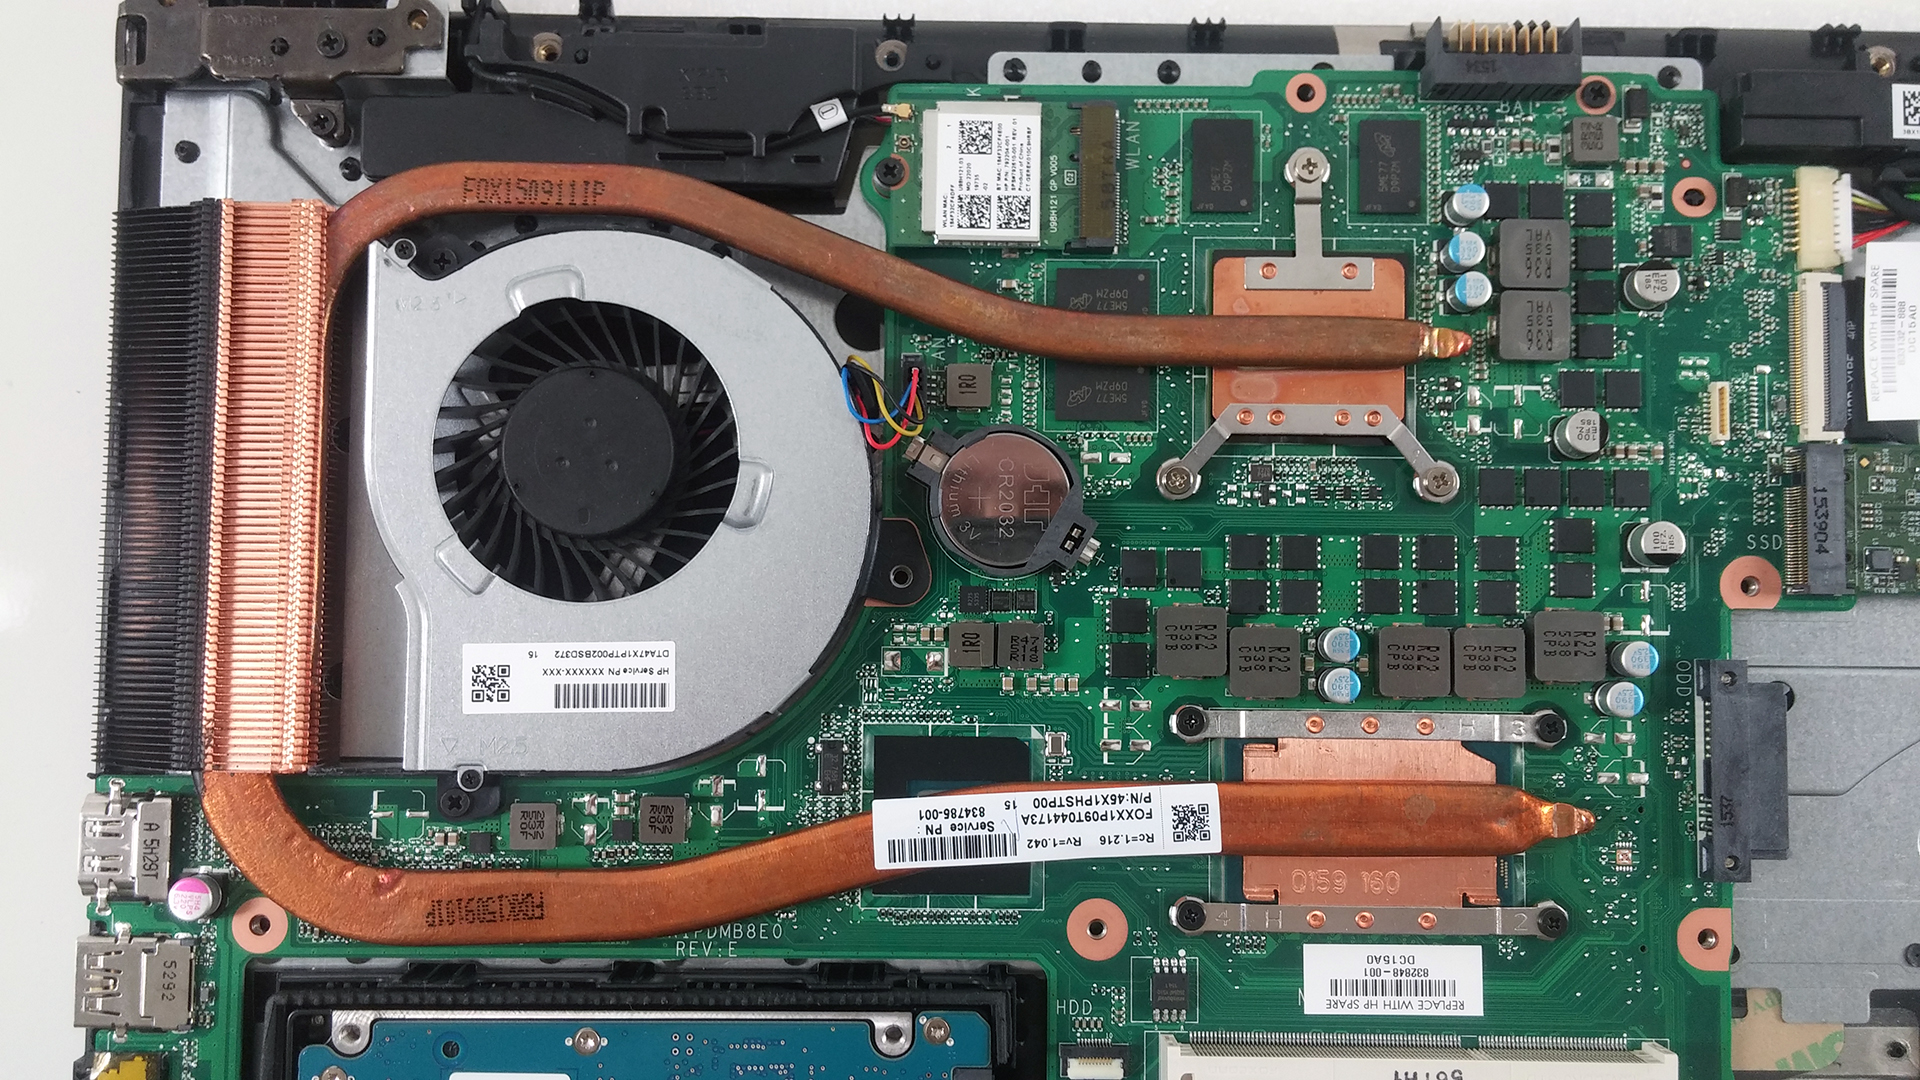
We would like to emphasize on the cooling design – it’s rather effective and our “Temperature” tests are here to prove it, but the issue with the vent placement is at hand. Since it’s placed on the right side, it blows hot air into the user’s arm obstructing normal mouse usage. Anyway, the heat pipe placement ensures no heat sharing between the GPU and CPU – bonus points for that.
3. Upgrade options
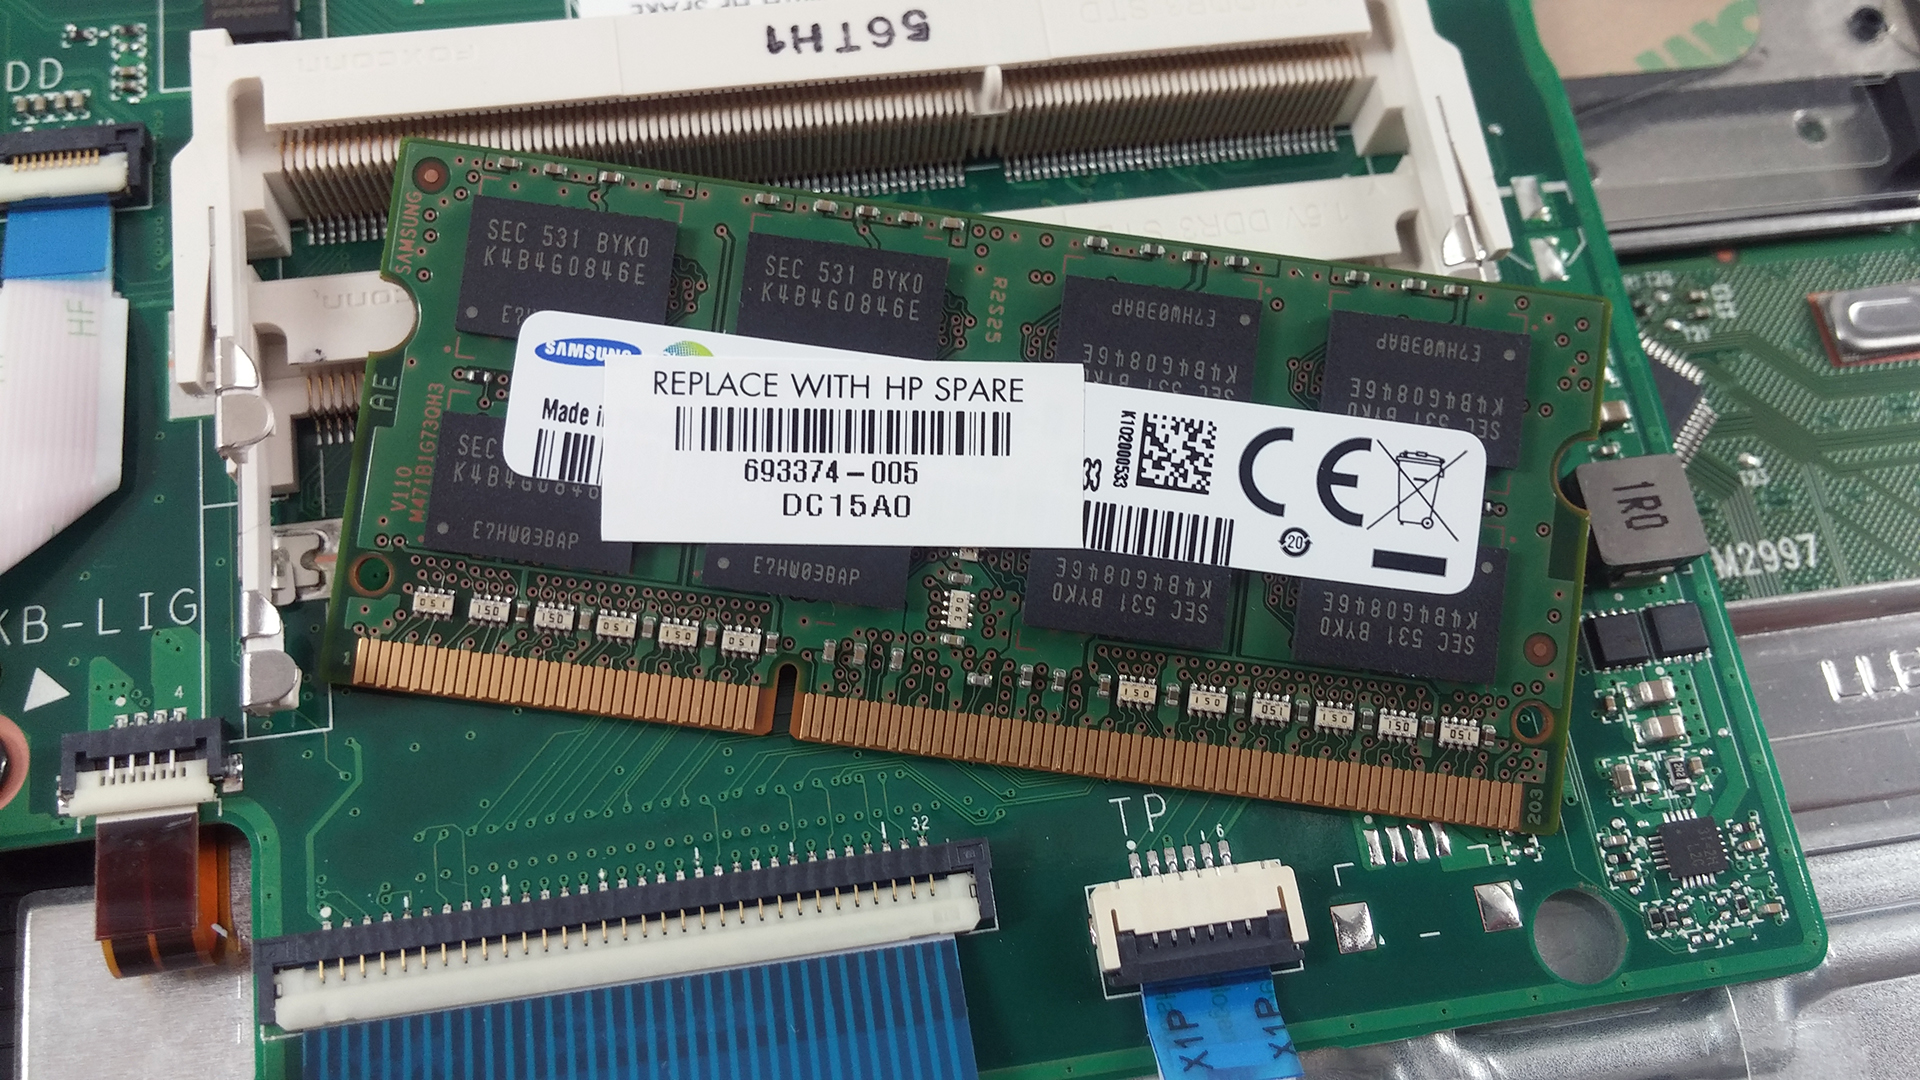
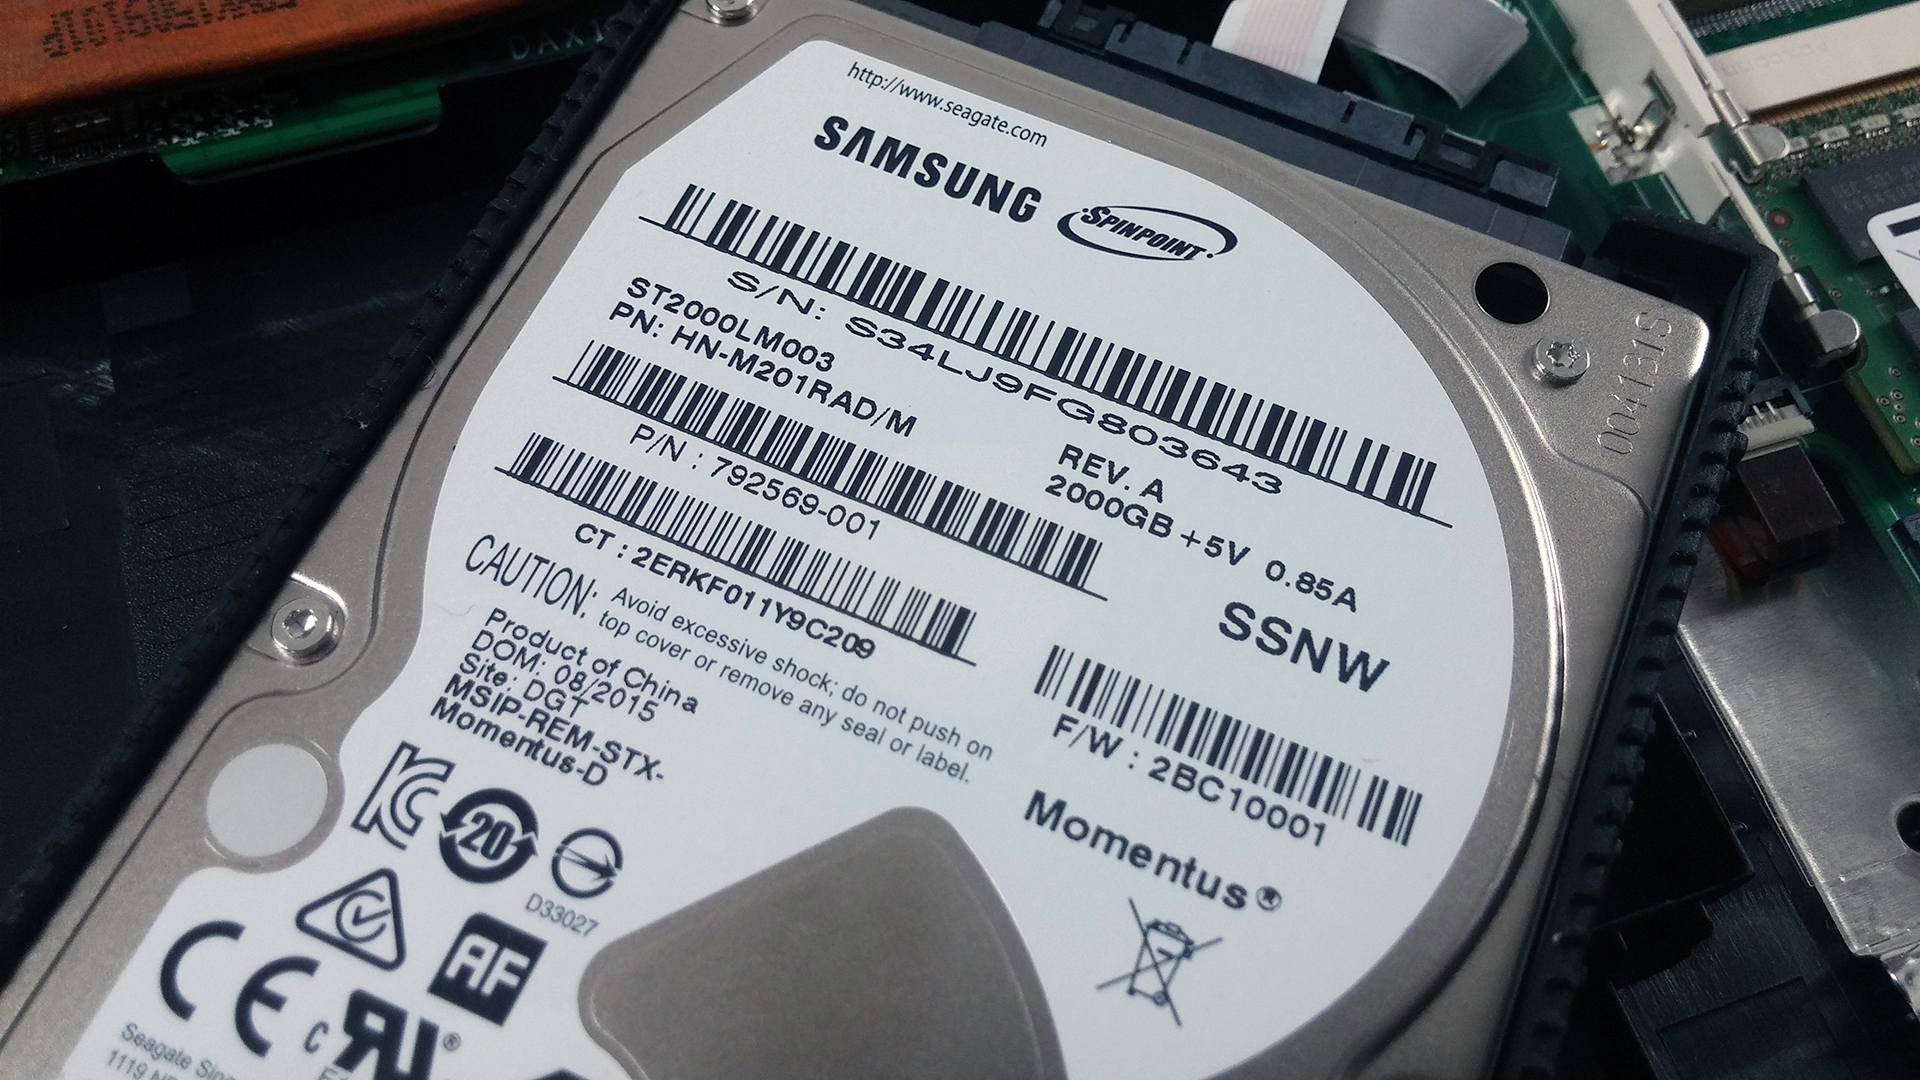
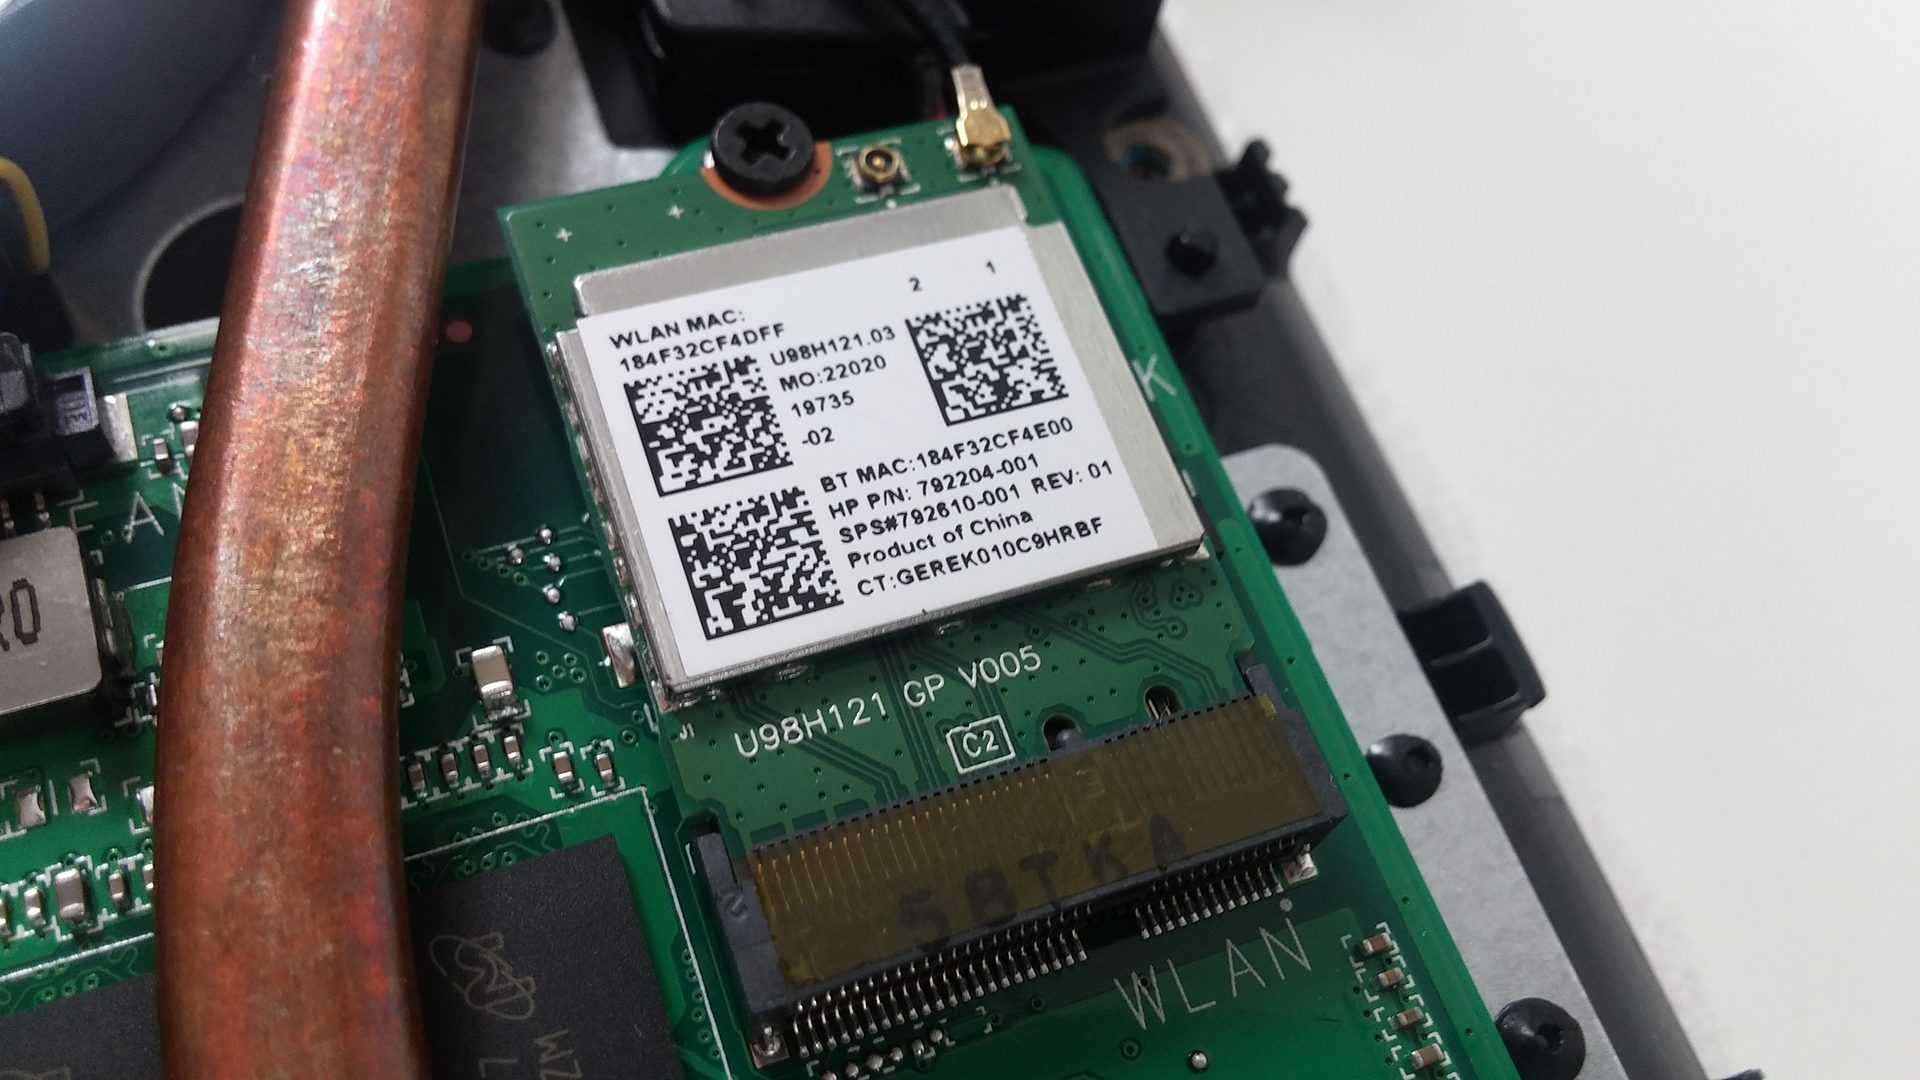
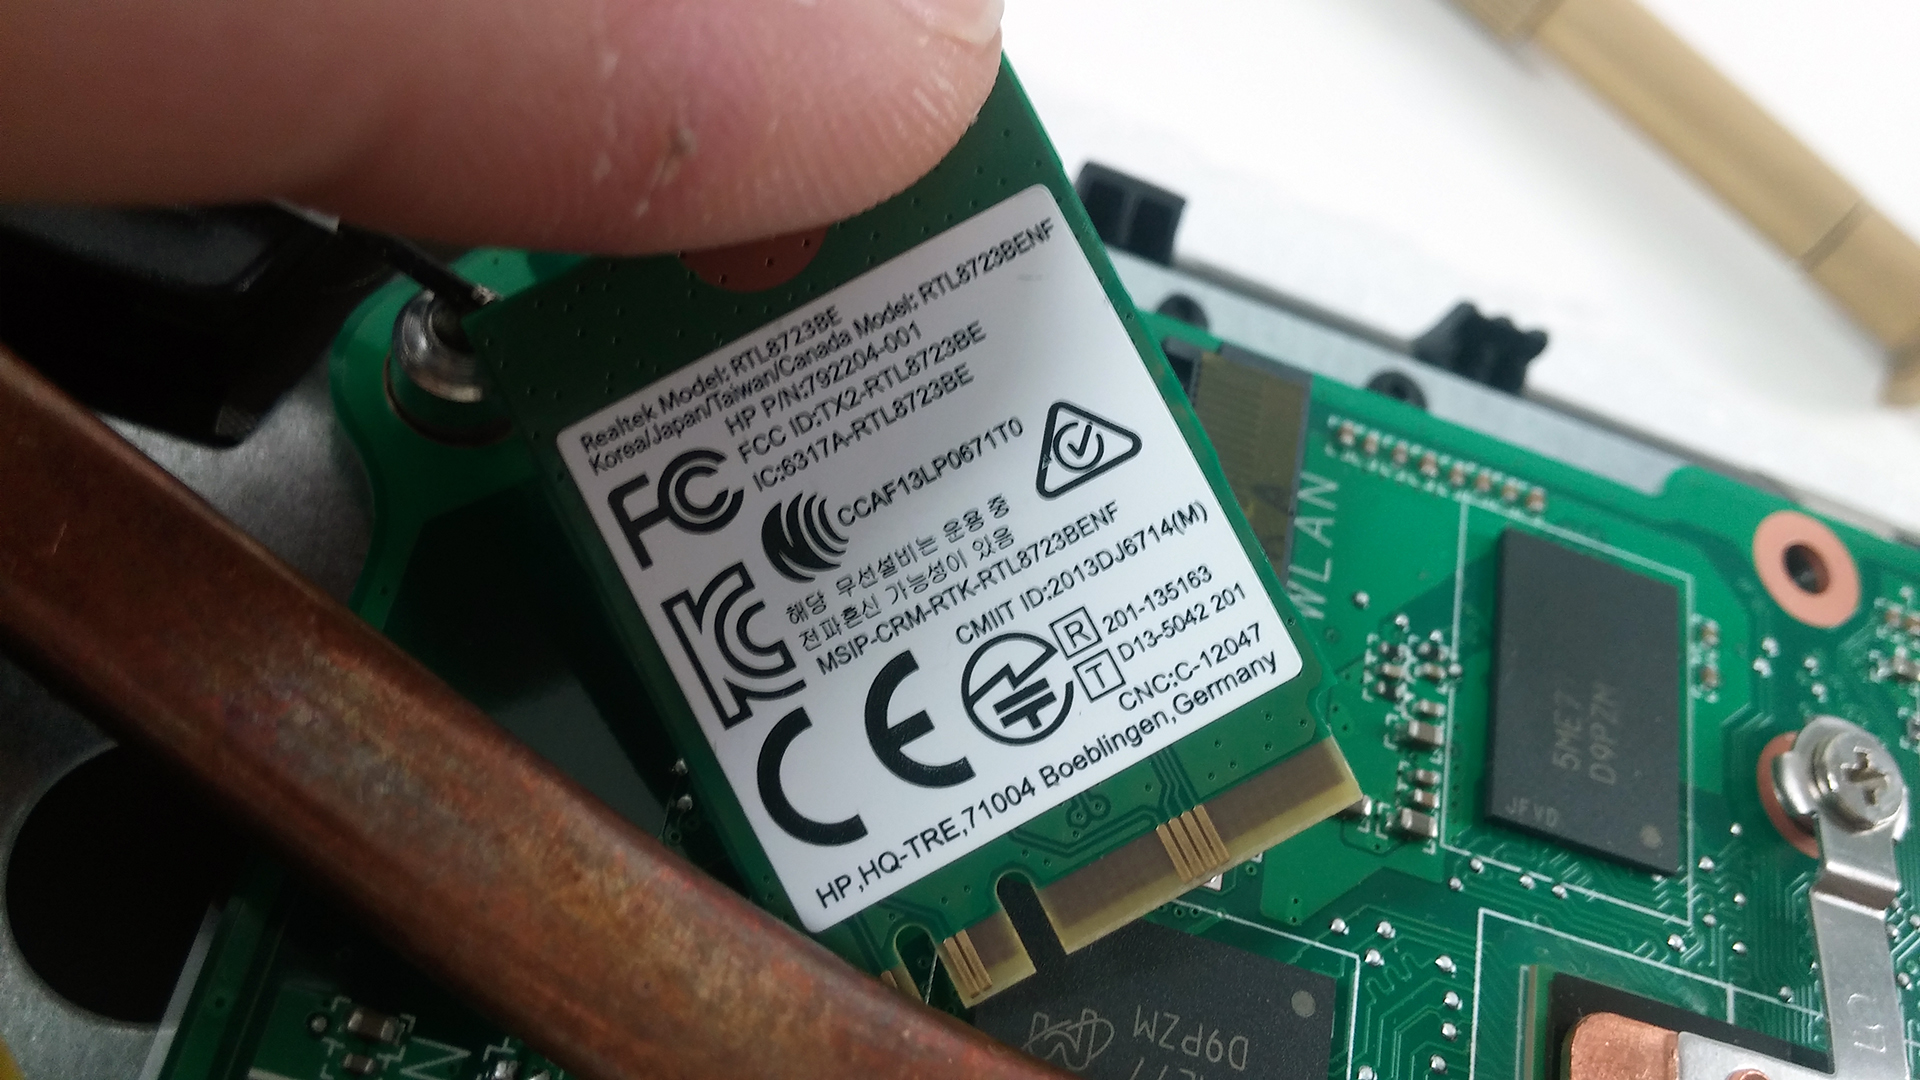
As we said earlier, the notebook comes with more than enough storage options. Ours had 2.5-inch 2TB Samsung Spinpoint HDD, spinning at 5400 rpm. There are also two 4GB DDR3-1600 RAM chips, again from Samsung and Realtek Wi-Fi modem with model number RTL8723BE.
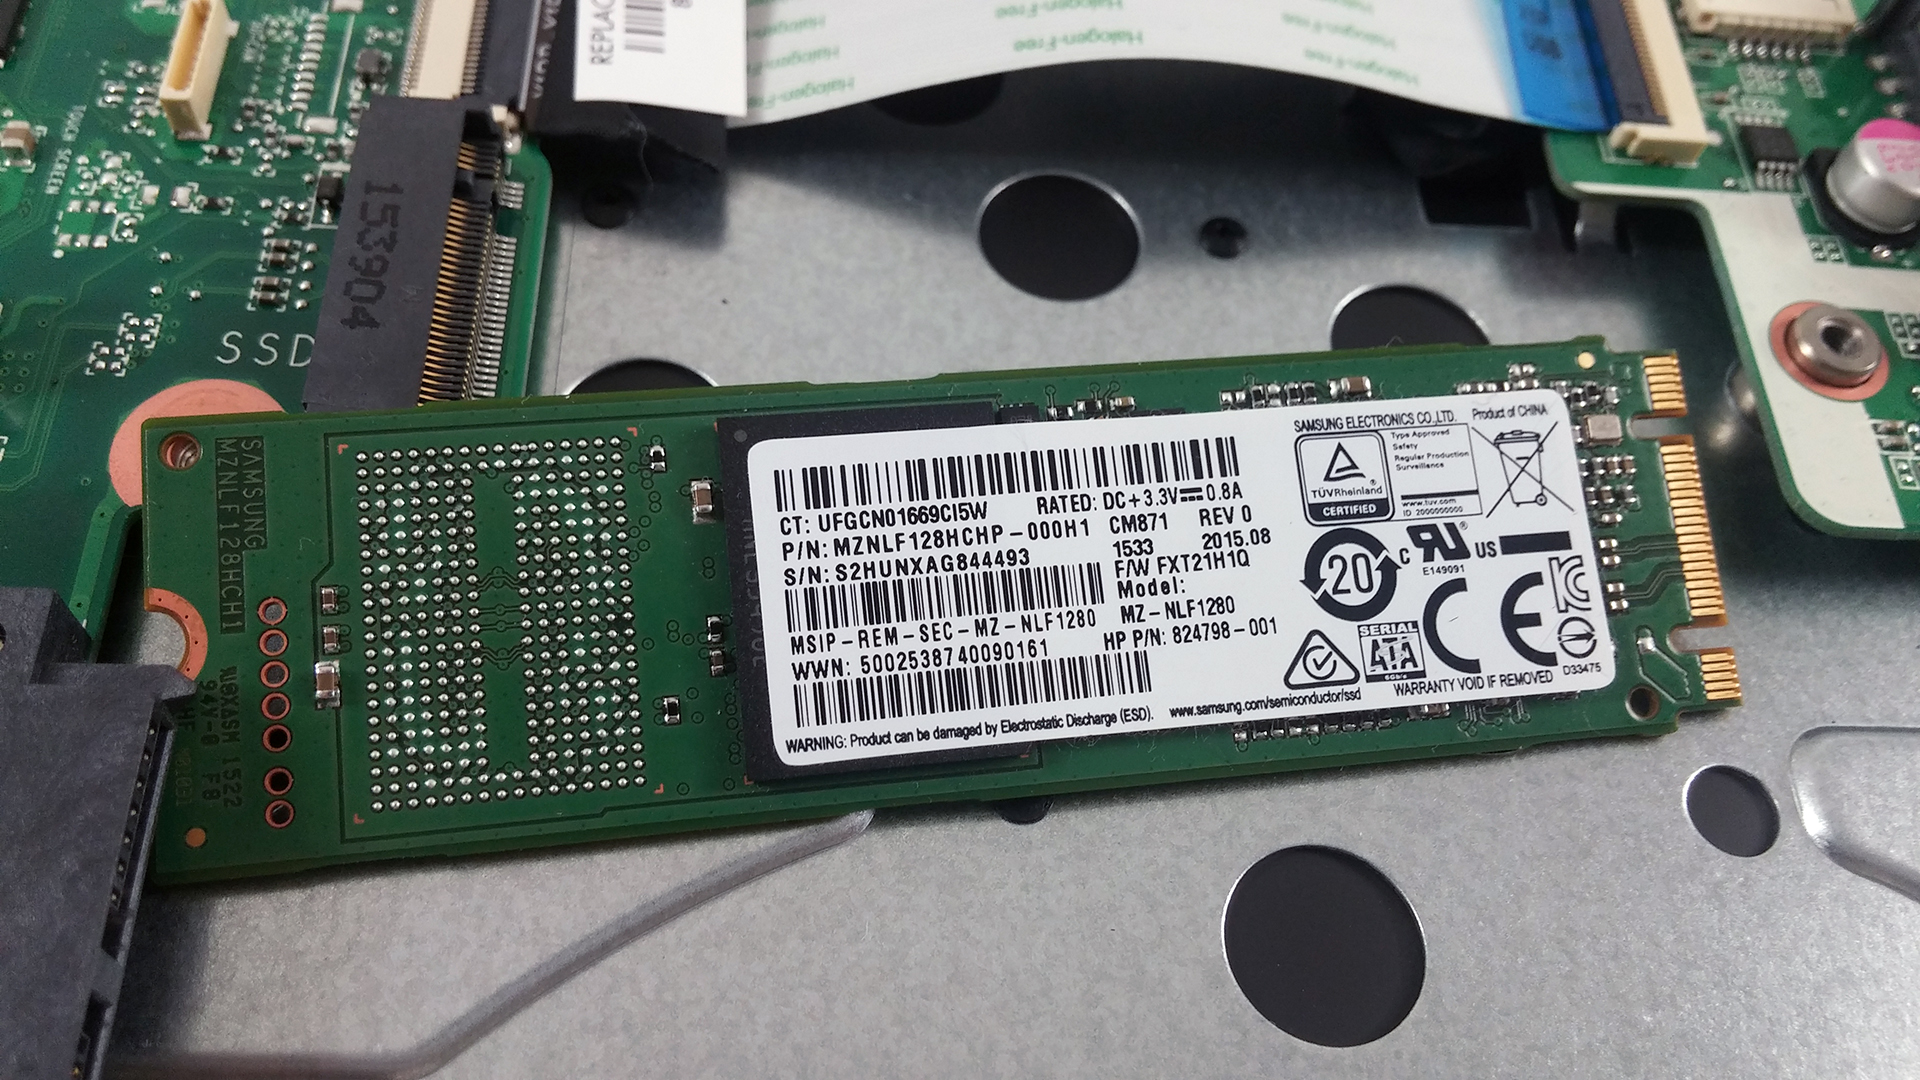
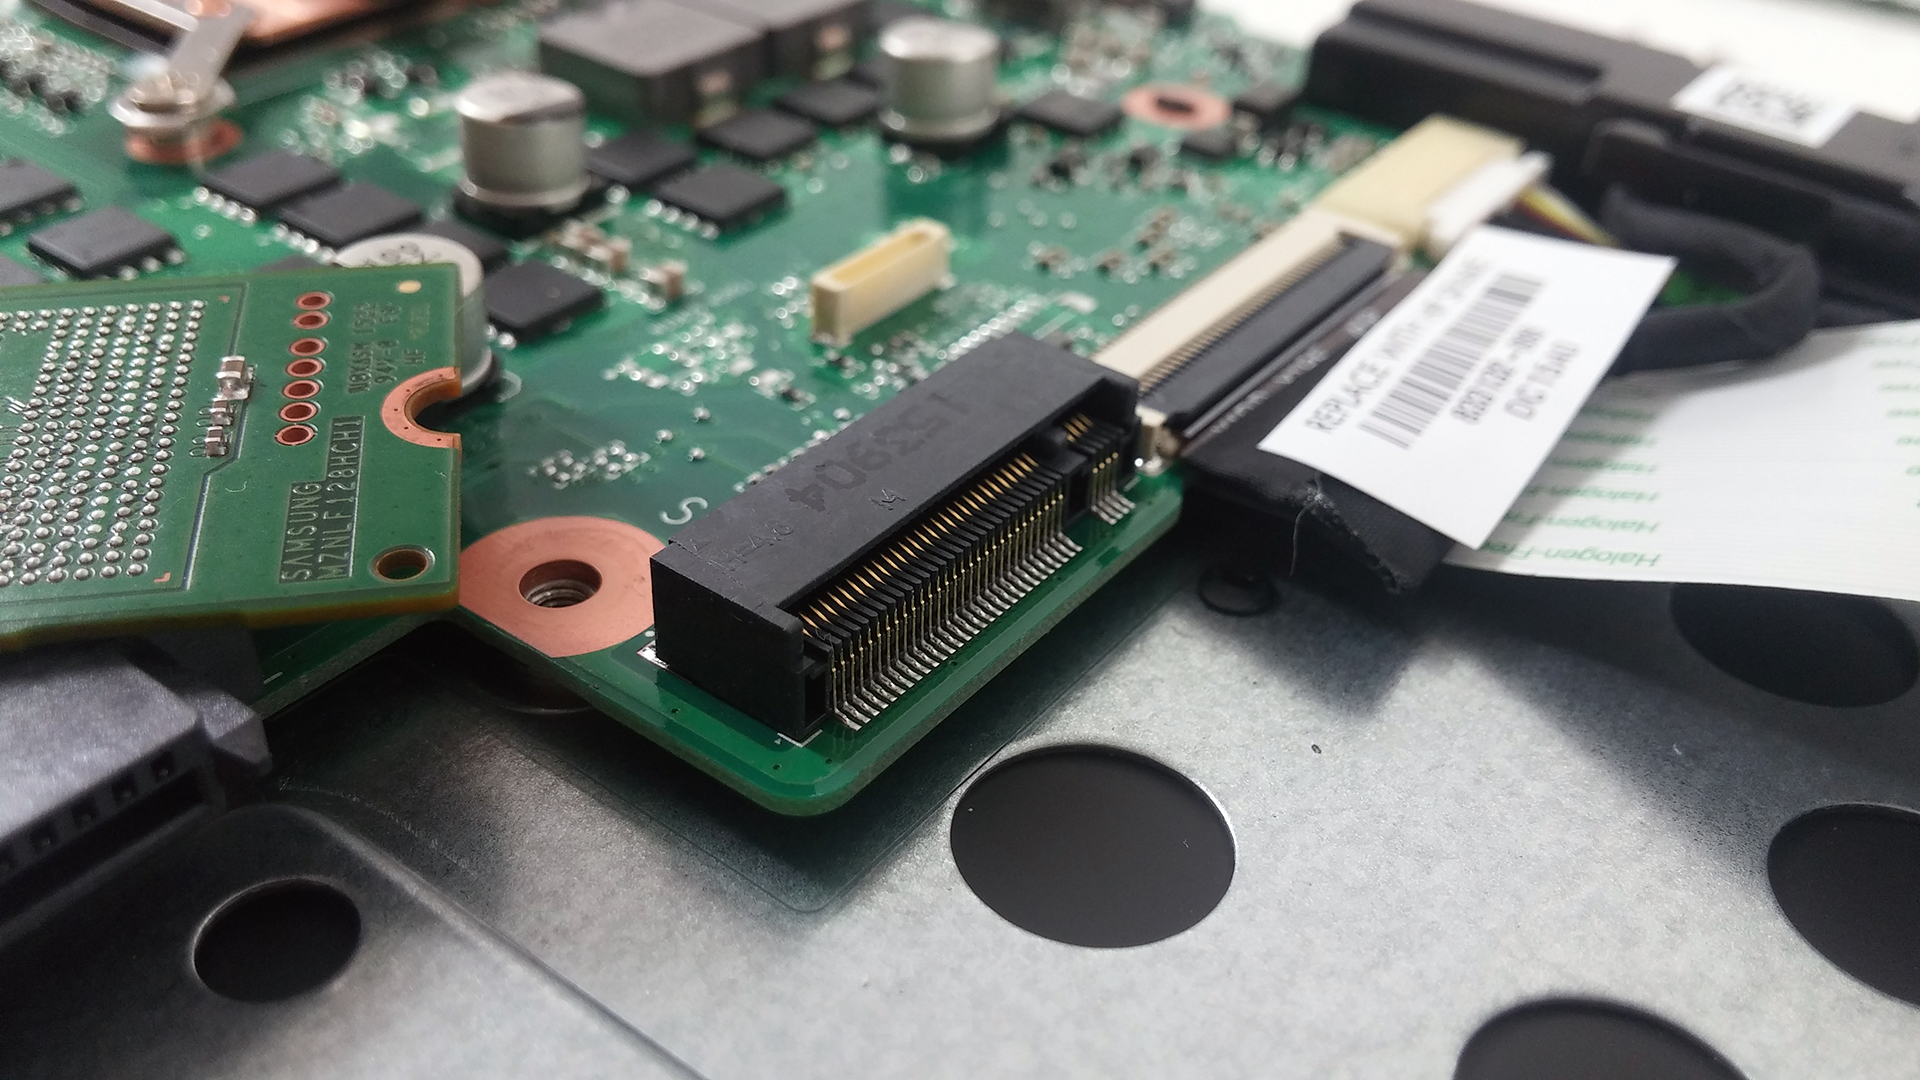

The laptop also supports 2280 M.2 SSD, probably SATA, with M key edge connector, but B&Ms are also compatible. Our slot was occupied by an OEM version of Samsung’s M.2 sticks with 128GB capacity. Here’s a list of hardware that we found.
- 2.5-inch Samsung Spinpoint 2TB @5400 rpm HDD
- M.2 2280 SATA Samsung 128GB SSD (the slot supports M edge or B&M edge sticks)
- 2x 4GB Samsung DDR3-1600 SDRAM chips
- Realtek Wi-Fi modem with model number RTL8723BE
You can check the price and availability of the notebook at Amazon.com.


![[2026年6月] Amazonグローバルにおけるノートパソコンのベストセラーブランド ― 販売台数と売上高の両面で、Appleが圧倒的な優位性を示す](https://laptopmedia.com/wp-content/uploads/2026/07/GLOBAL-Best-Brands-400x225.jpg)
![[2026年6月] アマゾン・グローバル:ノートパソコン売上ランキングトップ10――Appleの新型「MacBook Neo」が1位に躍り出て、手頃な価格帯で市場を再編](https://laptopmedia.com/wp-content/uploads/2026/07/Best-Selling-Laptops-GLOBAL-Top-10-400x225.jpg)
![[2026年6月] アマゾン・グローバル:ゲーム用ノートPC売上ランキングトップ10――エイサーの「Nitro V 16S AI」が販売台数で首位を独占、ASUSが総売上高で首位に立つ](https://laptopmedia.com/wp-content/uploads/2026/07/Best-Selling-Gaming-Laptops-GLOBAL-Top-10-400x225.jpg)
![[2026年6月] AmazonにおけるノートPC用GPUの世界販売ランキング ― NVIDIA RTX 5060が専用GPU部門で首位を獲得](https://laptopmedia.com/wp-content/uploads/2026/07/Best-Selling-GPUs-GLOBAL-Top-10-400x225.jpg)
![[2026年6月] AmazonにおけるノートPC用CPUの世界販売ランキング ― Apple M5が首位を独占、AMD Ryzen 7 260がプレミアム層で堅調なシェアを獲得](https://laptopmedia.com/wp-content/uploads/2026/07/Best-Selling-CPUs-GLOBAL-Top-10-400x225.jpg)

really bad cooling design as always … perfect to cook your breakfast.
got one of these laptops, there a lot more screws than what you have put on the photos, the really annoying thing about the laptop is how so few customer accessible parts, that we can change, but other than that really good laptop.
merci 🙂
does it support Samsung Evo 850 M.2??
Yes, http://h30434.www3.hp.com/t5/Notebook-Hardware-and-Upgrade-Questions/Extended-product-specifications-for-the-HP-Pavilion-15/m-p/5681445#M347912, yes, it says ab-241sd, but it has the same base.
does it support M.2 NVME SSD or is it just a SATA M.2 socket? pls reply