Inside Lenovo Yoga C740 (14) – disassembly and upgrade options
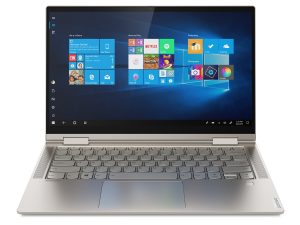
The Yoga C740 (14) features some amazing stuff like all-metal build, super responsive touchscreen, as well as a Pen that comes inside the box. However, other things make it look less appealing to its buyers – things like lack of Thunderbolt connectivity and the modest I/O selection.
Check out all Lenovo Yoga C740 (14) prices and configurations in our Specs System or read more in our In-Depth review.
1. Remove the bottom plate
This device has 9 Torx-headed screws that hold the bottom panel to the chassis of the device. After you remove them, make sure you are very careful with your plastic pry tool, because the package is pretty tight.
2. Battery
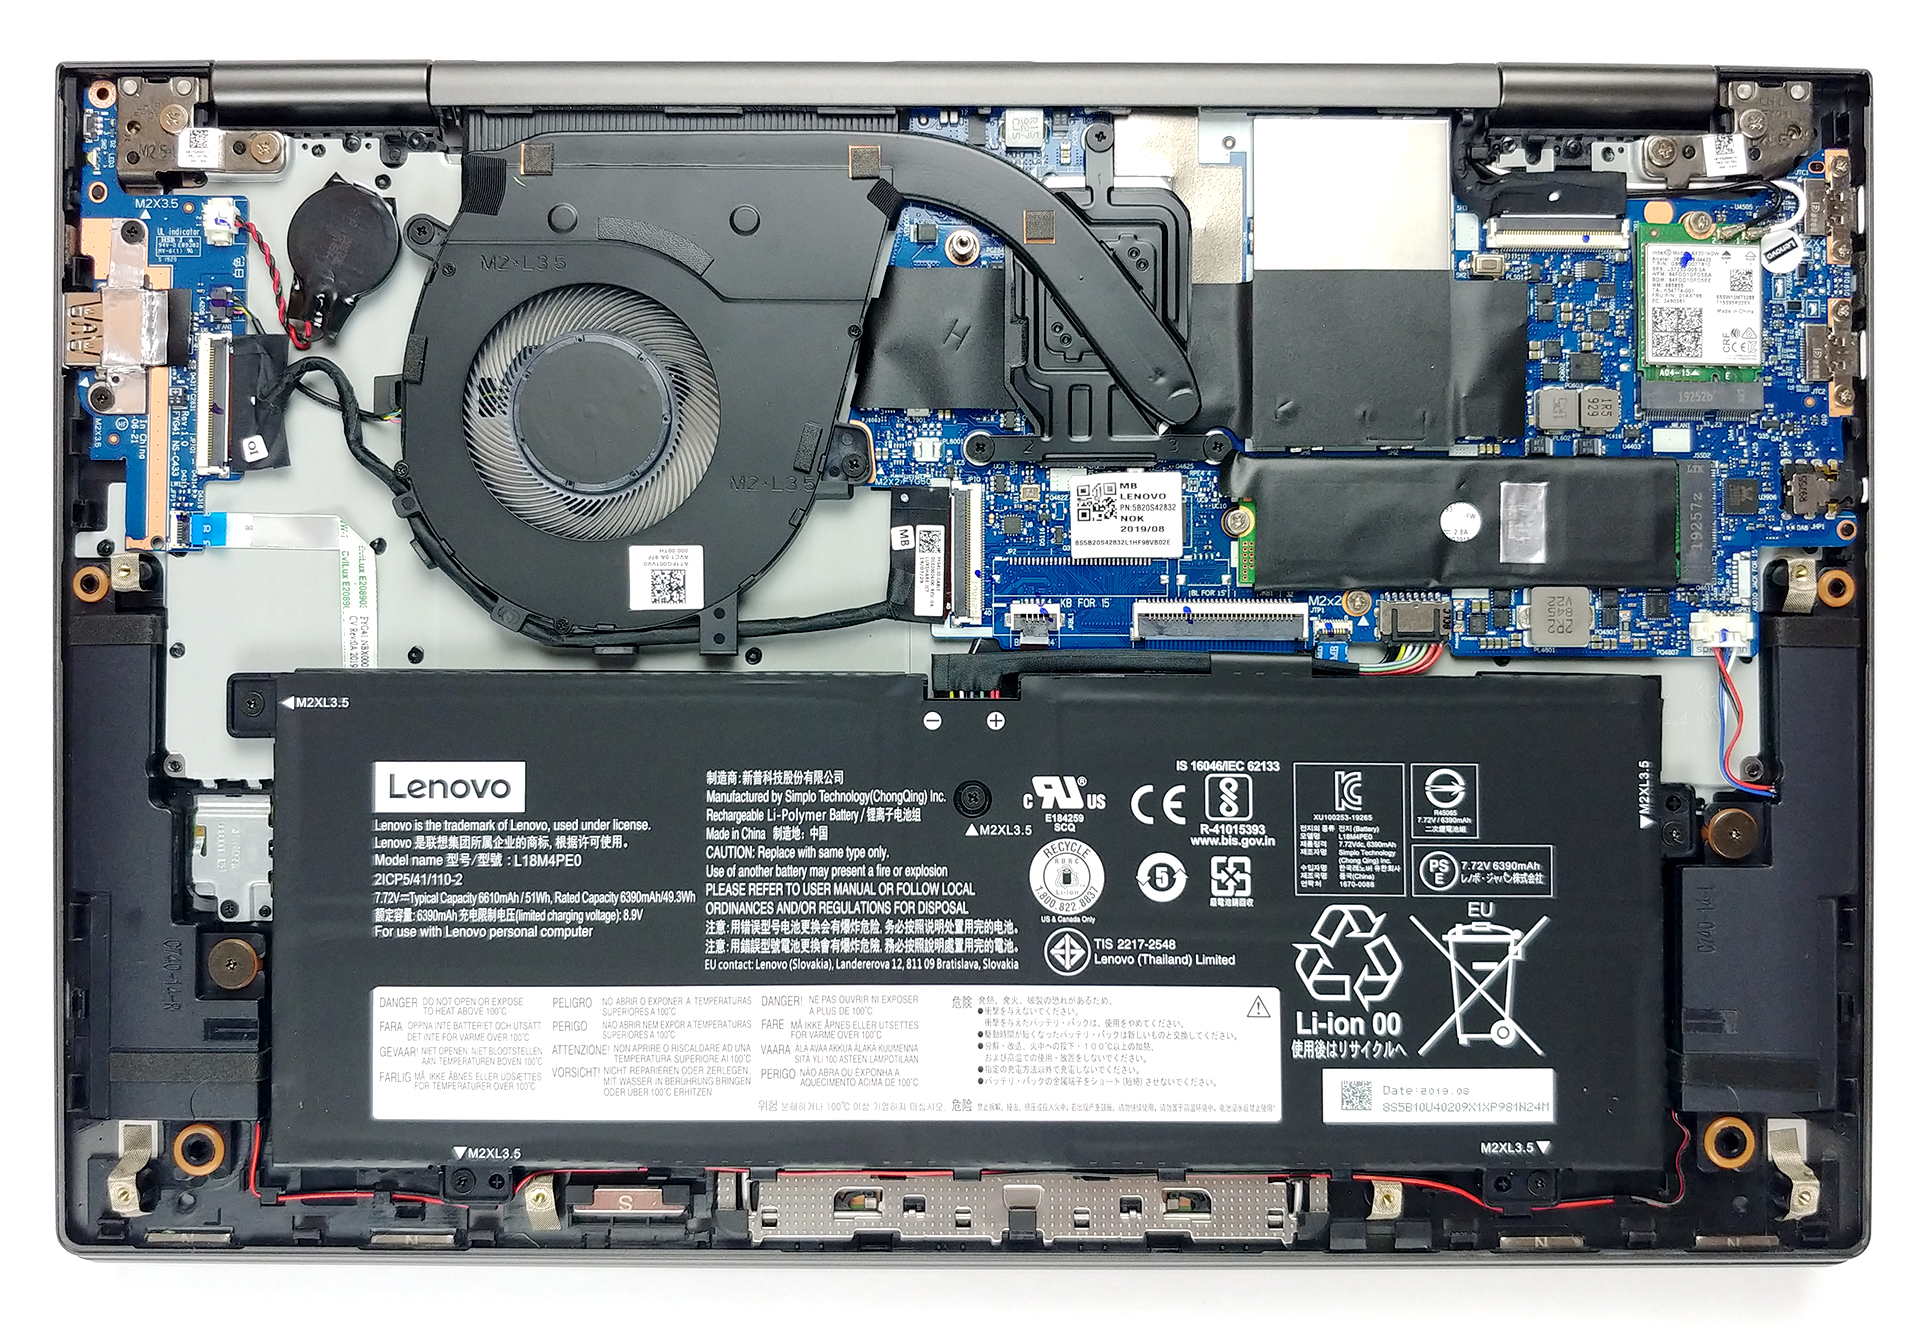
Here, Lenovo has put a 51Wh battery unit. It can be removed by unscrewing all five Phillips-head screws, pointed with an arrow. Another smart thing to do would be to unplug the battery connector from the motherboard.
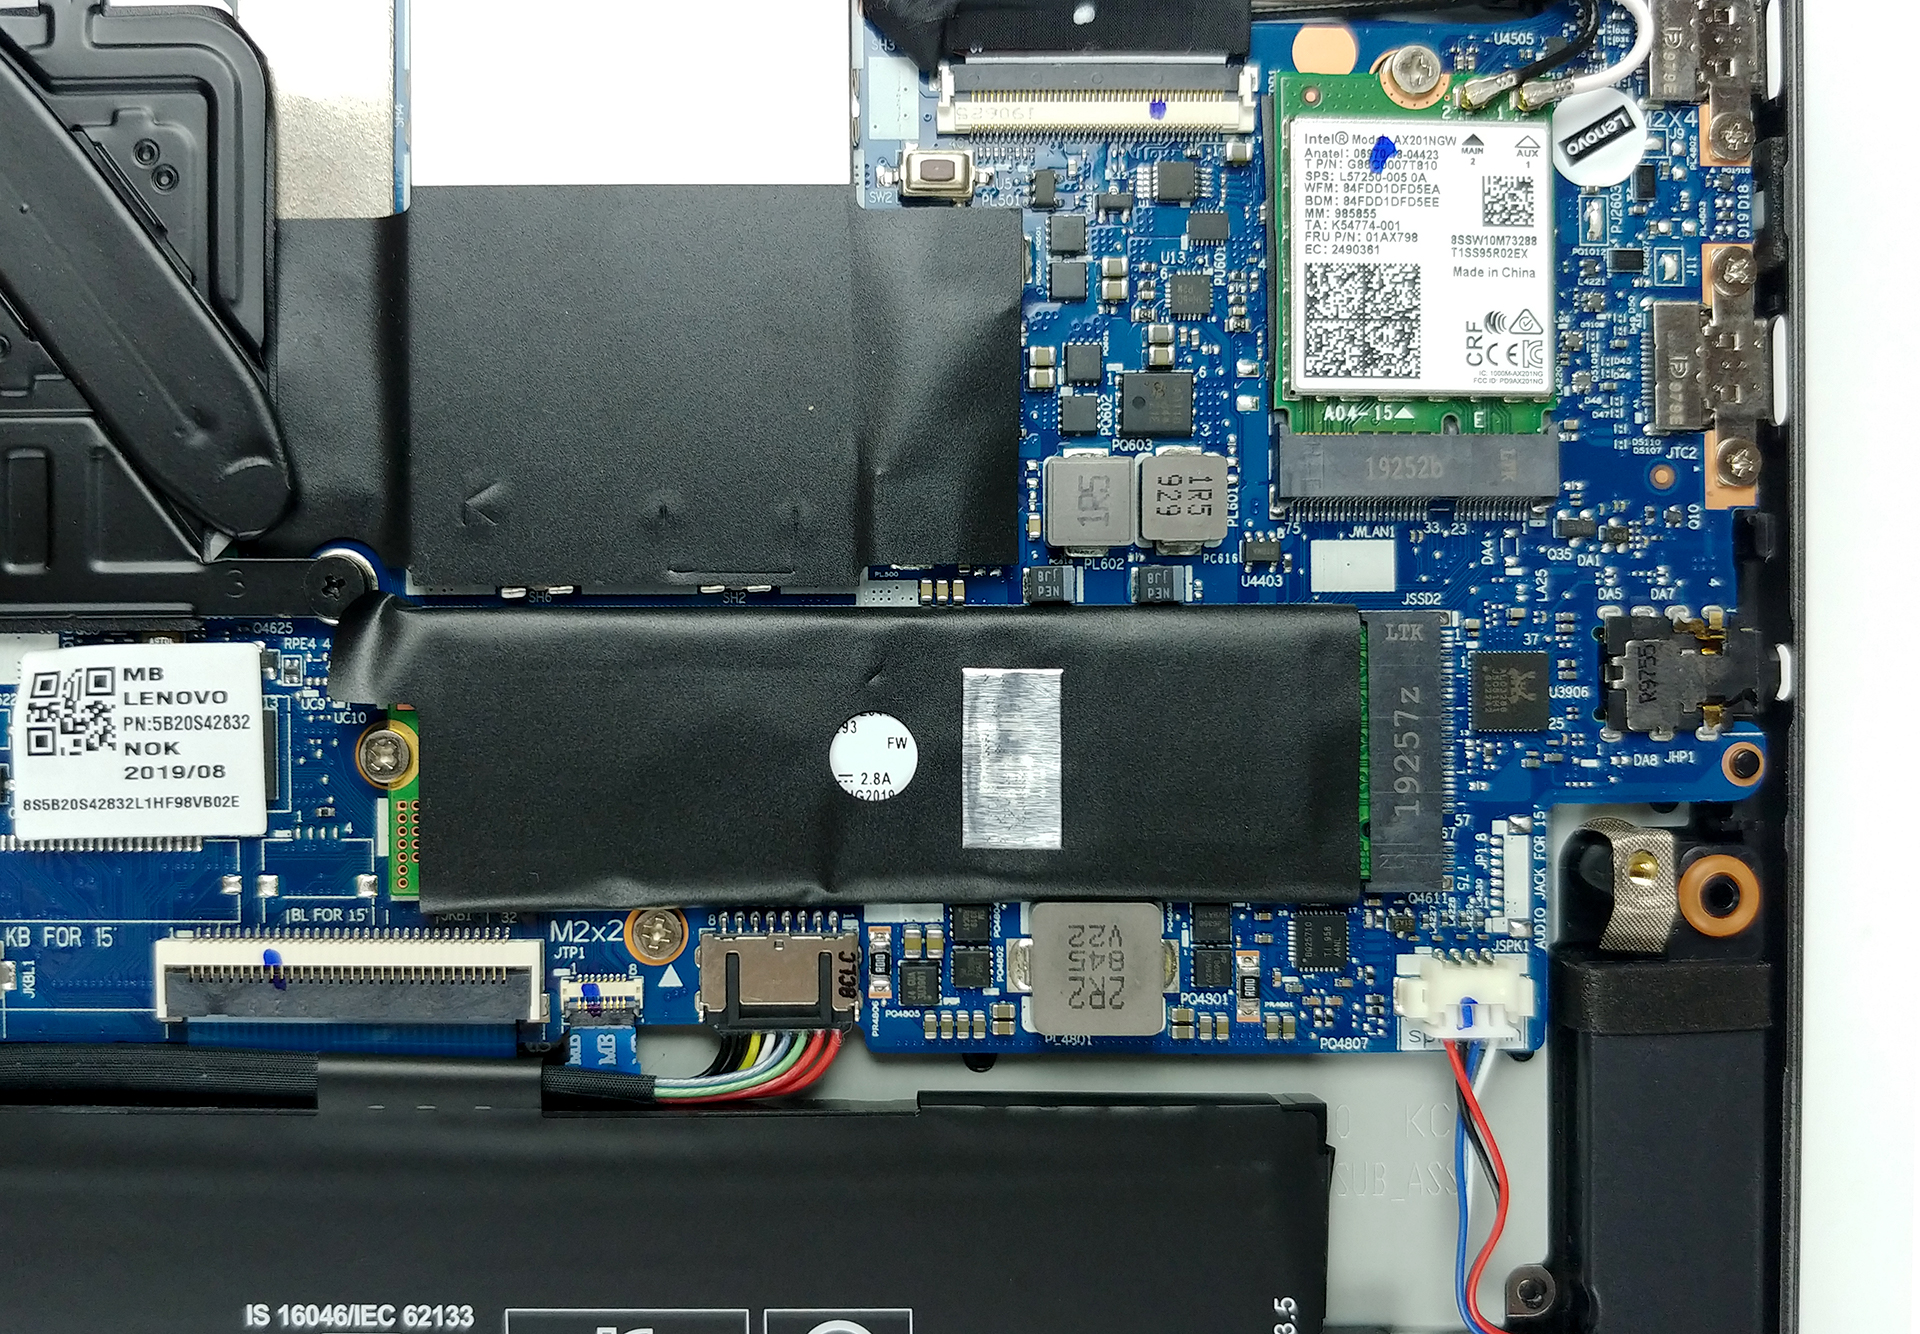
3. Memory and storage
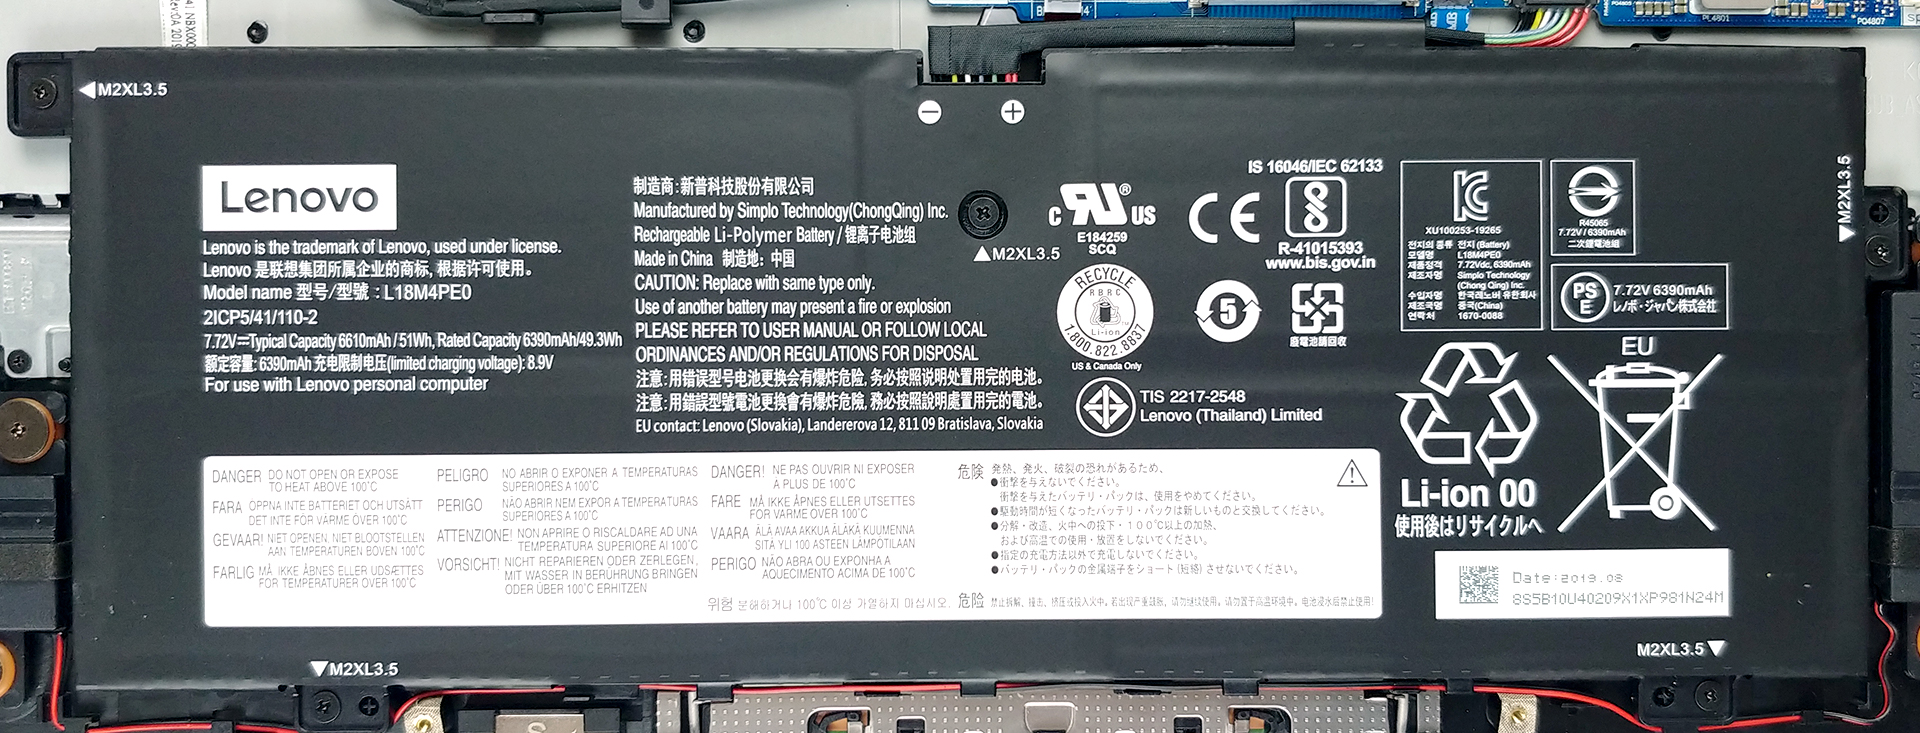
Sadly, you won’t be able to upgrade Yoga C740 (14)’s memory, as all of the chips are soldered. Ultimately, this means you are left with the maximum amount of RAM being 16GB. At least Lenovo didn’t solder the SSD chips but is rather using an M.2 PCIe x4 slot to your favor.
4. Cooling system
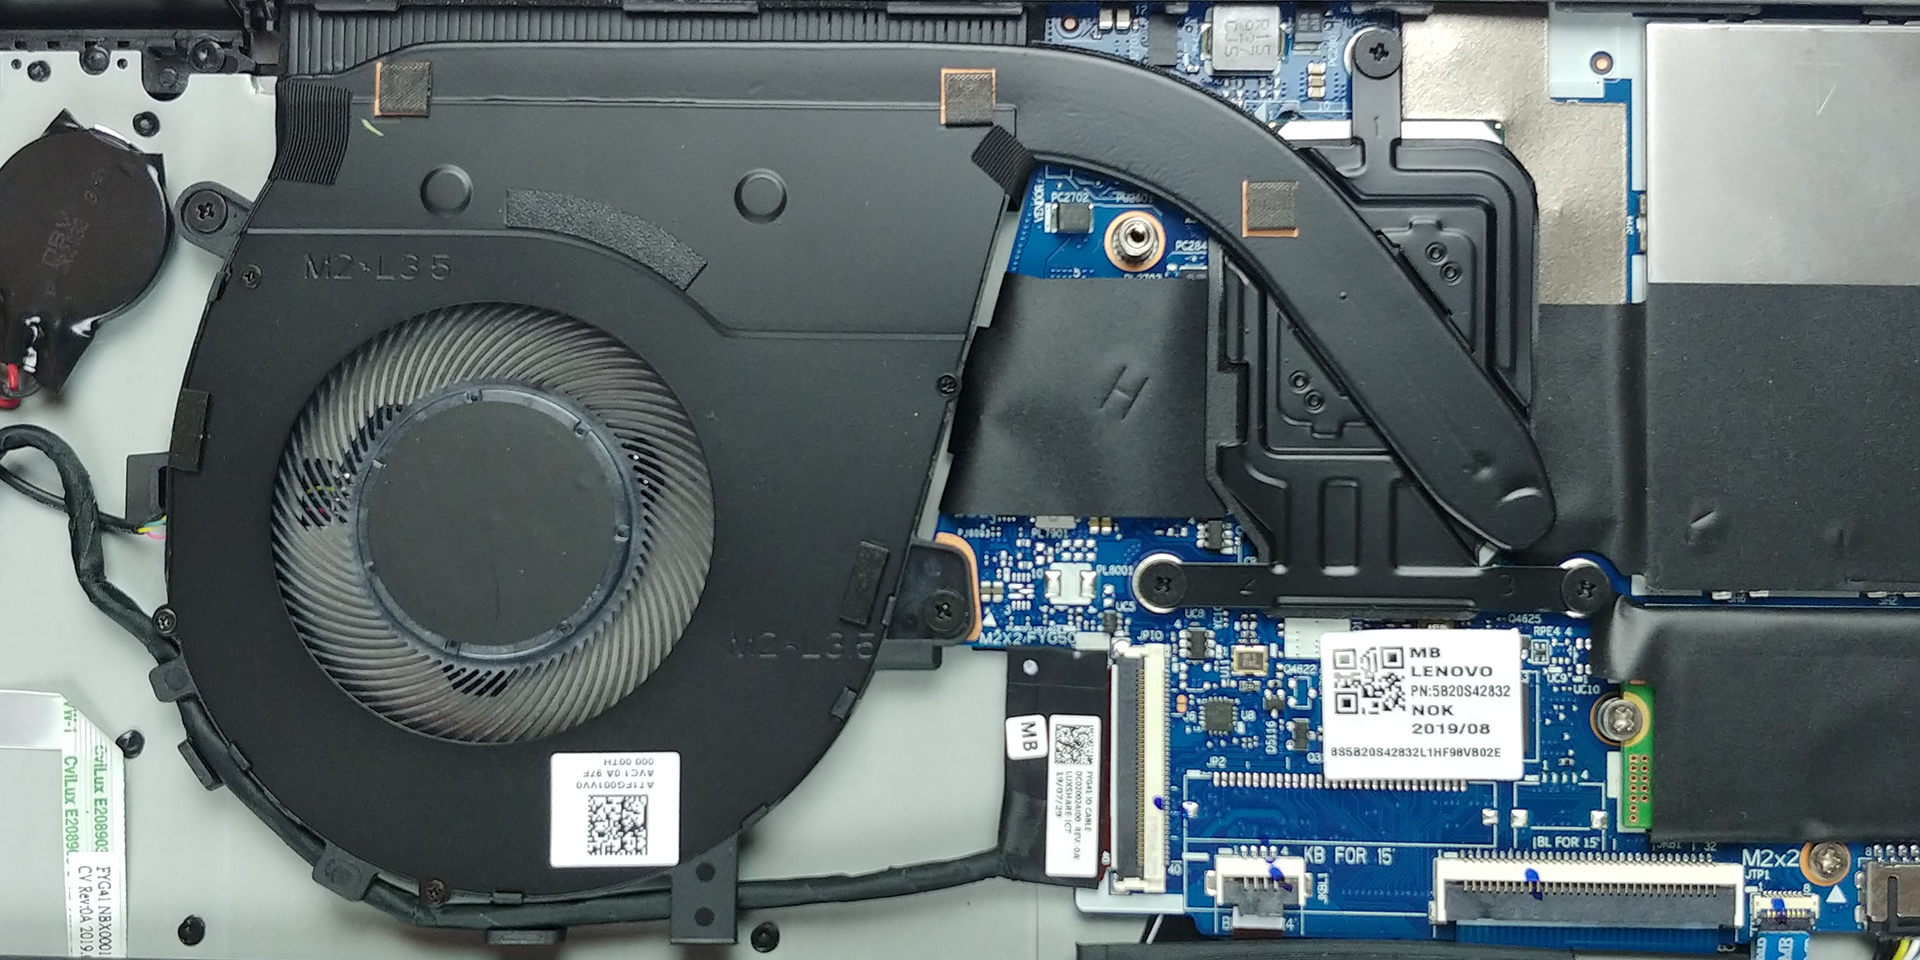
Although it uses a rather standard cooling package, Lenovo has gone the extra mile by including a heat dissipation plate on top of their CPU.
Check out all Lenovo Yoga C740 (14) prices and configurations in our Specs System or read more in our In-Depth review.
 Author: Alex Iliev

![[augustus 2026] Wereldwijde ranglijst van bestverkochte laptop-GPU’s op Amazon – Apple is onbetwist nummer één, NVIDIA’s RTX 5060 staat bovenaan de ranglijst voor dedicated GPU’s](https://laptopmedia.com/wp-content/uploads/2026/09/Best-Selling-GPUs-GLOBAL-Top-10-400x225.jpg)
![[augustus 2026] Wereldwijde ranglijst van bestverkochte laptop-CPU’s op Amazon – Apple domineert zowel het budget- als het premiumsegment: A18 Pro en M5 verslaan Intel en AMD in augustus 2026](https://laptopmedia.com/wp-content/uploads/2026/09/Best-Selling-CPUs-GLOBAL-Top-10-400x225.jpg)
![[augustus 2026] Amazon Global: Top 10 van best verkochte laptops – De Apple MacBook Neo domineert de hitlijsten, terwijl goedkope en middenklasse Windows-laptops strijden om het verkoopvolume](https://laptopmedia.com/wp-content/uploads/2026/09/Best-Selling-Laptops-GLOBAL-Top-10-400x225.jpg)
![[augustus 2026] Bestverkochte laptopmerken op Amazon Global – Apple domineert qua omzet, terwijl HP koploper is qua modelvariëteit](https://laptopmedia.com/wp-content/uploads/2026/09/GLOBAL-Best-Brands-400x225.jpg)
![[augustus 2026] Amazon Global: Top 10 bestverkochte gaminglaptops – HP Victus 15 pakt de eerste plaats terwijl budgetvriendelijke modellen de hitlijsten domineren](https://laptopmedia.com/wp-content/uploads/2026/09/Best-Selling-Gaming-Laptops-GLOBAL-Top-10-400x225.jpg)