How to open Lenovo ThinkPad L13 Yoga Gen 4 (Intel) – disassembly and upgrade options
#CommissionsEarned
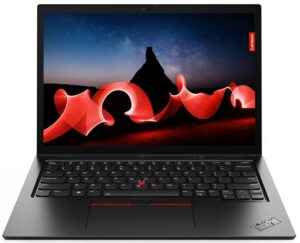
Step 1: Accessing the Internal Components
- Ensure the Lenovo ThinkPad L13 Yoga Gen 4 (Intel) is powered off and placed on a soft, clean surface to prevent scratches or damage.
- Remove the 8 captive Phillips-head screws from the laptop’s bottom. These screws will stay attached to the bottom panel, minimizing the risk of loss.
- Use a thin plastic tool to pry the bottom panel off, starting from the back of the notebook. It’s not necessary to remove the pen from its housing for this process. Avoid prying from the front; simply tilt the panel until you hear a slight click, indicating it’s safe to lift the panel away from the base.
Hint: Be gentle during this process to avoid damaging the internal clips or the chassis itself.
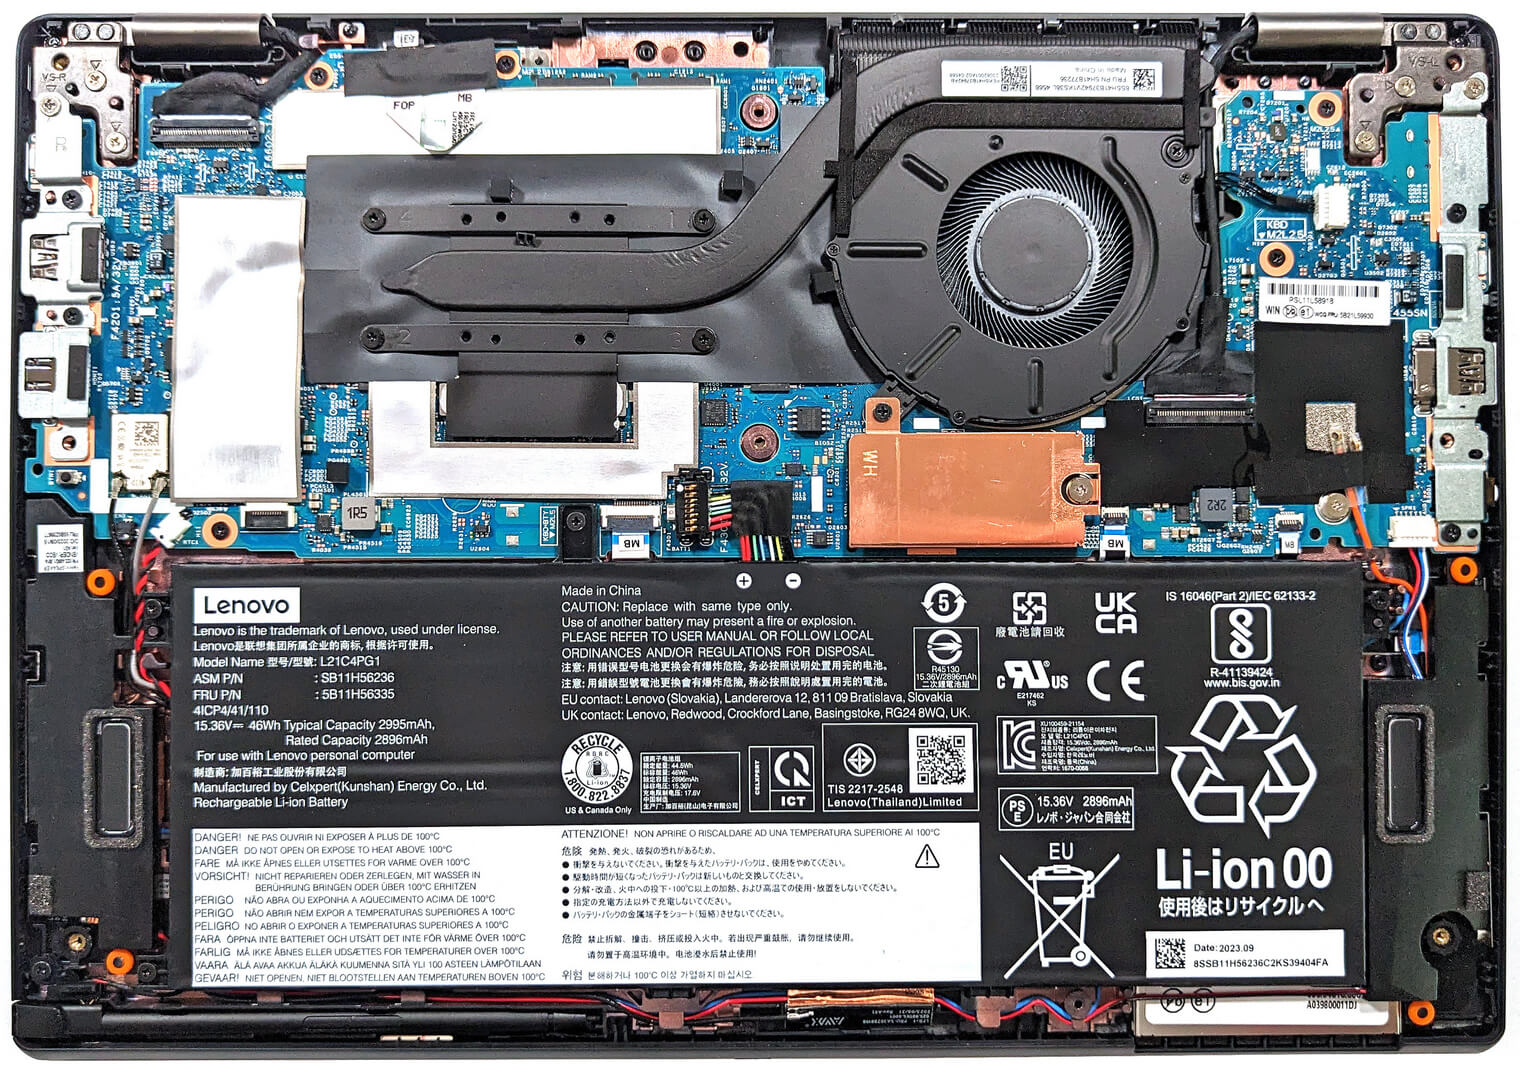
Step 2: Removing the Battery
- Disconnect the battery by unplugging its connector from the motherboard.
- Remove the four Phillips-head screws that secure the battery to the base, then lift away the 46Wh battery.
Caution: Handle the battery and connector with care to avoid damage.
More info: The 46Wh battery offers up to 14 hours and 17 minutes of web browsing or 10 hours of video playback, providing excellent battery life for productivity and entertainment.
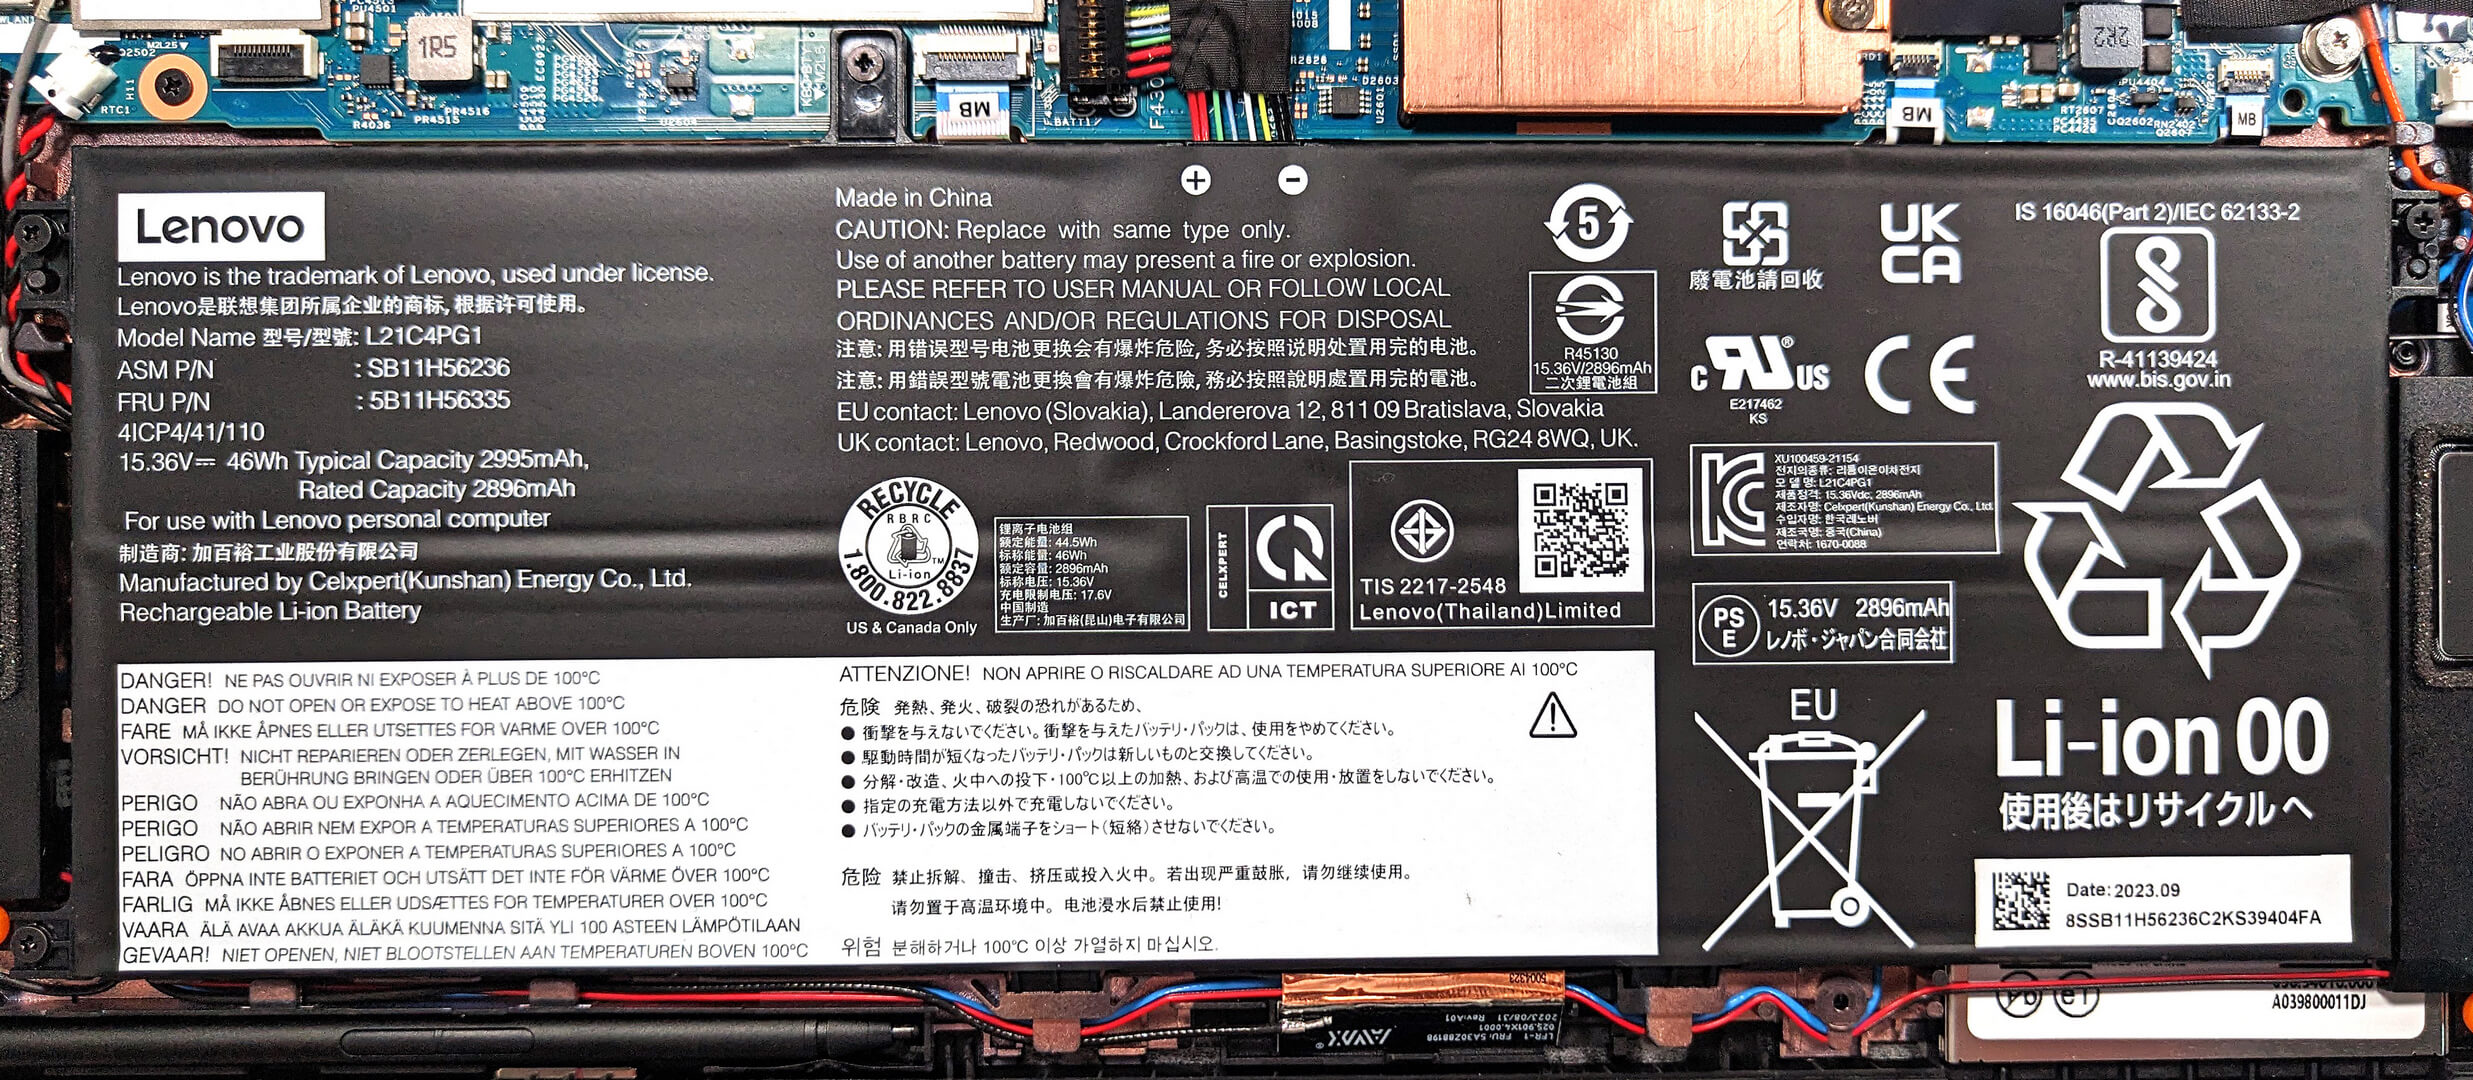
Memory Upgrade
- Note that the device comes with soldered 32GB of LPDDR5-4800MHz memory, which operates at 4800MHz due to platform limitations, despite being rated for 6400MHz.
More info: While the memory is not upgradeable due to its soldered nature, the available 32GB of high-speed RAM is ample for most professional and multitasking needs.
Storage Upgrade
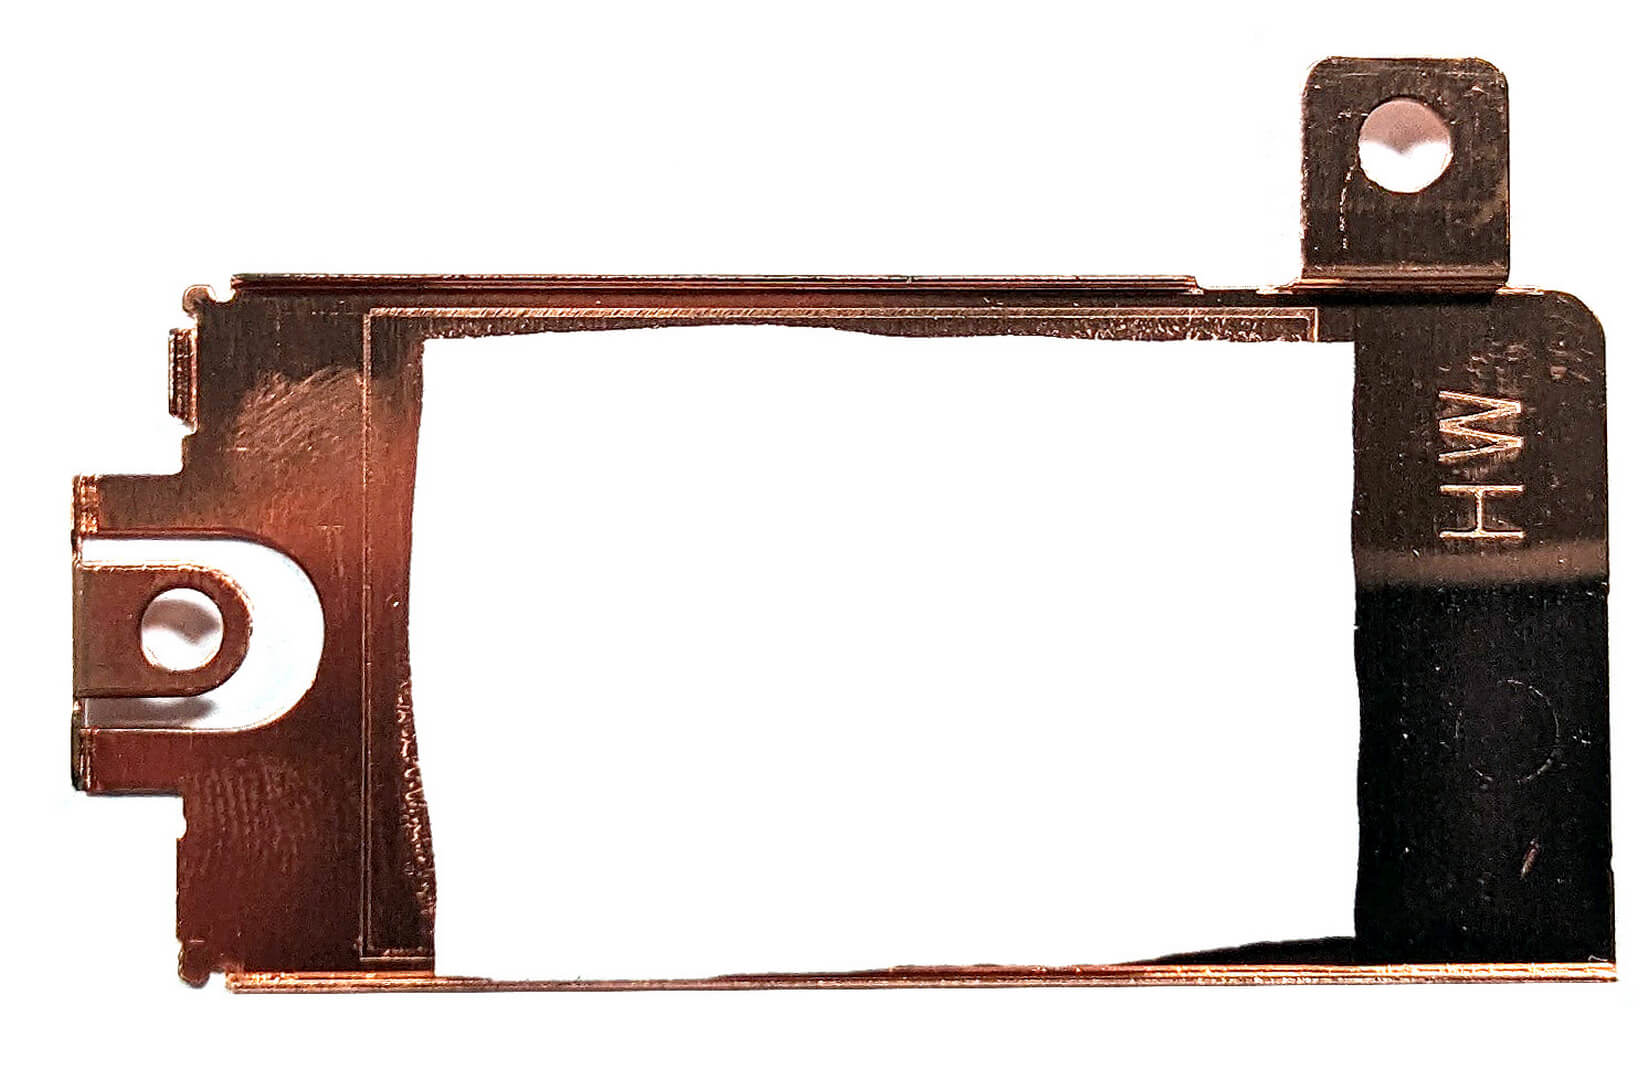
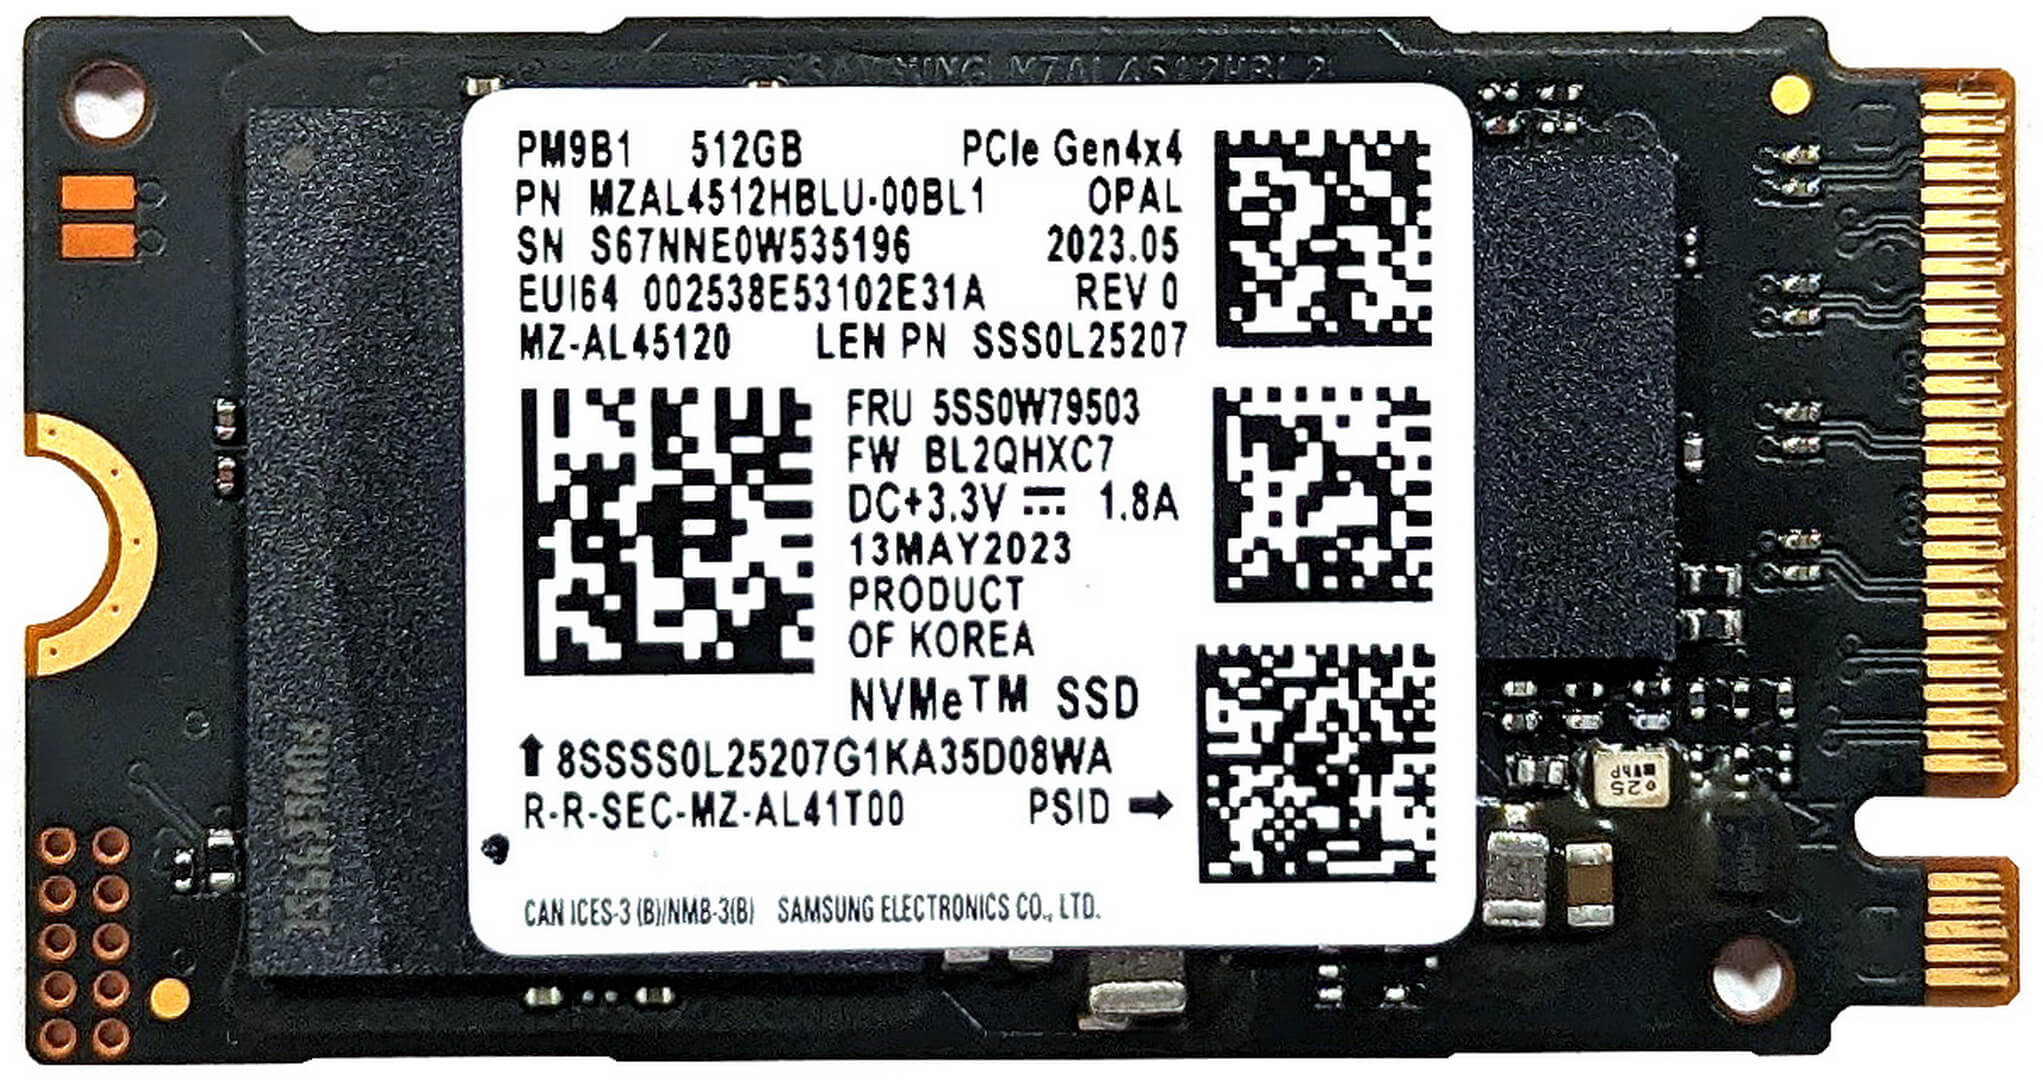
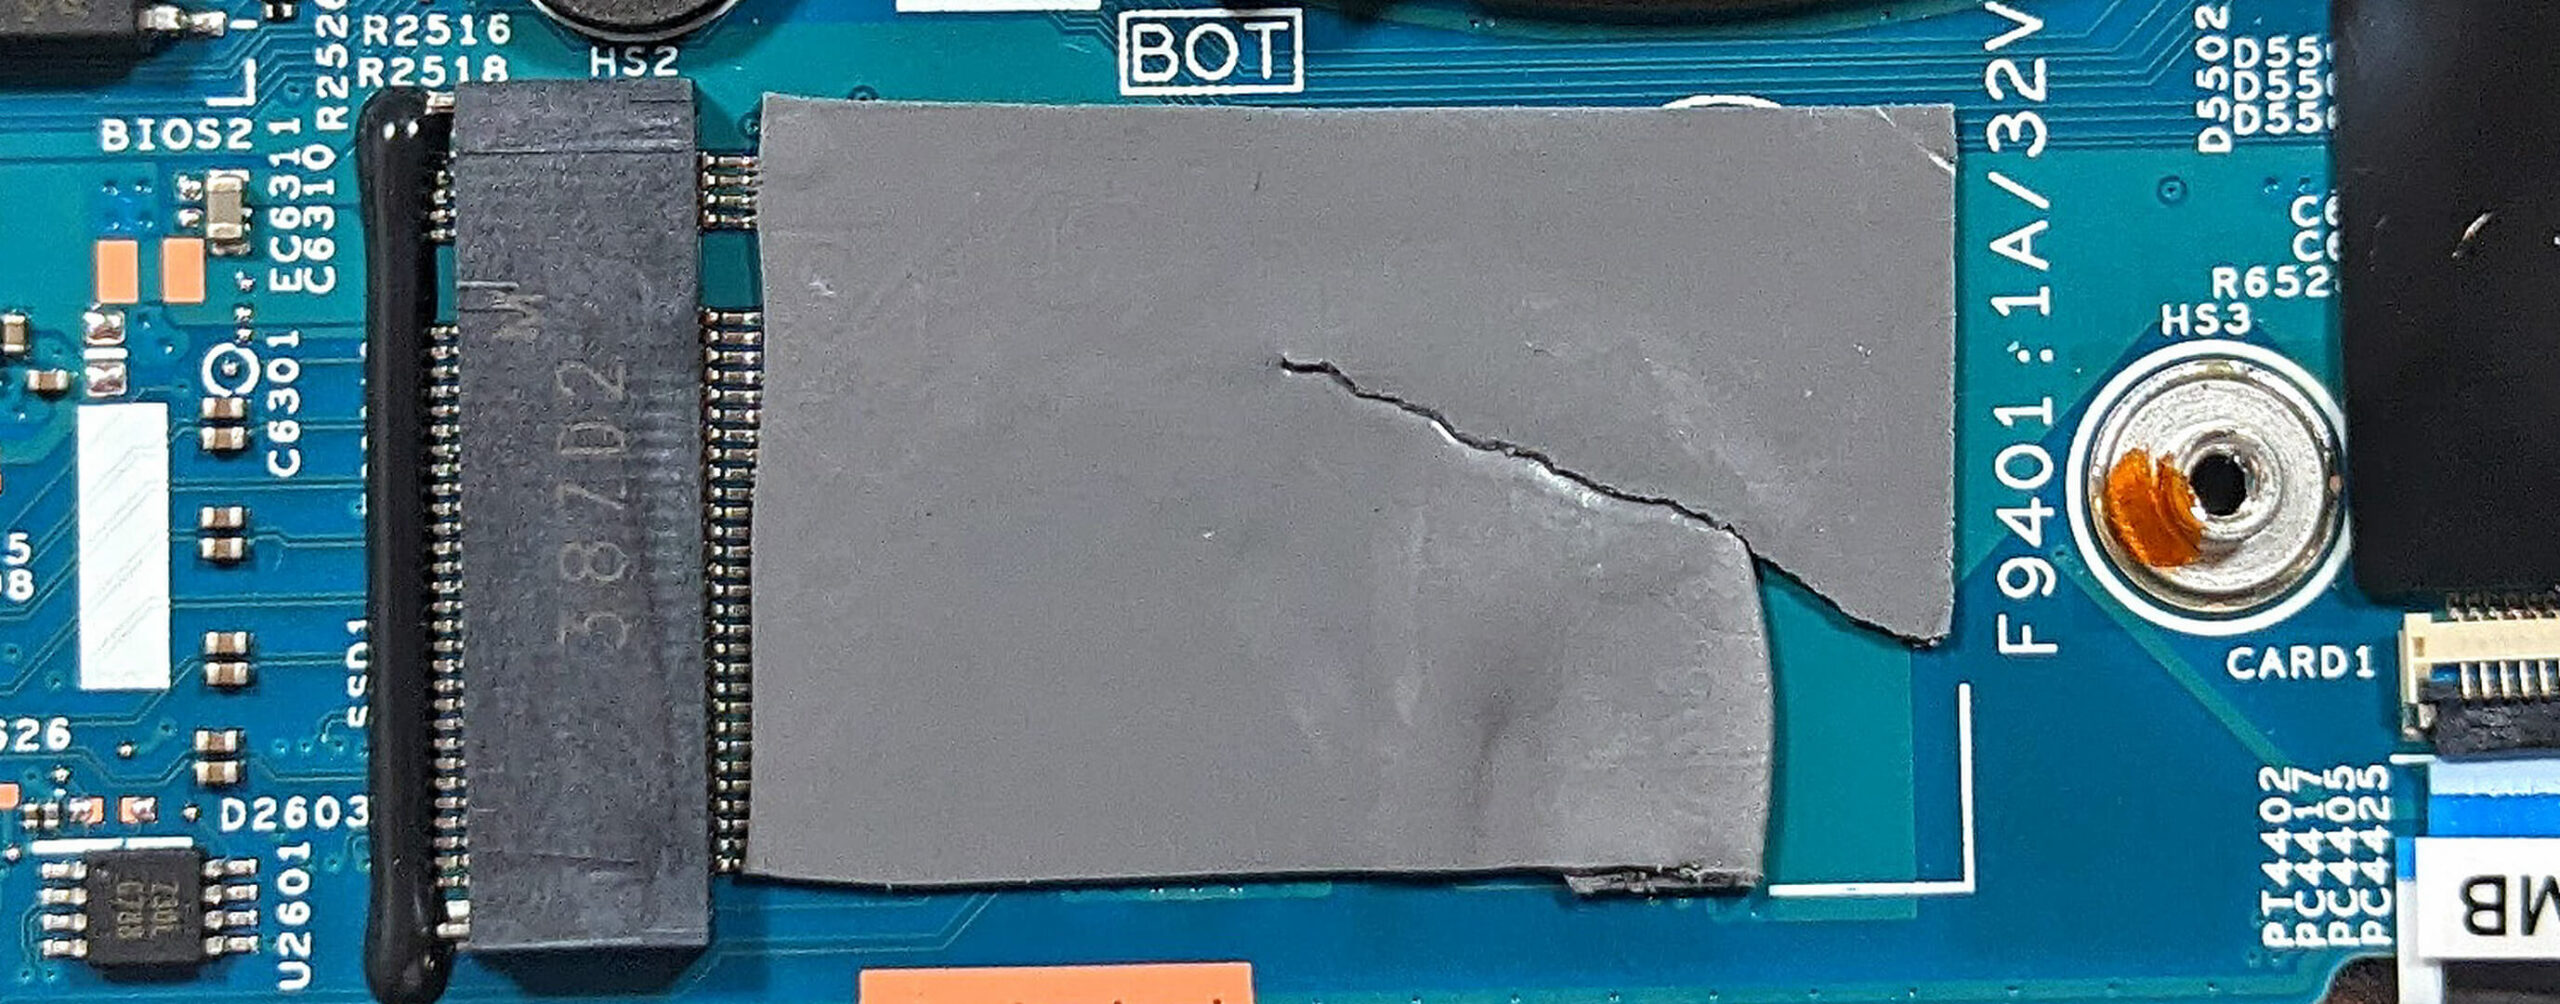
- Identify the single M.2 slot for 2242 Gen 4 SSDs on the motherboard.
- Upgrade or expand the storage with a Gen 4 SSD to enhance the laptop’s storage capacity and performance.
- The NVMe is protected by a metal shroud equipped with a thermal pad on the inside for cooling, with an additional pad placed below the SSD.
You can buy Gen 4 M.2 SSD modules here: Cumpărați de pe Amazon.com (#CommissionsEarned)

Step 3: Examining the Cooling System
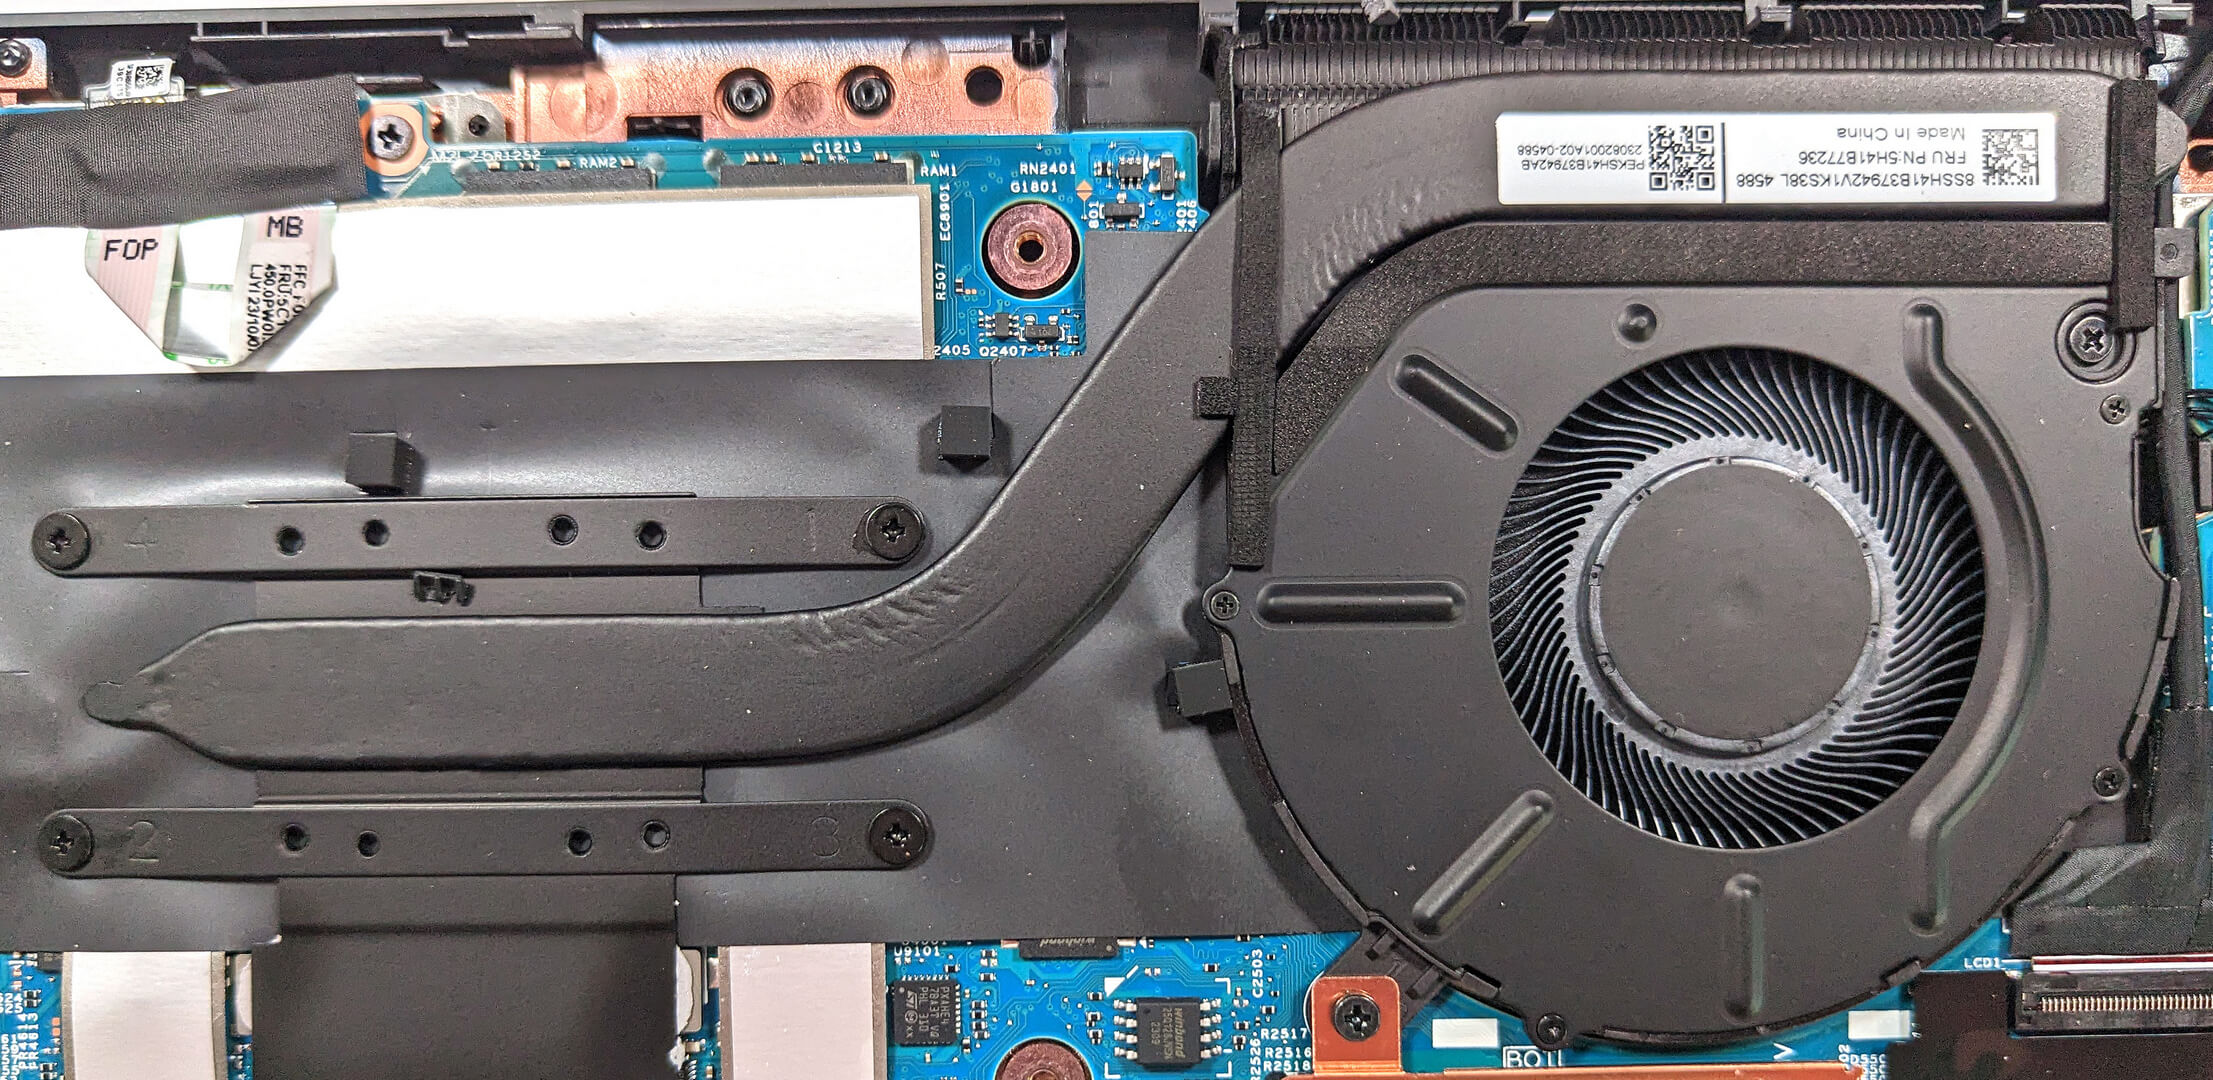
- Inspect the cooling system, which consists of a single fan, a heat sink, one heat pipe, and a heat spreader, designed to efficiently manage the laptop’s thermal output.
More info: Although simple, the cooling system is effectively configured to ensure the laptop maintains optimal performance during intensive tasks.
#CommissionsEarned
 Author: Anna Iorgova
Abonează-te
0 Comments


![[August 2026] Clasamentul global al celor mai bine vândute plăci grafice pentru laptopuri de pe Amazon – Apple domină clasamentul, iar modelul RTX 5060 de la NVIDIA ocupă primul loc în clasamentul dedicat](https://laptopmedia.com/wp-content/uploads/2026/09/Best-Selling-GPUs-GLOBAL-Top-10-400x225.jpg)
![[August 2026] Clasamentul global al celor mai bine vândute procesoare pentru laptopuri de pe Amazon – Apple domină atât segmentul economic, cât și cel premium: A18 Pro și M5 surclasează Intel și AMD în august 2026](https://laptopmedia.com/wp-content/uploads/2026/09/Best-Selling-CPUs-GLOBAL-Top-10-400x225.jpg)
![[August 2026] Amazon Global: Top 10 cele mai vândute laptopuri – Apple MacBook Neo domină clasamentul, în timp ce laptopurile Windows din gama economică și de mijloc se luptă pentru volumul vânzărilor](https://laptopmedia.com/wp-content/uploads/2026/09/Best-Selling-Laptops-GLOBAL-Top-10-400x225.jpg)
![[August 2026] Cele mai vândute mărci de laptopuri pe Amazon Global – Apple domină în ceea ce privește veniturile, în timp ce HP se află pe primul loc în ceea ce privește varietatea de modele](https://laptopmedia.com/wp-content/uploads/2026/09/GLOBAL-Best-Brands-400x225.jpg)
![[August 2026] Amazon Global: Top 10 cele mai bine vândute laptopuri pentru jocuri – HP Victus 15 ocupă primul loc, în timp ce modelele accesibile domină clasamentul](https://laptopmedia.com/wp-content/uploads/2026/09/Best-Selling-Gaming-Laptops-GLOBAL-Top-10-400x225.jpg)