How to open Lenovo ThinkPad X1 Carbon Gen 11 – disassembly and upgrade options


Opening the Laptop
- Undo the 5 captive Phillips-head screws securing the bottom panel of the laptop.
- Use a plastic pry tool to gently separate the bottom panel from the chassis, starting from one of the top corners near the hinge.
Caution: Be gentle to avoid damaging the internal components or the clips that hold the bottom panel in place.
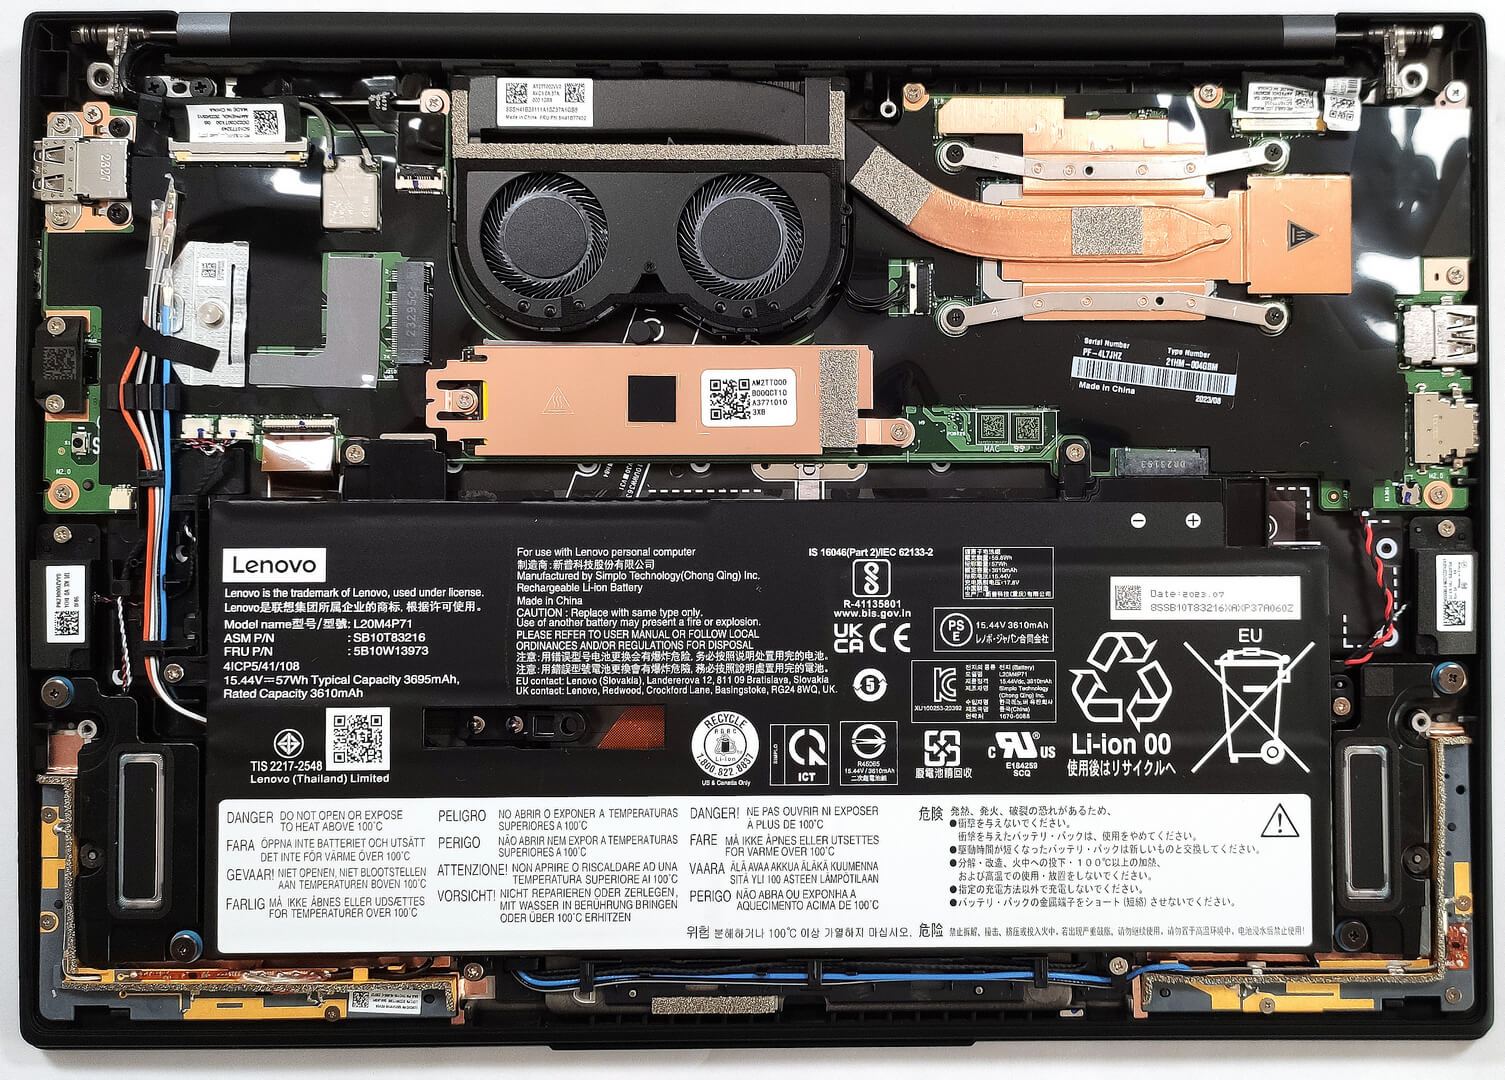
Removing the Battery
- Wear gloves to prevent short circuits when handling the battery connector, which is built into the unit.
- Disconnect the battery connector from the mainboard.
- Undo the 6 Phillips-head screws that secure the battery to the chassis.
- Lift the battery out of its compartment.
More info: The laptop is equipped with a 57Wh battery, capable of 25 hours of web browsing or 20 hours of video playback, providing outstanding battery life.

Memory Information
The memory is soldered onto the motherboard, offering up to 64GB of LPDDR5x-6000MHz RAM, ensuring future-proof performance. The 32GB configurations utilize the same memory clock, while the 16GB versions use 6400MHz memory. Despite being rated at 7500MHz, the RAM operates at a lower frequency due to platform limitations.
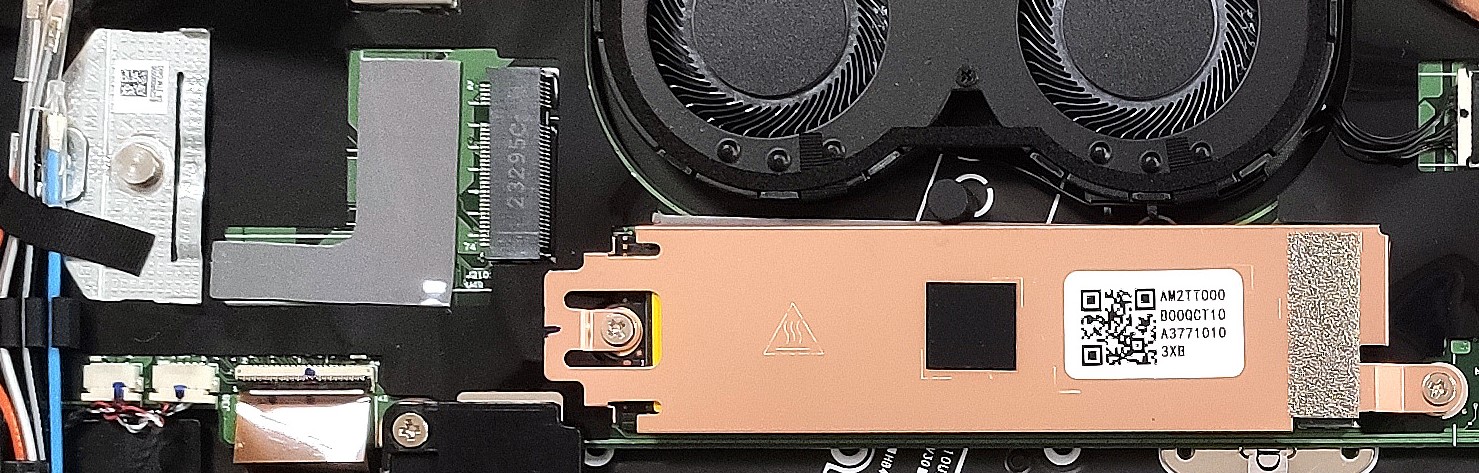
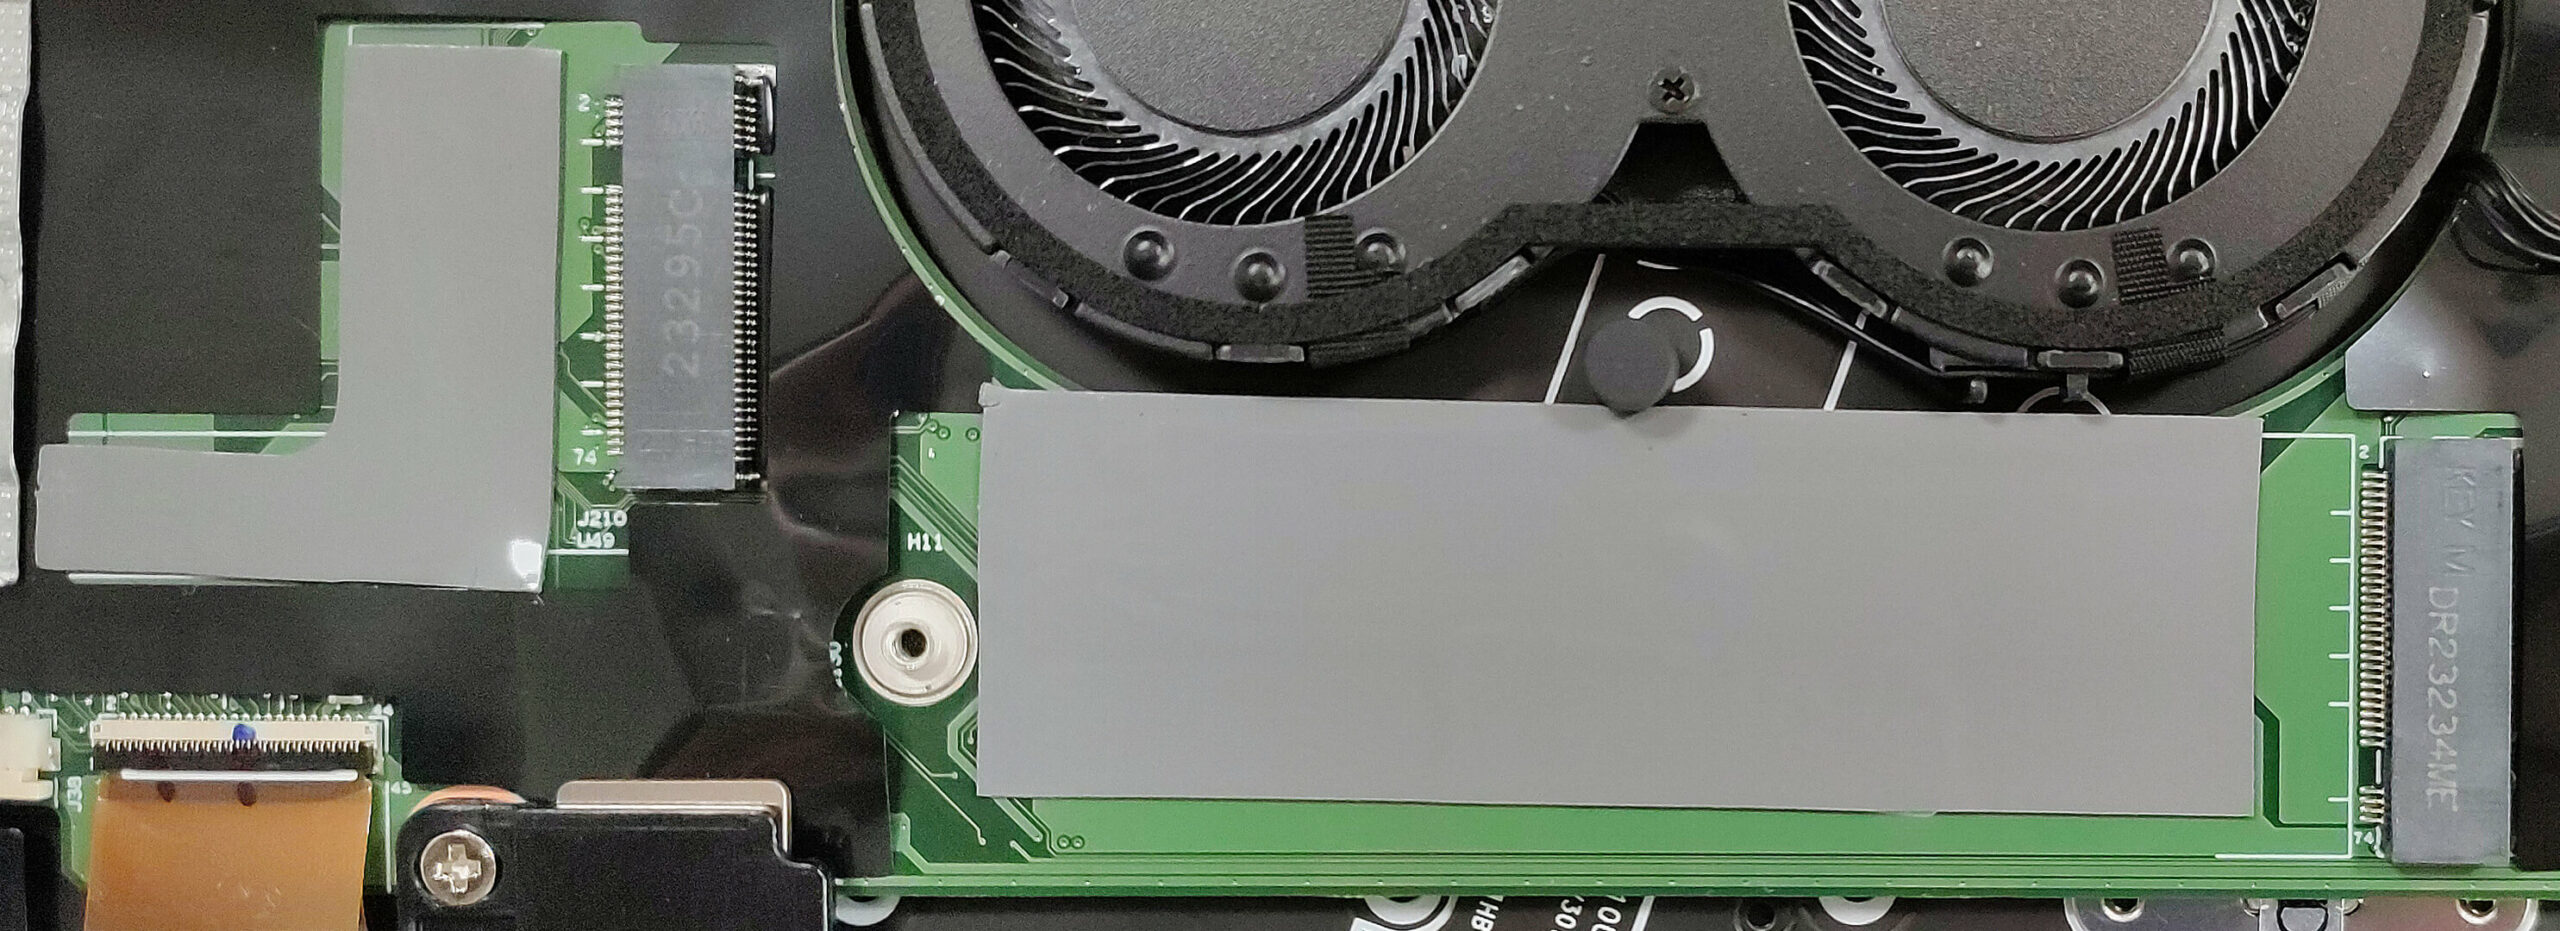
Upgrading the SSD
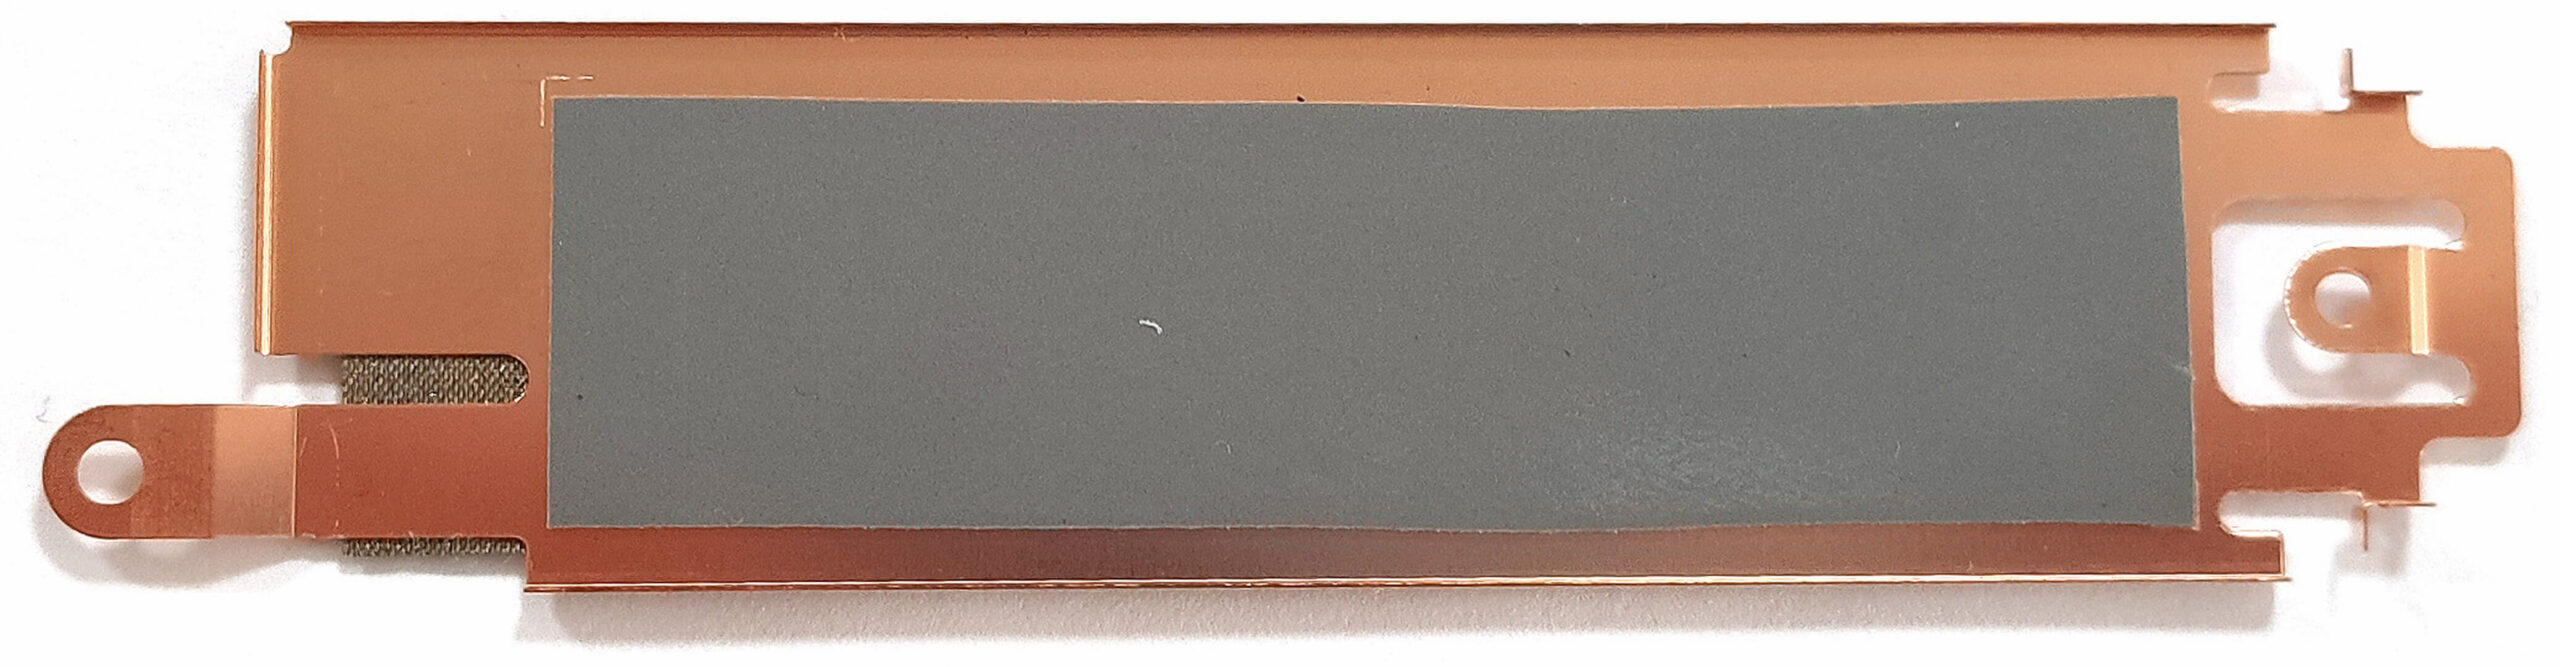
- Locate the M.2 slot, protected by a metal plate with a cooling pad on the inside. Another cooling pad is placed below the NVMe.
- Remove the screws securing the metal plate and gently lift it to access the SSD.
- Slide out the existing SSD and replace it with a new 2280 Gen 4 SSD, ensuring the cooling pads are properly aligned for optimal heat dissipation.
More info: The laptop features one M.2 slot for storage expansion, supporting 2280 Gen 4 SSDs, and offers optional 4G or 5G connectivity via the WWAN slot.

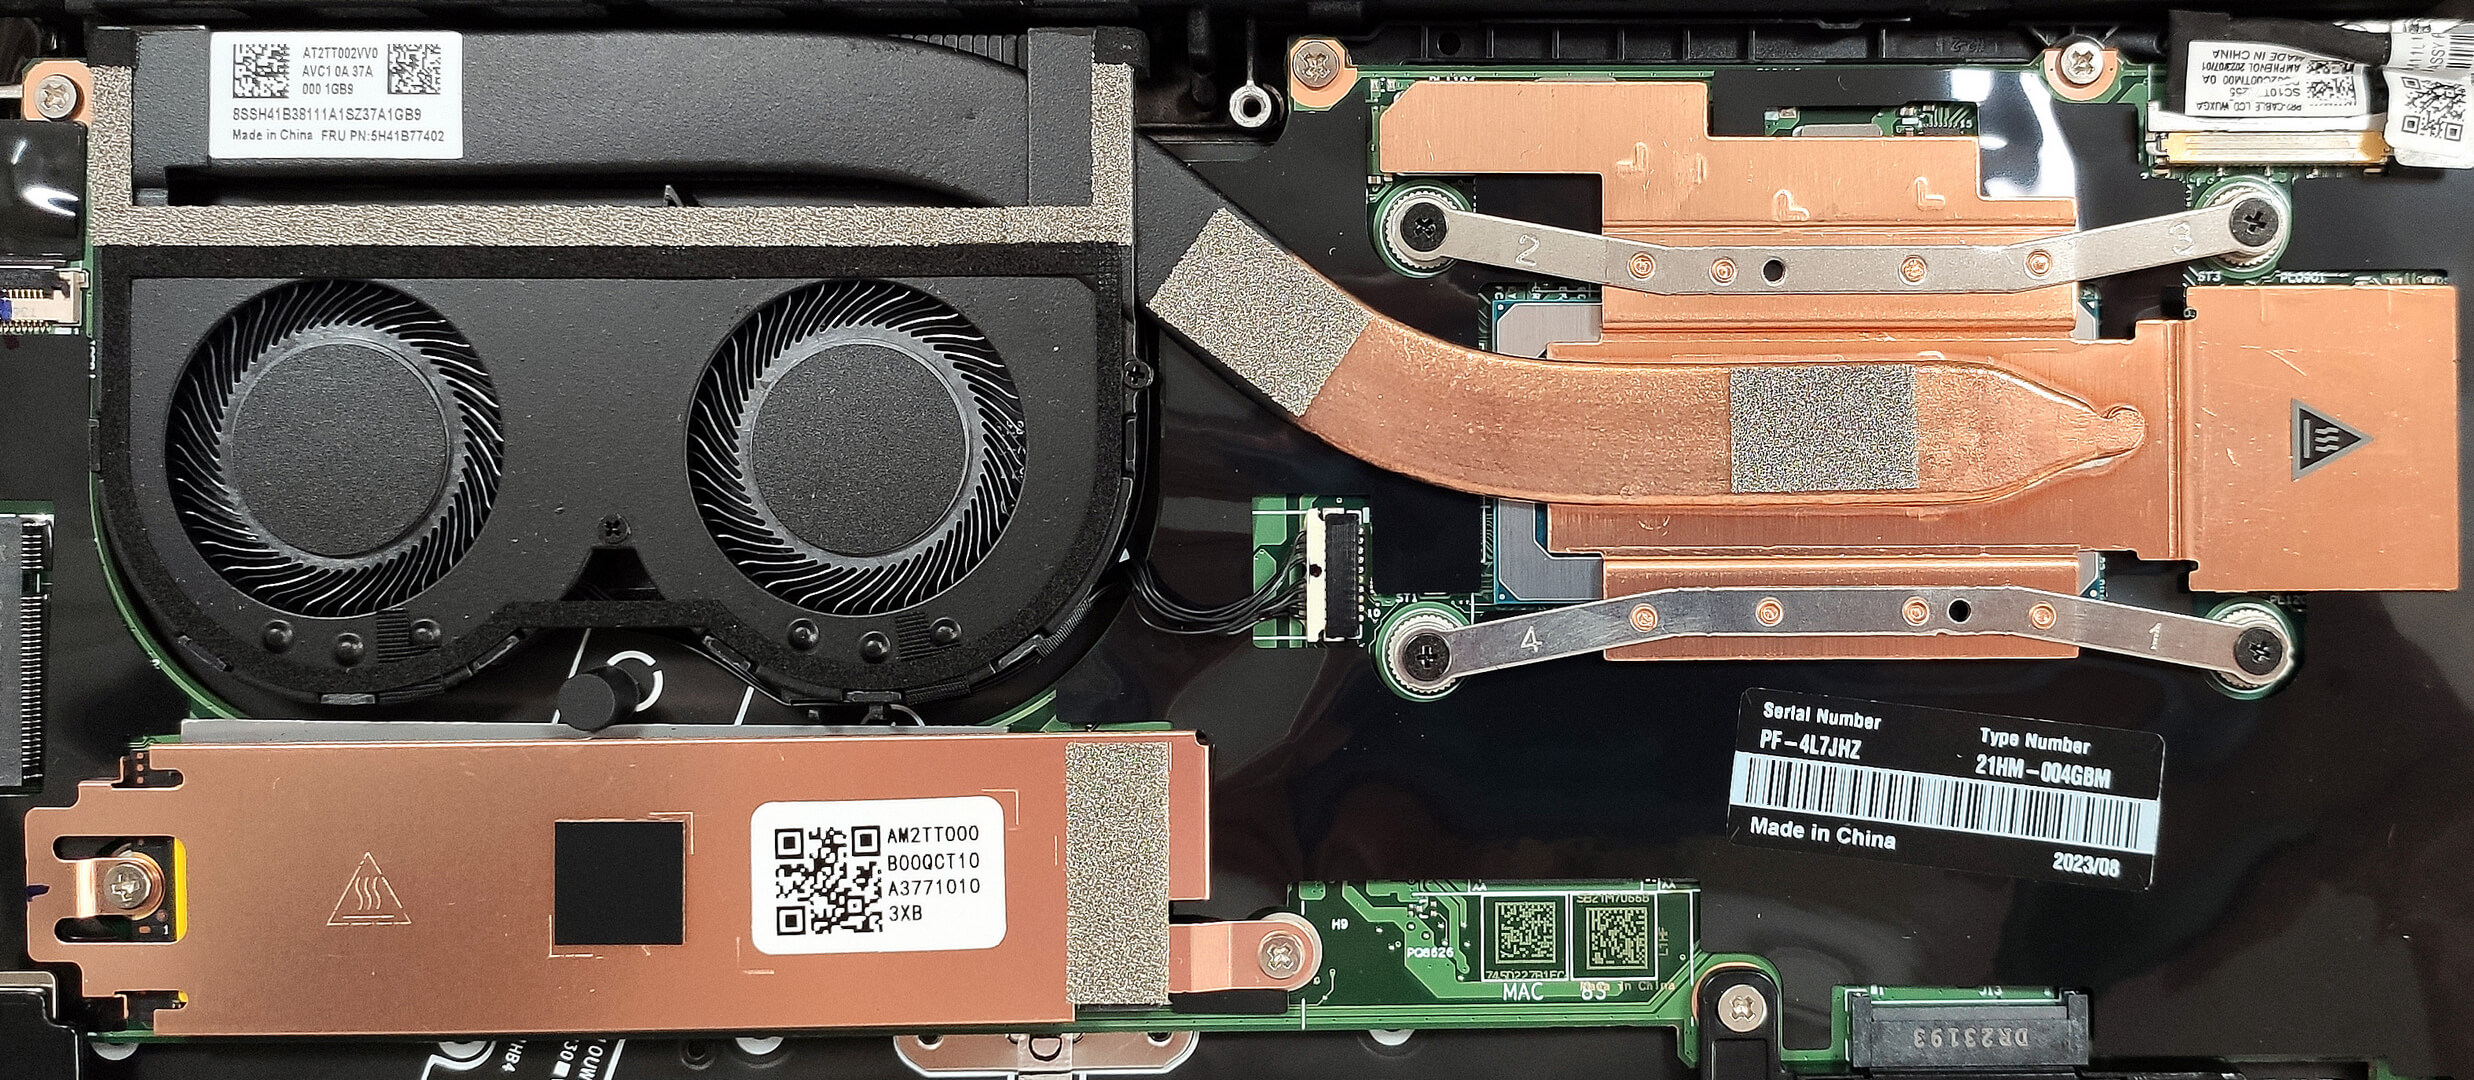
Cooling System Maintenance
- Identify the cooling system components: two small fans, one thick heat pipe, a heat sink, and one heat spreader.
- For maintenance or thermal paste replacement, carefully remove the screws securing the components.
- Clean the fans and heat sink with compressed air. Apply new thermal paste thinly and evenly on the CPU if necessary.
- Reassemble the cooling system, ensuring all components are securely reattached and the screws are tightened.
Caution: Handle thermal paste application carefully to ensure optimal thermal contact and prevent overheating.
More info: Although the cooling system appears basic, it is adequately designed for a U-series CPU, ensuring efficient thermal management under normal usage.