Inside Dell Vostro 3590 – disassembly and upgrade options
Dell Vostro 3590 is a budget business machine, which won’t blow your mind with the quality of build, but will deliver something even more important – versatility.
Check out all Dell Vostro 3590 prices and configurations in our Specs System or read more in our In-Depth review.
A
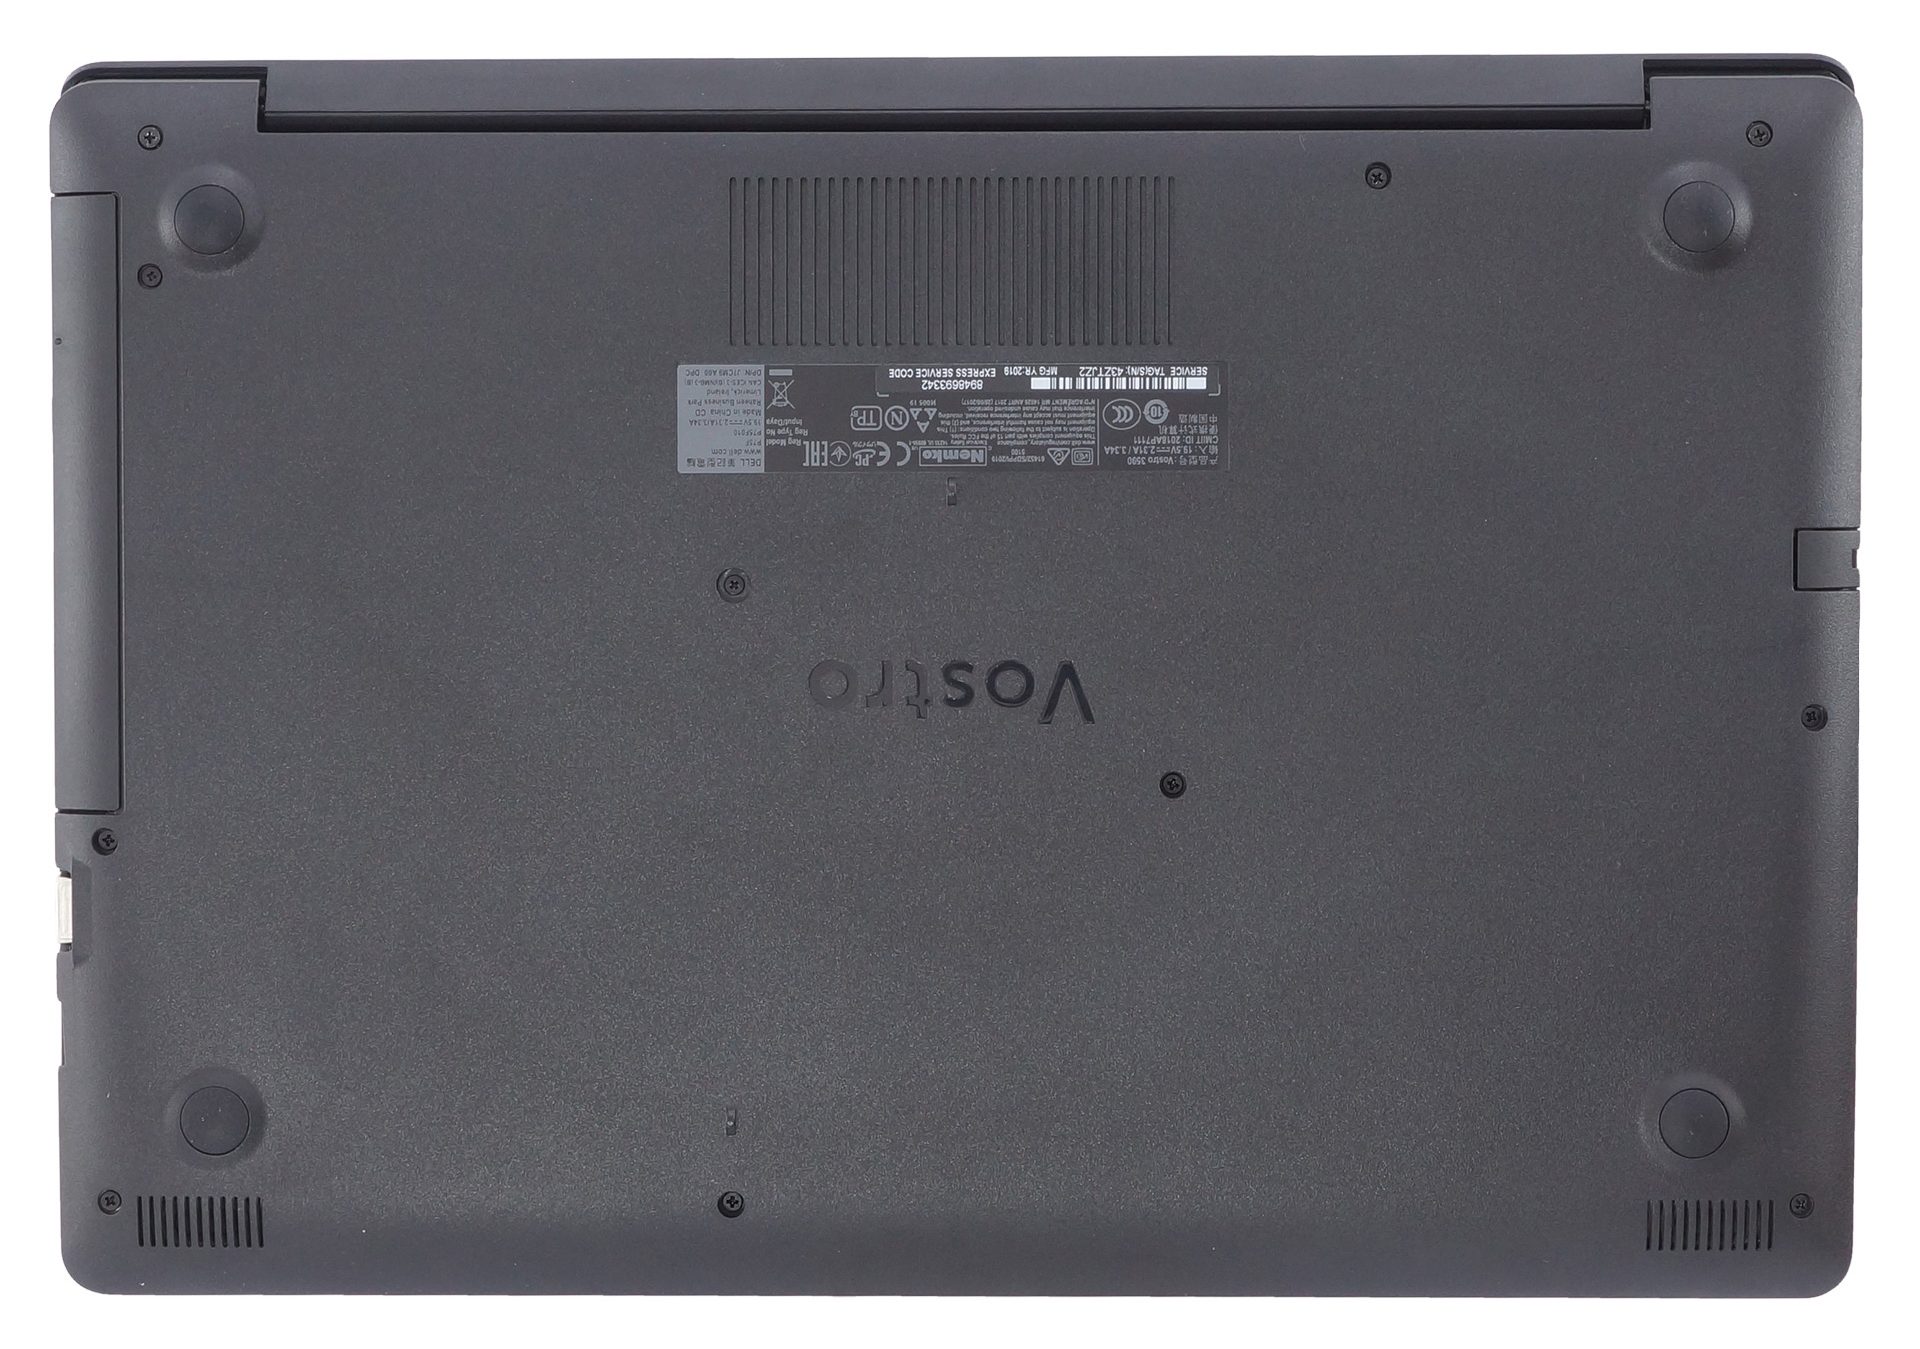
1. Remove the bottom plate
Since the Vostro 3590 is one of the notebooks that features an optical drive, you first must remove it, before you can continue with the rest of the disassembly process. To do that, there is an adjacent screw you need to remove – you can see it in the video above. After that, there are 12 Phillips-head screws that hold the bottom panel in place. Remove them and pry the panel with a plastic tool. Then lift the plate from the right side (on the image) and slide it to the left.
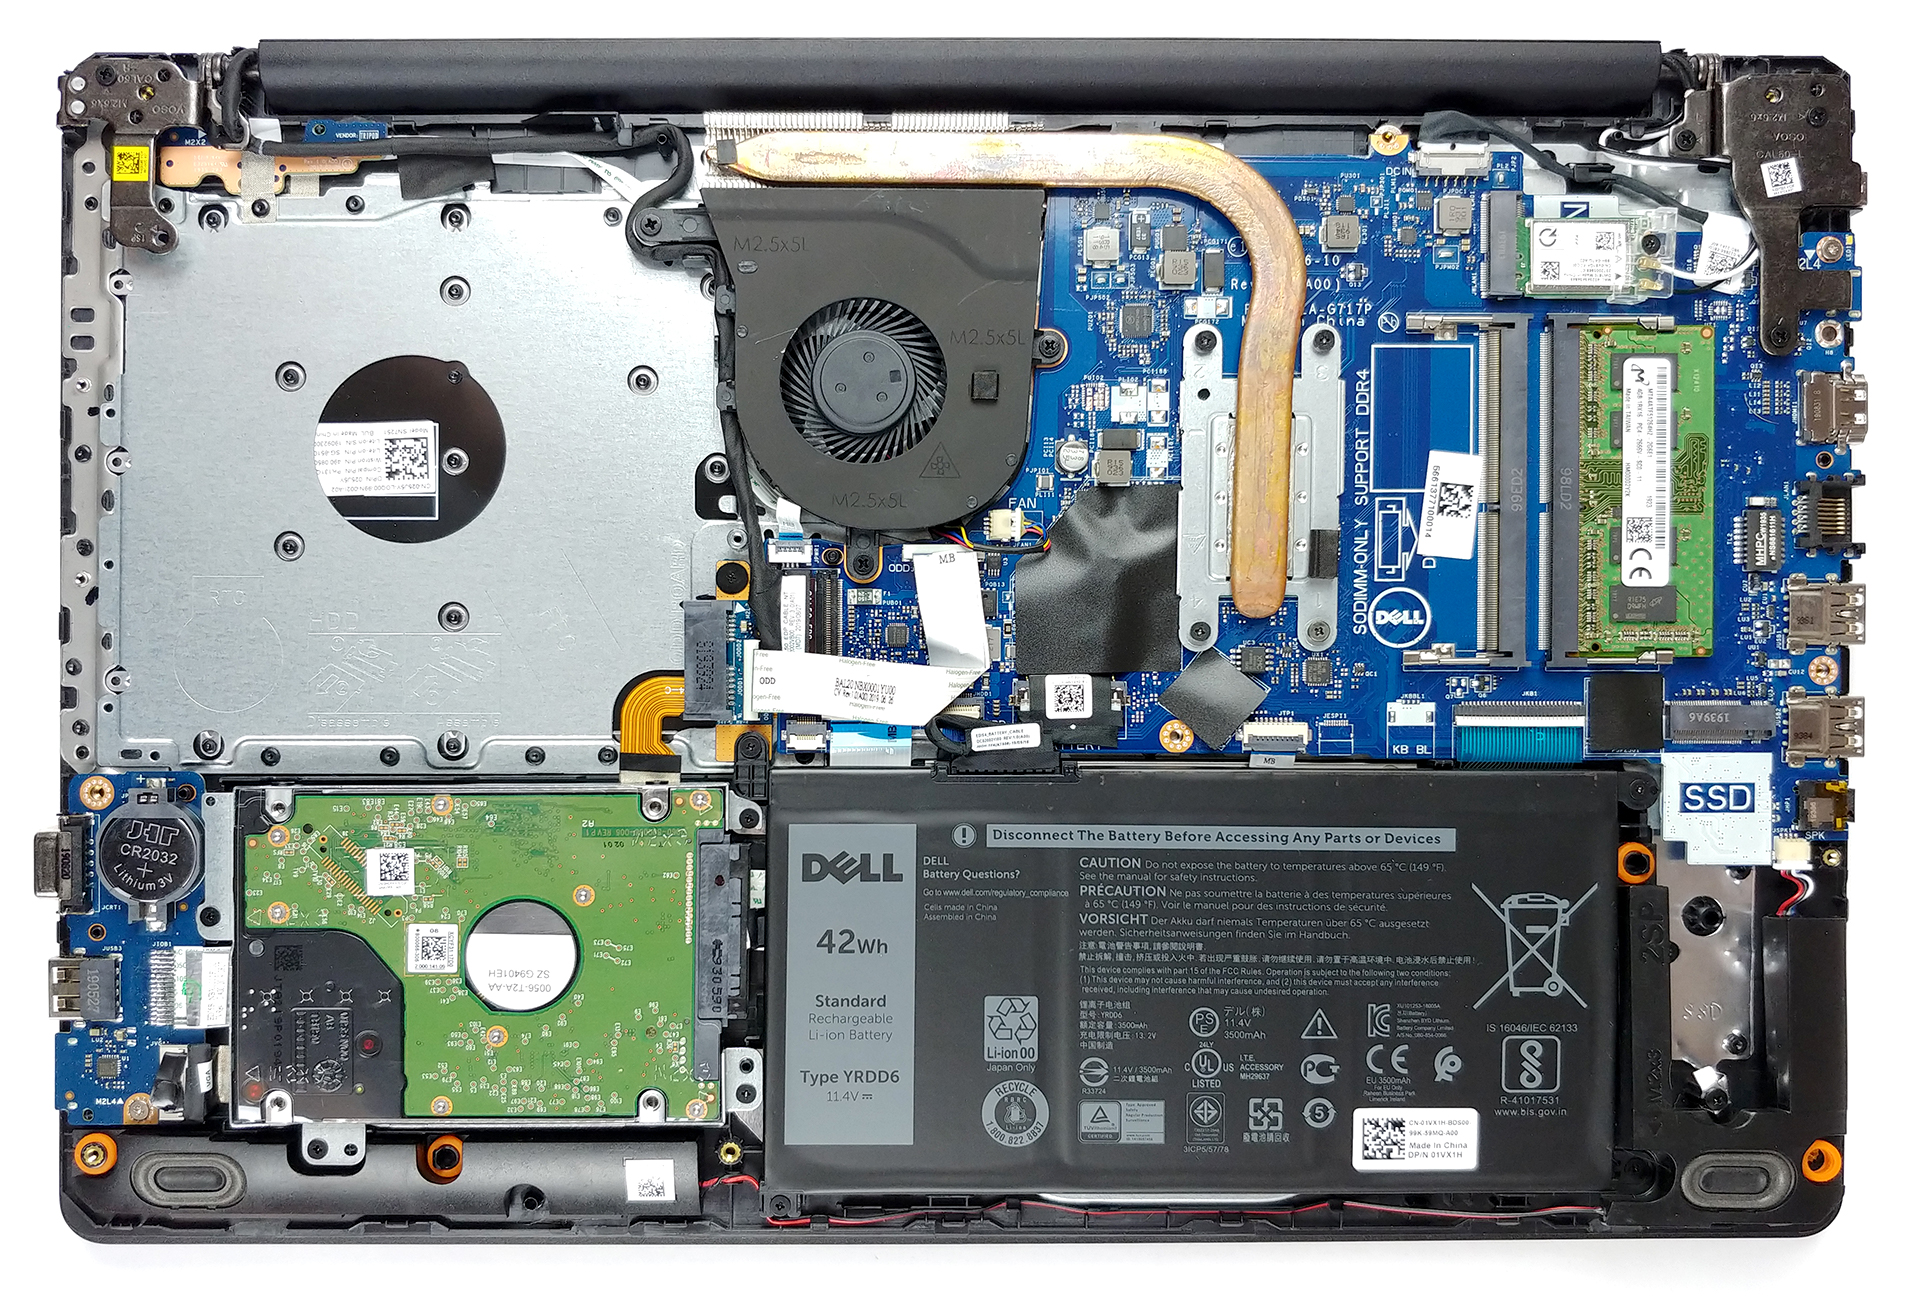
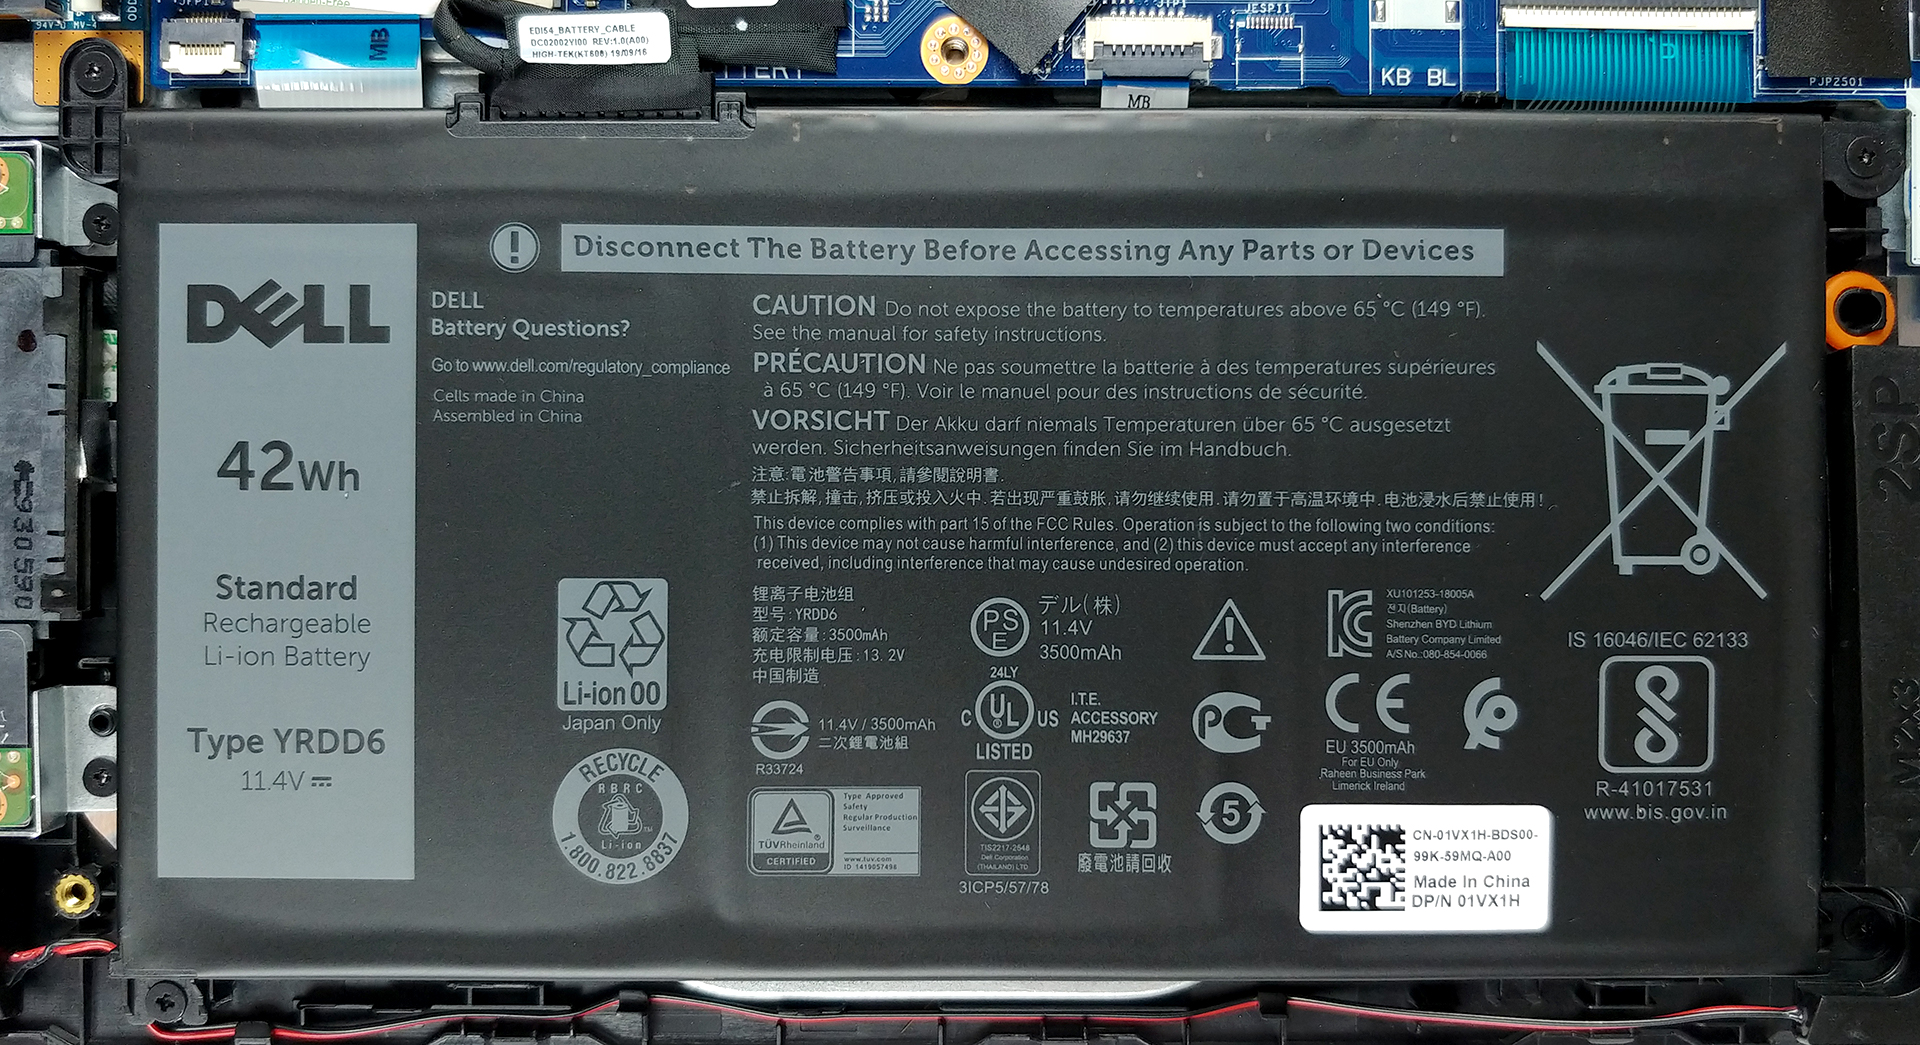
2. Battery
Powering the machine when it’s not plugged in, there is a 42Wh battery pack.
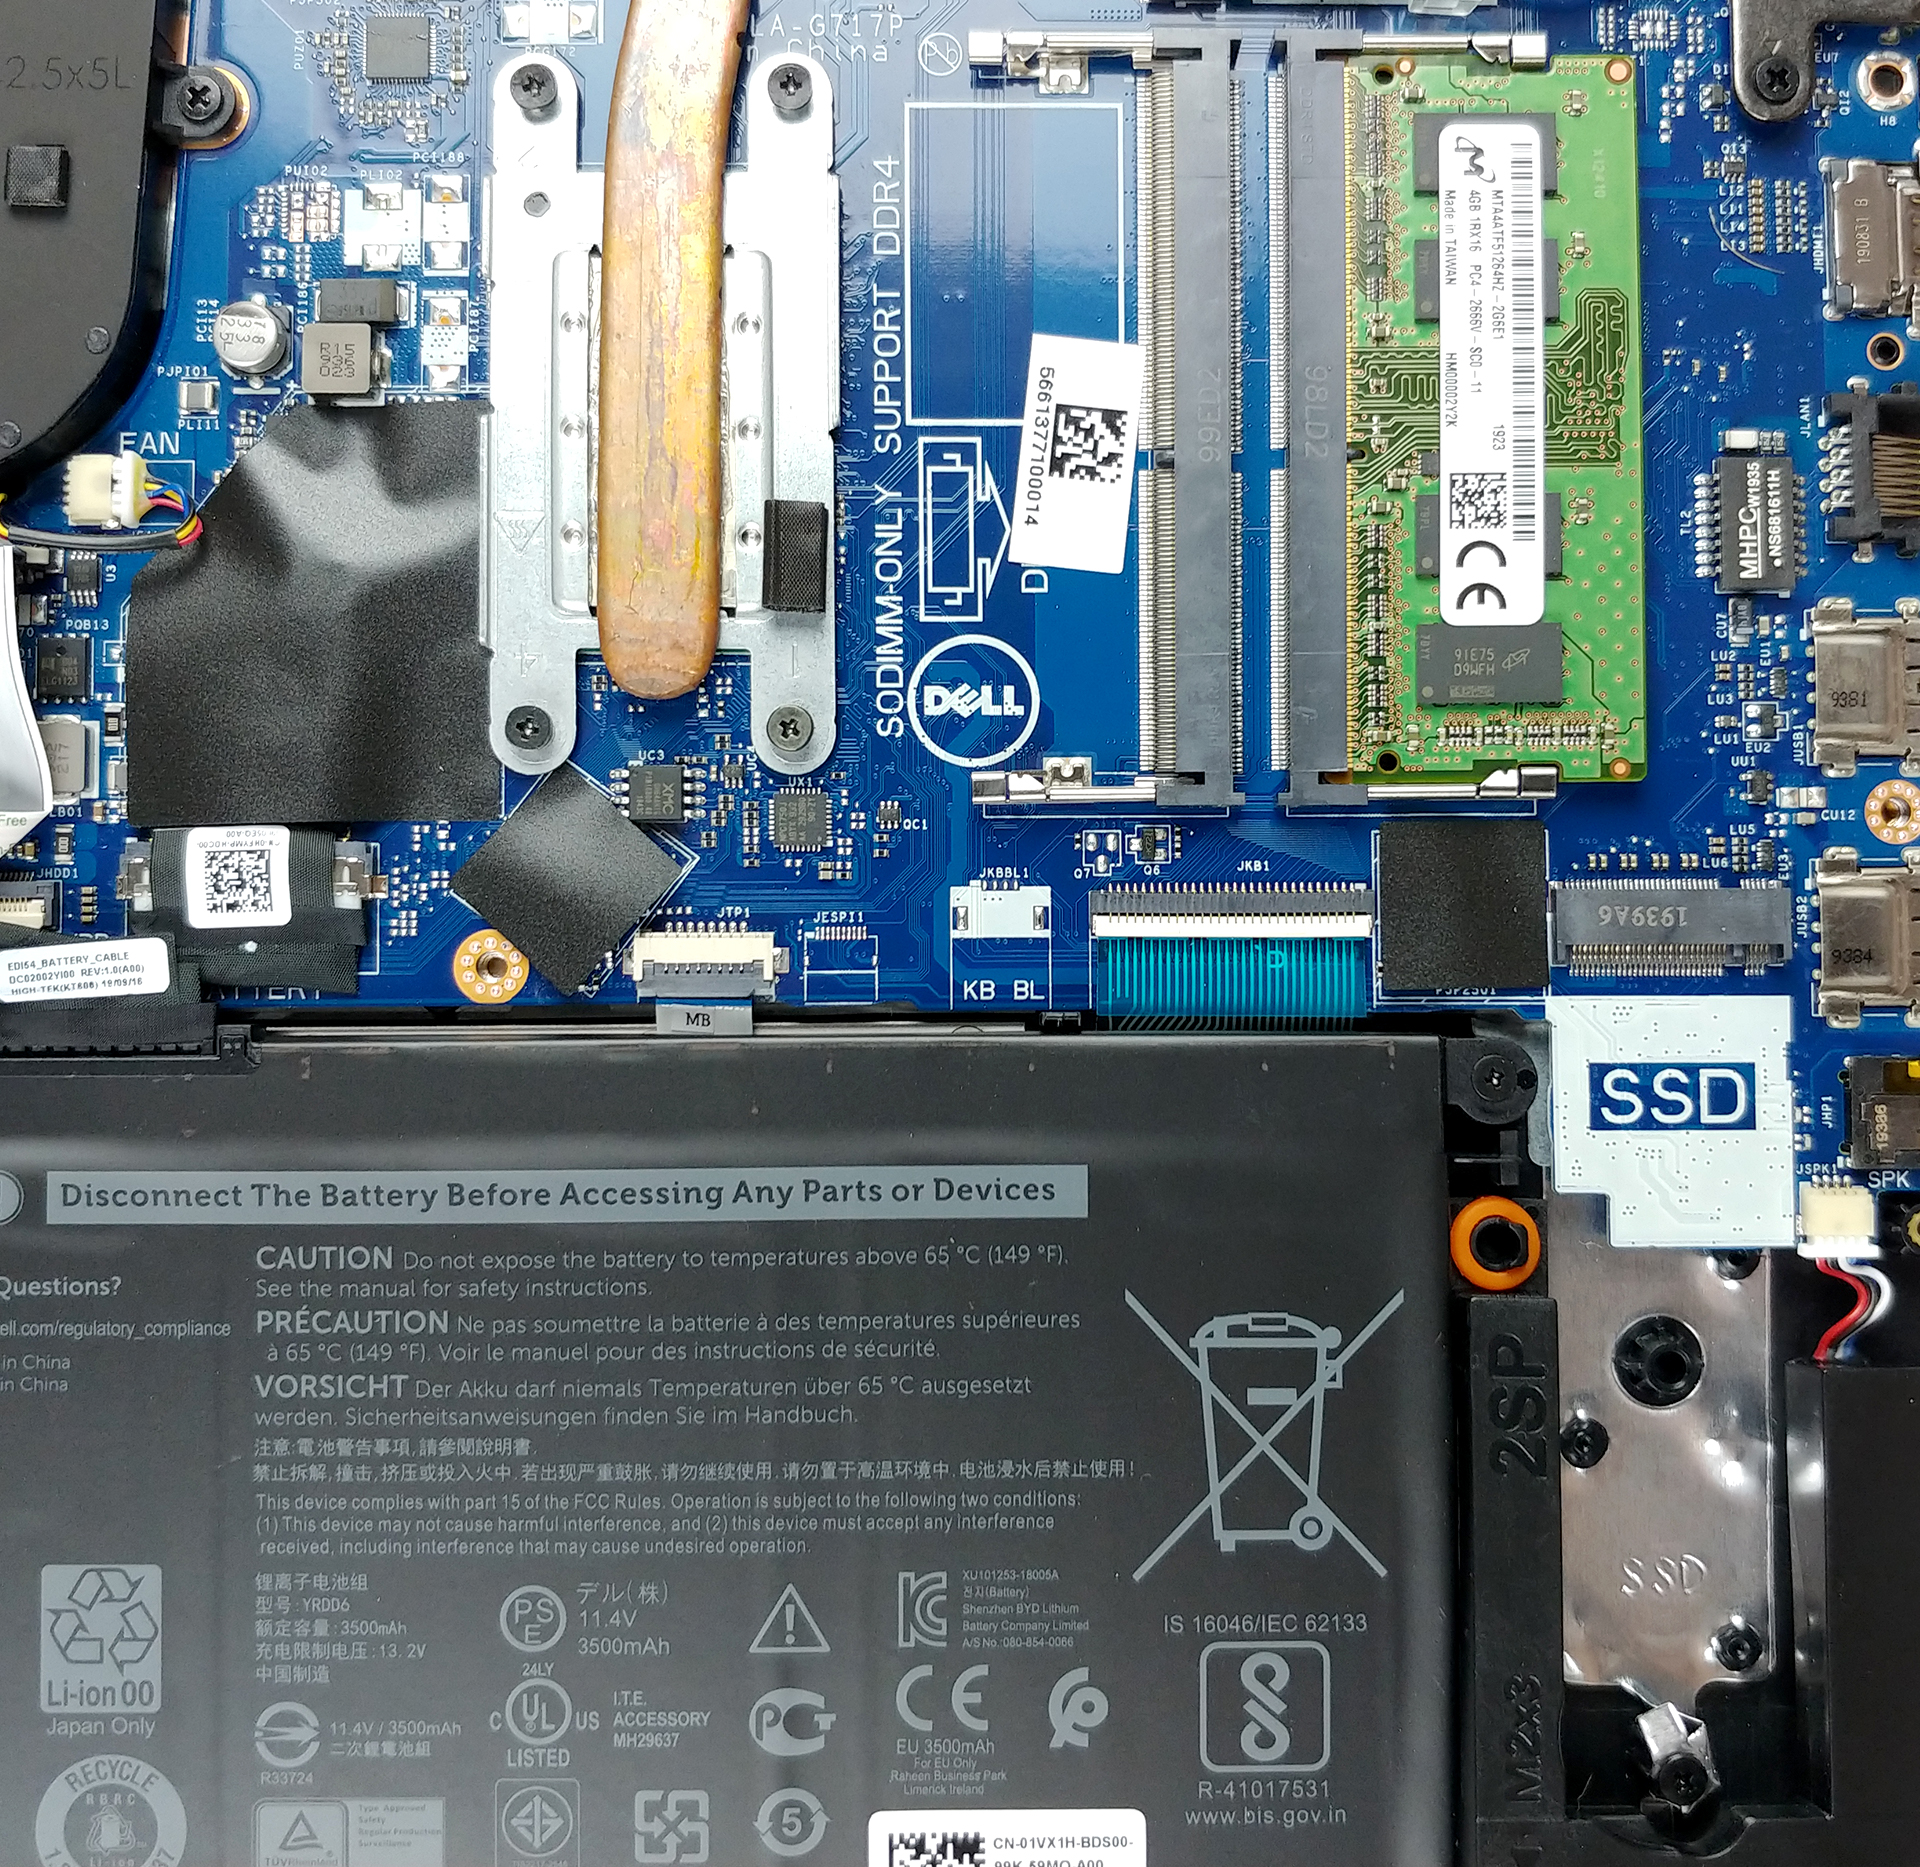
3. Memory and storage
Upgradability-wise, there are two RAM SODIMM slots, which support up to 16GB of DDR4 memory in total. In terms of storage, you will find a 2.5″ SATA drive bay and an M.2 slot, surrounding the battery.

4. Cooling system
Right next to the big open space left by the optical drive, you will find the cooling solution. It comprises a thick heat pipe and a relatively small fan.

Check out all Dell Vostro 3590 prices and configurations in our Specs System or read more in our In-Depth review.