Inside Lenovo ThinkPad E470 – disassembly, internal photos and upgrade options
This one is pretty easy if you are planning a simple upgrade. However, if cleaning the cooling system or changing the thermal paste is your end goal, prepare for a full disassembly.
You can find all of the available models here: http://amzn.to/2obsThy
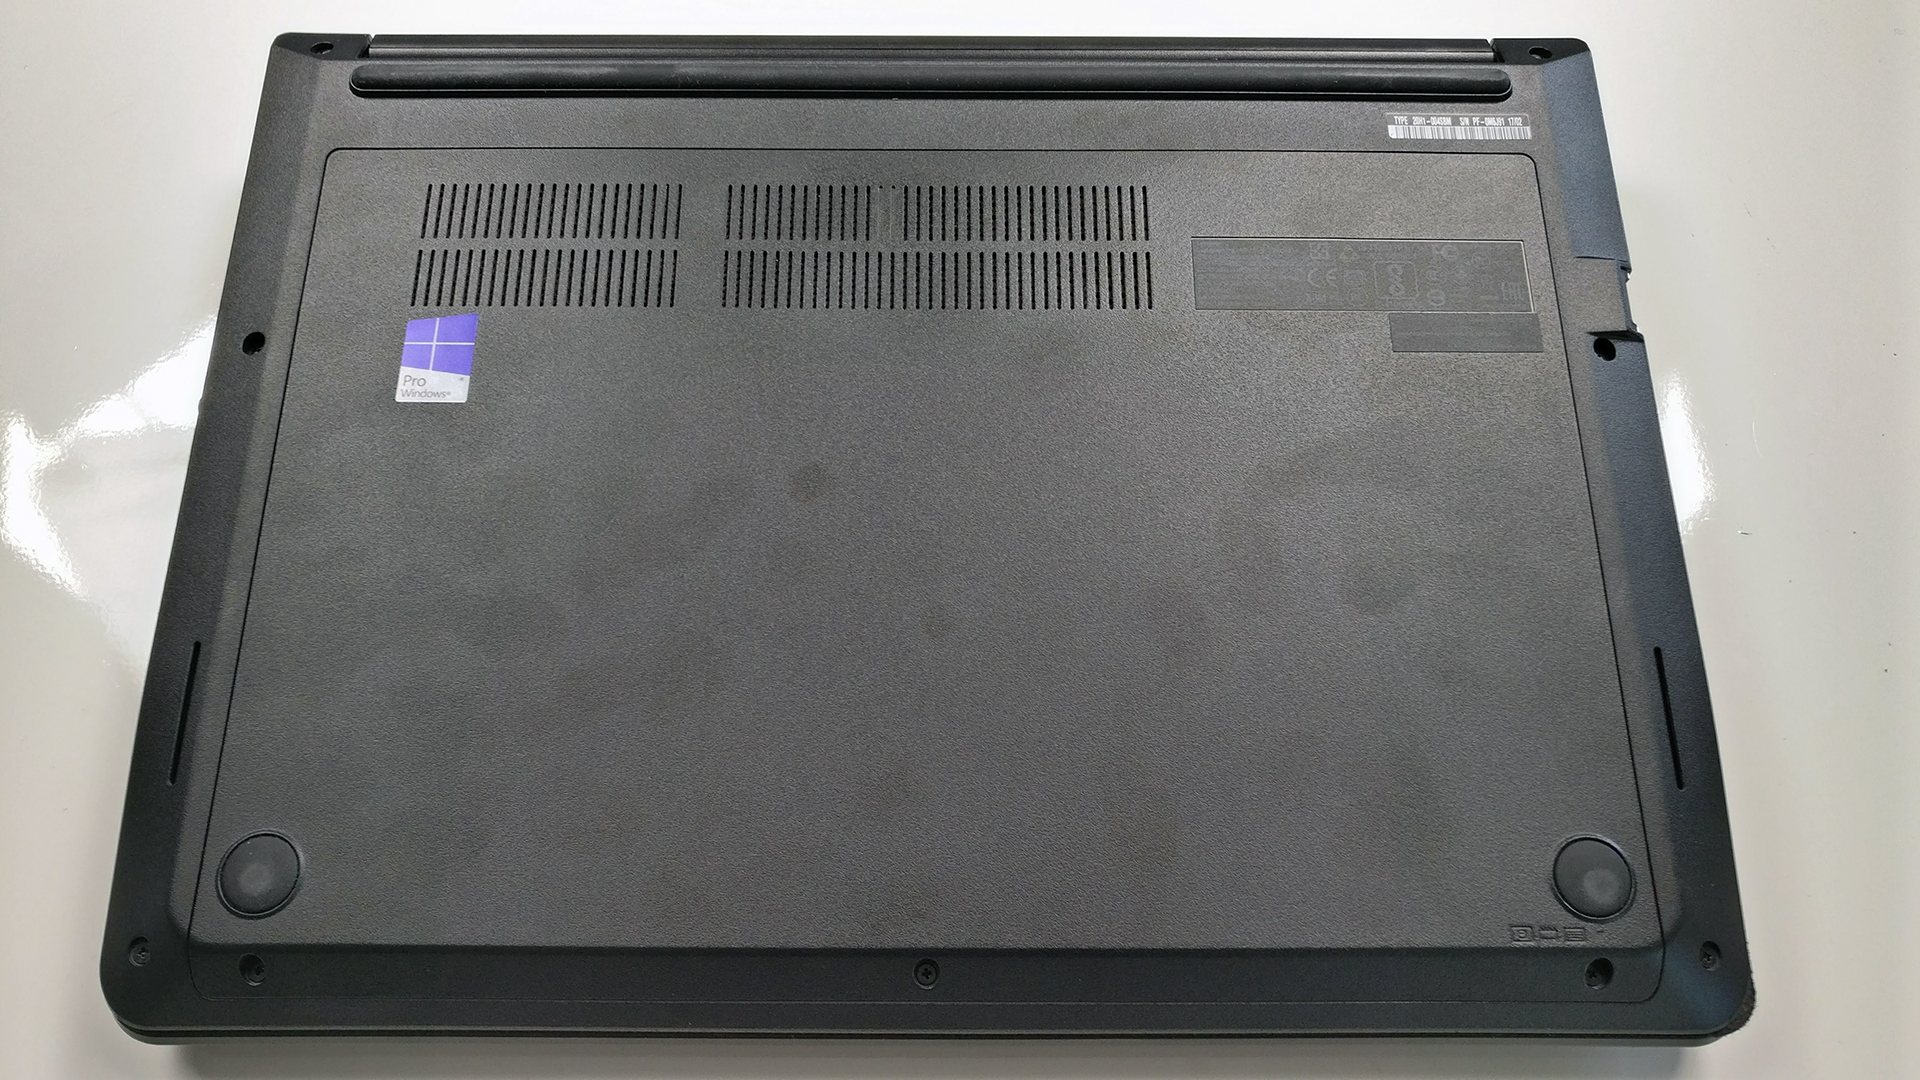
1. Removing the service lid
Since the laptop has a big service hatch, you can remove it and access most of the internals like RAM, storage, battery, Wi-Fi card, etc.

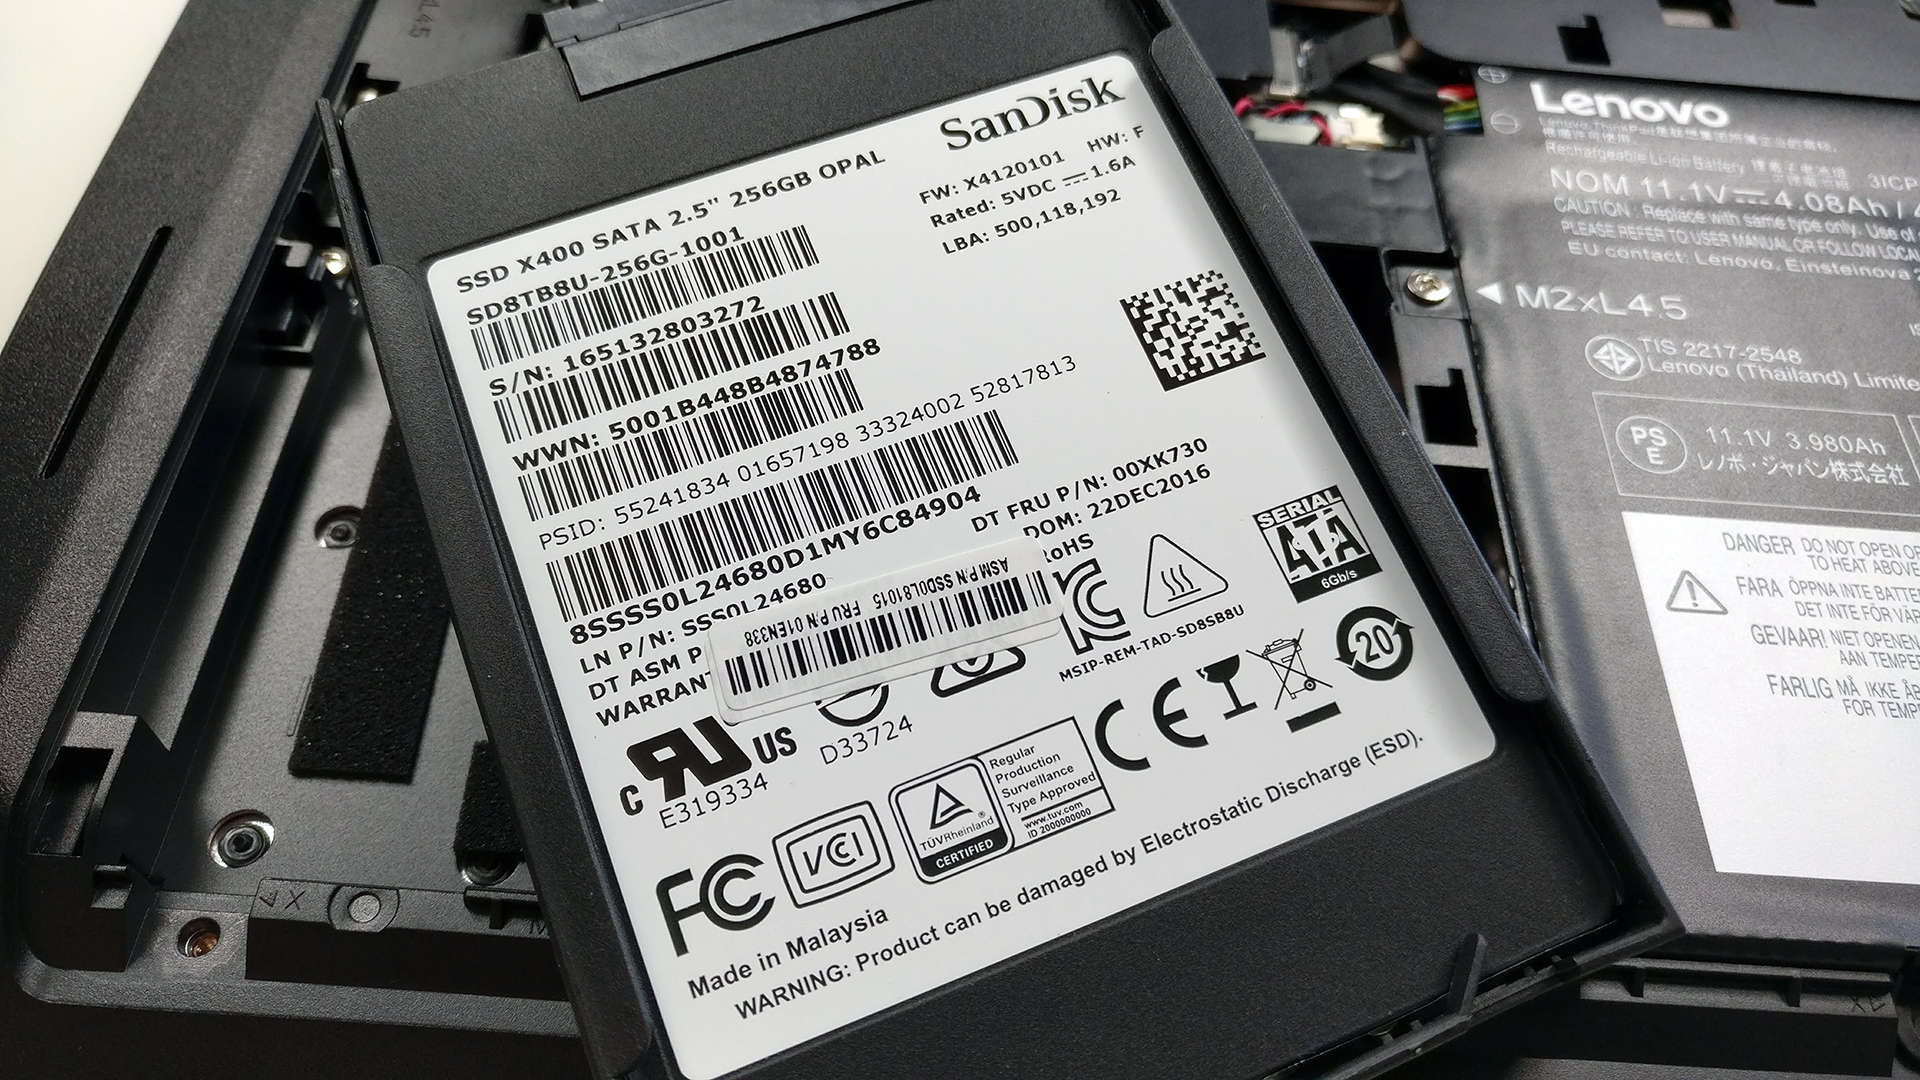
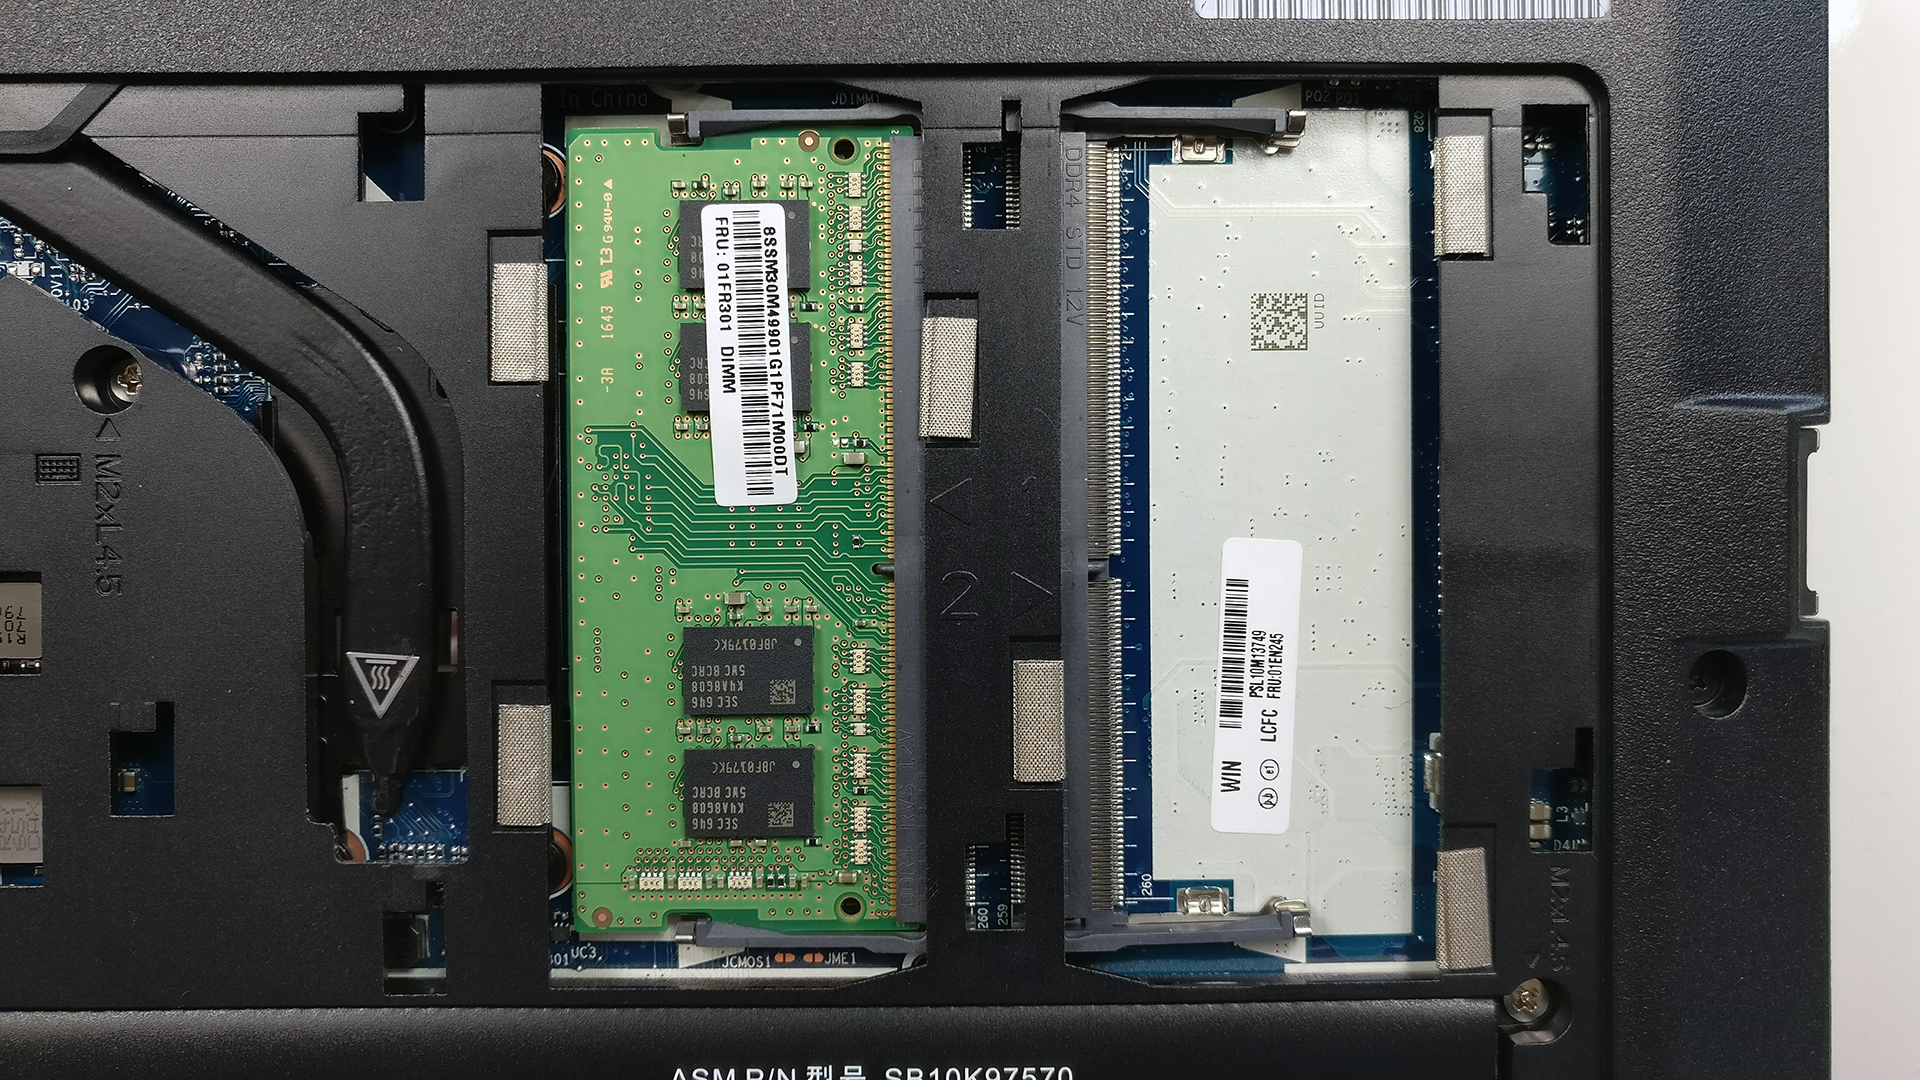
2. Storage and memory
Unfortunately, the laptop holds only a standard 2.5-inch drive and the M.2 SSD slot is nowhere to be found. Our unit shipped with a 2.5-inch SanDisk X400 256GB SATA SSD.
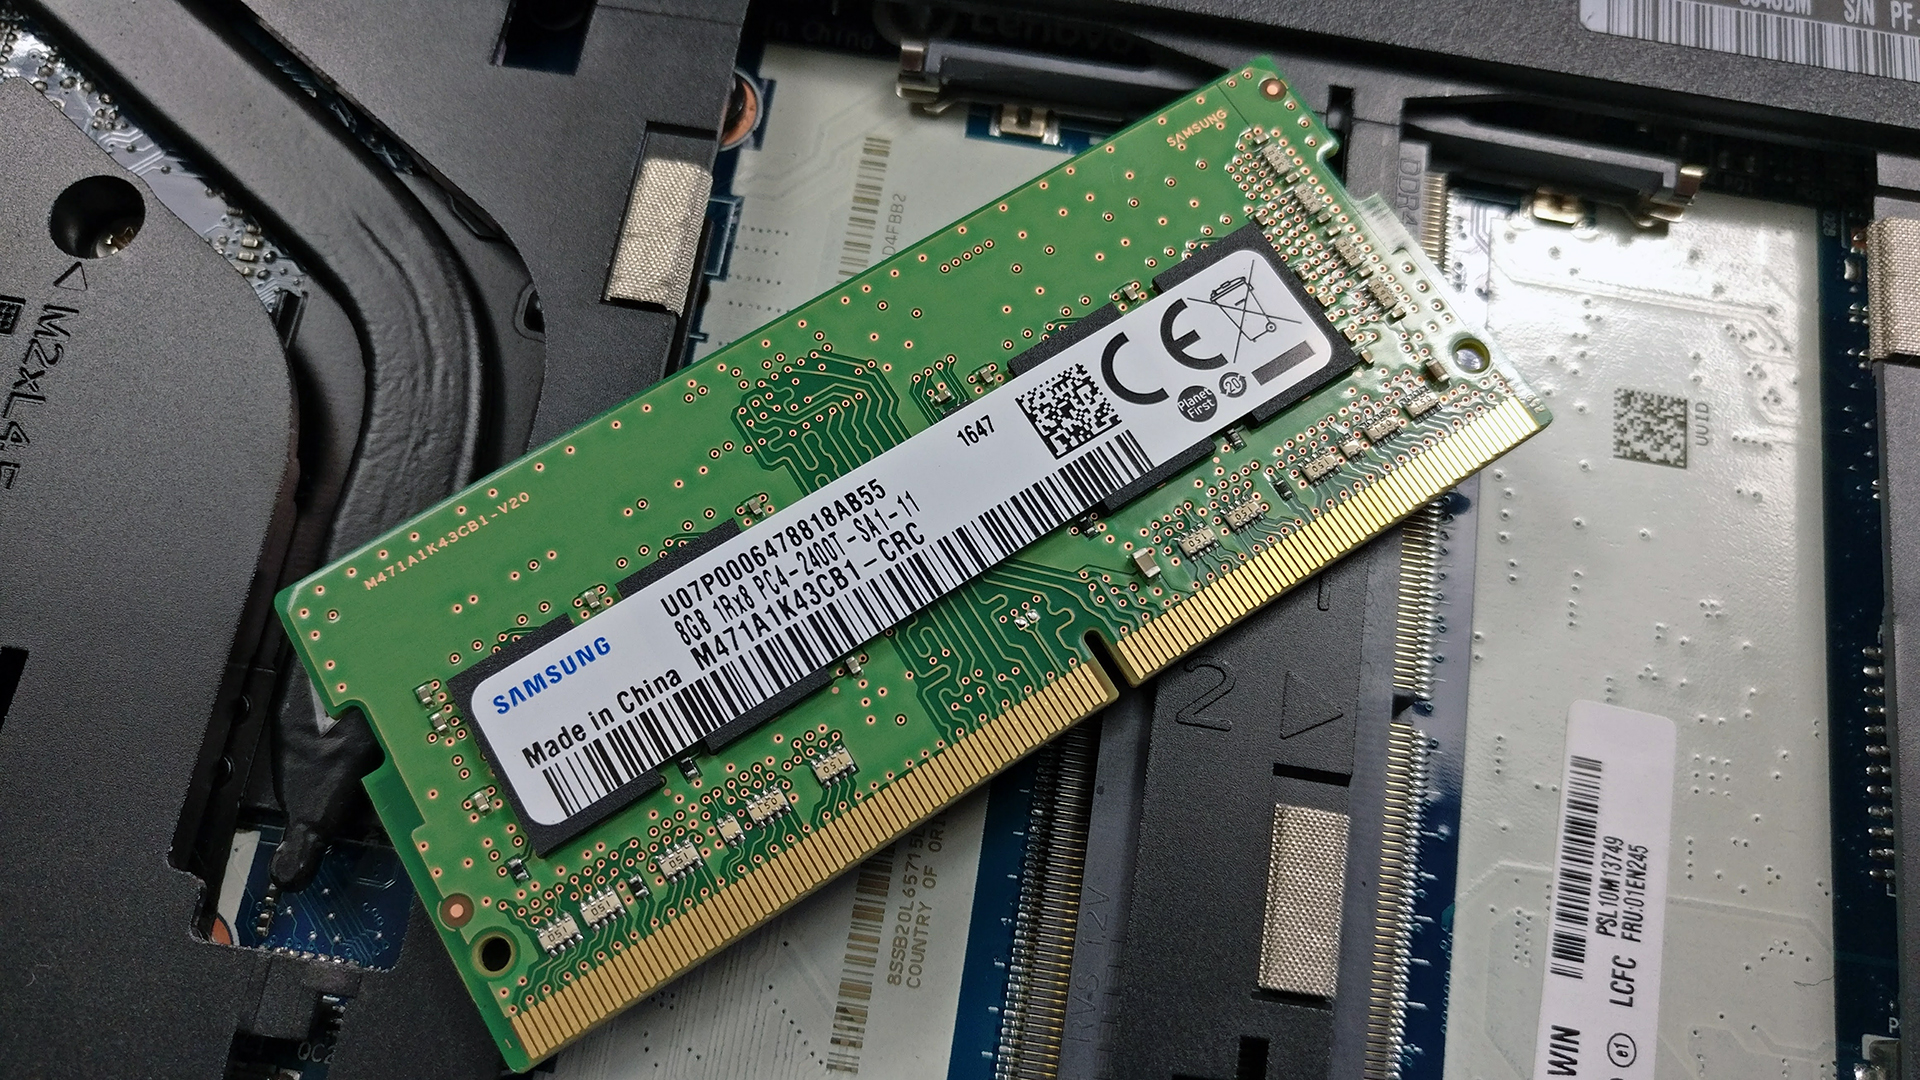
However, the RAM slots were two and upgradeable up to 32GB of DDR4-2400. Our unit came with a single Samsung 8GB DDR4-2400 chip.
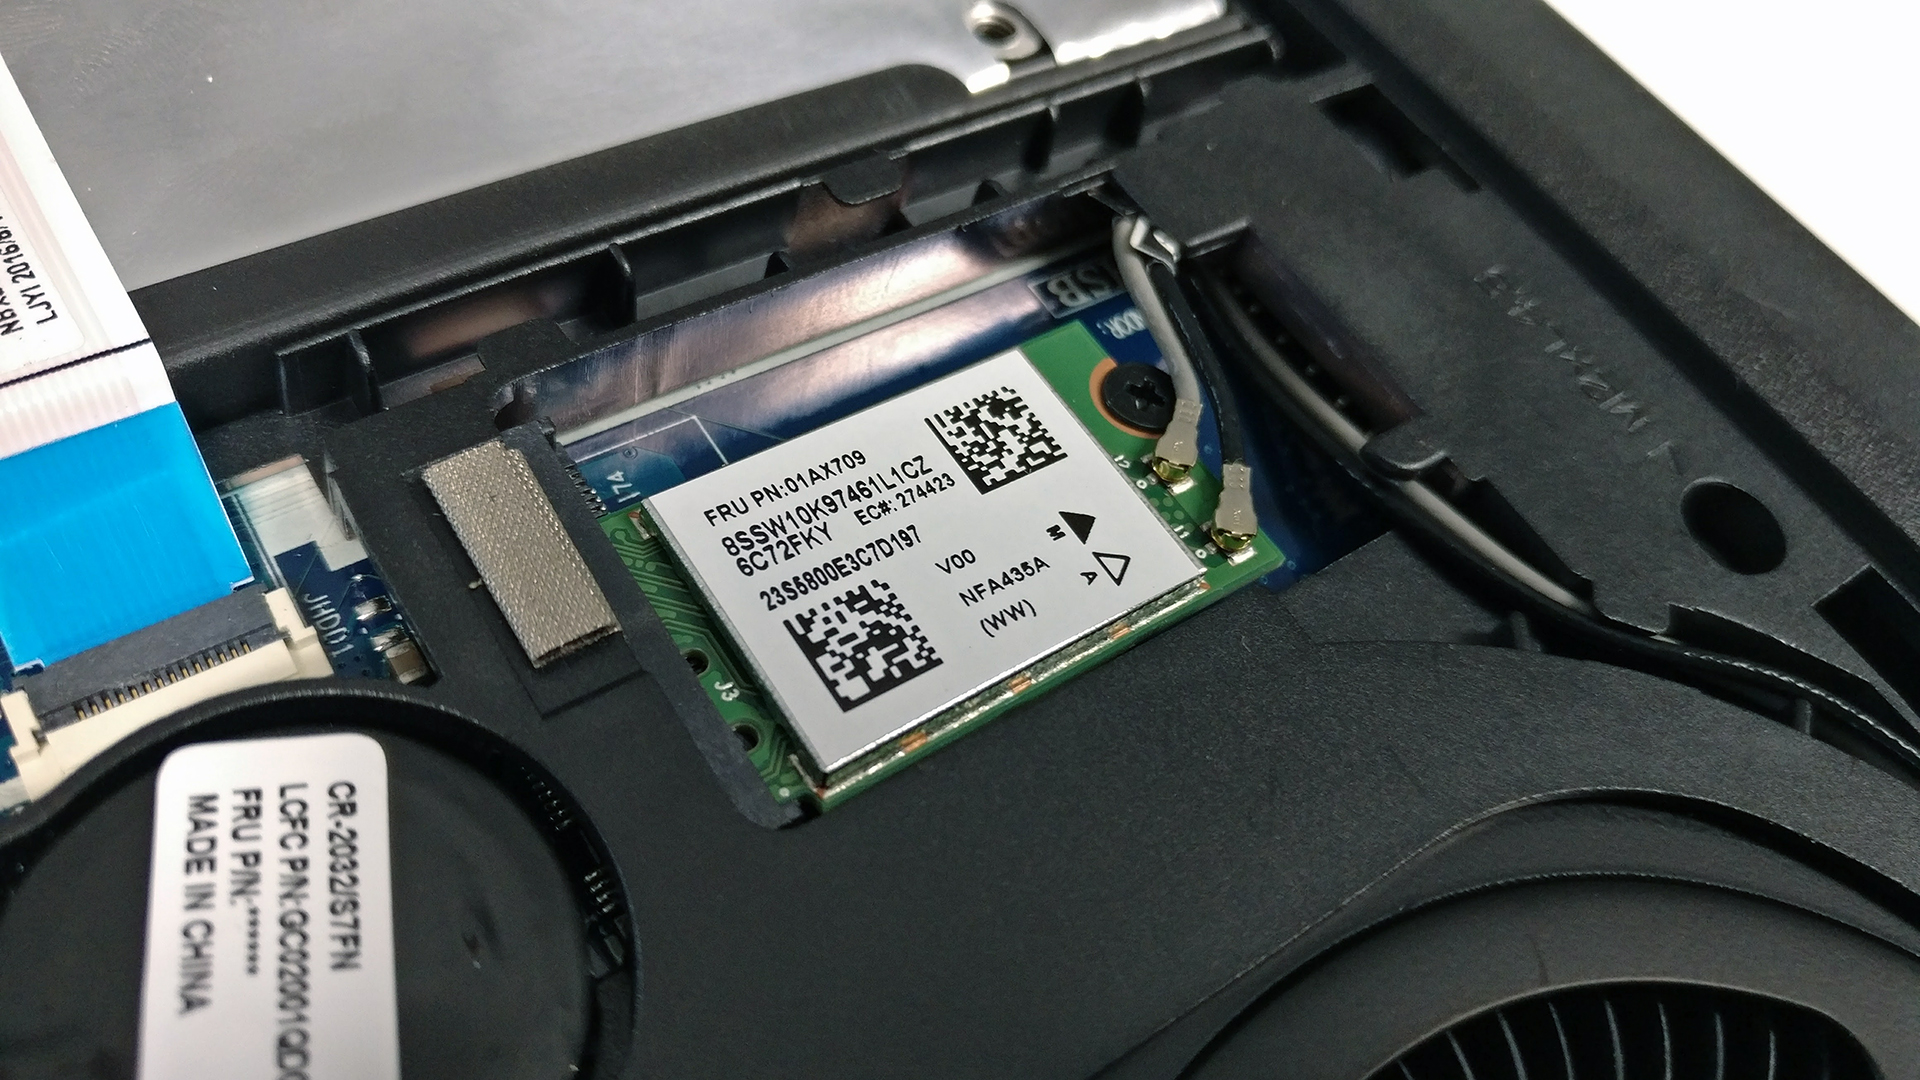
3. Battery and Wi-Fi card
The Wi-Fi card can be found right next to the BIOS battery and it’s manufactured by Qualcomm with model number QCA6174.
As for the battery, it’s located under the palm rest area and it’s rated at 45Wh.

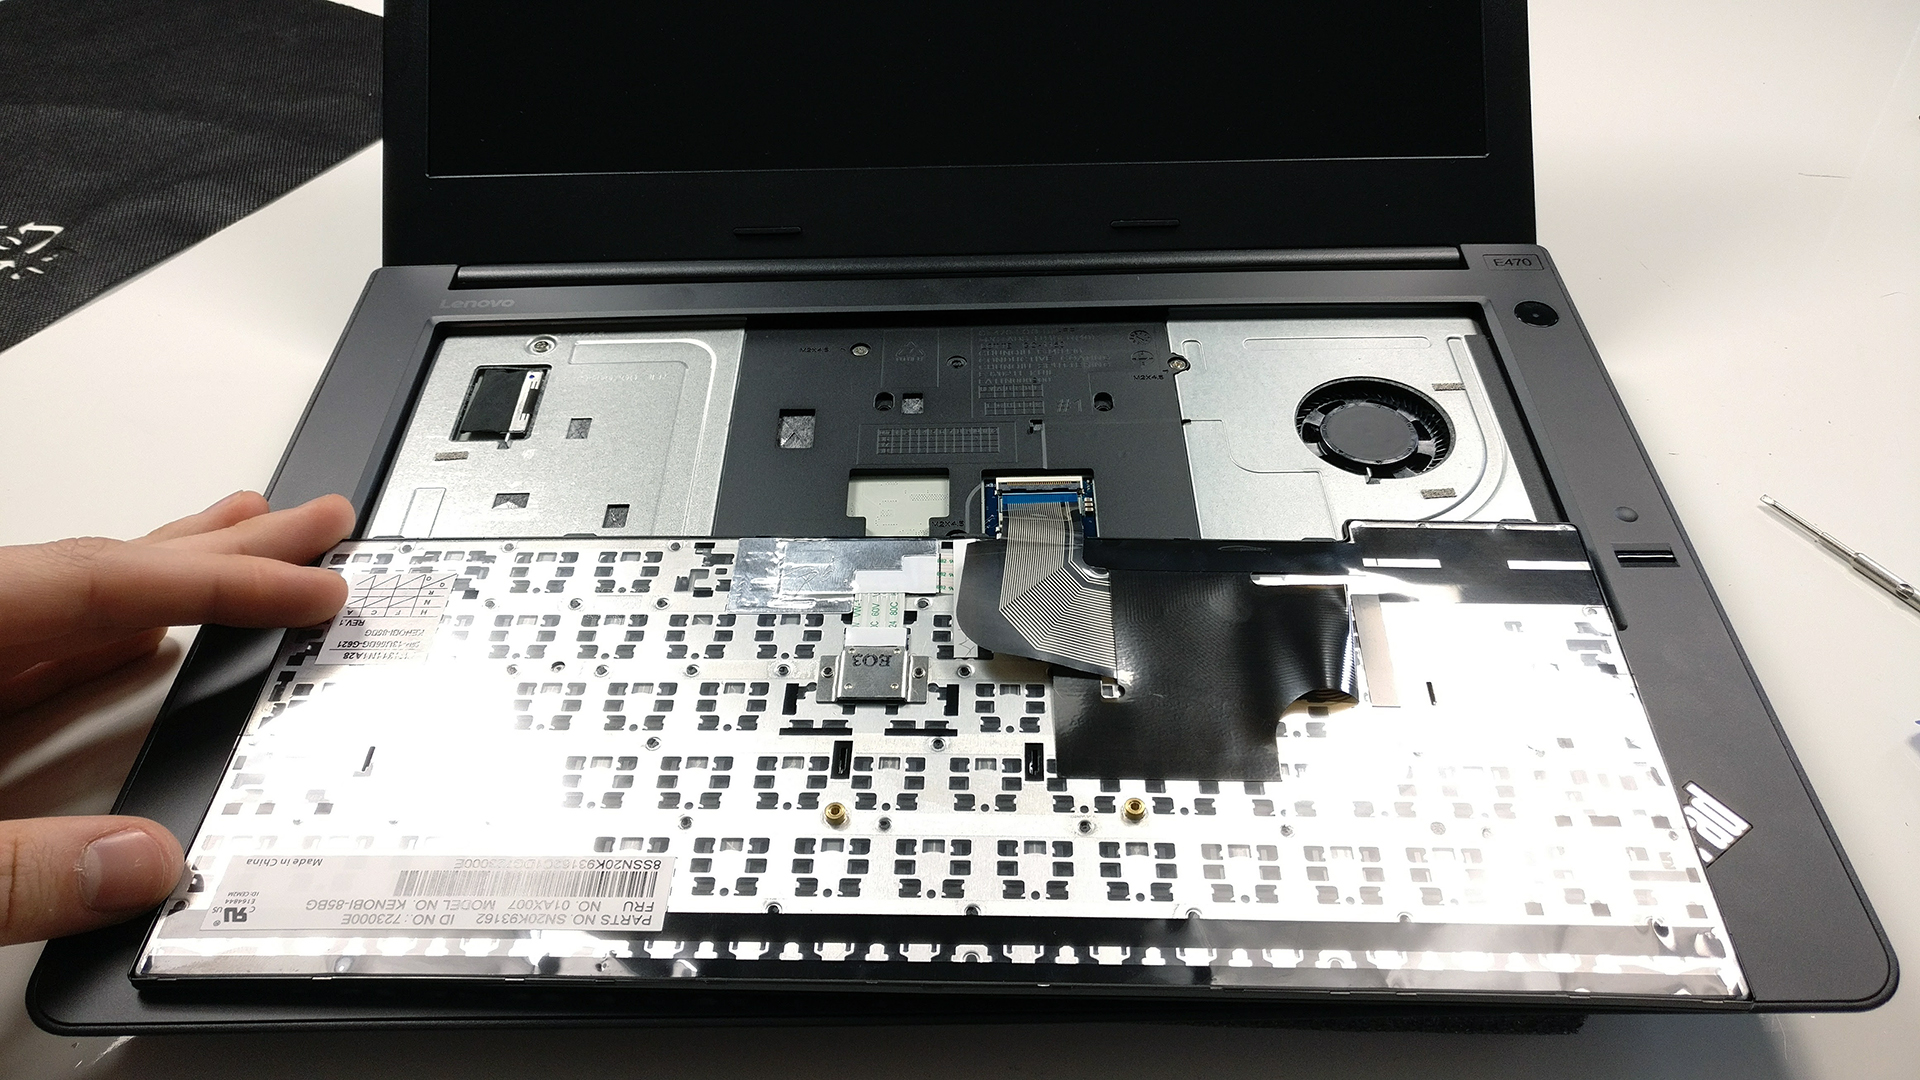
4. Full disassembly and cooling system
In order to access the cooling system, you will have to go through all the trouble of removing the keyboard and the motherboard as shown in the photos below. Just make sure you remove all the cables and screws along the way.
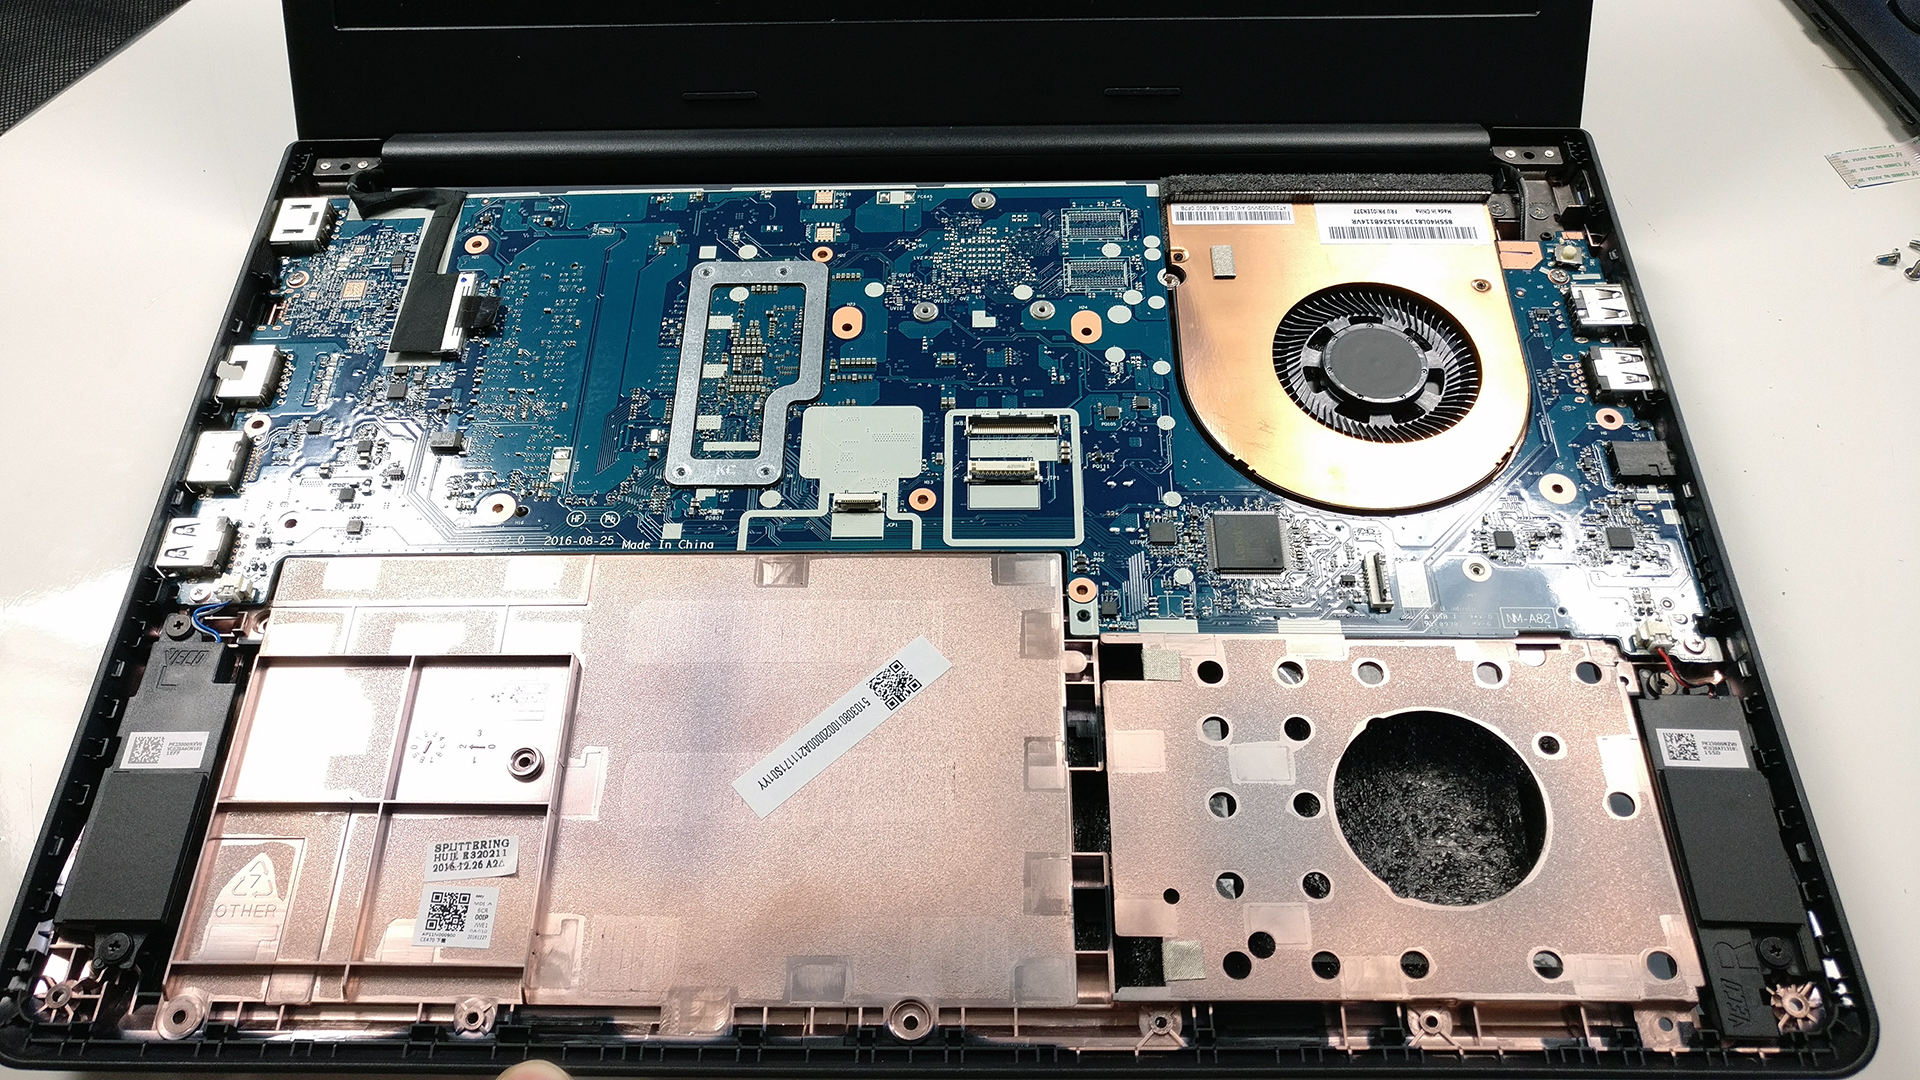
And as for the cooling system, it’s quite simple – a single heat pipe coming along the heatsink and connecting the cooling fan and its radiator.
You can read the full review of the Lenovo ThinkPad E470 here.
You can find all of the available models here: http://amzn.to/2obsThy


Hi can you please tell me how is ssd performance of this laptop 14’inch 256SSD model.
i got 960gb kingston ssd it works really good