Inside Acer Chromebook 311 (CB311-9H) – disassembly and upgrade options
This is a neat little Chromebook that sadly doesn’t offer anything to upgrade. However, here is a quick guide on how to get inside of it.
Check out all Acer Chromebook 311 (CB311-9H) prices and configurations in our Specs System or read more in our In-Depth review.
1. Remove the bottom plate
There are a total of 12 Phillips-head screws holding the bottom panel of this Chromebook 311 in place. After you remove them, pry the plate up with a plastic tool, carefully working your way around the device. Then, just pop it up and you’ll see the internals.
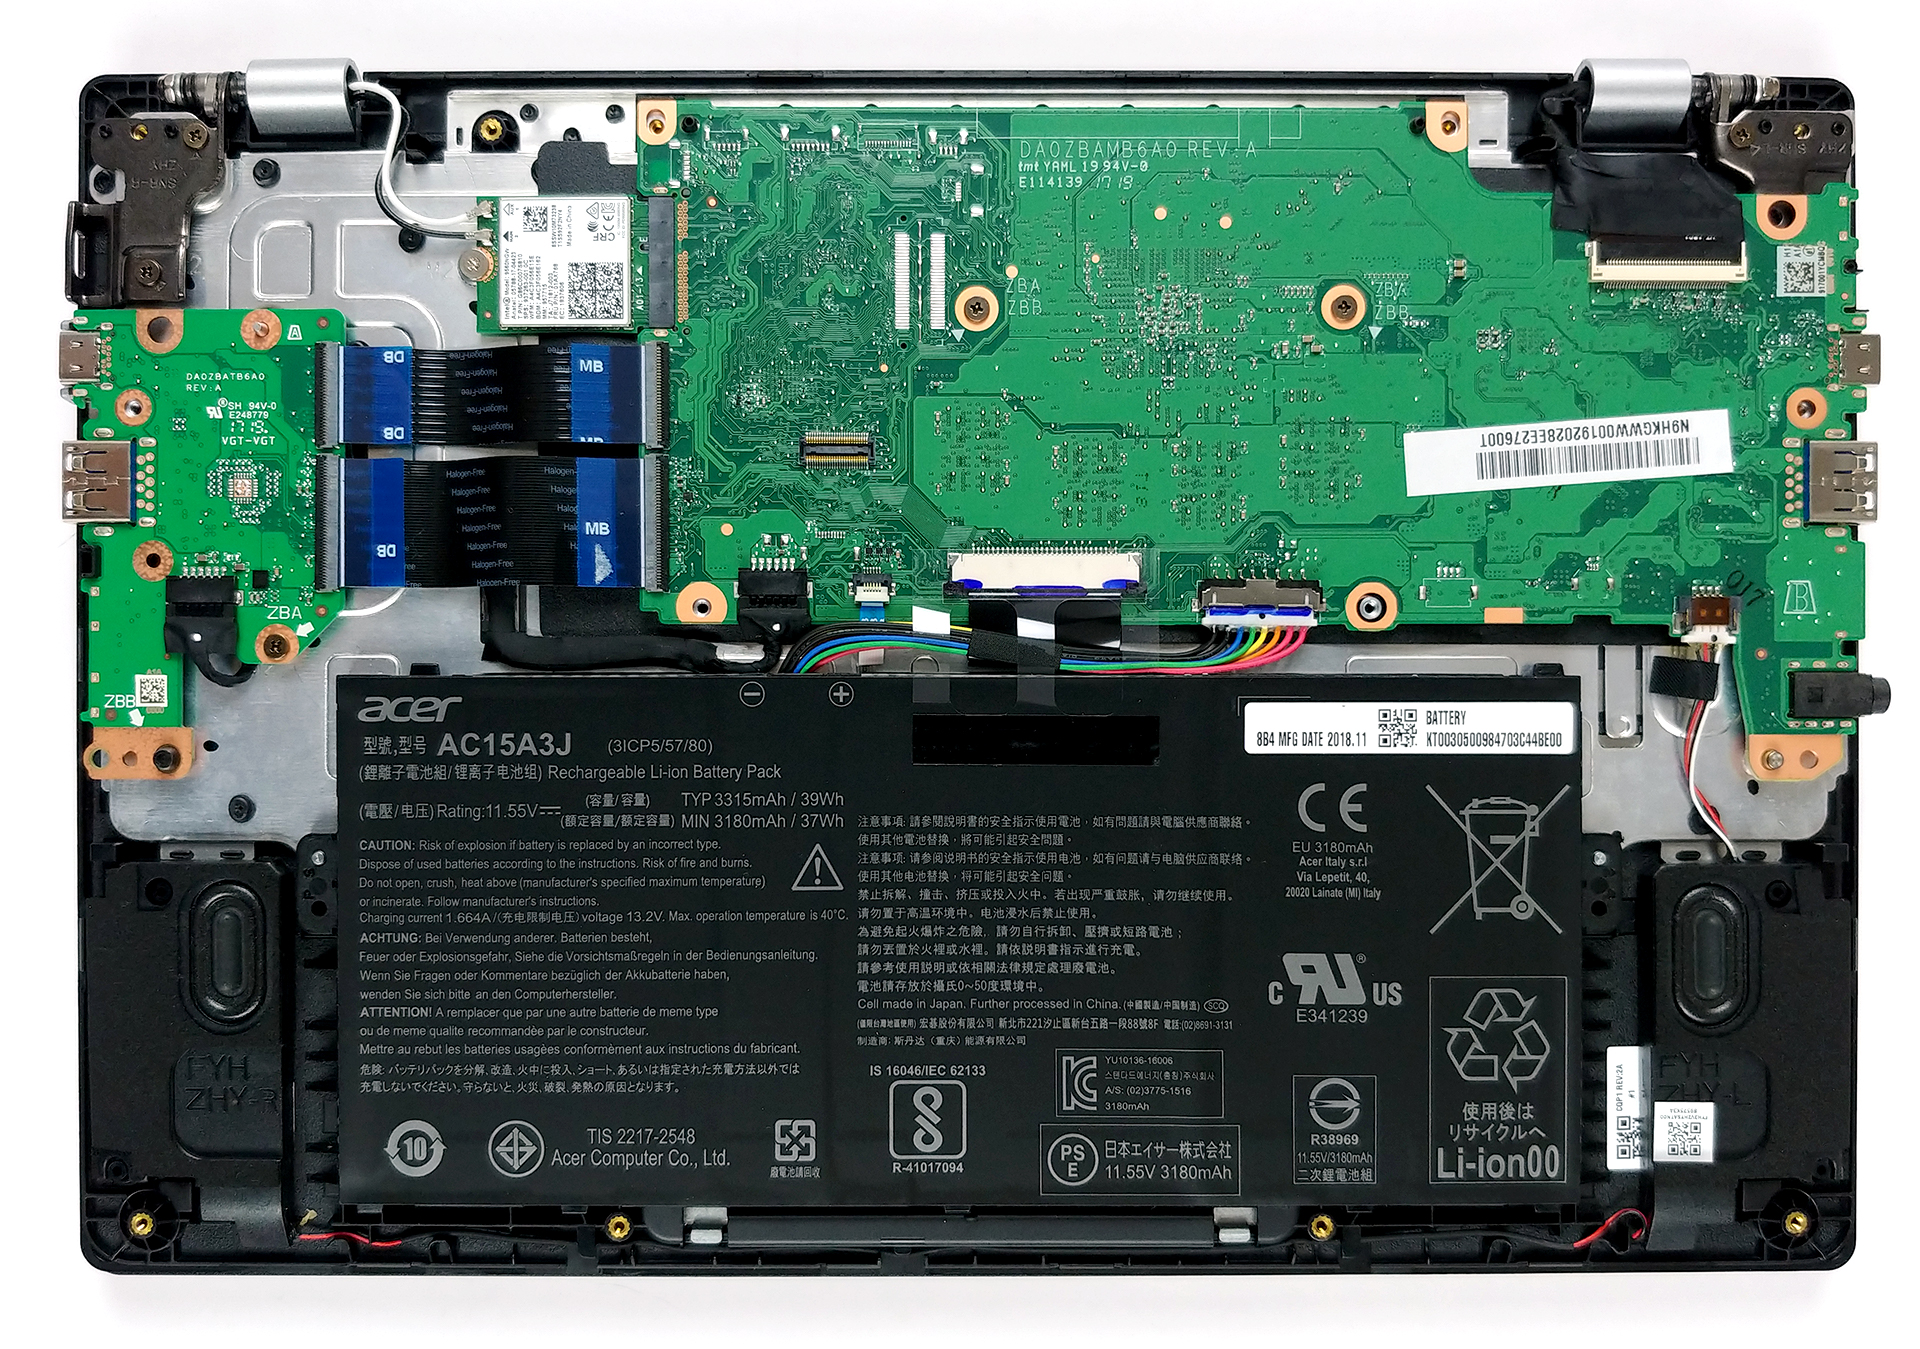
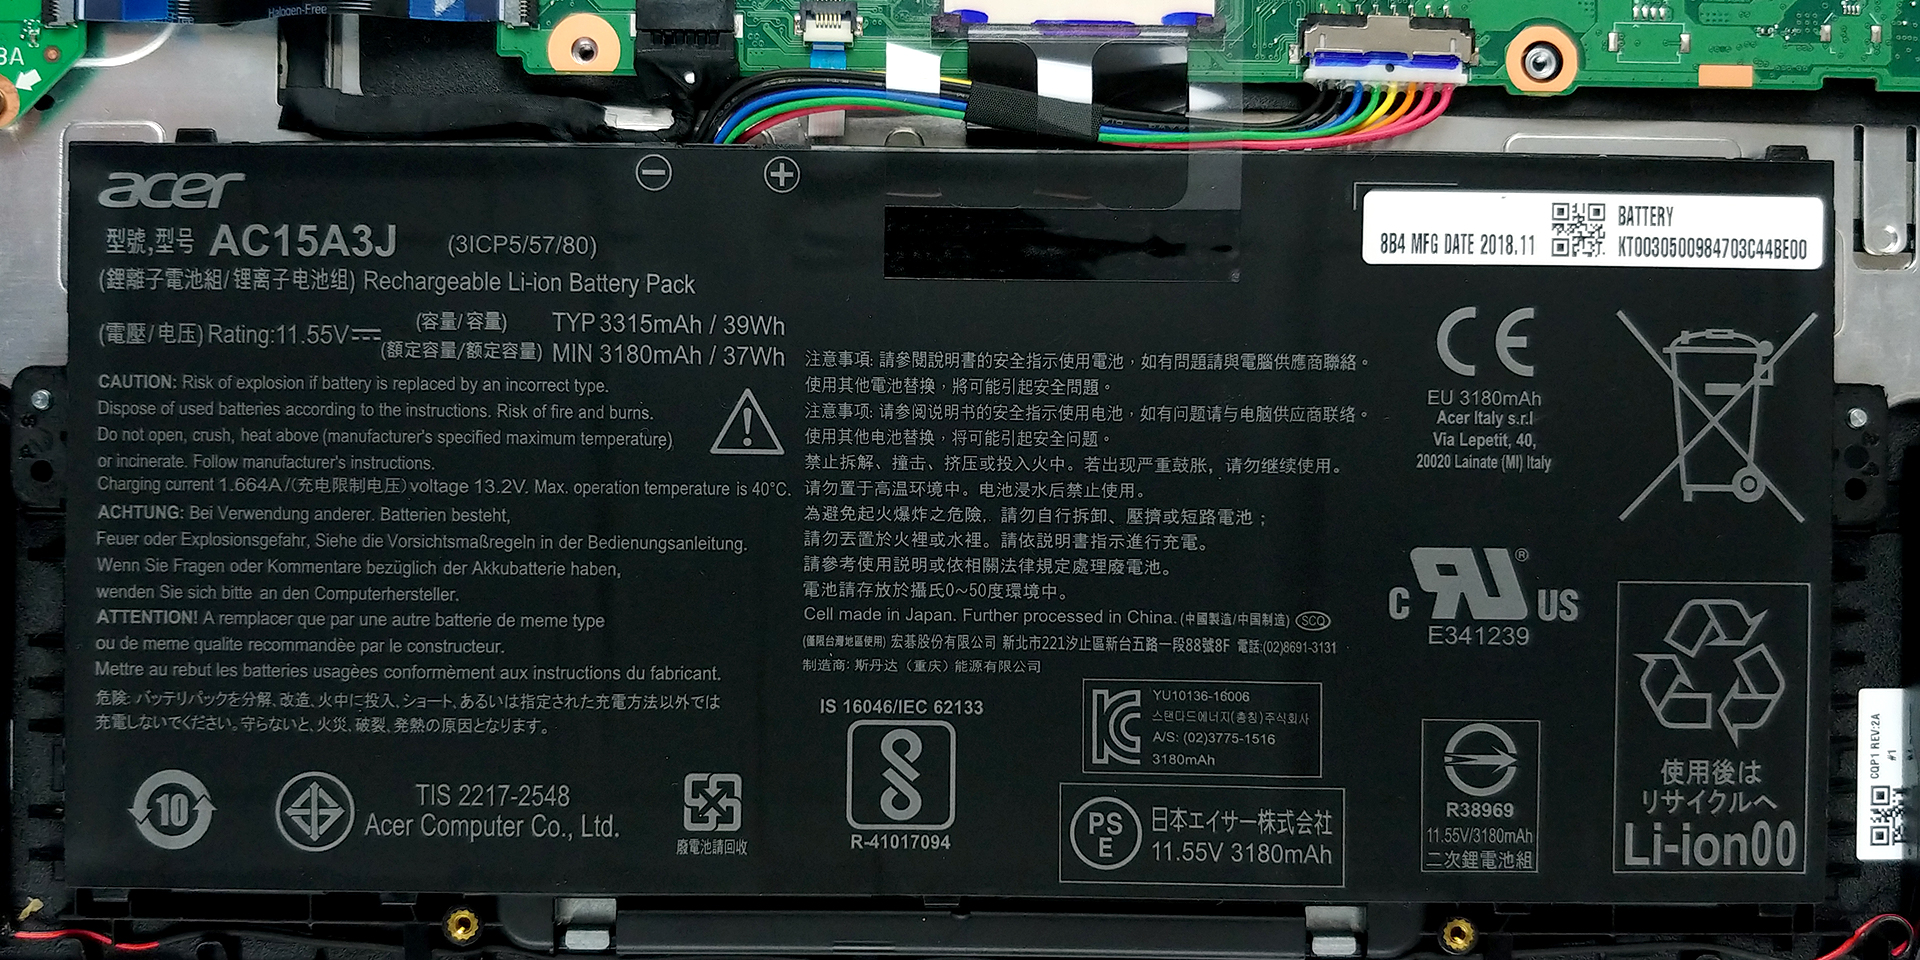
2. Battery
In terms of battery, the laptop is equipped with a 39Wh package.
3. Motherboard and Wi-Fi card
Not that there is much to see, though. As the motherboard is placed upside-down, we don’t really have a view on the cooling element. However, we know for sure, that it is a passive solution, as it obviously lacks a fan.
Since all of the memory and the storage is soldered to the motherboard, we cannot talk about any upgradability on this thing, whatsoever. As of the numbers, the memory consists of 4GB of LPDDR4 modules, while the storage is a 32GB eMMC drive. Indeed, this is a very lean setup, but on the bright side, you can expand your storage via the MicroSD card slot. Additionally, on the image below, you can see the Wi-Fi card, which is an Intel 9560NGW unit.

Check out all Acer Chromebook 311 (CB311-9H) prices and configurations in our Specs System or read more in our In-Depth review.