Inside MSI GL65 9SE – disassembly and upgrade options
So, the MSI GL65 9SE features quite a potent hardware. In our review, we discovered that its cooling is capable of managing the temperatures inside the chassis, very well, despite being a bit too loud on some occasions. Let’s see what exactly can we find on the insides, shall we?
Check out all MSI GL65 9SE prices and configurations in our Specs System or read more in our In-Depth review.
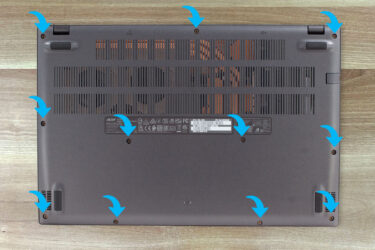
1. Remove the bottom plate
In order to open the get to all of the internals, you need to remove the back panel. It is held in place by 12 Phillips-head screws. After you remove them, you’ll need a (preferably) plastic pry tool, or a guitar picks to pop the plate out of the chassis.

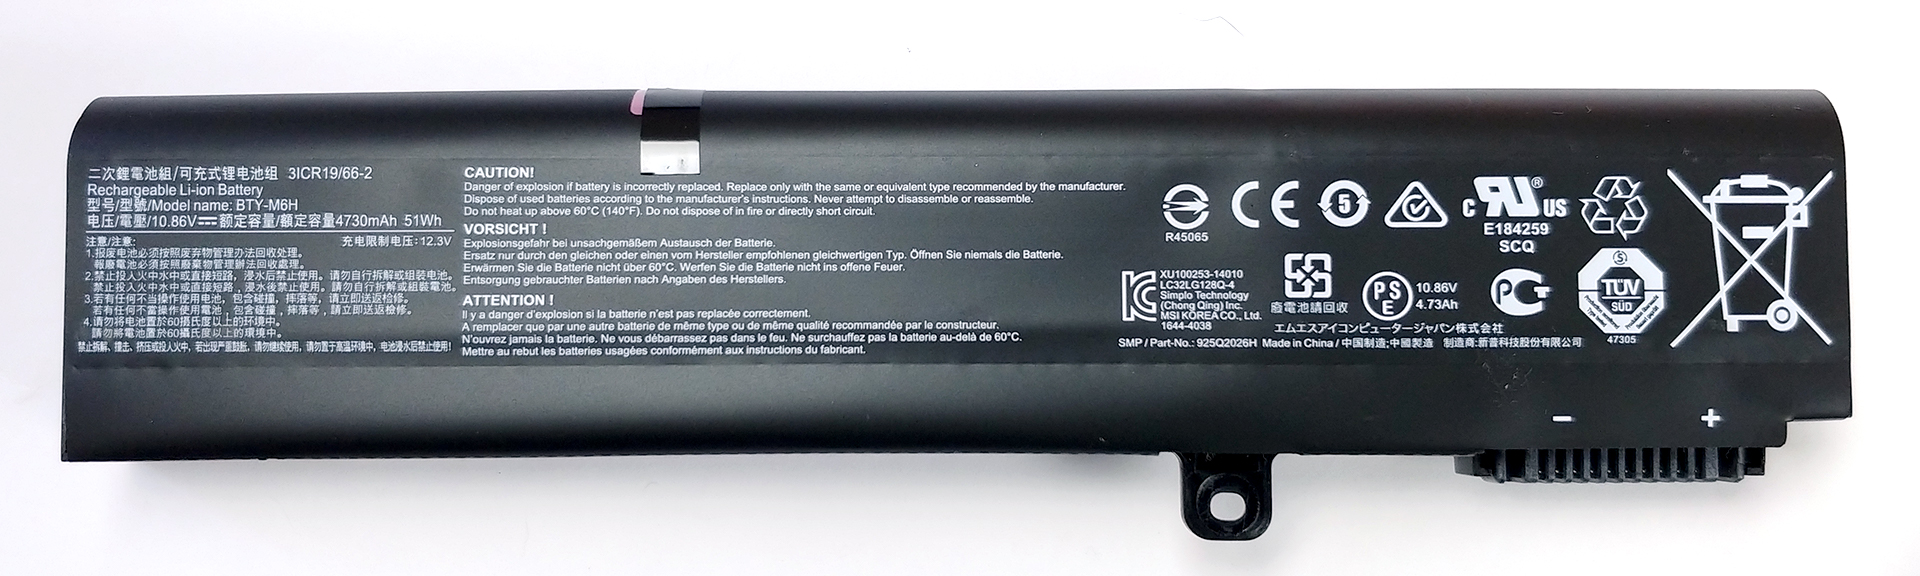
2. Battery
Last, but not least, there is the 51Wh battery pack. It is easy to remove, but sadly it looks too small for a laptop of this caliber.
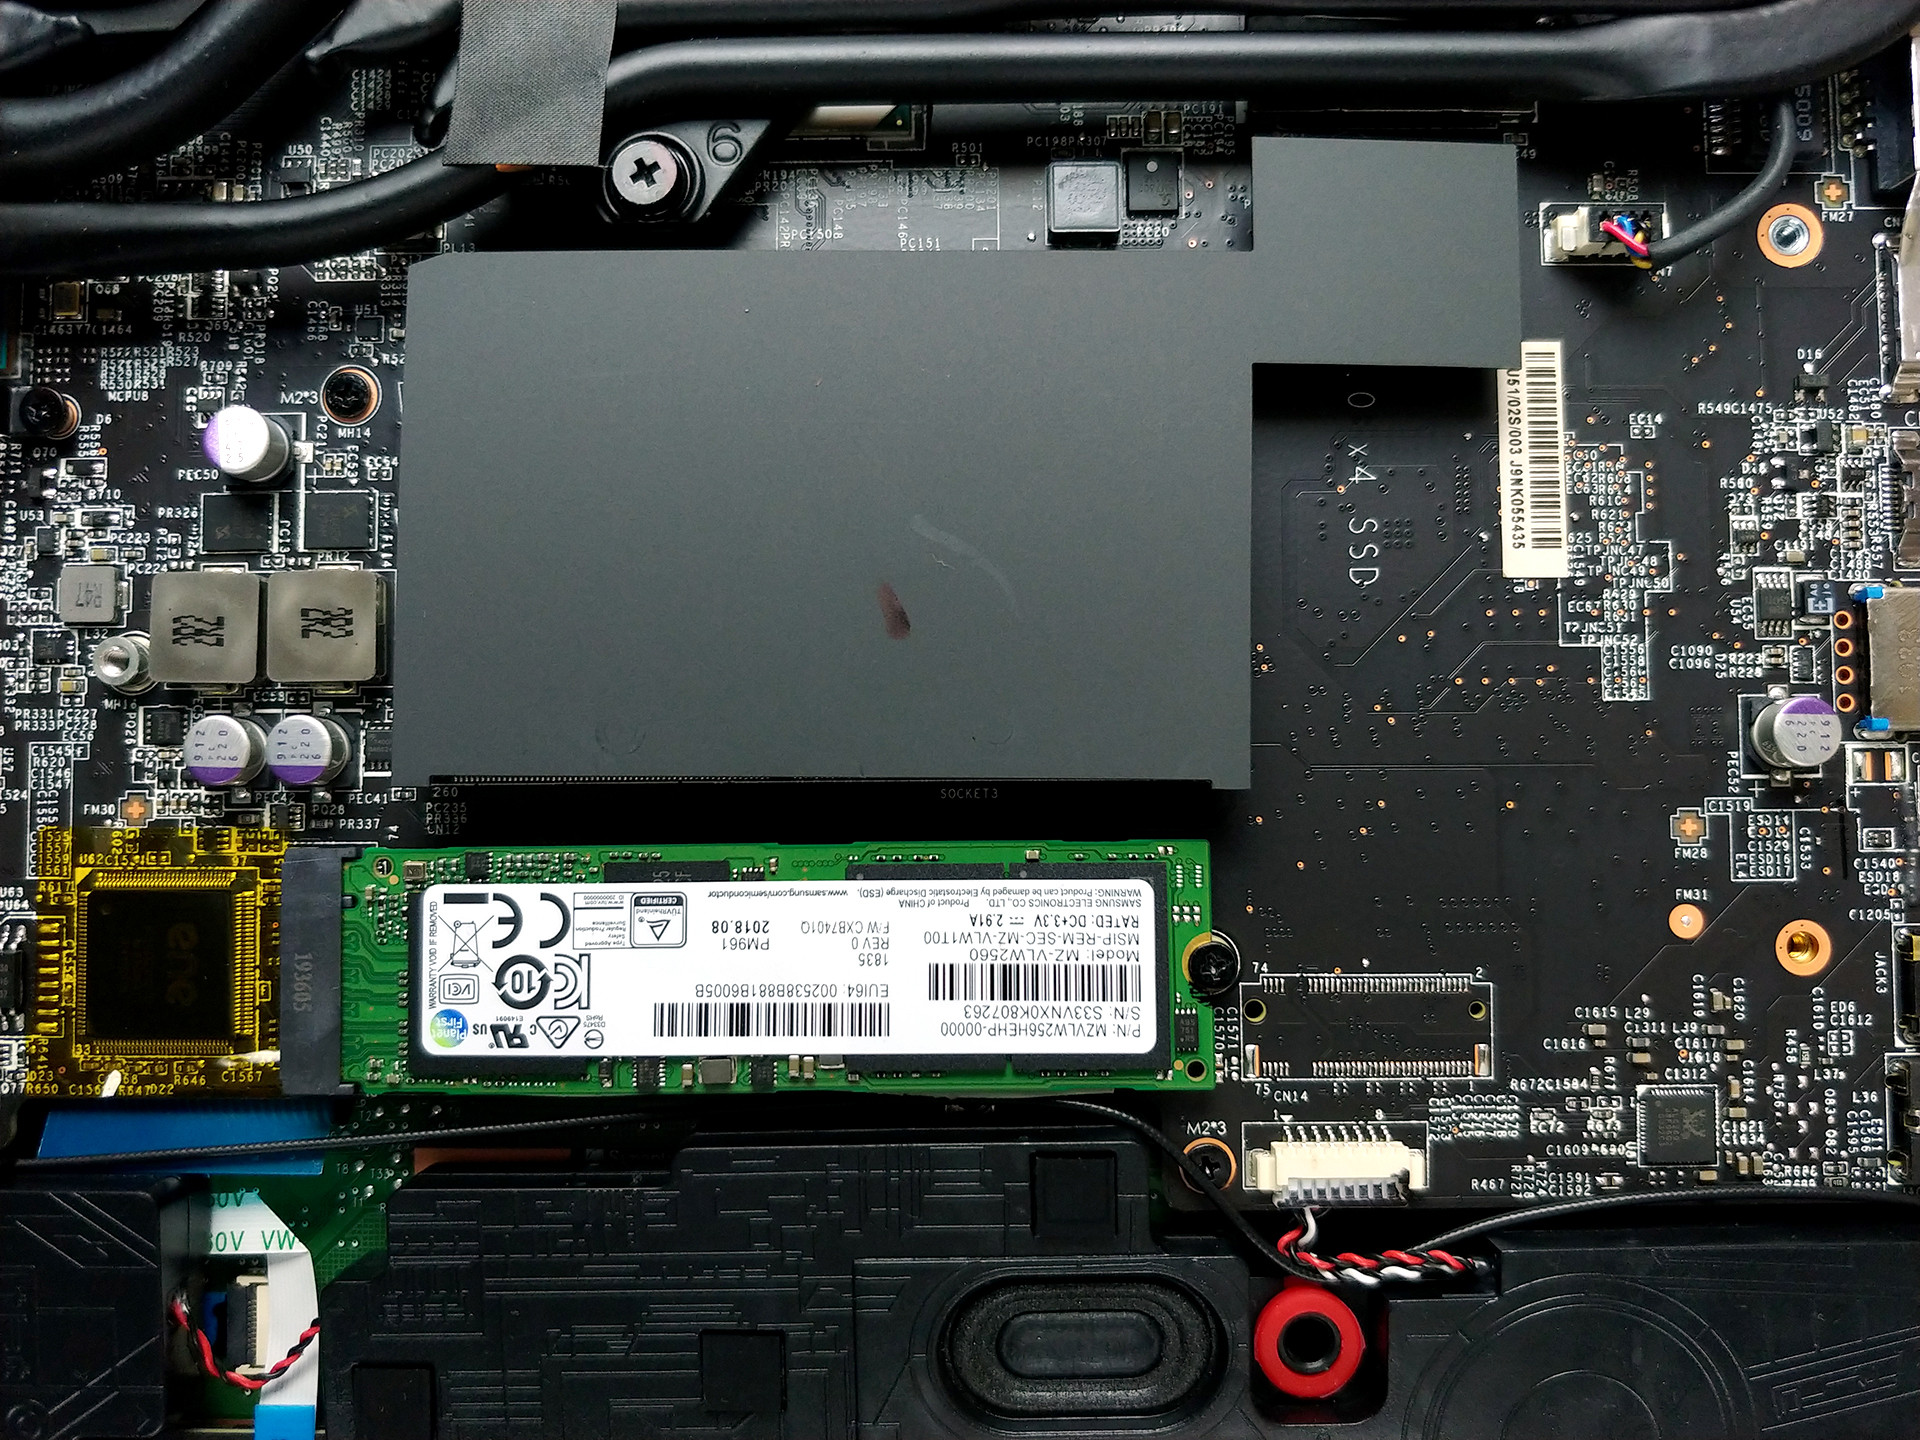
3. Memory and storage
In terms of upgradability, there are two RAM SODIMM slots, stacked above each other, and they support up to 64GB of DDR4 memory. Storage-wise, you can put an M.2 PCIe/SATA drive, while the big gap on the left is reserved to the 2.5″ SATA drive.

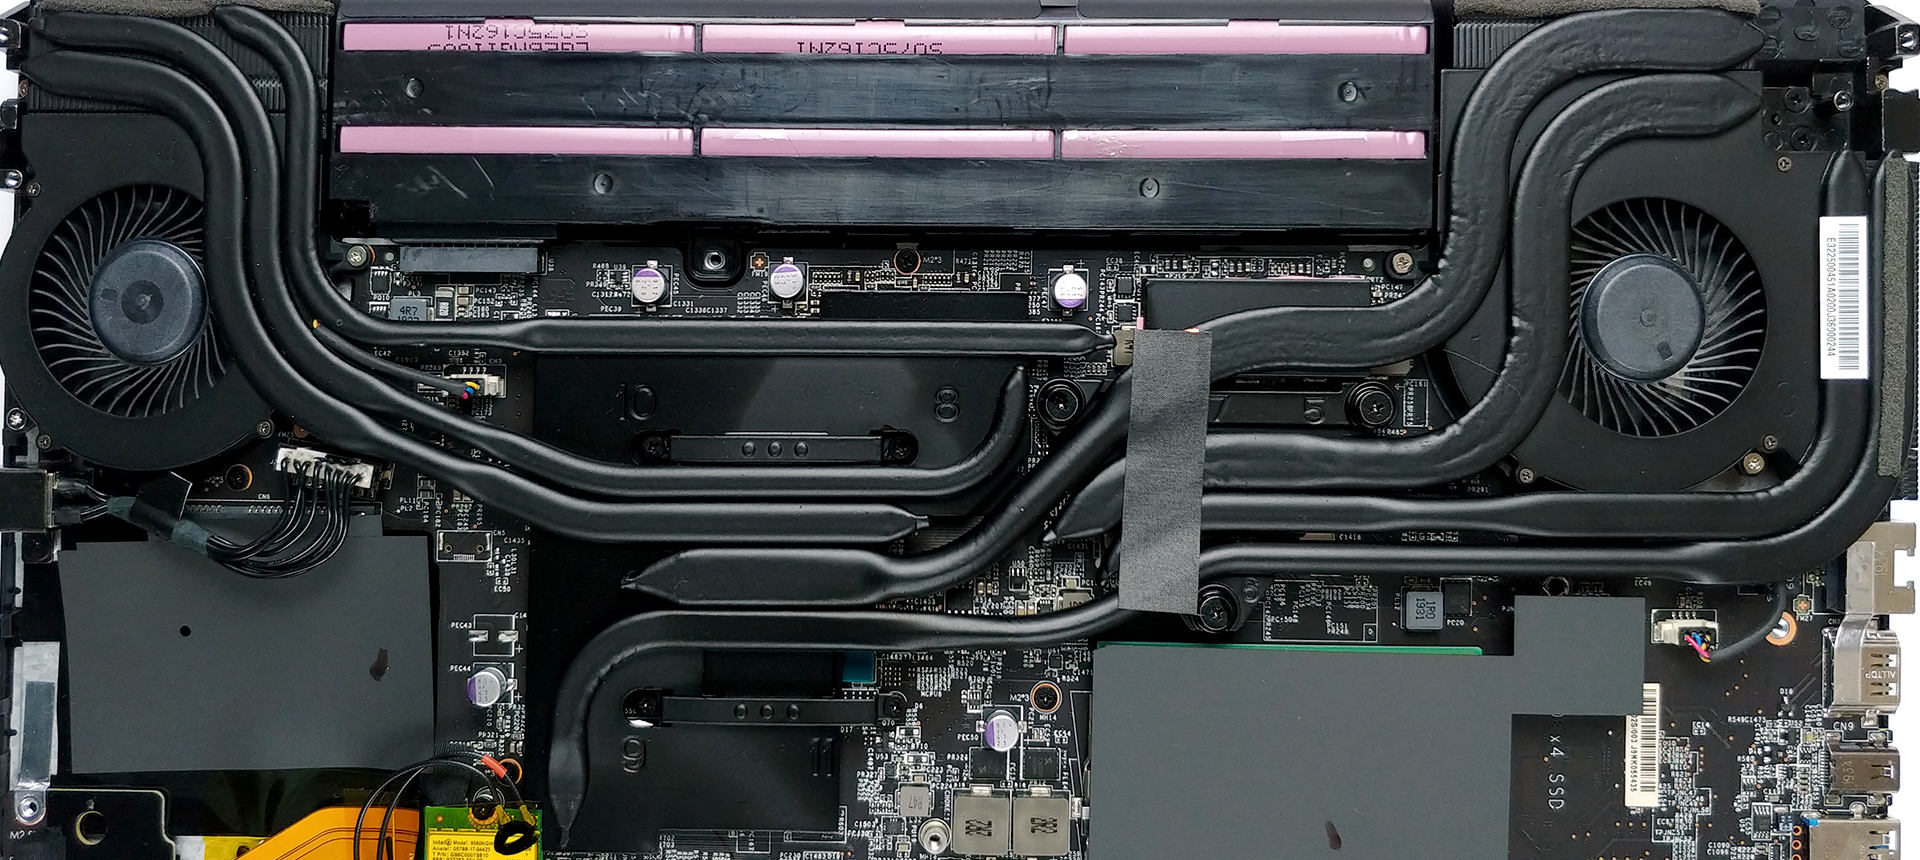
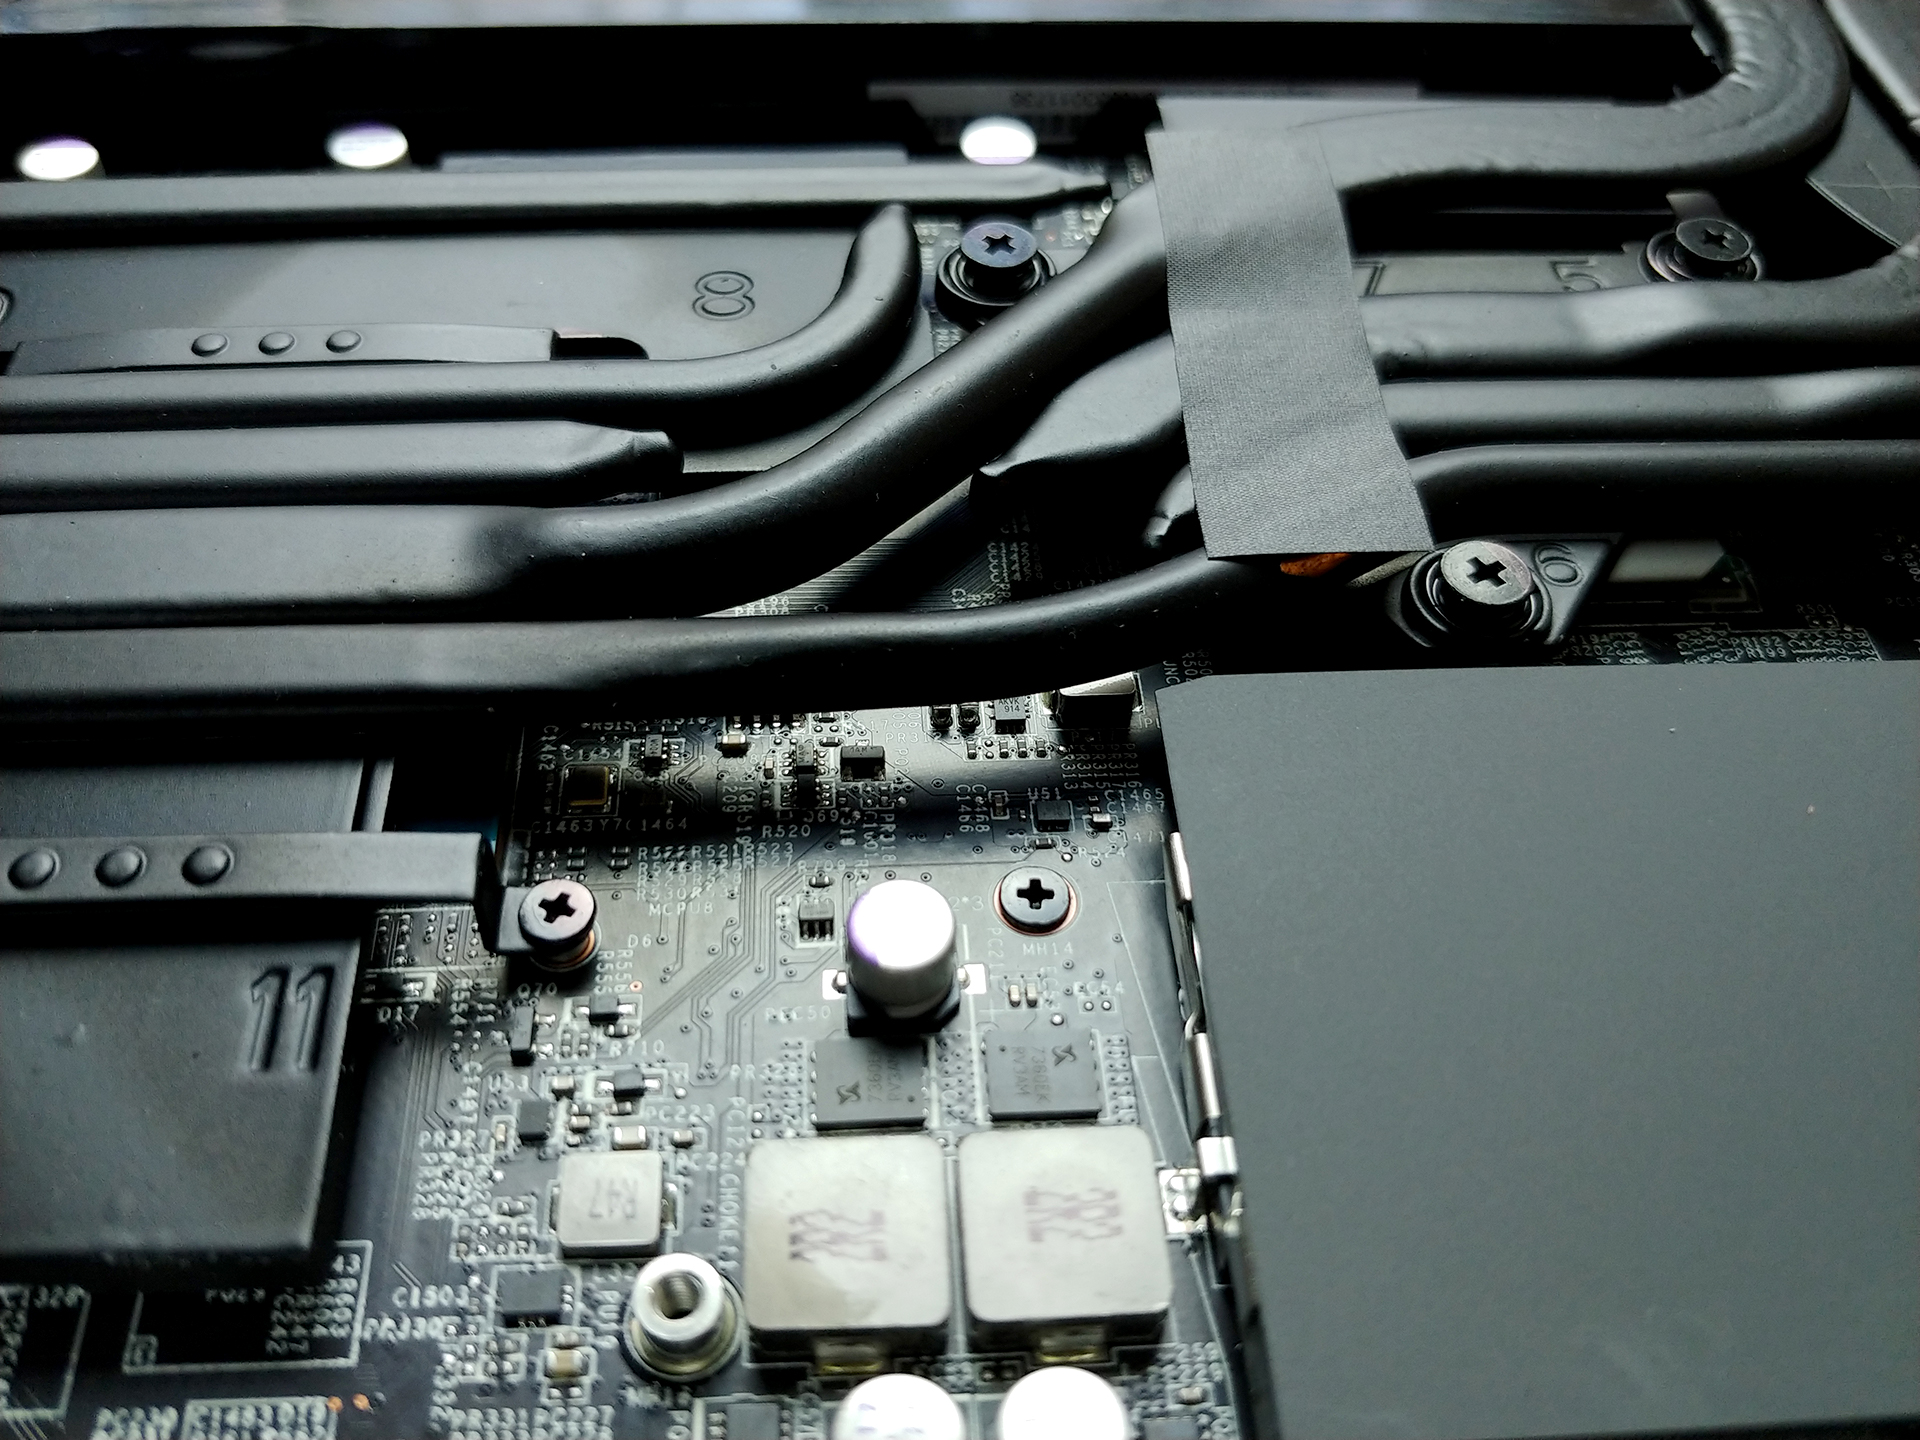
4. Cooling system
Inside, you’ll see 7 heat pipes, which despite looking thin, are quite beefy. So, four of them are cooling the GPU and its VRM modules and memory. Of them, one is cooling the CPU voltage regulators, while two others are cooling down, the CPU, itself. Interestingly, though, the heat sinks look quite narrow (although they are almost as thick as the laptop, itself. We’ll see how they manage the thermals of the device in the Temperature section of the review.
Check out all MSI GL65 9SE prices and configurations in our Specs System or read more in our In-Depth review.