Inside Acer Aspire 7 (A715-73G) – disassembly and upgrade options
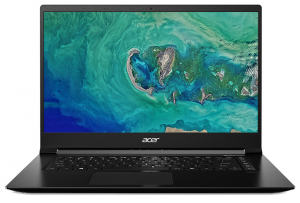
Happy New Year, guys. This is the Acer Aspire 7 (A715-73G) and it is basically a budget version of the ConceptD 5 (CN515-51). Apart from the dark paint, this laptop is an exact copy of the latter (or the other way around).
Check out all Acer Aspire 7 (A715-73G) prices and configurations in our Specs System or read more in our In-Depth review.
1. Remove the bottom plate
Like most of 2019’s laptops, this one requires the removal of the entire bottom panel to get inside of it. This, of course, happens without a lot of effort. You just need to take away 11 Torx-head screws and pop the bottom panel with a plastic tool.
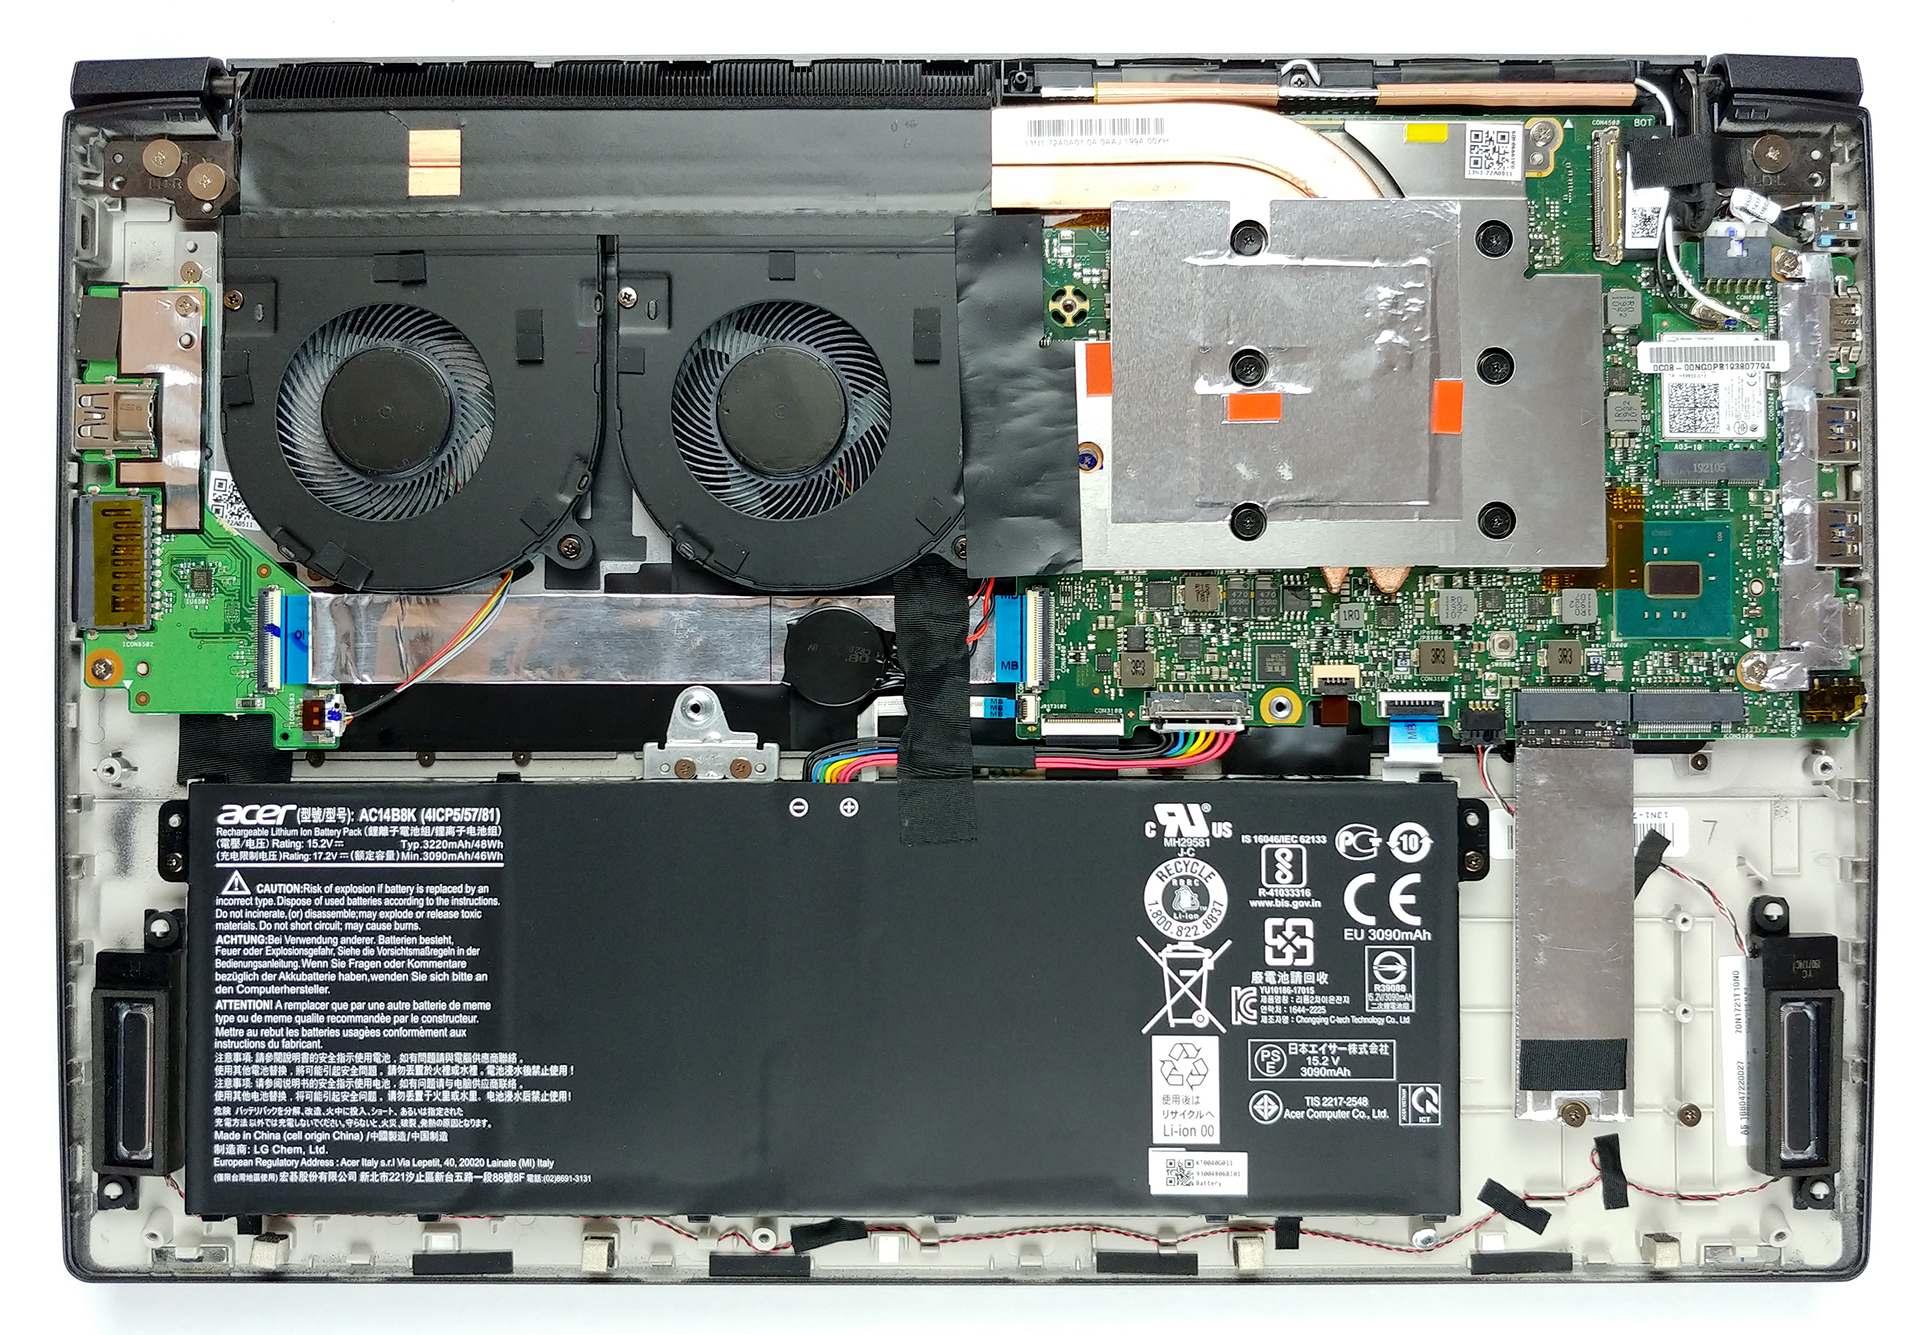
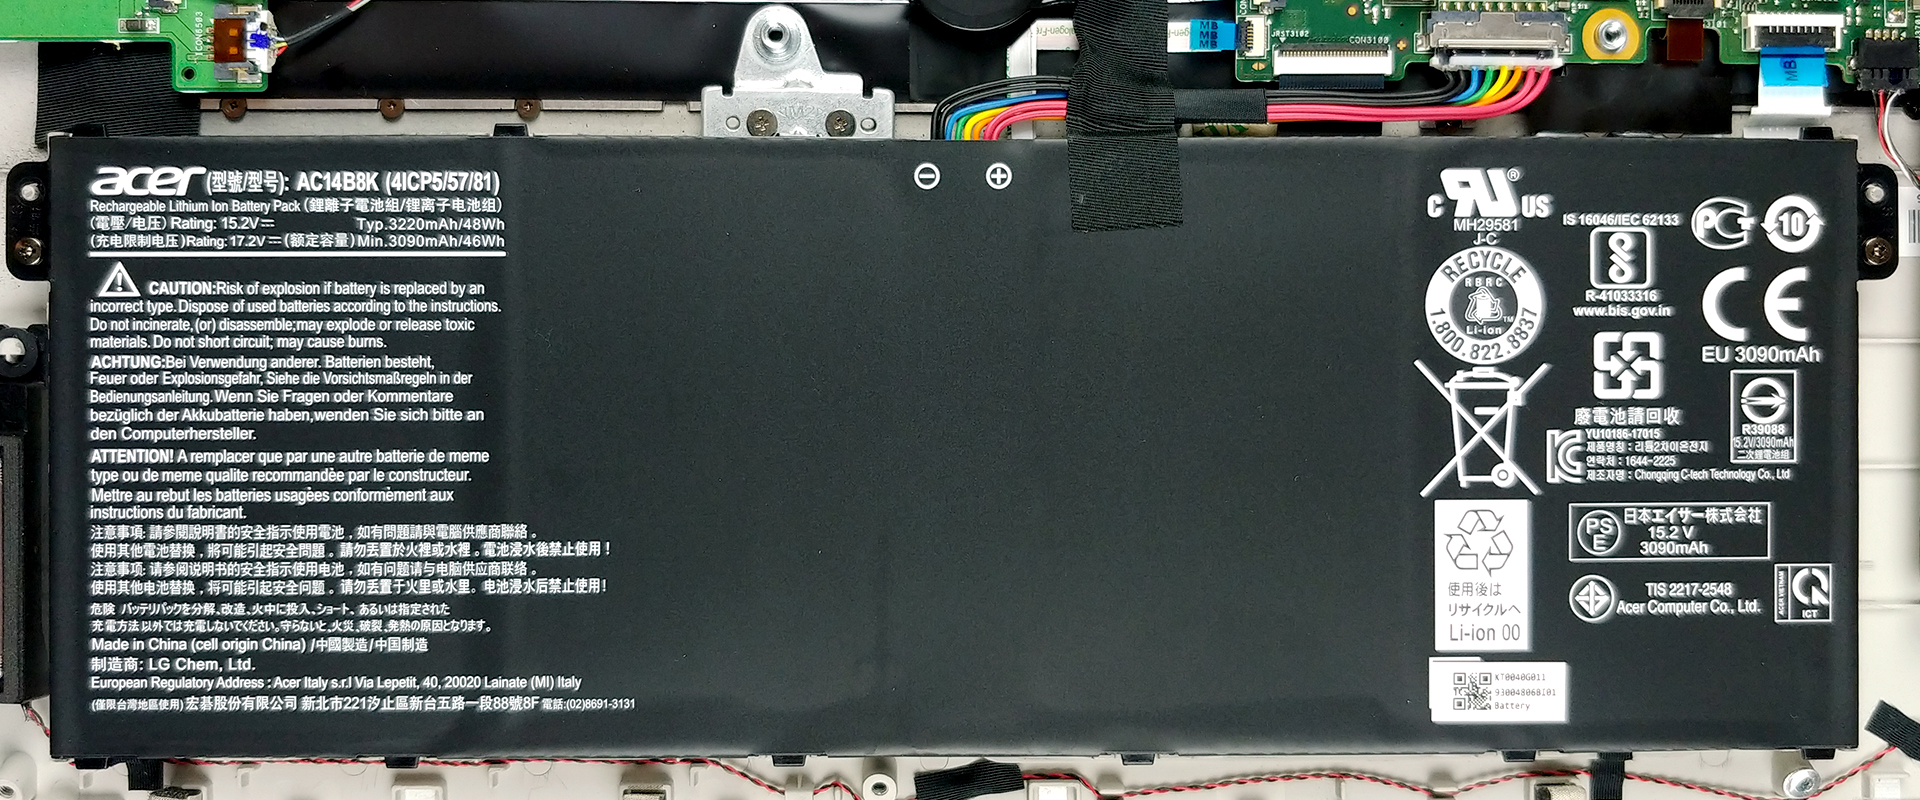
2. Battery
There are two screws holding the 48Wh battery in place. Before you proceed, make sure you unplug the connector from the motherboard.
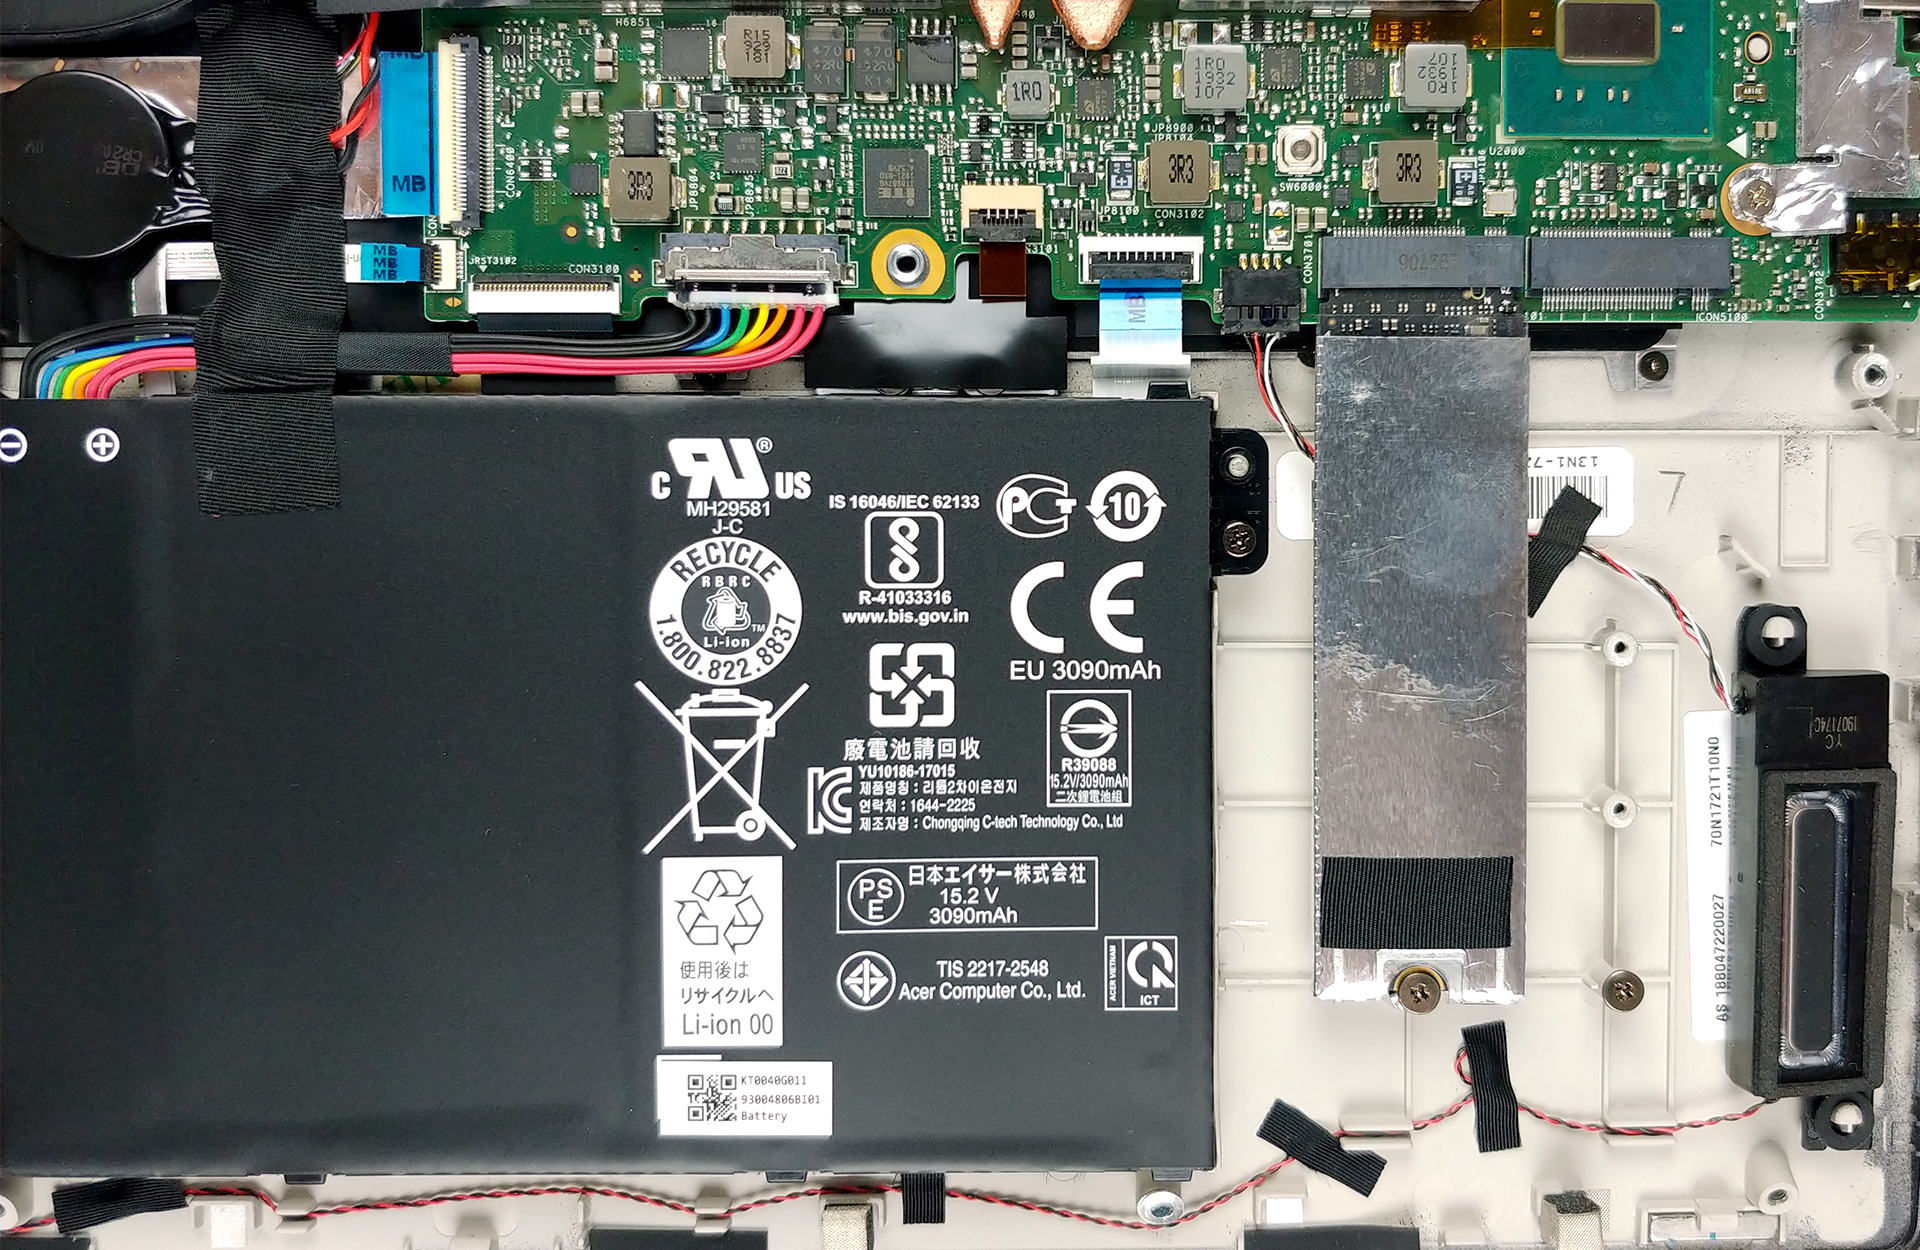
3. Memory and storage
In terms of upgradability, the Aspire 7 (A715-73G) is a little disappointing. All of its memory is soldered to the motherboard and there aren’t any RAM DIMMs, whatsoever. On the bright side, there are two M.2 slots that support NVMe drives.
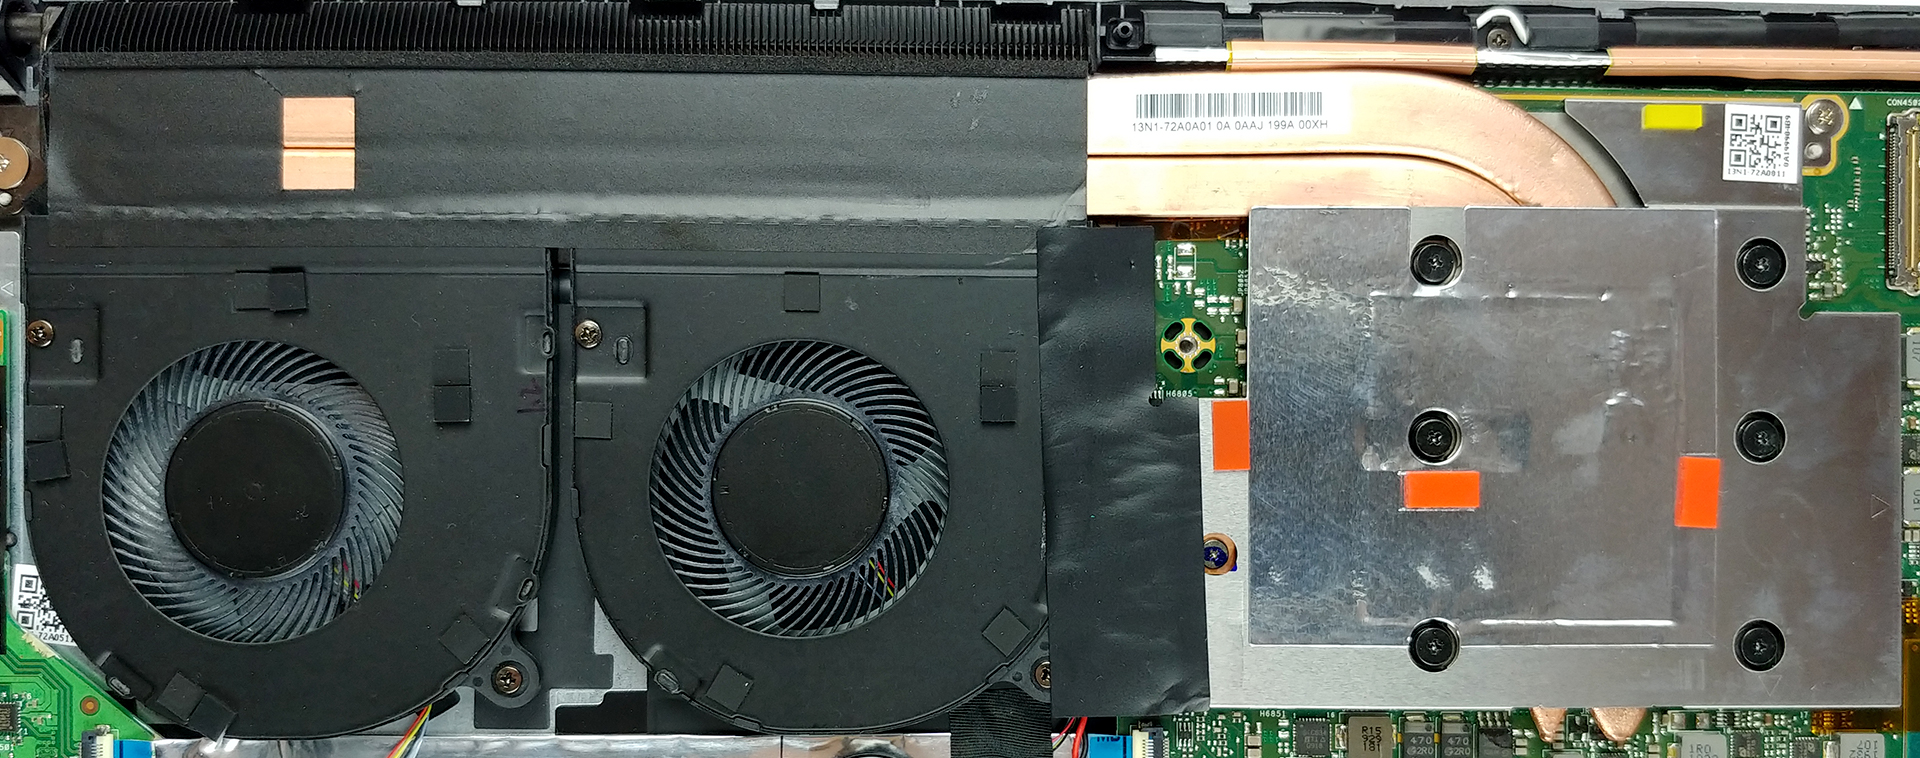
4. Cooling system
Since the notebook features a high-power processor and GPU, it needs a sufficient cooling solution. It features two heat pipes and two relatively big fans that blow the heat away from the laptop.
Check out all Acer Aspire 7 (A715-73G) prices and configurations in our Specs System or read more in our In-Depth review.


![[Juni 2026] Die meistverkauften Laptop-Marken bei Amazon Global – Apples unangefochtene Dominanz bei Absatzzahlen und Umsatz](https://laptopmedia.com/wp-content/uploads/2026/07/GLOBAL-Best-Brands-400x225.jpg)
![[Juni 2026] Amazon Global: Die 10 meistverkauften Laptops – Apples neues MacBook Neo stürmt auf Platz 1 und verändert den Markt durch seinen günstigen Preis](https://laptopmedia.com/wp-content/uploads/2026/07/Best-Selling-Laptops-GLOBAL-Top-10-400x225.jpg)
![[Juni 2026] Amazon Global: Die 10 meistverkauften Gaming-Laptops – Acers Nitro V 16S AI dominiert die Verkaufszahlen, während ASUS beim Gesamtumsatz die Nase vorn hat](https://laptopmedia.com/wp-content/uploads/2026/07/Best-Selling-Gaming-Laptops-GLOBAL-Top-10-400x225.jpg)
![[Juni 2026] Weltweite Rangliste der meistverkauften Laptop-Grafikkarten bei Amazon – Die NVIDIA RTX 5060 ist die meistverkaufte dedizierte Grafikkarte](https://laptopmedia.com/wp-content/uploads/2026/07/Best-Selling-GPUs-GLOBAL-Top-10-400x225.jpg)
![[Juni 2026] Weltweite Rangliste der meistverkauften Laptop-CPUs bei Amazon – Apple M5 dominiert, AMD Ryzen 7 260 erobert soliden Marktanteil im Premium-Segment](https://laptopmedia.com/wp-content/uploads/2026/07/Best-Selling-CPUs-GLOBAL-Top-10-400x225.jpg)
