Inside ASUS ROG G752VS – disassembly, internal photos and upgrade options
The steps to a full disassembly and upgrade are largely the same as before (on the ASUS ROG G752VT). So this means that upgrading hte RAM and storage is fairly easy but cleaning the fans will be a hassle.
You can find some of the available ASUS ROG G752VS configurations here: http://amzn.to/2eU2Rrs
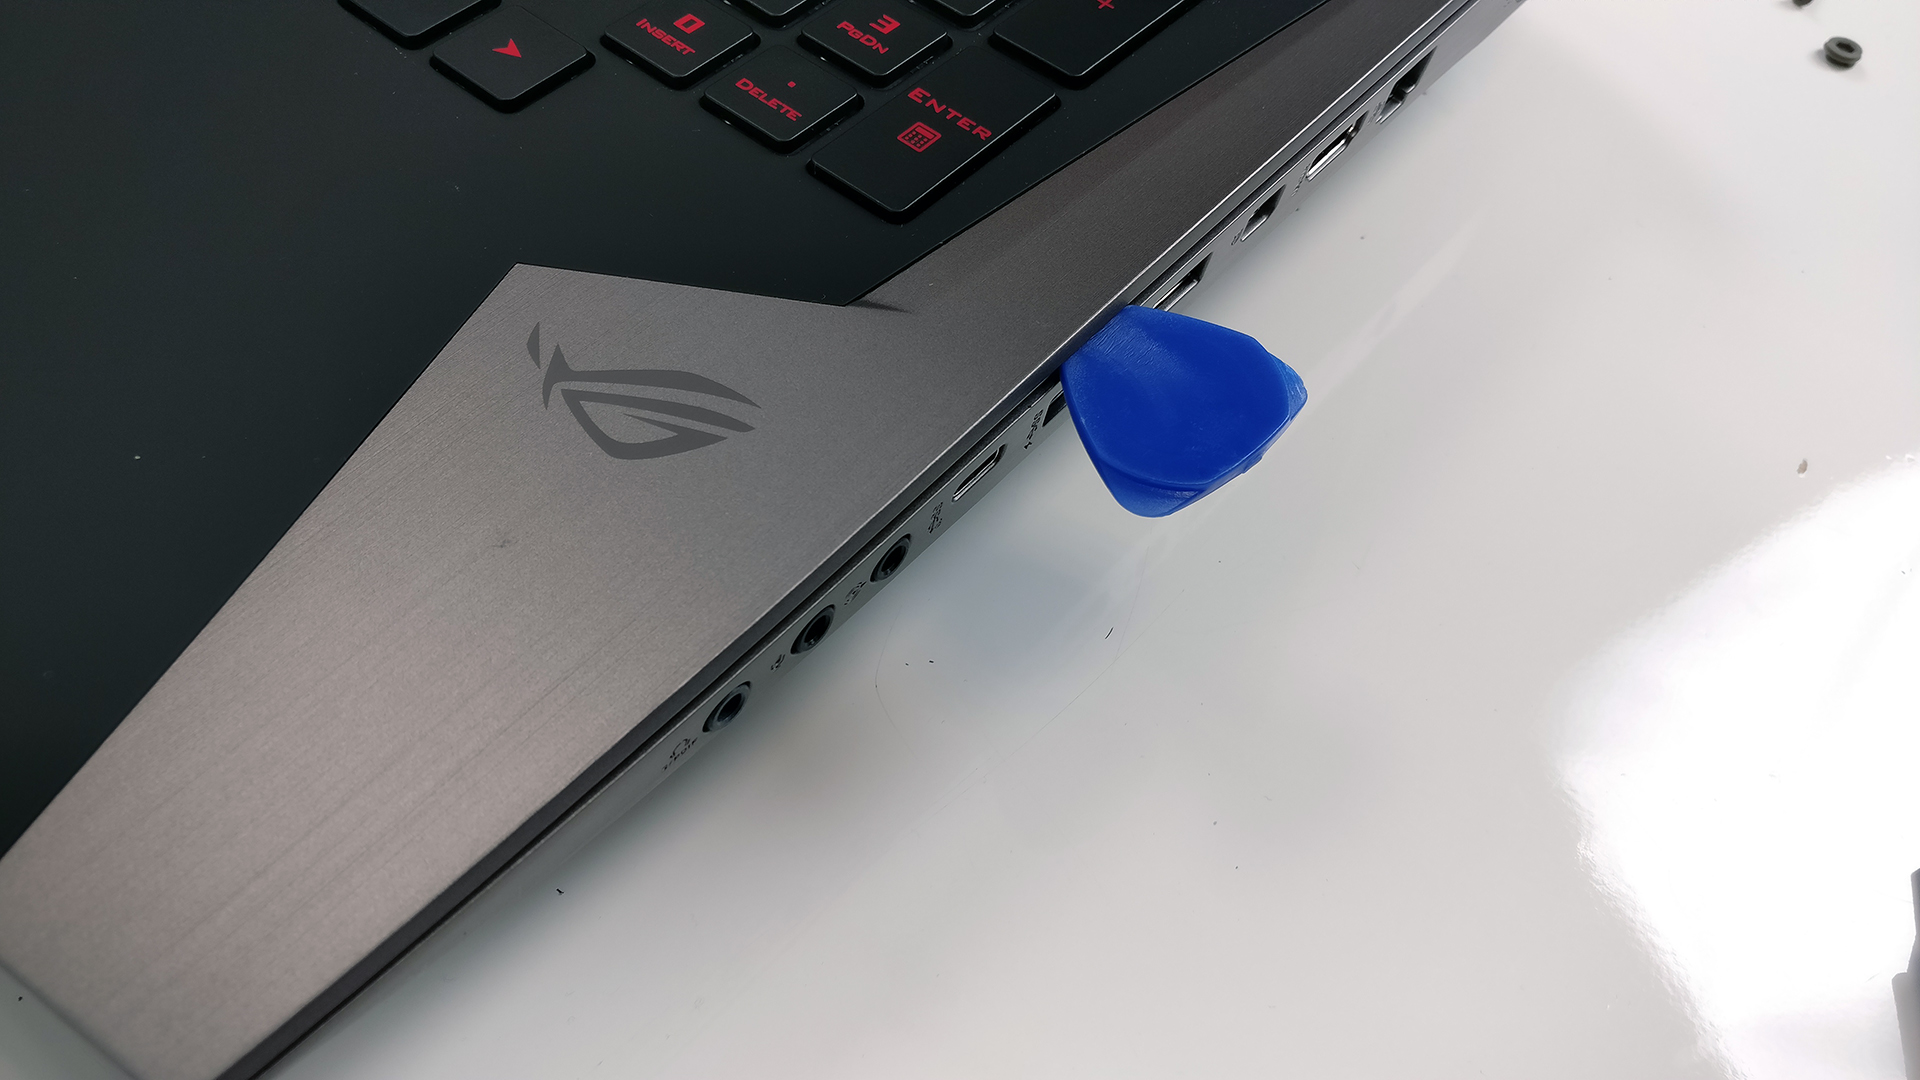
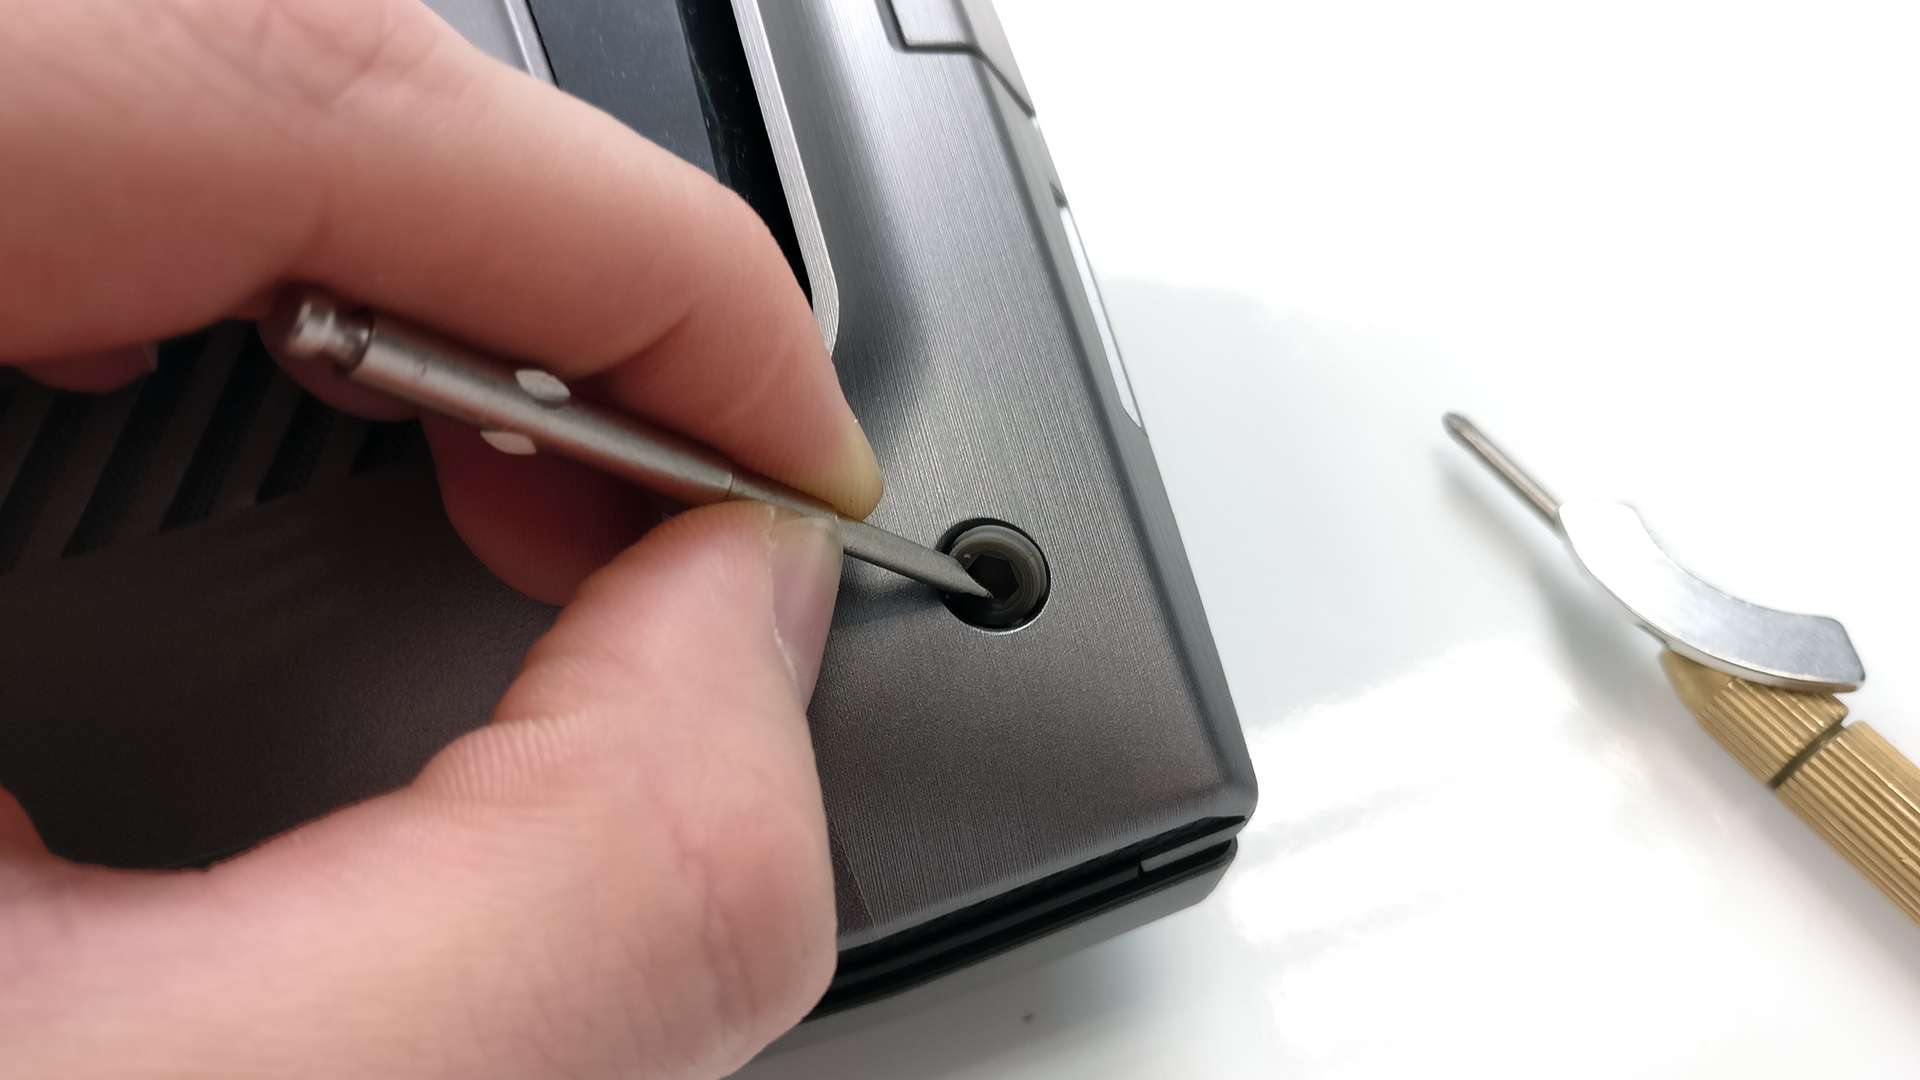
1. Removing the service lid
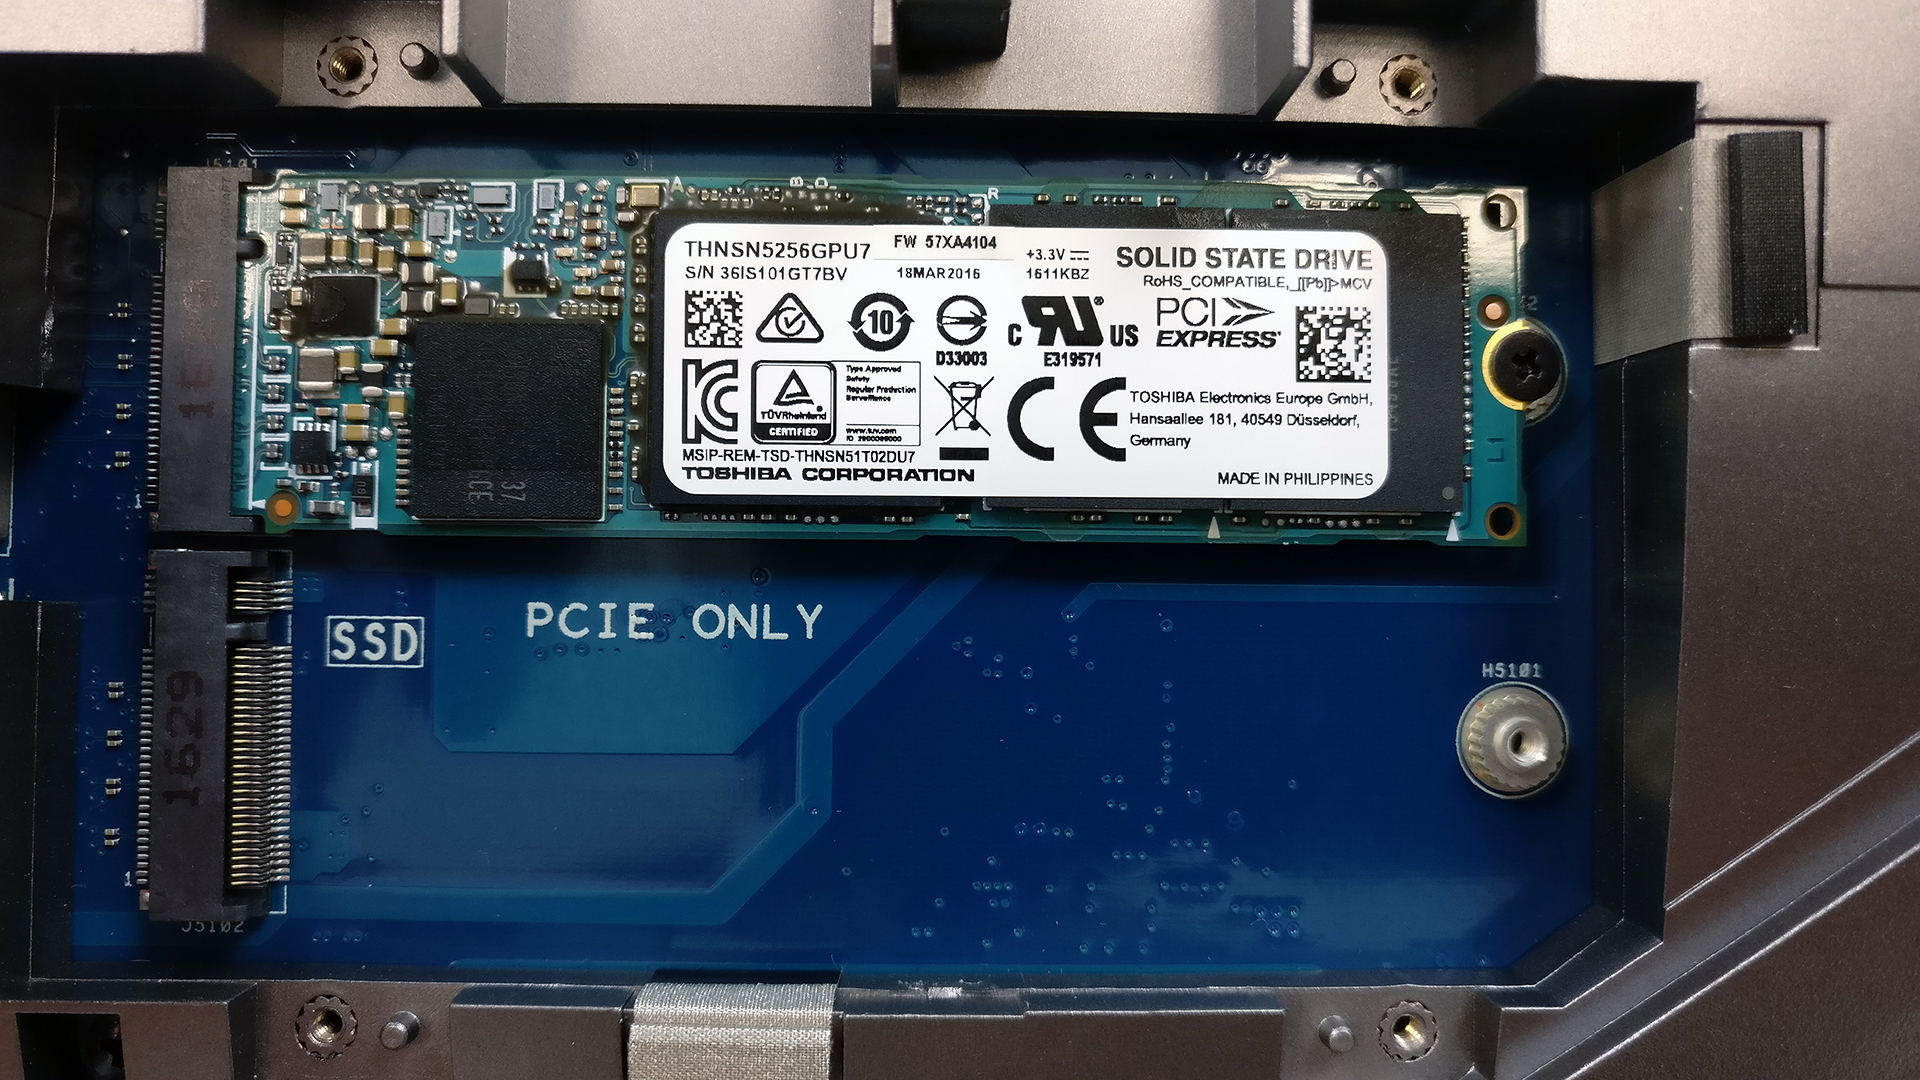
The service lid is held by just one screw hiding beneath a silicone cap. Once you get rid of it, you will see the 2.5-inch drive and a metal plate that keeps the M.2 SSD slots. The 2.5-inch drive is HGST 1TB HDD spinning at 5400 rpm.
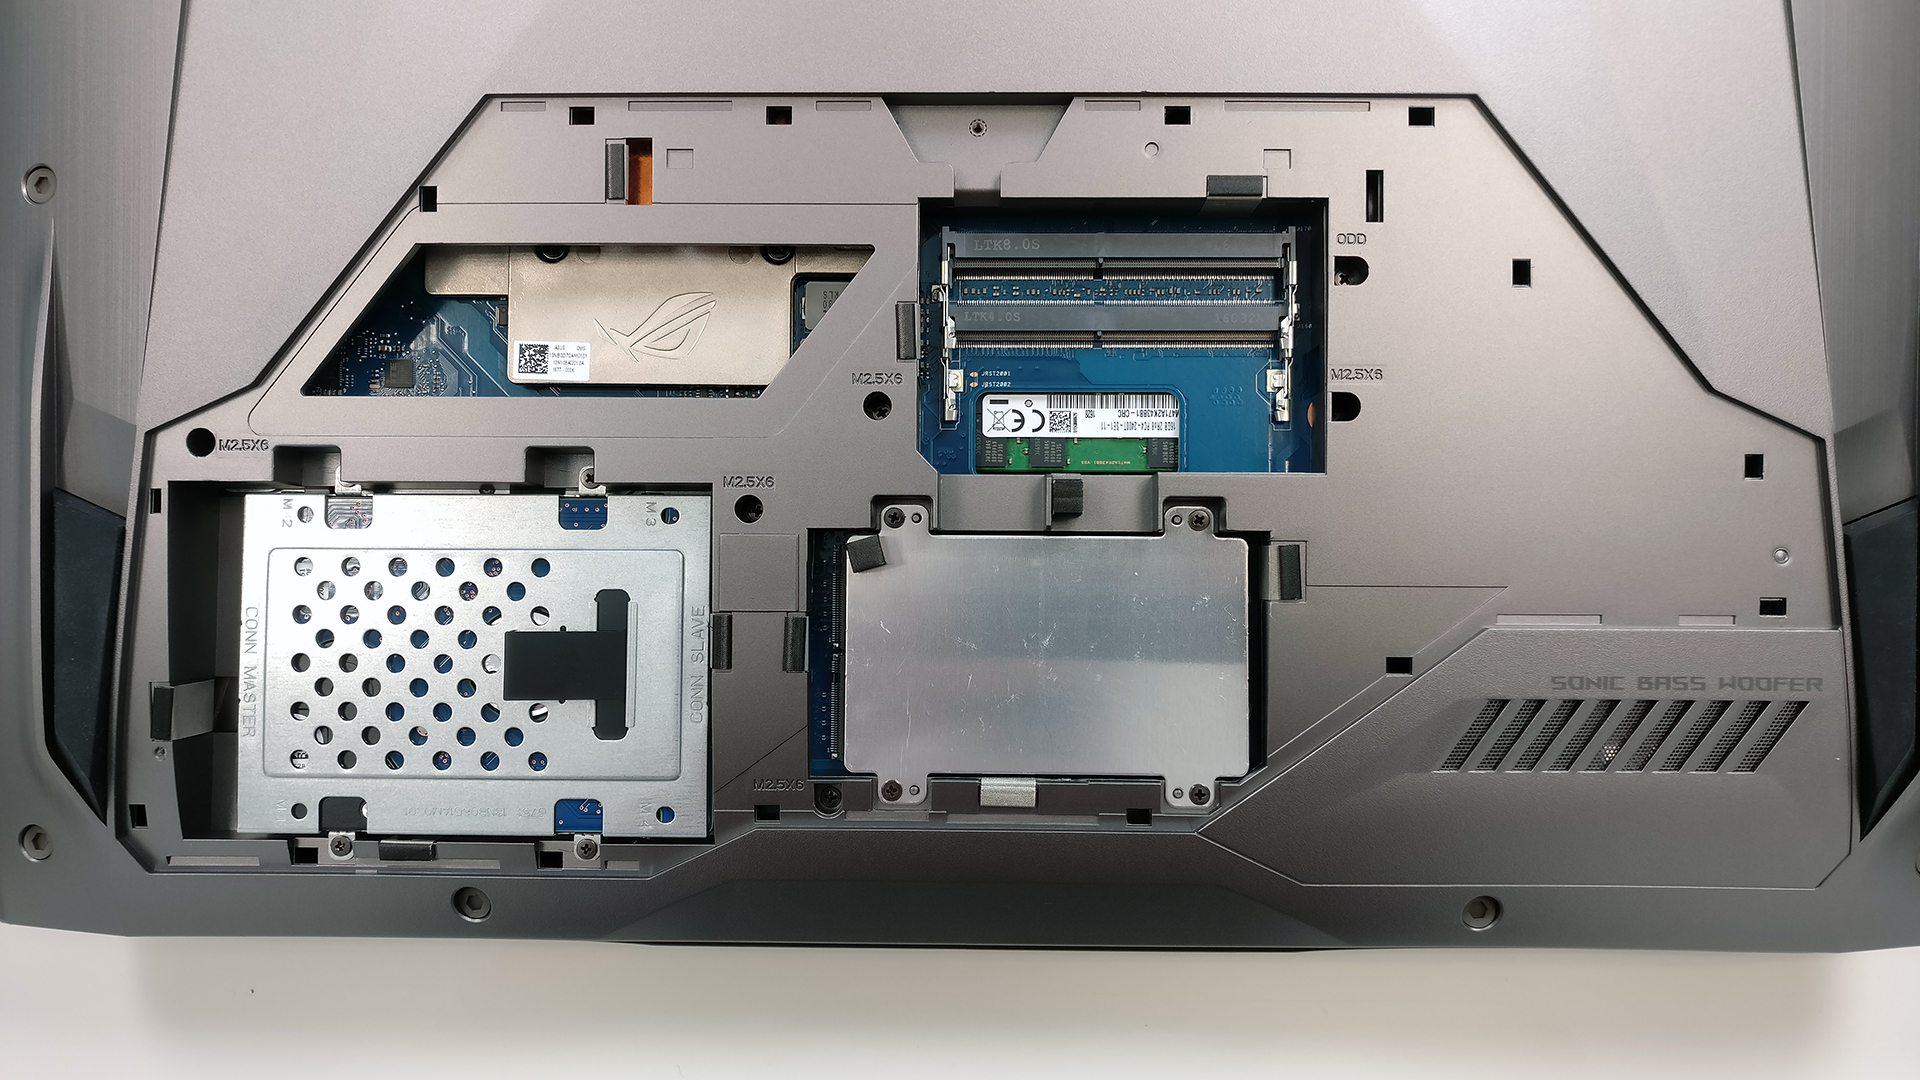

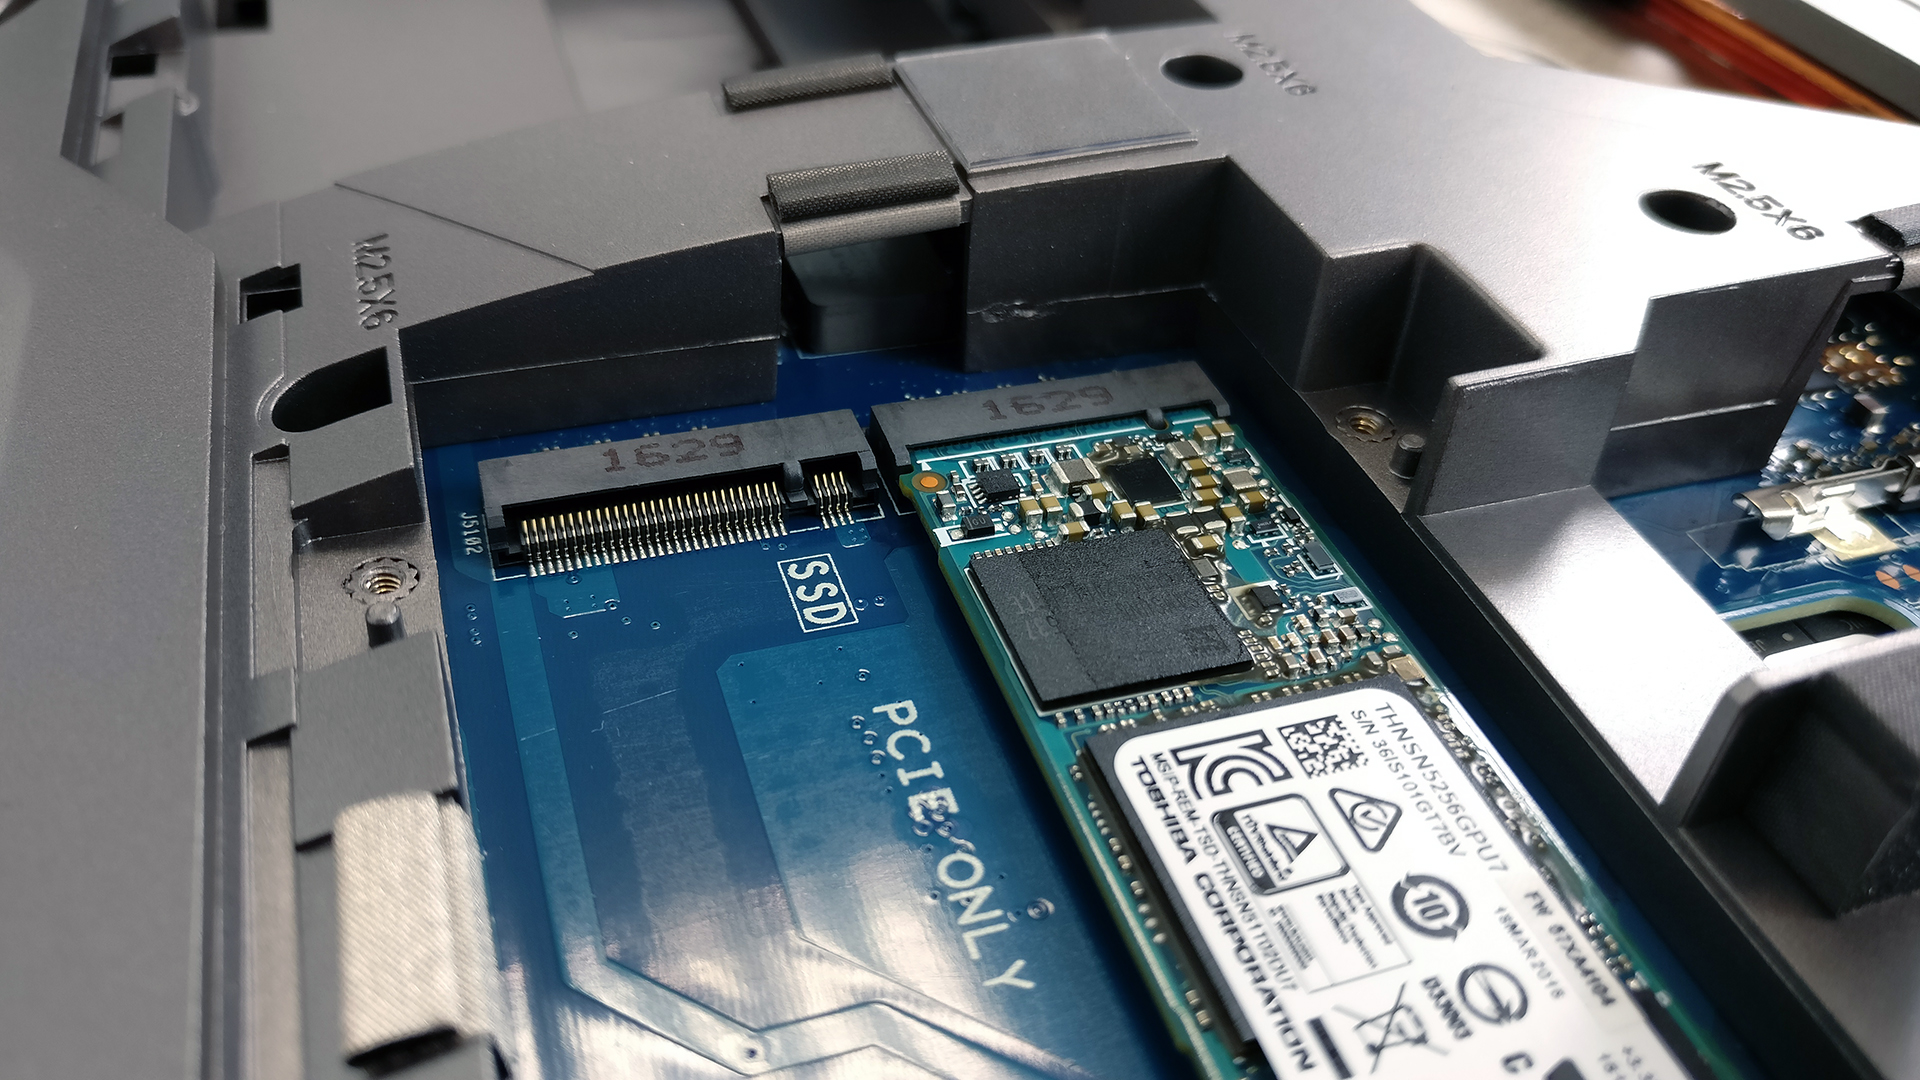
As for the metal plate on the M.2 SSDs, you will find a thermal paste applied on it when you remove it. You can clearly see the two M-edge key connectors supporting 2280 sticks. In our case, one of the slots is taken by a Toshiba THNSN5256GPU7 PCIe NVMe-enabled drive – the same as the one in the Acer Predator 15 and Predator 17.
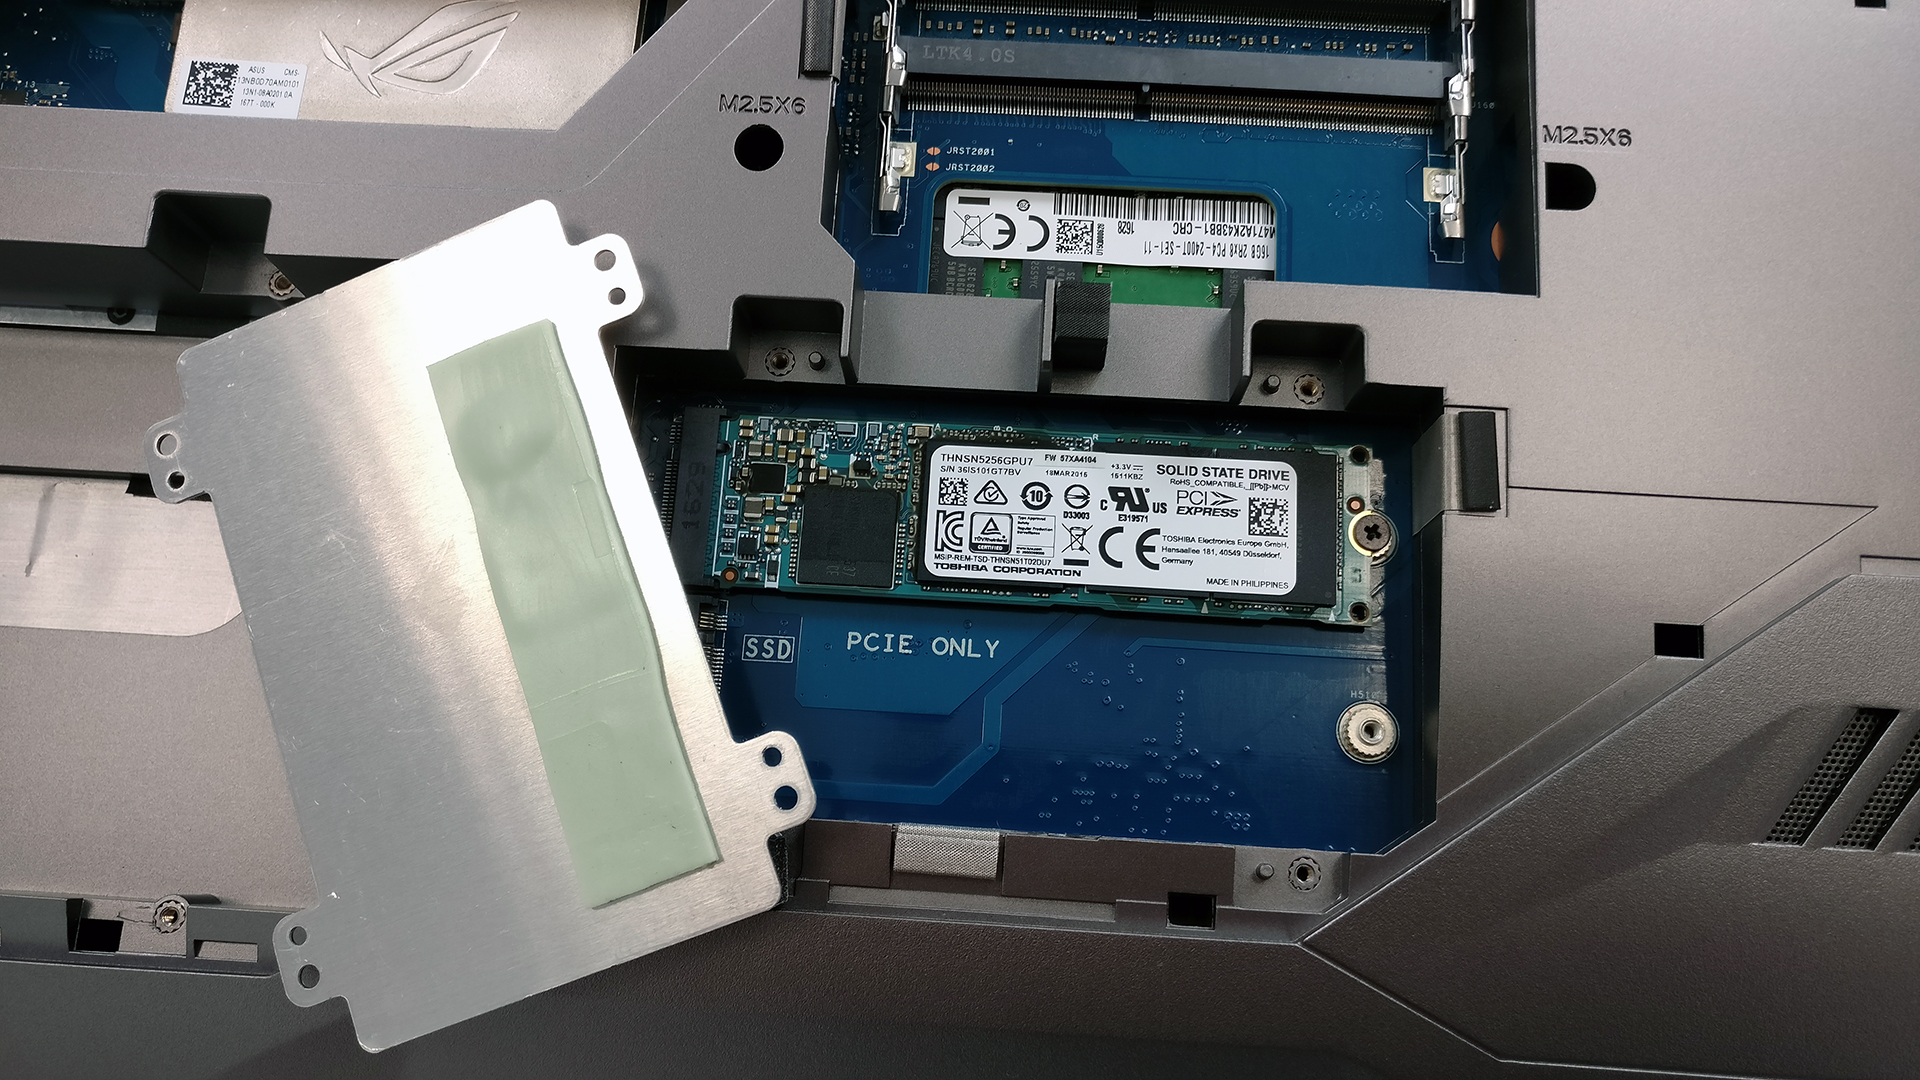
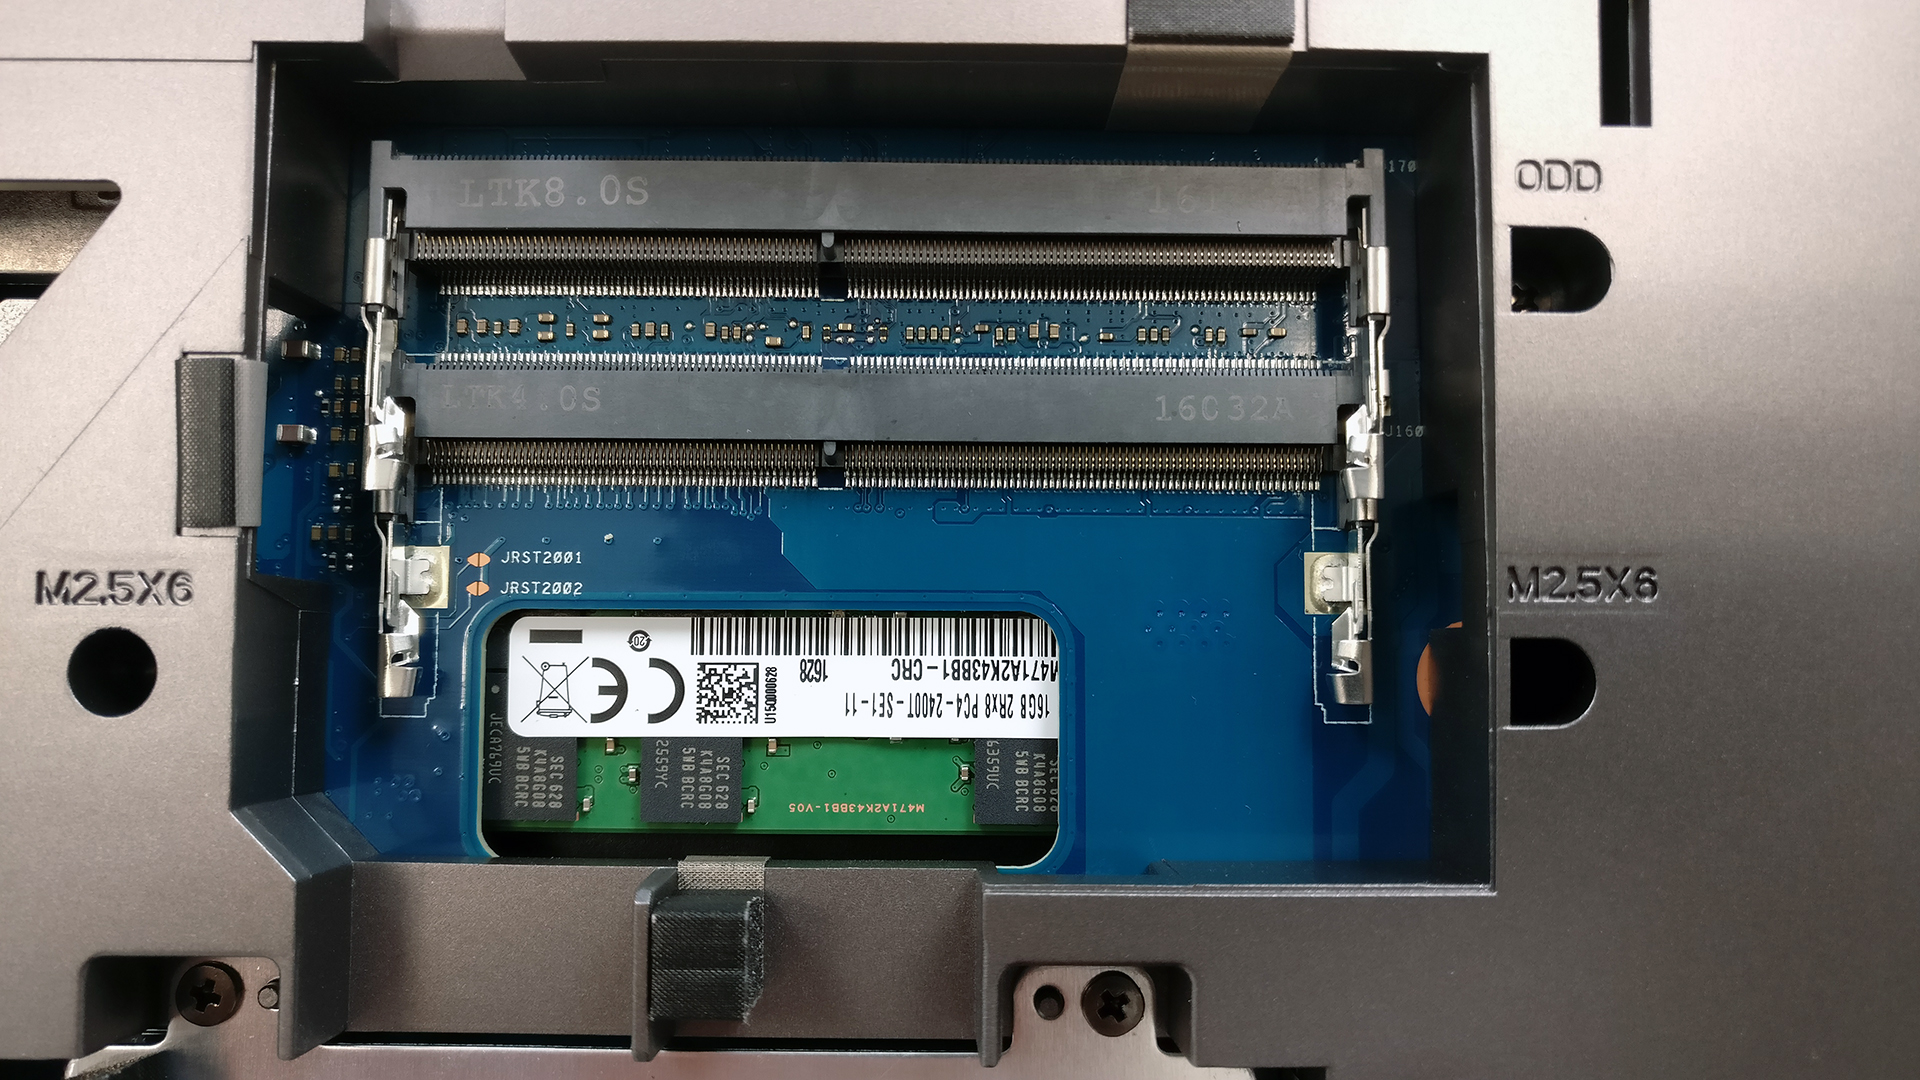
You can also see two out of four RAM slots, which in our case are free for an upgrade.
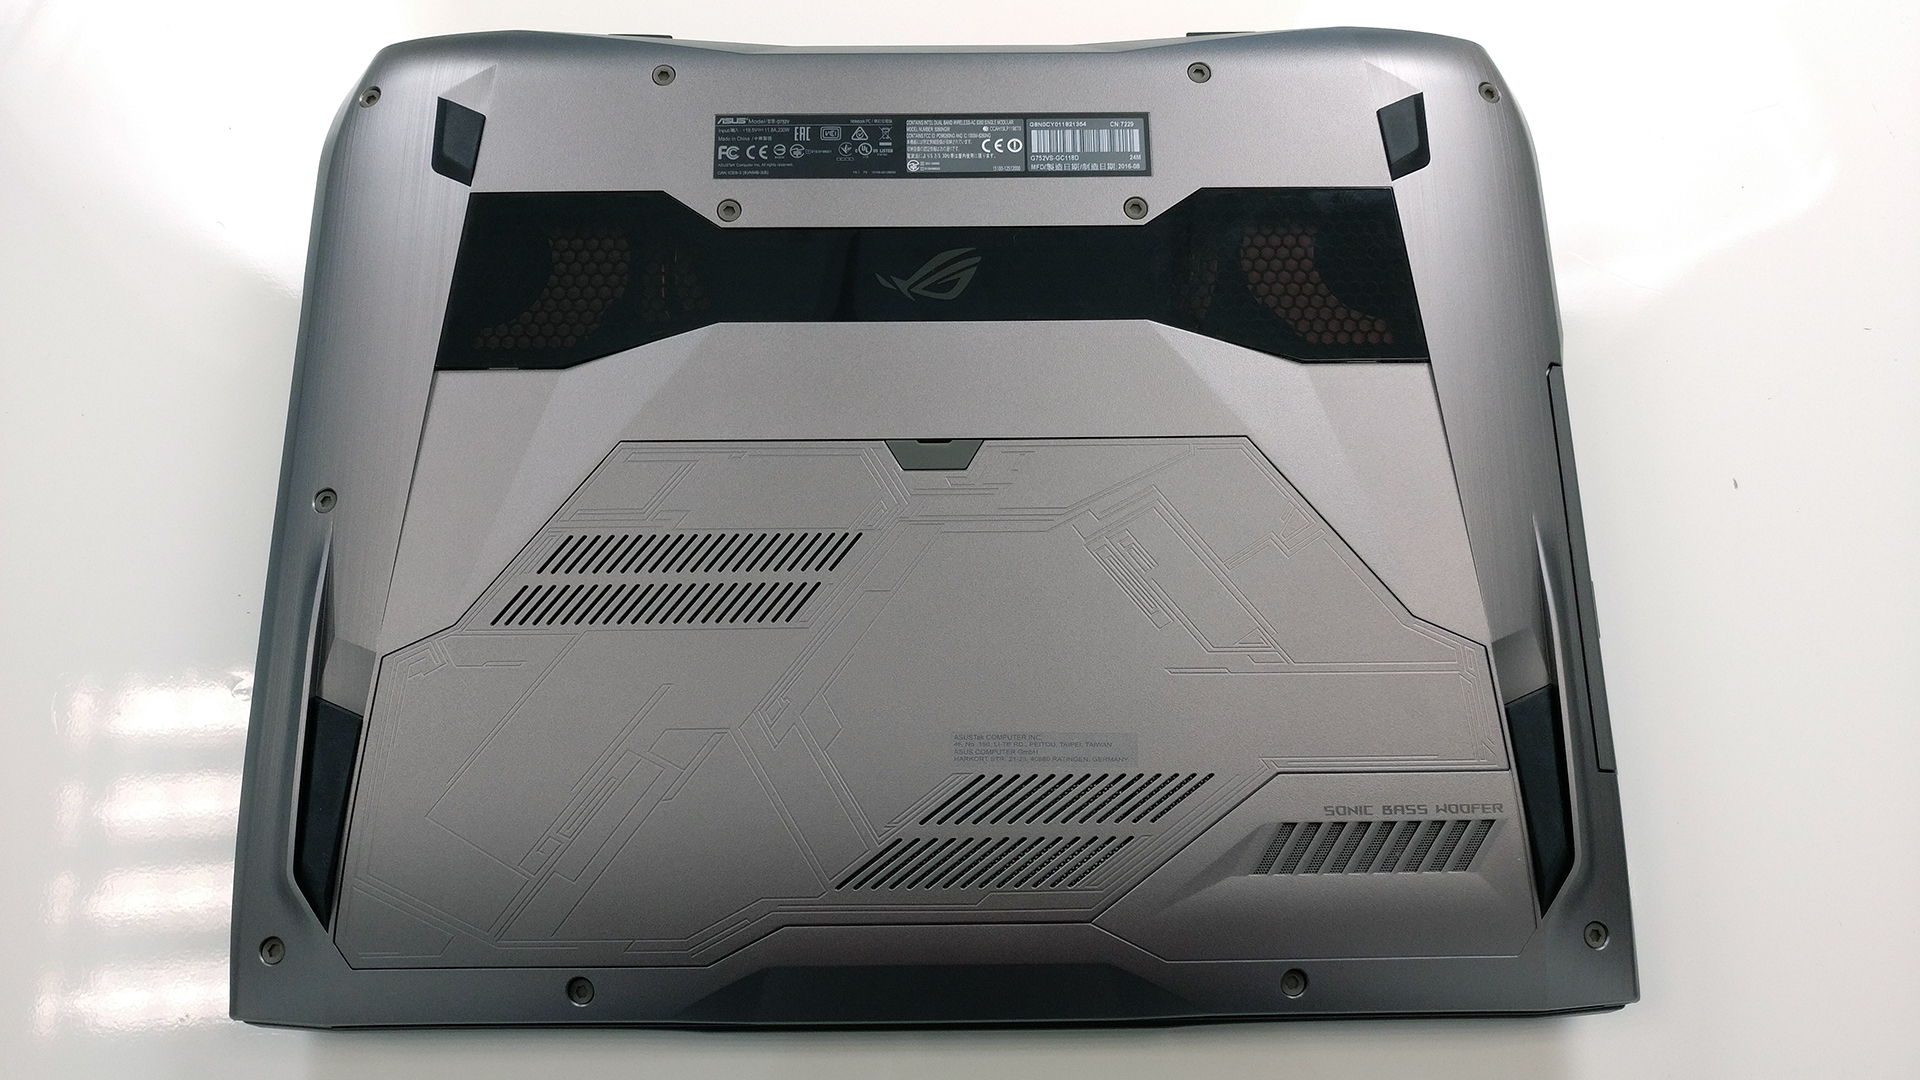
2. Removing the bottom cover
Although fairly easy, you do need to watch out for a few details while performing a full disassembly.
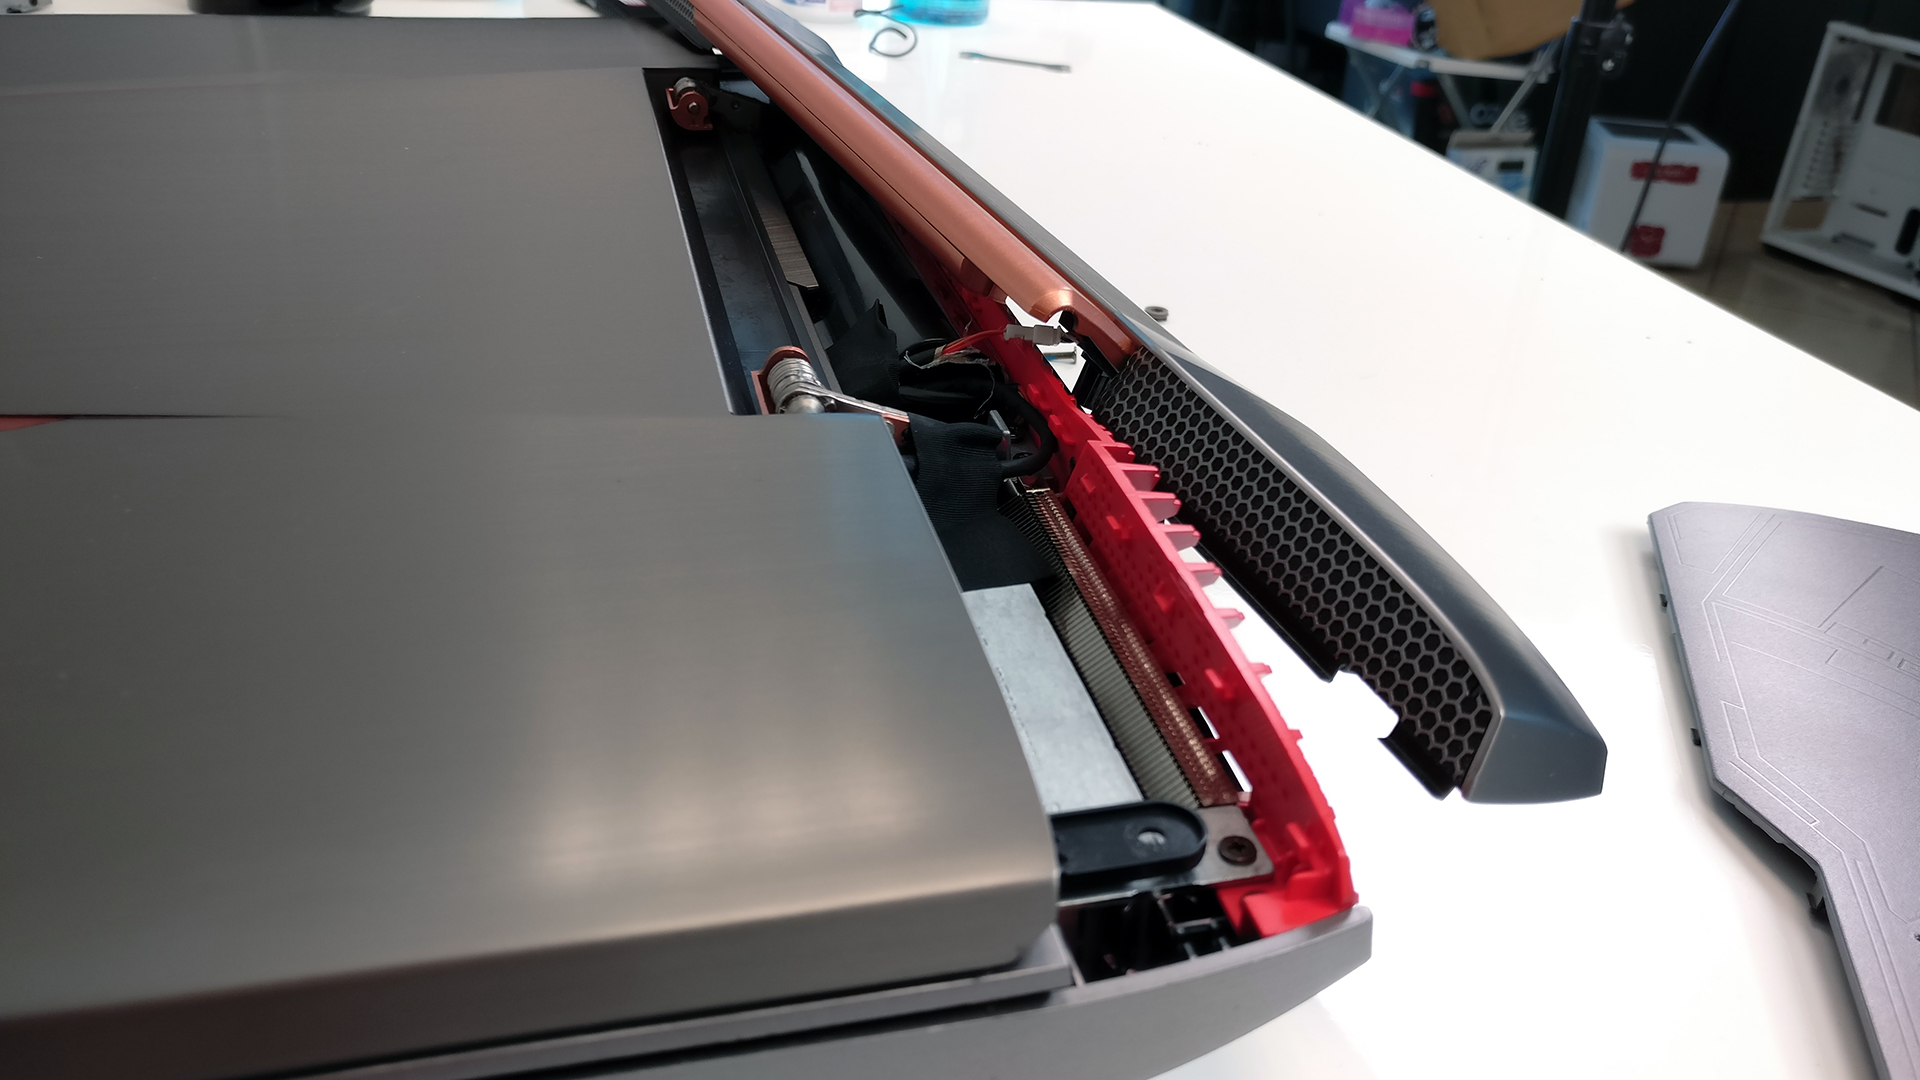
First, we suggest getting rid of the aluminum plate with the copper-colored strip on the back, where the main exhaust vent is located. This will give you access to the hinges, which also need to be removed when accessing the motherboard.

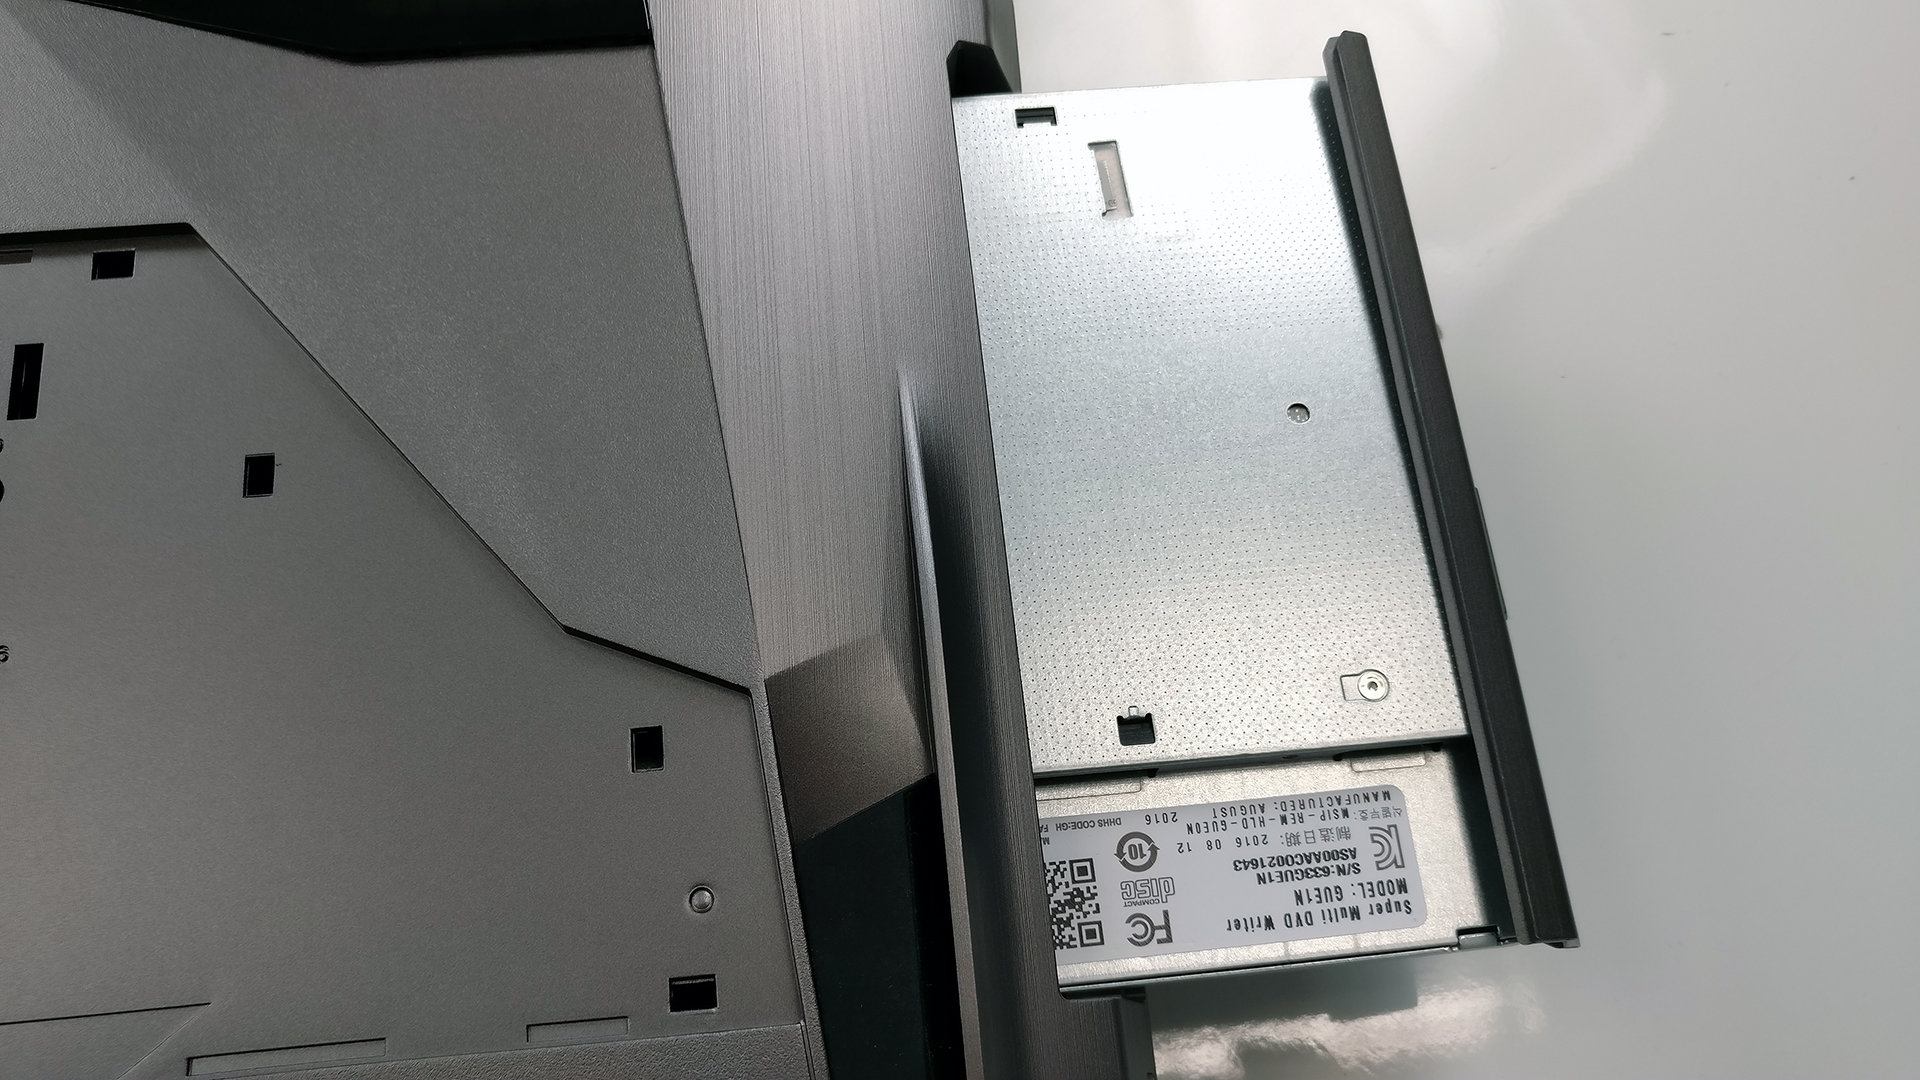
The second step would be to remove all the screws around the chassis – there are some under the service lid and three of them hiding under the optical drive.
After you are done with all the bolts, you are free to pry up the keyboard tray. Be careful when doing so because we found out that the plastic is too fragile and can be easily damaged along the edges. This doesn’t speak very well for the overall build quality to be honest. It’s advisable that you use plastic tools.
3. Detaching the cables, accessing the battery and the other two RAM slots
You can now lift up the keyboard tray but make sure you’ve removed all the cables attached to the motherboard.
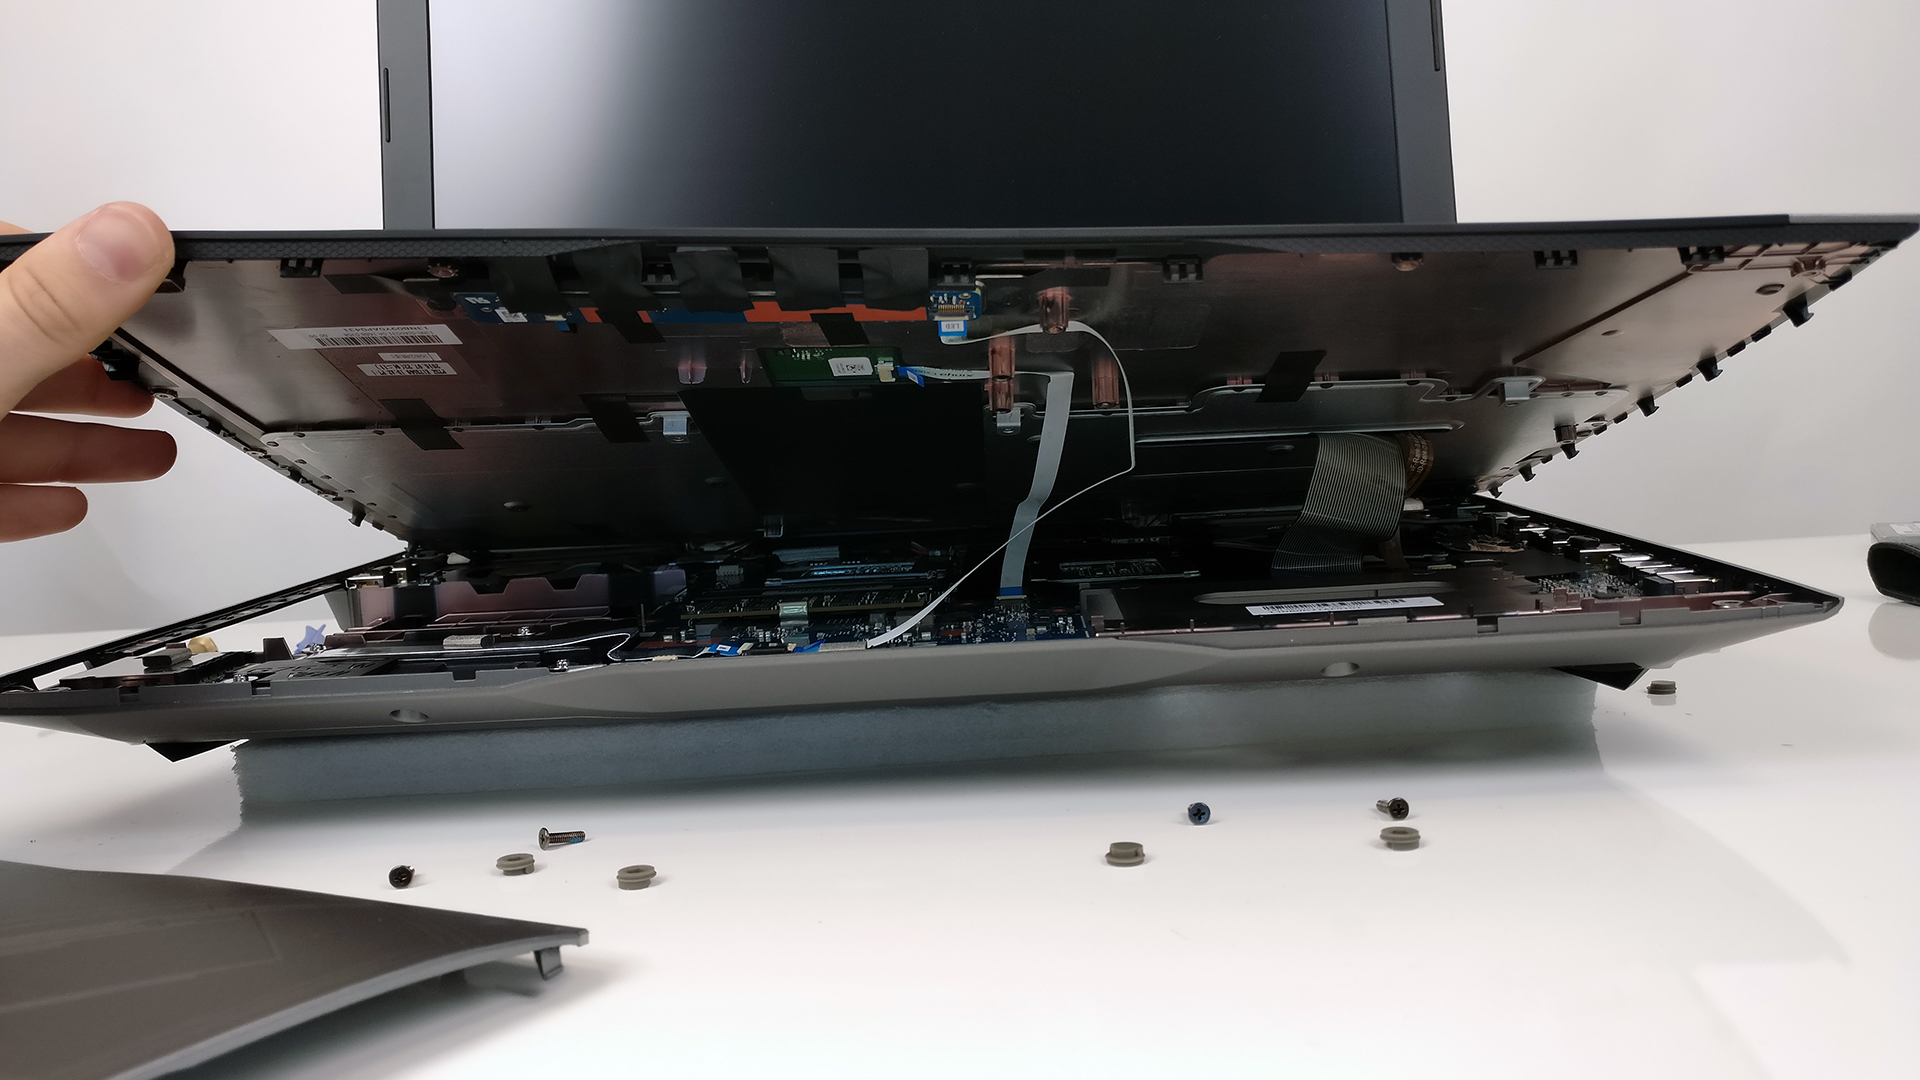
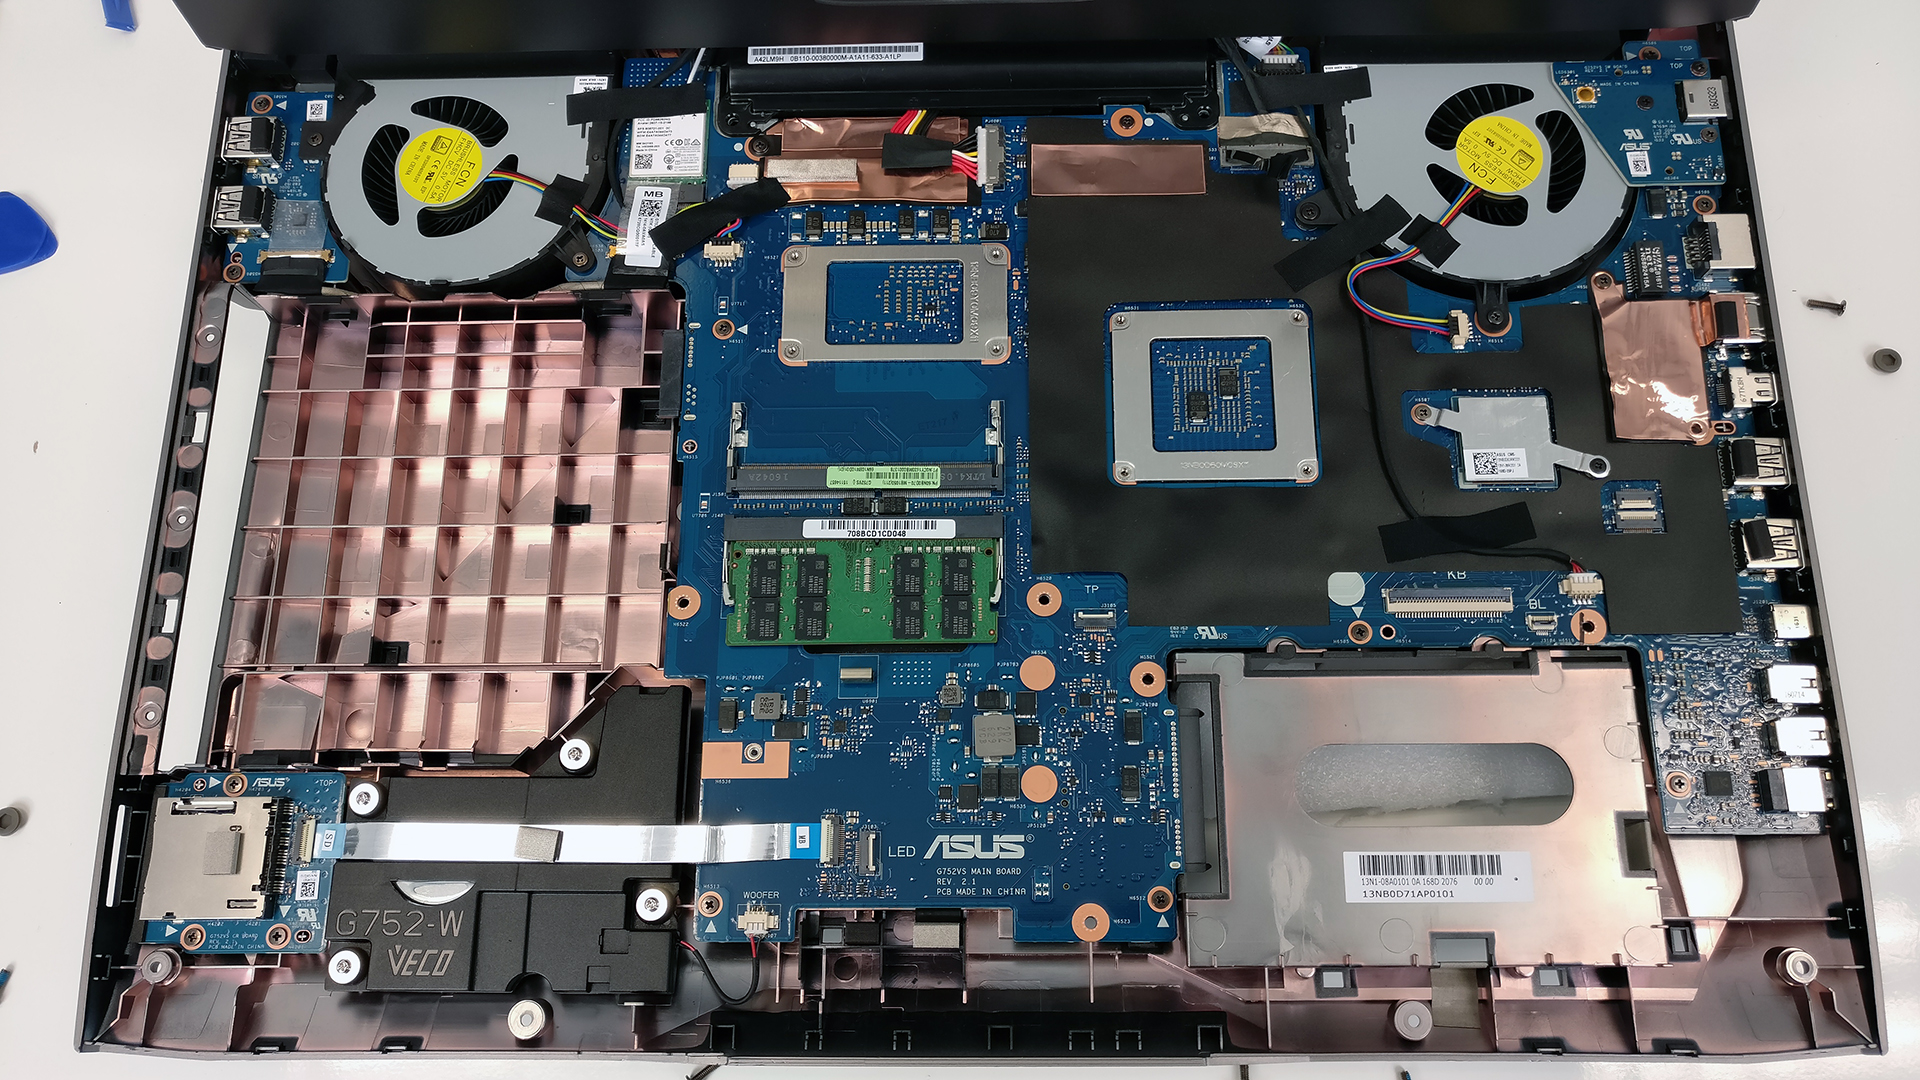
You can see the RAM slots positioned in the middle of the motherboard, one of the slots is taken by a 16GB DDR4-2133 chip.

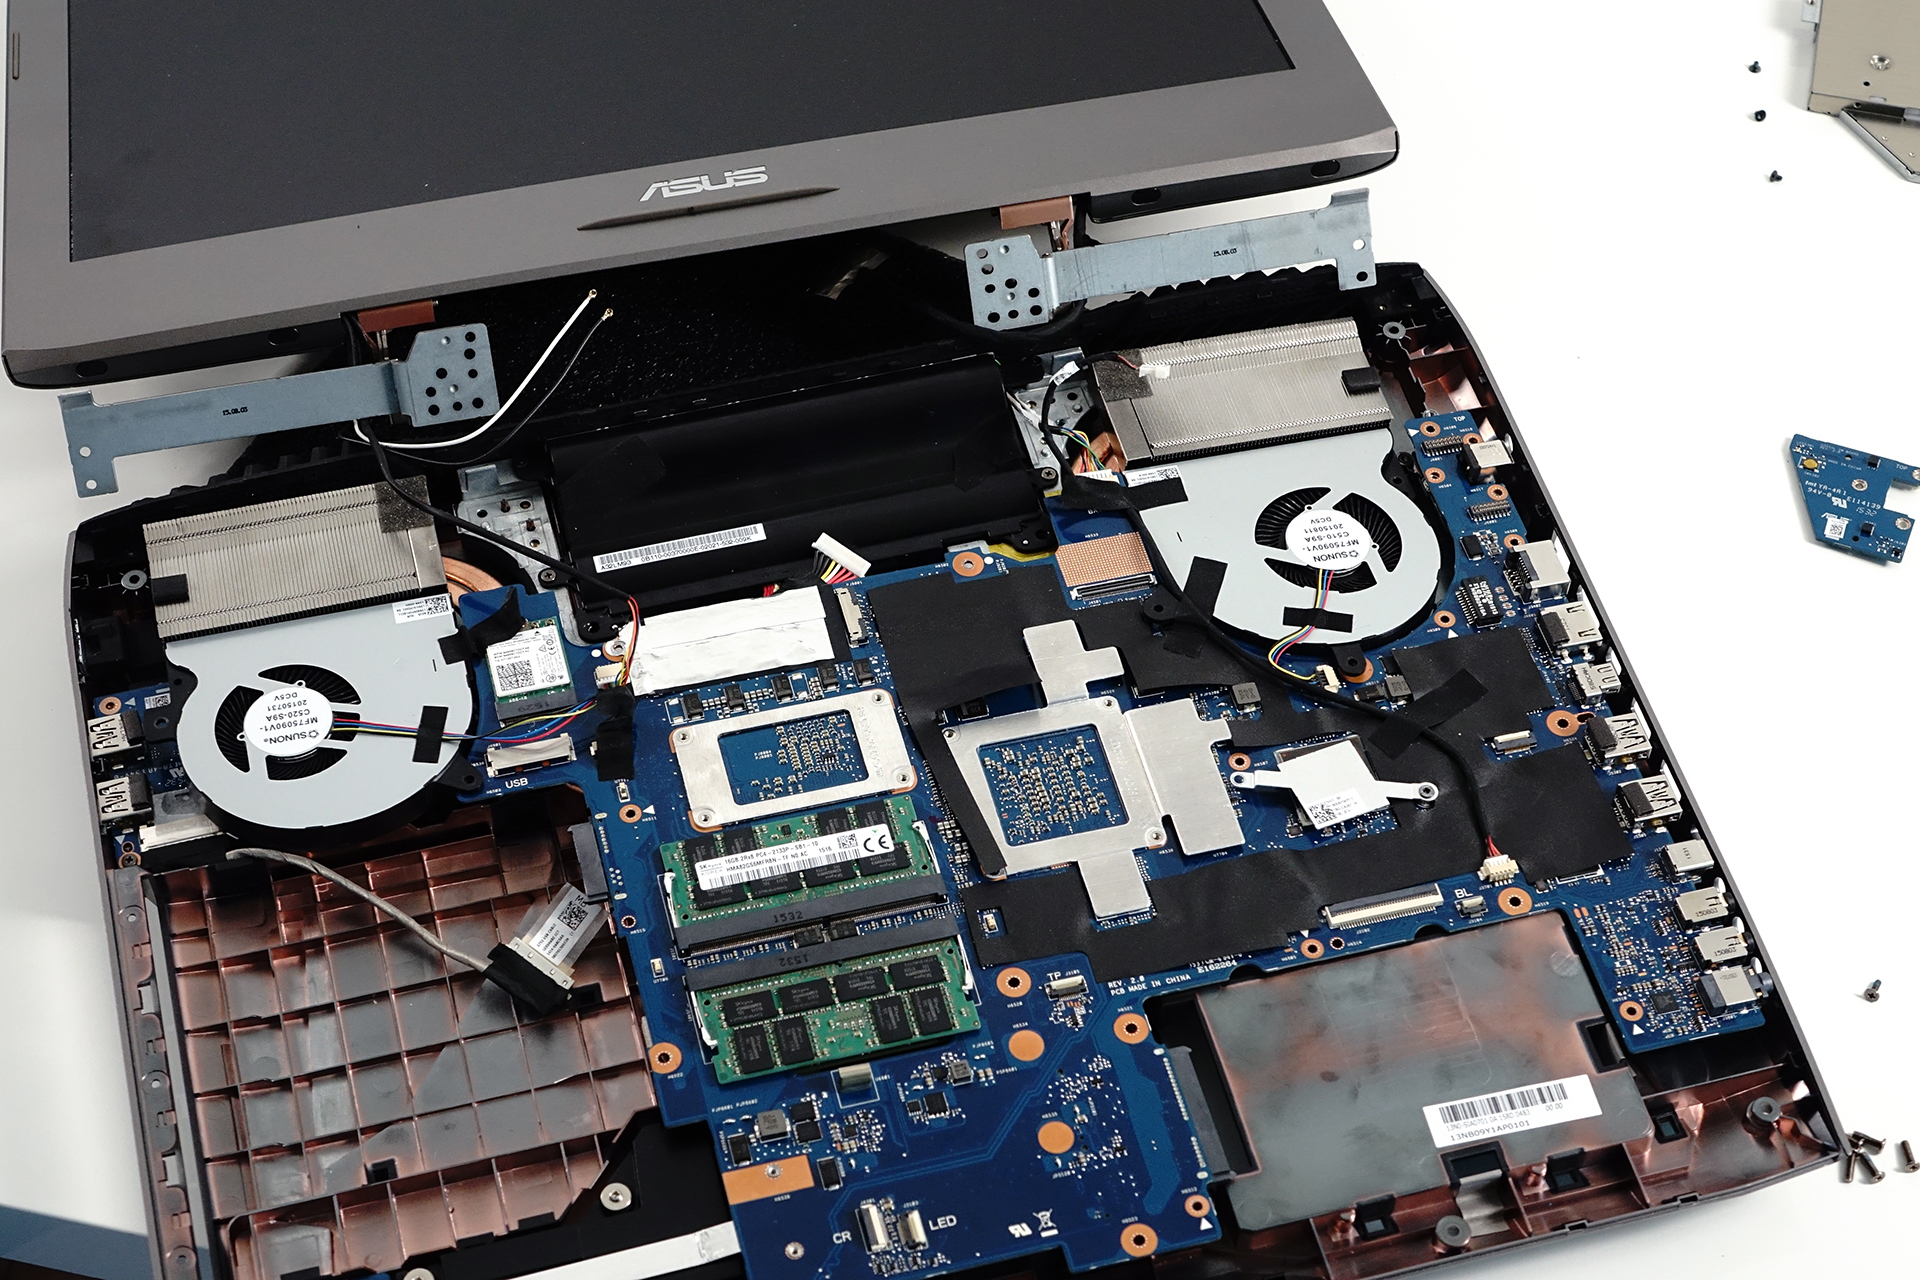
But in order to access the battery and the cooling system – heat pipes, heat sinks, fans – you will have to remove the screen itself along with the hinges. We’ve already done this procedure in a previous disassembly of the G752, which can be found here. You might also find useful to watch the time-lapse video from the previous teardown.

Disassembly video
You can find some of the available ASUS ROG G752VS configurations here: http://amzn.to/2eU2Rrs