Cum să deschideți MSI Stealth 16 AI Studio A1V – dezasamblare și opțiuni de upgrade
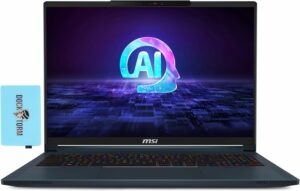
Deschiderea dispozitivului
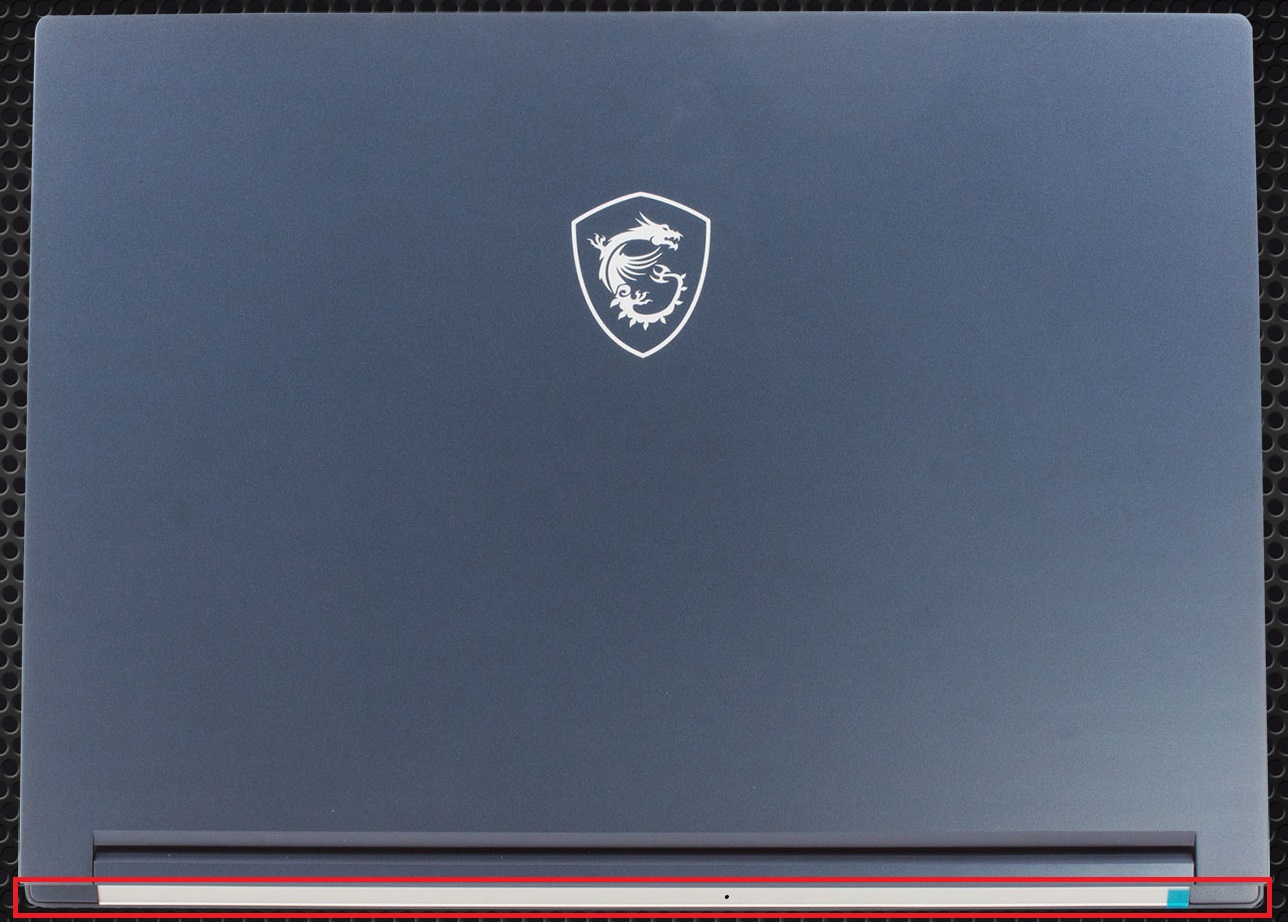
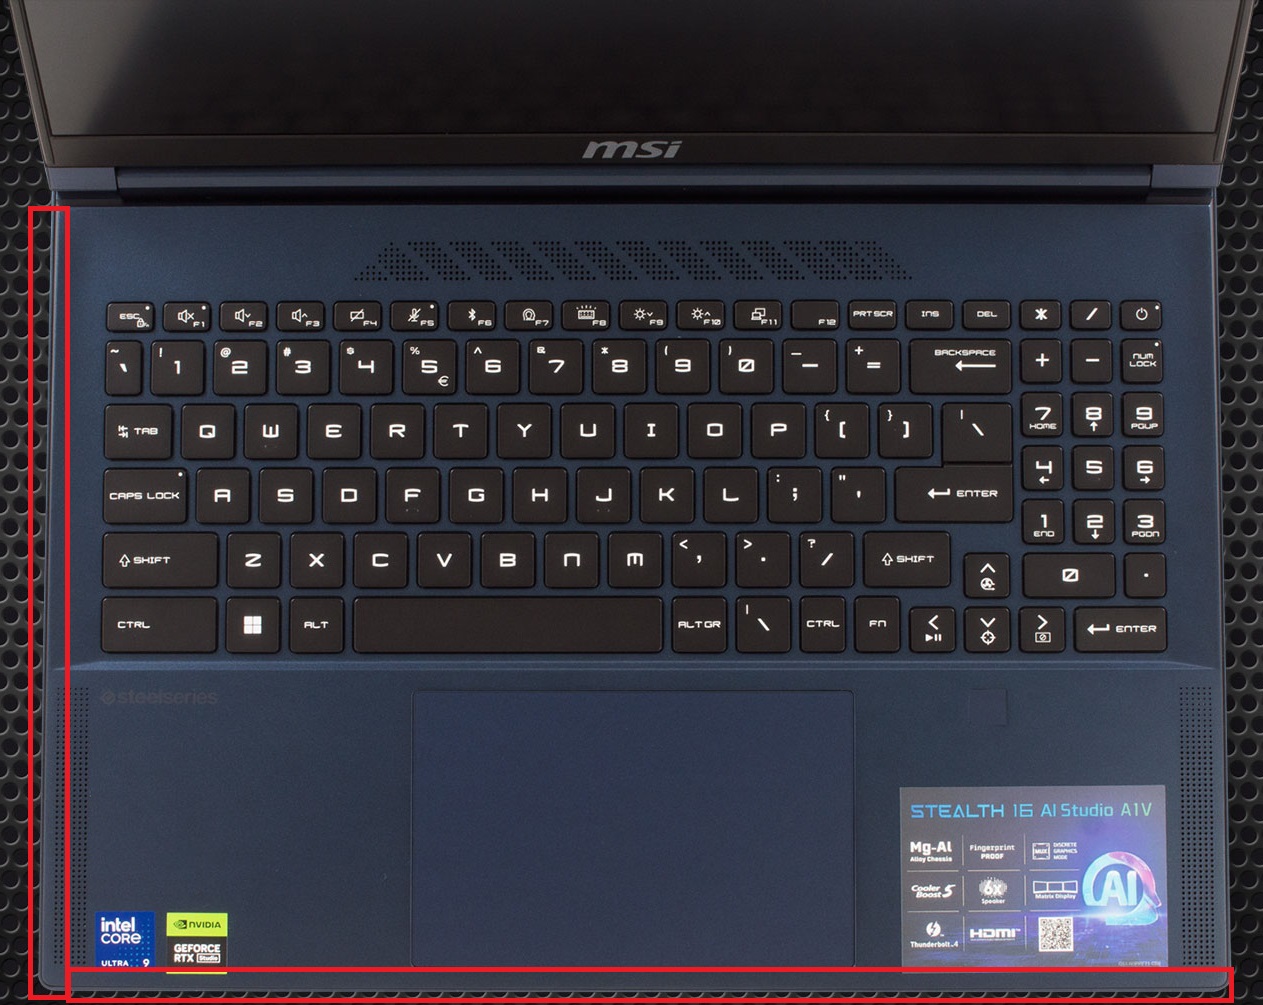
- Desfaceți cele 7 șuruburi cu cap Phillips care fixează panoul inferior.
- Întoarceți notebook-ul și faceți pârghie în partea din spate cu o unealtă subțire din plastic.
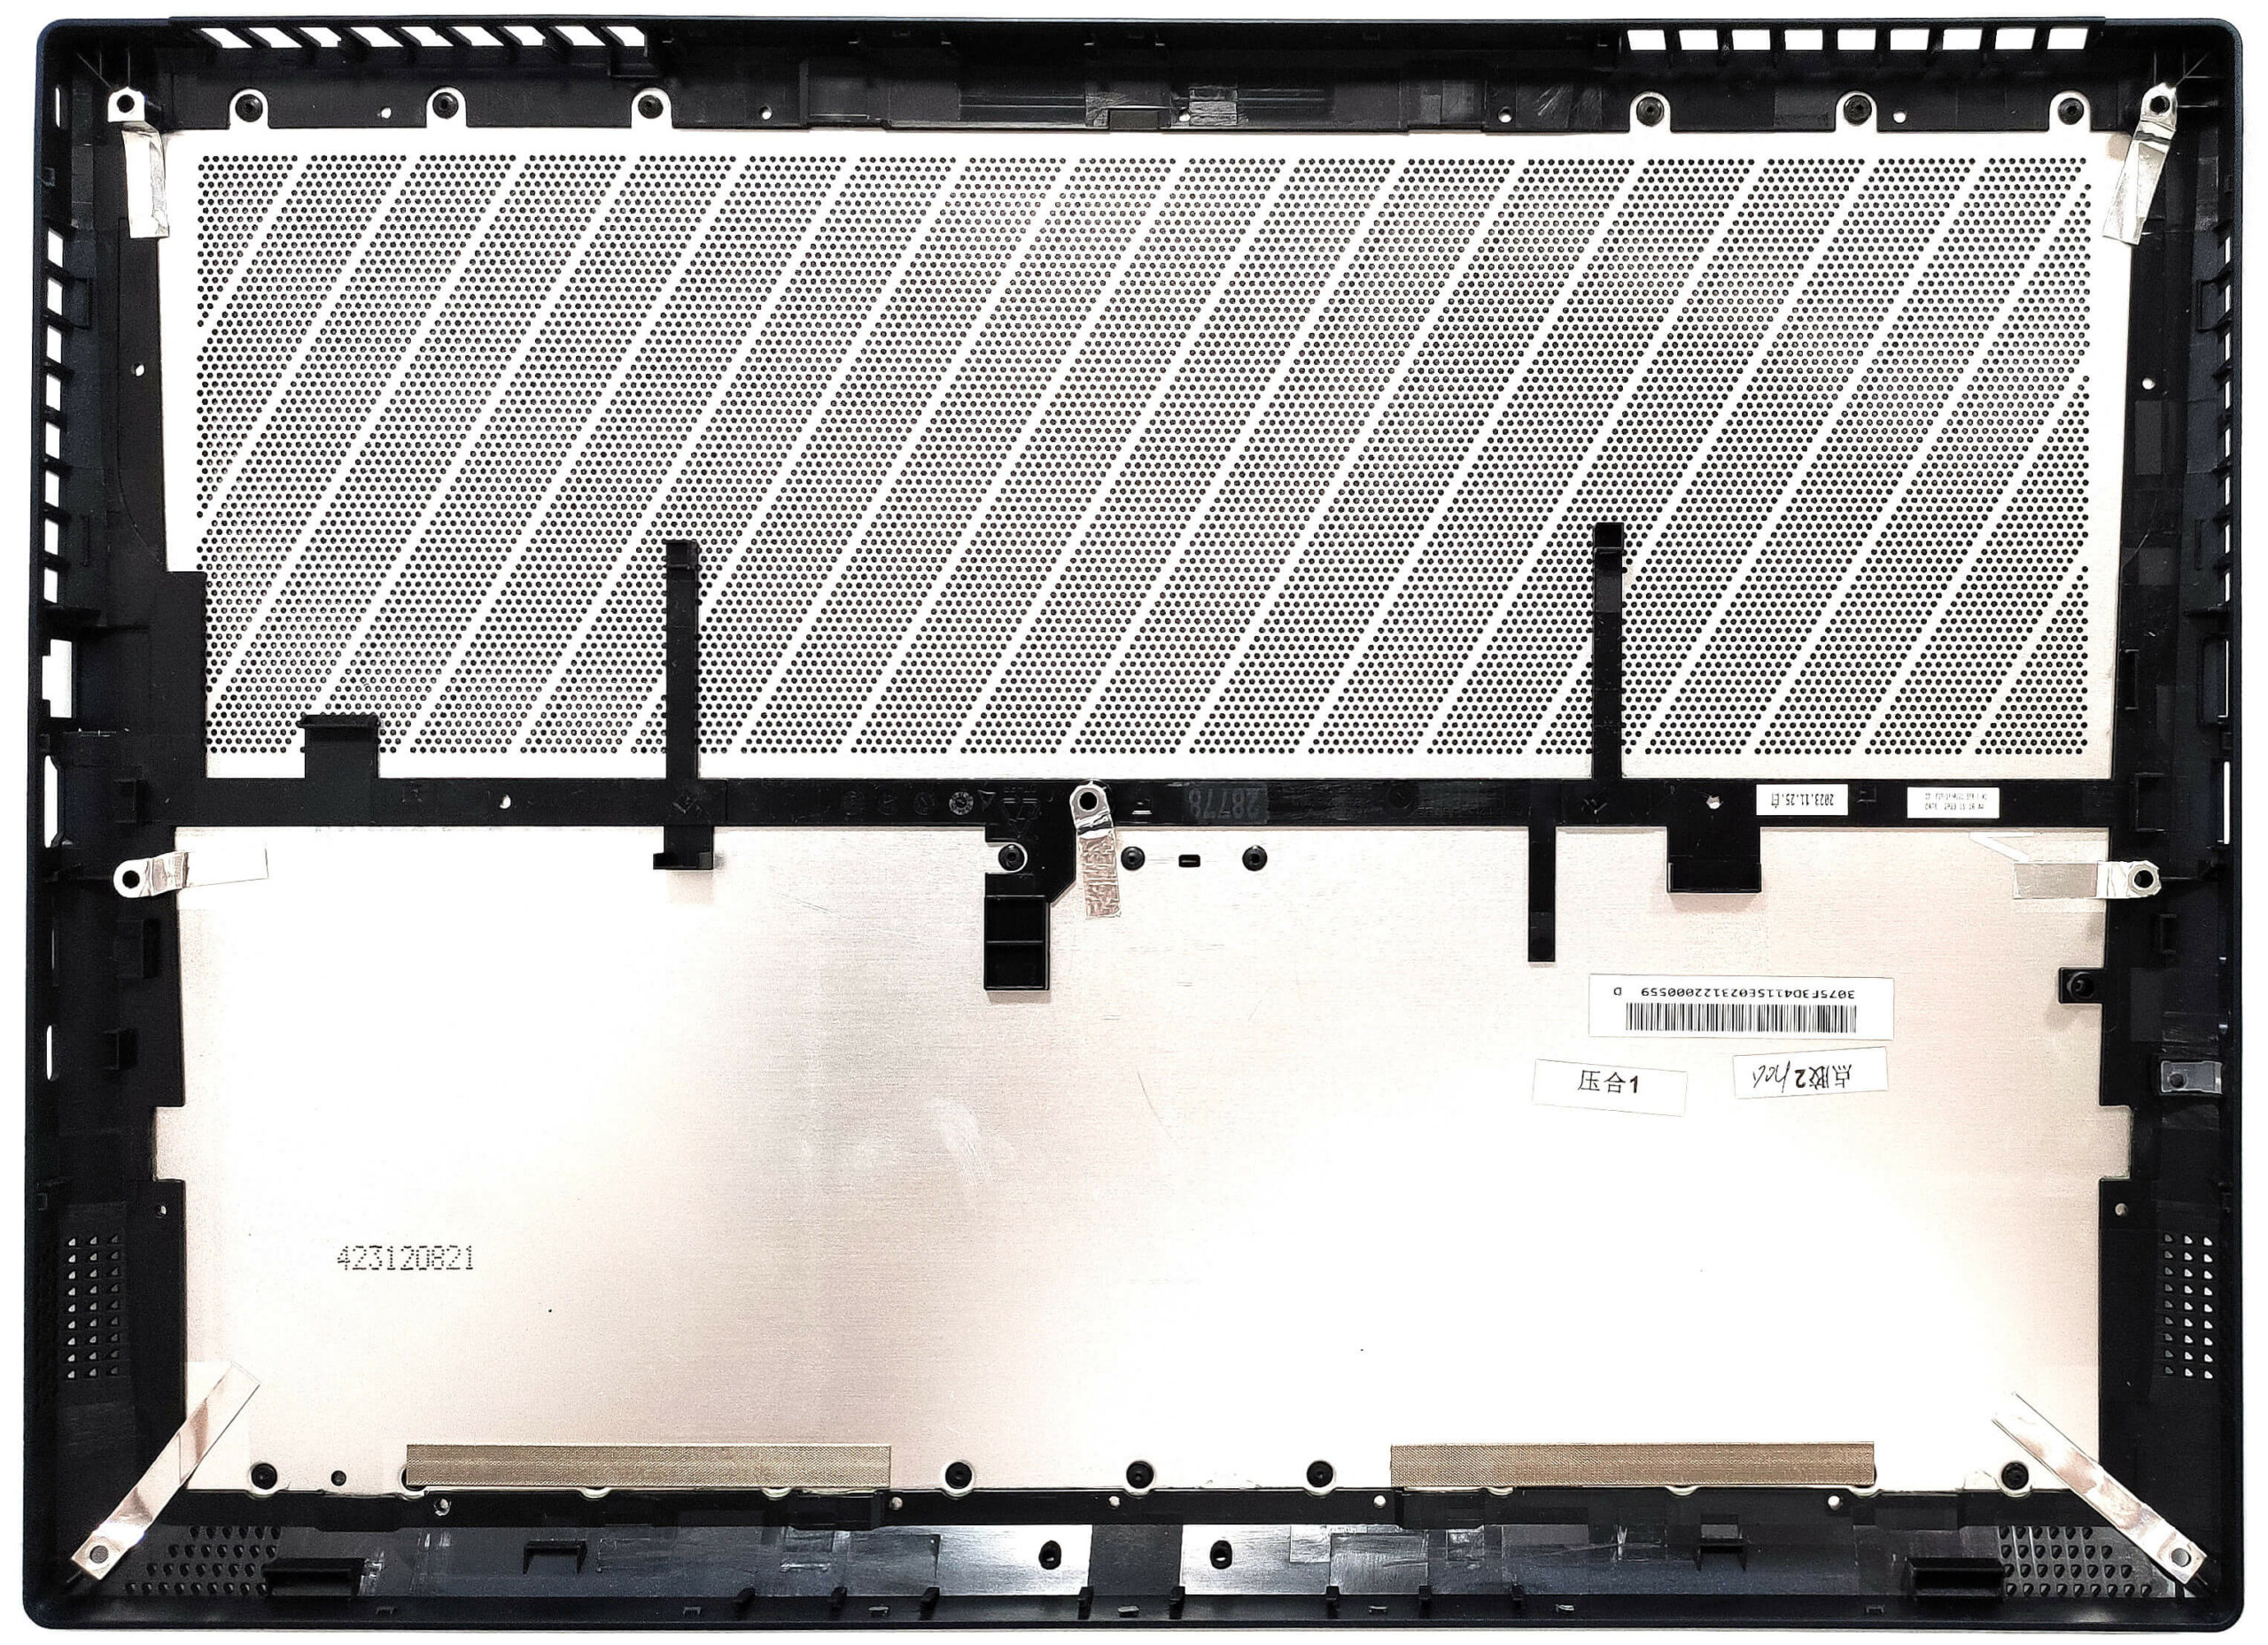
- Deschideți dispozitivul și scoateți părțile din stânga și din față prin bază. Evitați să spargeți partea dreaptă.
Mai multe informații: Deoarece mufa audio iese din placa de bază, nu puteți ridica placa de jos direct în sus. Ridicați placa din dreapta și glisați-o ușor spre partea stângă.
Scoaterea bateriei
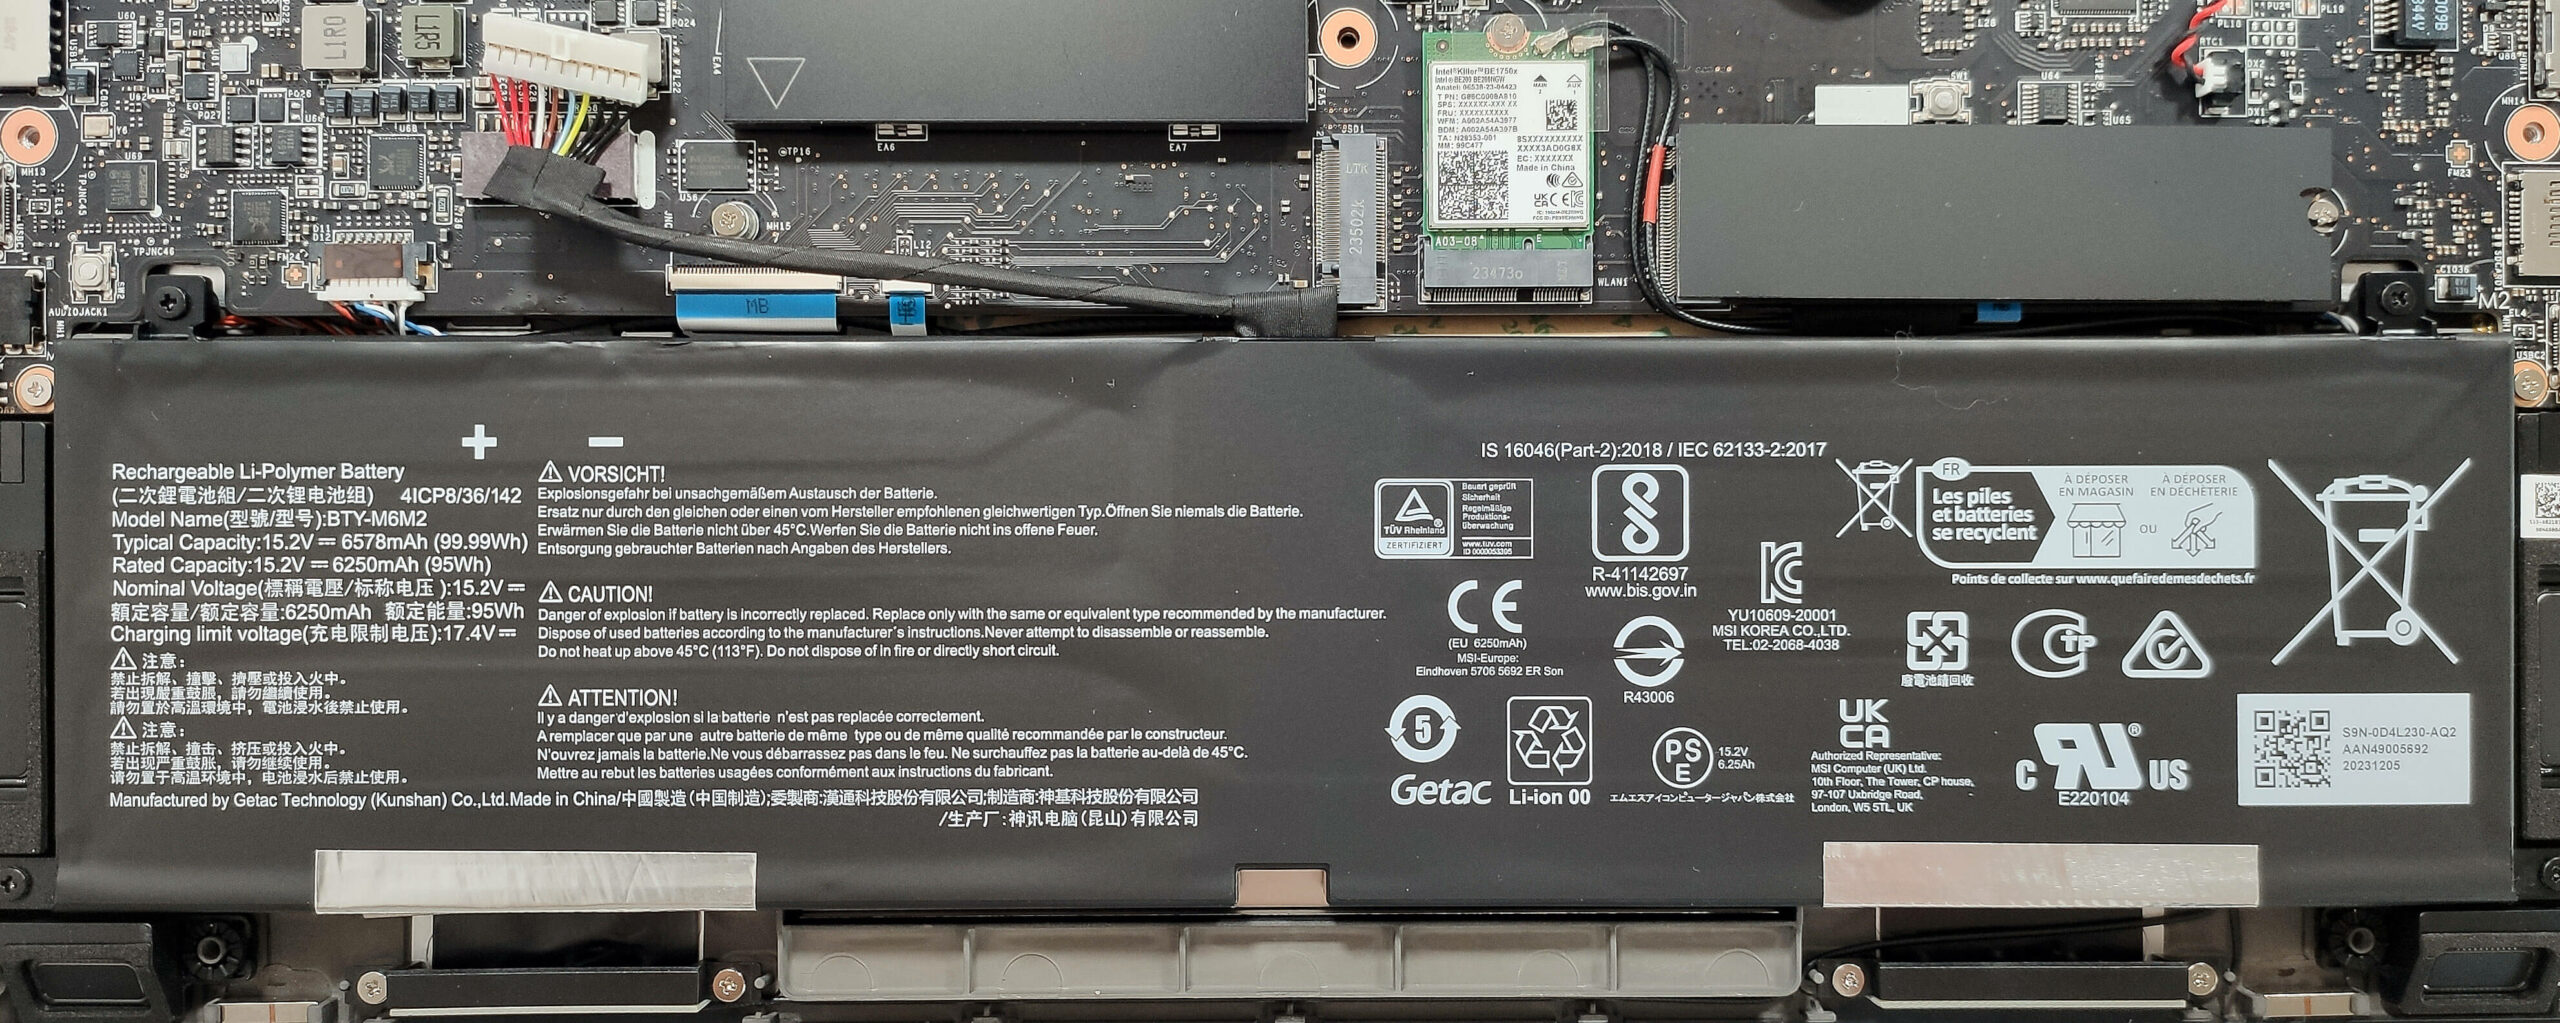
- Detașați conectorul bateriei de placa de bază.
- Desfaceți cele 4 șuruburi cu cap Phillips care fixează bateria.
- Ridicați bateria pentru a o scoate din dispozitiv.
Notă: Dispozitivul este echipat cu o baterie de 99,99Wh, care asigură aproximativ 7 ore de redare video.
Informații despre memorie
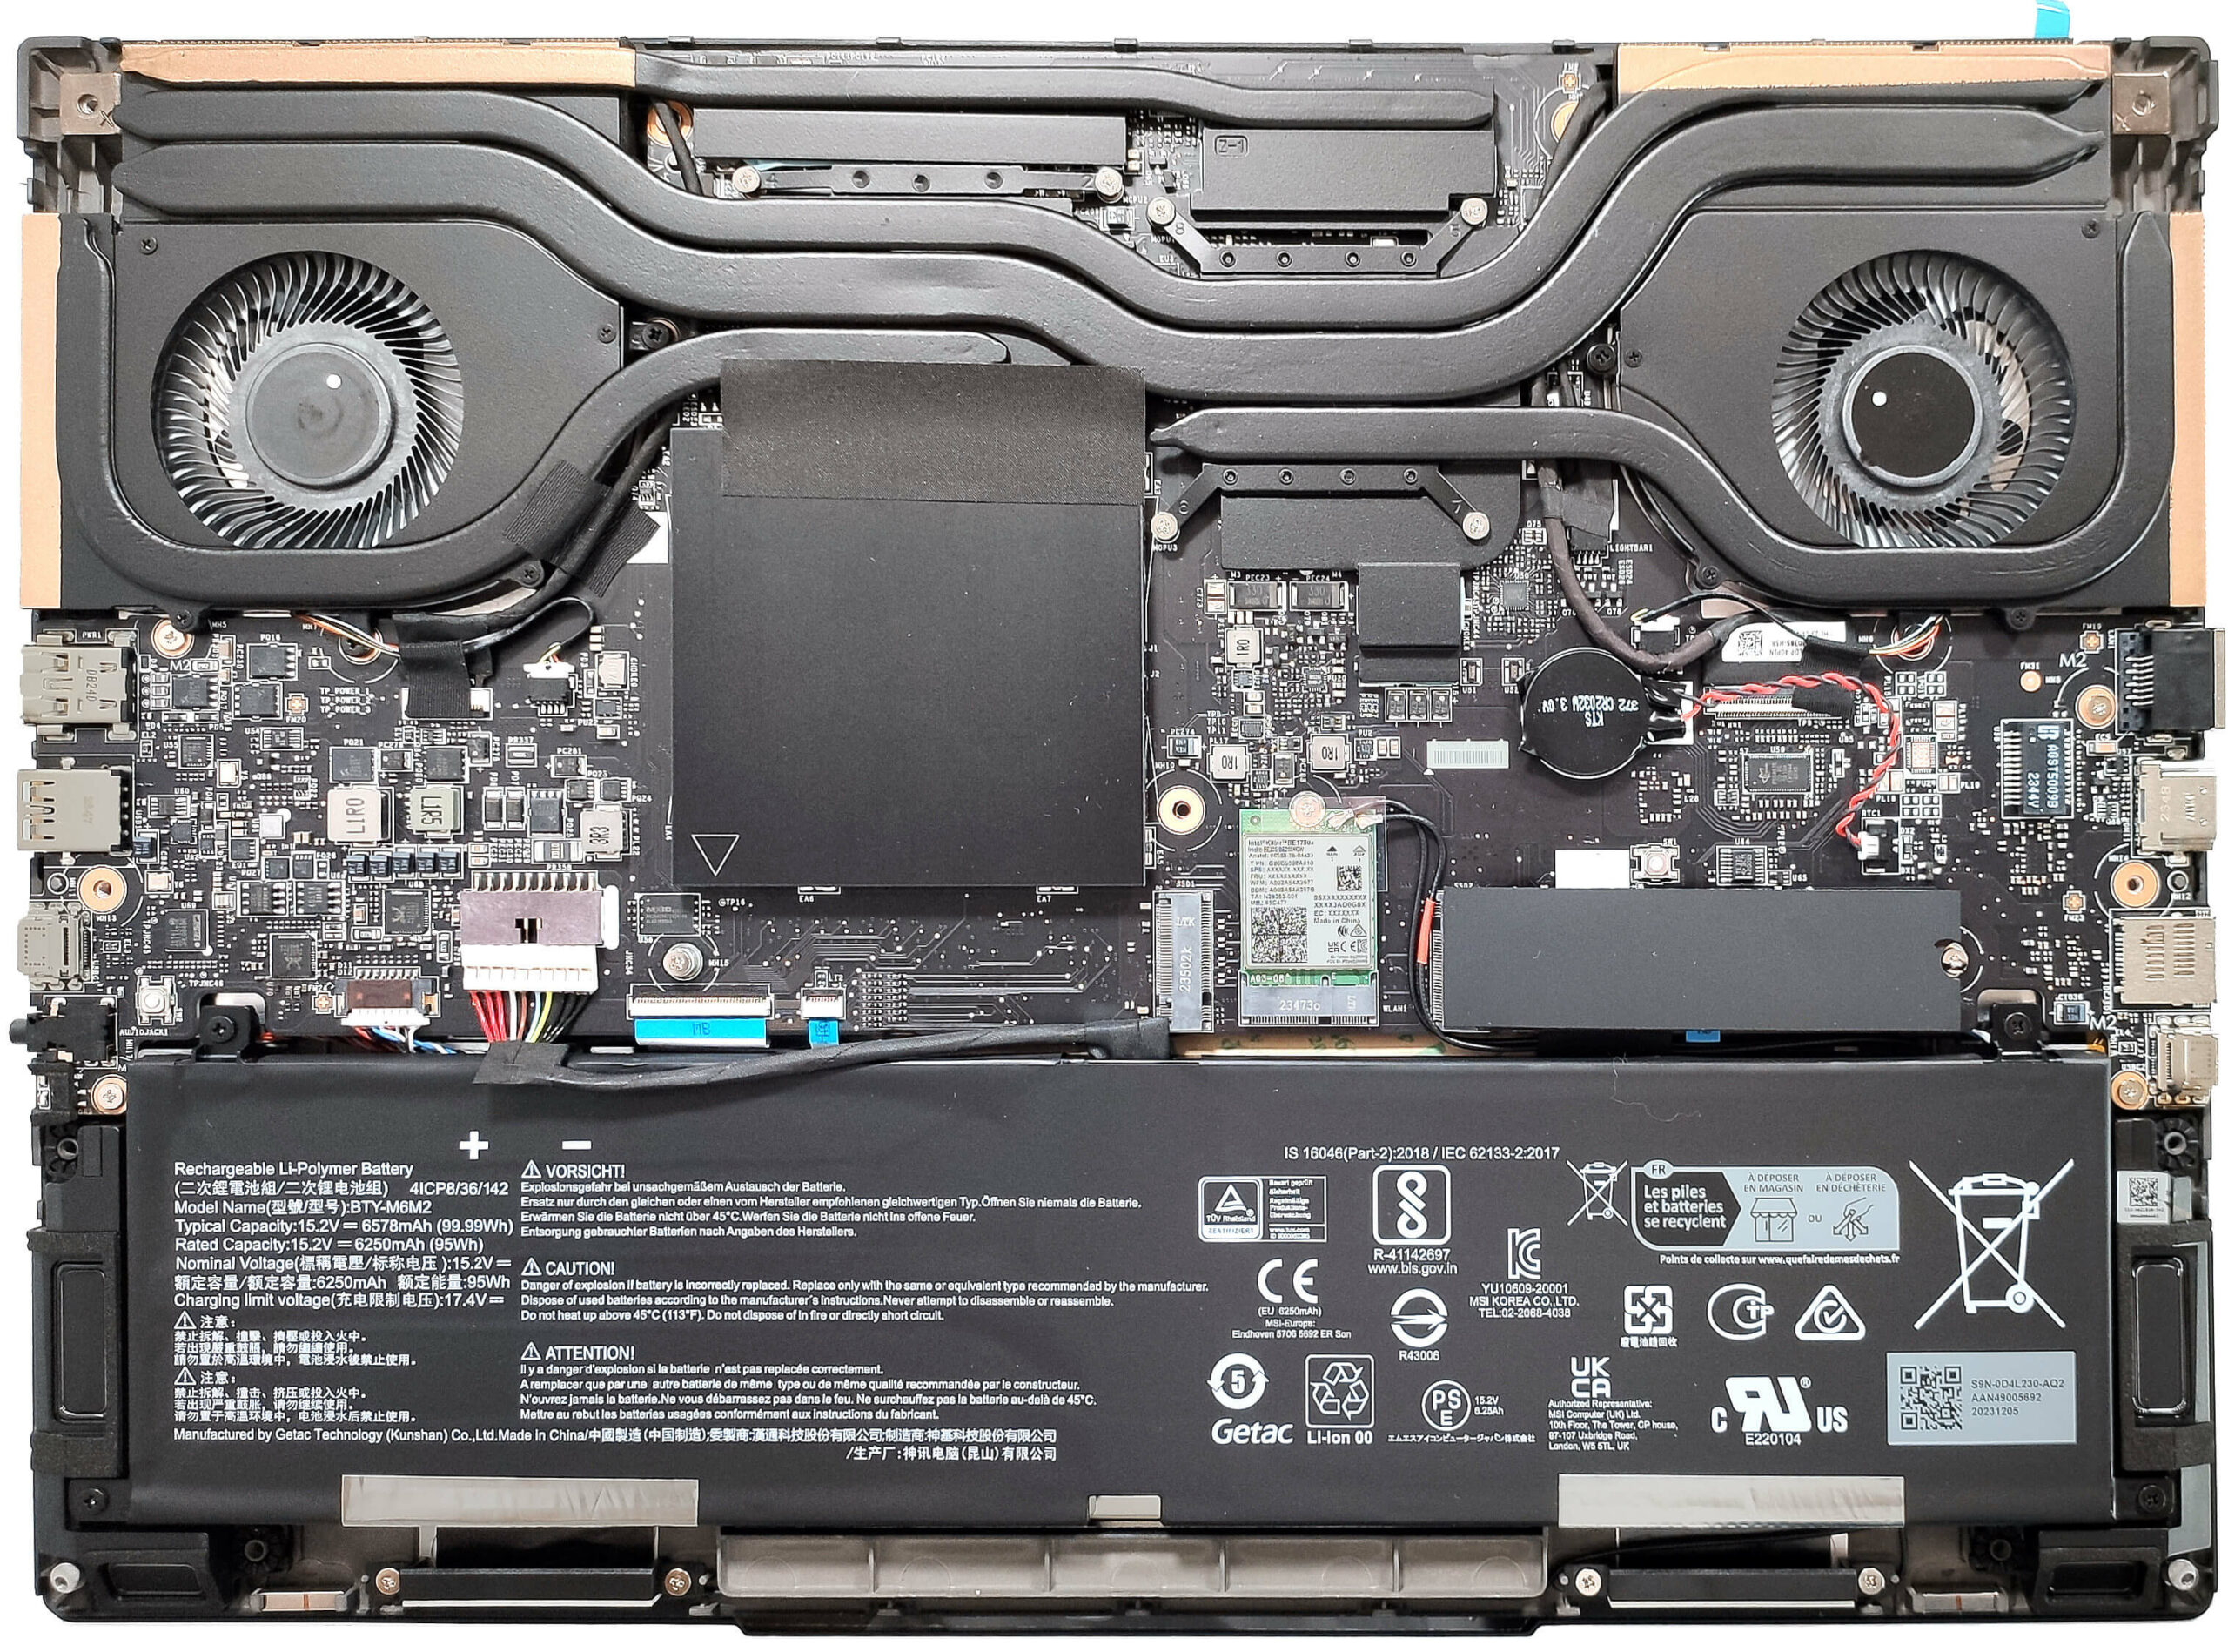
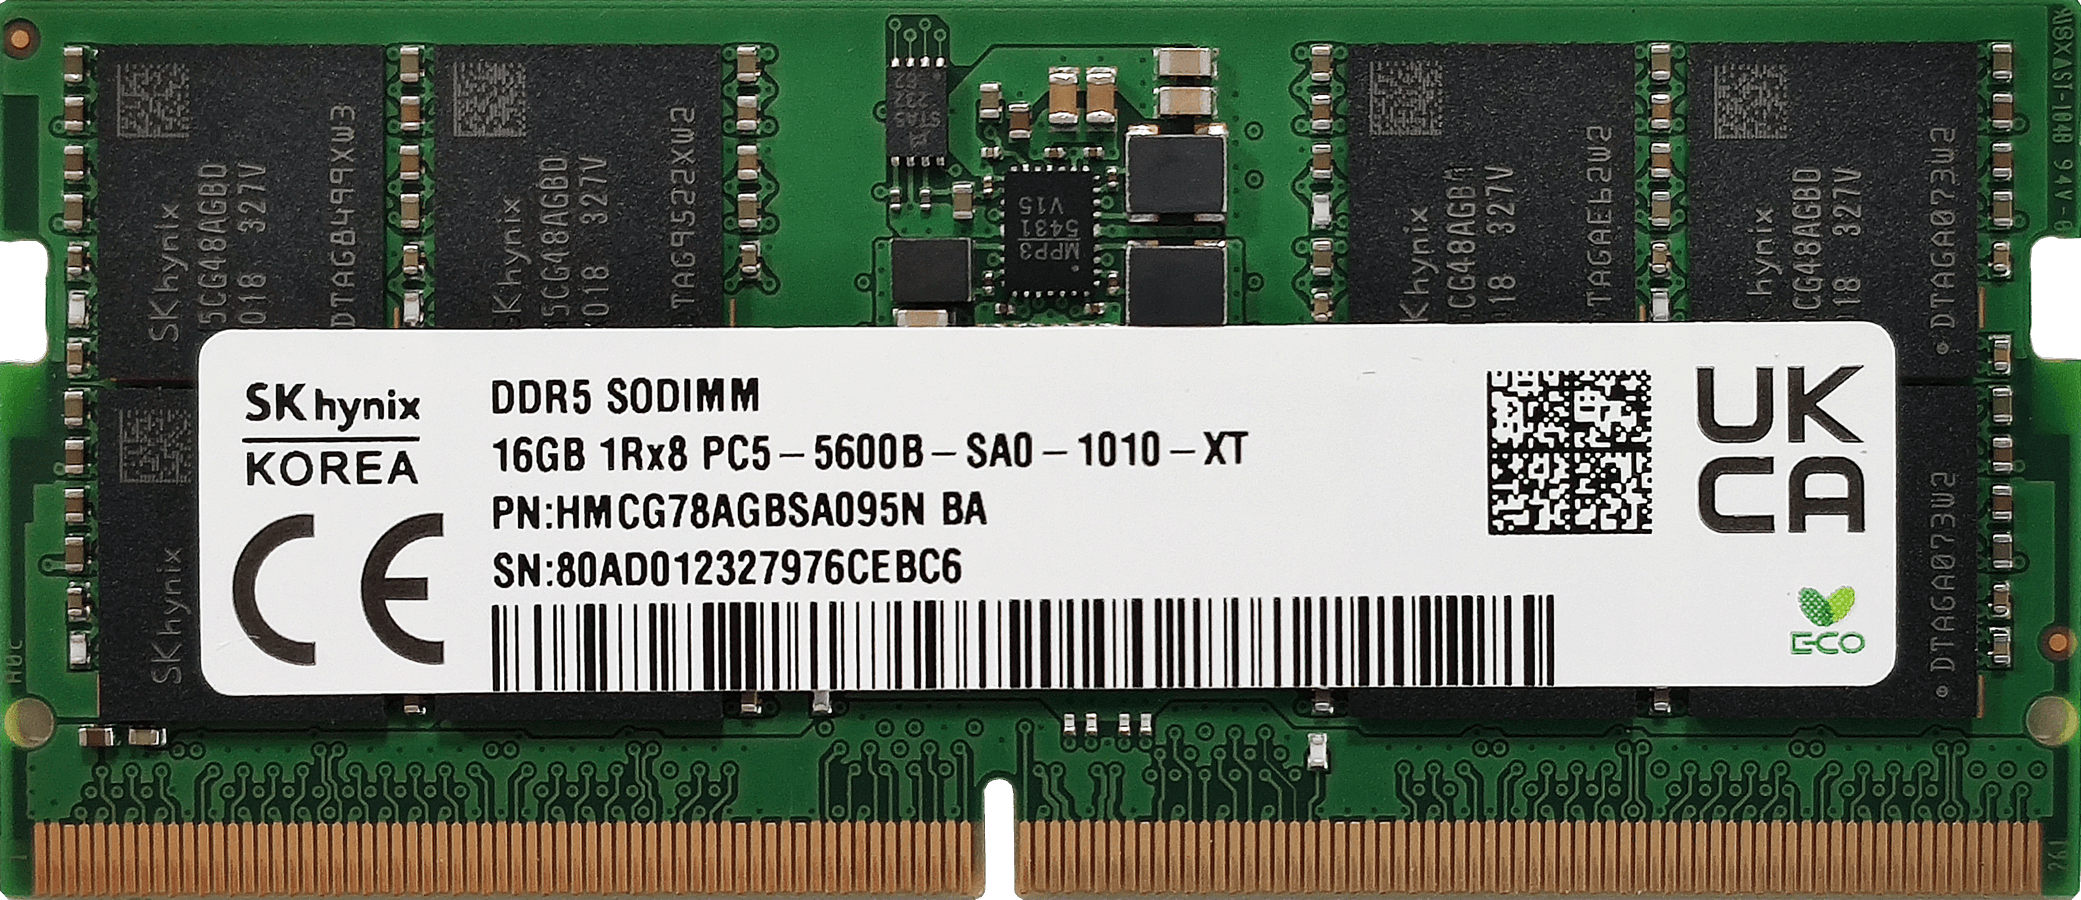
- Secțiunea RAM este protejată de un înveliș metalic. Utilizați o unealtă cu pârghie pentru a o scoate. Placa metalică are două plăcuțe termice pe interior.
- Cele două SODIMM-uri pot gestiona până la 96 GB de memorie RAM DDR5-5600 MHz în modul dual-channel, care este limita maximă oficială specificată de producător pentru un CPU Meteor Lake-H.
Puteți cumpăra module RAM compatibile aici: Cumpărați de pe Amazon.com (#CommissionsEarned)
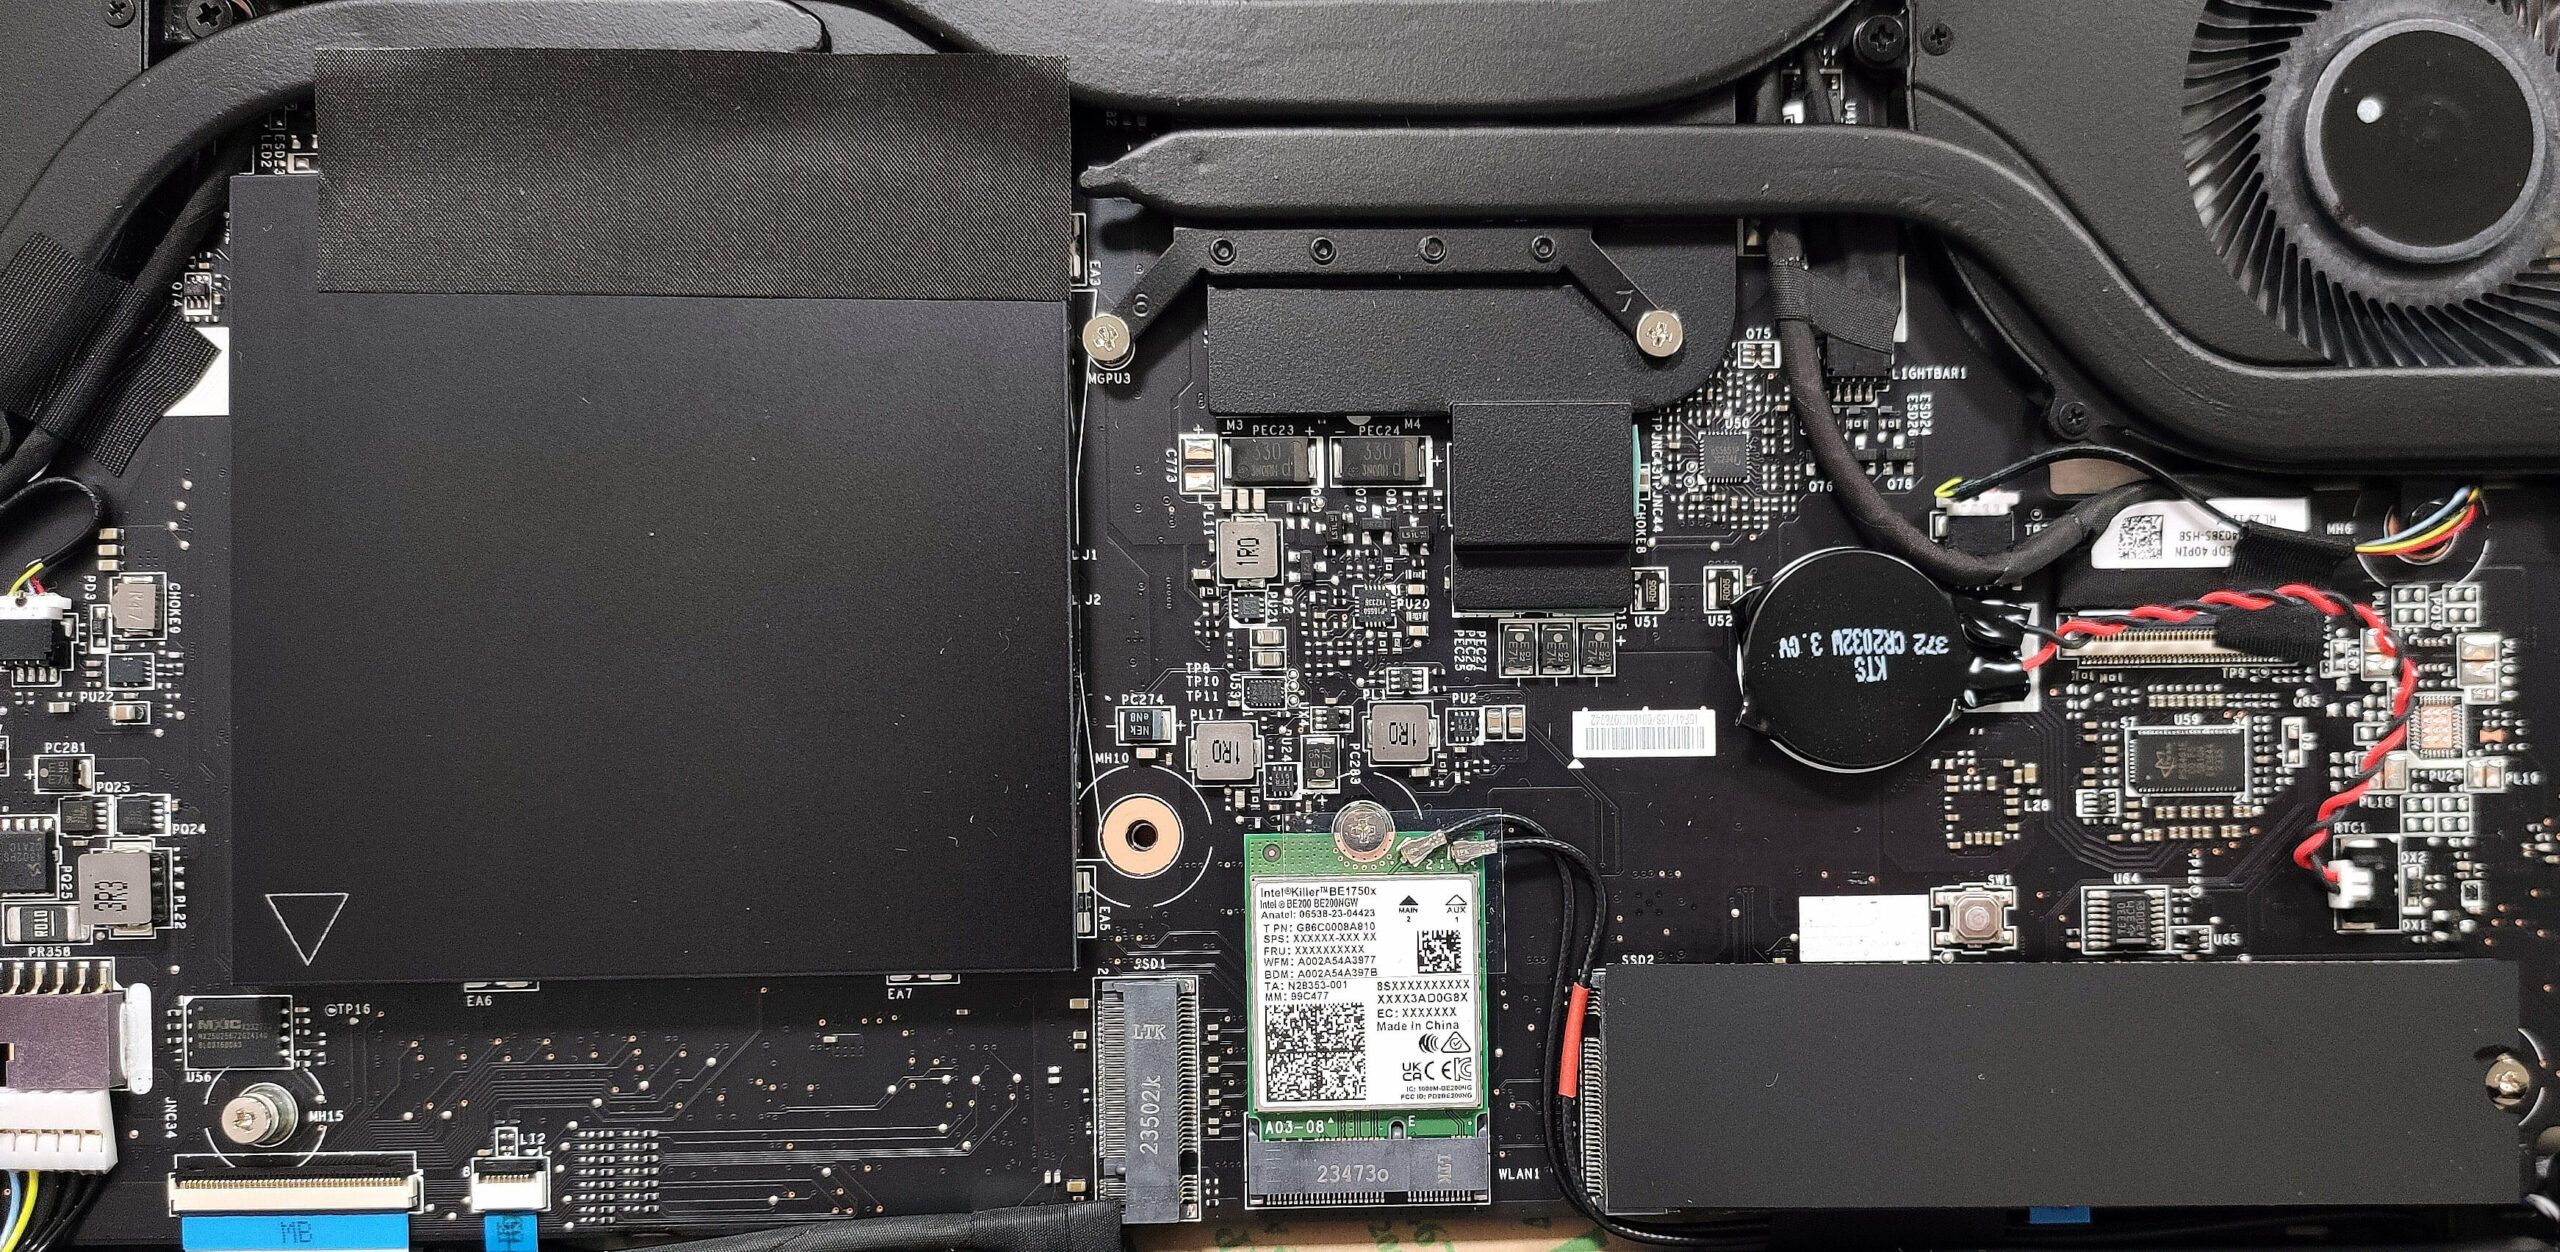
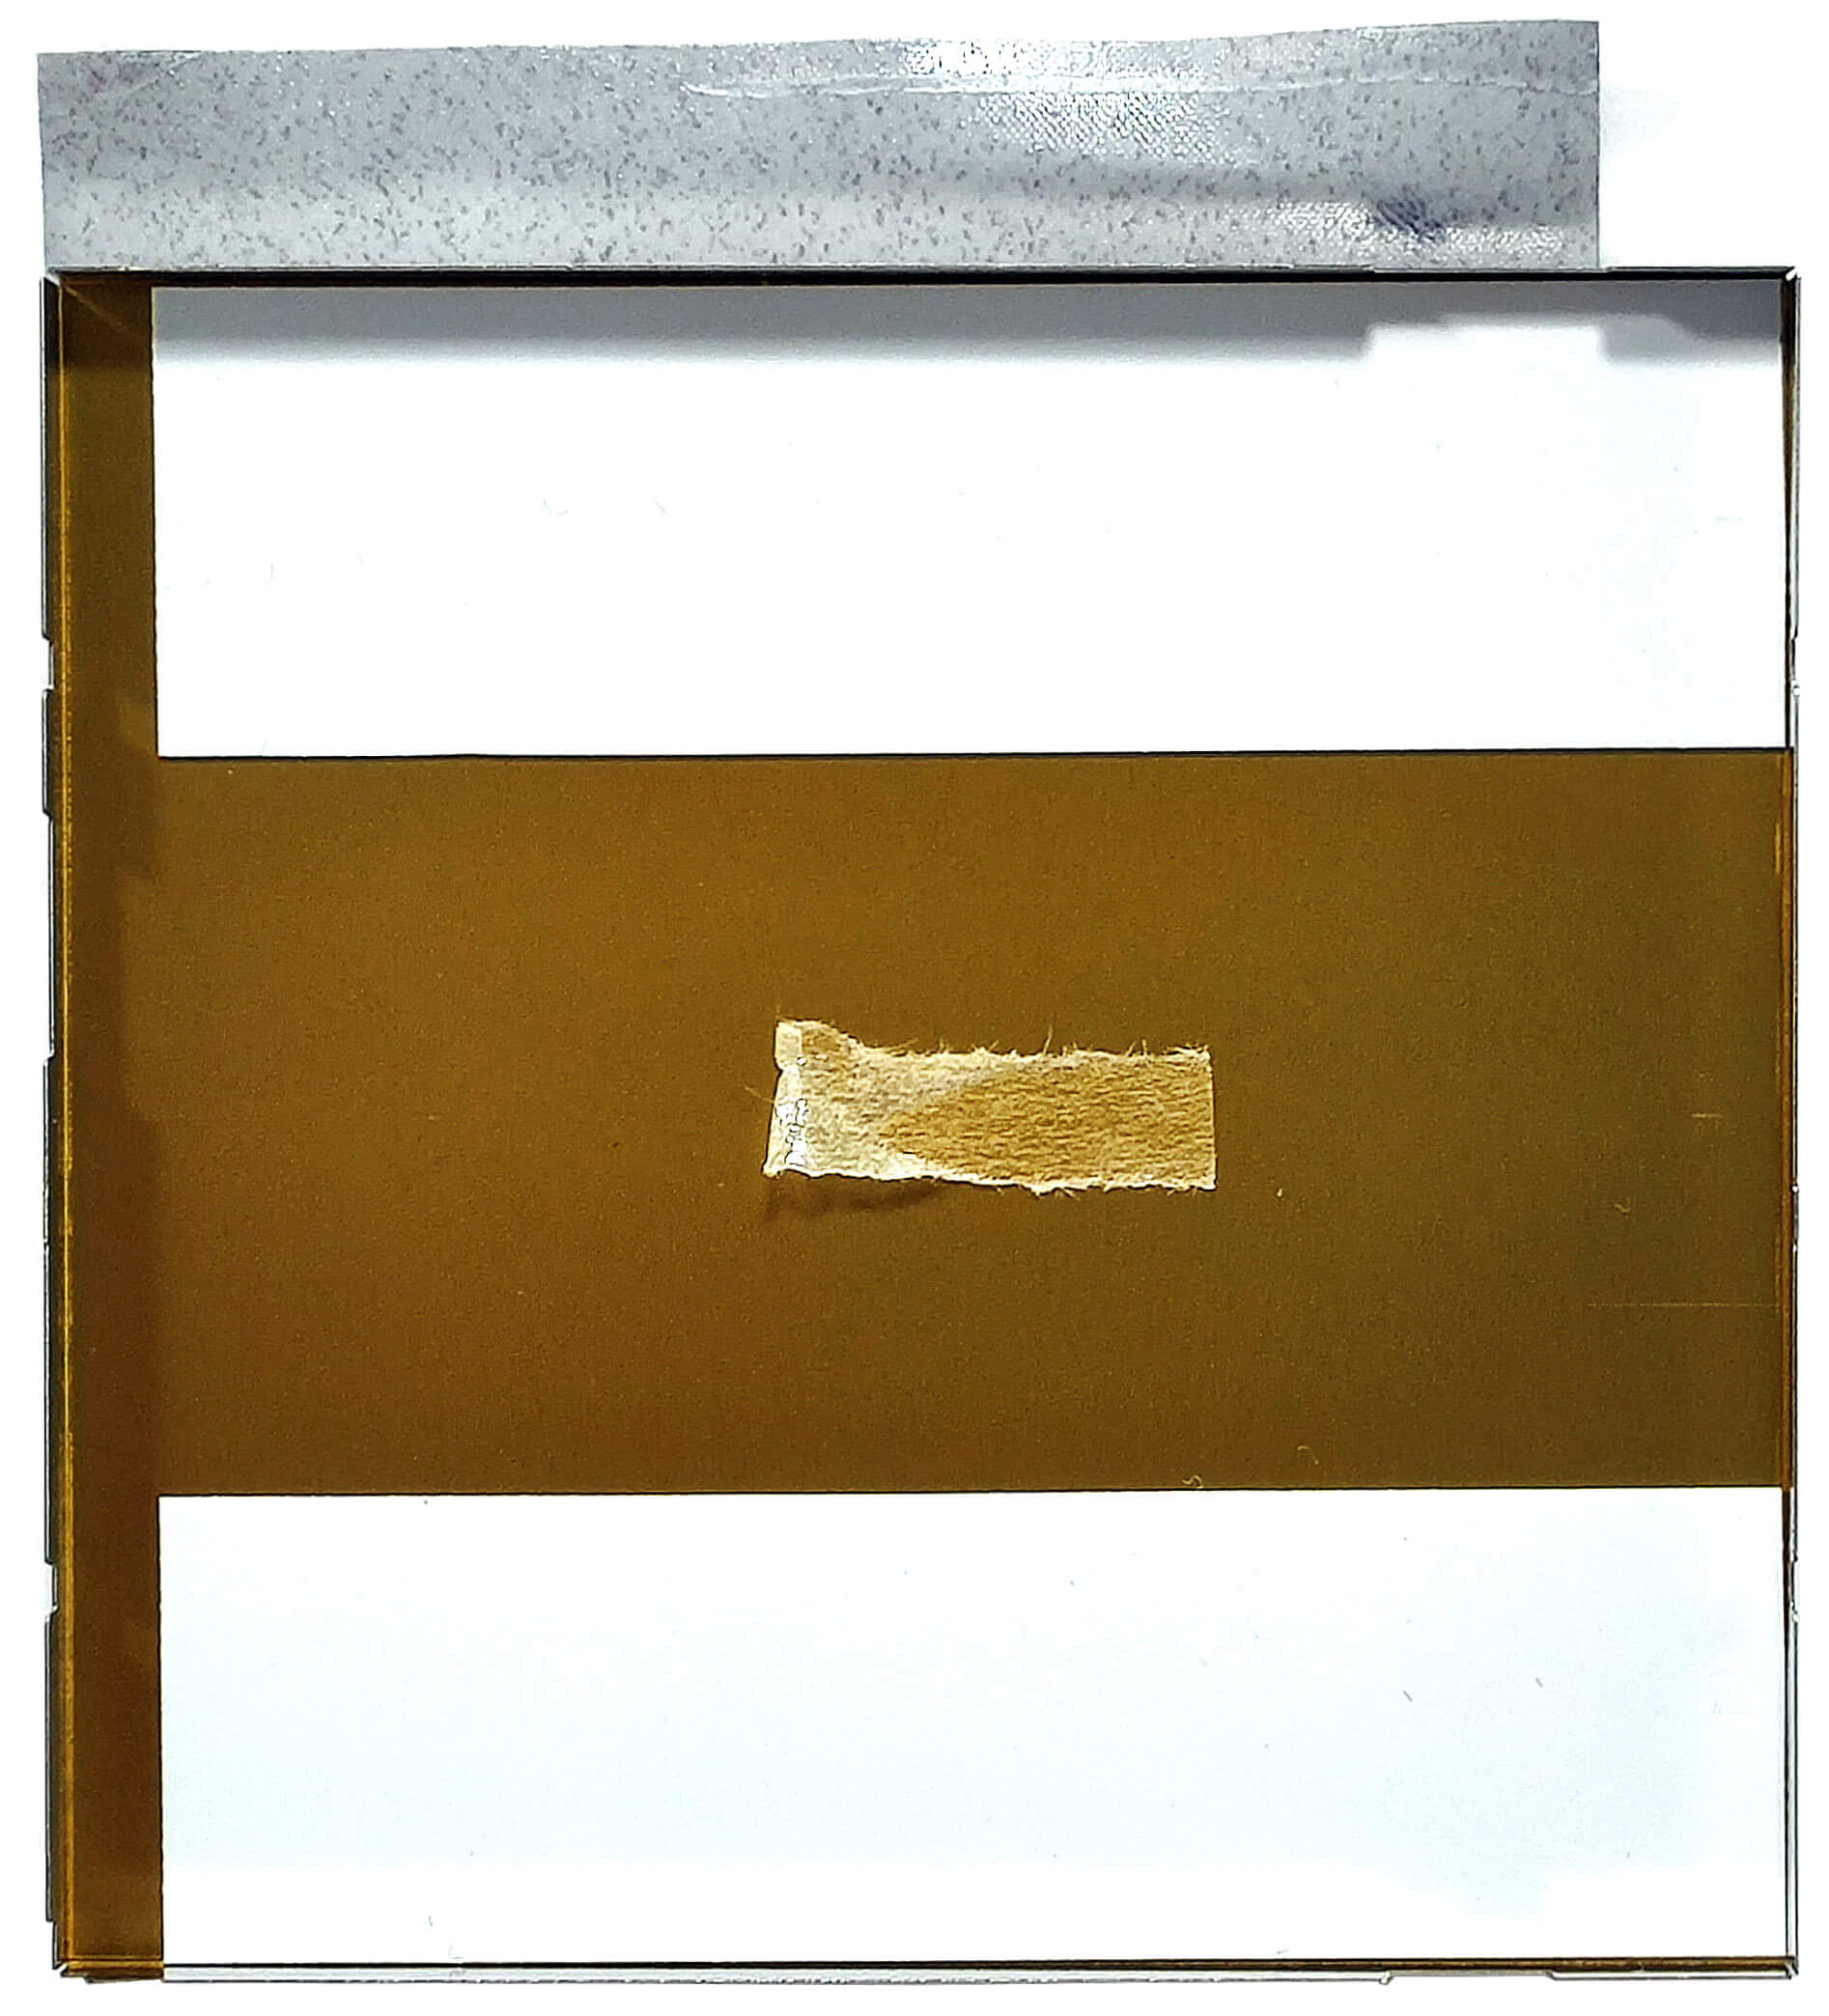
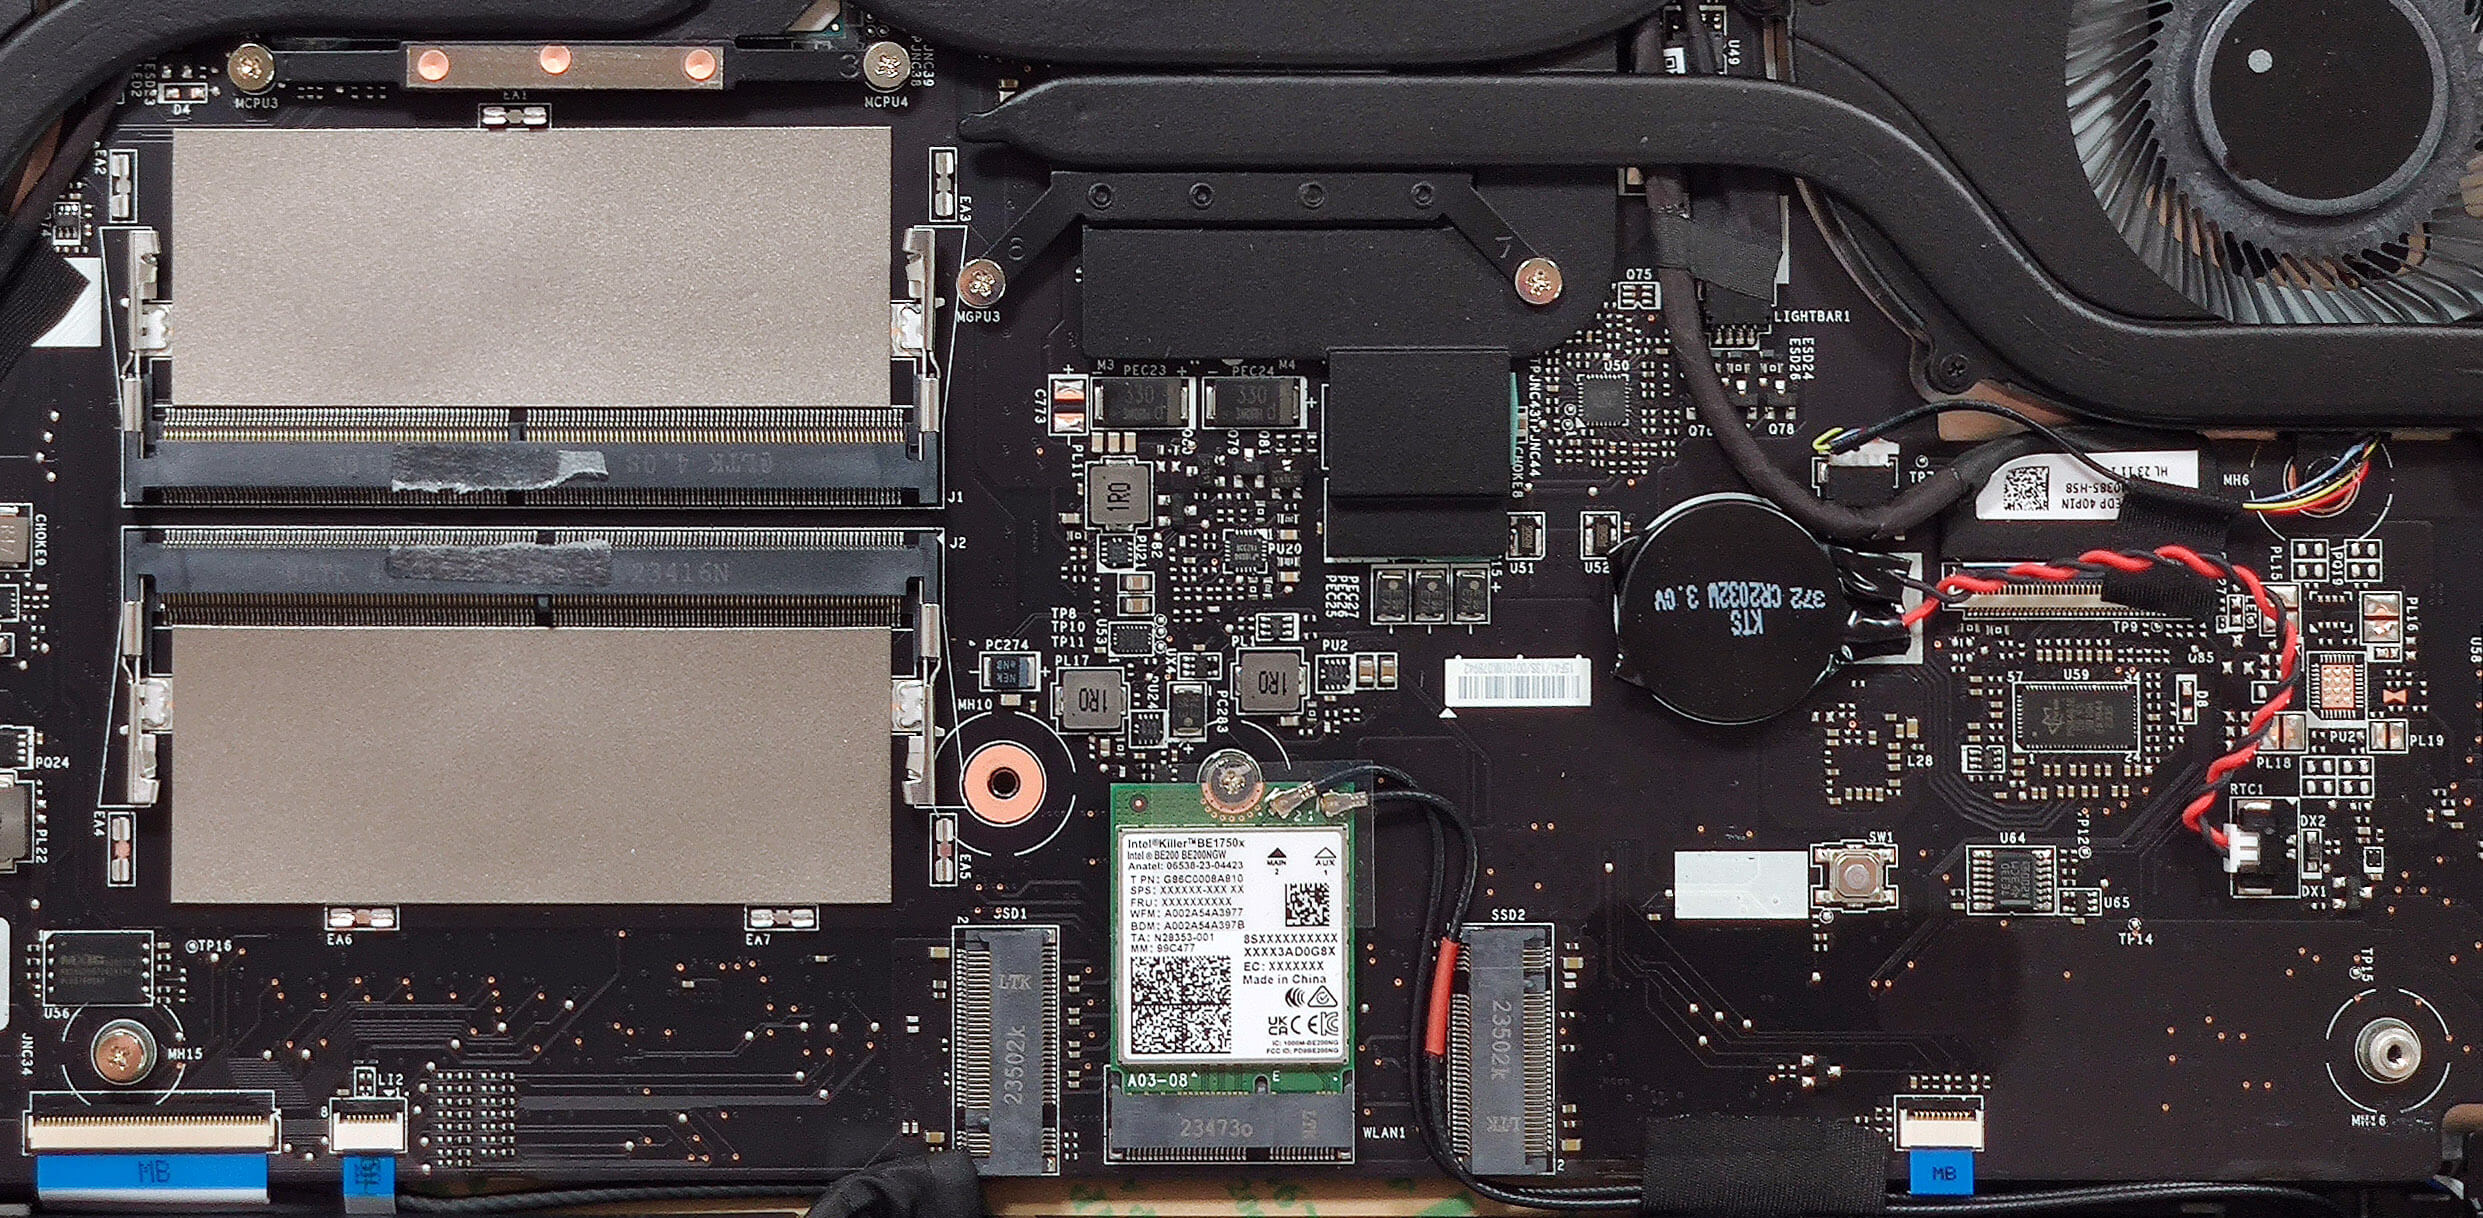
Upgrade de stocare
- Localizați cele două sloturi M.2 compatibile cu unități NVMe Gen 4.
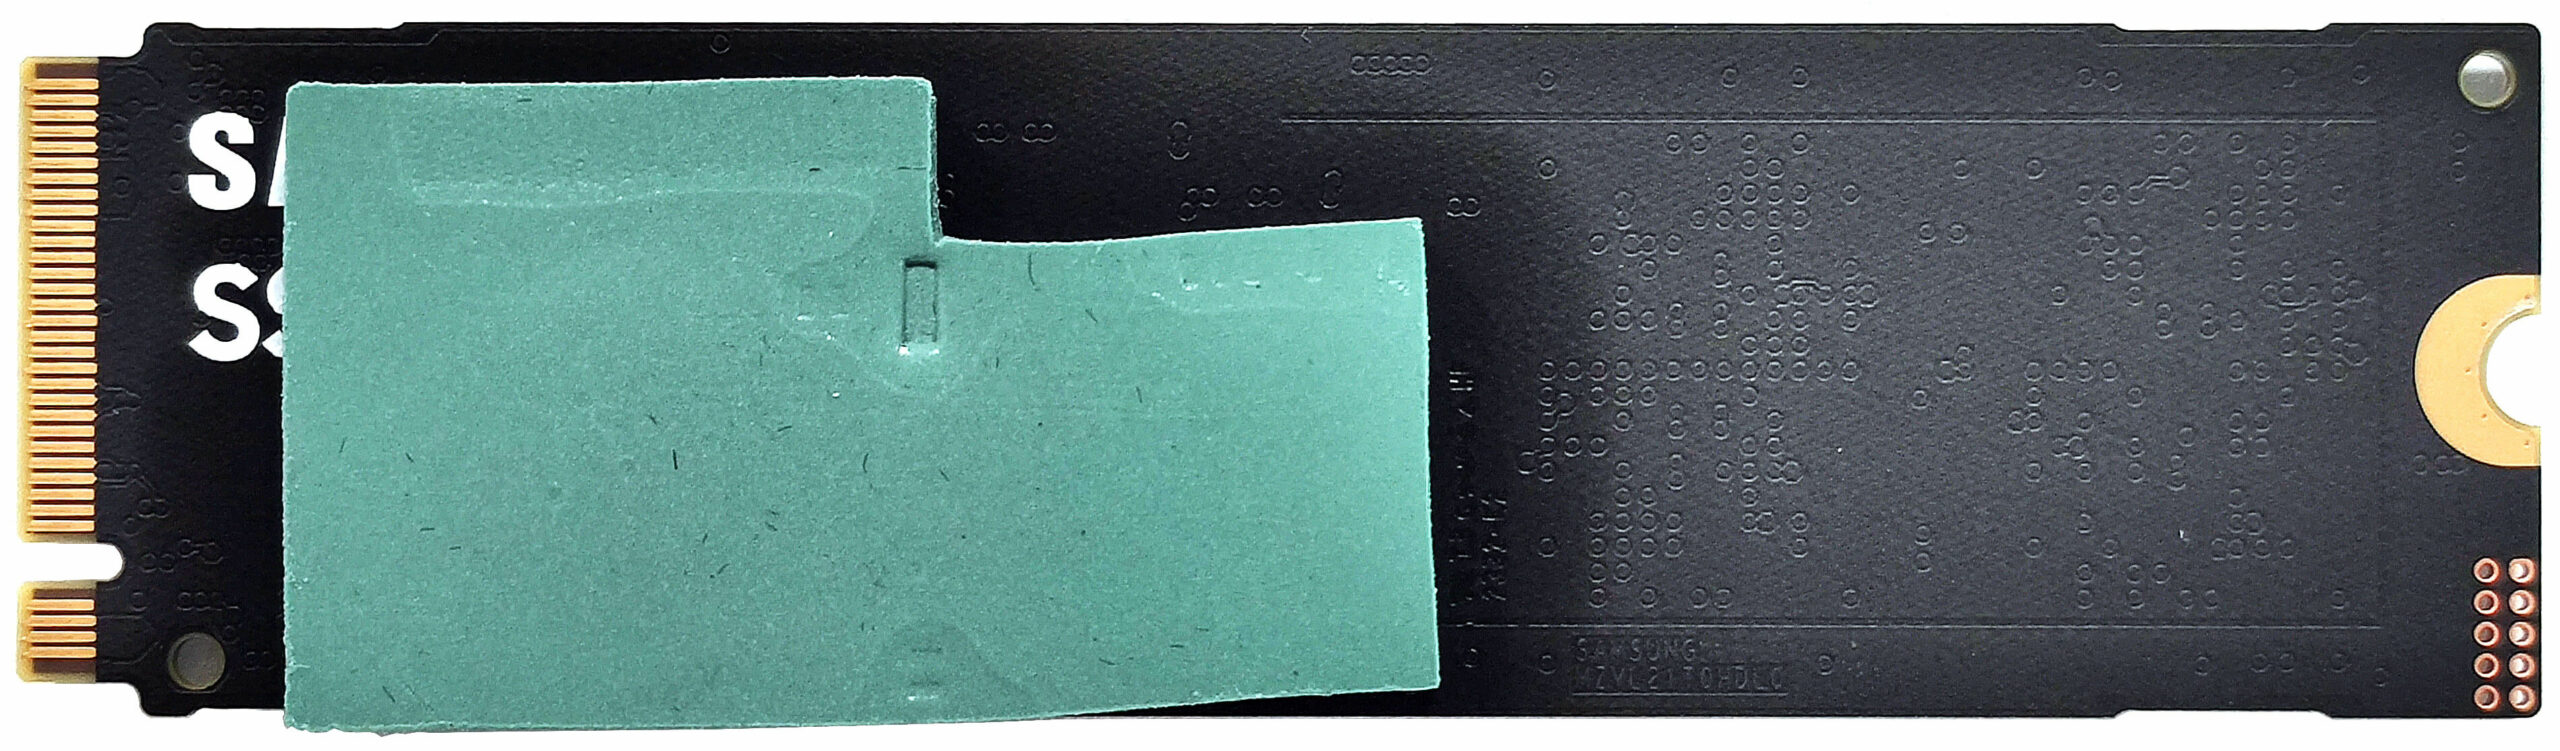
- Un tampon termic gros răcește suplimentar SSD-ul aici.
- Instalați noul SSD în unul dintre sloturi.
Indicație: Nu uitați să consultați clasamentul nostru de performanță al celor mai bune SSD-uri M.2 pentru a afla care sunt cele mai bune opțiuni de stocare disponibile.
Puteți cumpăra SSD-uri compatibile aici: Cumpărați de pe Amazon.com (#CommissionsEarned)
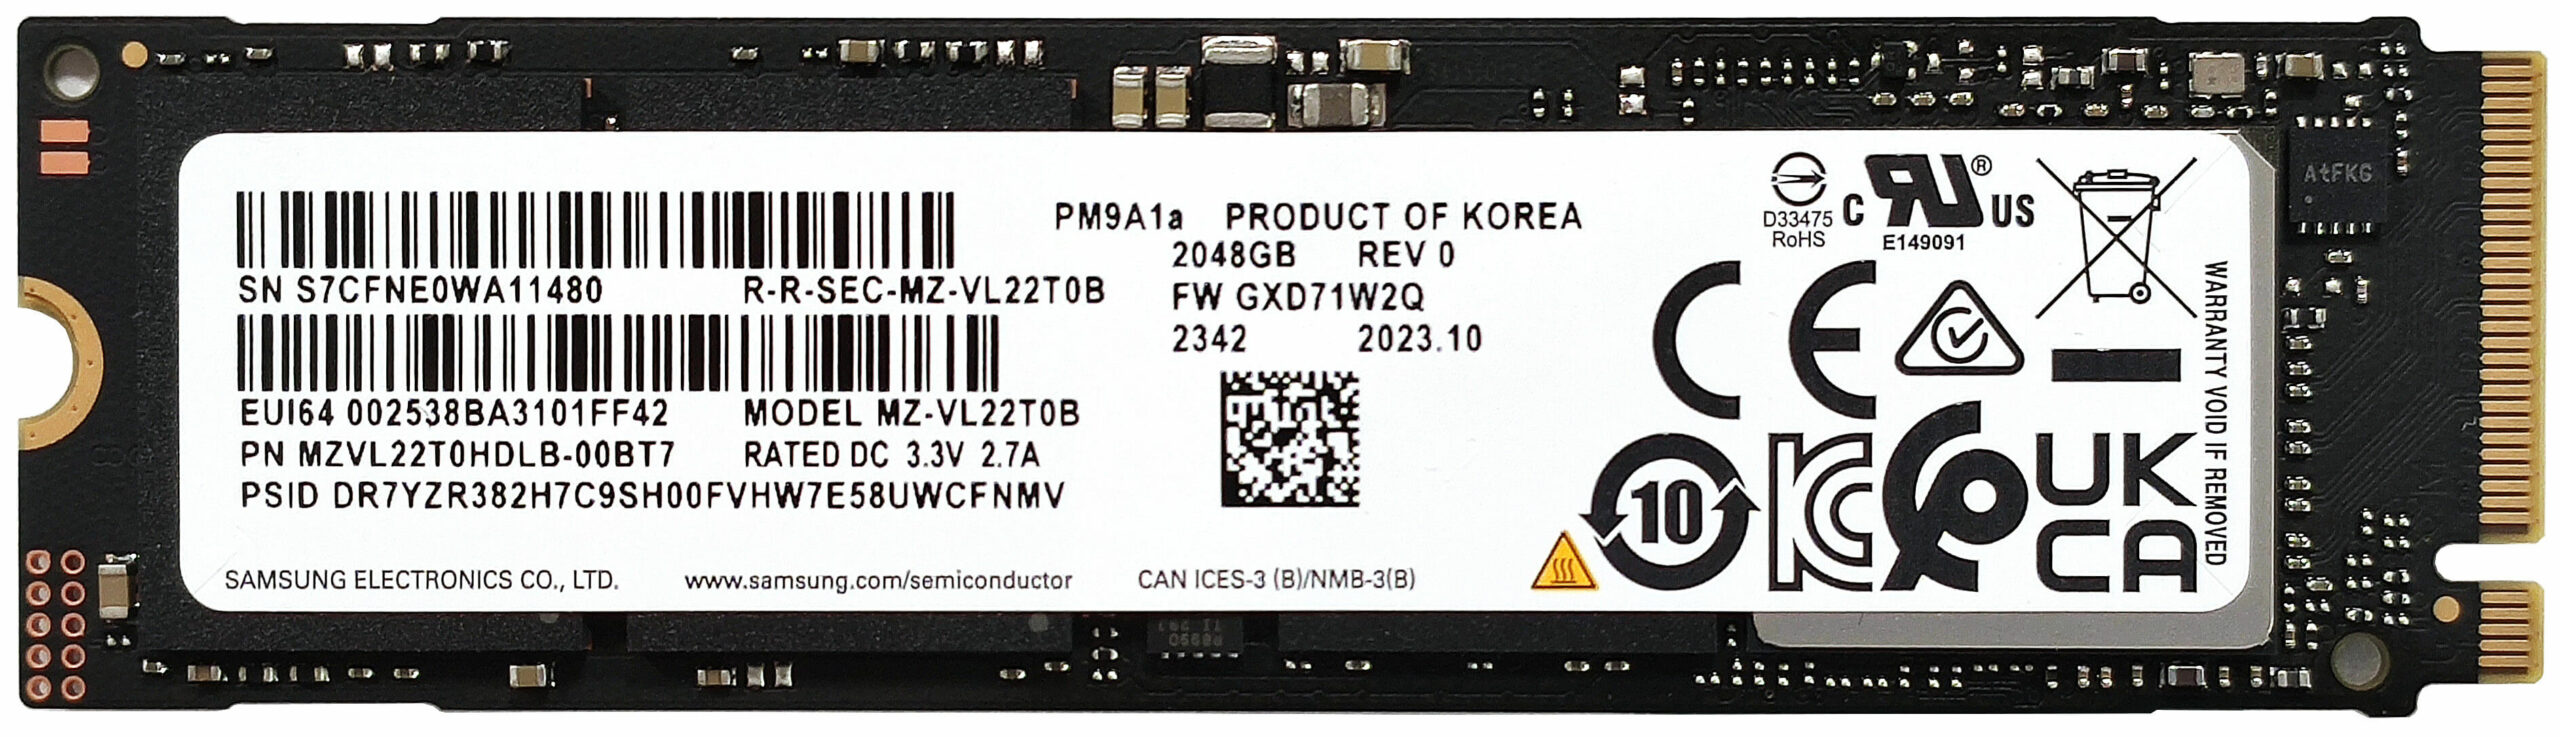
Card Wi-Fi
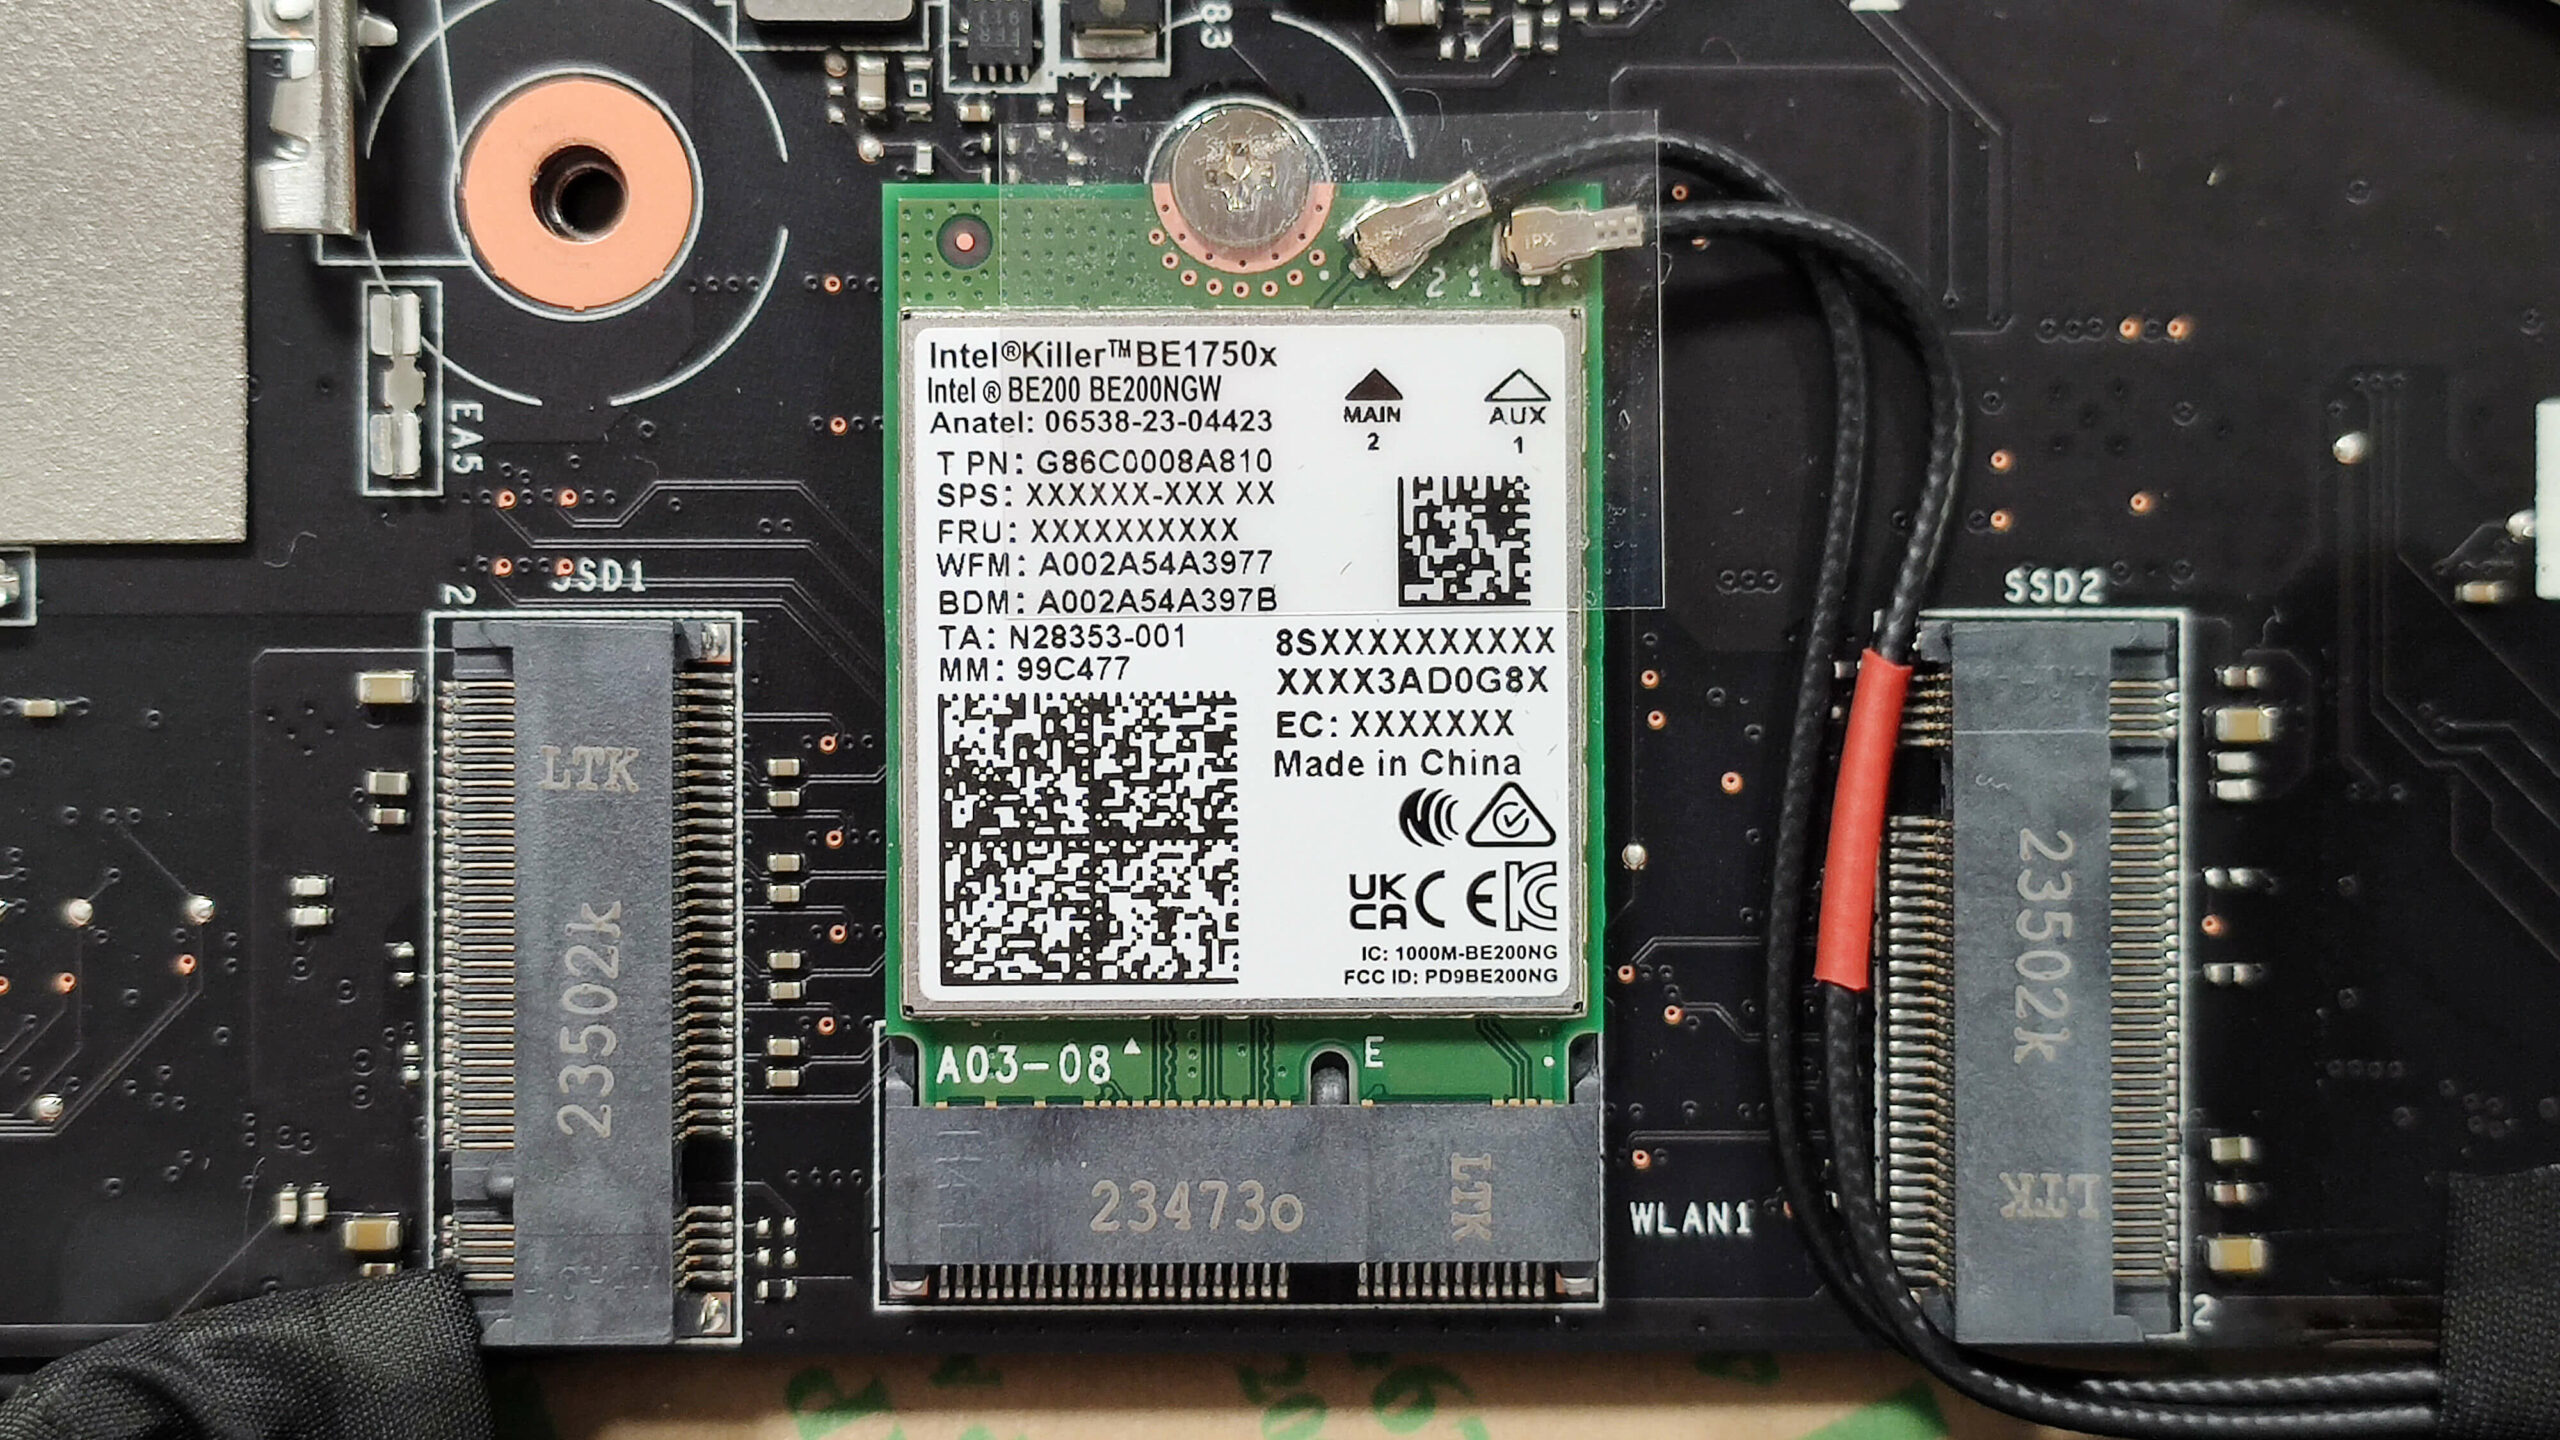
- Placa Wi-Fi este amplasată între cele două sloturi M.2.
Prezentare generală a sistemului de răcire
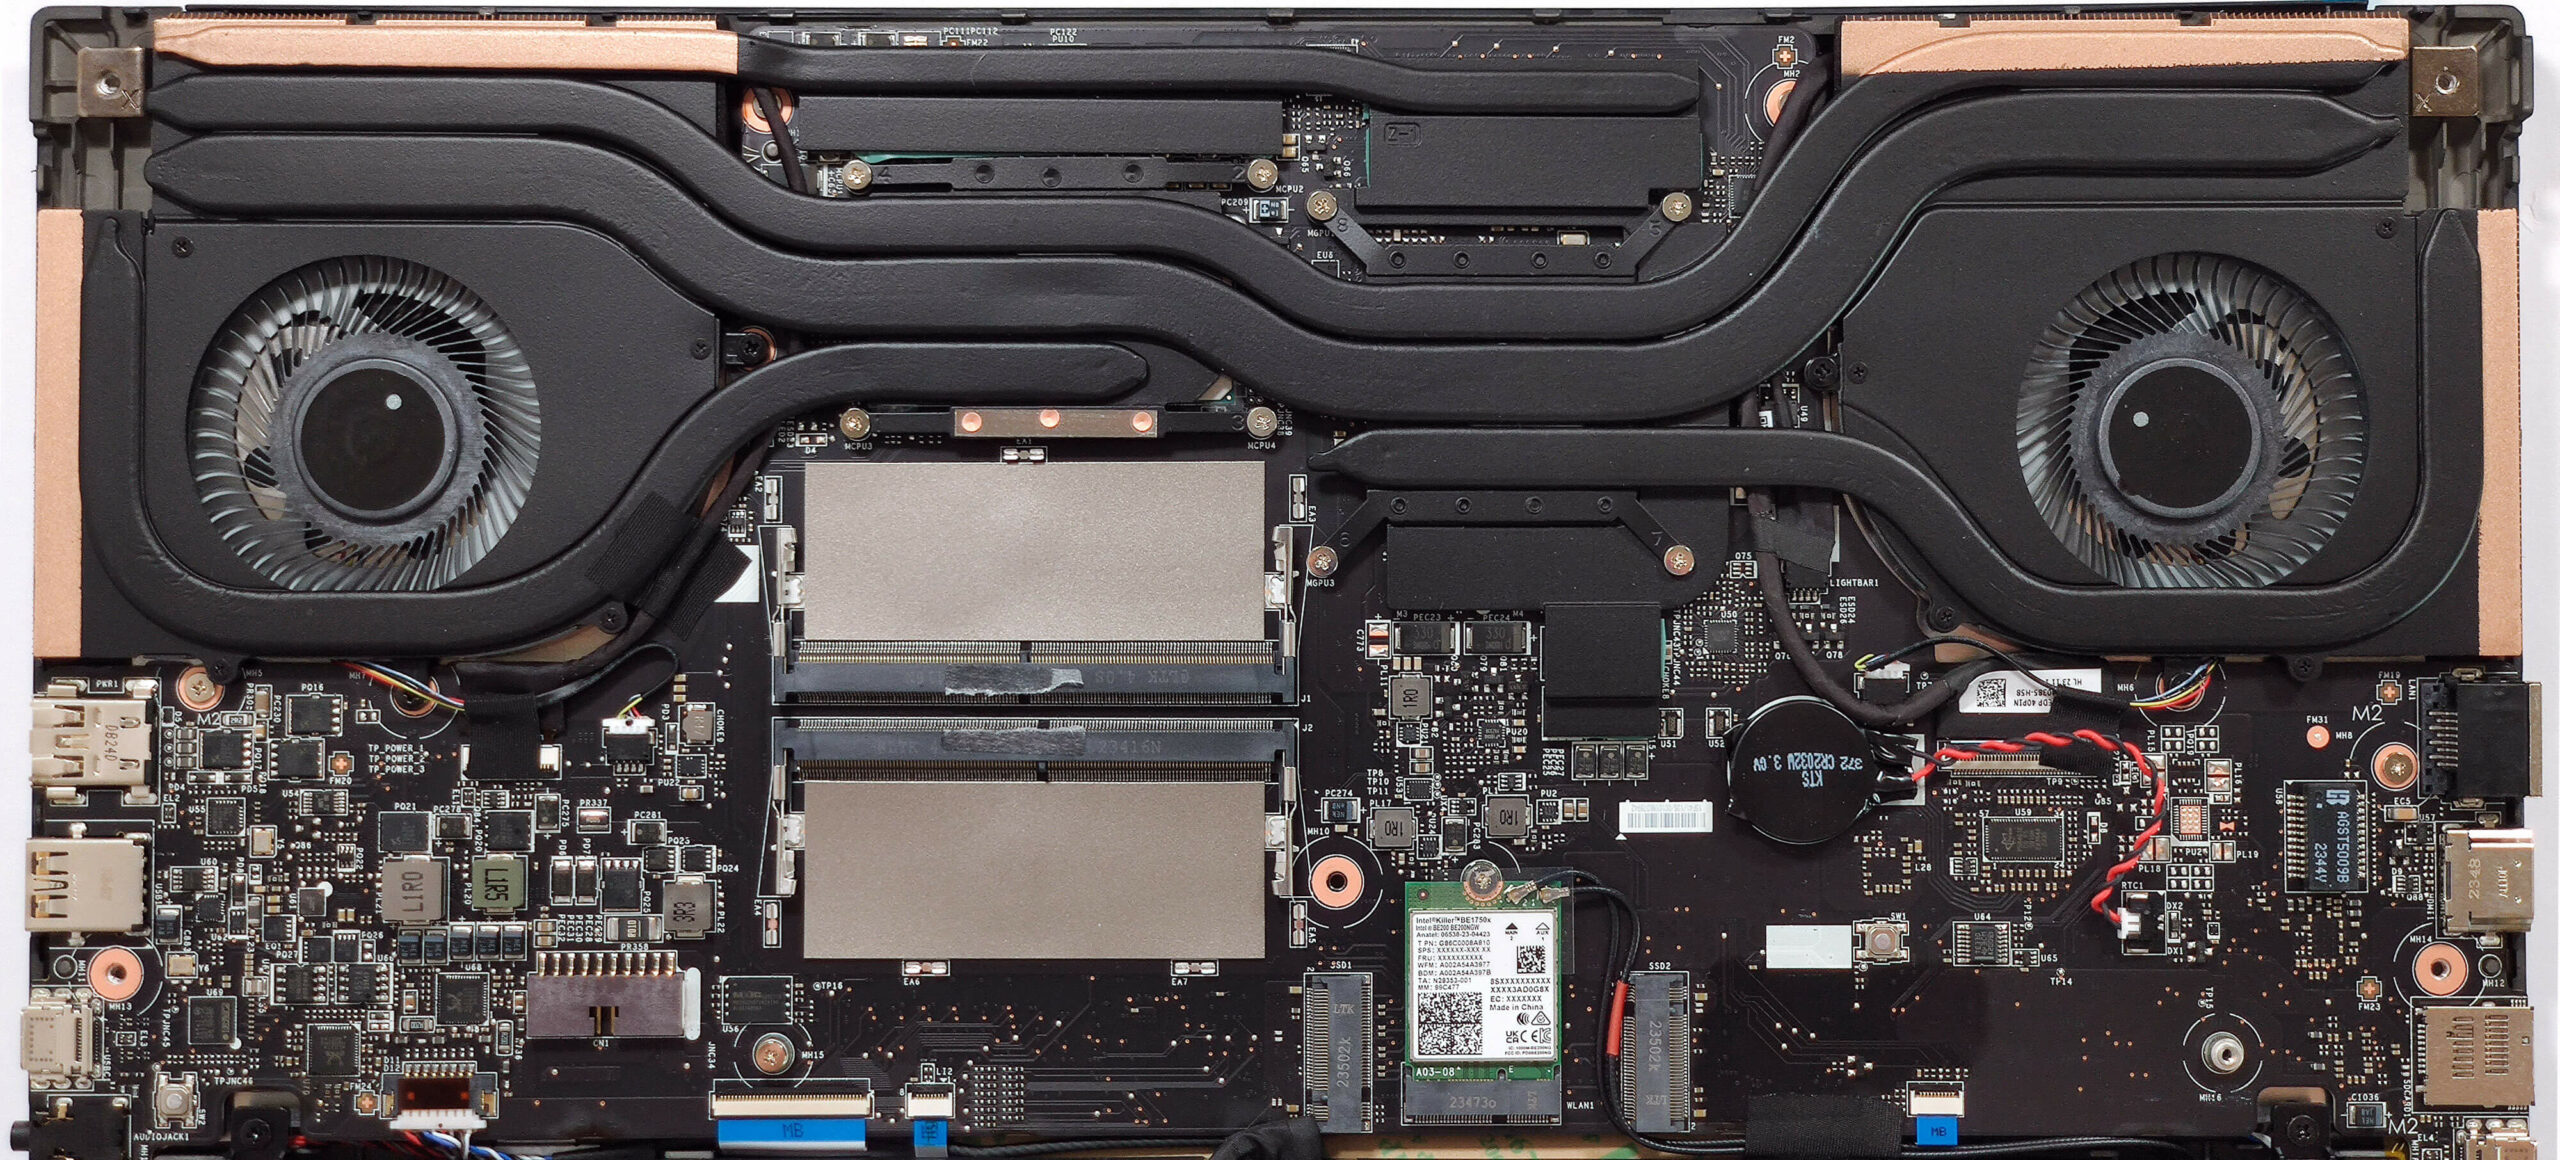
- Sistemul termic Cooler Boost 5 include două ventilatoare și trei conducte de căldură împărțite între CPU și GPU, împreună cu o conductă suplimentară pentru fiecare cip.
- Sistemul include, de asemenea, patru radiatoare și patru dispersoare de căldură.
- Asigurați-vă că toate componentele de răcire sunt curate și lipsite de praf pentru performanțe optime.
MSI Stealth 16 AI Studio (A1Vx) recenzie detaliată
The 14-inch MSI Stealth 14 AI Studio A1V is an impressively powerful small device with two major cons - a hot keyboard and very high noise levels during gaming or other GPU-heavy tasks.Now, it's time to test the Stealth 16 AI Studio A1V which offers similar hardware under the hood but since the chassis is bigger, we expect a positive impact on the thermals of the internals. Again, you can rely on 28W Meteor Lake CPUs and this time around, you can order the bigger sibling with up to a GeForce RTX 4090 which is a bold decision by the manufacturer given the sub-20mm chassis.You get a lot [...]
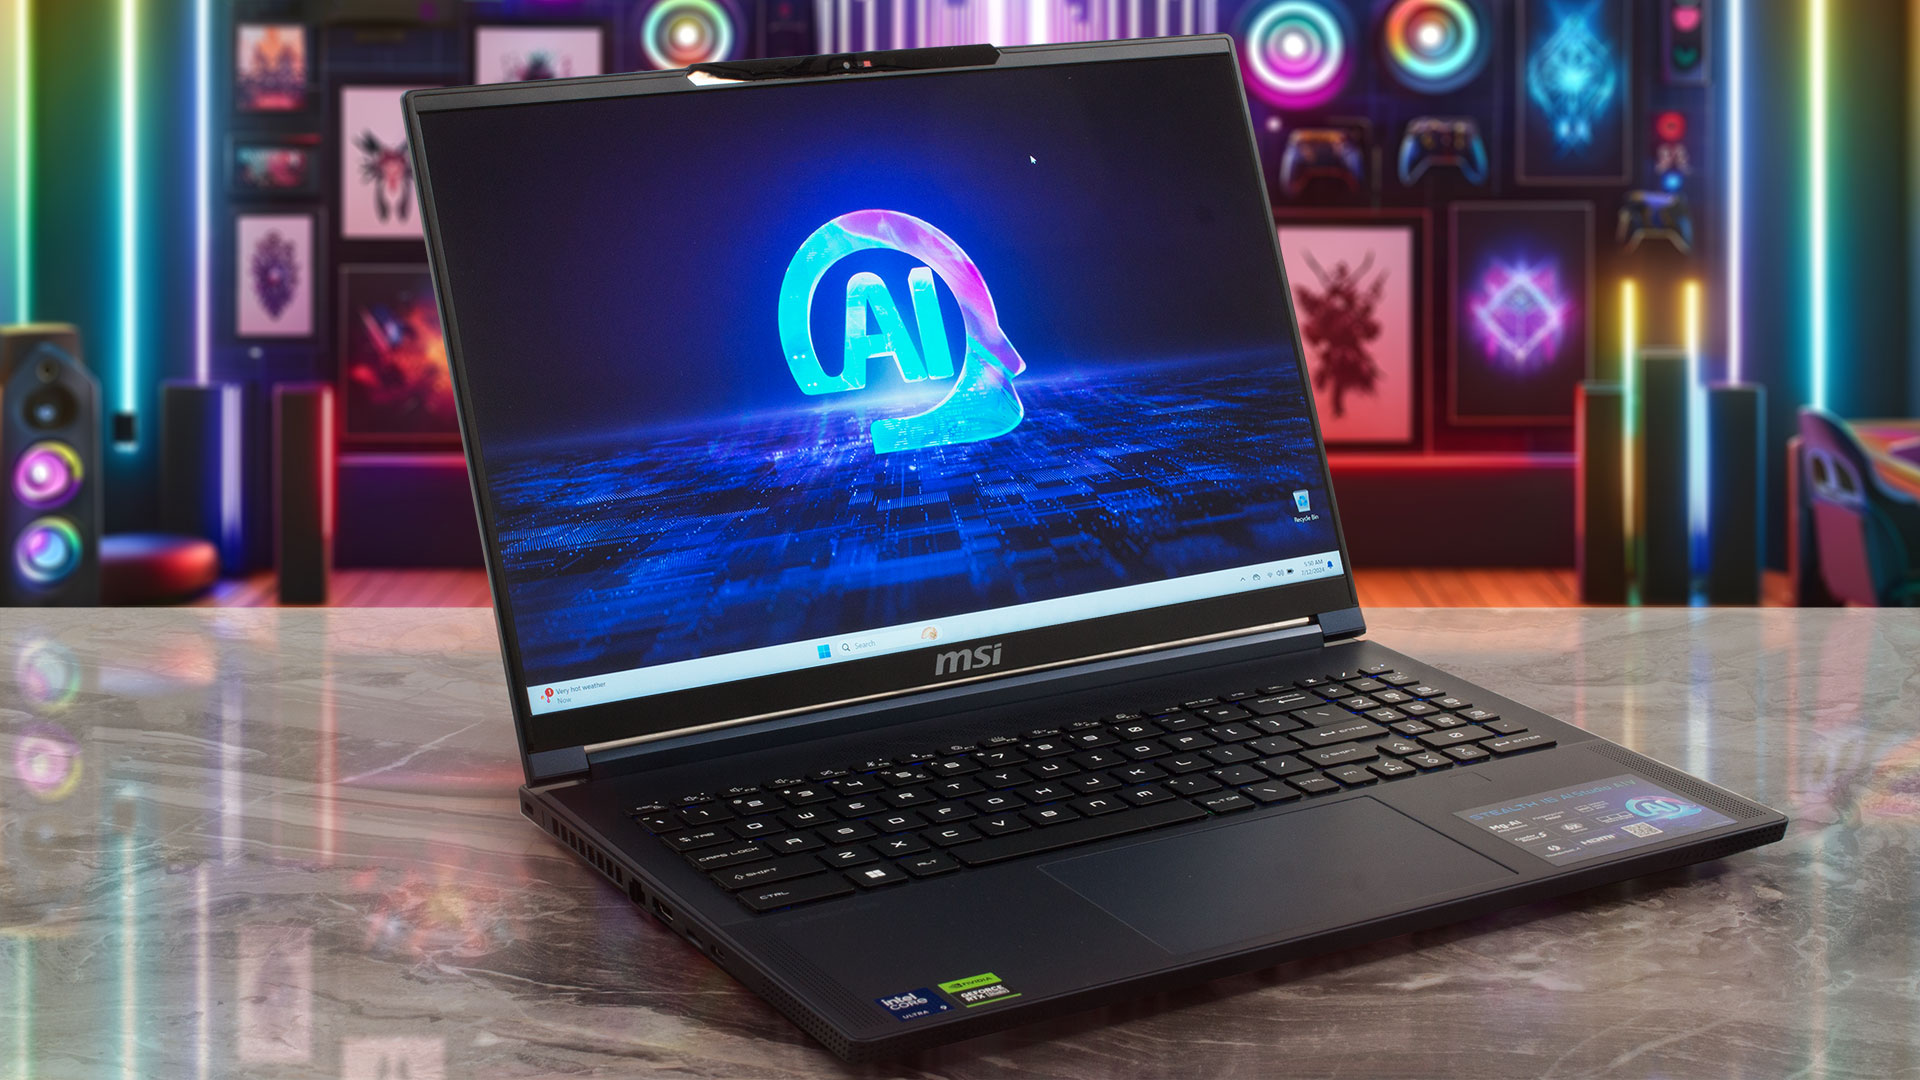
Avantaje
- Good CPU performance
- 2x SODIMMs + 2x M.2 slots
- 1600p resolution + 240Hz refresh rate (CMN162F)
- Full sRGB and 98% DCI-P3 coverage + accurate colors with our "Design and Gaming" profile (CMN162F)
- High max brightness of 510 nits (CMN162F)
- Great per-key RGB keyboard by SteelSeries + smooth and accurate touchpad
- Solid magnesium aluminum chassis
- The Core Ultra 9 185H can maintain a 3.2 GHz / 2.7 GHz P and E core clock during heavy loads
- The MSI Center offers plenty of customizations
- Thunderbolt 4, 1x Type-C port + HDMI 2.1
- 1080p IR Web camera with privacy shutter
- MUX switch
- Compact for a 16-inch form factor
- The fans don't spin in idle during light loads in "Silent" mode
Dezavantaje
- Loud fan noise during gaming in "Extreme Performance"
- No G-Sync or NVIDIA Advanced Optimus support
- Just three USB ports
- High GPU memory temperatures which lead to TGP throttling
 Author: Severin Kolakov

![[August 2026] Clasamentul global al celor mai bine vândute plăci grafice pentru laptopuri de pe Amazon – Apple domină clasamentul, iar modelul RTX 5060 de la NVIDIA ocupă primul loc în clasamentul dedicat](https://laptopmedia.com/wp-content/uploads/2026/09/Best-Selling-GPUs-GLOBAL-Top-10-400x225.jpg)
![[August 2026] Clasamentul global al celor mai bine vândute procesoare pentru laptopuri de pe Amazon – Apple domină atât segmentul economic, cât și cel premium: A18 Pro și M5 surclasează Intel și AMD în august 2026](https://laptopmedia.com/wp-content/uploads/2026/09/Best-Selling-CPUs-GLOBAL-Top-10-400x225.jpg)
![[August 2026] Amazon Global: Top 10 cele mai vândute laptopuri – Apple MacBook Neo domină clasamentul, în timp ce laptopurile Windows din gama economică și de mijloc se luptă pentru volumul vânzărilor](https://laptopmedia.com/wp-content/uploads/2026/09/Best-Selling-Laptops-GLOBAL-Top-10-400x225.jpg)
![[August 2026] Cele mai vândute mărci de laptopuri pe Amazon Global – Apple domină în ceea ce privește veniturile, în timp ce HP se află pe primul loc în ceea ce privește varietatea de modele](https://laptopmedia.com/wp-content/uploads/2026/09/GLOBAL-Best-Brands-400x225.jpg)
![[August 2026] Amazon Global: Top 10 cele mai bine vândute laptopuri pentru jocuri – HP Victus 15 ocupă primul loc, în timp ce modelele accesibile domină clasamentul](https://laptopmedia.com/wp-content/uploads/2026/09/Best-Selling-Gaming-Laptops-GLOBAL-Top-10-400x225.jpg)
Great explanation, it’s really useful and everything seems quite clean while you were doinf the disassembly.
I just have one question though : How thick is the thermal pad on the SSD ? 1 mm ? 2 mm? 3 mm?
I think since they do not include a thermal pad for the second SSD, it’s an information that should be included in your explanation so that others, who will take on the task of upgrading the laptop on their own, would like to have before they disassemble their laptop. So that they could procure one with the same thickness.
Good point. Unfortunately, we can’t say for this one but we’re restructuring the process so we’ll keep that in mind, thank you!
Hey, amazing. But can someone please point me towards finding out how I can change the display on this laptop ?