Inside Dell Inspiron 13 7391 2-in-1 – disassembly and upgrade options
One of the first Dell 2-in-1’s that feature a special hinge, which lifts the backside of the base. It is questionable how effective this is, but let’s take a look at the inside, shall we?
Check out all Dell Inspiron 13 7391 2-in-1 prices and configurations in our Specs System or read more in our In-Depth review.

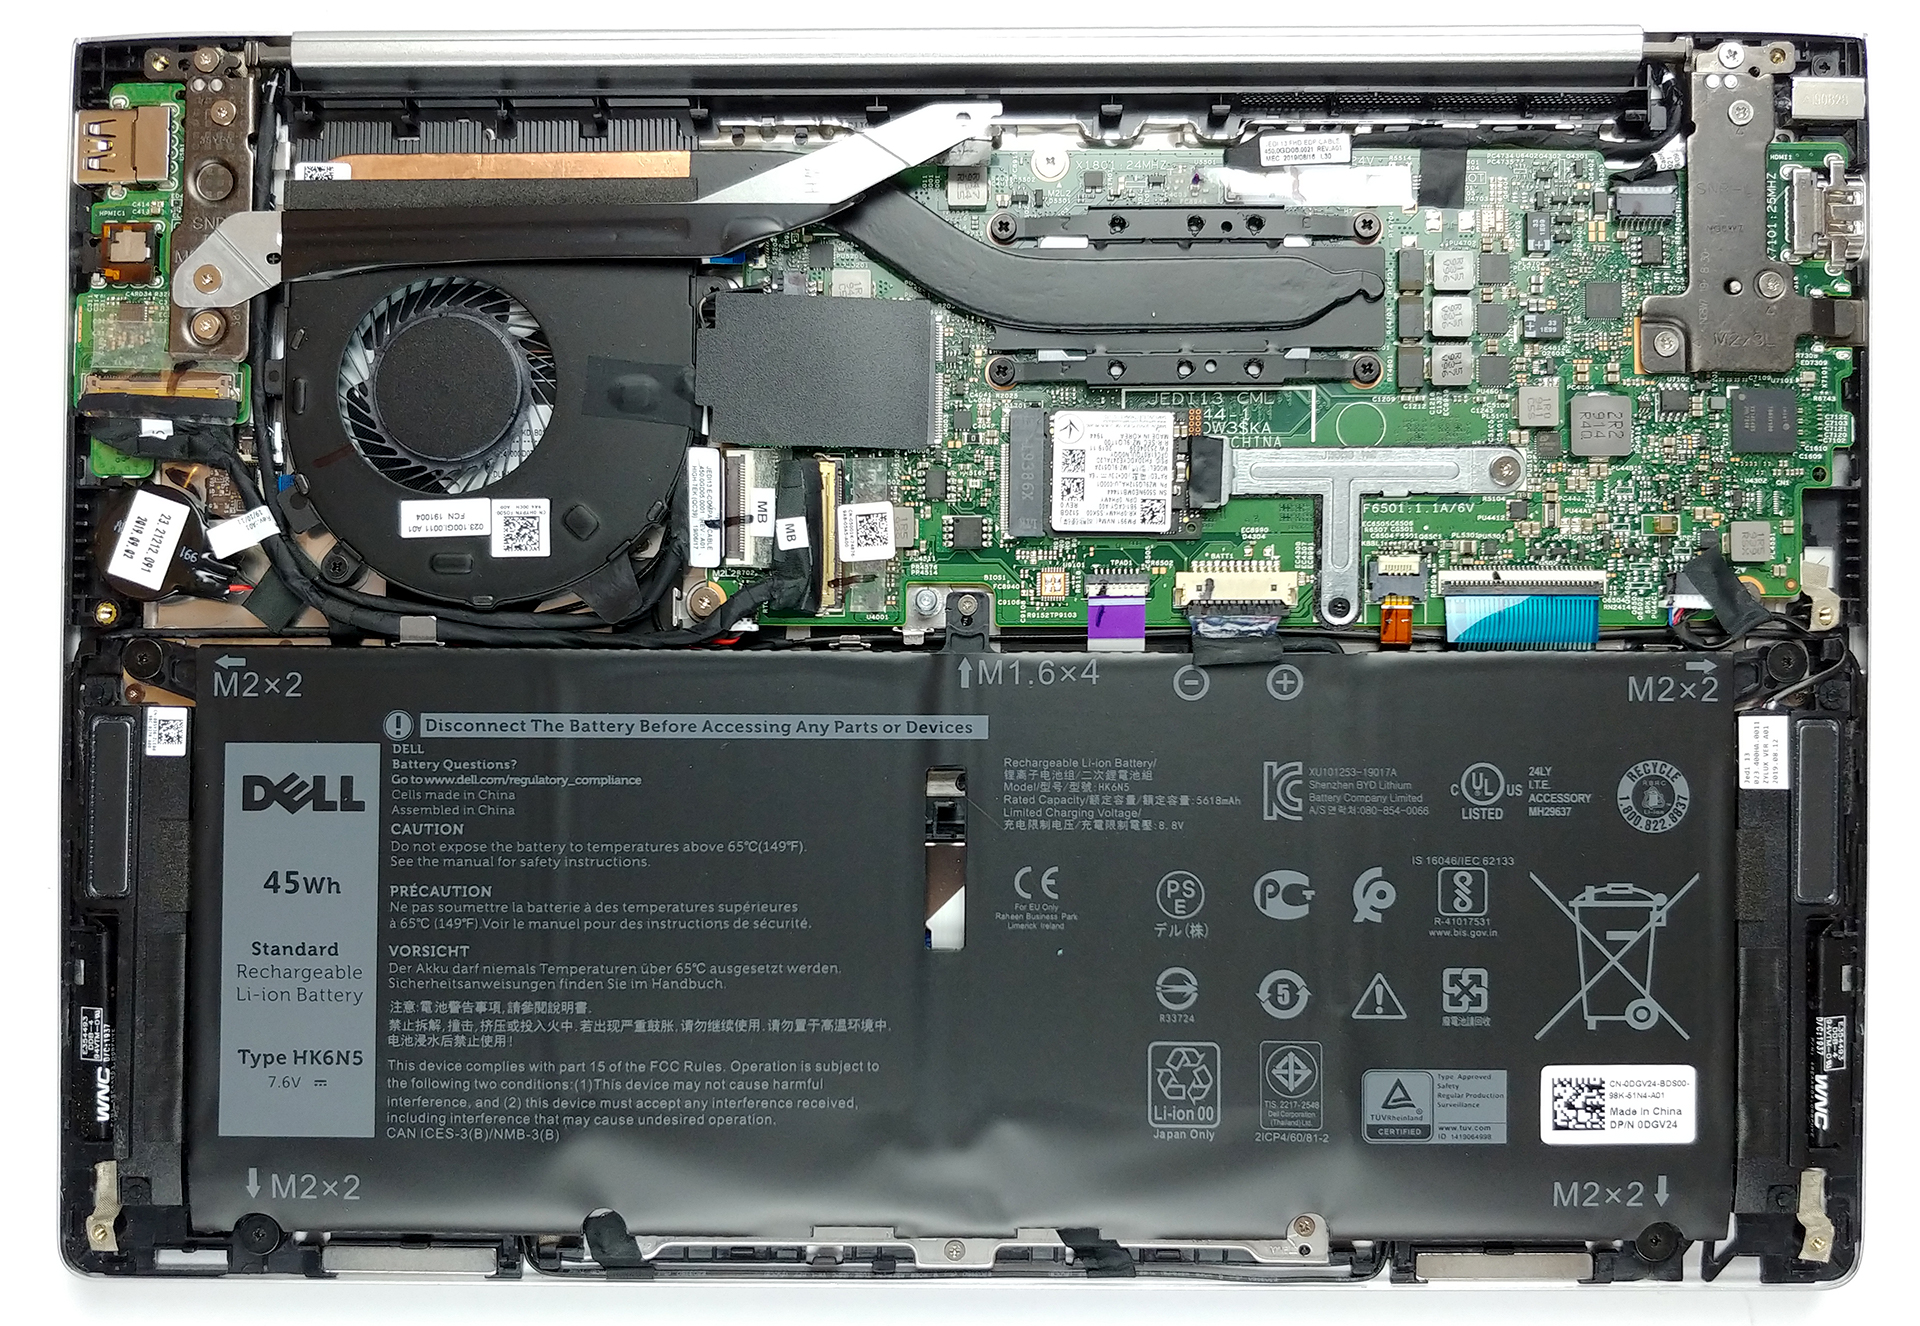
1. Remove the bottom plate
Getting inside of this device is made extremely easy by attaching the bottom panel with only 7 Phillips-head screws. After you unscrew them, remove the panel with the help of a plastic pry tool. Don’t be afraid to use some force, this sucker is tough.
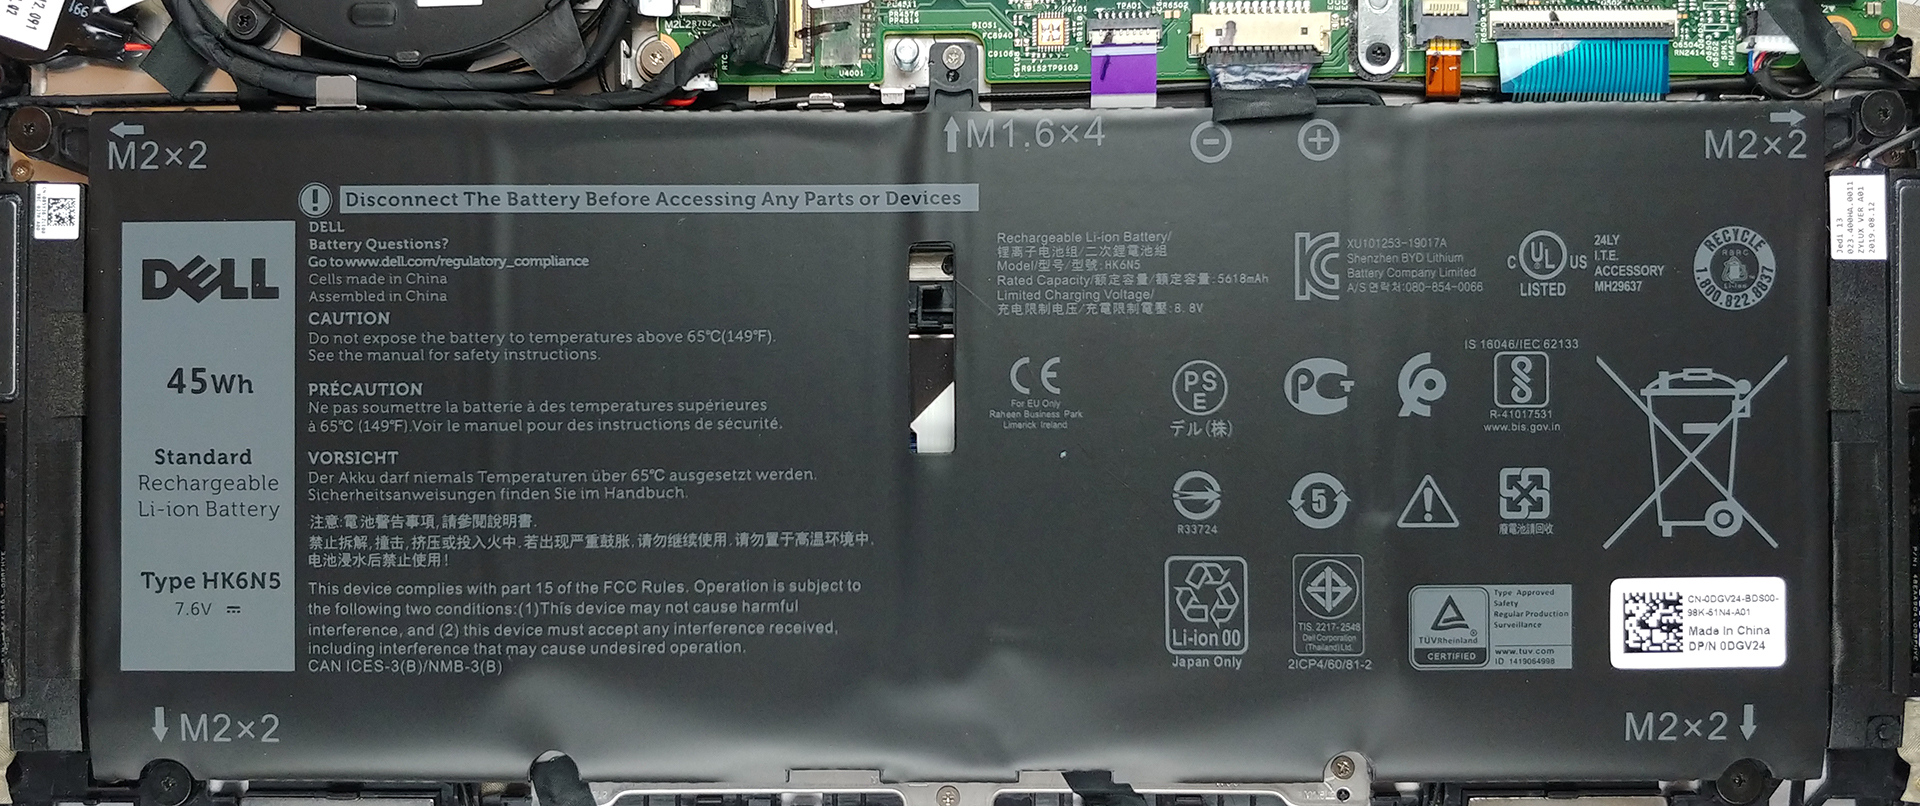
2. Battery
Lastly, there is a 45Wh battery pack that powers the 13-inch notebook, when it’s off the grid.
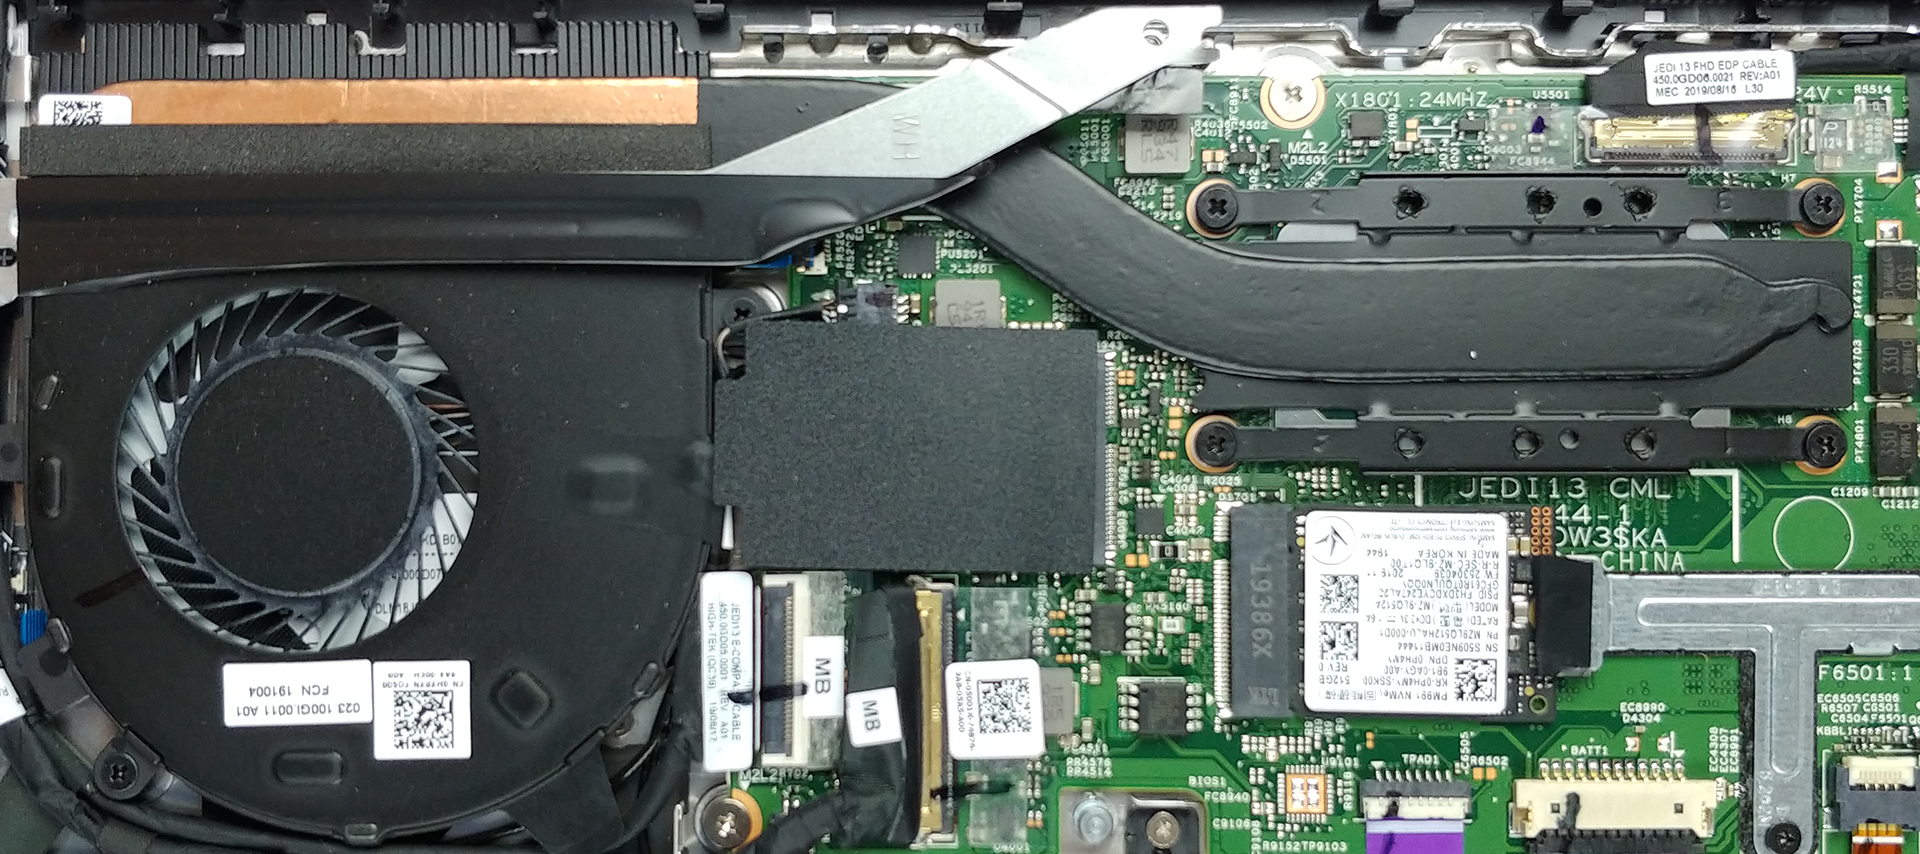
3. Memory and storage
Sadly, all of the memory of this notebook is soldered to its motherboard. On the bright side, you can pop up to 1TB of PCIe x4 NVMe SSD in its M.2 slot. In addition to M.2 2280 drives, the notebook supports M.2 2230 drives, thanks to the weird T-shaped bracket you can see on the image below.

4. Cooling system
In terms of cooling, there is a single heat pipe (that is pretty bulky). It takes the heat away from the processor and delivers it to the heat sink, which then dissipates it with the help of a medium-sized fan.
Check out all Dell Inspiron 13 7391 2-in-1 prices and configurations in our Specs System or read more in our In-Depth review.