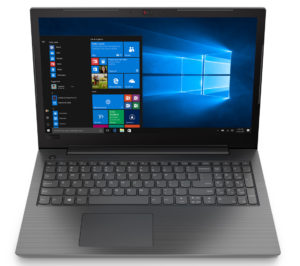
Inside Lenovo V130 (15) – disassembly and upgrade options
Value, or cheap piece of machinery? You decide.
Check out all Lenovo V130 (15) prices and configurations in our Specs System or read more in our In-Depth review.
1. Remove the bottom plate
First, you need to remove the optical drive tray. It is held in place by a single Phillips-head screw. Then, there are 13 more Phillips-head suckers waiting for you all around the panel.
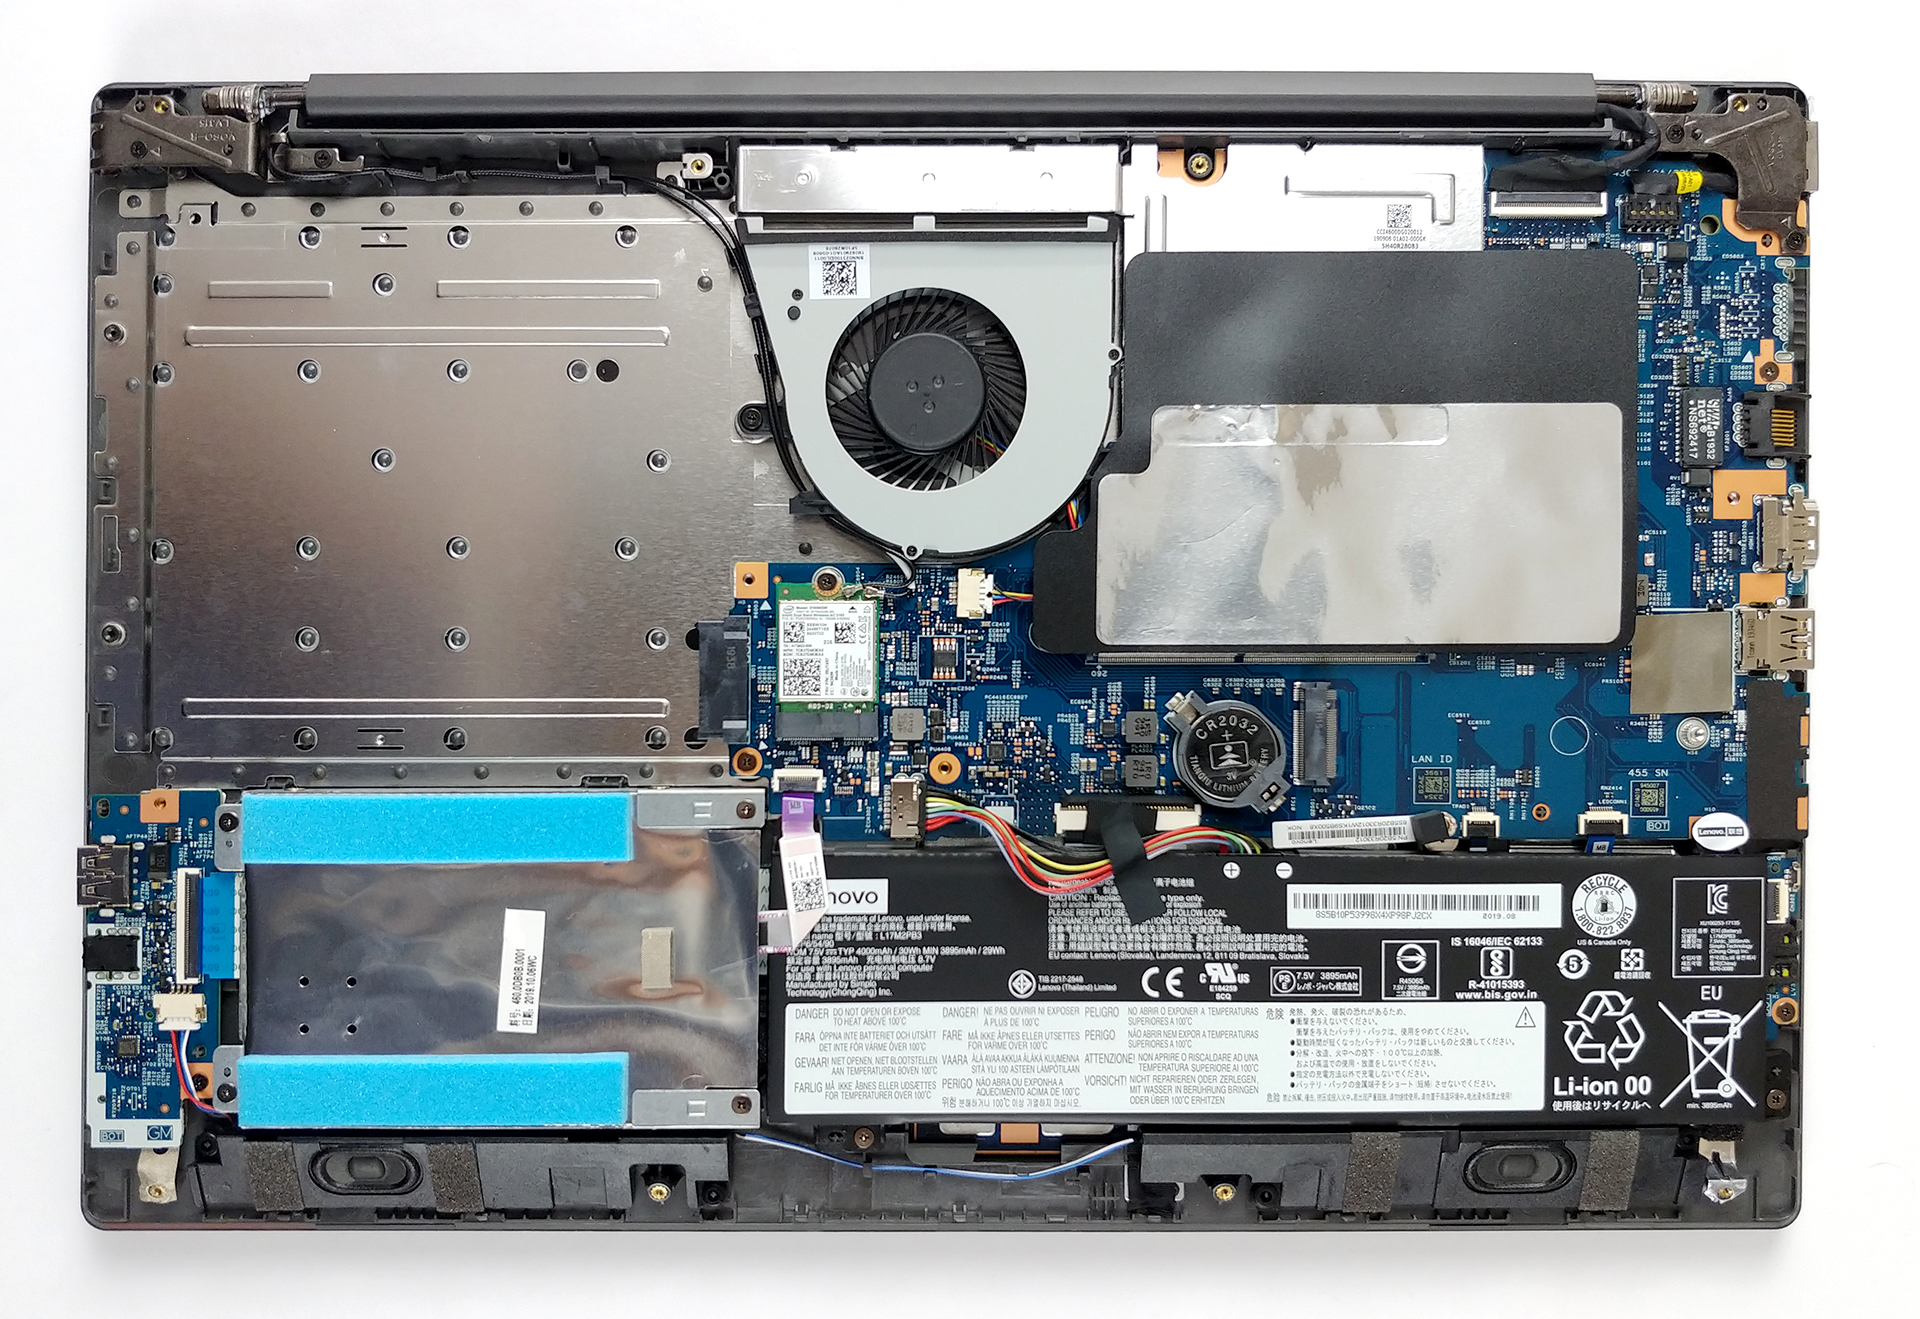
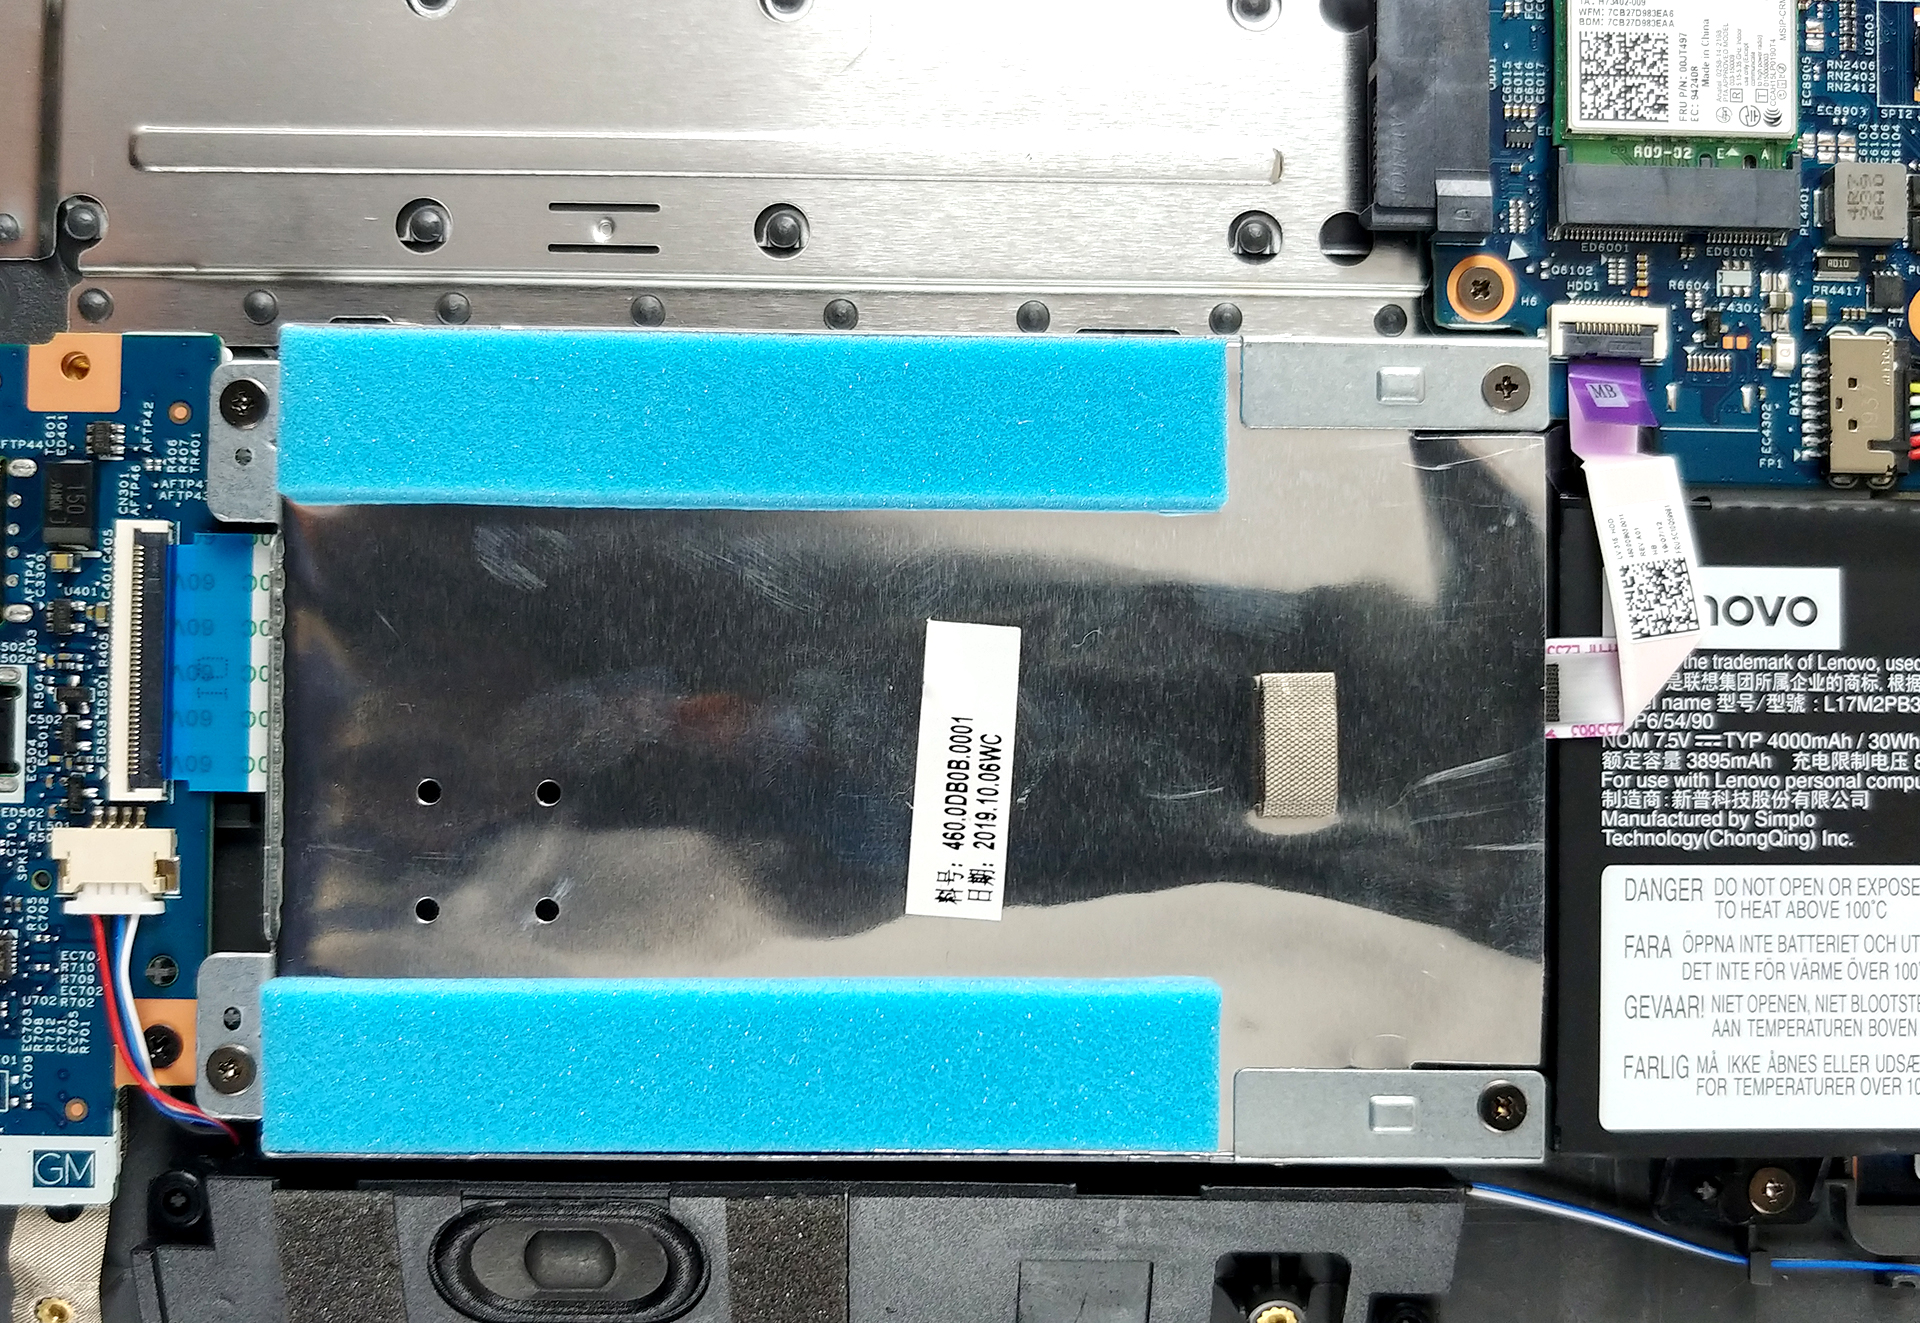
2. Battery
Sadly, the battery has merely 30Wh of capacity.

3. Memory and storage
To access the memory, you have to peel the insulation shield. While on the storage side, there is an M.2 slot for quick storage and a 2.5″ SATA drive slot.

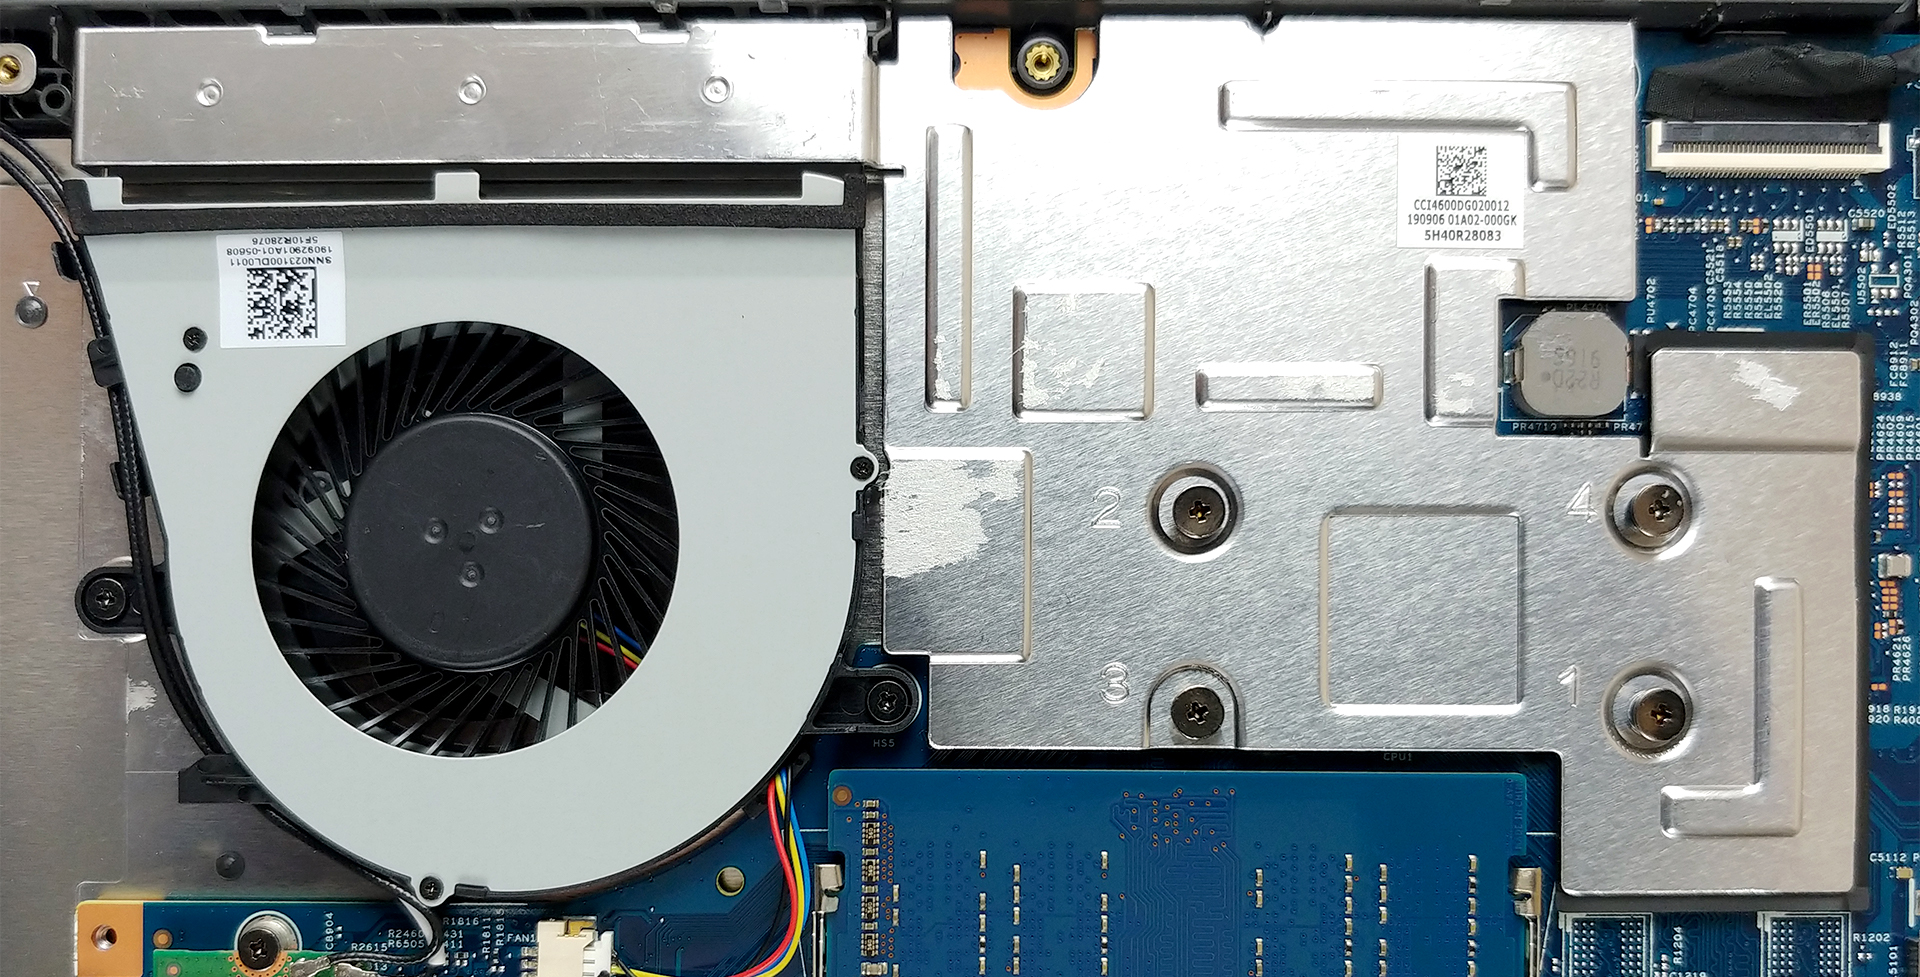
4. Cooling system
As of the cooling – we are seeing the same wanky system seen on the Acer Aspire 3 (A315-34). It features a fan that just spins the air around the chassis, a large cooling plate, dissipating the heat from the processor.
Check out all Lenovo V130 (15) prices and configurations in our Specs System or read more in our In-Depth review.


![[Juin 2026] Les marques d’ordinateurs portables les plus vendues sur Amazon Global – La domination sans égale d’Apple en termes de volume de ventes et de chiffre d’affaires](https://laptopmedia.com/wp-content/uploads/2026/07/GLOBAL-Best-Brands-400x225.jpg)
![[Juin 2026] Amazon Global : le top 10 des ordinateurs portables les plus vendus – Le nouveau MacBook Neo d’Apple s’empare de la première place et redéfinit le marché grâce à son prix abordable](https://laptopmedia.com/wp-content/uploads/2026/07/Best-Selling-Laptops-GLOBAL-Top-10-400x225.jpg)
![[Juin 2026] Amazon Global : le top 10 des ordinateurs portables de jeu les plus vendus – Le Nitro V 16S AI d’Acer domine les ventes, tandis qu’ASUS arrive en tête en termes de chiffre d’affaires global](https://laptopmedia.com/wp-content/uploads/2026/07/Best-Selling-Gaming-Laptops-GLOBAL-Top-10-400x225.jpg)
![[Juin 2026] Classement mondial des cartes graphiques pour ordinateurs portables les plus vendues sur Amazon – La NVIDIA RTX 5060 est la carte graphique dédiée la plus vendue](https://laptopmedia.com/wp-content/uploads/2026/07/Best-Selling-GPUs-GLOBAL-Top-10-400x225.jpg)
![[Juin 2026] Classement mondial des processeurs d’ordinateurs portables les plus vendus sur Amazon : l’Apple M5 domine, tandis que l’AMD Ryzen 7 260 s’impose dans le segment haut de gamme](https://laptopmedia.com/wp-content/uploads/2026/07/Best-Selling-CPUs-GLOBAL-Top-10-400x225.jpg)
