Inside Lenovo Yoga 710 (11-inch) – disassembly, internal photos and upgrade guide
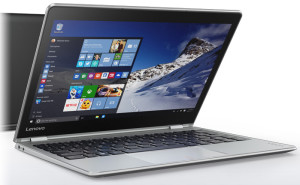
We showed you the new Yoga 510/710 notebooks at MWC 2016 in Barcelona, and perhaps you’ve already read our first impressions of the smaller one – the 11-inch Yoga 710. Now it’s time to take a look under the hood and see what Lenovo has managed to cram inside the little machine. We remind you that the new Yoga is equipped with a Full HD IPS panel, Intel Skylake processor, 8GBs of RAM and 256GB SSD storage. All of that is accompanied by a 40Wh battery, which lasts up to 8 hours on a single charge, according to Lenovo. How did the Chinese manufacturer squeeze that into a 1024g / 14.9mm chassis?
You can check the availability of Lenovo Yoga 710 and its price here: http://amzn.to/1L74D6e
1. Removing the bottom
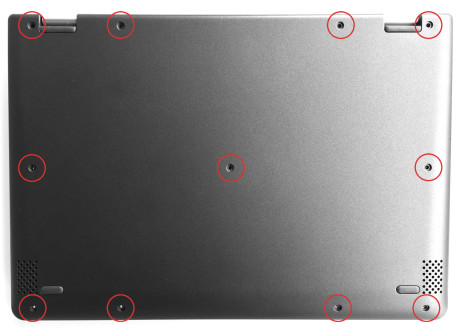
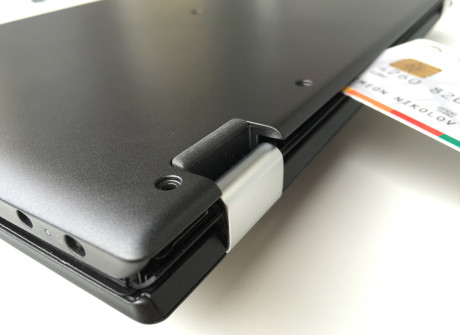
We don’t expect many upgrade options from the Yoga 710, but it looks like it can be easily opened, so we’ll naturally take a look inside. You just have to remove 11 Torx screws and, with the help of a random plastic tool at your disposal, pry up the bottom.
2. Get access to everything you may need
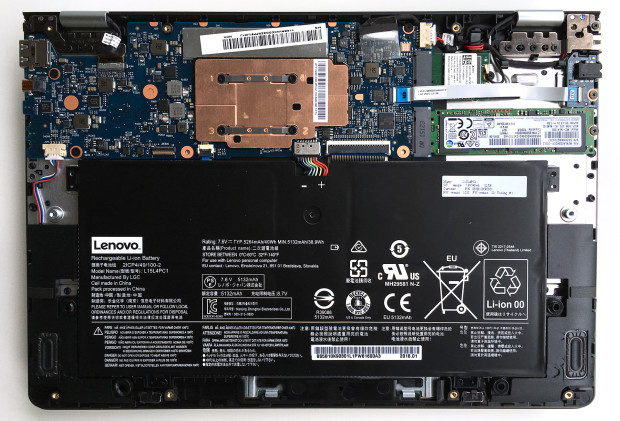
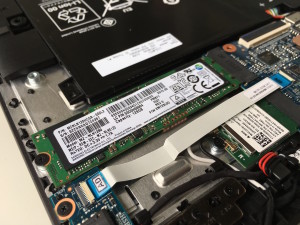
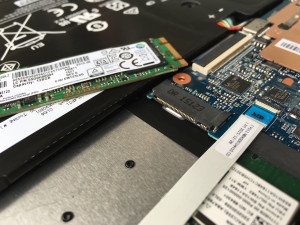
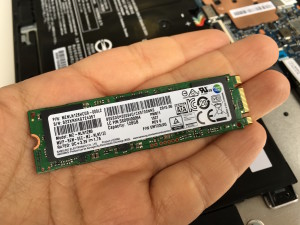
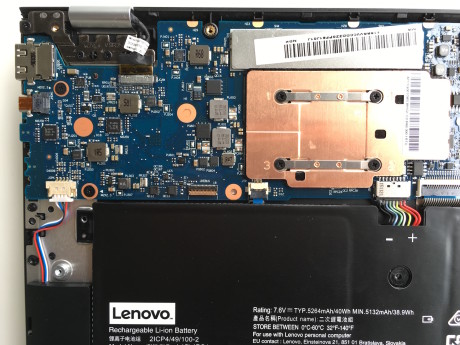
Now you can reach everything you might need, but this doesn’t mean that you can upgrade it. You can replace the battery or change the Wi-Fi module and the SSD storage. Unfortunately, the latter isn’t PCIe but SATA, so we don’t expect great transfer speeds.
The battery takes most of the space on the inside and as we said in our first impressions article, there aren’t any fans – the Intel Core M processor doesn’t require active cooling. It has a TDP of 4.5W so the cooling system can do its work without moving parts, which makes the Yoga 710 more reliable for work on the go.
Here are the main components we found in our Lenovo Yoga 710 unit:
- Storage: 128GB Samsung M.2 SSD MZ-NLN1280 (SATA)
- Battery: 40 Wh / 5264 mAh LGC L15L4PC1
- Wi-Fi: Realtek RTL8821AE 1x1AC + BT4.0
Specs sheet
| CPU | Intel Core M Skylake |
|---|---|
| RAM | 8GB (1x 8192MB) – DDR3 |
| GPU | Intel HD Graphics 5300 |
| HDD/SSD | 128GB SSD (M.2 Samsung) |
| Display | 11.6-inch IPS multi-touch, Full HD (1920×1080) resolution, glossy |
| Optical Drive | – |
| Connectivity | 1×1 Wi-Fi 802.11ac, Bluetooth 4.0 |
| Other features |
|
| Battery | 40Wh |
| Thickness | 14.9 mm (0.59″) |
| Weight | 1042 g (2.3 lbs) |

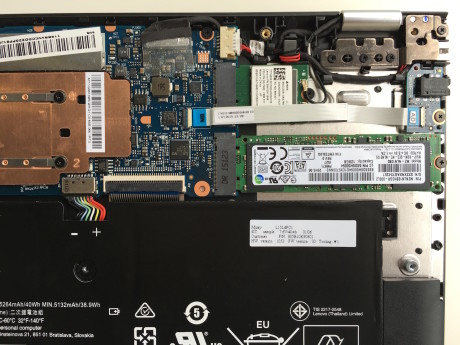





The 256GB SSD is a Hynix drive, specifically the HFS256G39MND-3310A
But how do I access the RAM?
Any idea how to add RAM? Everything I have read says it is upgradeable to 16GB.
It’s not possible to add RAM, in the photos above it is very clear that the RAM is soldered to the motherboard (and covered by a metal plate) and there’s no extra RAM slot.
Can you switch the processor?
it is soldered
So… The Lenovo yoga 710 15′ with 7th generation Intel proccesors, won’t support an nvme ssd like the Samsung 950 pro ????????
what torx screw is it
its a T5
My screen goes blank when I am using my Lenovo in laptop mode and close it to less than a 90-degree angle. can get it to come back on when I flatten the screen out. I am in Mexico for a month and just had it looked at here since it is under warranty. The technician thinks it is something called a flexor, which is a flat piece that folds in the middle and lets the laptop know when it is open or closed. But he can’t fix it because it would take him at least 3 weeks to get… Read more »
I am having the same Problem Suzanne, also happened to me on vacation, sometimes it works properly sometimes it doesn’t
Mine went from being occasionally blank to totally blank, so I returned it to Lenovo when I got back to th U.S. I received it back with a note that said, “Repair Operation: Updated Component Drivers to Most Current,” which seemed very strange to me because I have everything set to auto update and had updated all my drivers from the Lenovo website. But my laptop worked perfectly and still had all of my personal settings and files, so I was a happy camper.
Good luck.
i noticed other pictures of this motherboard and it has the metal frame taken off so what is really going on? i tried to unscrew the metal frame which i did but nothing happend either… so the piece of metal with COPPER COLOUR did NOT come out. I thought it would be taken out normally but it didnt so is there a way to LOCATE THE FREAKING RAM? BECAUSE I DISSEMBLE IT ALREADY but i couldnt find the RAM… so how in the other pictures they took out the ram? if its SOLDERED? IM NOT GONNA SOLDER ANYTHING.. JUST SWAPPING.
mbe i’m an idoit, i’ve been told b4, but what is so difficult about upgrading ram that is soldered? i’ve soldered solid state chips in the past… has anyone tried it for this Lenovo YOGA 710-11IKB ??