Vlogging for beginners – what gear do you need?
 Vlogging seems to be growing more and more popular with each passing day. Pioneers such as Casey Neistat have inspired many to go out, grab a camera, and start a vlog about whatever they’re crazy about – fashion queens showing makeup techniques, travelers sharing all the amazing places they’ve been to, freaks making hilarious vids, and what not.
It is namely this increasing interest in vlogging that inspired the writing of today’s not so short article. With it, we want to help you in choosing the appropriate gear for your budget. There are four main areas of the production of vlogs that we would like to discuss today – Cameras, Lighting, Sound, and Editing. We will also explain what one should look for and give a couple of gear examples from different price ranges. What’s more, we have provided a specially filtered search in our laptop database for notebooks appropriate for video editing.
Contents
Cameras
 Your camera gear is of utmost importance as it is responsible for the video quality. Naturally, if your aim is to reach a vast group of people. There are several key characteristics you should be looking for – image quality, weight, autofocus capabilities, and articulating screen.
Starting from the question of image quality. It depends on many factors but most importantly on the camera sensor and the lens put in front of it. The former may come in different sizes and it is almost always better to go for the bigger size because it would gather more light. We can compare it to a bucket – in capturing photos and videos light is very important, and if we were to liken light to water, then the bigger our bucket is, the better.
Also, a noteworthy piece of advice is that you should consider the resolution and frames per second of a camera. All contemporary cameras can record 1080p videos which is enough for YouTube and other such platforms. However, a growing number of cameras can do videos in 4K resolution which certainly has many benefits. Our advice is to go for 4K if your budget allows it or just wait until you have saved enough. Additionally, many people enjoy doing slow-motion videos. The key to achieving good slow-mo vids is high FPS (frames per second). You should be looking for a camera that can do at least 60 FPS if you want to get a smooth picture with no tearing, and one that can do 120 FPS so that you will be able to get great slow-motion footage.
When it comes to autofocusing capabilities, there are some DSLRs you should stay away from. As much as I love Nikon cameras for still photography, these machines are definitely not suitable for video. You could check Canon, in case you insist on your vlogging camera to be a DSLR, or consider some of the options we have provided below.
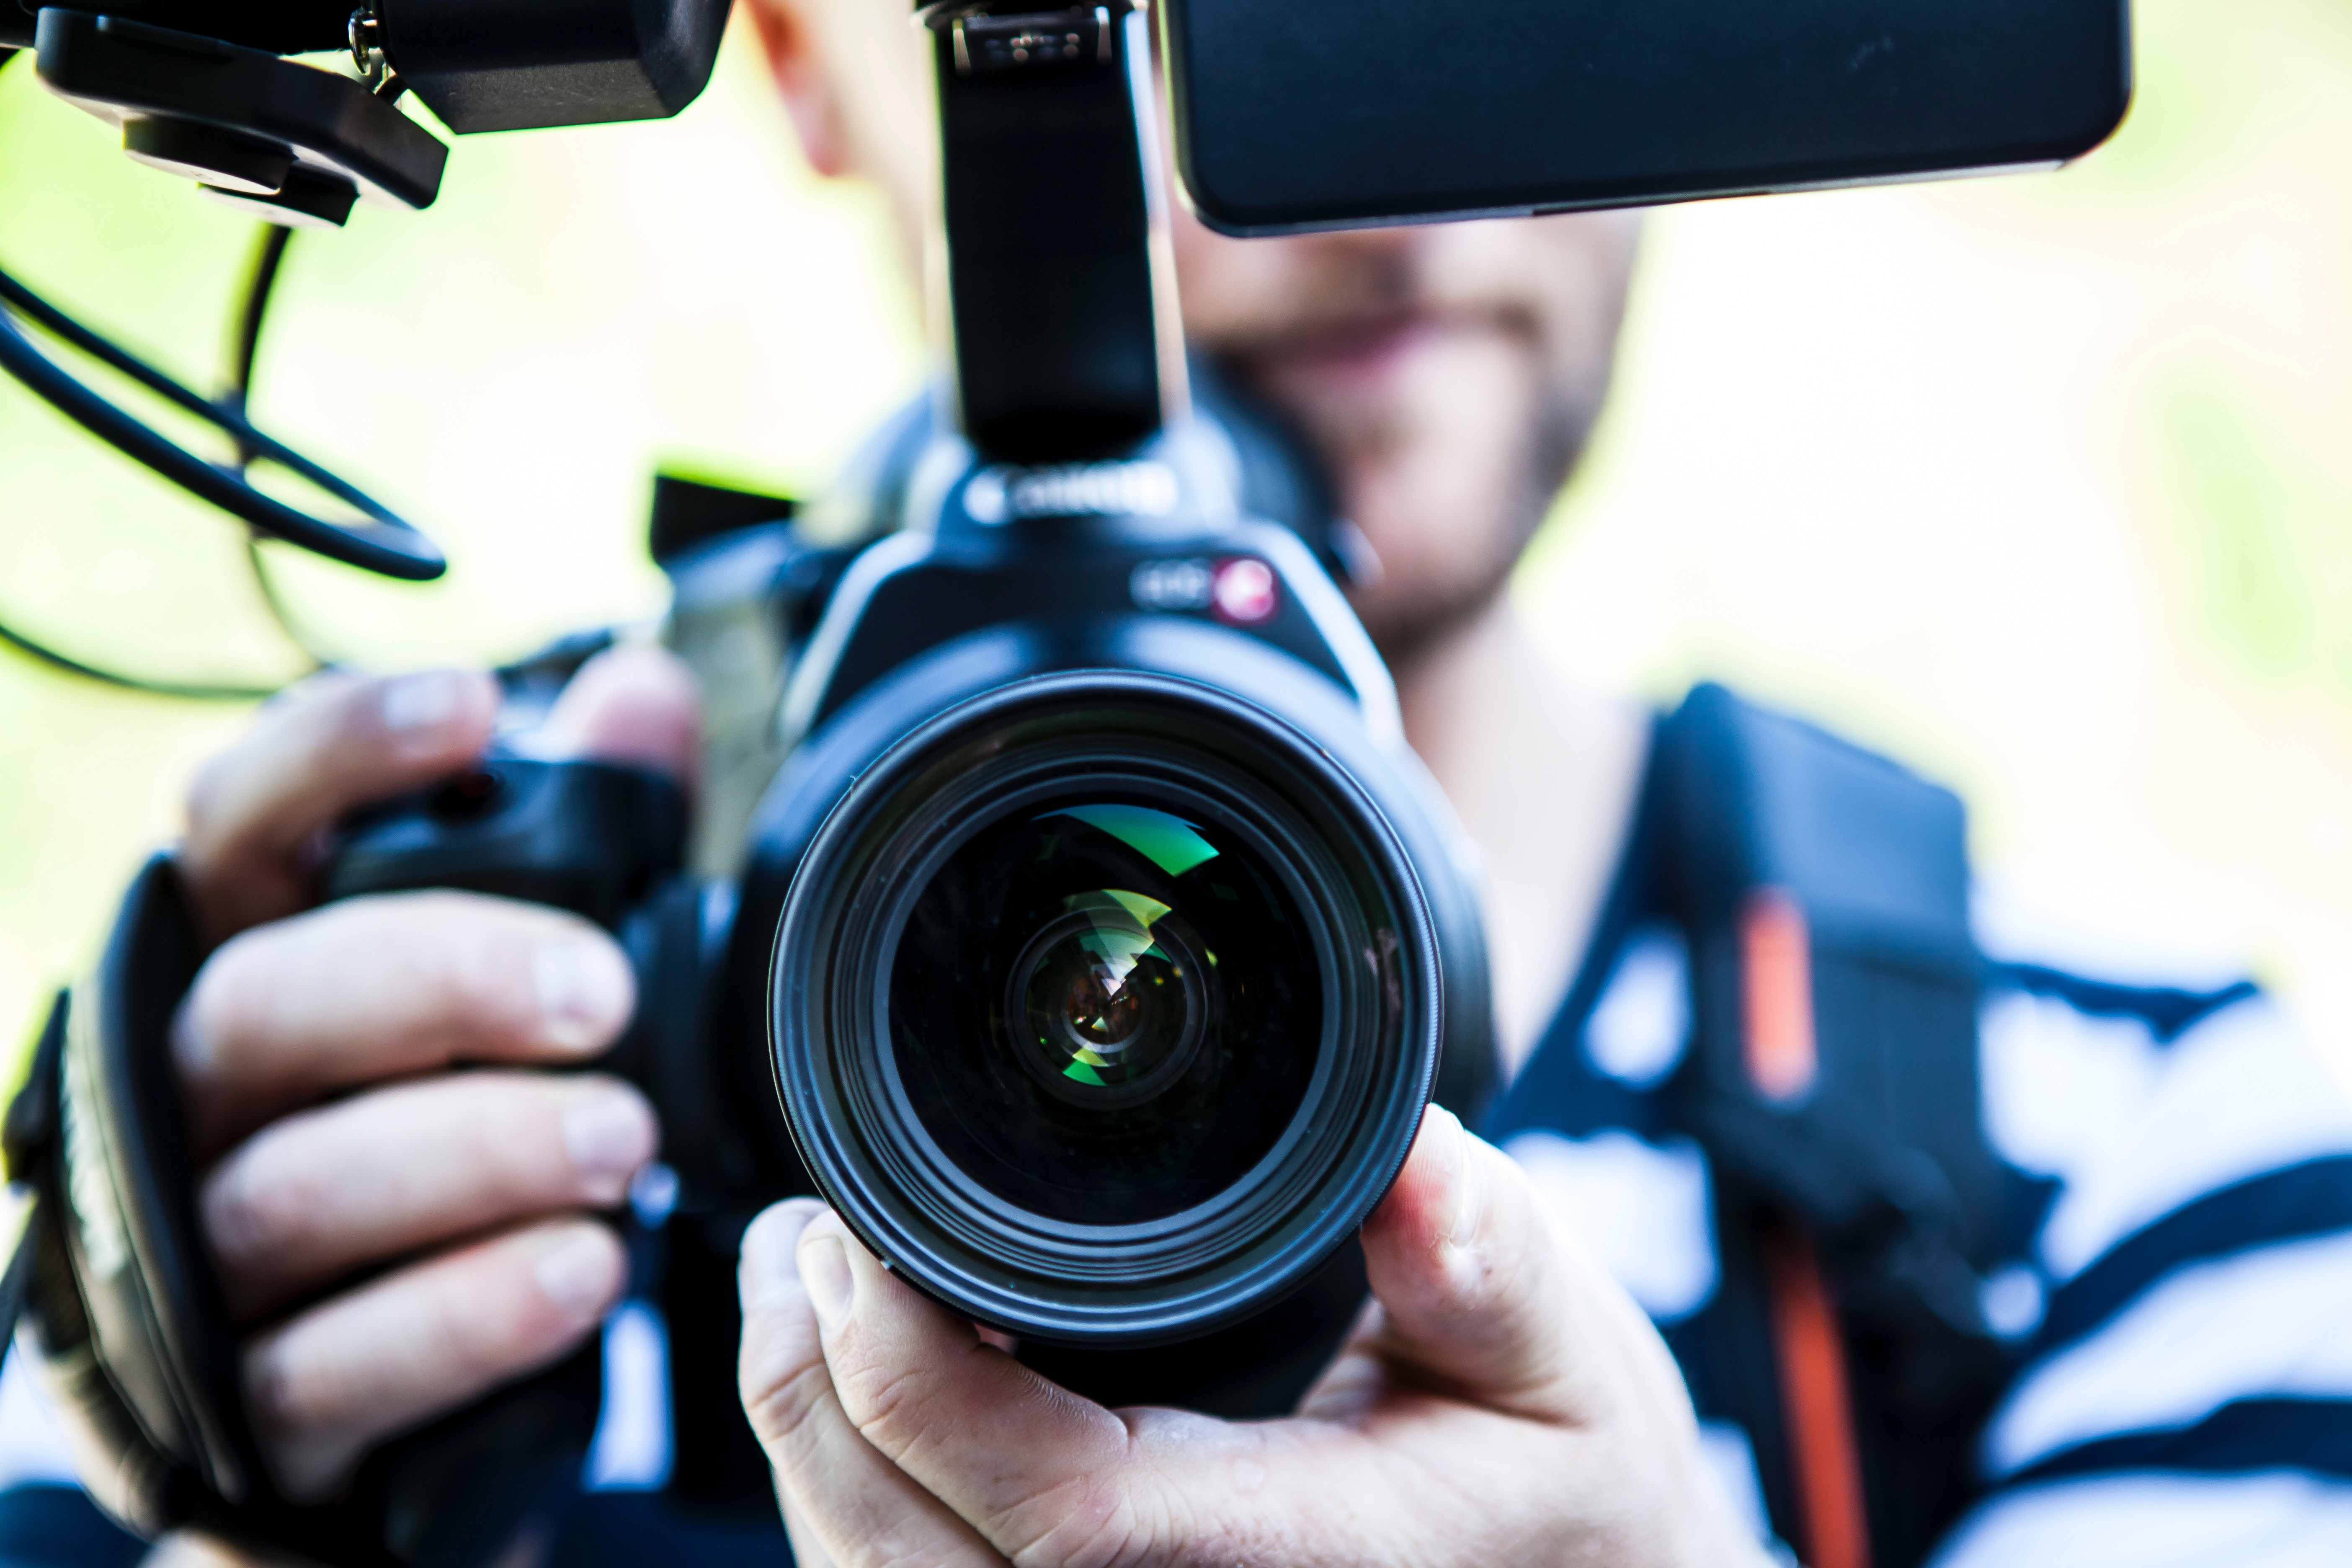
 Moving on, a camera’s weight can be crucial for your choice because many vloggers do not shoot only in front of a tripod in a room. It is very likely that most of the time you will be out handholding your camera, which will probably be accompanied by an external microphone. Nonetheless, there are some like Casey Neistat who go around on a skateboard with a DSLR attached to a small tripod, so the sky is the limit.
Last but not least, an articulating screen is something you should definitely have because you can directly see what is in the frame and if it’s in focus. You must be cautious, however, because some cameras allow the screen to be flipped in a single position. You do not want a camera with a display which flips down because this does not allow the use of a tripod, which you will definitely need. There are devices which allow their display to be flipped only up which is okay if it does not interfere with an external microphone, which is usually mounted onto the camera’s hot shoe. There are other ways of recording sound which will be discussed below in the Audio section. Ideally, there are cameras which allow their screen to be articulated sideways, thus ensuring almost effortless use.
A few cameras to consider
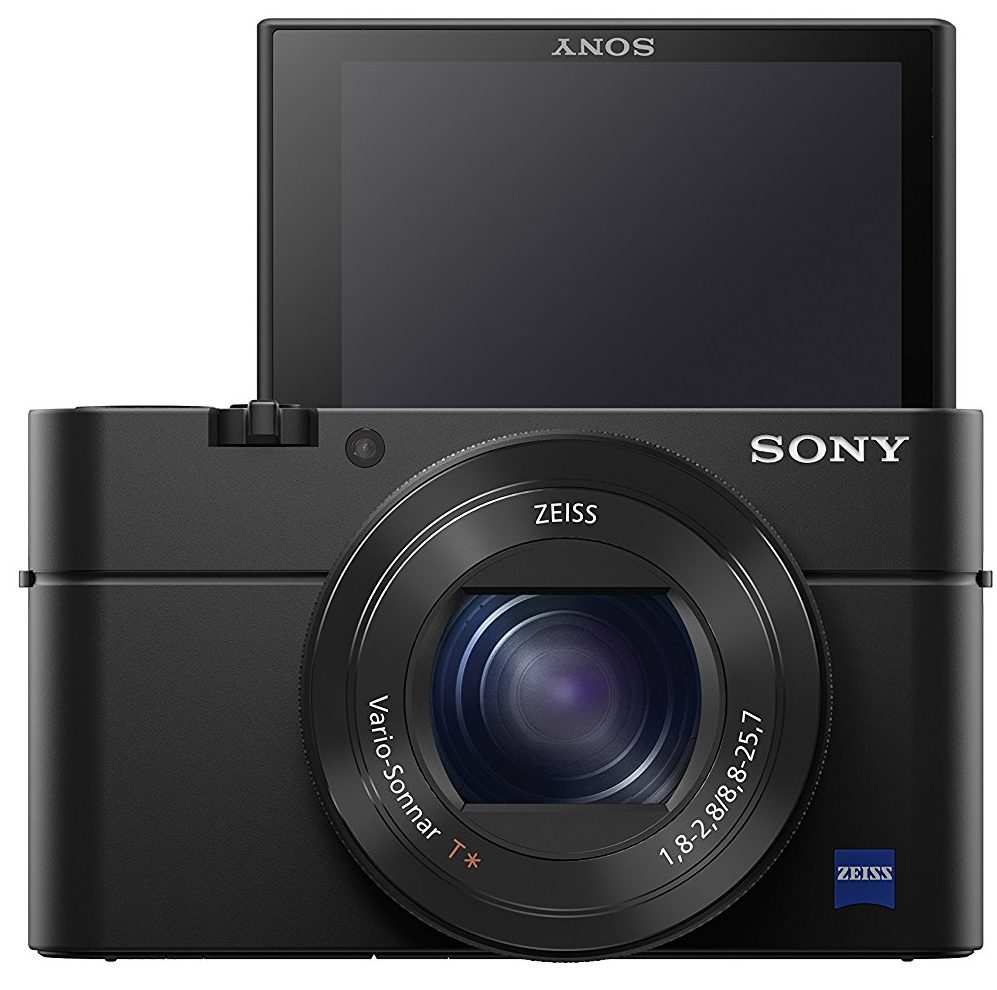 Sony RX100IV
Now, this is one of the more contemporary RX100 models which offers more than enough for anyone who’s looking to start vlogging. Firstly, it boasts a decent 1″ sensor (20.1 MP), 4K video recording, retractable OLED viewfinder, and a 3-inch LCD display (flip-up).
Additionally, the Sony RX100IV comes with a fast lens (fast means that it lets in a good amount of light) which also has a good focal range – 24-70mm. You will most likely use the 24mm wide-angle so that your face and some surroundings will be in the frame. If you need to zoom, however, the range up to 70mm is there for you. What’s more, it comes with an articulating screen that flips up, allowing you to mount your camera on a tripod.
The camera can be currently found at $898 and you can check purchasing options here: Buy from Amazon.com (#CommissionsEarned)
Canon G7X
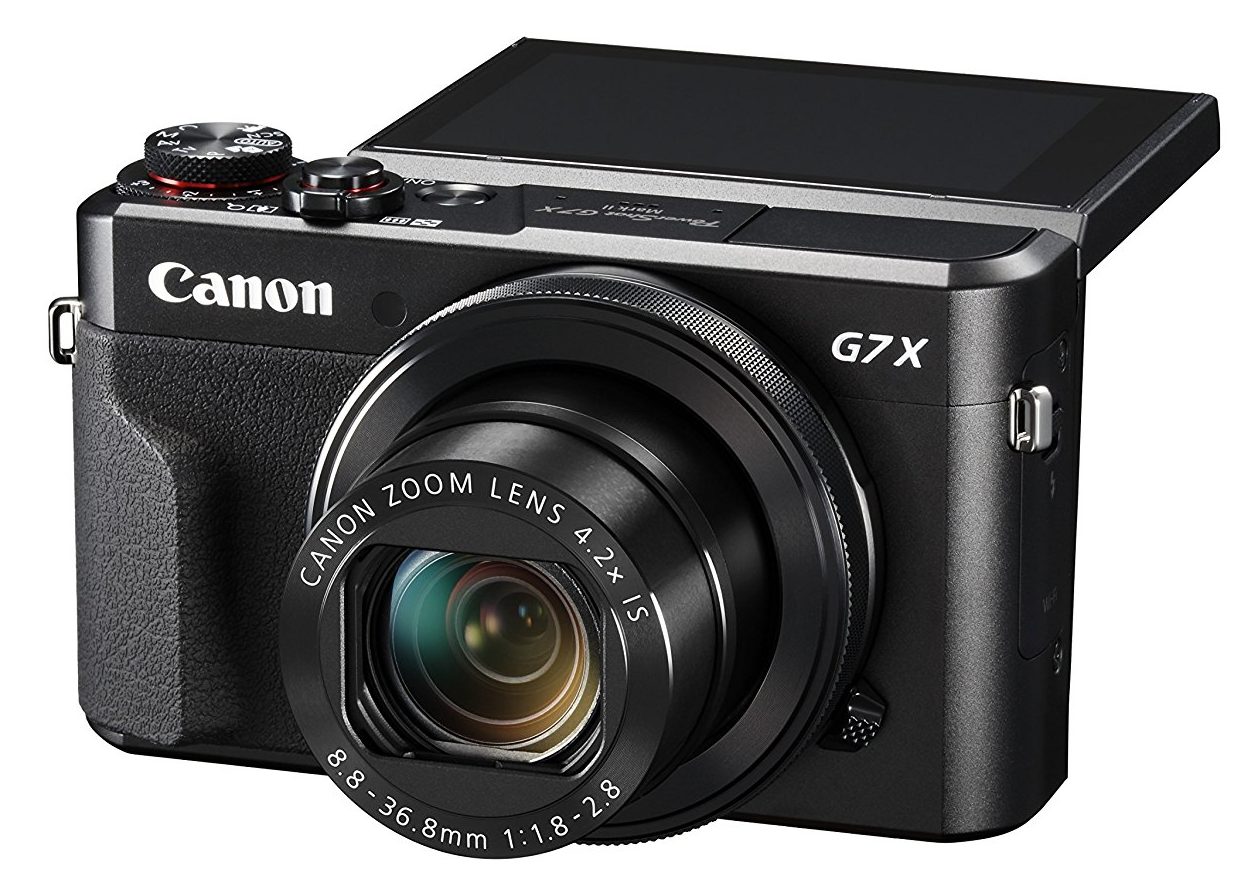 The second camera we have chosen for consideration is the Canon G7X. This is one of the most popular choices for a first vlogging camera and there are a few very good reasons for that. Firstly, this bad boy is quite affordable at $679 which makes it more than $200 cheaper than the Sony above, allowing you to spend this amount on other equipment that you will inevitably need. Additionally, you get a 1″ 20.1MP sensor but this time there is no 4K video recording. Nonetheless, the Full HD (1080p) at 60 frames per second that the camera offers is more than enough to give you a decent start.
Similarly to the RX100IV, this one offers an articulating 3″ screen that flips up. What’s more, you get a 24-100 mm focal range (4.2x optical zoom) which is a bit more than that of the above camera.
If you decide to go for this camera, you could check purchasing options here: Buy from Amazon.com (#CommissionsEarned)
Canon 70D
 Now, this is something different. The Canon 70D is a DSLR which in layman terms means bigger size and weight. However, with the latter come more opportunities. First of all, it has a bigger sensor than the previous two cameras. Secondly, it gives you the option of changing lenses so that you can experiment and find what works best for you. Another positive aspect of this model is that the articulating screen flips sideways, allowing you not only to use a tripod but also to put an external microphone on top of the camera as shown in the picture on your left.
Specs-wise, the bigger sensor here comes with a 20.2MP resolution, 19 cross-type autofocus points which are of vital importance for accurate focusing. When it comes to video resolution, the best you can do here is 1080p at 30fps.
The price of this bad boy depends on the kit that you get it with, as there are many configurations with lenses. We recommend getting a wide-angle lens, as most of the time the camera will be within the reach of your arm and you would definitely want to have your face in some context. You could check purchasing options here: Buy from Amazon.com (#CommissionsEarned)
Lighting
 Light is extremely important for the quality of your videos. Of course, you cannot always control it, if you are doing travel vlogs or you are walking down the street. However, there are cases when you might want to exercise control. If you will be shooting part or all of your vlogs at home there are two options. On the one hand, provided that you don’t have a big budget, you could position yourself facing a window and wait until a particular time of day when the ambient light is both strong and soft enough for you to look well-exposed in front of the camera. On the other hand, if you have a tad more to spend, you could buy small LED panels that work with both batteries and a power adapter. Depending on the size, one may be enough, but it’s always good to have at least two so that you can be more creative with angles of light.
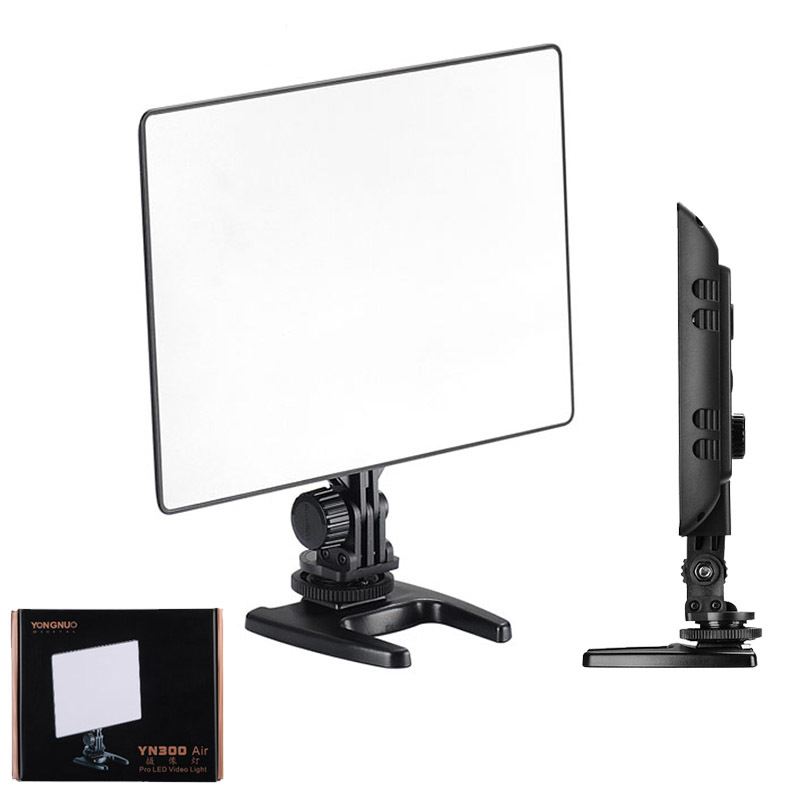
An example is the Yongnuo YN300 Air which is super lightweight (hence the name) and can be purchased for $40-50 depending on the kit – a number of batteries, charger, and/or power adapter. Additionally, it allows you to control the color temperature (3200K or 5500K) and the intensity of light. What’s more, it has a camera hotshoe mount, which might prove helpful in some cases, and a handle allowing you to either hold it or place it on a light stand.
You could check it out right here: Buy from Amazon.com (#CommissionsEarned)
Sound
 Sound is essential if you want to have viewers. Recording with the camera’s built-in microphone is not a good idea because it makes you sound as if you’re recording in a tin box. Additionally, the noise cancellation is not particularly good. There are a few options that can be considered in this situation.
The first and cheapest variant is to plug your headphones into your phone and use their microphone to record with an application other than the pre-installed one. The other alternatives will require some investment on your part. There are some cheap pin-type microphones which will not do much better than your handsfree one unless you spend a couple of hundred dollars on a decent set of wireless mics. Another possible alternative is to go for a RODE microphone like the one mounted on top of the Canon 70D in the photo above. The model is RODE VideoMic GO and it is quite popular among vloggers.
You could check it out right here: Buy from Amazon.com (#CommissionsEarned)
Of course, you will need to edit your audio files and you can do so free of charge with the awesome application called Audacity. You can download this open-source app here.
Editing
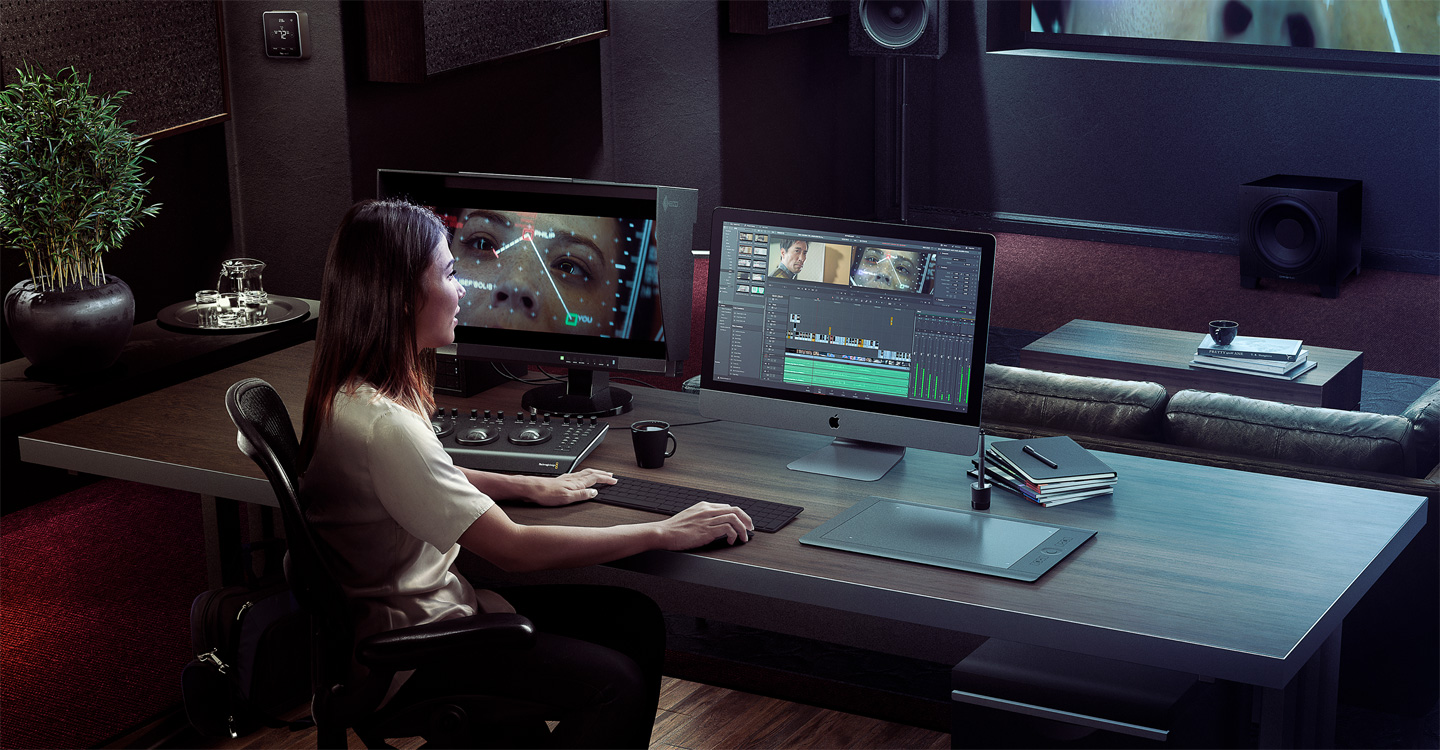 Editing is the stage where it all comes together. You glue one piece to another and polish the final product. For this purpose, you need two things – a powerful configuration and specialized software. Normally, gaming configurations are also suitable for video rendering as they have powerful GPUs. However, you should also pay attention to the display part – an IPS panel with high color gamut coverage is more or less a must because you want to edit accurately so that your videos will actually be appealing to the eye. You can go through a specially filtered search in our laptop database for such notebooks and choose a machine from there, or you could compile a desktop configuration of your own.
Software-wise, there are many applications to choose from but the ones that will do more sophisticated adjustments are usually paid. Nonetheless, there is, to the best of our knowledge, one exception called DaVinci Resolve. It provides extremely advanced options free of charge. Of course, there is a paid version but we doubt that any vlogger would need the extras it provides.
You can download DaVinci Resolve from the official website of the company.
Famous/Fascinating Vlogging Channels
Finally, we would like to close this article by sharing a couple of YouTube channels that may prove helpful both in terms of inspiration and further advice on equipment.
– Casey Neistat – one of the pioneers in this industry with nearly 10 million subscribers. Enough said, check his channel here.
– Peter McKinnon – another interesting vlogger who concentrates on photography and cinematography. View his work here.
– Marques Brownlee – if you are into the latest and greatest tech, then this is the channel for you. Check it out here.
– The Art of Photography – a channel by a very knowledgeable person on the subject of photography (obviously). You should definitely have a look.
– DSLRguide – intriguing content on filmmaking which will definitely help you make the most of your equipment and focus on what’s important in a video. Visit it here.
Of course, there are many intriguing channels. Feel free to share yours in the comments below!