How to open HP ZBook Power 16 G11 – disassembly and upgrade options
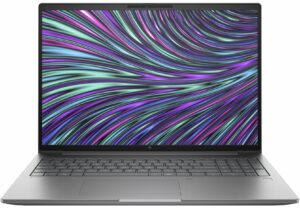
Opening the Device
Hint: Ensure the laptop is powered off and disconnected from any power source before starting.
- Undo the five Phillips-head screws on the bottom of the laptop. Note that the screws on the bottom are not captive.
- Use a thin plastic tool to pry the back behind the hinge cover.
- Once the clips are released, raise the plate near the upper two edges to create gaps in these sections.
- Pop the gaps created and then pry the sides and the front of the laptop to fully remove the back cover.
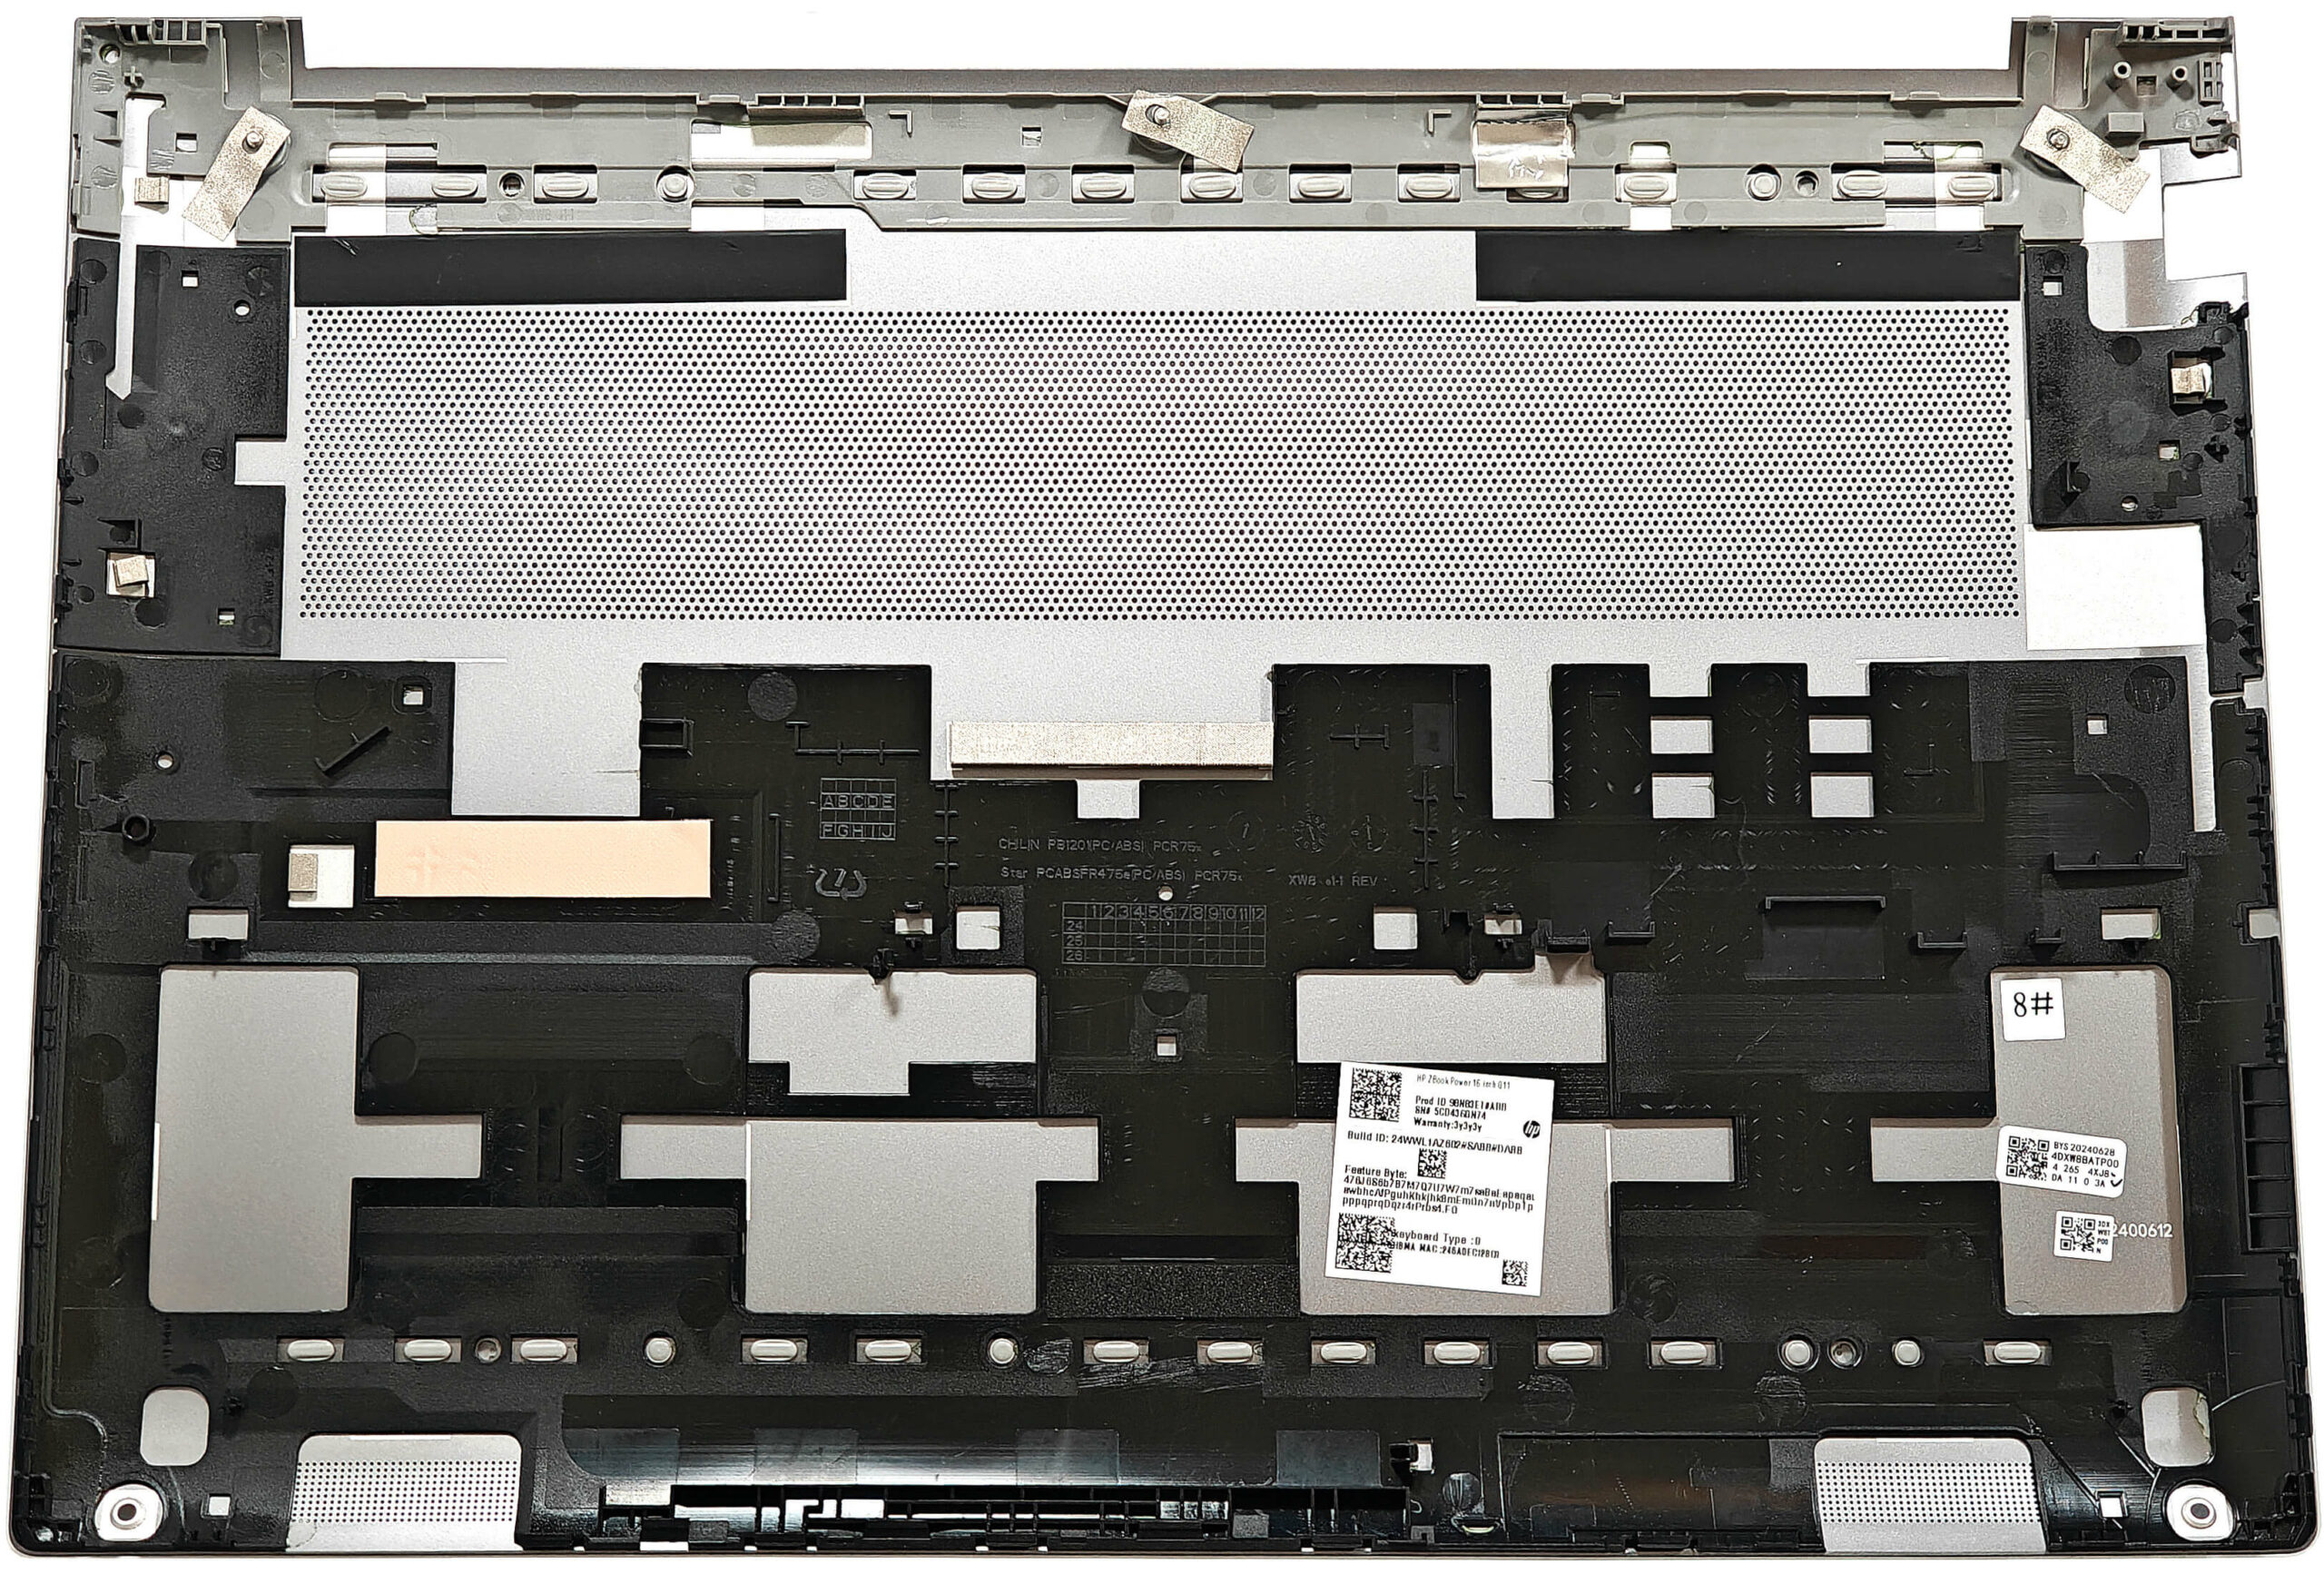
More info: The inside of the bottom plate houses a cooling pad for the WWAN slot, enhancing thermal management and supporting optional 5G or 4G LTE connectivity.
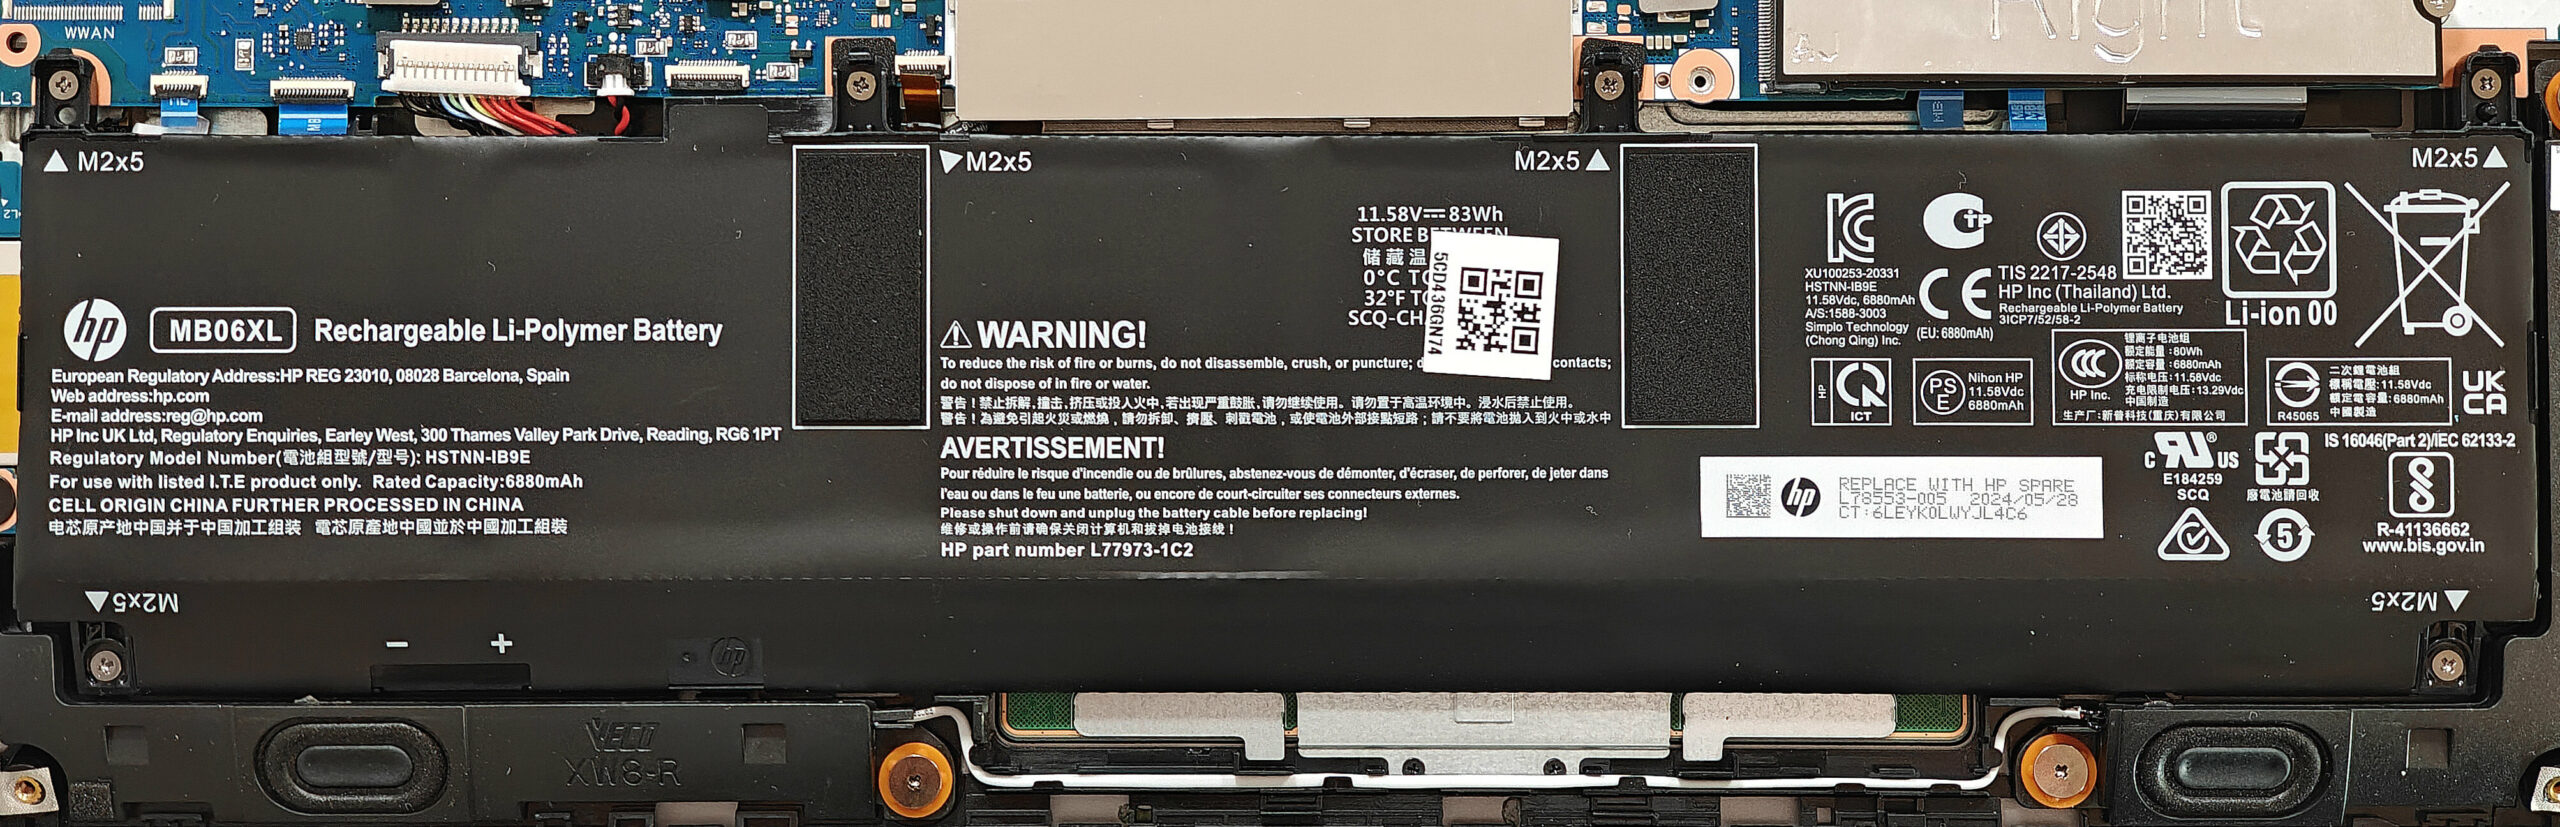
Battery Removal
Caution: Handle the battery with care to avoid damage or injury.
- Pull out the battery connector towards the battery.
- Undo the six Phillips-head screws that hold the 83Wh battery unit in place.
- Carefully untangle the speaker cables around the battery housing.
- Detach the battery from the laptop.
More info: The workhorse is equipped with an 83Wh battery, providing around 17 hours of video playback. The test was conducted with the “Battery Saver” preset activated in the Windows “Power & Battery” menu and the Smart Sense mode applied in the MyHP app.
You can buy compatible batteries here: Buy from Amazon.com (#CommissionsEarned)
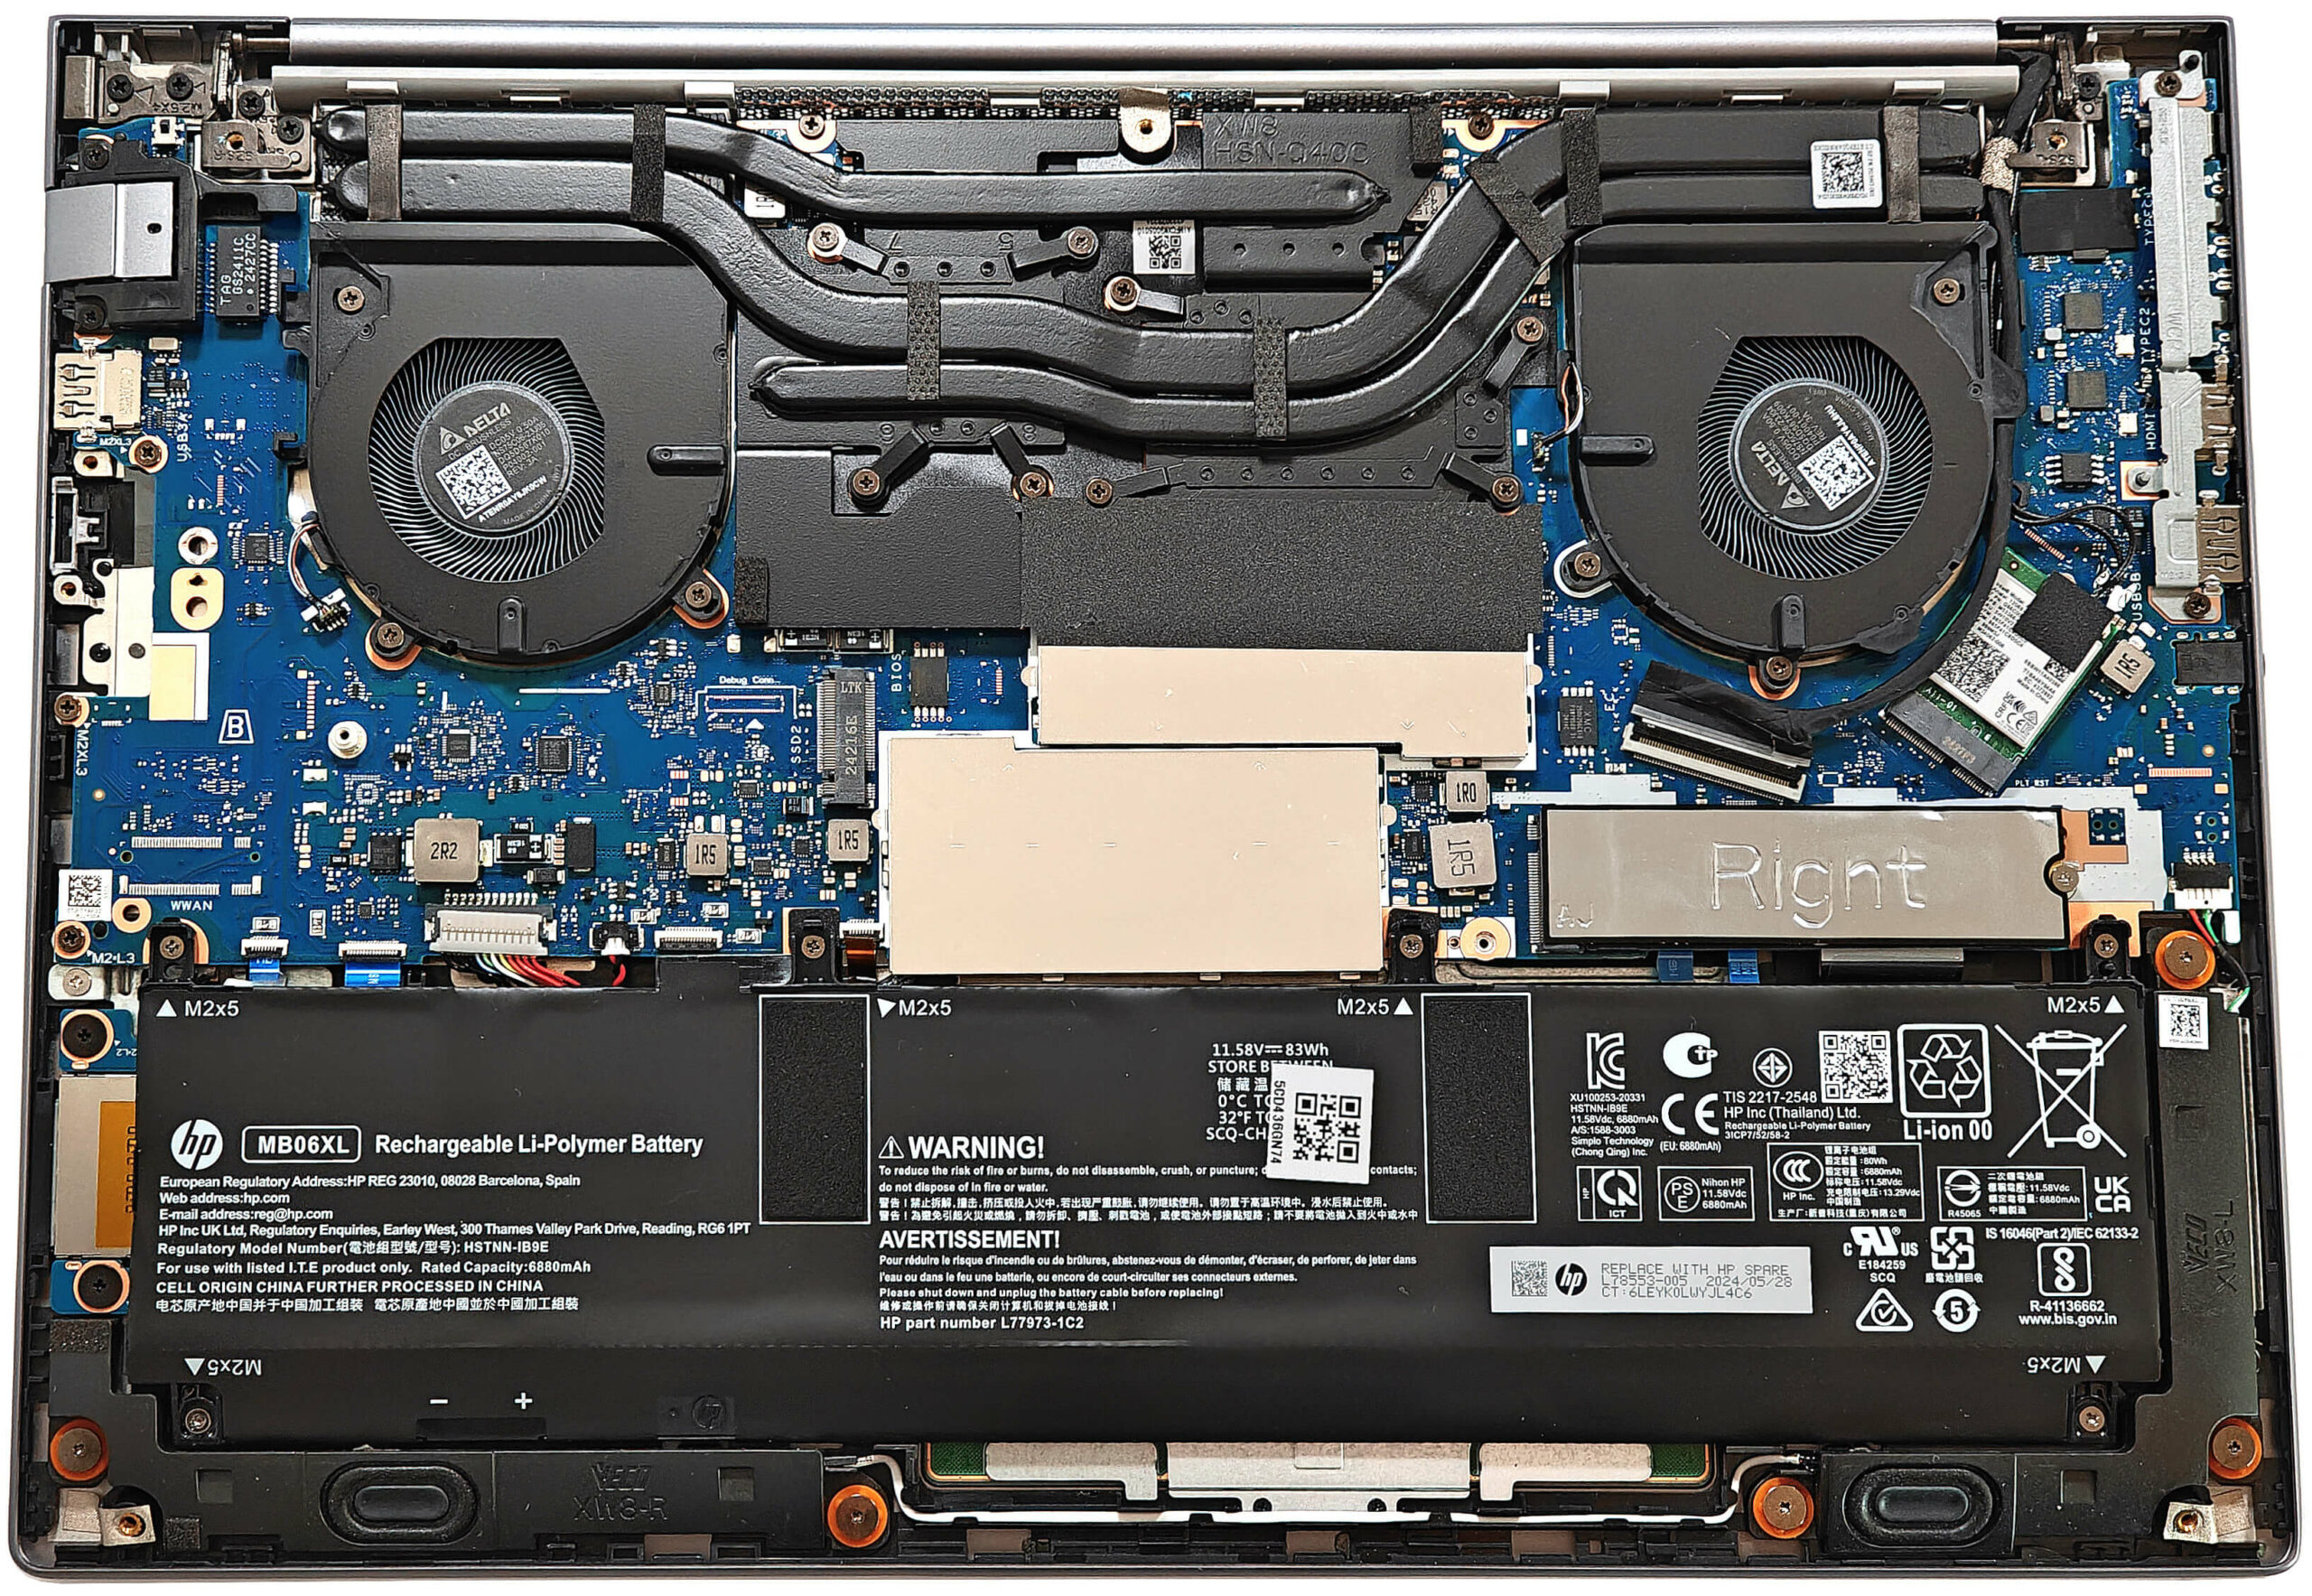
Memory and Storage Upgrade, and Wi-Fi Card Placement
Hint: Ensure you are grounded to prevent static discharge when handling memory modules.
Hint: Handle the SSD with care to avoid any data loss or damage during installation.
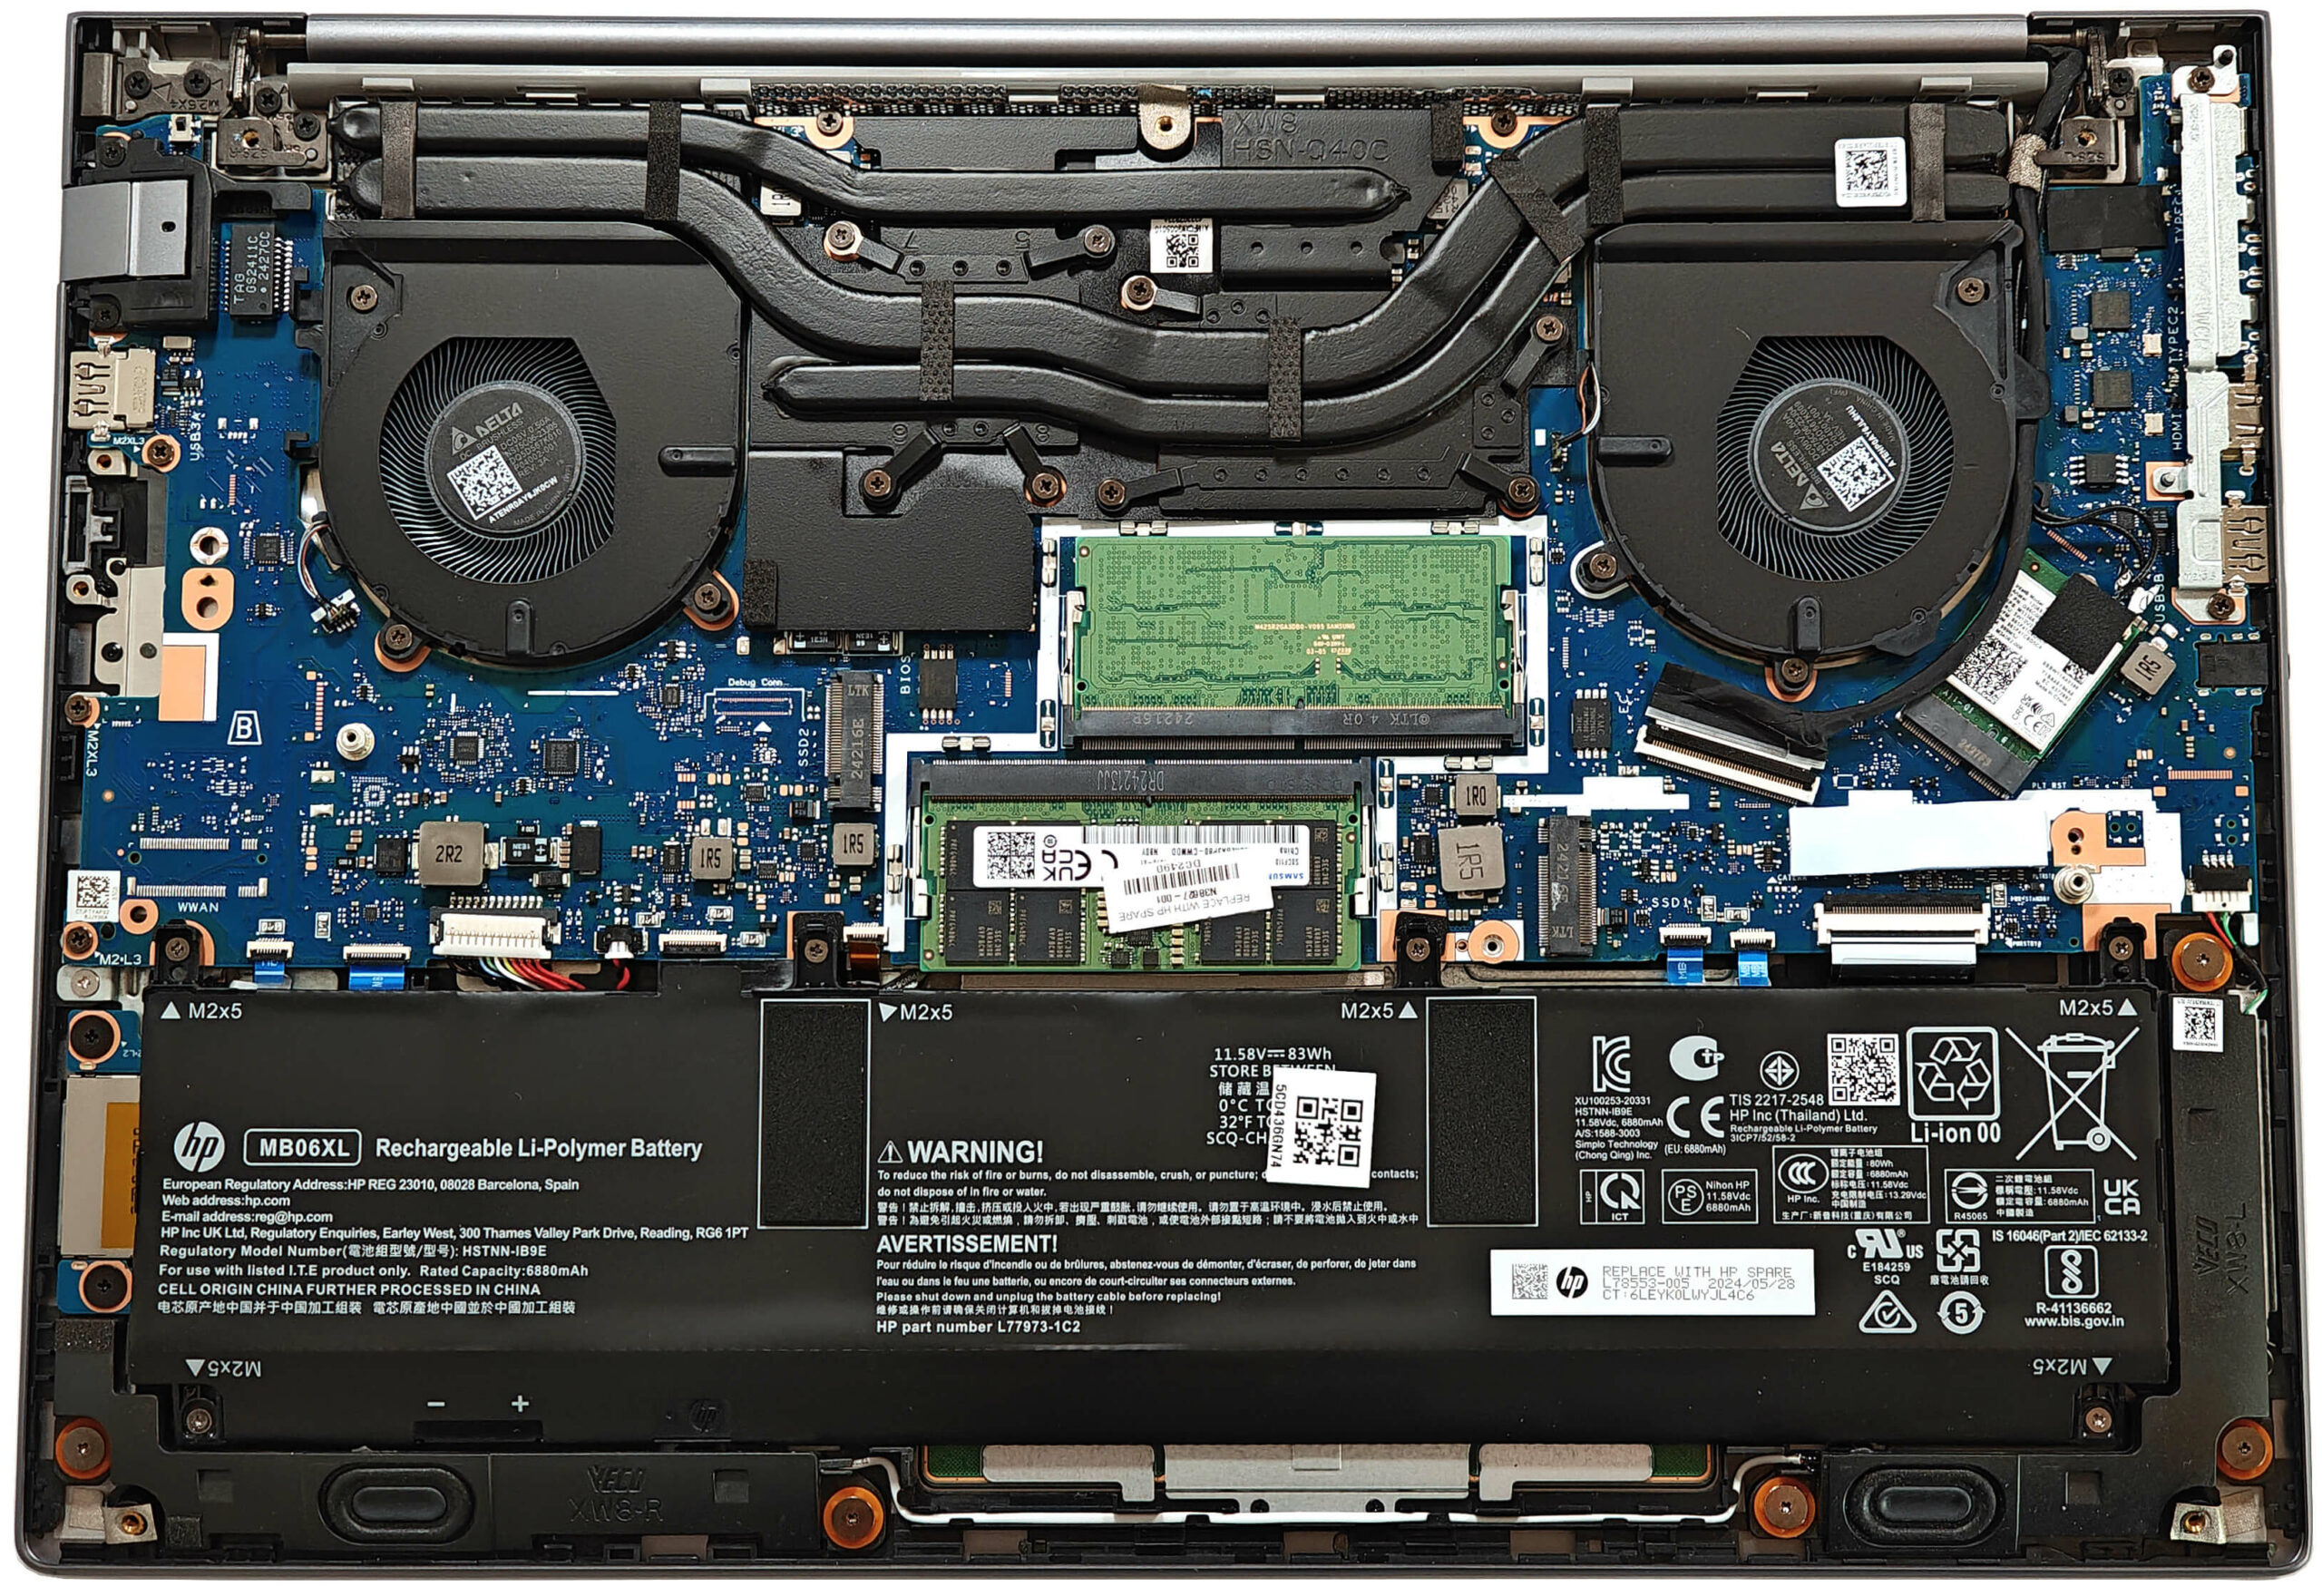
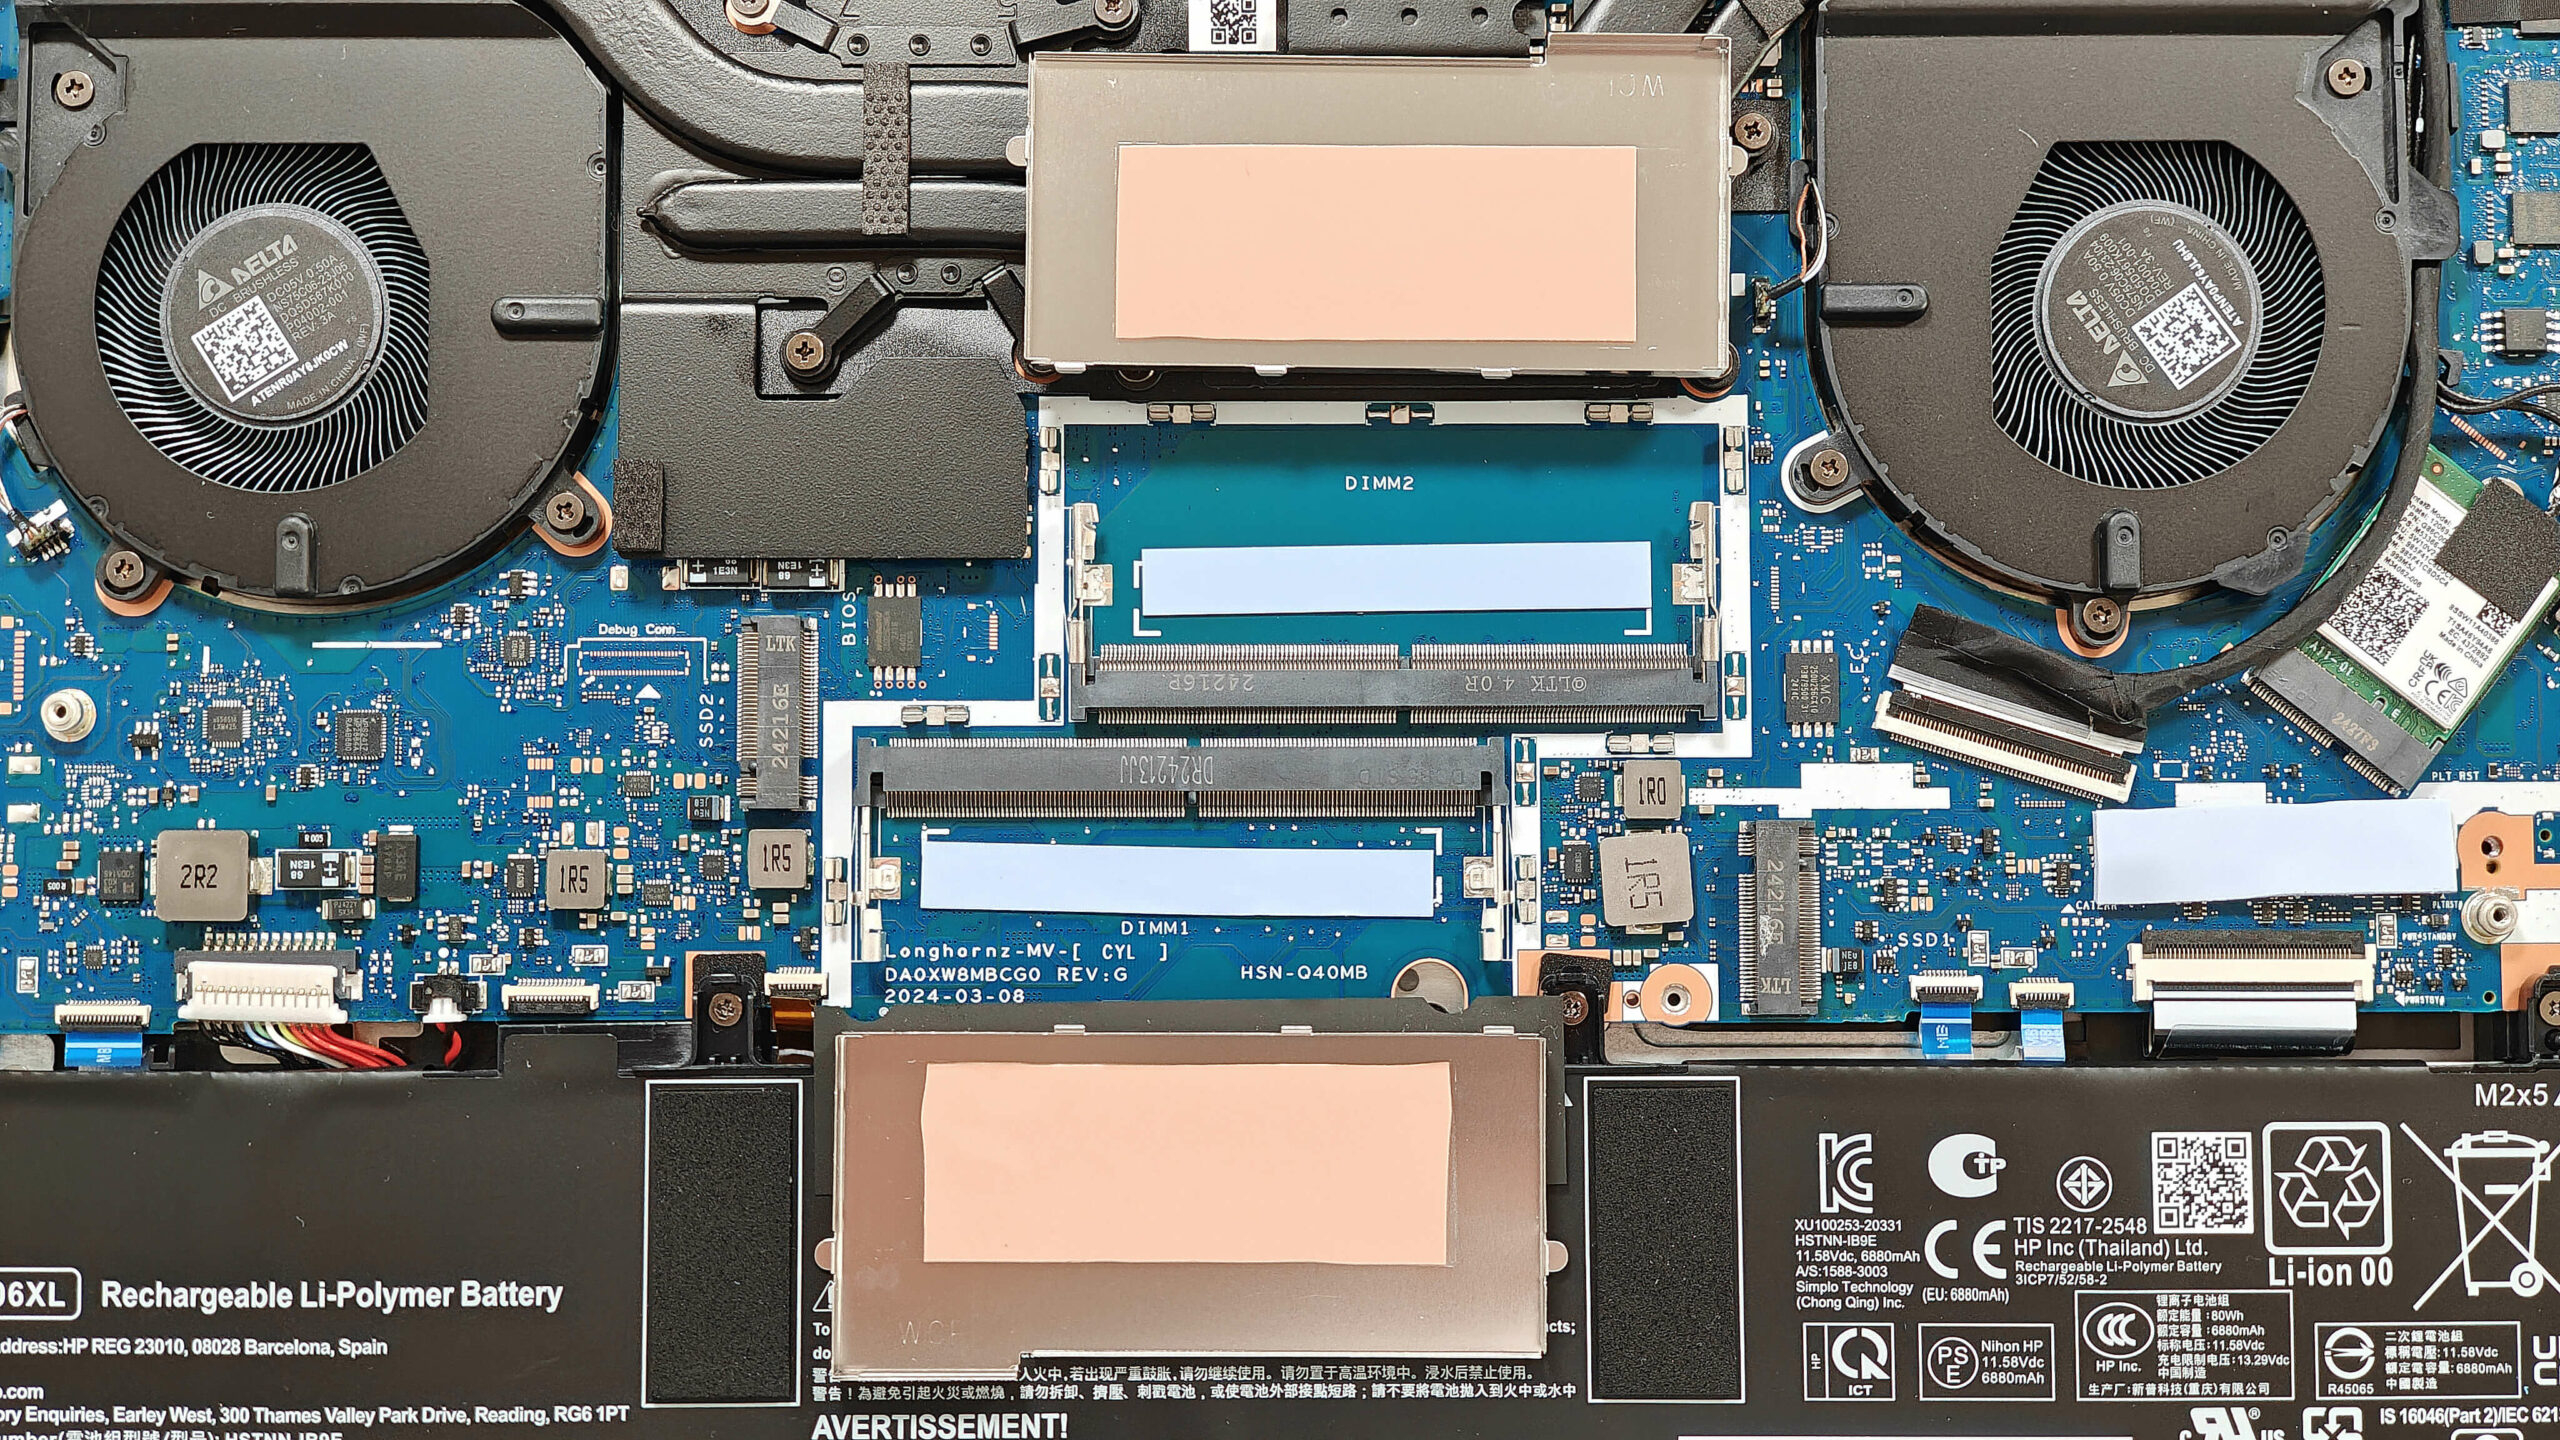
- Locate the RAM zones covered by metal caps.
- Use a lever tool to pop the metal caps open.
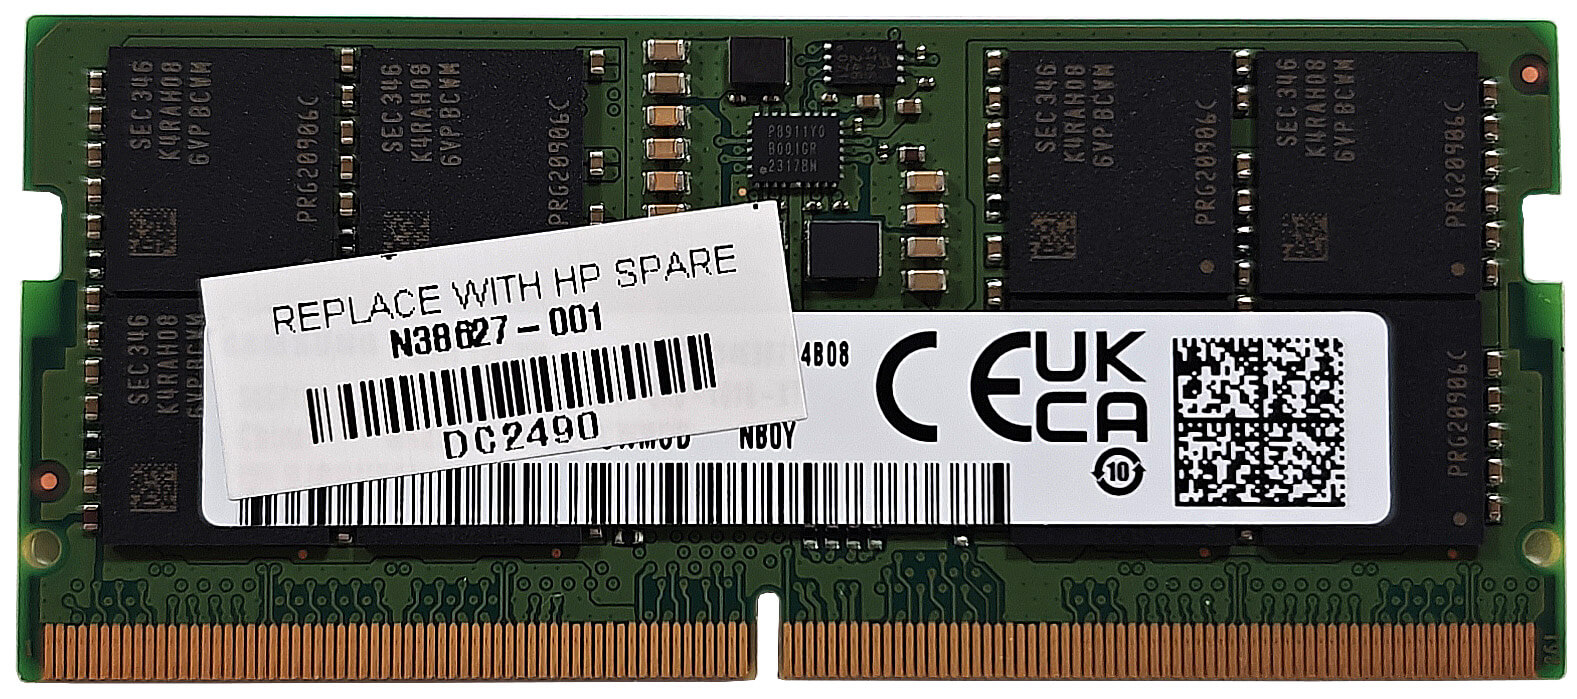
- Insert the new DDR5-5600 MHz RAM modules into the SODIMM slots, ensuring they are properly seated.
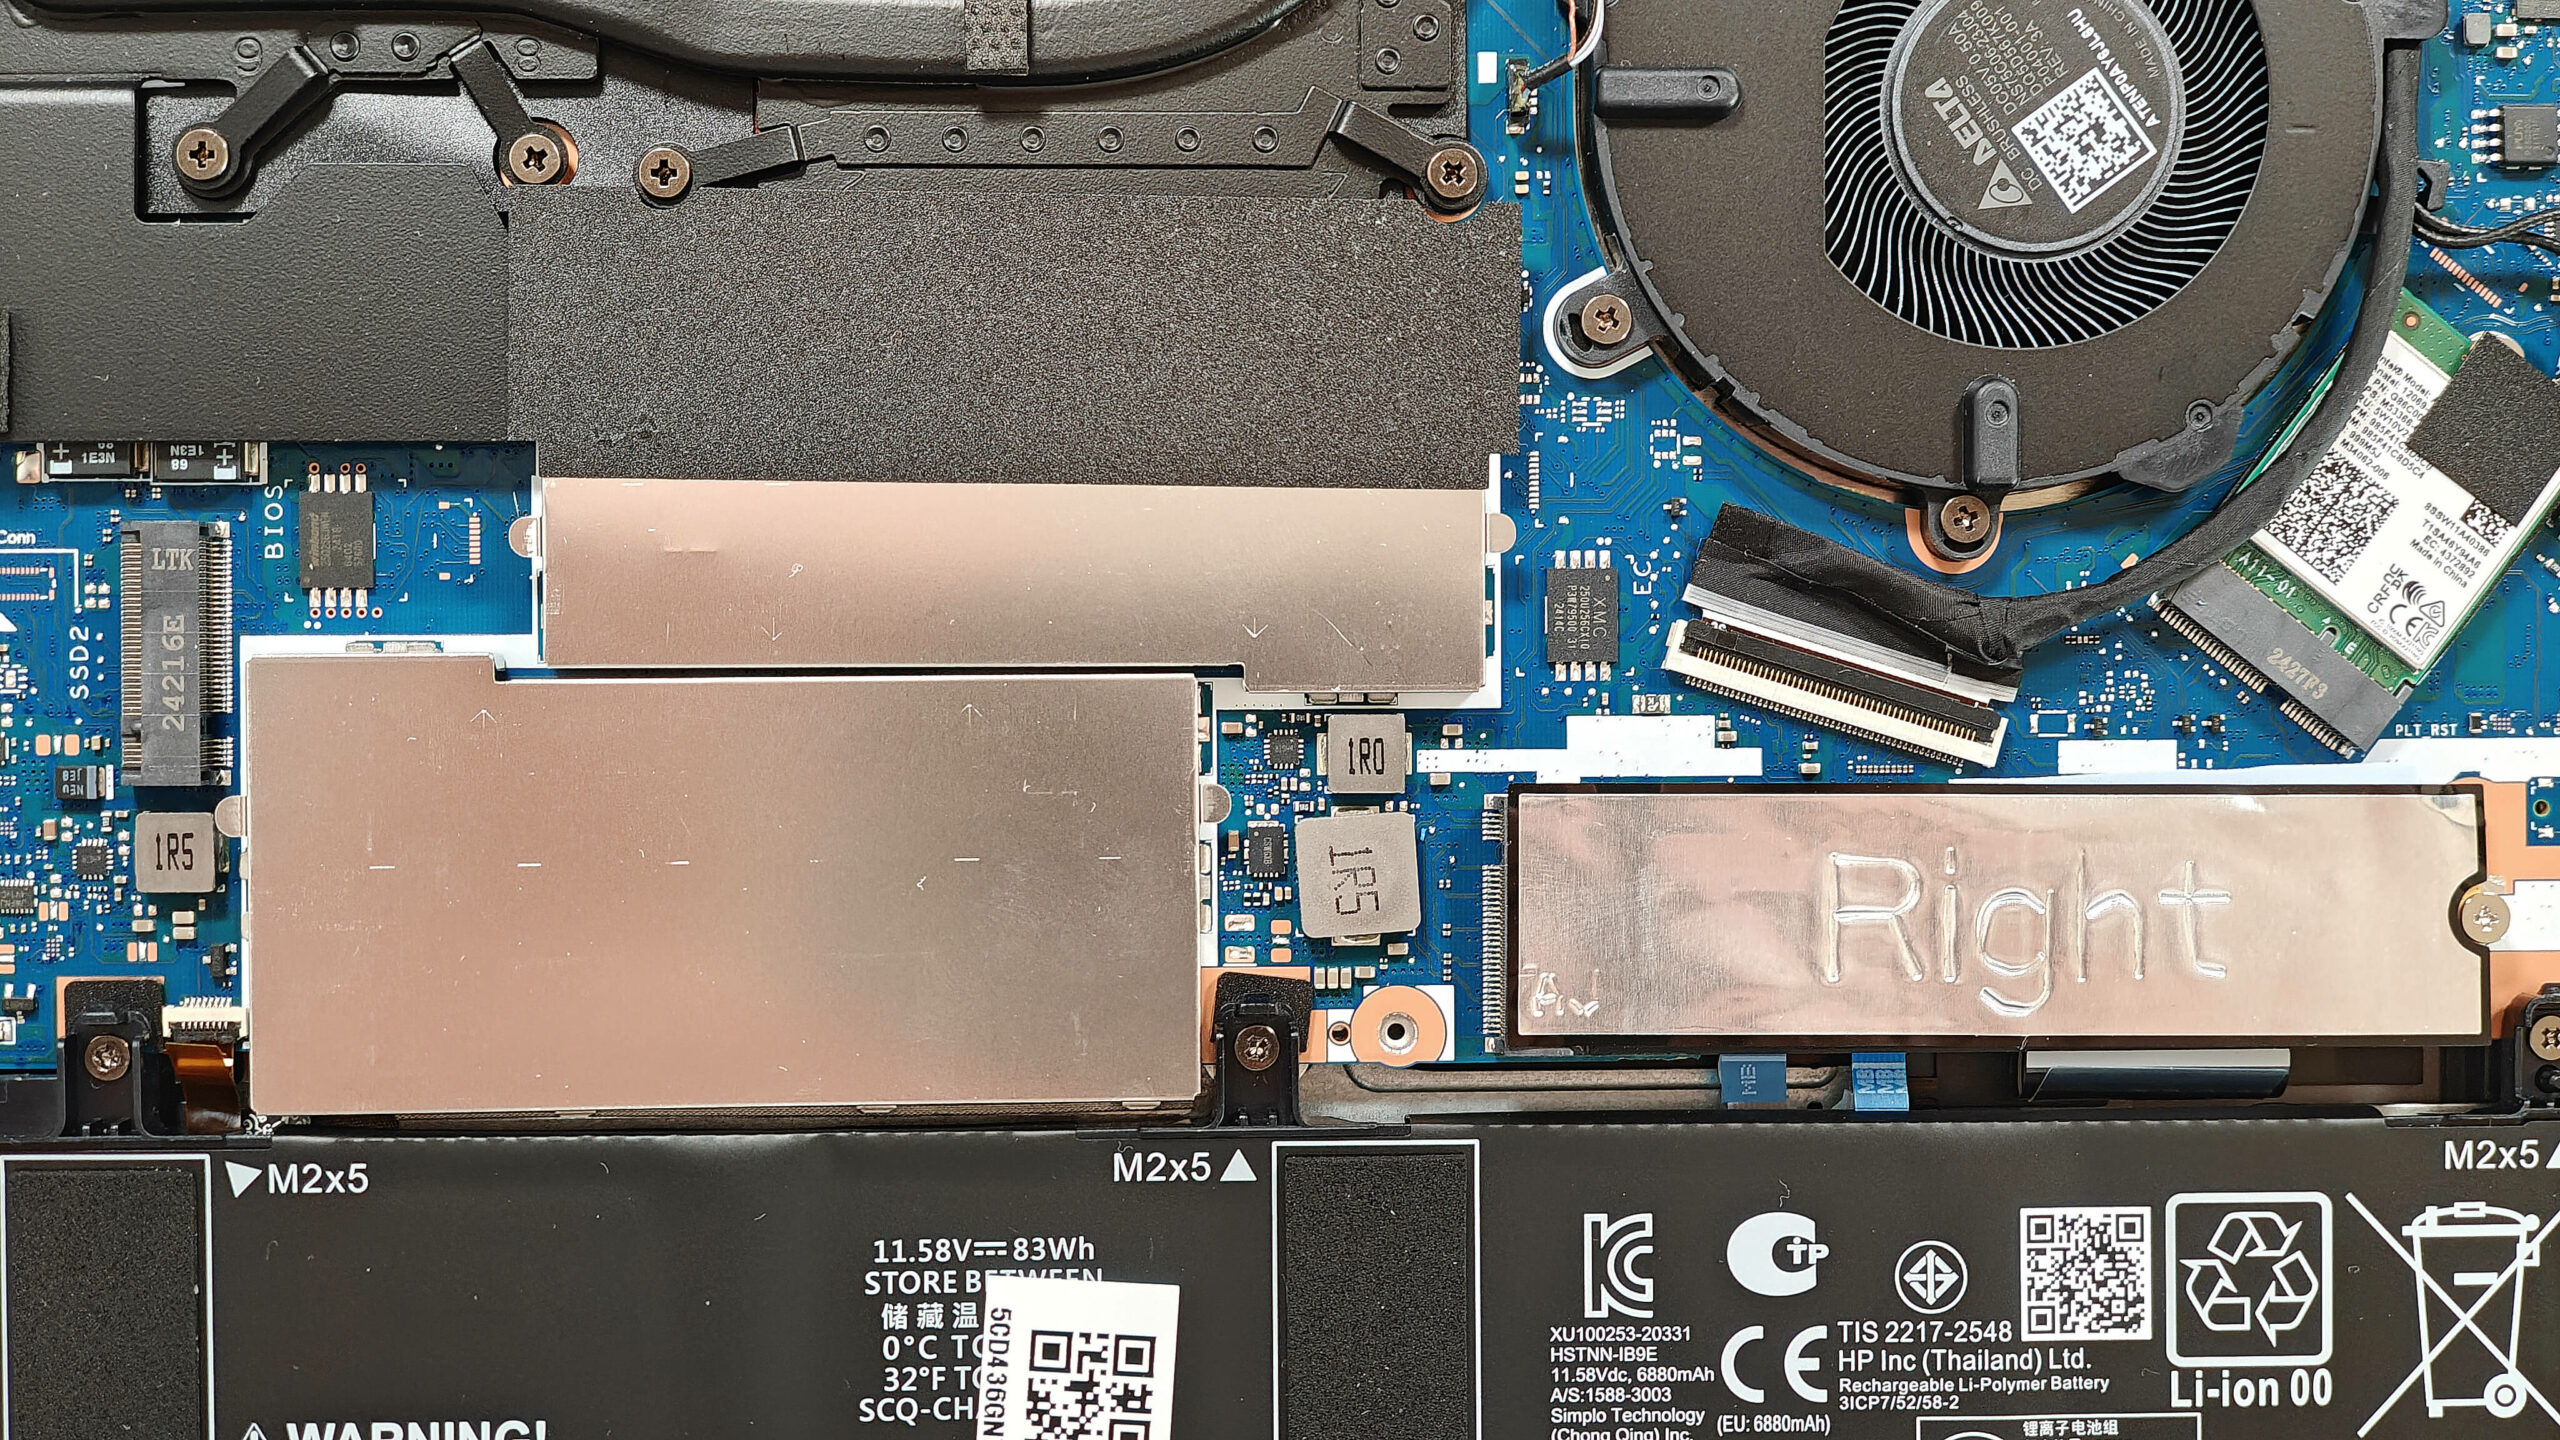
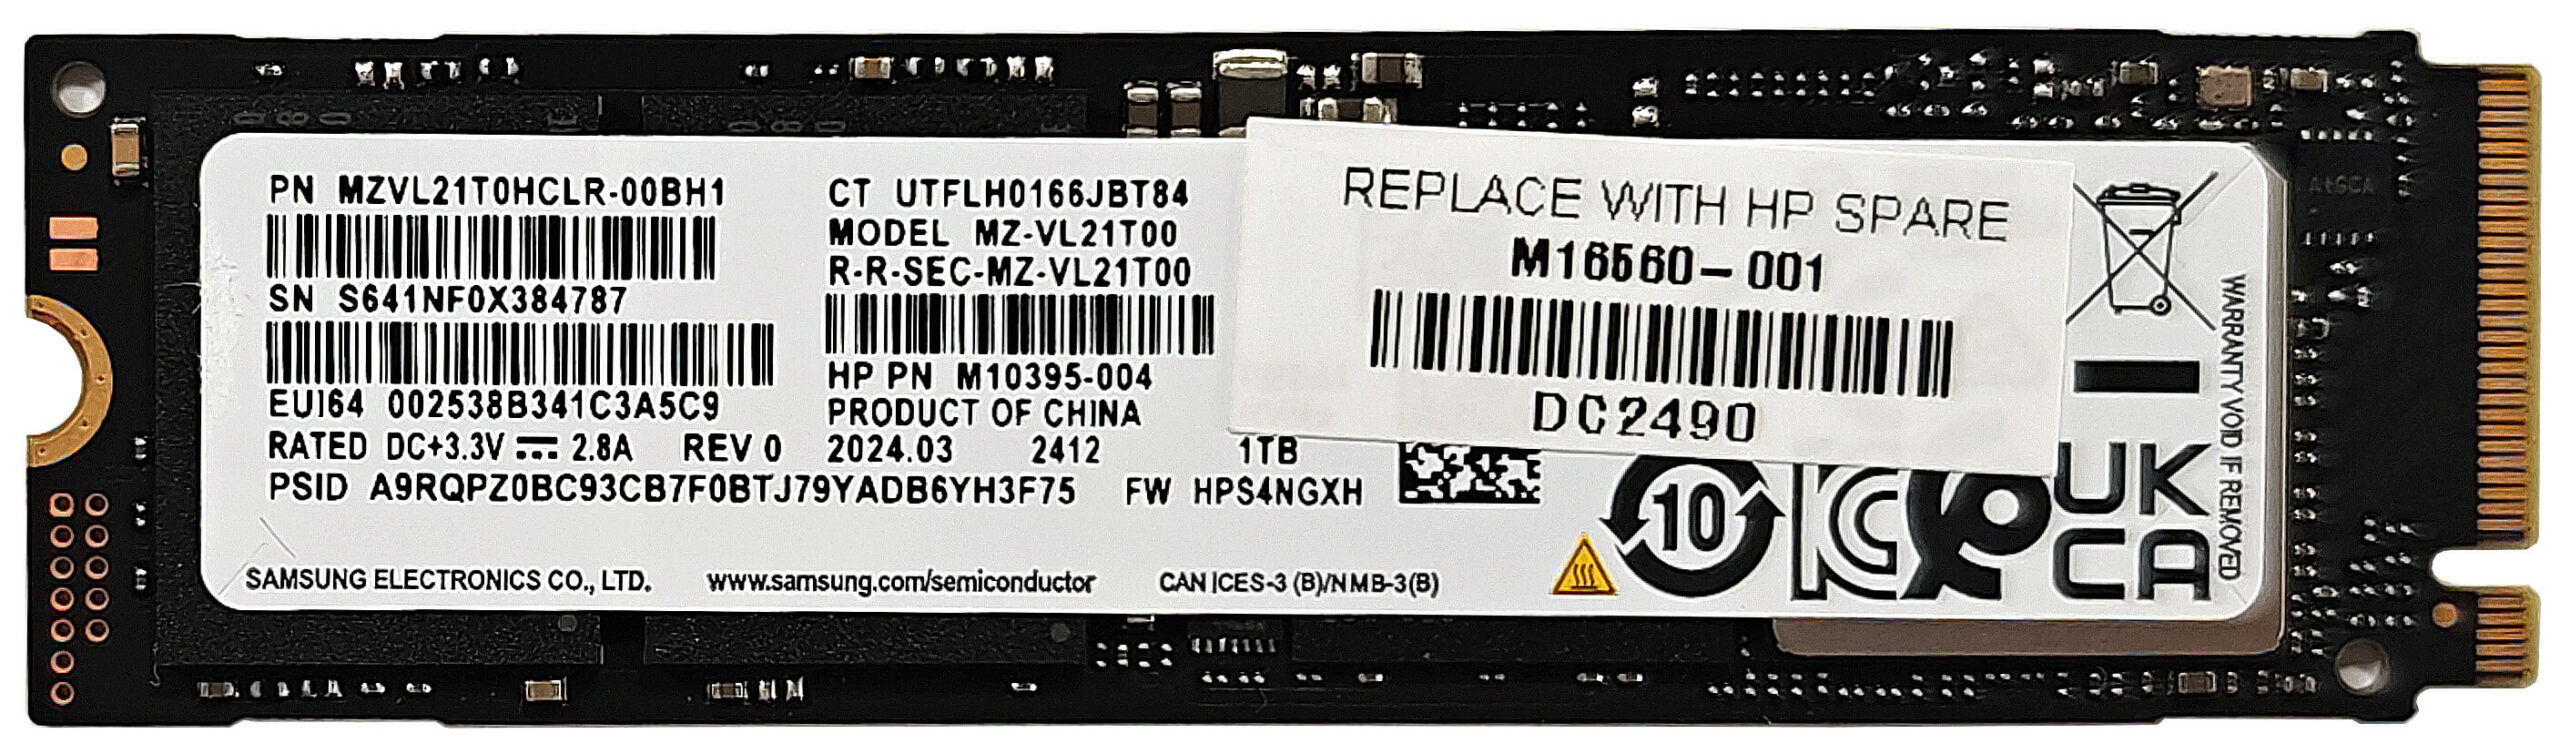
- Locate the two M.2 slots compatible with 2280 Gen 4 SSDs.
- Remove the heat shields covering the SSD slots by carefully lifting the attached fabric handles.
- If necessary, adjust the pad below the NVMe SSD to ensure proper installation.
- Insert the new Gen 4 M.2 SSD into the desired slot and secure it with the screws.
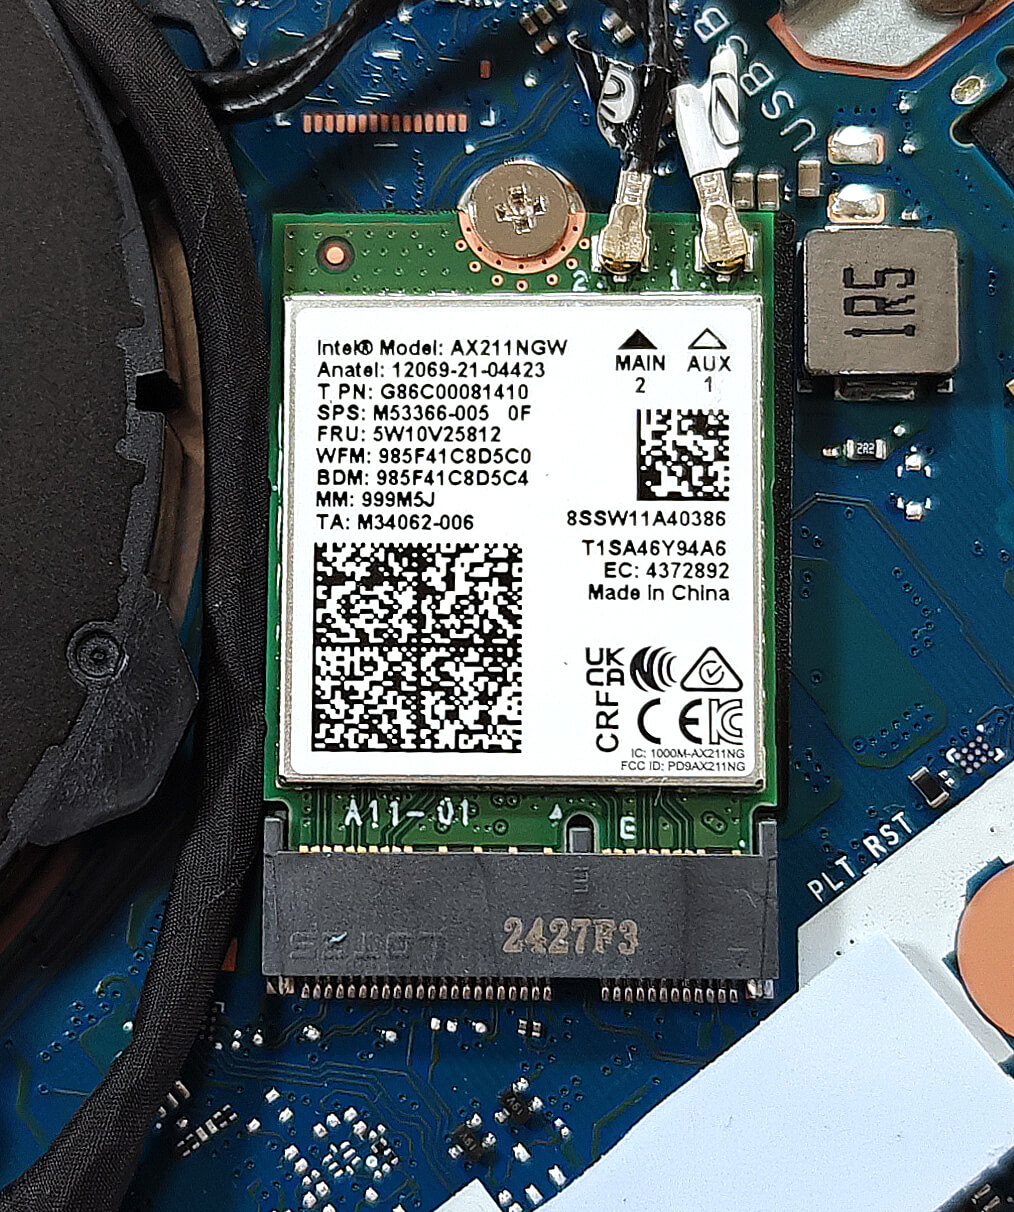
- The Wi-Fi 6E card is placed near the right cooling fan.
More info: According to HP, the two SODIMMs can handle up to 64GB of DDR5-5600 MHz RAM in dual-channel mode. Although the CPU can support up to 96GB, it is recommended to adhere to the manufacturer’s specified limit for optimal performance. The RAM modules are also cooled by thermal pads below the plates and beneath the sticks.
More info: The storage compartment includes two M.2 slots compatible with 2280 Gen 4 SSDs. The preinstalled NVMe drive is covered with a heat shield and is additionally cooled by a thermal pad underneath the metal plate and another pad beneath the SSD itself. The position of the pad below the NVMe isn’t optimal but can be fixed easily.
Hint: Don’t forget to check out our Top M.2 SSDs Performance Rankings for insights on the best storage options available.
You can buy compatible RAM modules here: Buy from Amazon.com (#CommissionsEarned)
You can buy compatible SSDs here: Buy from Amazon.com (#CommissionsEarned)
Cooling System Overview
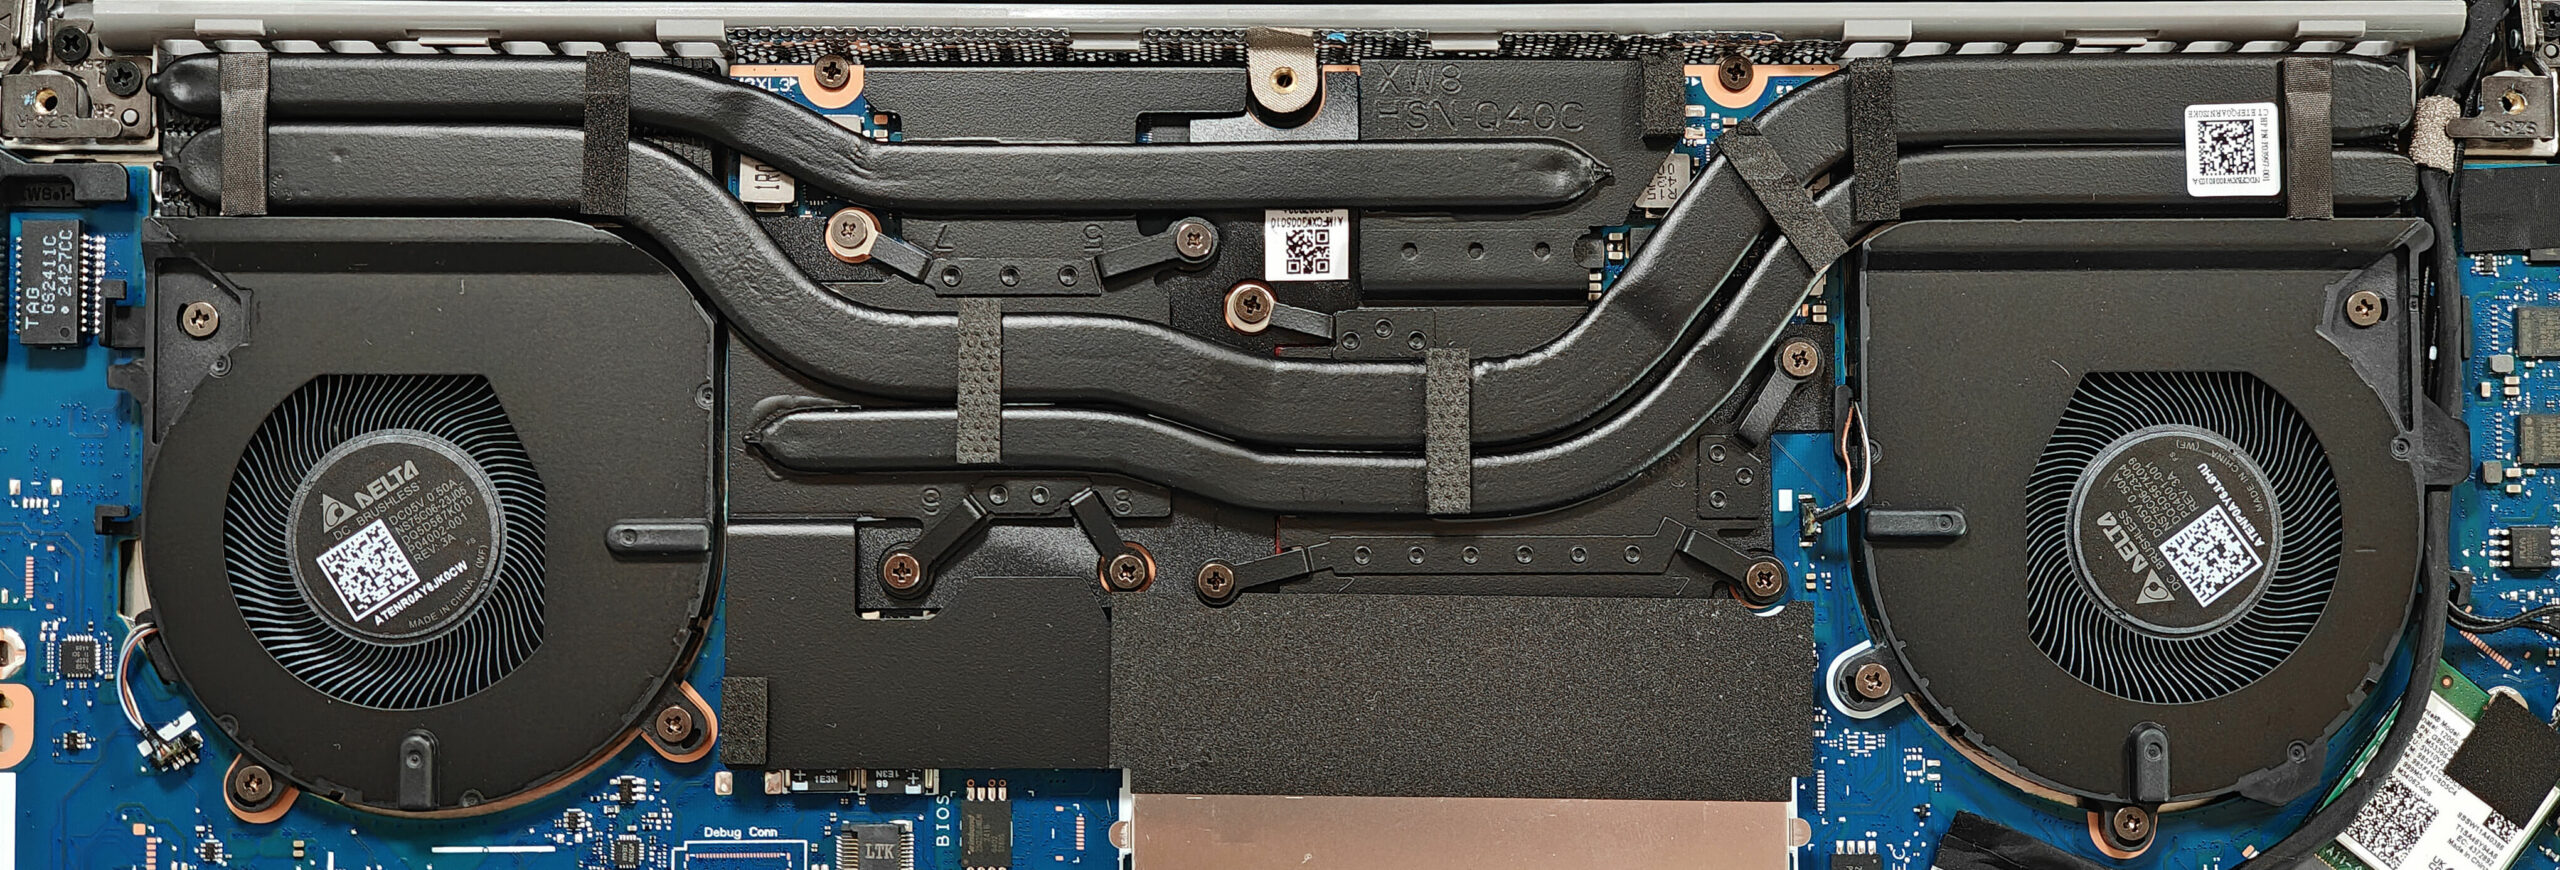
More info: The cooling system comprises a pair of fans, one long thick heat pipe shared between the CPU and the GPU, plus one more pipe for each chip. The system is complemented by two heatsinks and two large heat spreaders, ensuring effective thermal management for this powerful workstation.
- Inspect the pair of fans to ensure they are free of dust and debris.
- Check the long thick heat pipe shared between the CPU and GPU for any signs of wear or damage.
- Verify that the additional heat pipes for each chip are securely connected.
- Ensure that the two heatsinks are properly seated and unobstructed.
- Confirm that the two large heat spreaders are securely in place to maintain optimal cooling performance.
HP ZBook Power G11 / A in-depth review
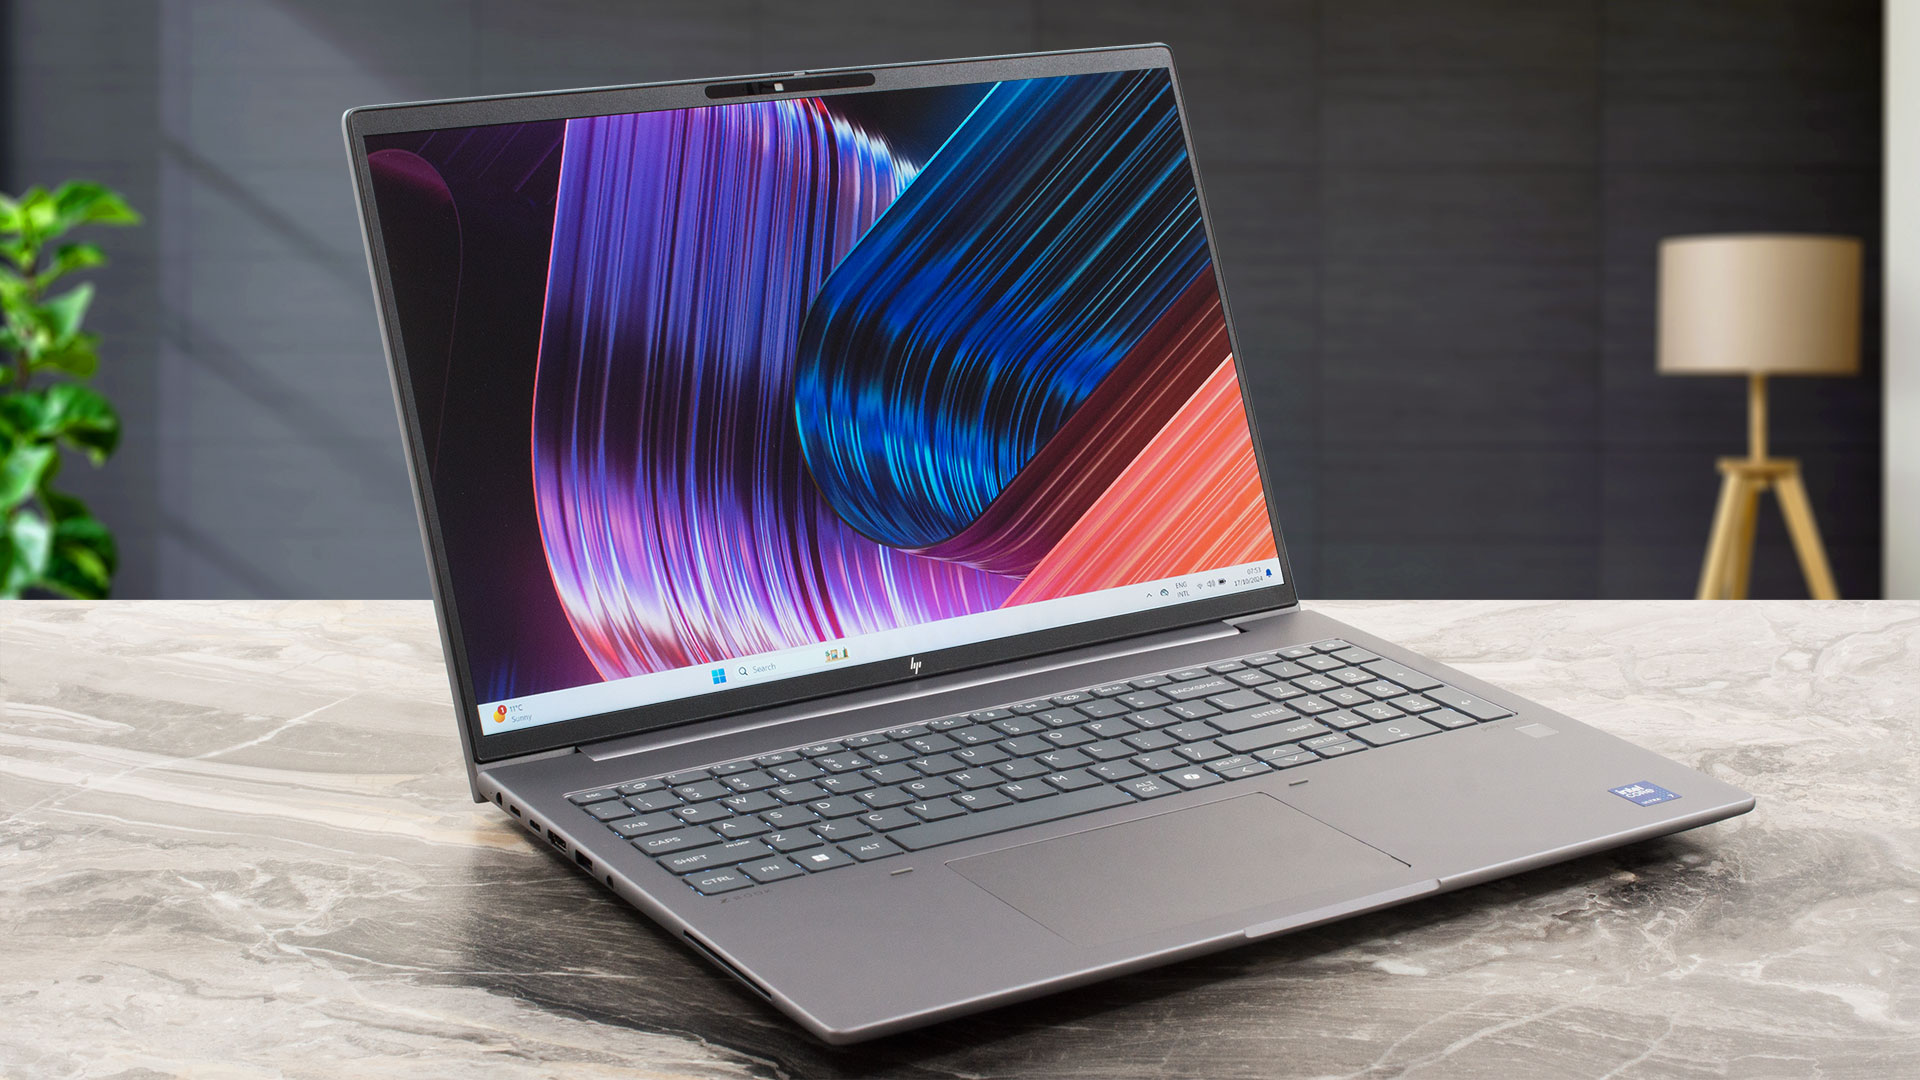
The ZBook Power 16 G11 offers new CPU options and an updated design compared to the G10 model. The latest version is powered by 28W Intel Meteor Lake-H CPUs which are more efficient than the Raptor Lake-H chips that can be found inside the previous-gen sibling. The dGPUs are expectedly pro-grade NVIDIA RTX Ada Generation chips with modest power limits for lower noise during heavy loads.This device is meant for continuous workloads like AI tasks, 3D rendering, CAD, etc. That's why HP has fitted a pretty sizable thermal system with quiet fans but more on that later. Display-wise, you get ton[...]
Pros
- Solid all-aluminum chassis
- Very good overall performance
- The comfort during long loads is on-point
- The matte finish is almost fingerprint-proof
- The Core Ultra 7 155H maintains ~ 3.24 GHz / 2.68 GHz P and E core clocks even in long loads
- Wide viewing angles + 16:10 aspect ratio (CMN1636)
- 486 nits of max brightness +1670:1 contrast ratio (CMN1636)
- PWM-free (CMN1636)
- 98% sRGB coverage + accurate colors with our "Design and Gaming" profile (CMN1636)
- Comfortable spill-resistant keyboard
- Accurate touchpad
- 2x Thunderbolt 4 + 2x Type-A ports
- The fans are quiet in "High Performance" mode during max CPU / GPU stress
- Very long battery battery life given the powerful internals (~17 hours of videos)
- Web camera with a privacy shutter
- Snappy and well-cooled NVMe (SAMSUNG MZVL21T0HCLR-00BH1)
- Each RAM stick is additionally cooled by two thermal pads
- Lid with a lever design
- LPWAN (Low-power WAN)
- SmartCard reader, SD card reader, NFC, fingerprint reader, 5MP IR Web camera, vPro, Nano SIM card slot, backlit keyboard (all are optional)
Cons
- Too many optional features given the end price
- No Wi-Fi 7
 Author: Dimitar Stalev

![[August 2026] Best-Selling Laptop Brands on Amazon Japan – Apple Dominates Market Share and Revenue Led by Strong Unit Sales](https://laptopmedia.com/wp-content/uploads/2026/09/CO.JP-Best-Brands-1-400x225.jpg)
![[August 2026] Best-Selling Laptop Brands on Amazon USA – Apple Dominates Market Revenue and Volume Despite Lower Model Diversity](https://laptopmedia.com/wp-content/uploads/2026/09/COM-Best-Brands-1-400x225.jpg)
![[August 2026] Amazon Germany: Top 8 Best-Selling Gaming Laptops – Acer Dominates the Market as the Premium Nitro V 17 AI Takes the #1 Spot](https://laptopmedia.com/wp-content/uploads/2026/09/Best-Selling-Gaming-Laptops-DE-Top-10-1-400x225.jpg)
![[August 2026] Best-Selling Laptop Brands on Amazon France – Apple Dominates Revenue Despite Lenovo and HP Leading in Catalog Breadth and Volume](https://laptopmedia.com/wp-content/uploads/2026/09/FR-Best-Brands-1-400x225.jpg)
![[August 2026] Amazon Italy: Top 10 Best-Selling Laptops – Apple MacBook Neo Claims the Crown as Budget and Mid-Range Windows Machines Dominate Volume](https://laptopmedia.com/wp-content/uploads/2026/09/Best-Selling-Laptops-IT-Top-10-400x225.jpg)
meh