Inside Lenovo Yoga Slim 7 (14) – disassembly and upgrade options
As we still wait for it to flood the market, the Yoga Slim 7 (14) is poising to become one of the best ultrabooks for the money.
Check out all Lenovo Yoga Slim 7 (14) prices and configurations in our Specs System or read more in our In-Depth review.
1. Remove the bottom plate
When it comes to disassembling this notebook, Lenovo couldn’t have made it easier. There are 7 Torx-head screws you need to remove, and then you just have to pry the bottom panel away.
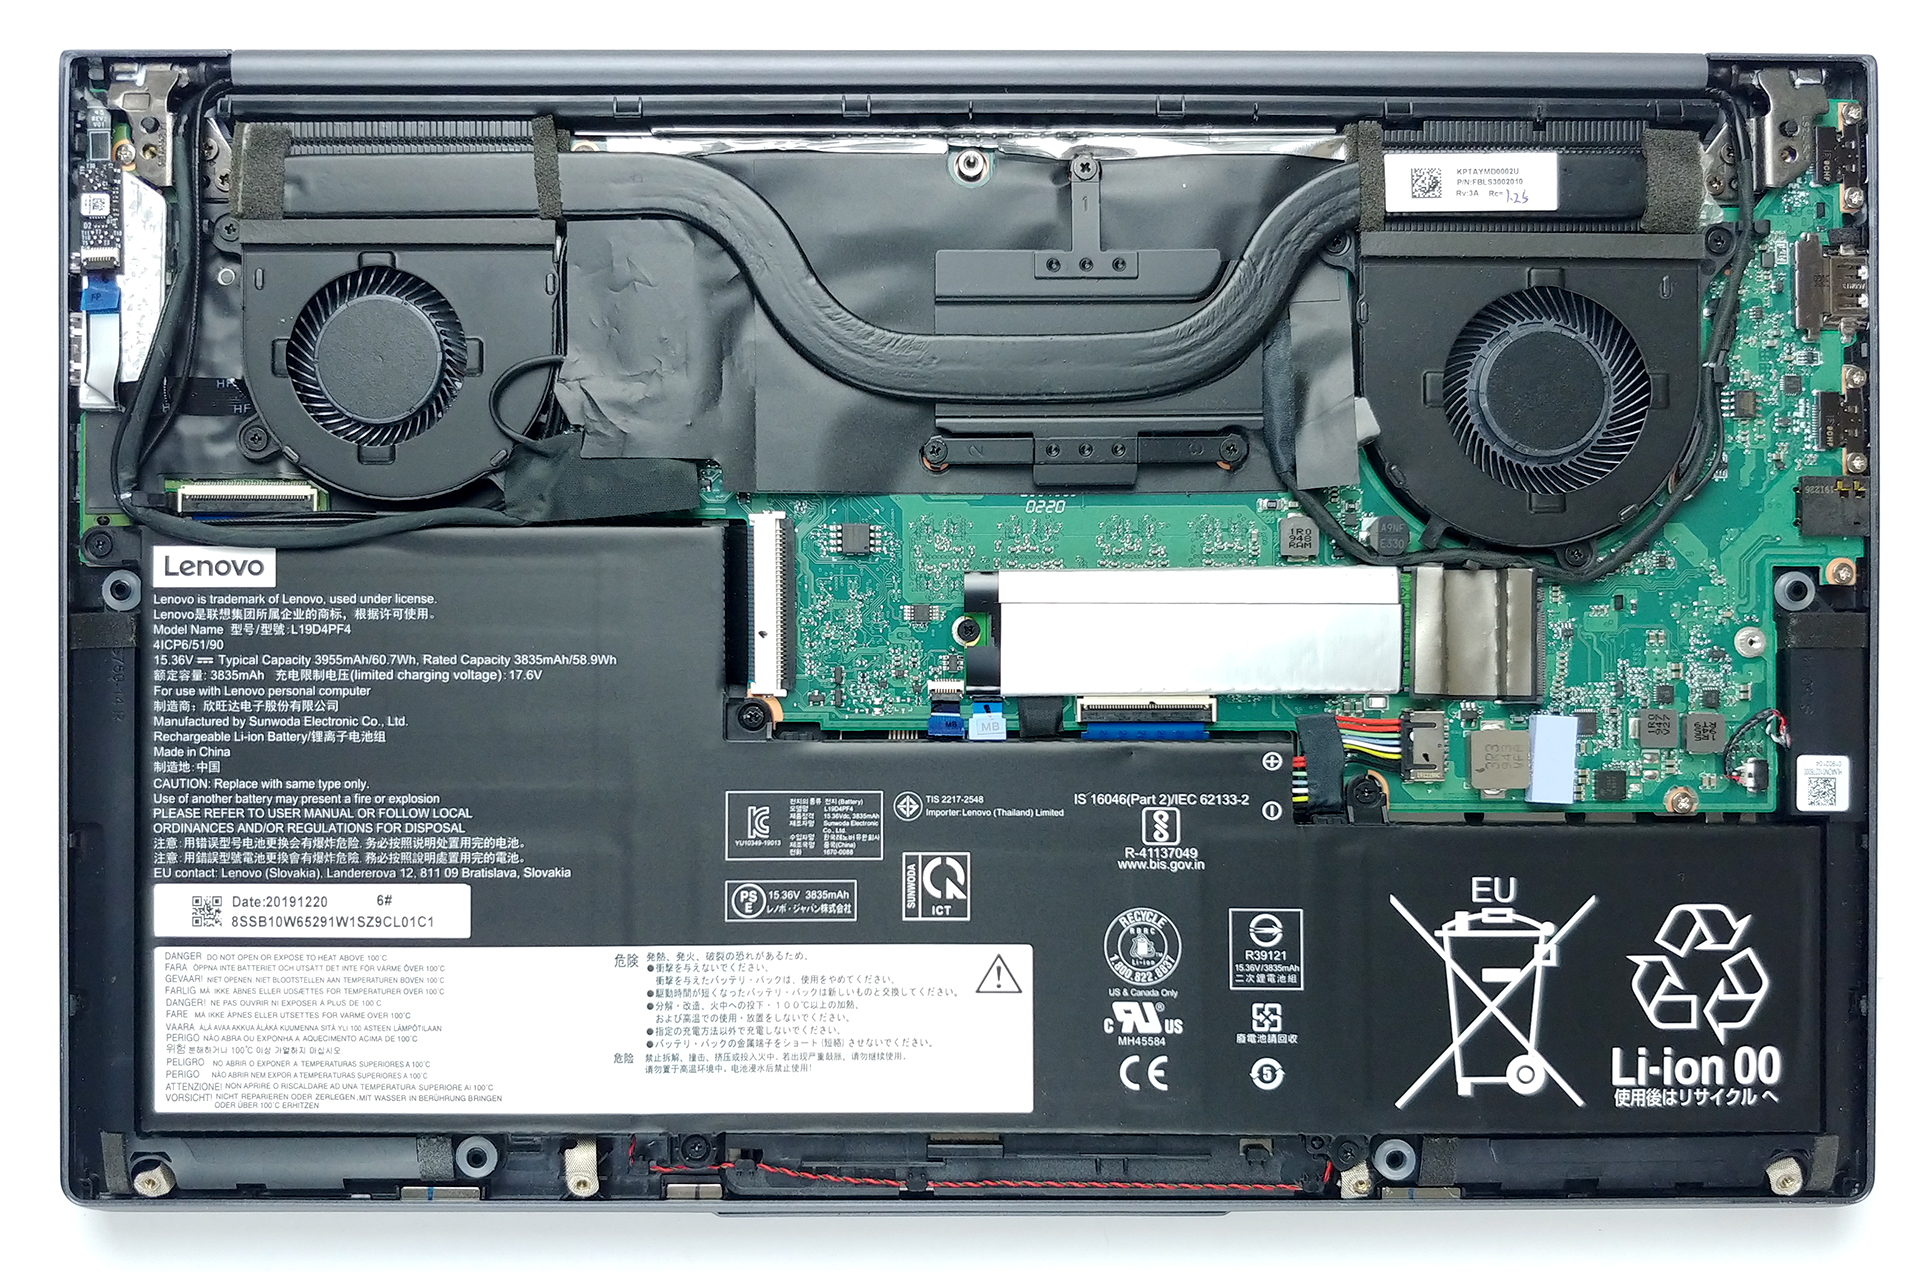
2. Battery
First, there is a 60.7Wh battery inside.

3. Memory and storage
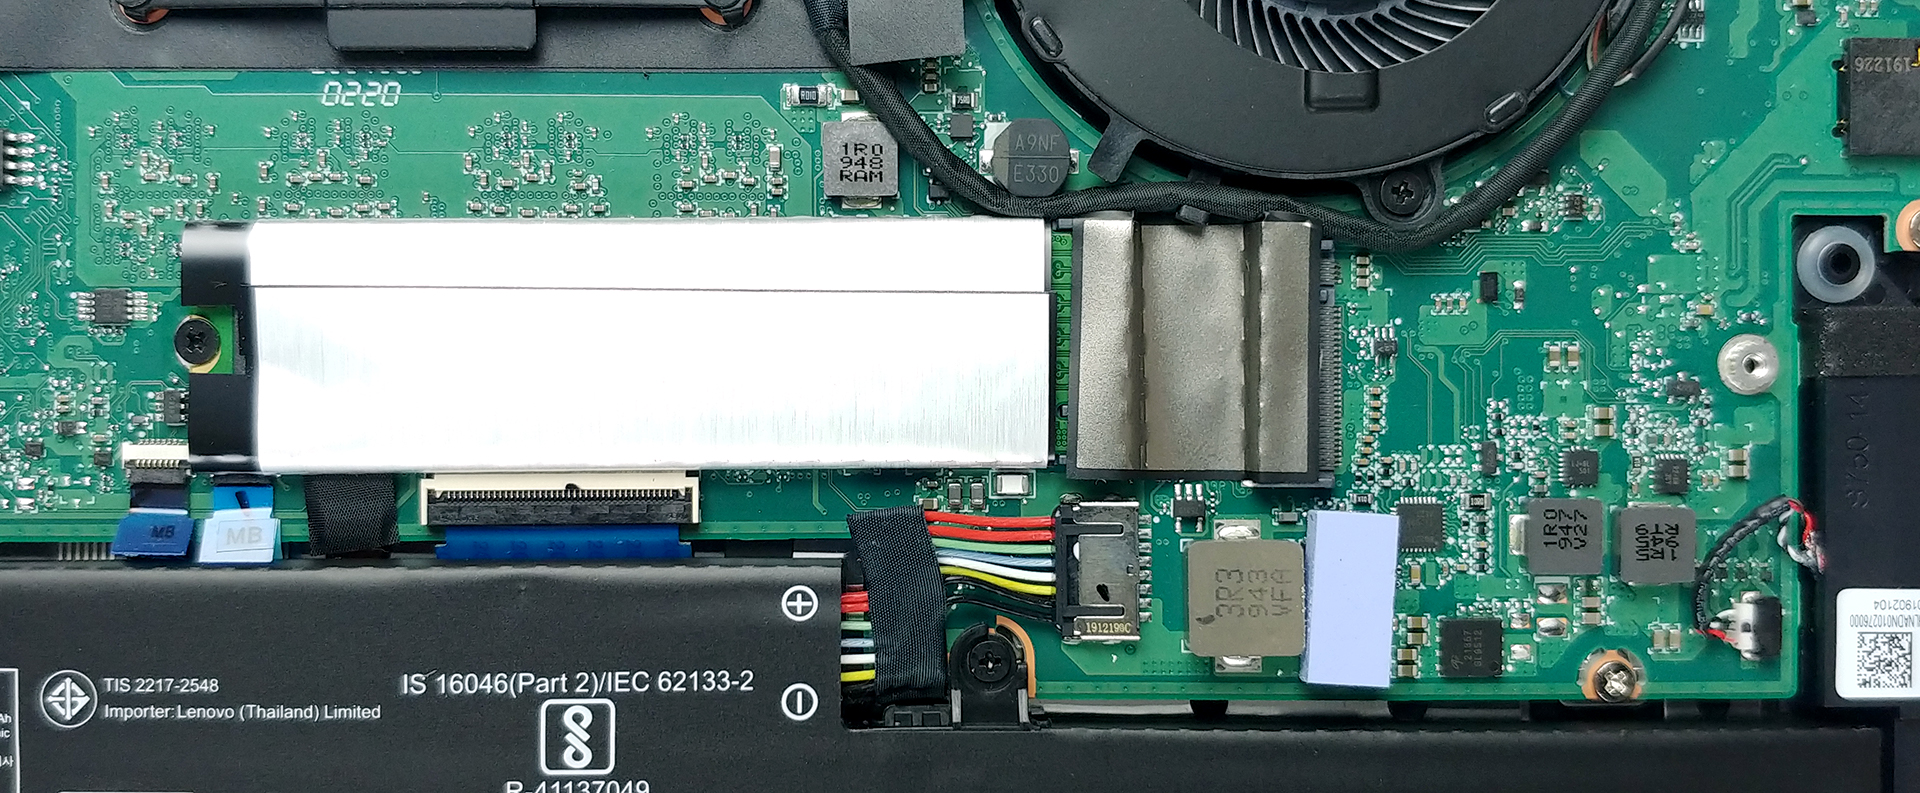
As of the upgradability, you won’t be able to change the memory on your device. It comes in two variants, comprising either 8GB or 16GB of LPDDR4x memory modules, working at the blazingly quick 4266 MHz. And although we see two M.2 PCIe x4 slots, we learned from Lenovo’s official specs, that you can only use one at a time. Such a shame.
4. Cooling system
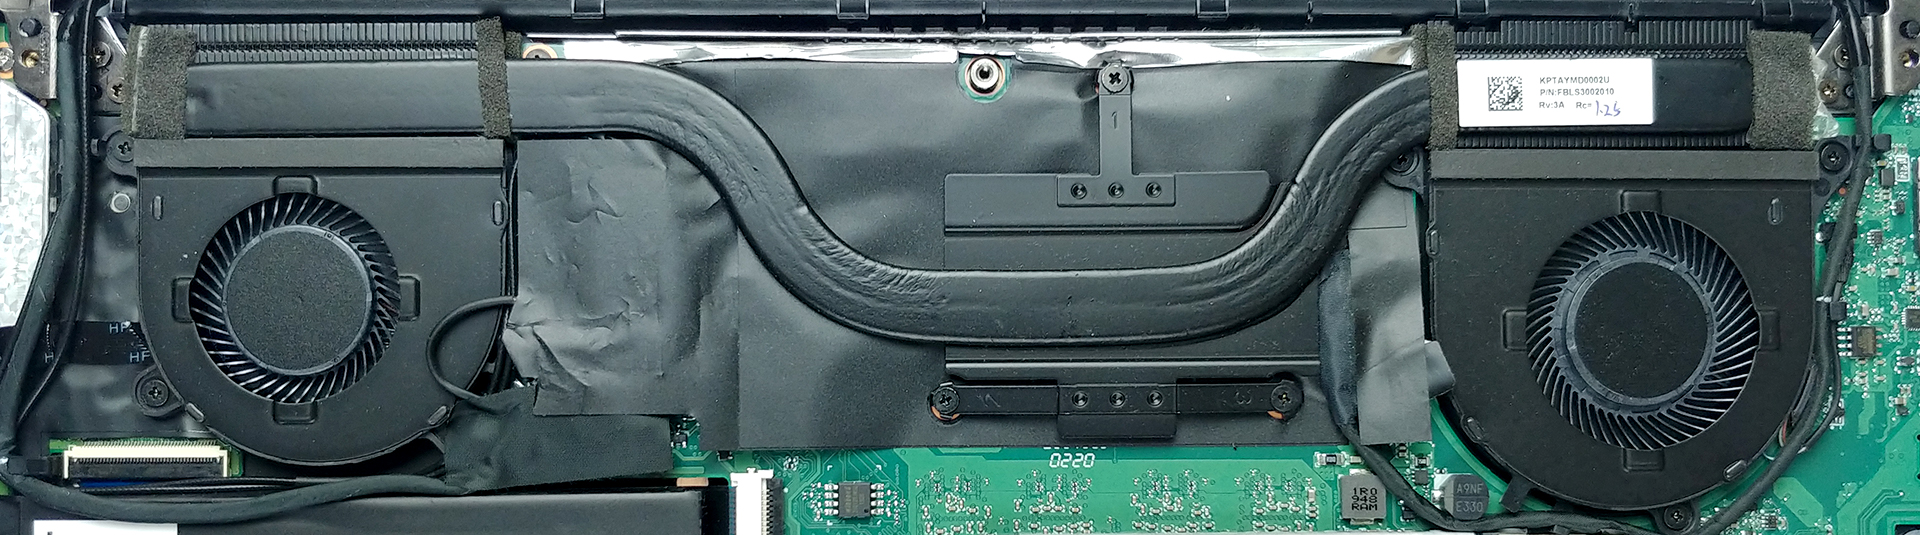
Cooling-wise, we see a single, thick heat pipe, leading to two heat spreaders. Furthermore, there are two relatively small-sized fans which blow the heat away.
Check out all Lenovo Yoga Slim 7 (14) prices and configurations in our Specs System or read more in our In-Depth review.
 Author: Alex Iliev

![[June 2026] Best-Selling Laptop Brands on Amazon Global – Apple’s Unrivaled Dominance in Units and Revenue](https://laptopmedia.com/wp-content/uploads/2026/07/GLOBAL-Best-Brands-400x225.jpg)
![[June 2026] Amazon Global: Top 10 Best-Selling Laptops – Apple’s New MacBook Neo Storms to #1, Reshaping the Market with Affordability](https://laptopmedia.com/wp-content/uploads/2026/07/Best-Selling-Laptops-GLOBAL-Top-10-400x225.jpg)
![[June 2026] Amazon Global: Top 10 Best-Selling Gaming Laptops – Acer’s Nitro V 16S AI Dominates Sales, While ASUS Leads Overall Revenue](https://laptopmedia.com/wp-content/uploads/2026/07/Best-Selling-Gaming-Laptops-GLOBAL-Top-10-400x225.jpg)
![[June 2026] Global Ranking of Best-Selling Laptop GPUs on Amazon – NVIDIA RTX 5060 is the Top-Selling Dedicated GPU](https://laptopmedia.com/wp-content/uploads/2026/07/Best-Selling-GPUs-GLOBAL-Top-10-400x225.jpg)
![[June 2026] Global Ranking of Best-Selling Laptop CPUs on Amazon – Apple M5 Dominates, AMD Ryzen 7 260 Gets Solid Premium Share](https://laptopmedia.com/wp-content/uploads/2026/07/Best-Selling-CPUs-GLOBAL-Top-10-400x225.jpg)

Why cant we change the memory, if its 8Gb cant we change it out for 16Gb
Memory is soldered to the MB
Hello, could you replace or upgrade the wireless card? (wifi+BT)