Inside Toshiba Satellite Pro R50-B – disassembly, internal photos and upgrade options
Another Toshiba notebook is in our hands, but this time representing the budget business class notebooks. We are referring to the Satellite Pro R50-B and despite the price, the notebook really has something to bring to the table. We will start off with the disassembly and slowly work our way up to the full review of the model in the near future.
You can take a look a the current prices and configurations here: http://amzn.to/1UZjVZC
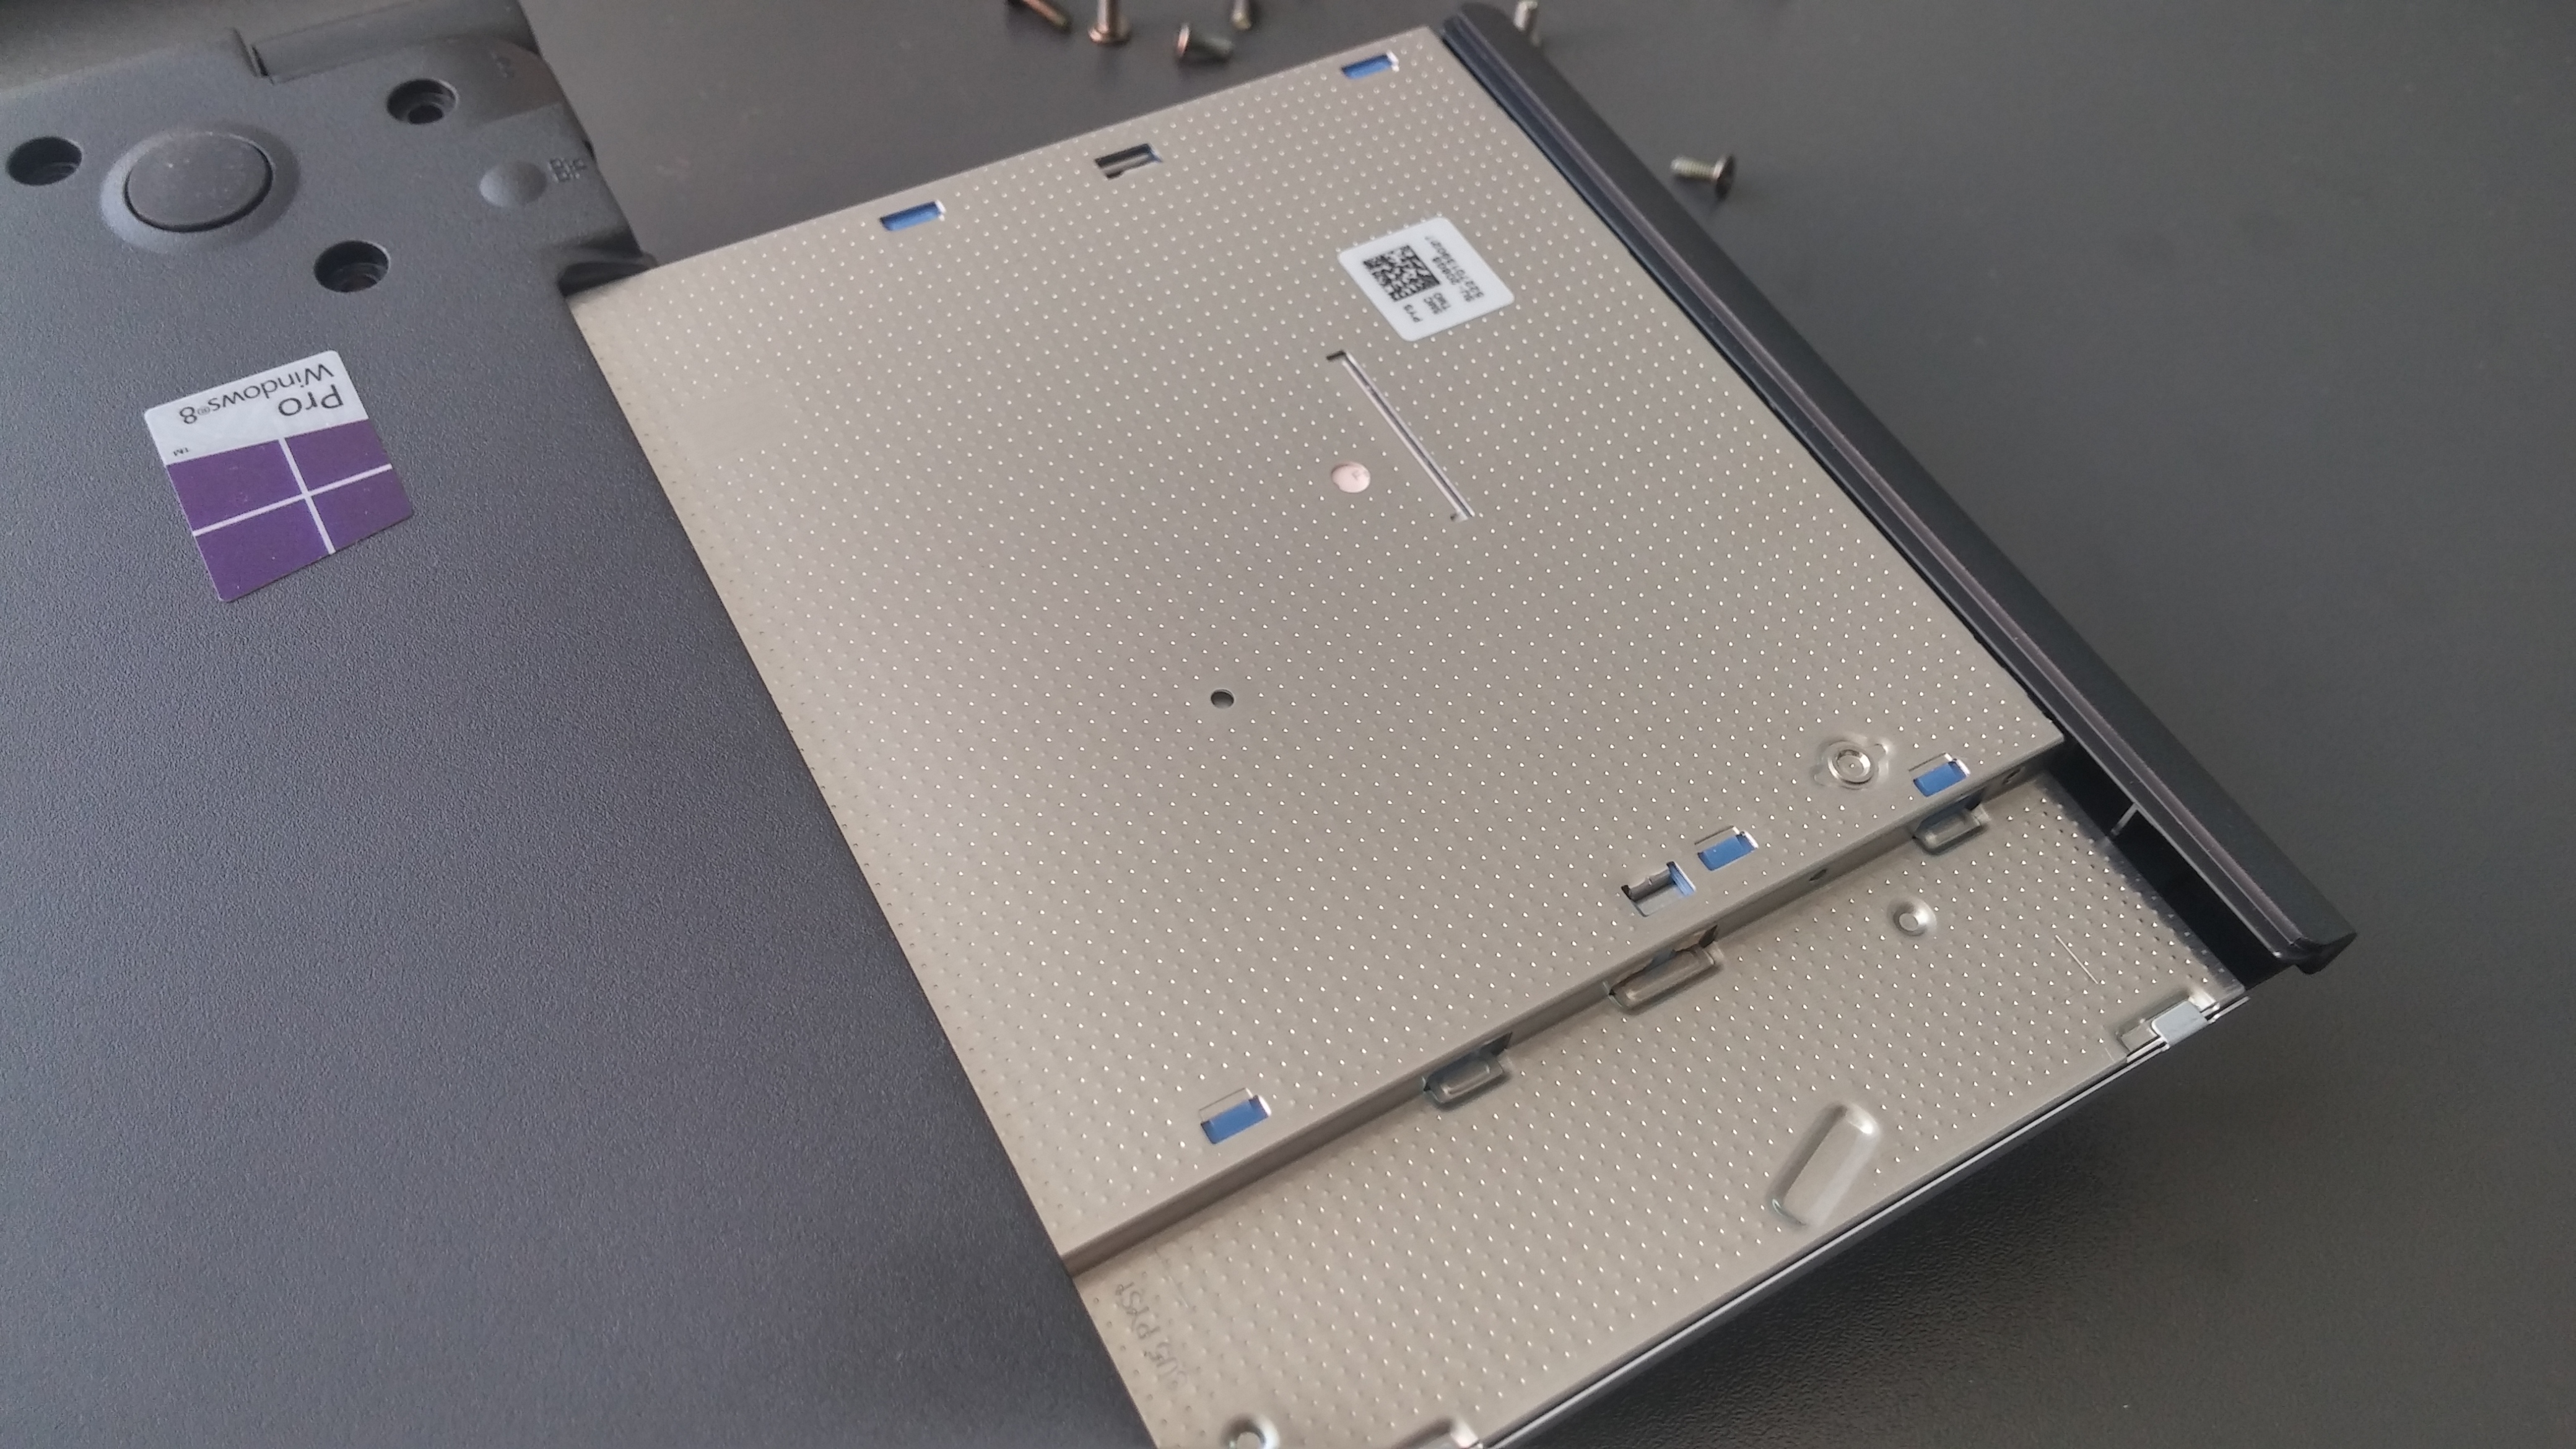
1. Removing the battery and optical drive
Most users will be pleased to know that the notebook has user-replaceable battery and before you proceed with the full disassembly it is strongly recommended that you begin with the battery itself, which by the way, is Toshiba-made rated at 2800 mAh. Next stop is the optical drive that holds only with one screw. You can swap it for an additional HDD since the notebook doesn’t support M.2 SATA SSD for additional storage.
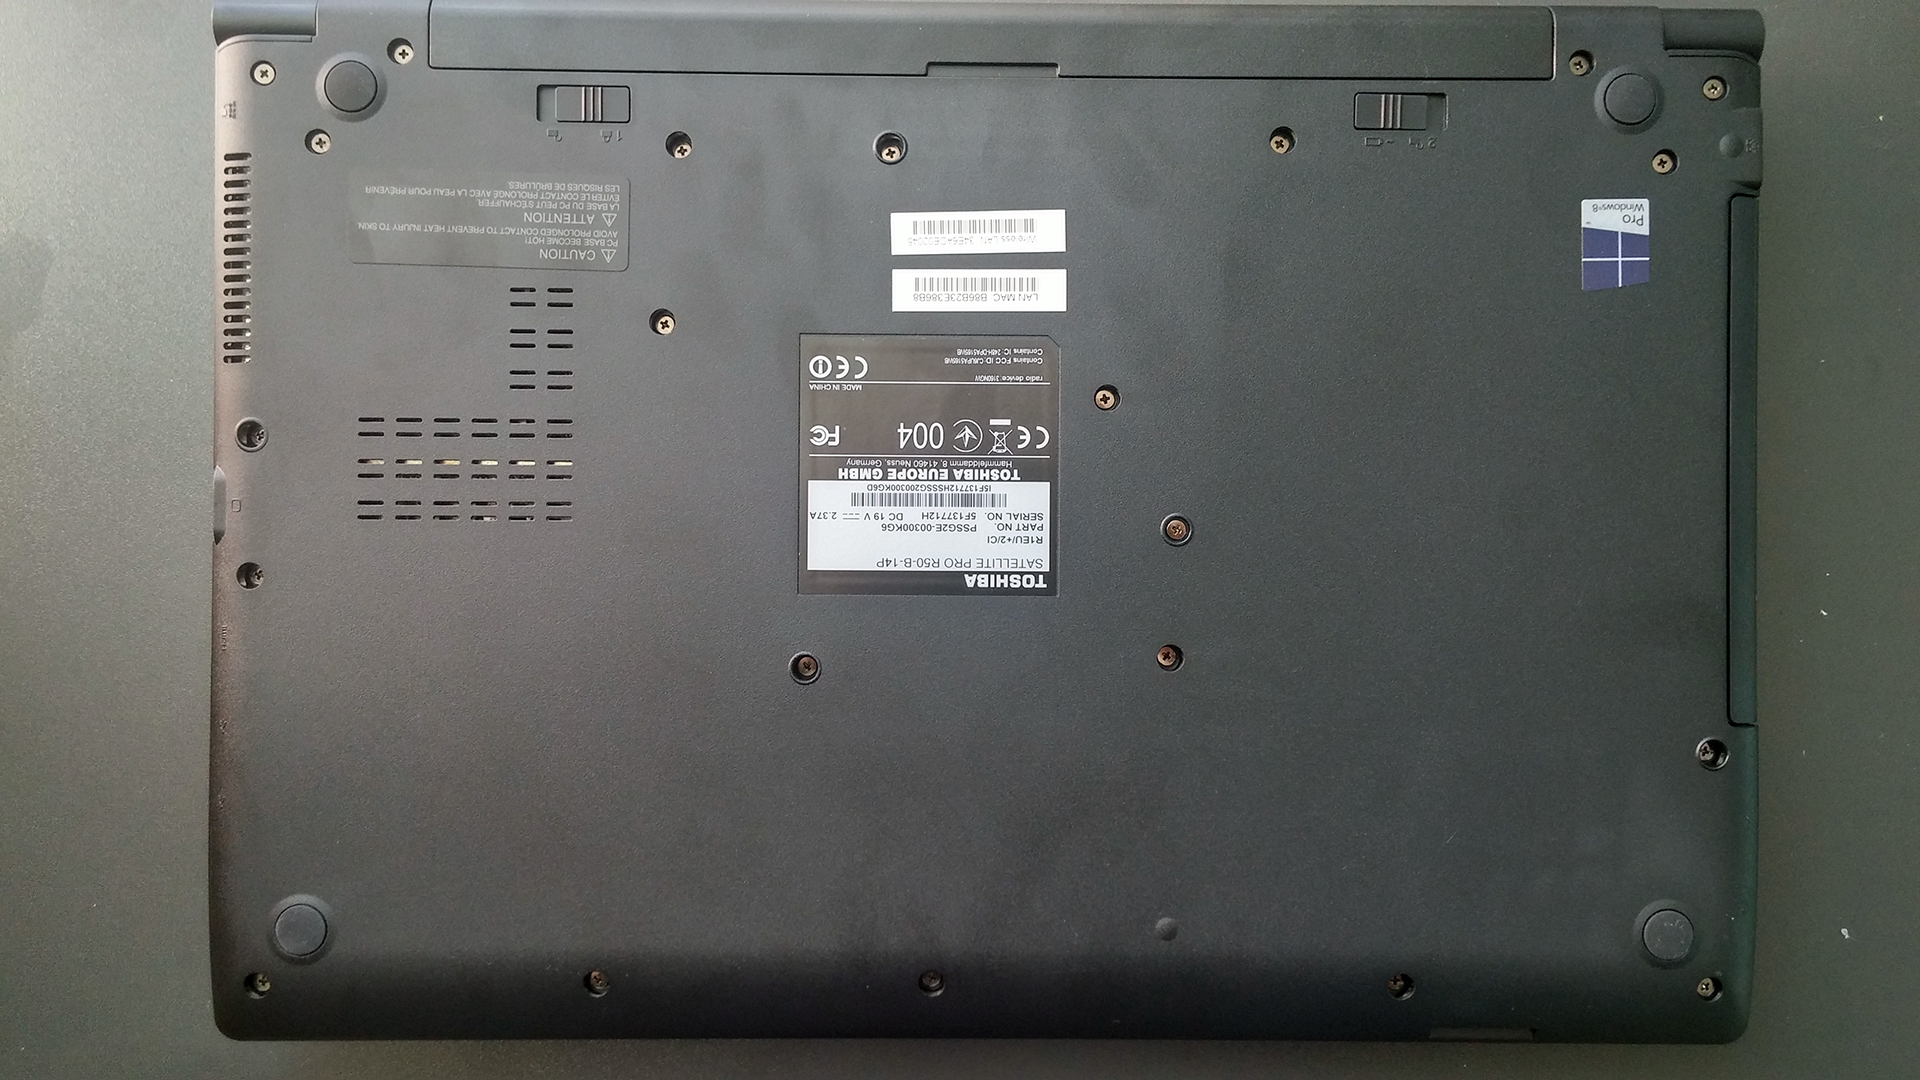

2. Removing the back cover
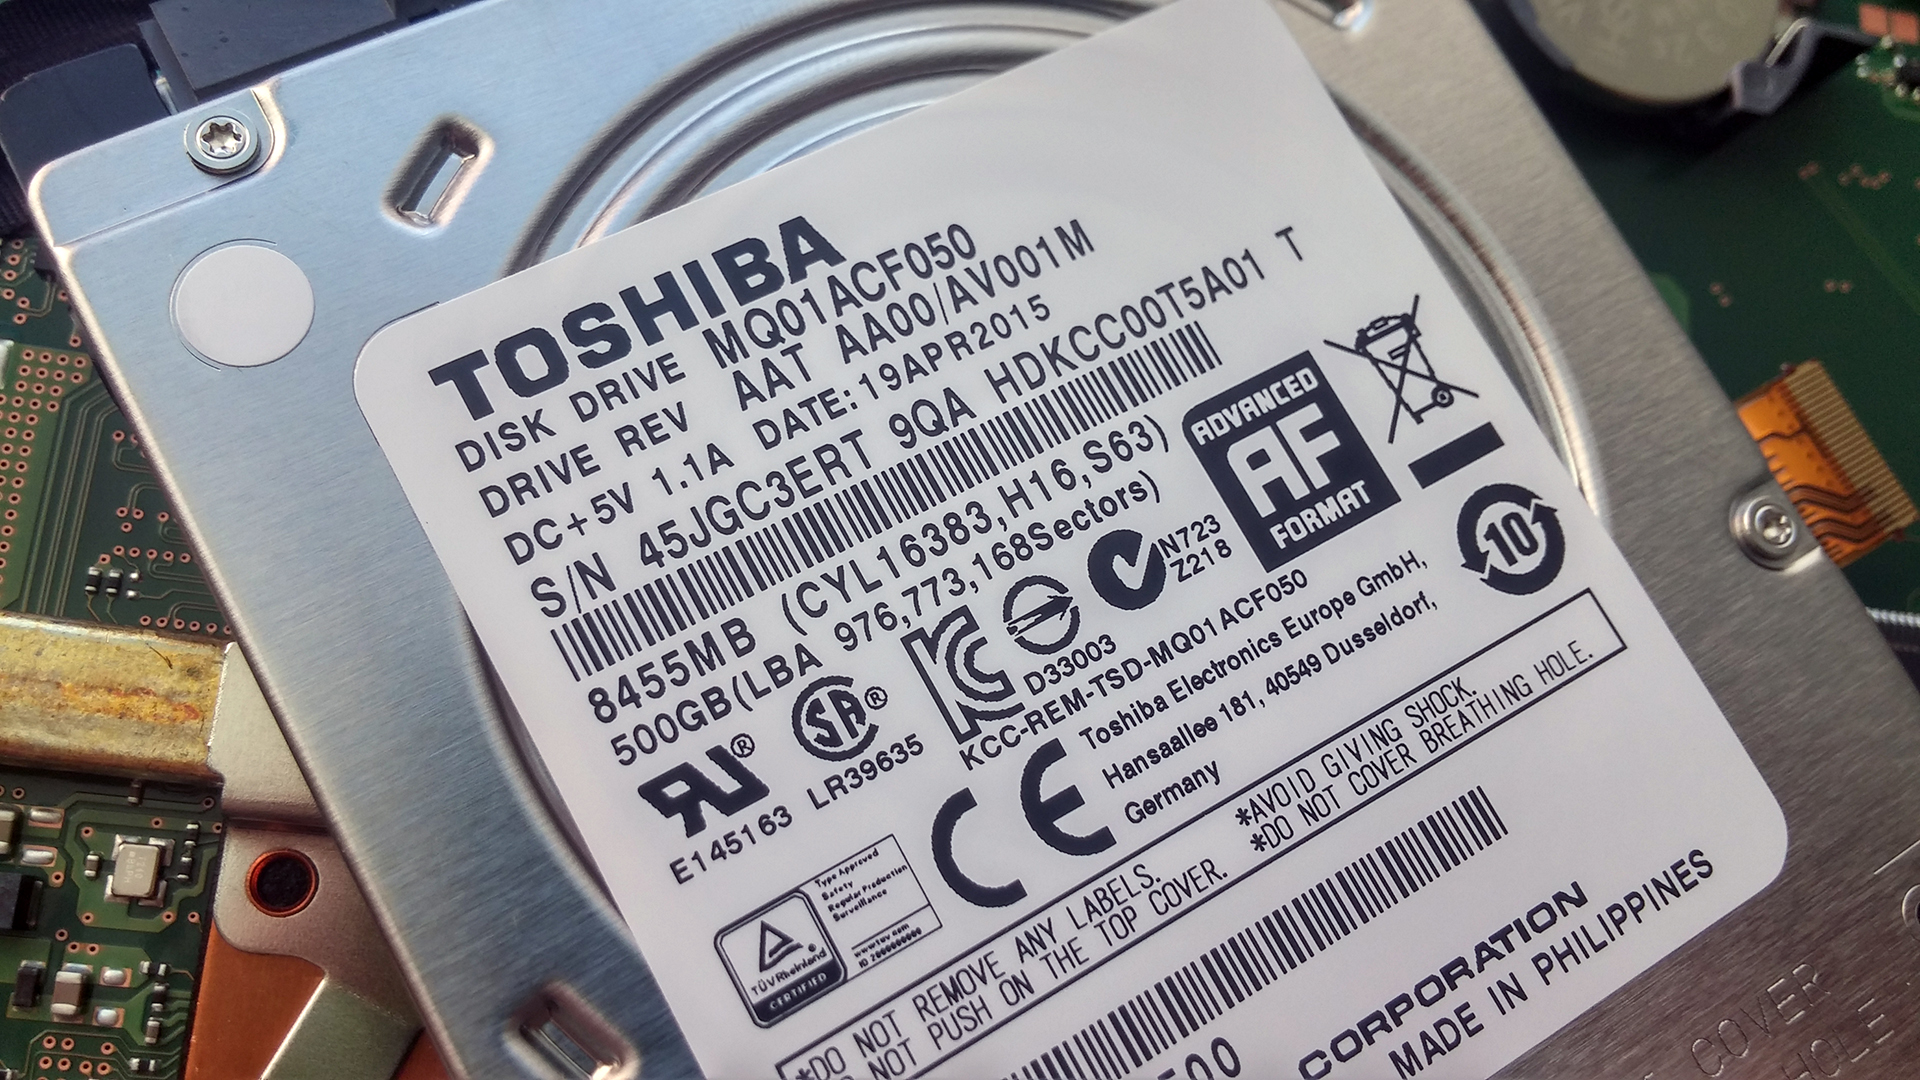
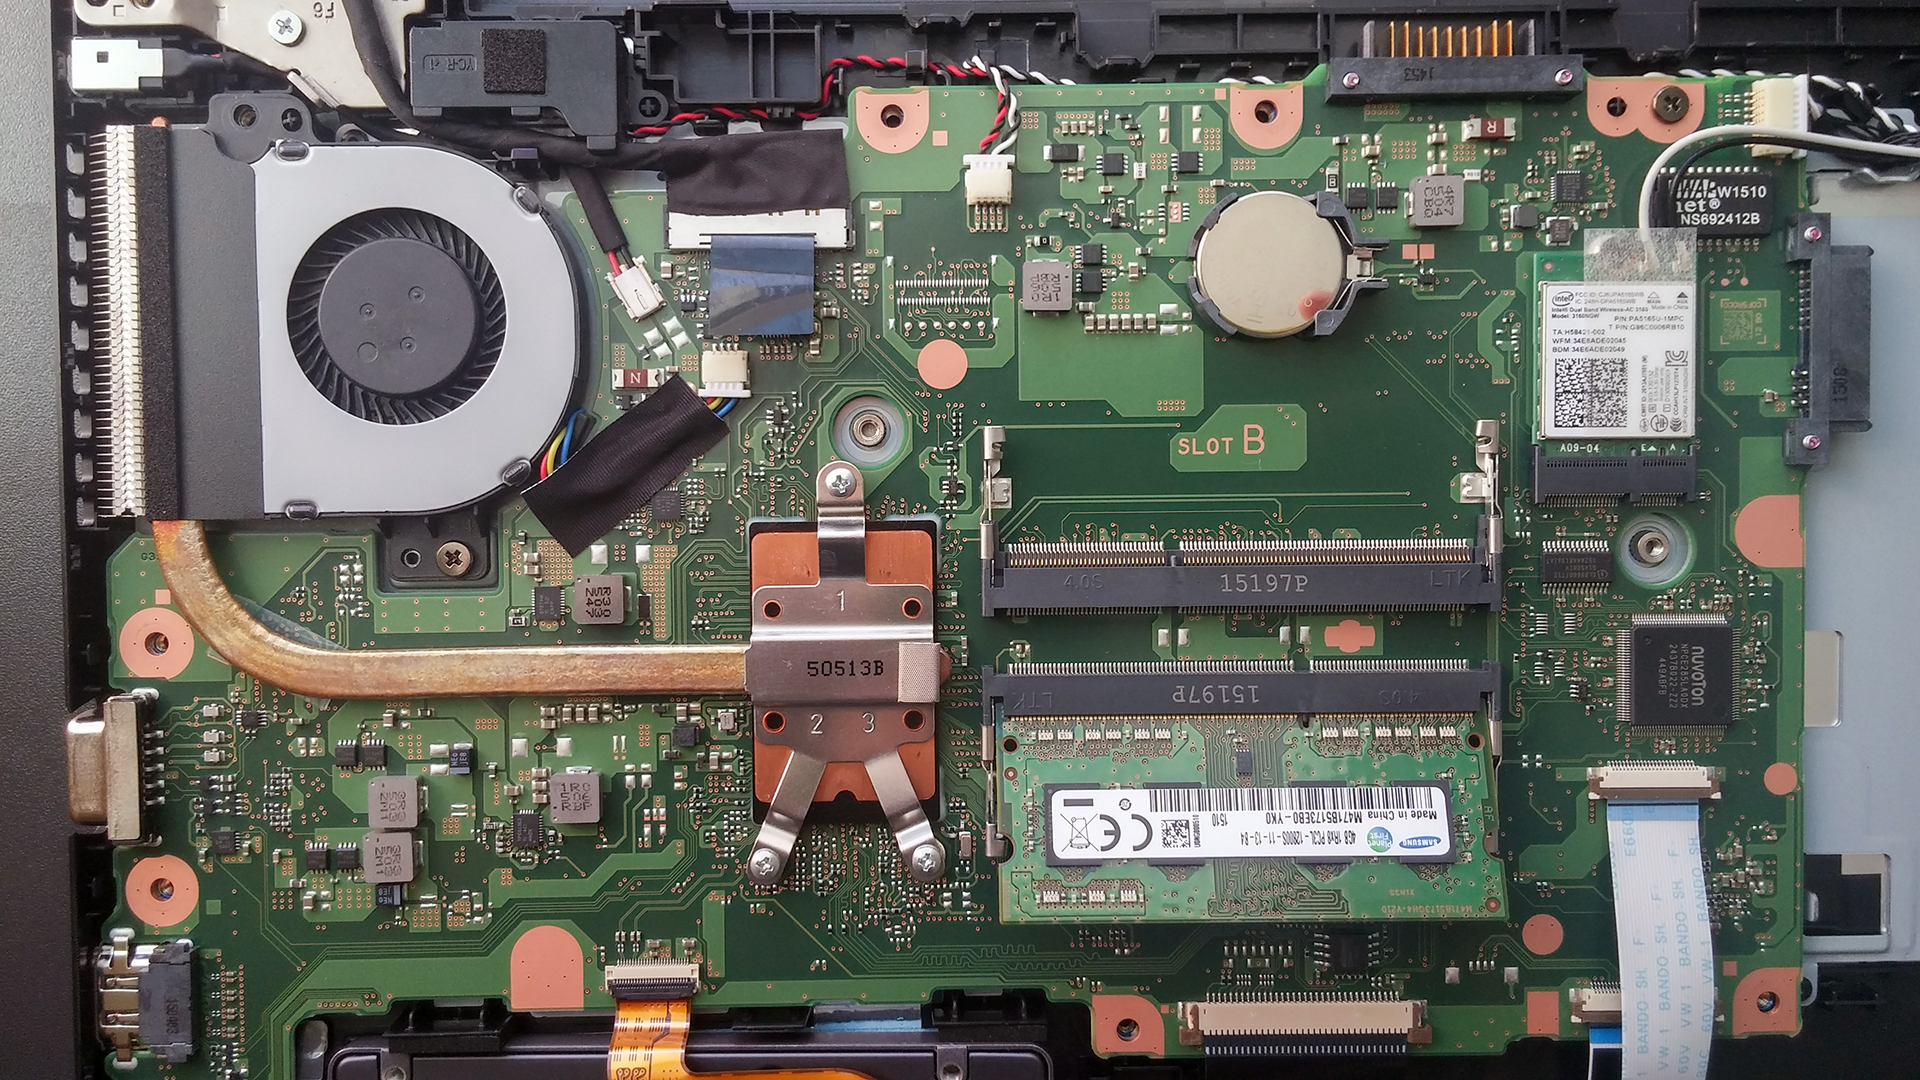
This one is pretty easy, but a bit annoying at the same time. There are too many screws holding the bottom piece, but after unscrewing it pops out easily. Under it, you will find the 500GB 2.5-inch HDD manufactured by Toshiba. The configurations with 1TB HDD may differ.
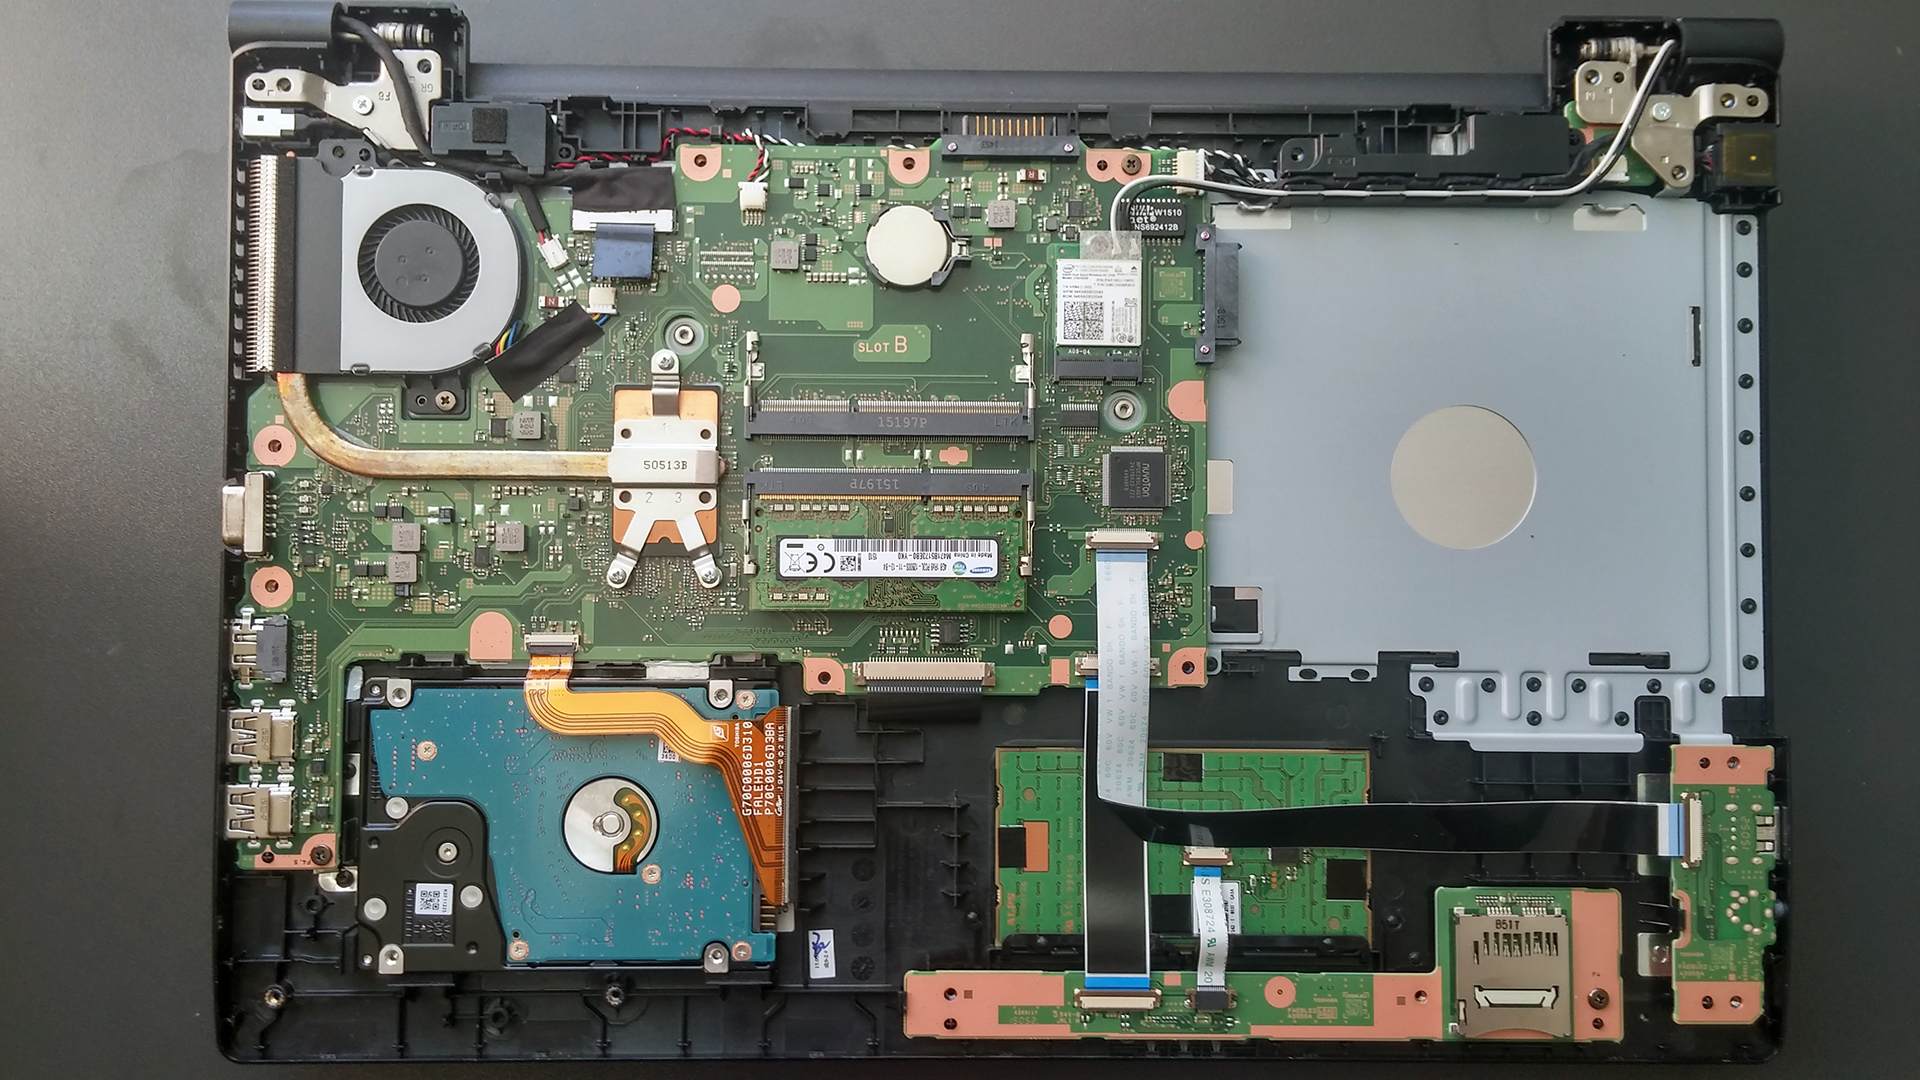
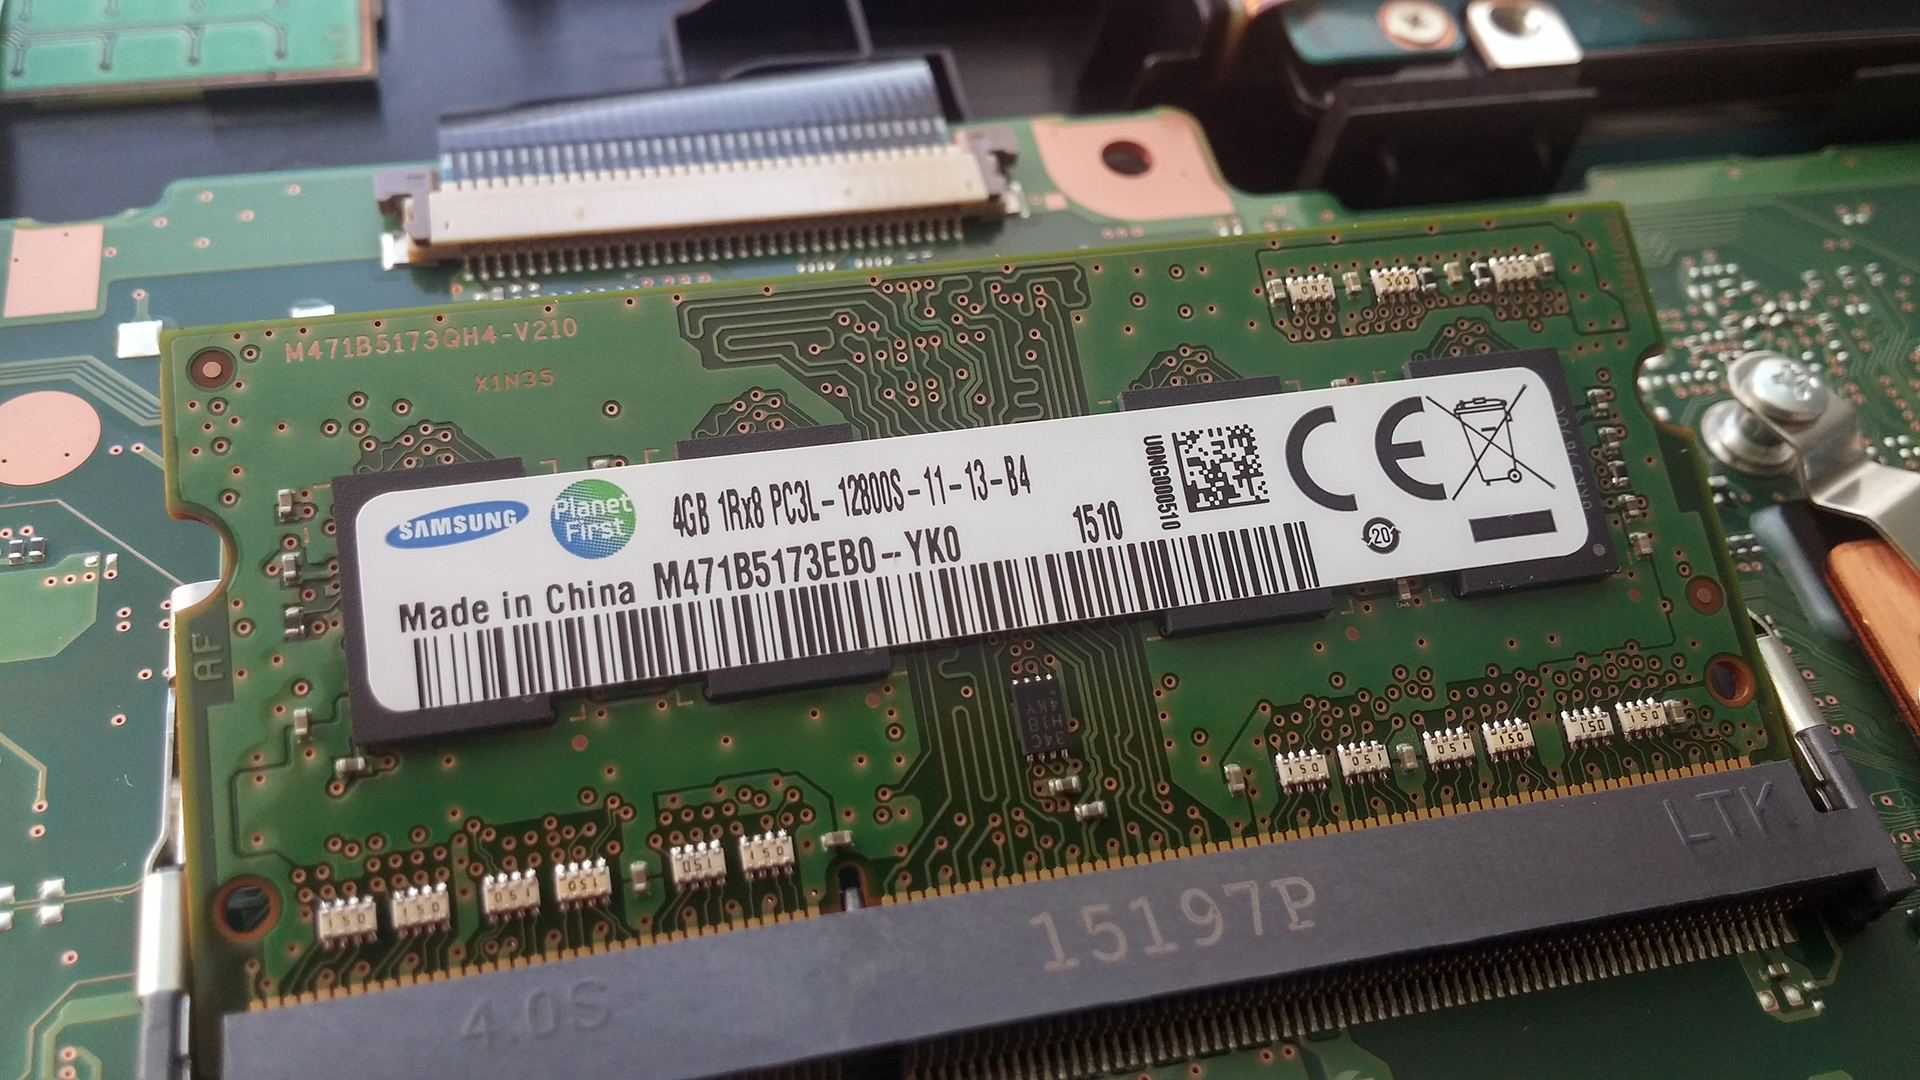
Right above the HDD are the two RAM slots and in our case one of them is occupied by a 4GB Samsung chip. The Wi-Fi module is also near the RAM slots and as usually it’s Intel-made – Dual Band Wireless-AC 3160.

You can take a look a the current prices and configurations here: http://amzn.to/1UZjVZC


![[June 2026] Best-Selling Laptop Brands on Amazon Global – Apple’s Unrivaled Dominance in Units and Revenue](https://laptopmedia.com/wp-content/uploads/2026/07/GLOBAL-Best-Brands-400x225.jpg)
![[June 2026] Amazon Global: Top 10 Best-Selling Laptops – Apple’s New MacBook Neo Storms to #1, Reshaping the Market with Affordability](https://laptopmedia.com/wp-content/uploads/2026/07/Best-Selling-Laptops-GLOBAL-Top-10-400x225.jpg)
![[June 2026] Amazon Global: Top 10 Best-Selling Gaming Laptops – Acer’s Nitro V 16S AI Dominates Sales, While ASUS Leads Overall Revenue](https://laptopmedia.com/wp-content/uploads/2026/07/Best-Selling-Gaming-Laptops-GLOBAL-Top-10-400x225.jpg)
![[June 2026] Global Ranking of Best-Selling Laptop GPUs on Amazon – NVIDIA RTX 5060 is the Top-Selling Dedicated GPU](https://laptopmedia.com/wp-content/uploads/2026/07/Best-Selling-GPUs-GLOBAL-Top-10-400x225.jpg)
![[June 2026] Global Ranking of Best-Selling Laptop CPUs on Amazon – Apple M5 Dominates, AMD Ryzen 7 260 Gets Solid Premium Share](https://laptopmedia.com/wp-content/uploads/2026/07/Best-Selling-CPUs-GLOBAL-Top-10-400x225.jpg)

waar sit die jumper om passwort te reset
Can you solve it?