ASUS ZenBook Pro UX501 – разглобяване, вътрешни снимки и опции за ъпгрейд
Въпреки факта, че G501 и UX501 са на практика едни и същи ноутбуци с различни цветове, ние сме длъжни да направим една от нашите кратки статии с вътрешни снимки и възможности за надграждане. Преди да започнем, трябва да кажем, че този преносим компютър се разглобява много лесно и изглежда наистина плътно опакован – точно както ги харесваме.
1. Сваляне на долния капак
За да направите това, ще трябва да отстраните 10 малки винта и още два, разположени под задните силиконови “крачета”. След това капакът се сваля доста лесно.
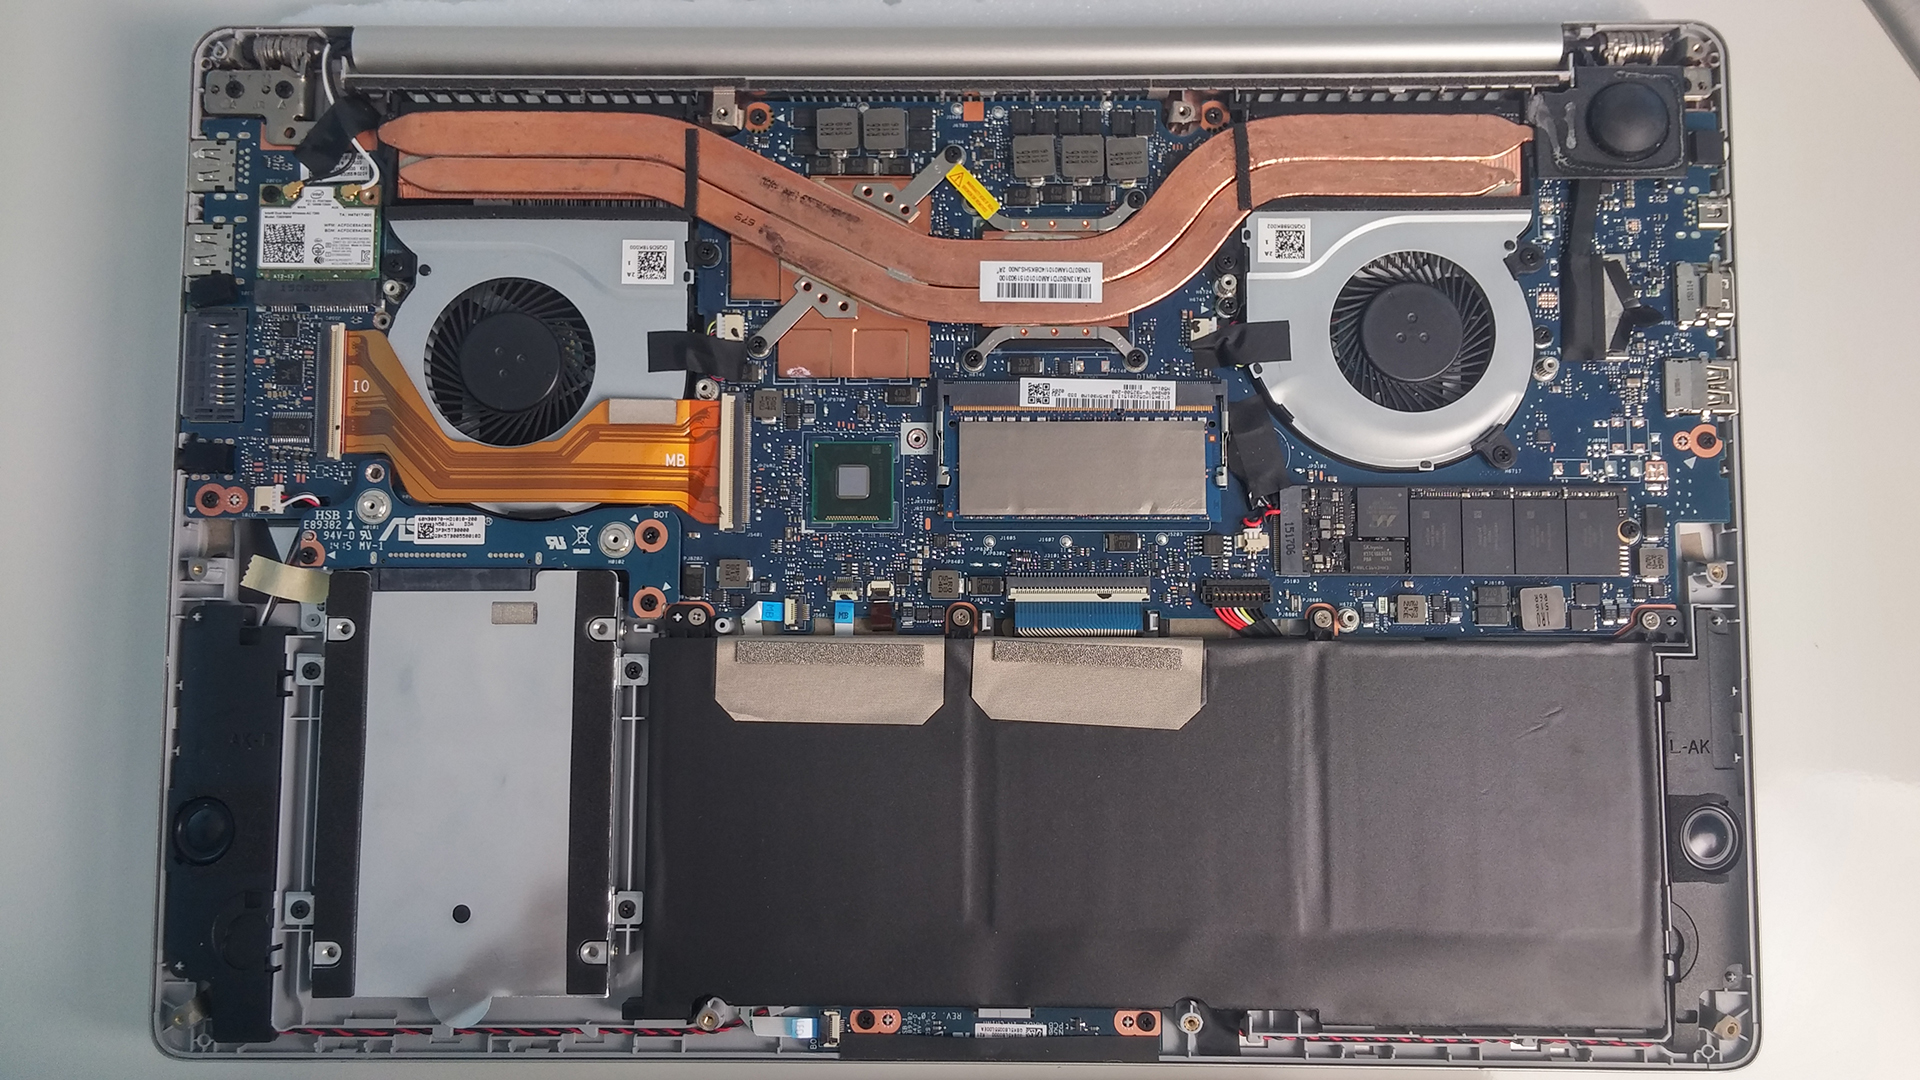

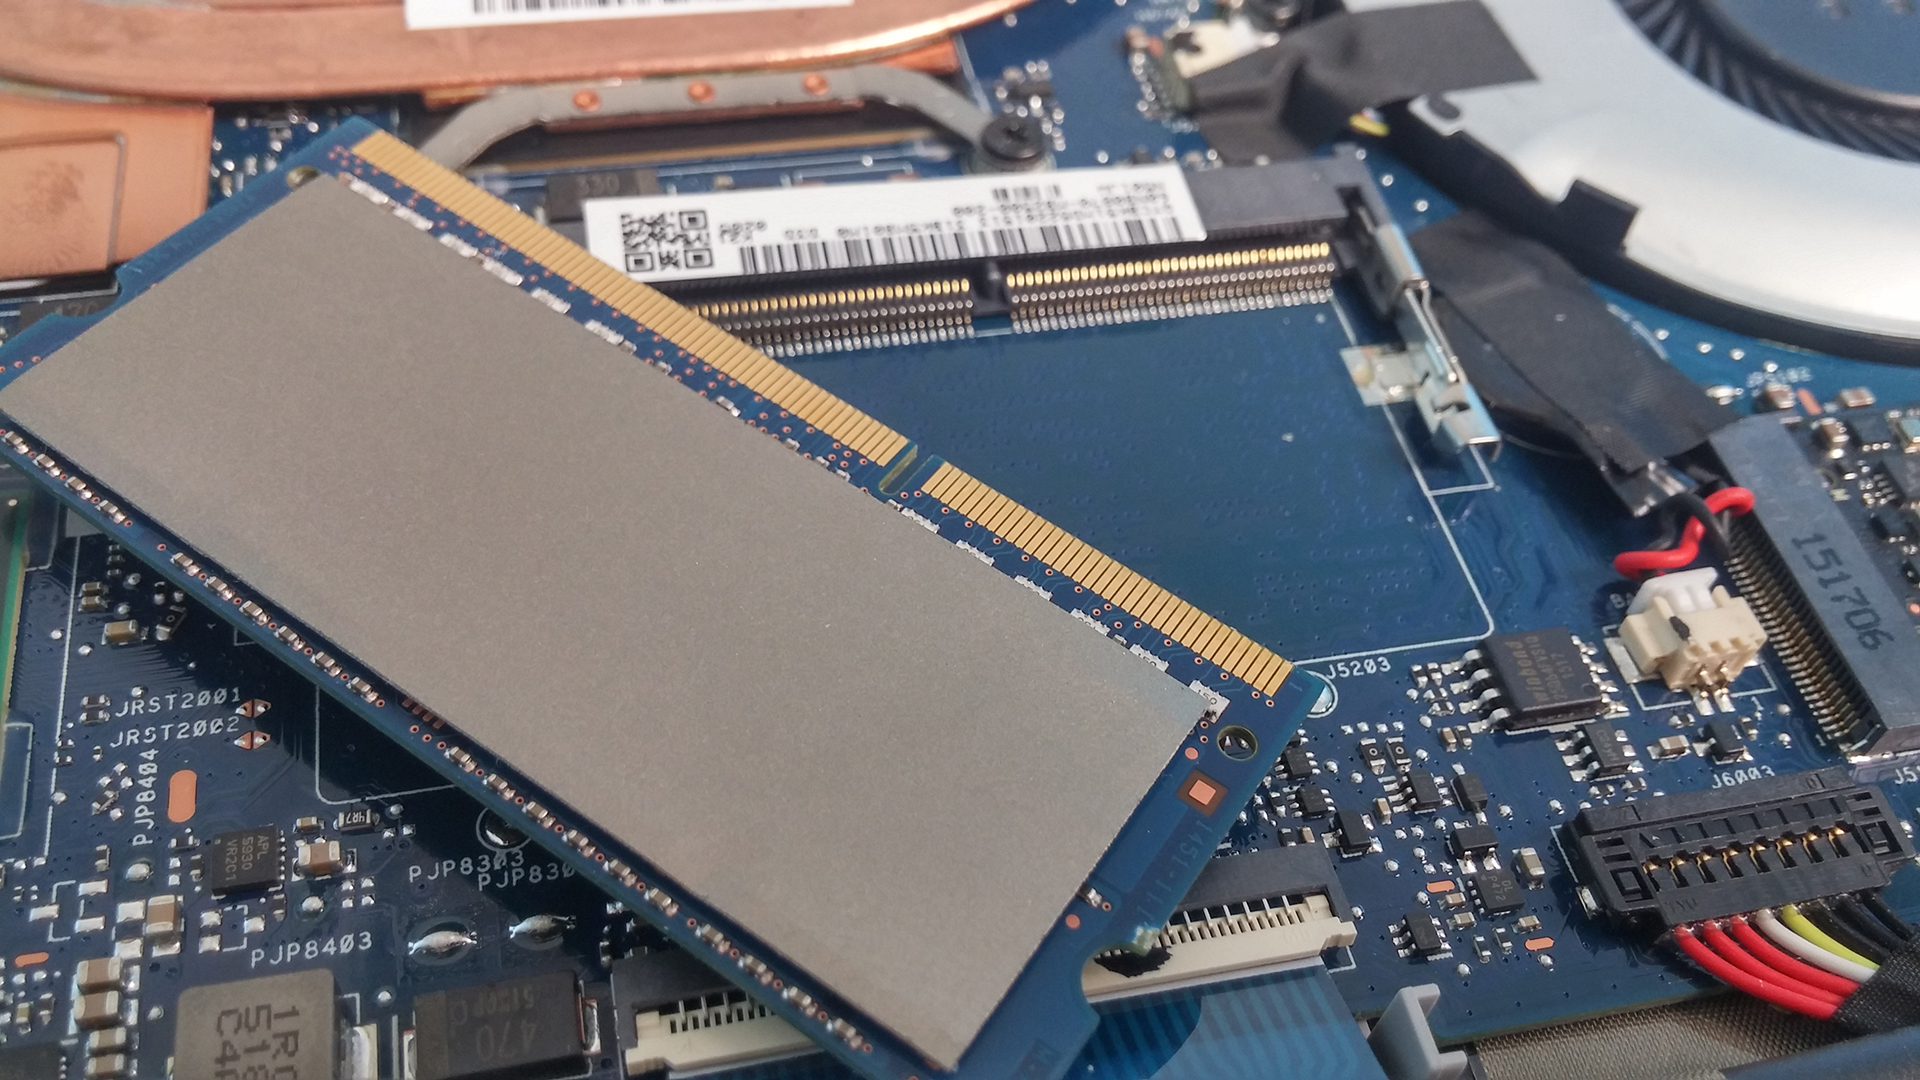
2. Компоненти – HDD, SSD, батерия и др.
Свалянето на долния капак ще е достатъчно, за да направите пролетно почистване на вентилатора, както и да извършите ъпгрейд на твърдия диск, SSD, да смените батерията или да добавите още един чип RAM. Говорейки за това, UX501 разполага само с един слот за RAM чип, което е малко разочароващо. Останалите компоненти обаче са:
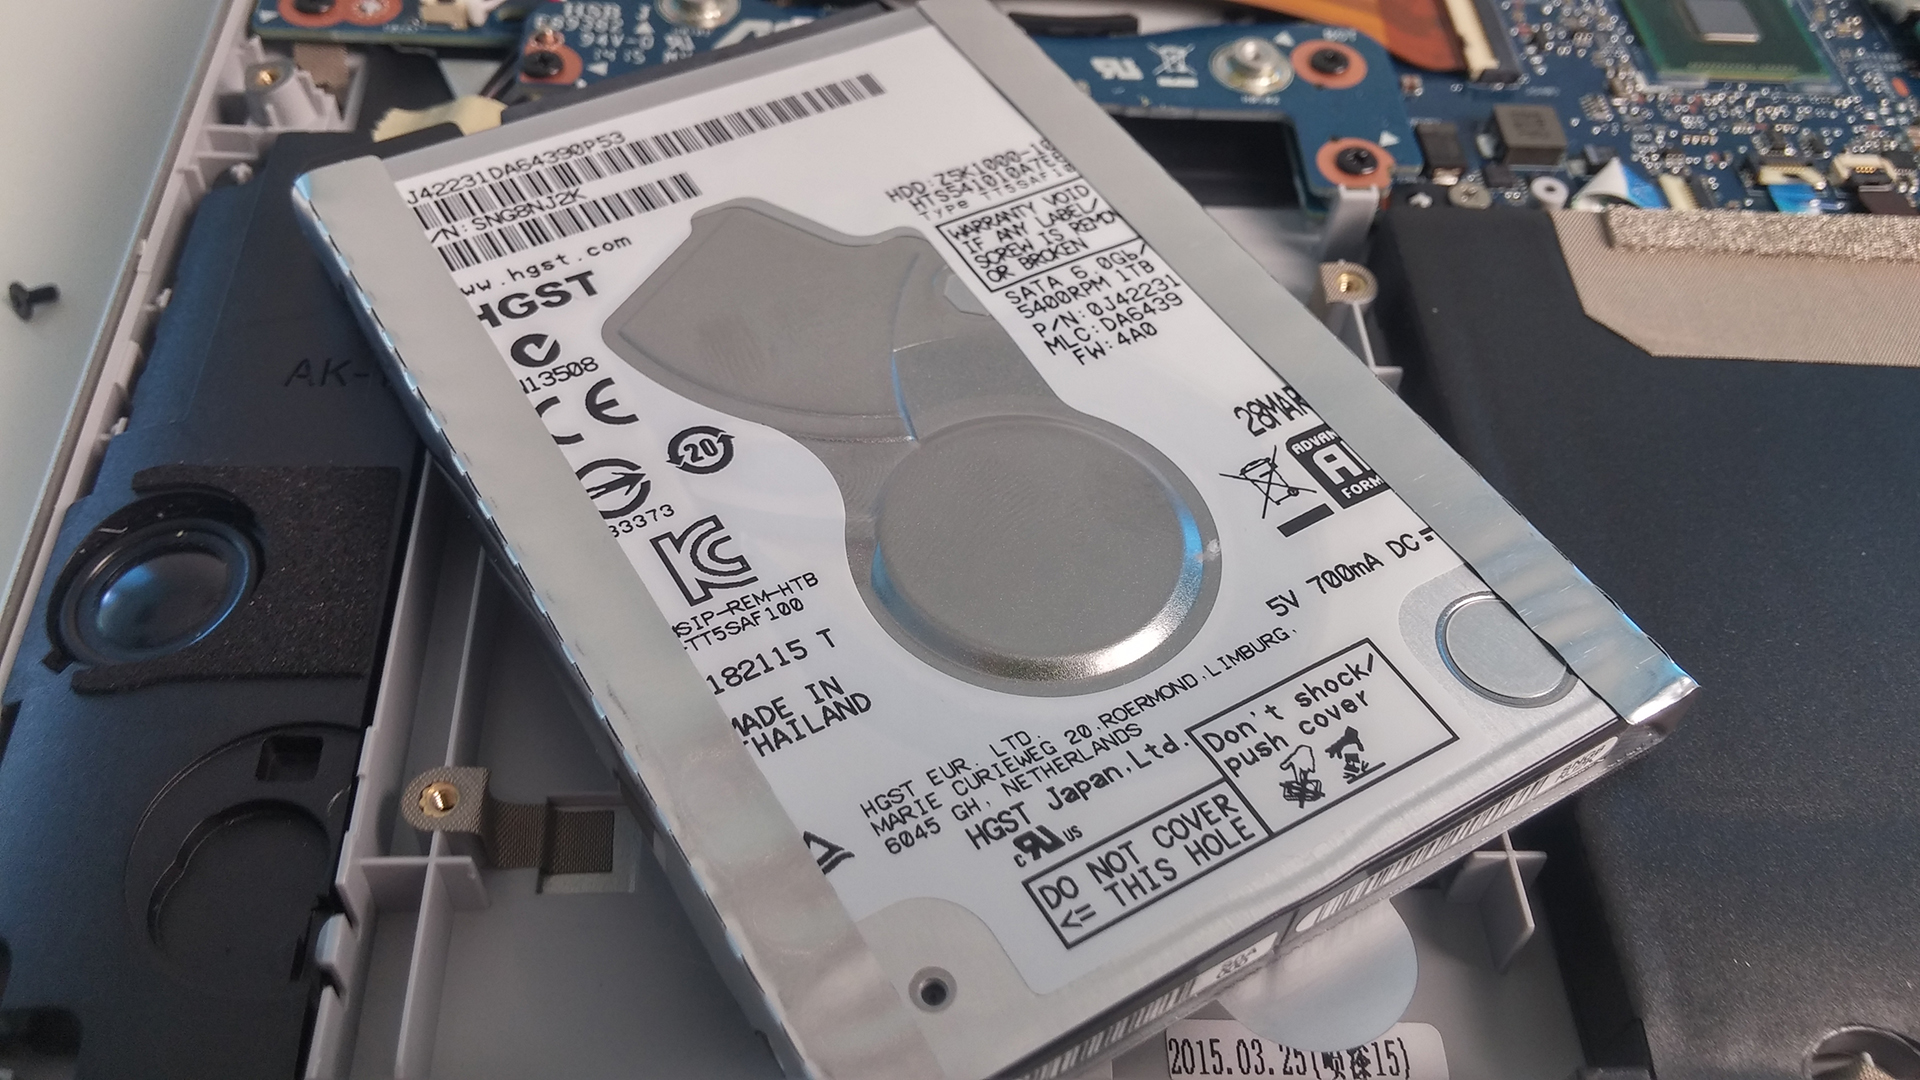
- Hitachi (HGST) 1TB HDD
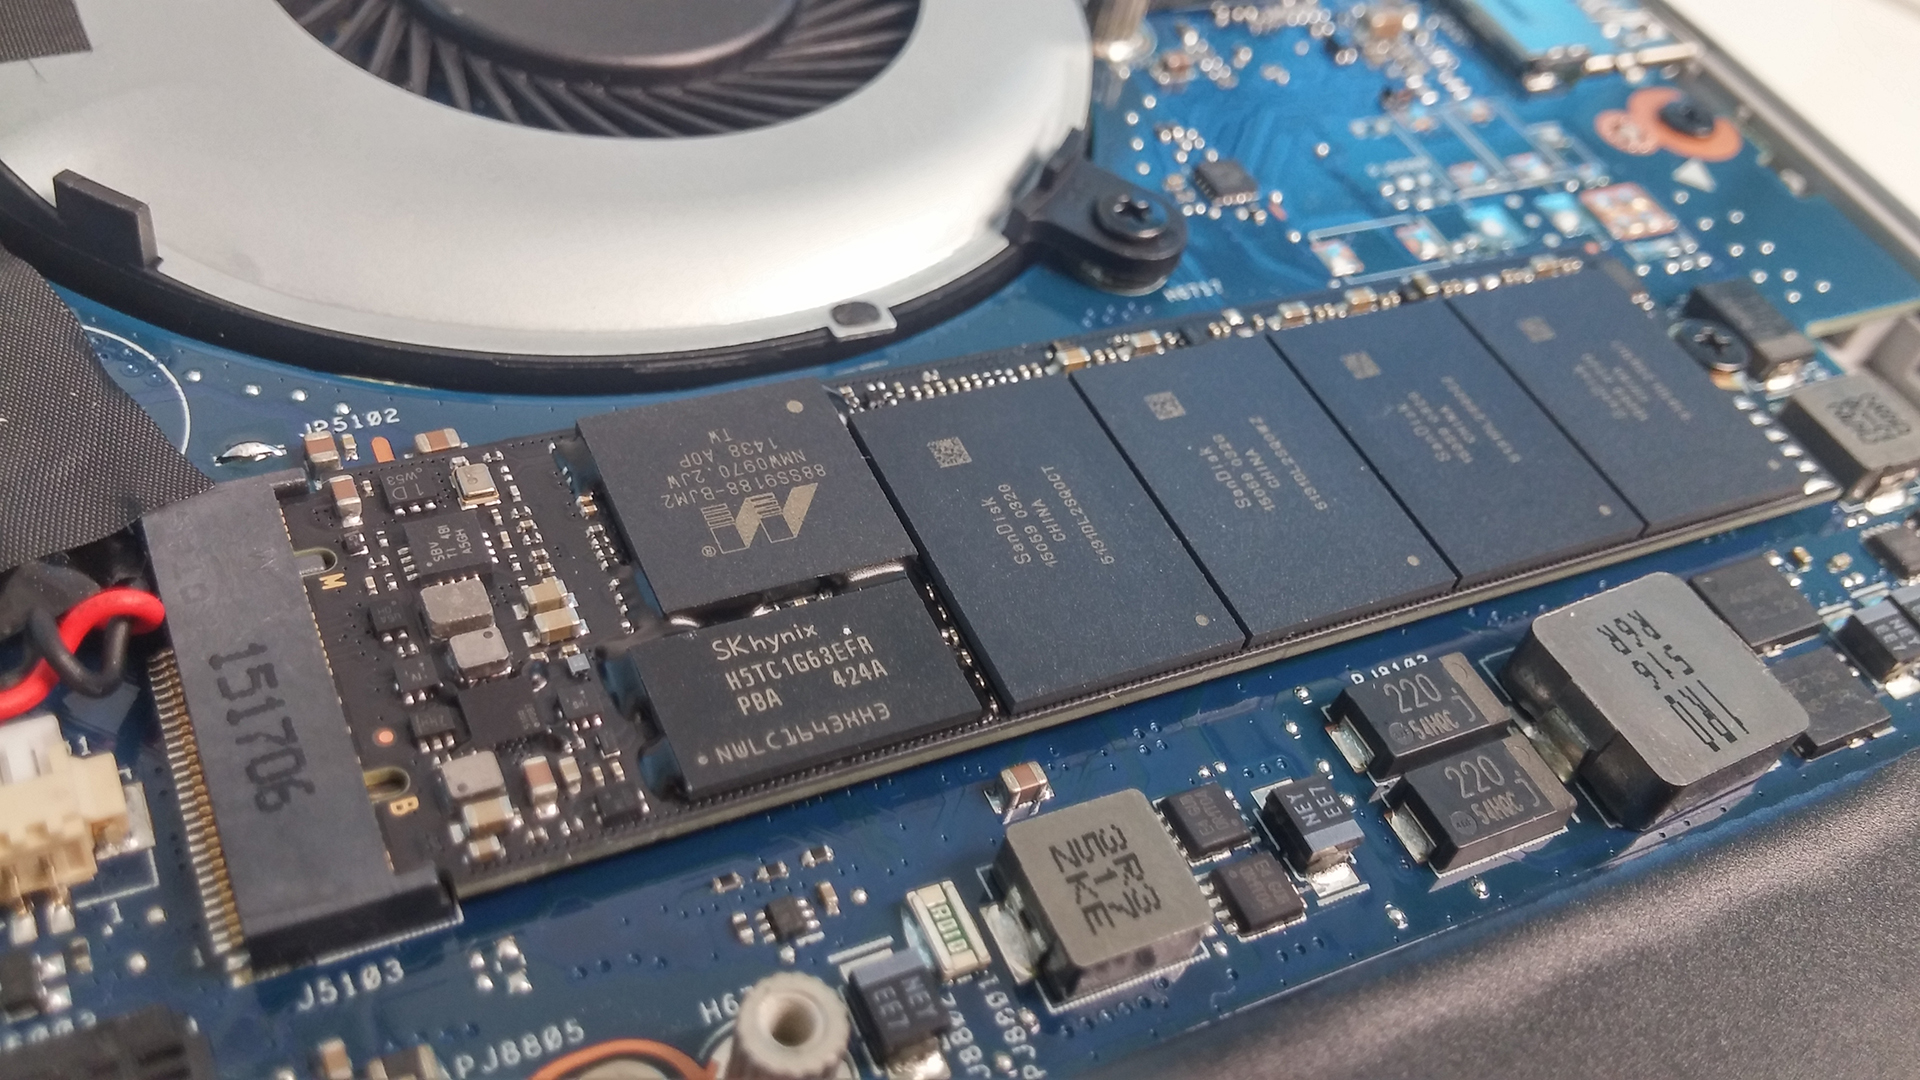
- M.2 SATA PCIe x4 256GB SSD с ключ B&M, размер 2280 от SanDisk
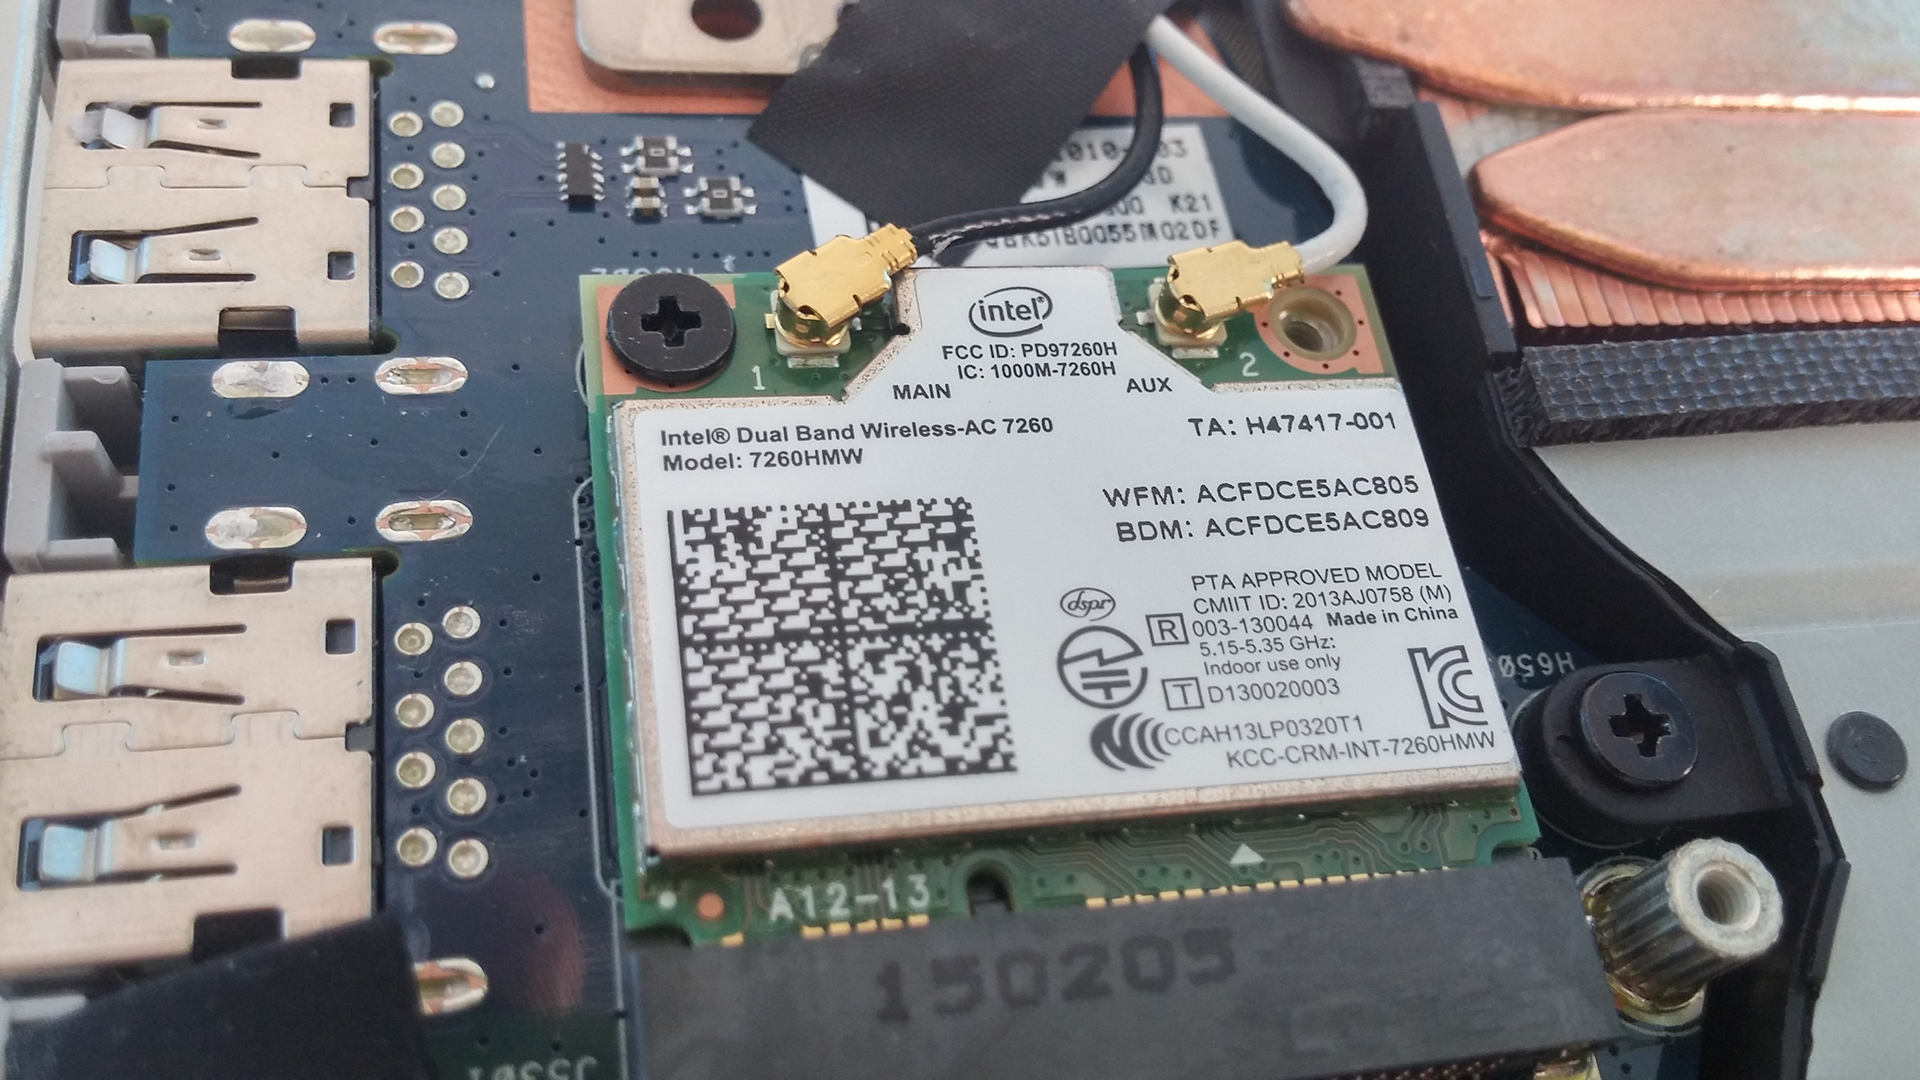
- Двулентов Wi-Fi модул Intel Dual-Band Wireless-AC 7260 HMW
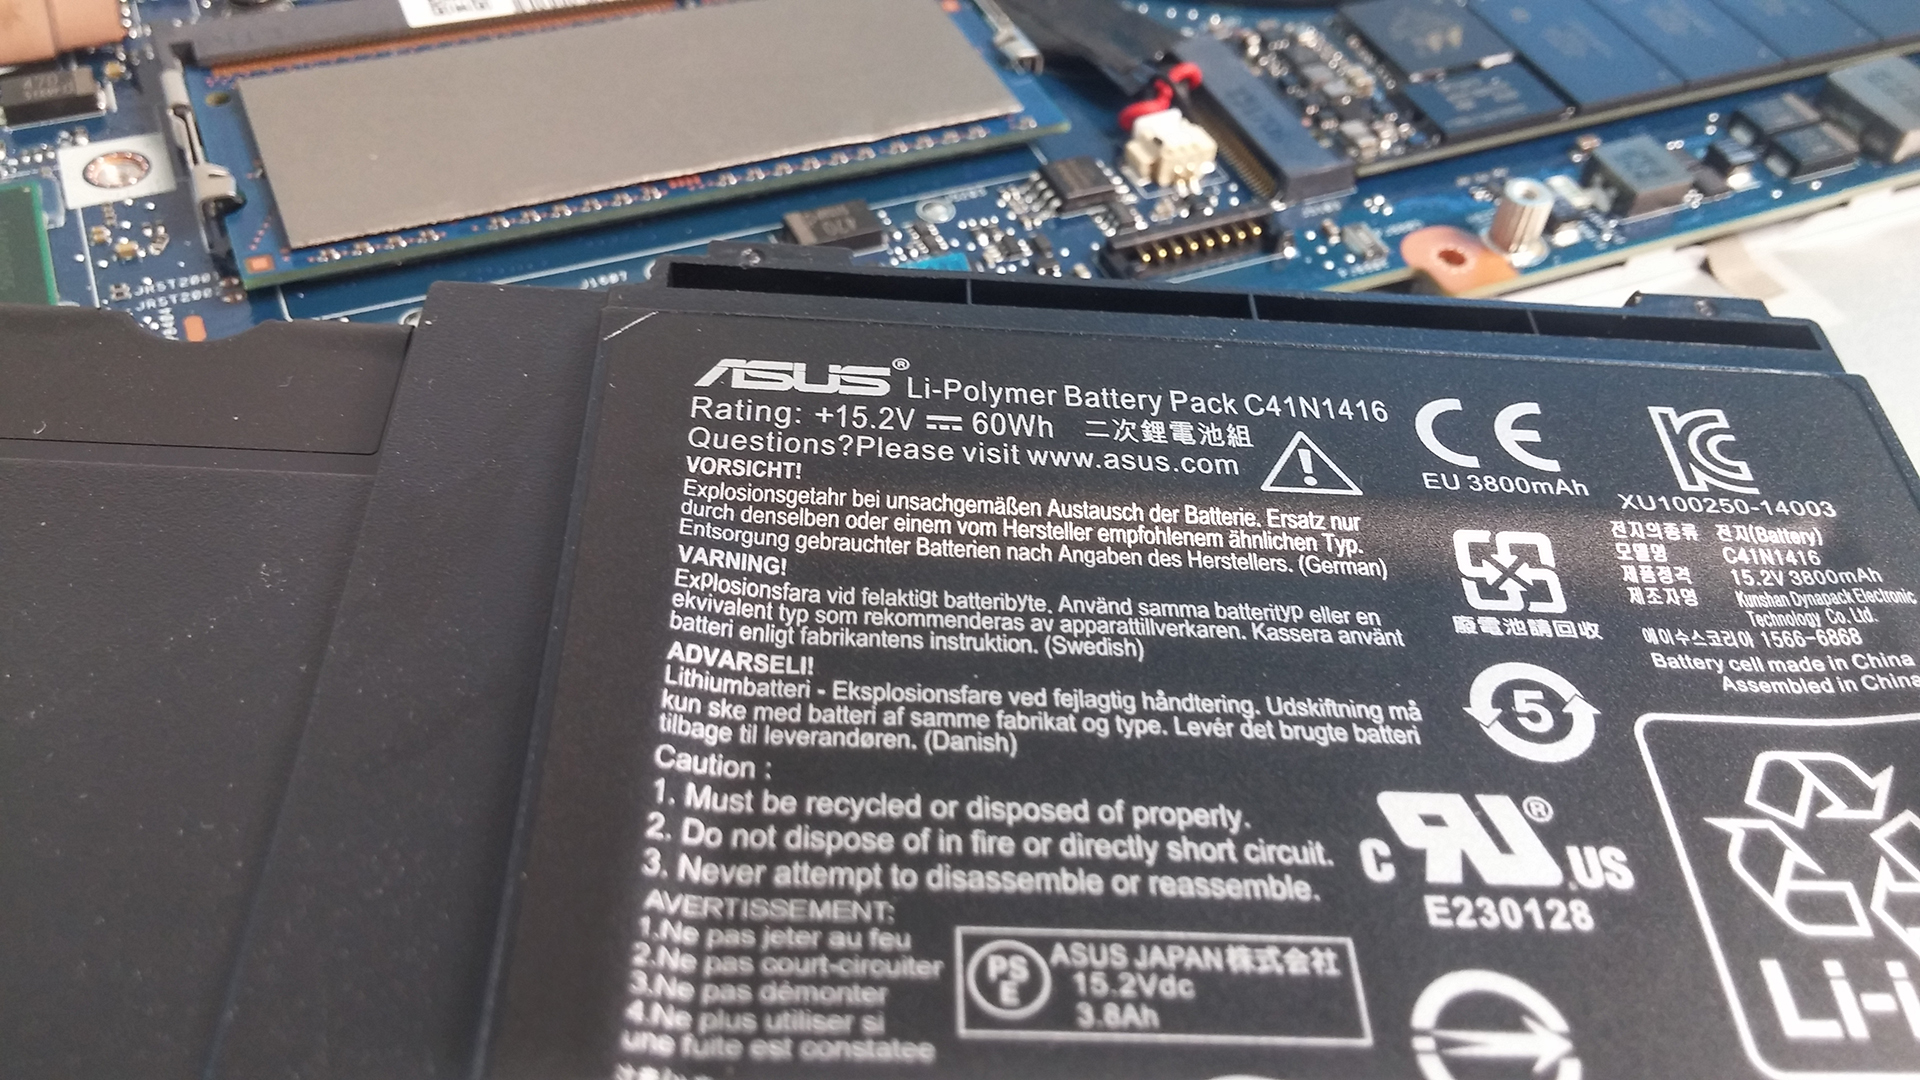
- Батерията е C14N1416 (60 Wh / 3800 mAh, 15,2 V)
За повече информация за модела можете да прочетете пълното ни ревю тук:
http://laptopmedia.com/review/asus-zenbook-pro-ux501-review-pushing-the-boundaries-of-the-industry/


One of the ram slots must be on the other side of the motherboard. The single memory chip is only 8 GB on a 16 GB machine.
I believe that there is only one RAM slot. The other portion of the RAM is soldered to the motherboard.
Hi there, thanks foe the pics, can you please share all the model of the computer as there are many variants of the UX501VW in different countries with different configs. For example the main difference seems to be that some models do not have the space for a 2.5 inches hard drive but instead have a bigger battery. Also if you can share how much battery autonomy you get with the smaller one would be awesome. Thank you!
On my UX501 the back legs have some gobs of plastic under them. One of these completely obscures the screw and the other shows so little of the screw that it’s inaccessible. Any tips?
I didn’t have the plastic under there, but you would need to pry it out.
Hey there – any idea what kind of screwdriver (size hex) I need to remove the screws from this laptop? None were small enough at our local electronics store.
They are T5 star (torx) screws.