ASUS ZenBook Pro UX501 – disassembly, internal photos and upgrade options
Despite the fact that the G501 and UX501 are practically the same notebooks with different colors, we are obligated to do one of our short articles with the internal photos and upgrade options. Before we begin, we must say that this notebook is really easy to disassemble and looks really tightly packed – just how we like them.
1. Removing the bottom cover
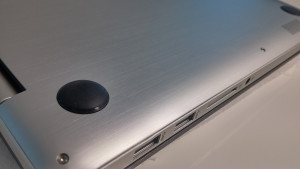
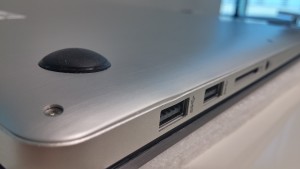
In order to do so, you will need to remove 10 small screws and two more located under the back silicone “legs”. Then the cover comes off pretty easily.
2. Components – HDD, SSD, Battery and etc.
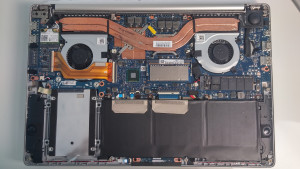
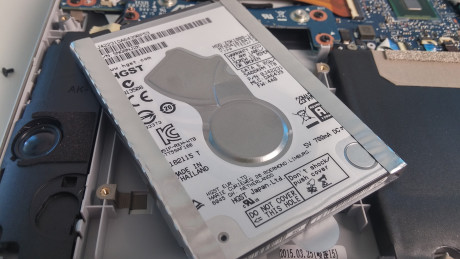
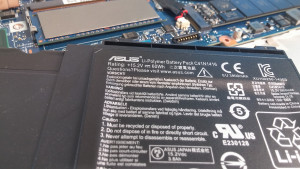
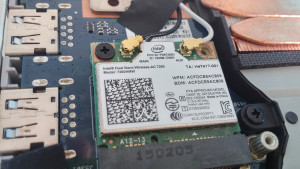
Removing the bottom cover would be enough to do your spring cleaning of the fan as well as do an upgrade on your HDD, SSD, change the battery or add another RAM chip. Speaking of which, the UX501 features only one RAM chip slot which is a bit of a letdown. However, the other components are:
- Hitachi (HGST) 1TB HDD
- M.2 SATA PCIe x4 256GB SSD with B&M key, 2280-sized by SanDisk
- Intel Dual-Band Wireless-AC 7260 HMW Wi-Fi module
- The battery is C14N1416 (60 Wh / 3800 mAh, 15.2 V)
For more information about the model, you can read our full review here:
http://laptopmedia.com/review/asus-zenbook-pro-ux501-review-pushing-the-boundaries-of-the-industry/
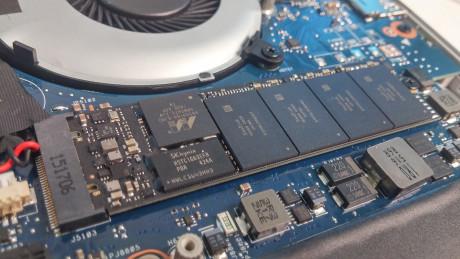



One of the ram slots must be on the other side of the motherboard. The single memory chip is only 8 GB on a 16 GB machine.
I believe that there is only one RAM slot. The other portion of the RAM is soldered to the motherboard.
Hi there, thanks foe the pics, can you please share all the model of the computer as there are many variants of the UX501VW in different countries with different configs. For example the main difference seems to be that some models do not have the space for a 2.5 inches hard drive but instead have a bigger battery. Also if you can share how much battery autonomy you get with the smaller one would be awesome. Thank you!
On my UX501 the back legs have some gobs of plastic under them. One of these completely obscures the screw and the other shows so little of the screw that it’s inaccessible. Any tips?
I didn’t have the plastic under there, but you would need to pry it out.
Hey there – any idea what kind of screwdriver (size hex) I need to remove the screws from this laptop? None were small enough at our local electronics store.
They are T5 star (torx) screws.