Inside Lenovo ThinkPad E590 – disassembly and upgrade options
As usual for a ThinkPad device, even if it’s a budget-oriented one, we are looking at a well-built chassis. Additionally, it is easier than ever to upgrade and quite frankly the options are more than enough.
Check out all Lenovo ThinkPad E590 prices and configurations in our Specs System or read more in our In-depth Review.

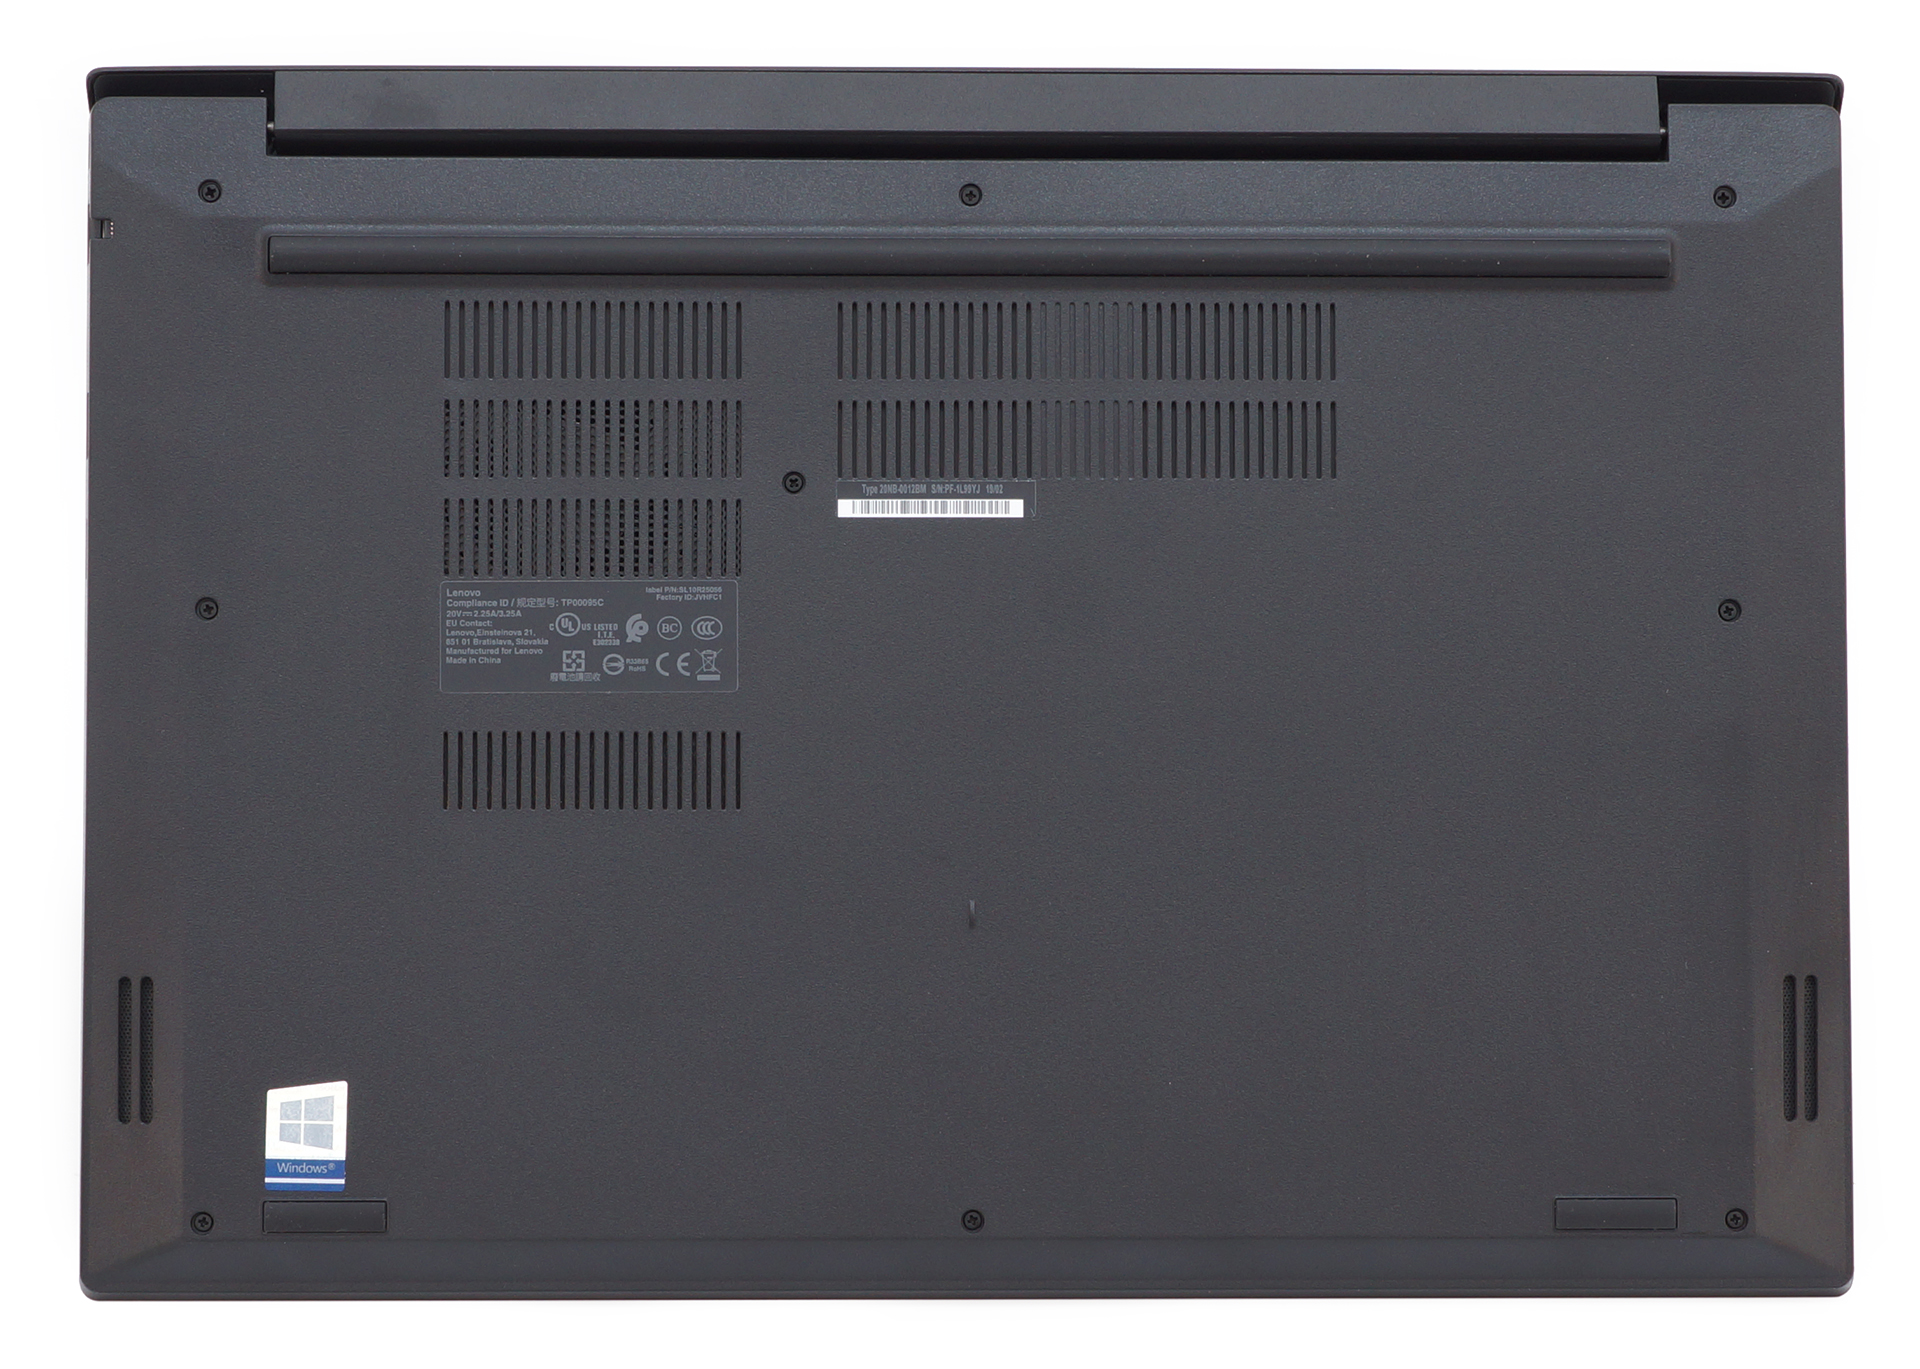
1. Remove the bottom plate
There are a total of 9 Phillips-head screws that are separating you from the insides of this laptop. After you undo them carefully pry the bottom plate up, with the help of a plastic pry tool.
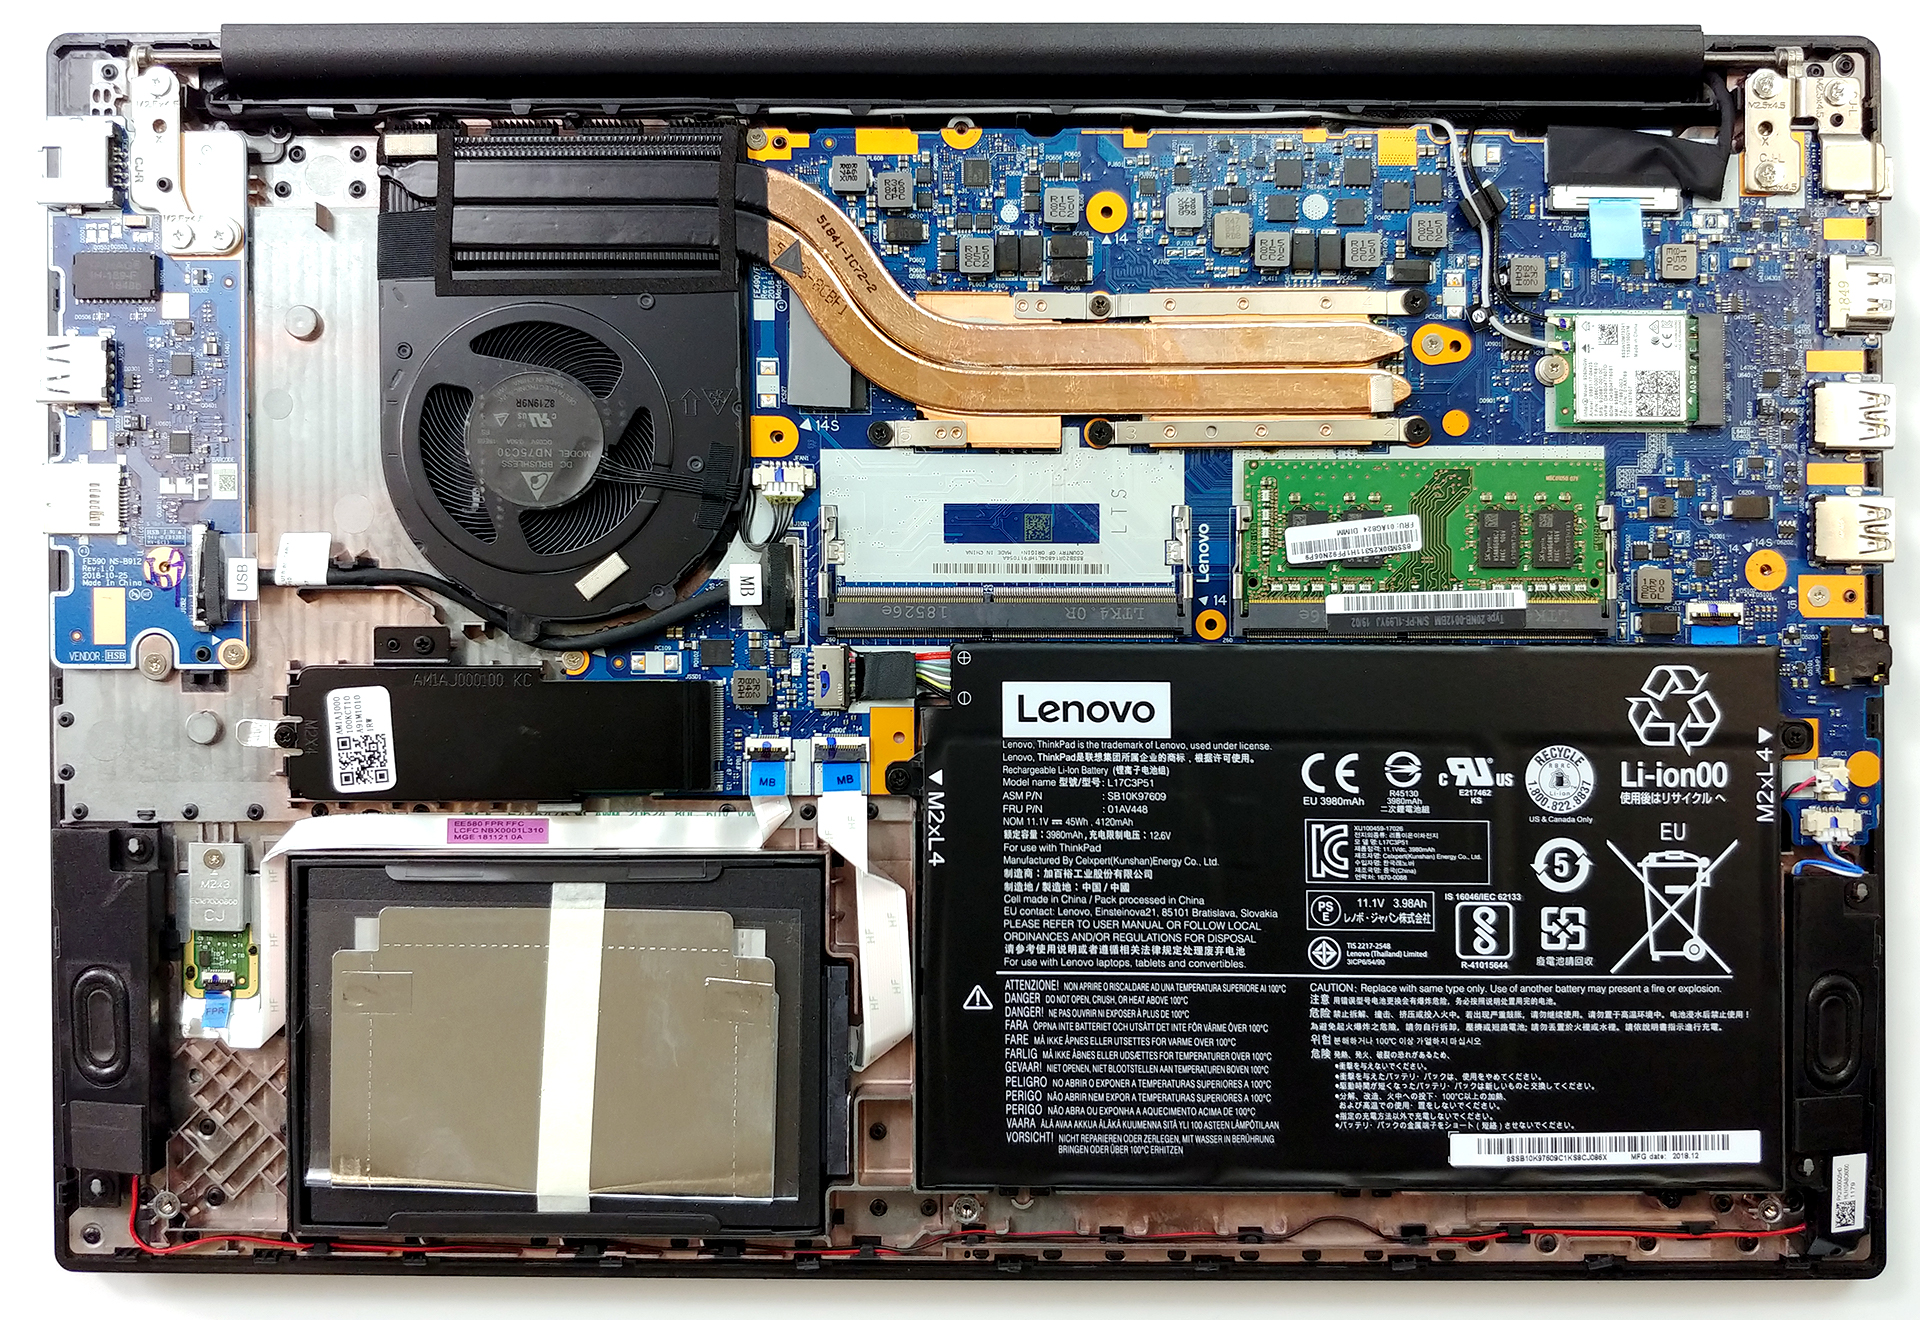
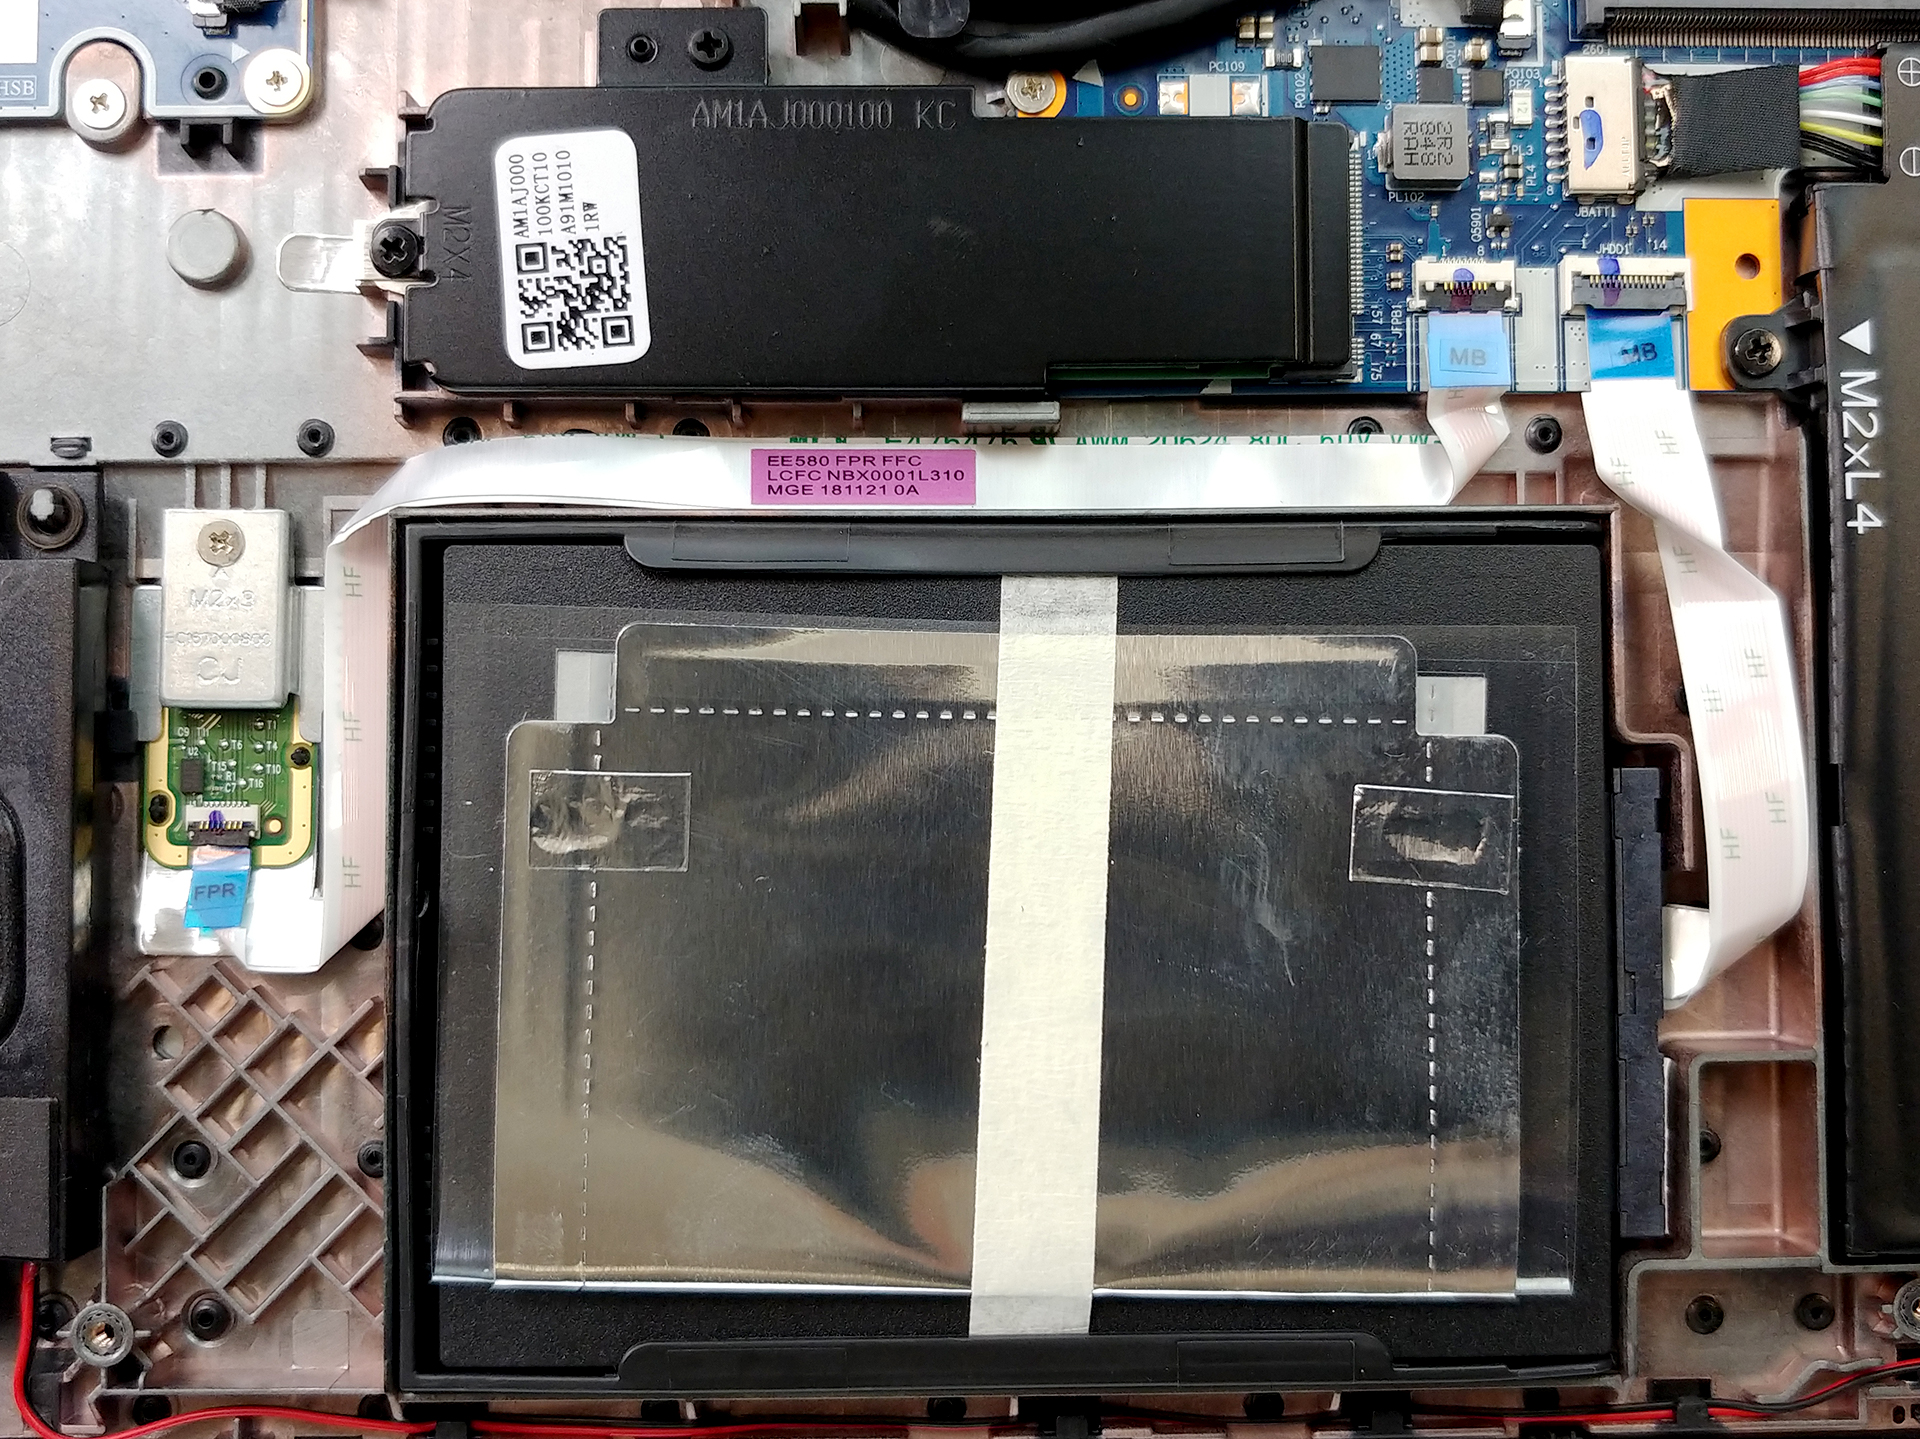
2. Battery
First, let’s take a look at the battery compartment – the ThinkPad E590 is equipped with a rather modest 45Wh battery pack. It is secured in place by two Phillips-head screws. Despite the small size, we were able to extract 10 hours of web browsing and 8 hours and 20 minutes of video playback.

Um reale Bedingungen zu simulieren, haben wir unser eigenes Skript zum automatischen Durchsuchen von über 70 Websites verwendet.
Für jeden Test dieser Art verwenden wir das gleiche Video in HD.
Wir verwenden den integrierten Benchmark von F1 2017 in einer Schleife, um ein reales Spiel zu simulieren.
3. Memory and storage
Honestly, there is nothing more to want inside – two RAM DIMMs, supporting up to 32GB of 2400 MHz DDR4 memory, while the storage comprises a SATA slot and an M.2 PCIe slot.
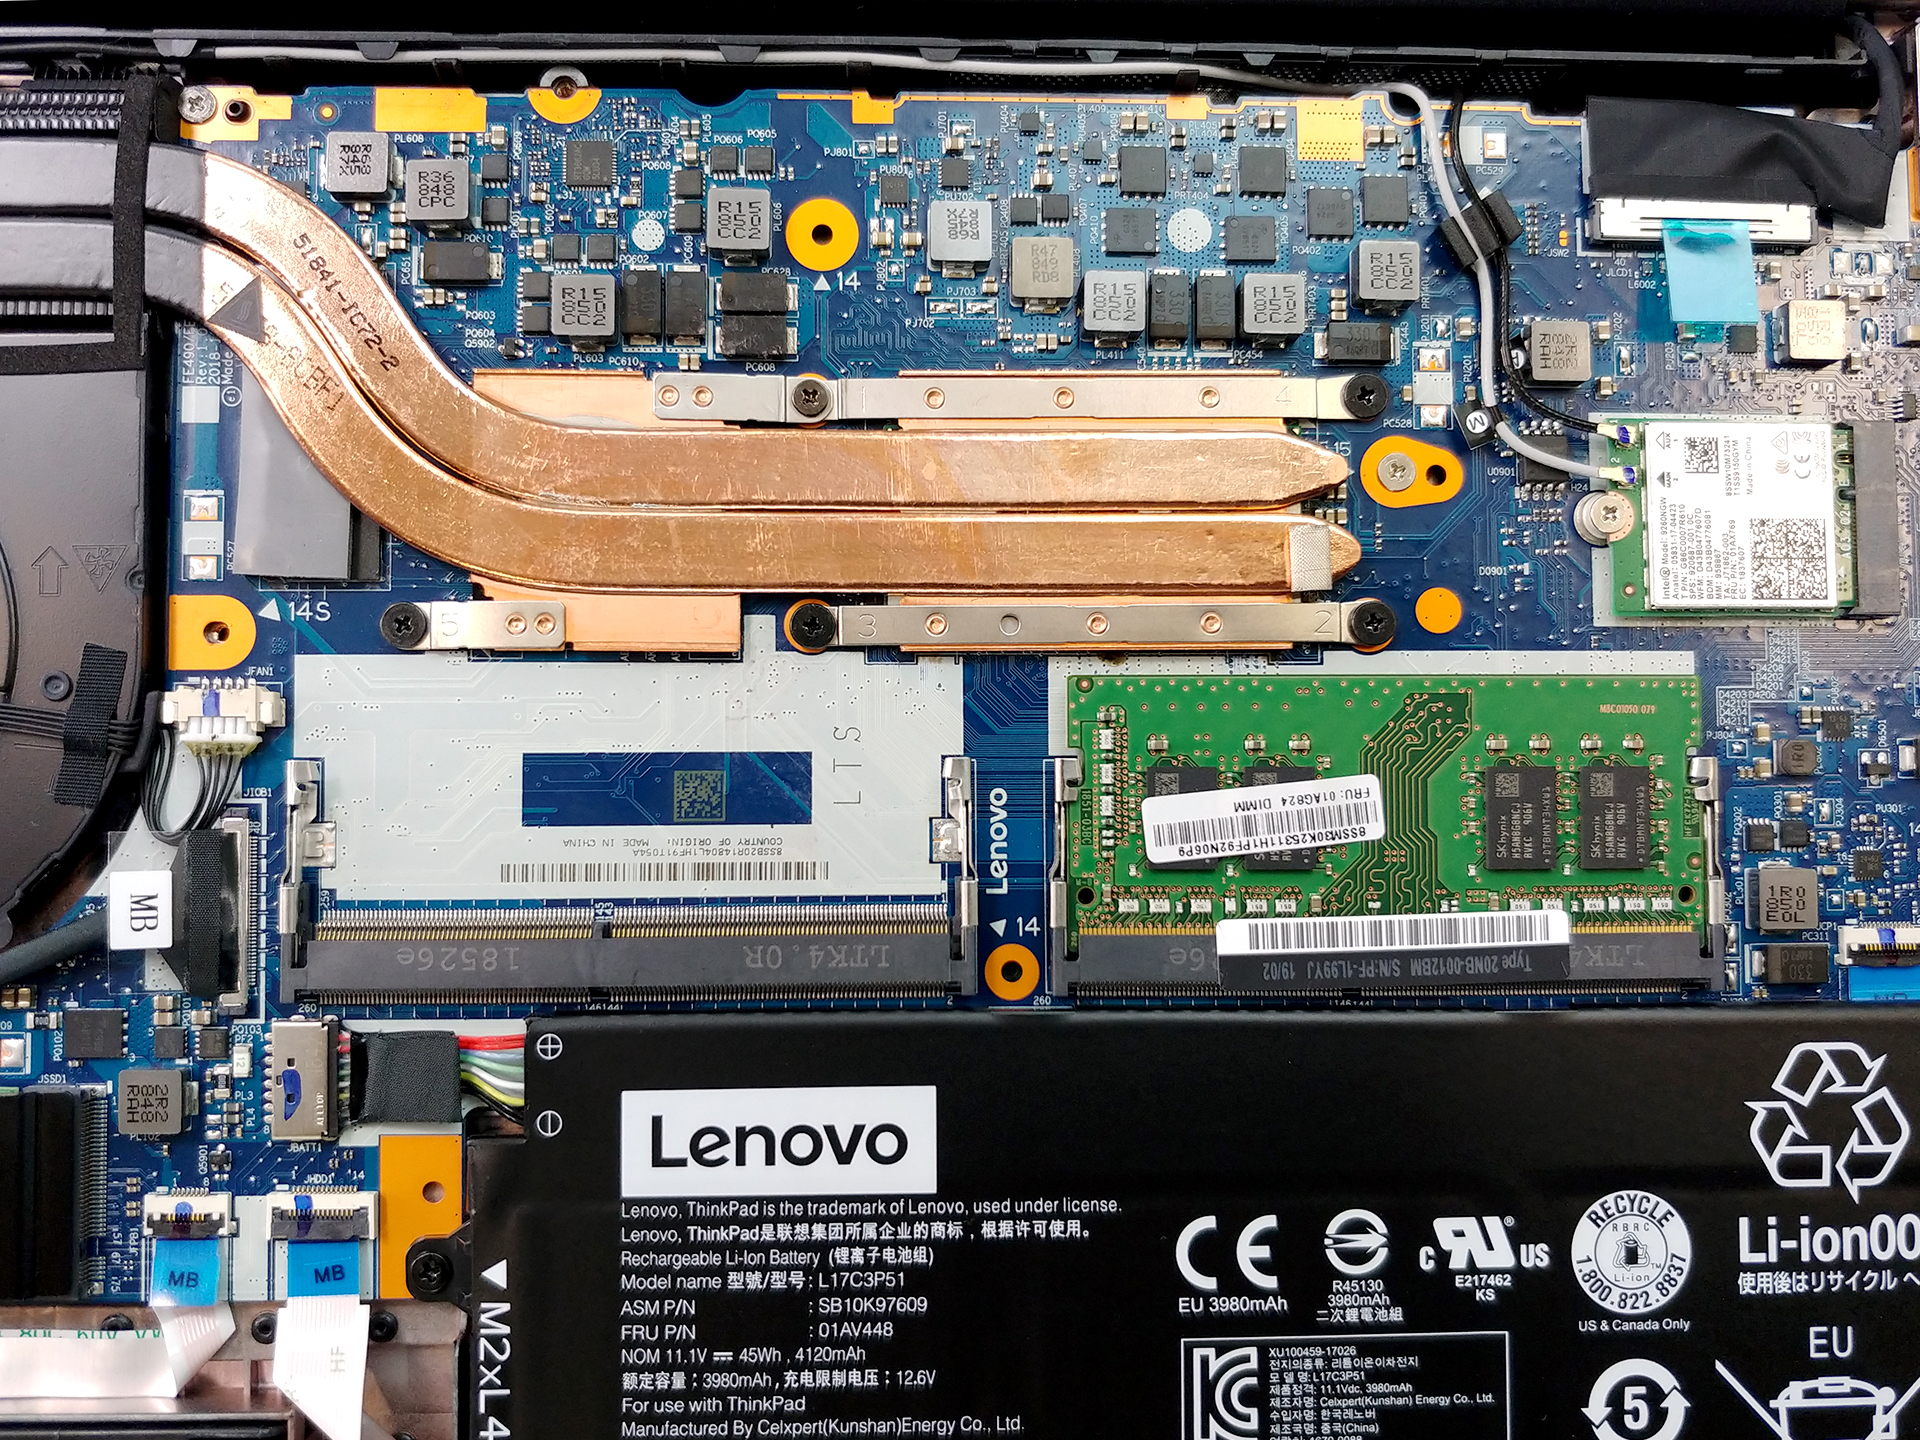
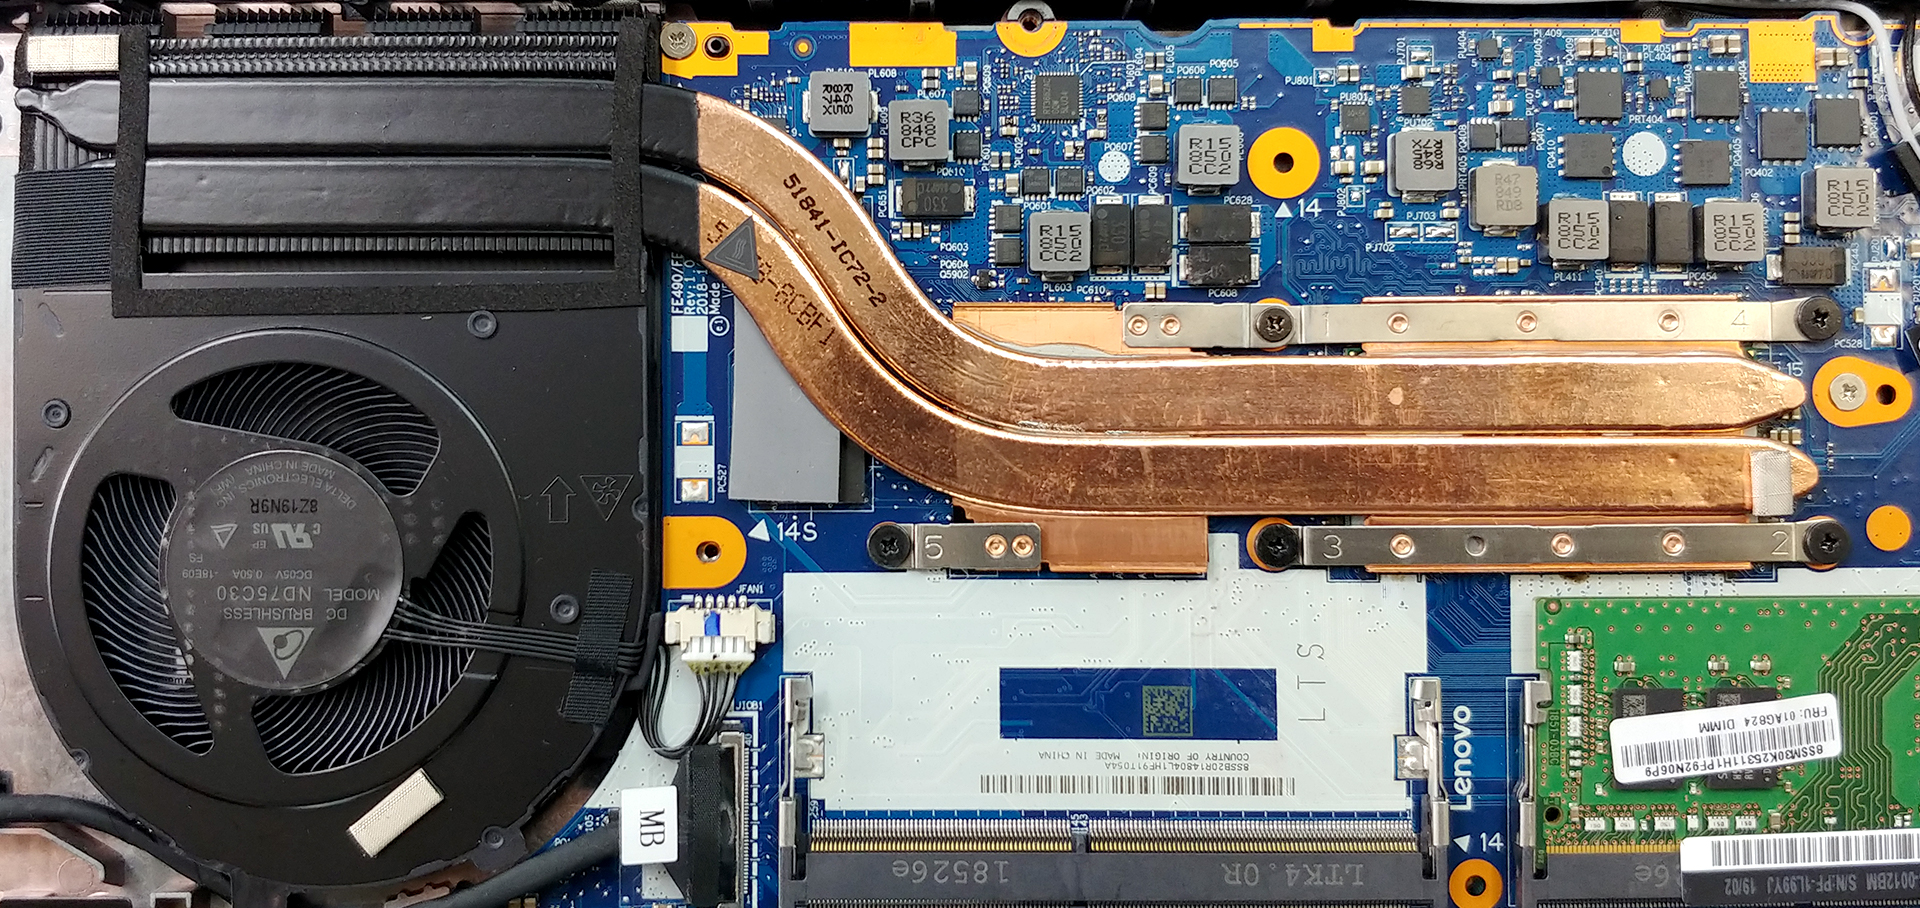
4. Cooling system
Sadly, the cooling solution is not the most efficient out there. It is realized by two heat pipes, cooling (or at least trying) both the CPU and the GPU. This is usually effective if you are only using the processor, however, if you try doing something graphically intensive, the cooling is ready to tap out.
Check out all Lenovo ThinkPad E590 prices and configurations in our Specs System or read more in our In-depth Review.


Thank you for sharing this information. It was useful and interesting.
thanks its very useful