Inside Acer Aspire 5 (A514-54) – disassembly and upgrade options
Acer Aspire 5 is one of the first budget-oriented devices that comes with Intel’s latest and greatest Tiger Lake processors.
Check out all Acer Aspire 5 (A514-54) prices and configurations in our Specs System or read more in our In-Depth review.

1. Remove the bottom plate
The first thing you need to do is to undo all 11 Philips-head screws, that are holding the bottom panel in place. Then, pry the panel with a plastic tool, and lift it away from the chassis.
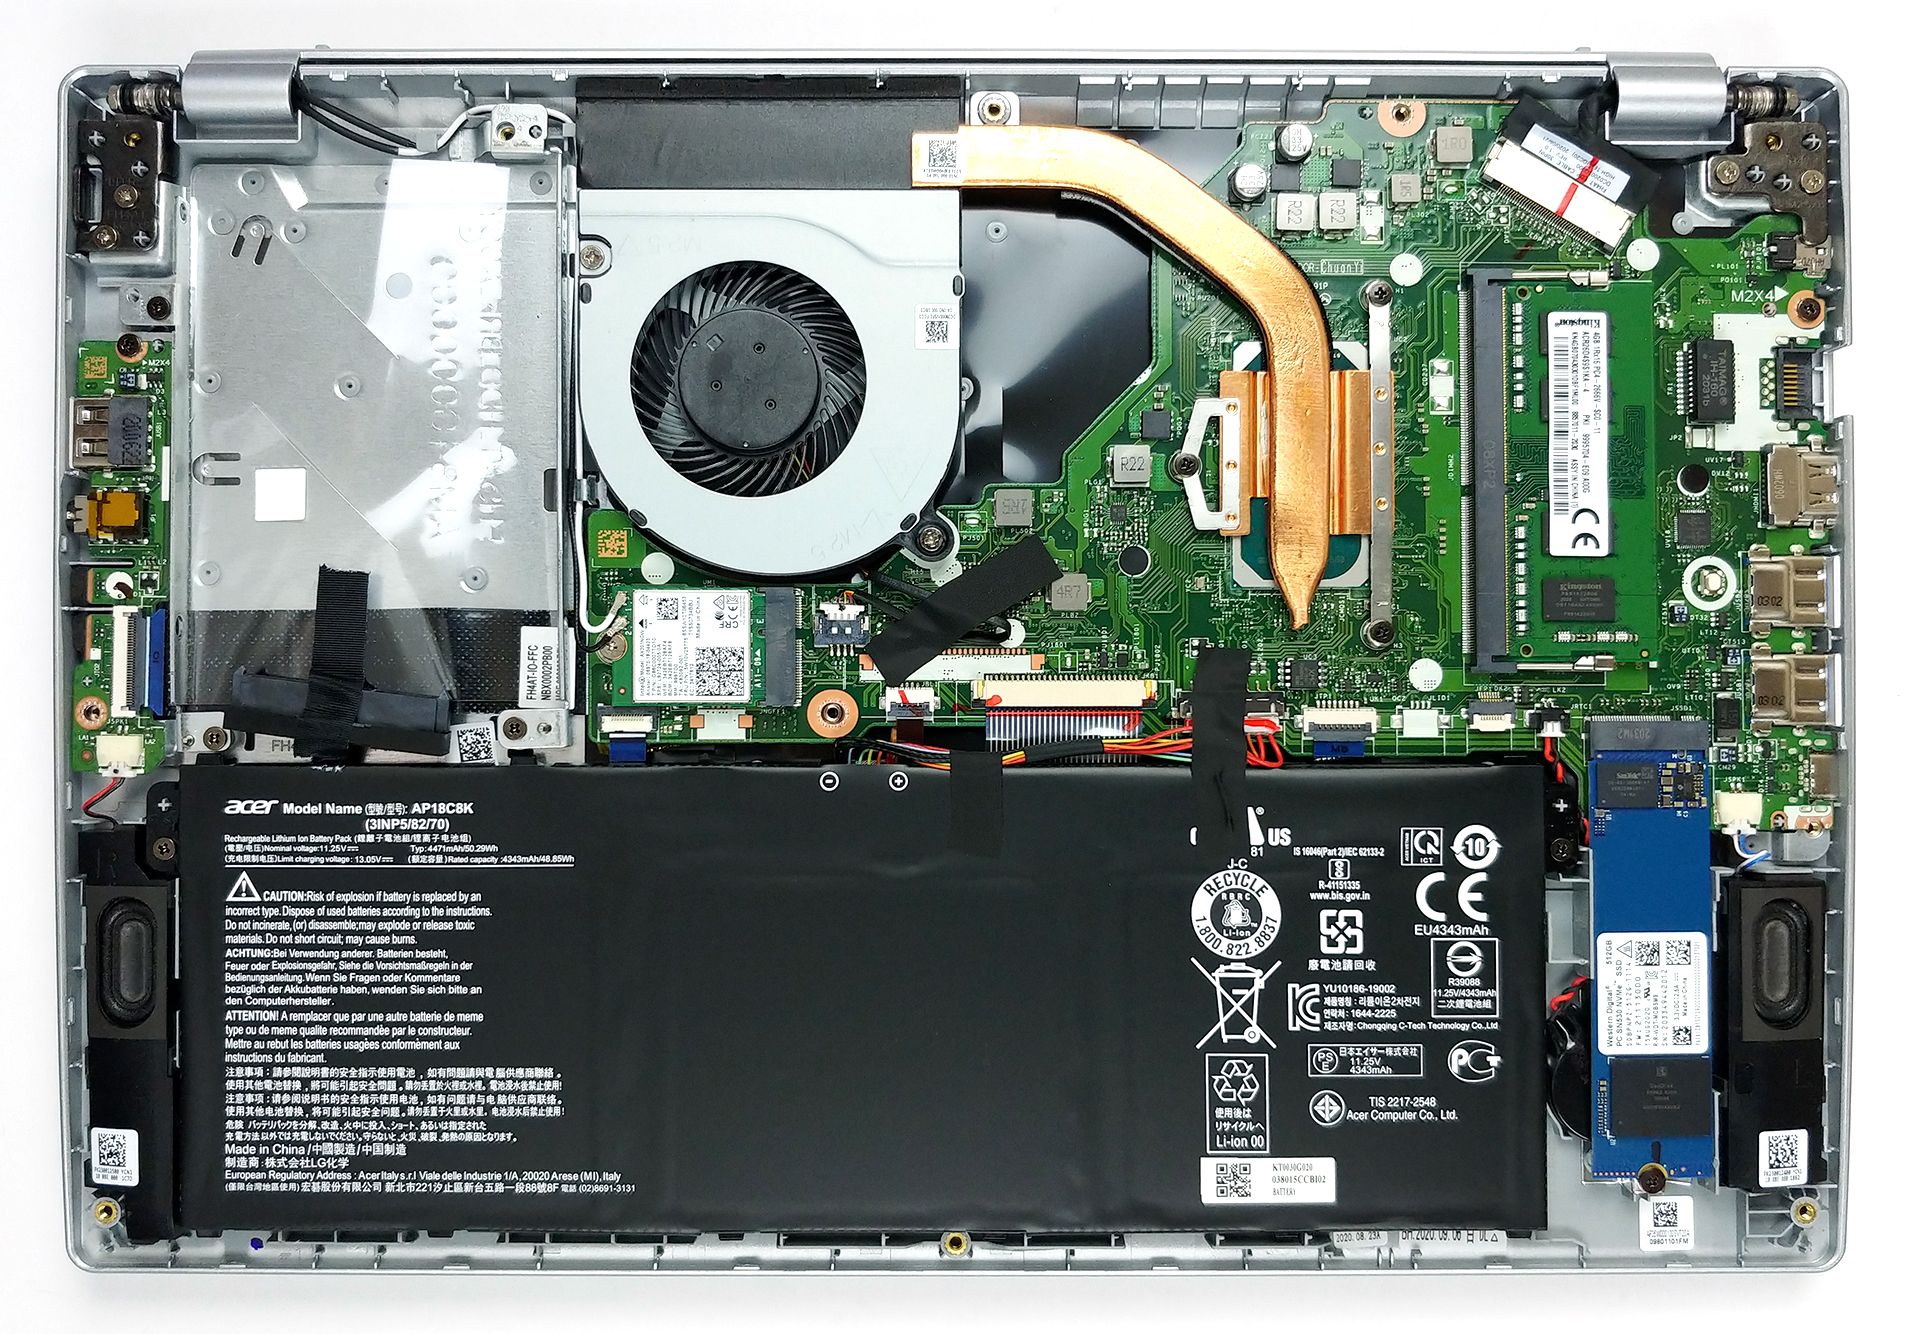
2. Battery
When it comes to the battery, you get a 50Wh unit, which is reasonable for a 14-inch notebook.
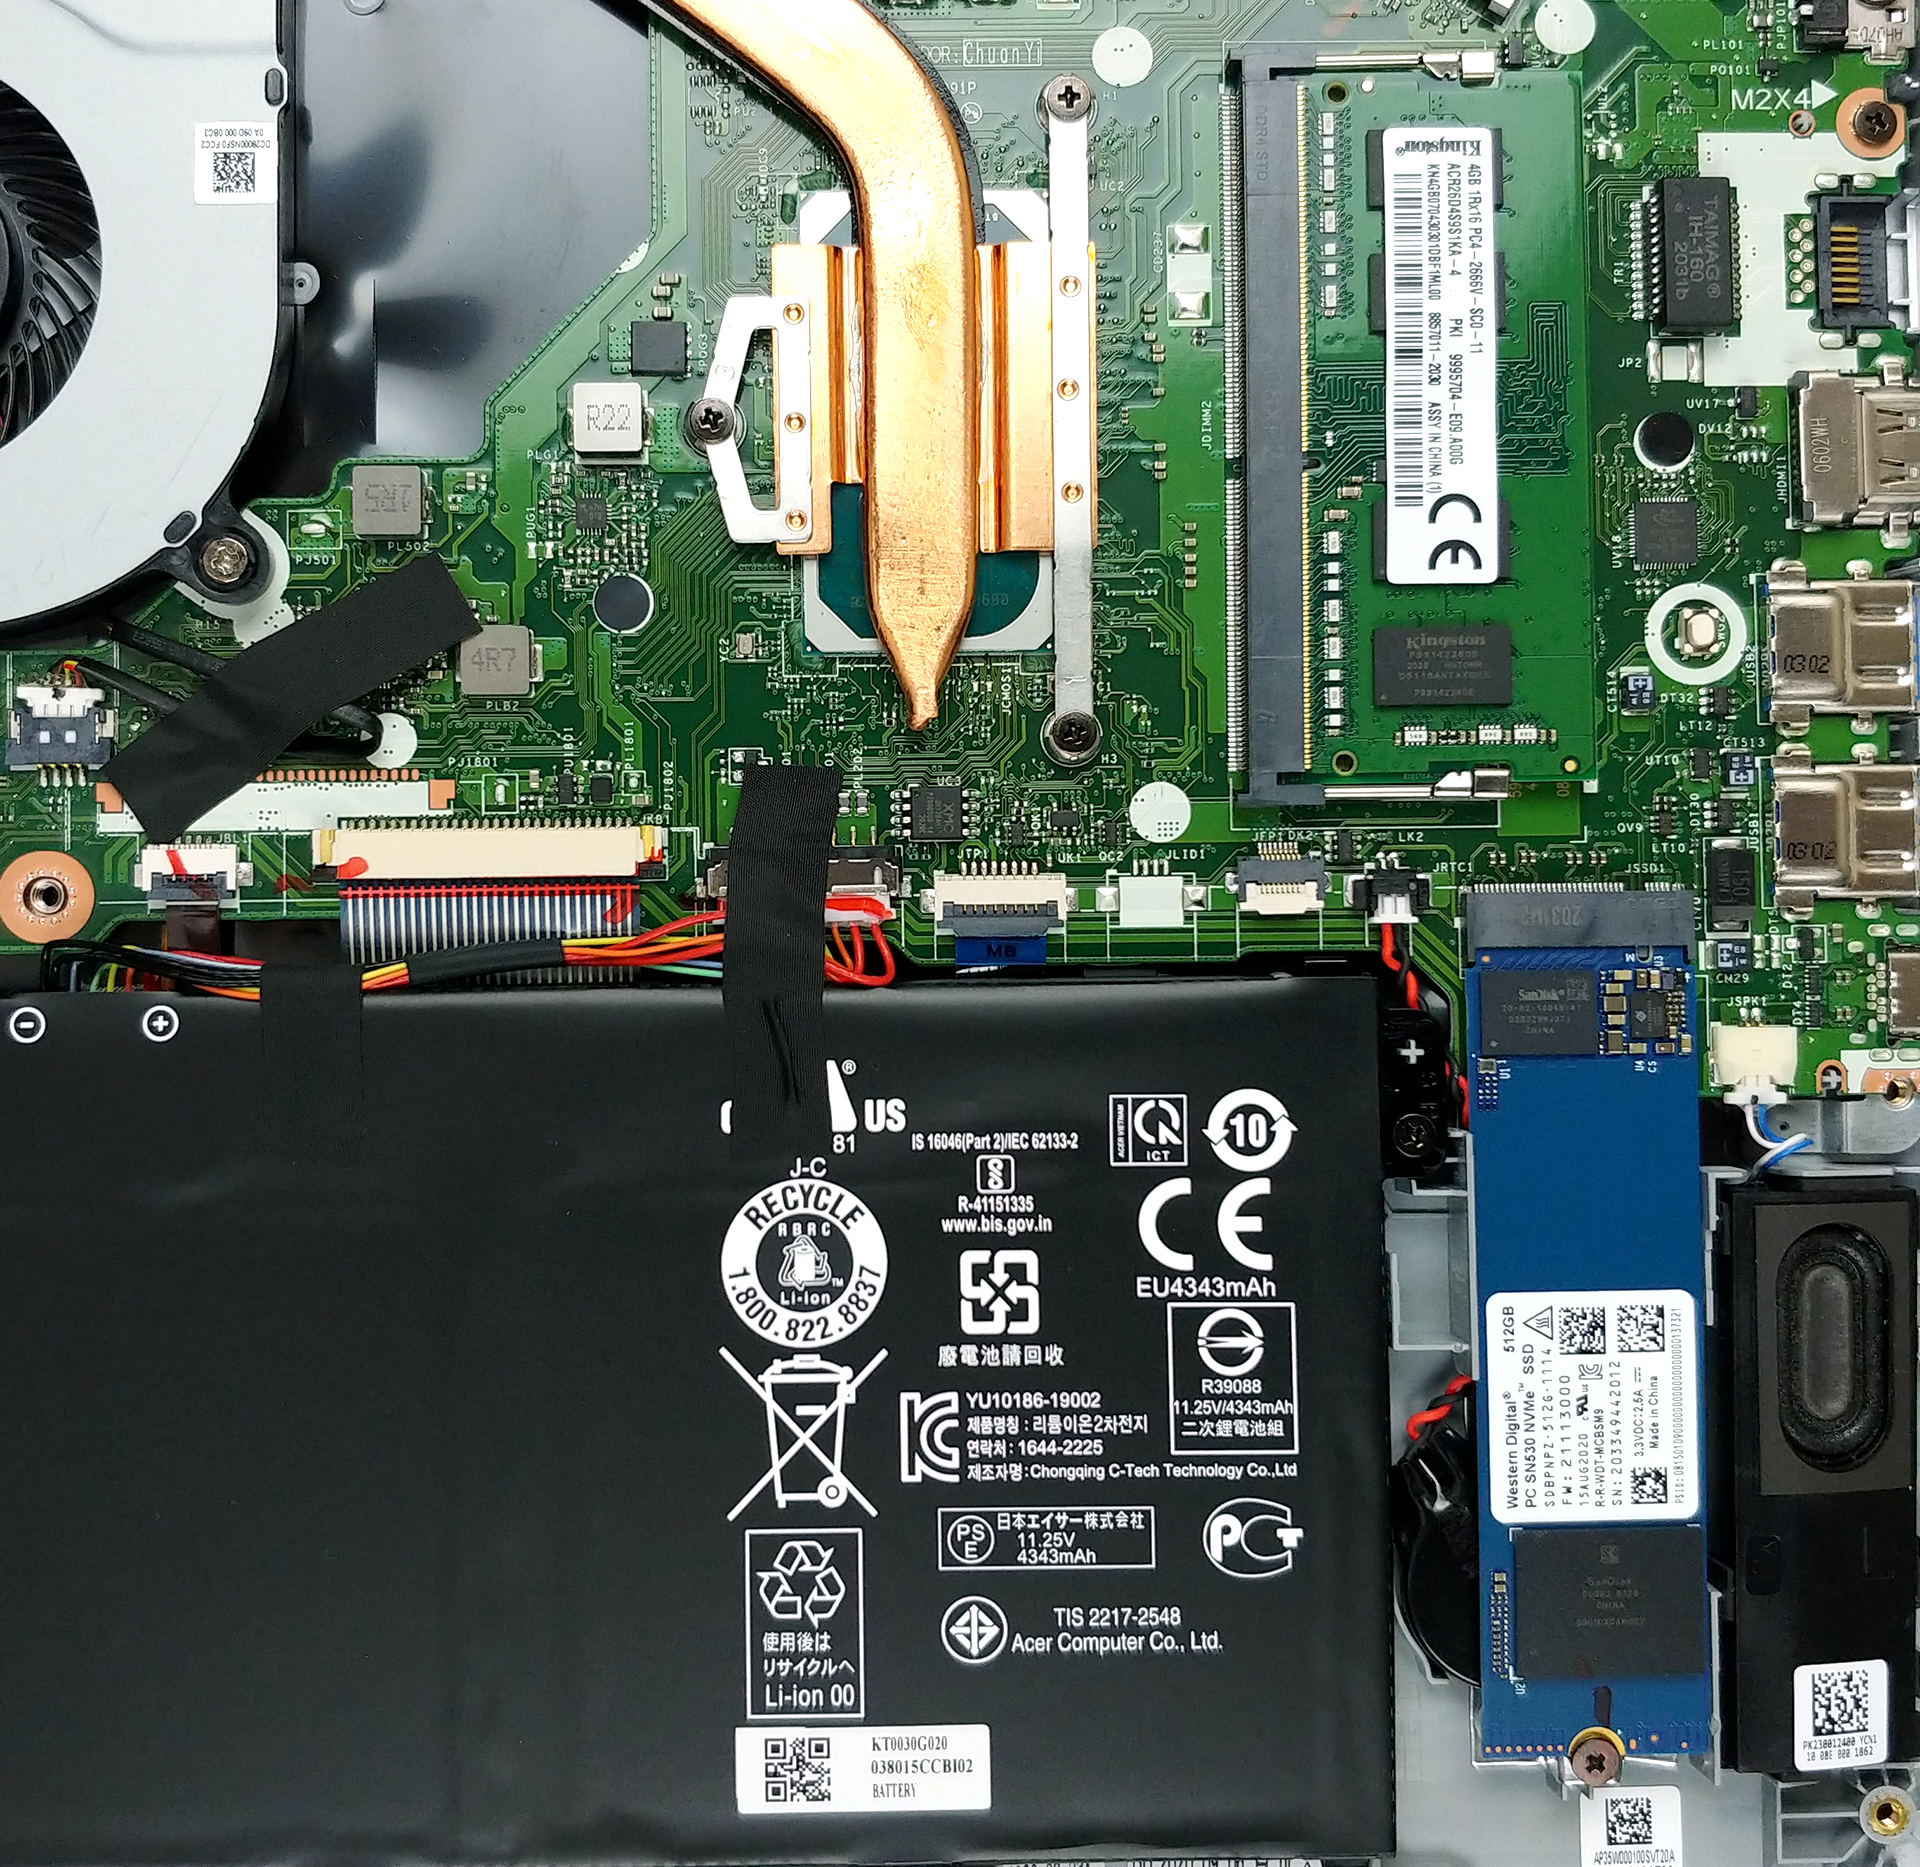
3. Memory and storage
As far as upgradeability goes, there is one RAM SODIMM slot that can hold up to 16GB of DDR4 memory. Additionally, there are 4GB soldered to the motherboard. On the other side, you have a single M.2 slot for NVMe drives and a 2.5-inch SATA drive bay with an included SATA connector.

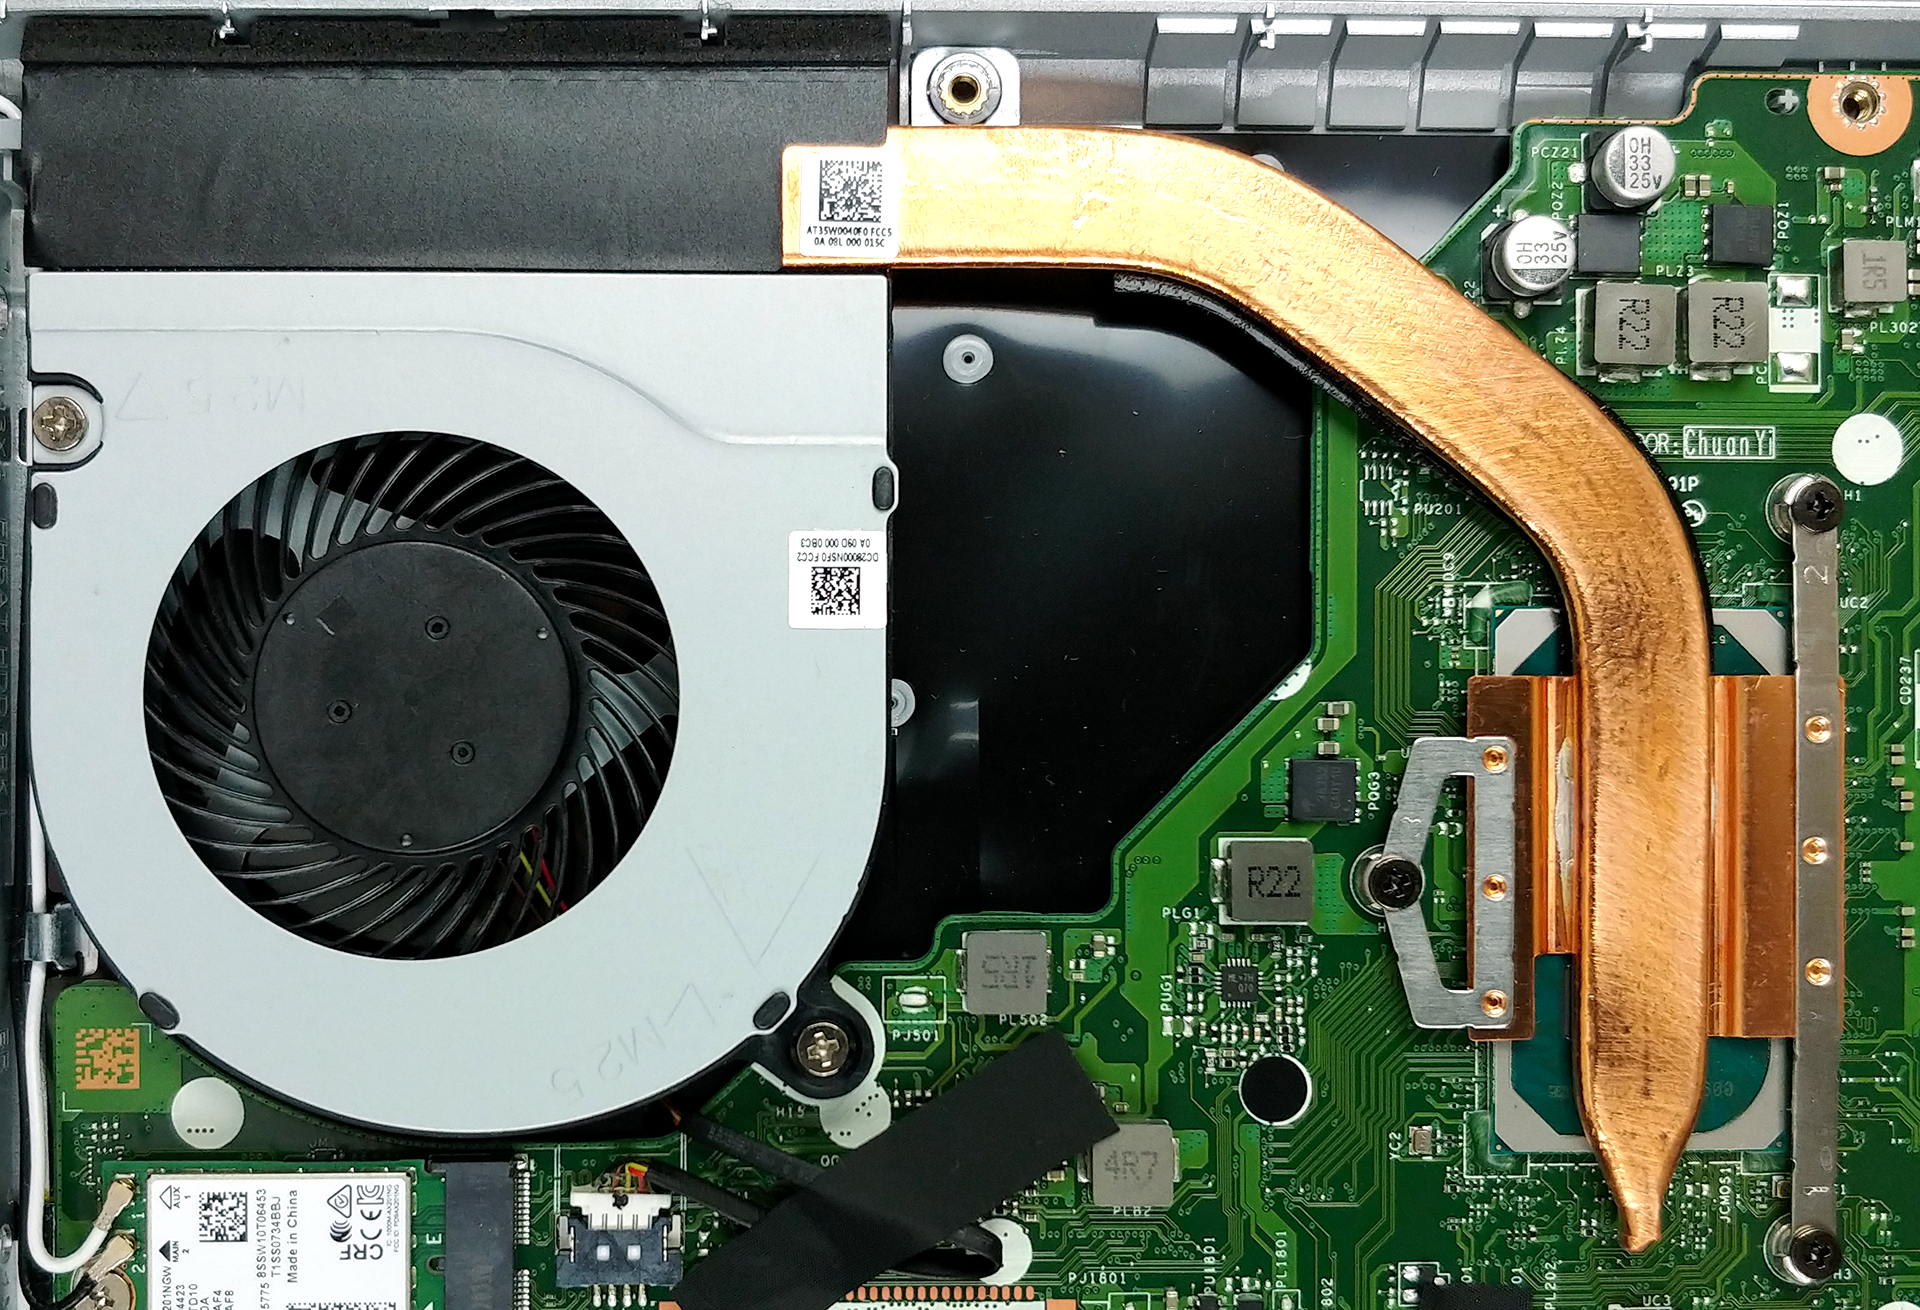
4. Cooling system
Inside, we see a cooling solution that comprises a single heat pipe, and an average size fan. A pretty standard setup.
Check out all Acer Aspire 5 (A514-54) prices and configurations in our Specs System or read more in our In-Depth review.