How to open Dell Latitude 13 7340 – disassembly and upgrade options
Step 1: Opening the Dell Latitude 13 7340
- Ensure the Dell Latitude 13 7340 is powered off and placed on a soft, clean surface to prevent scratches or damage.
- Remove the 8 captive Phillips-head screws from the bottom of the laptop.
- Use a lever tool in the hinge zone to create a gap, then use a thin plastic tool to pry open the back before moving to the sides and front.
Hint: Be cautious when prying to avoid damaging the internal clips or the exterior of the laptop.

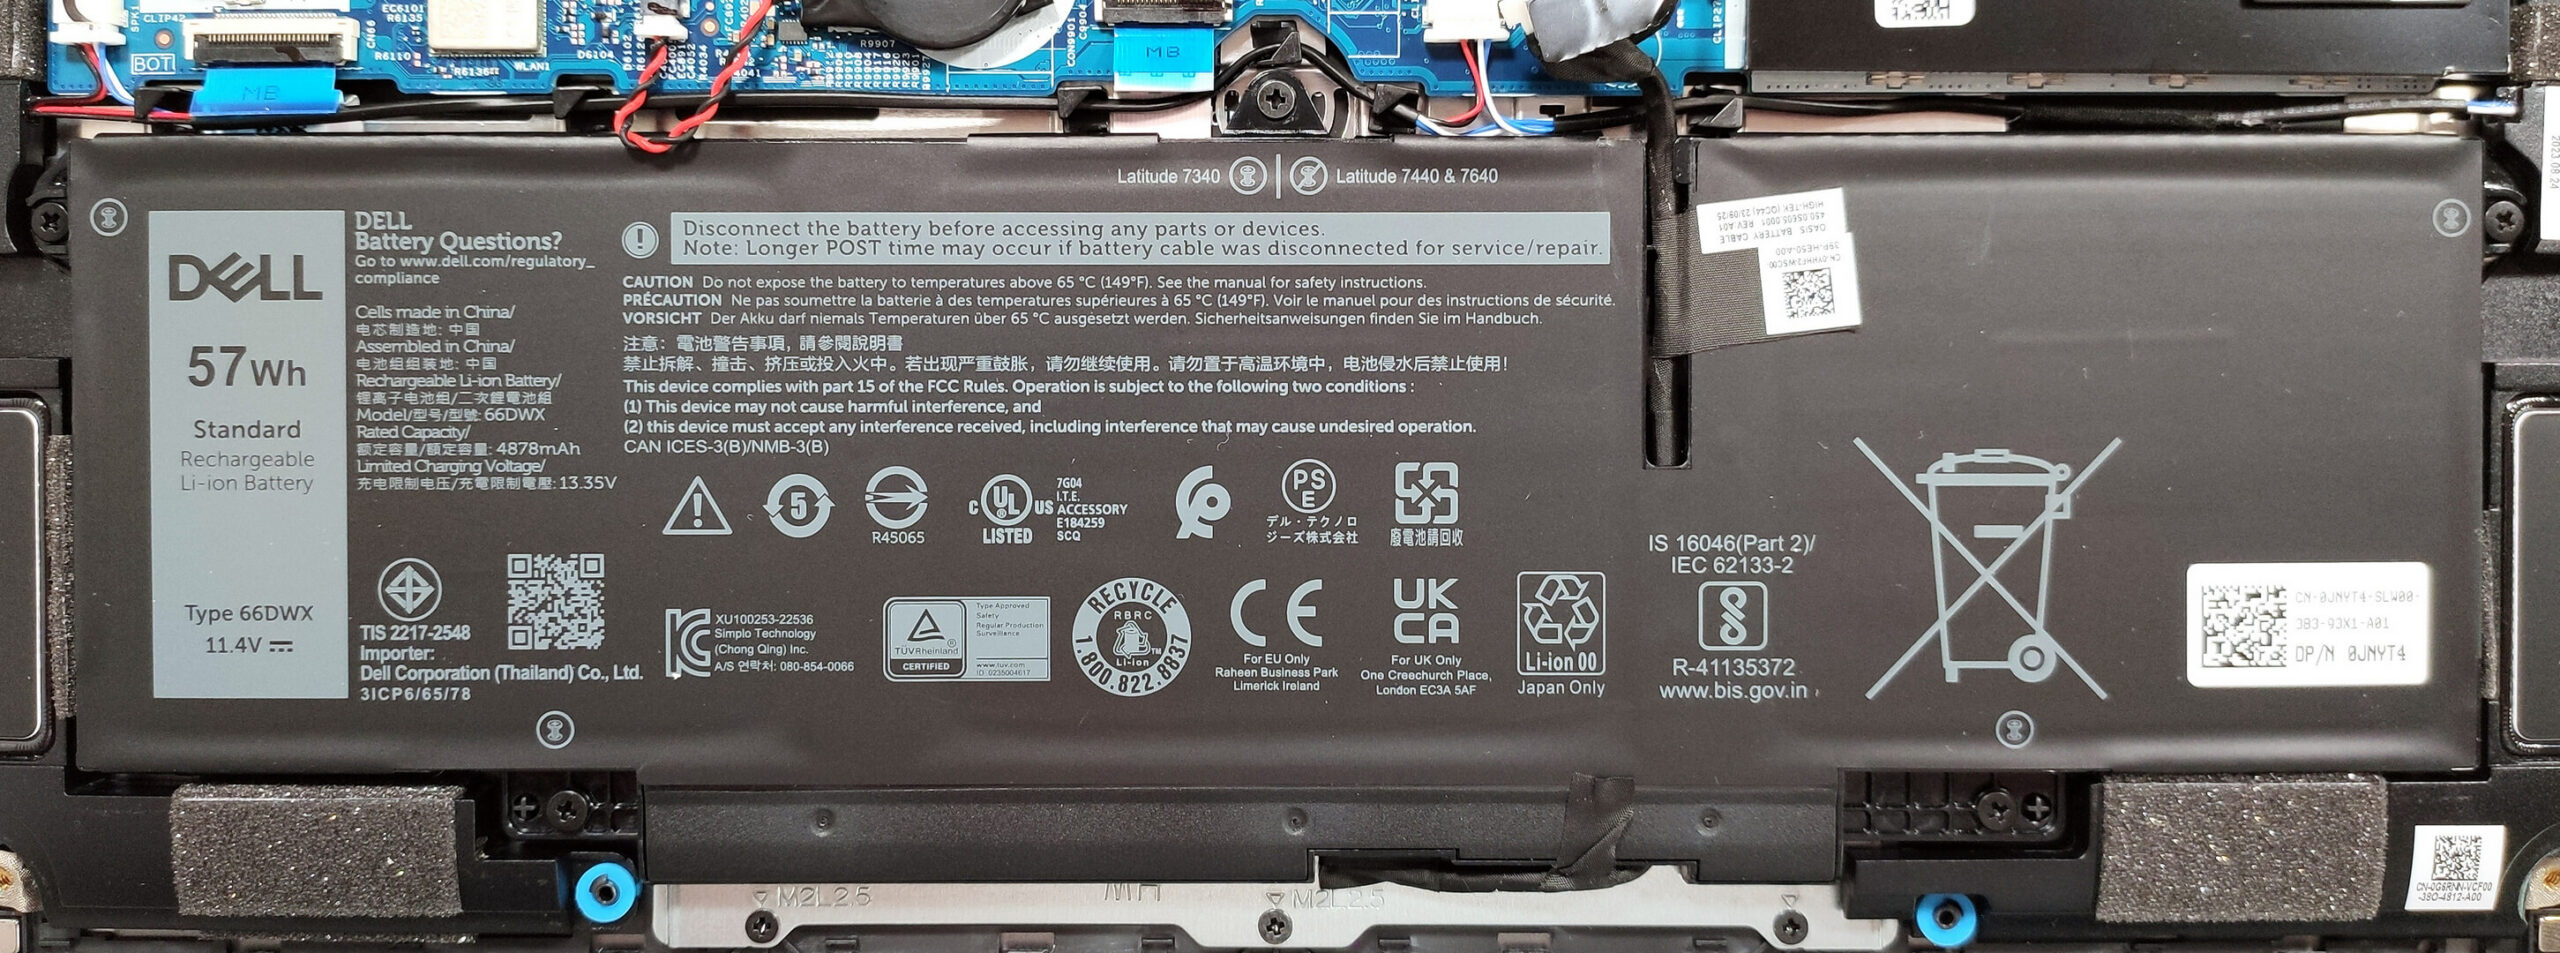
Step 2: Battery Removal
- Detach the battery connector from the motherboard. You may need to pull hard on the connector cap, so apply pressure near the metal shroud to prevent lifting the motherboard.
- Remove the 5 Phillips-head screws securing the 57Wh battery and lift it away from the chassis.
More info: The optional 57Wh battery provides up to 10 hours of web browsing or video playback, which is an improvement over the 38Wh default model.
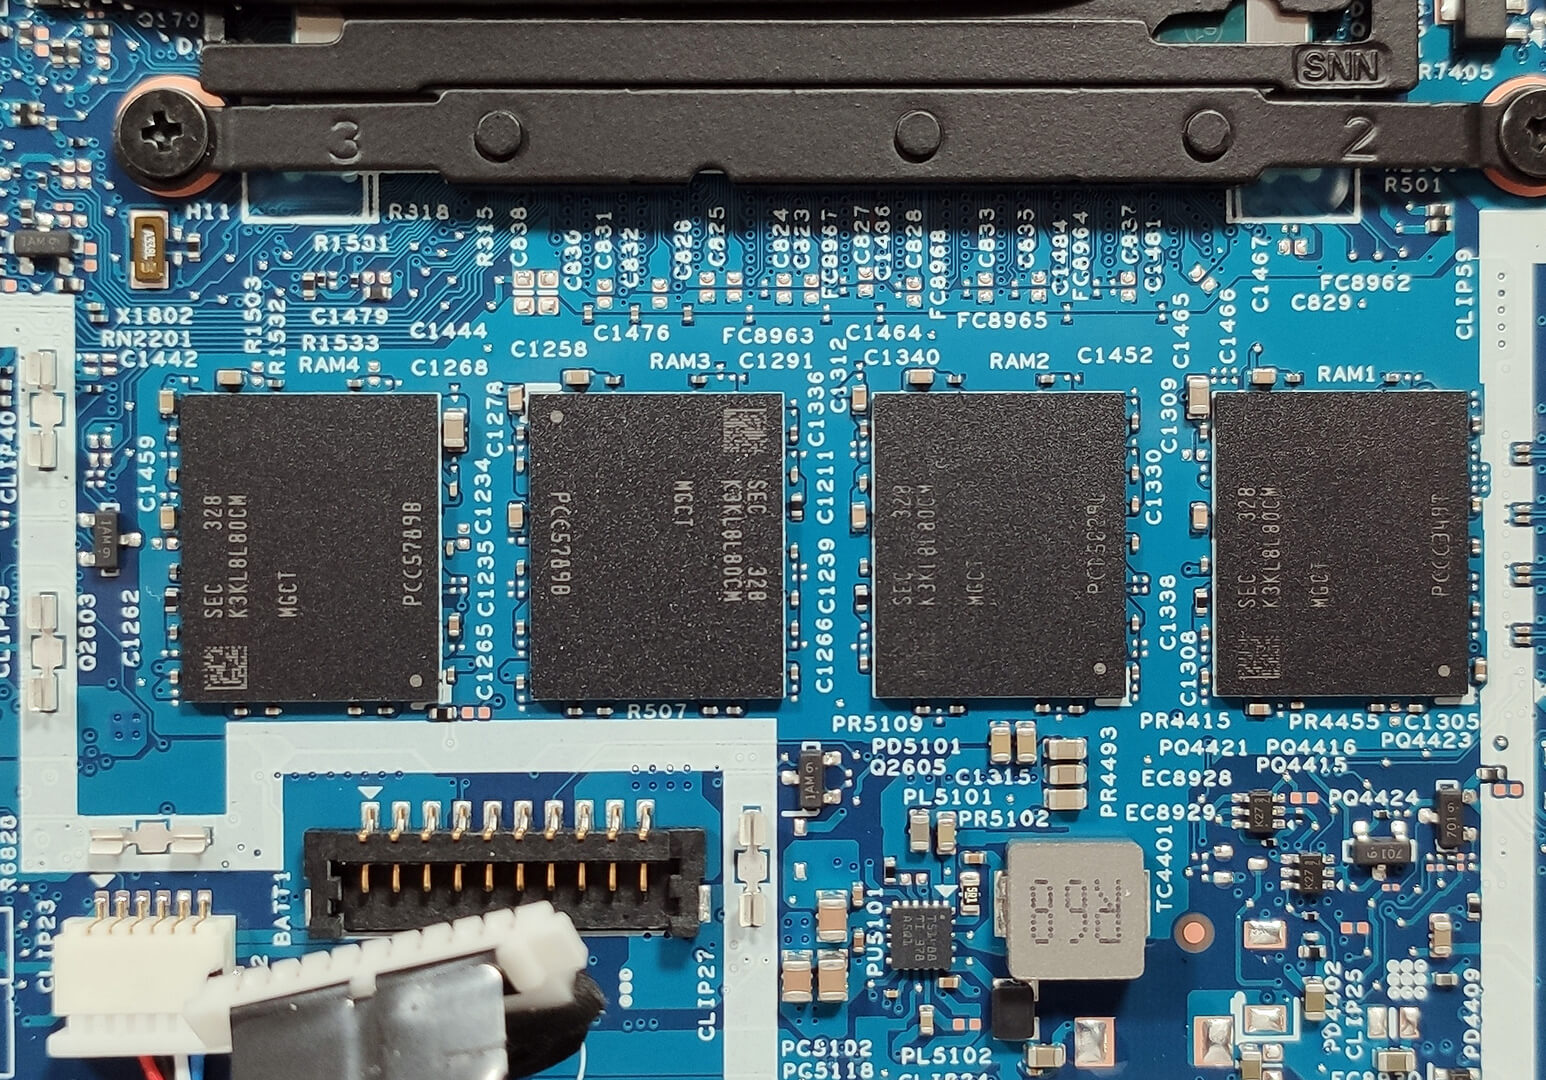
Memory Overview
The Dell Latitude 13 7340 features soldered LPDDR5-4800MHz RAM, supporting up to 32GB in dual-channel mode, offering a balance between performance and power efficiency.
Storage Upgrade
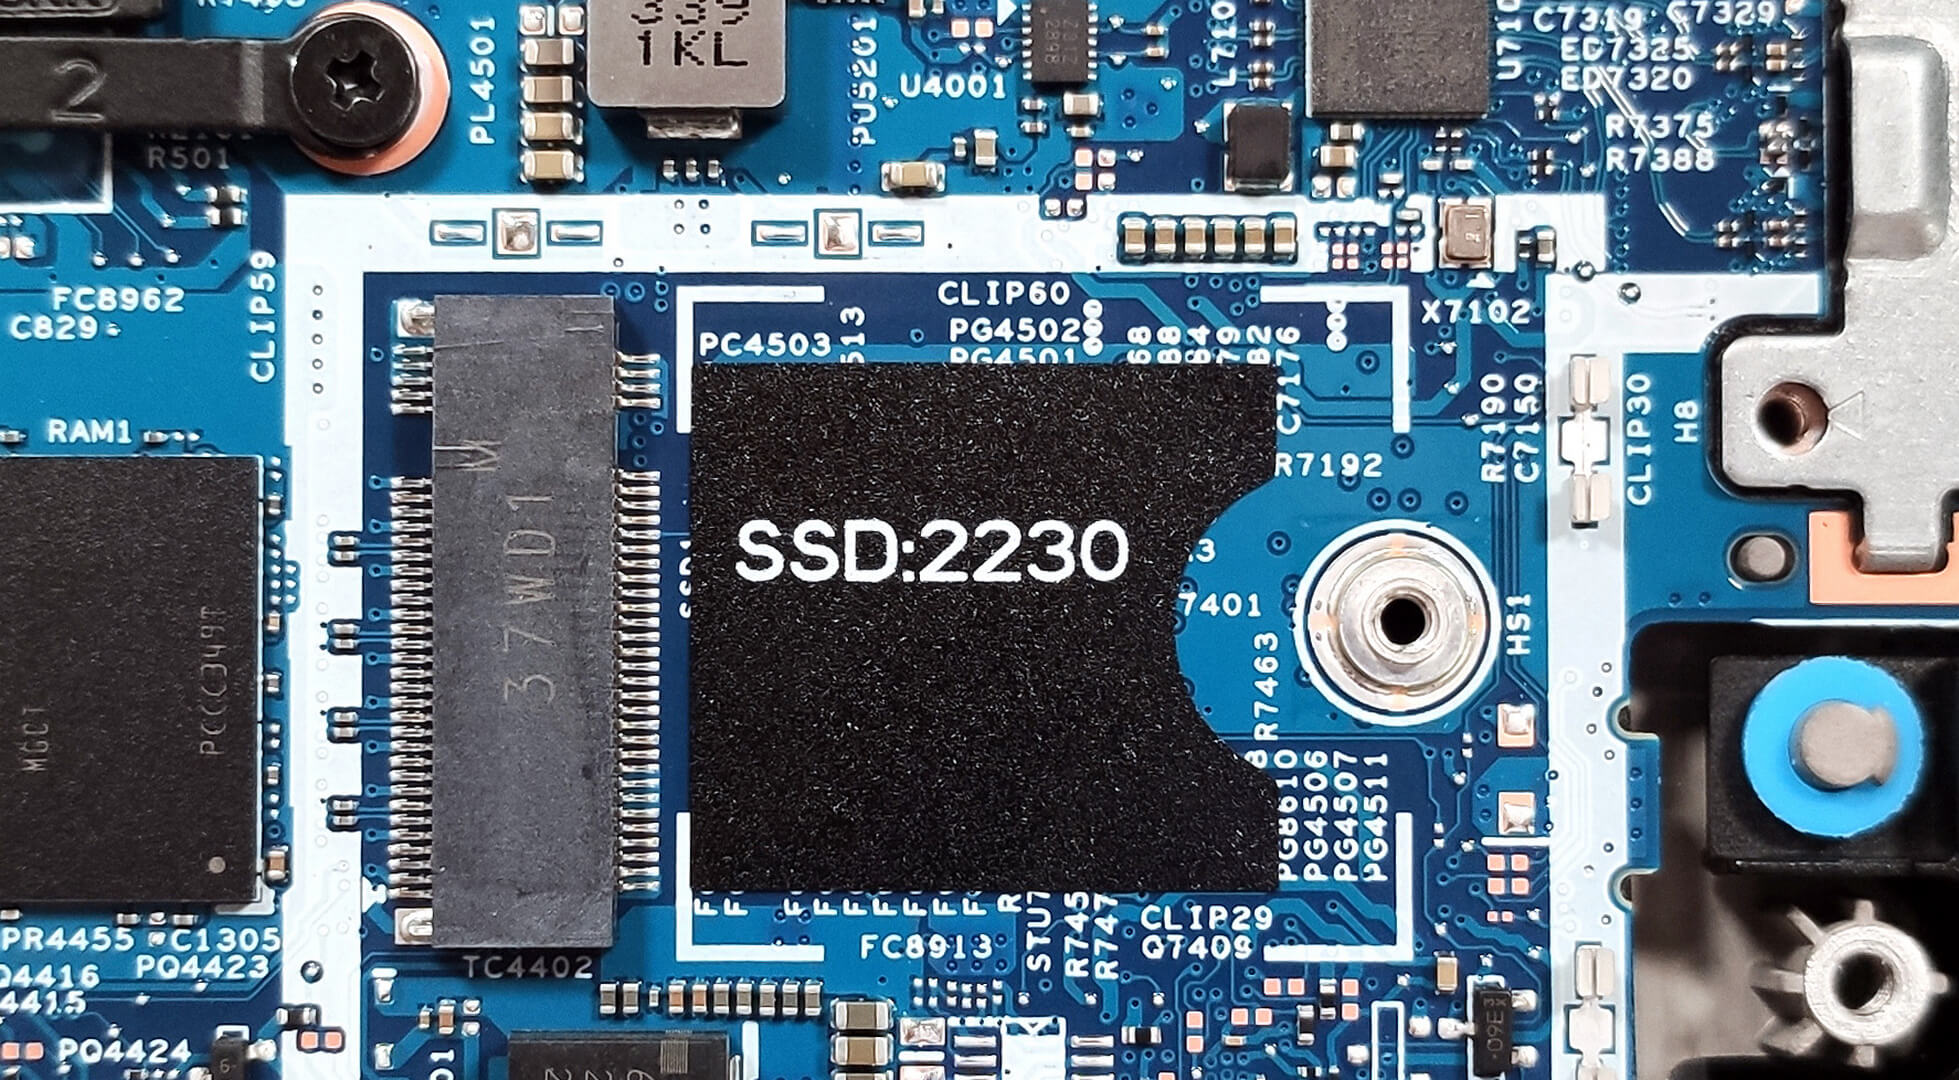
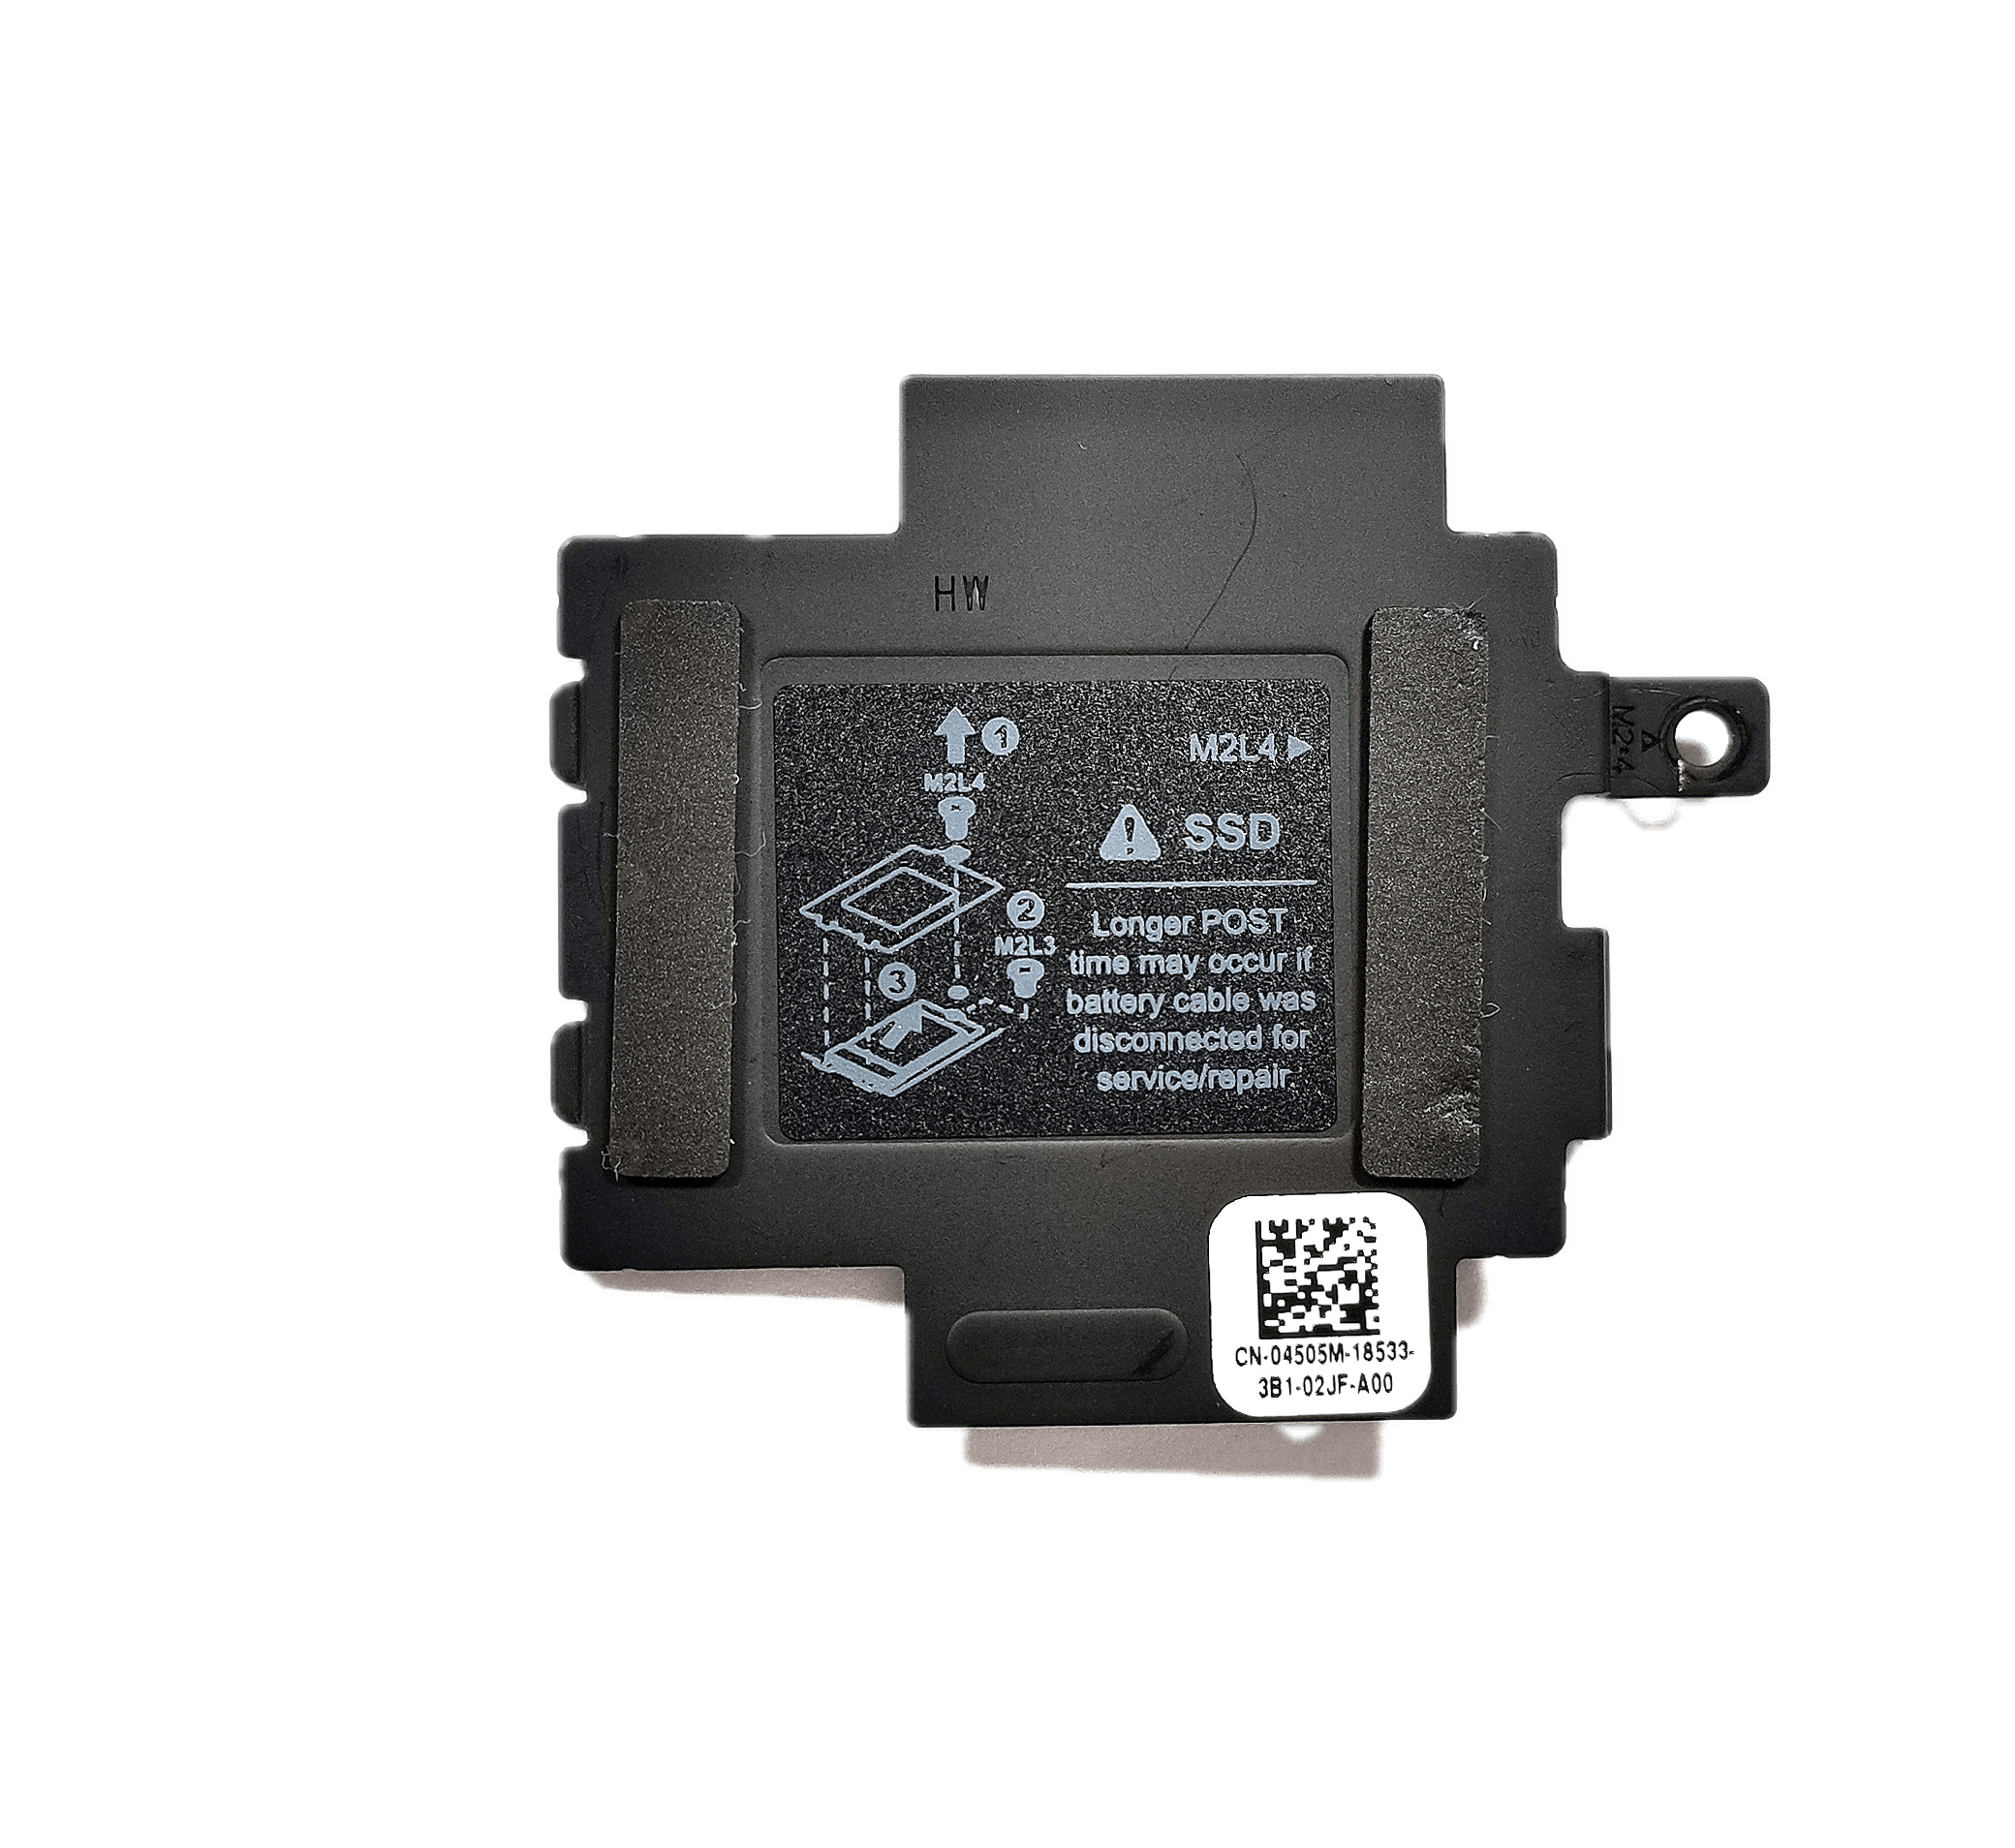
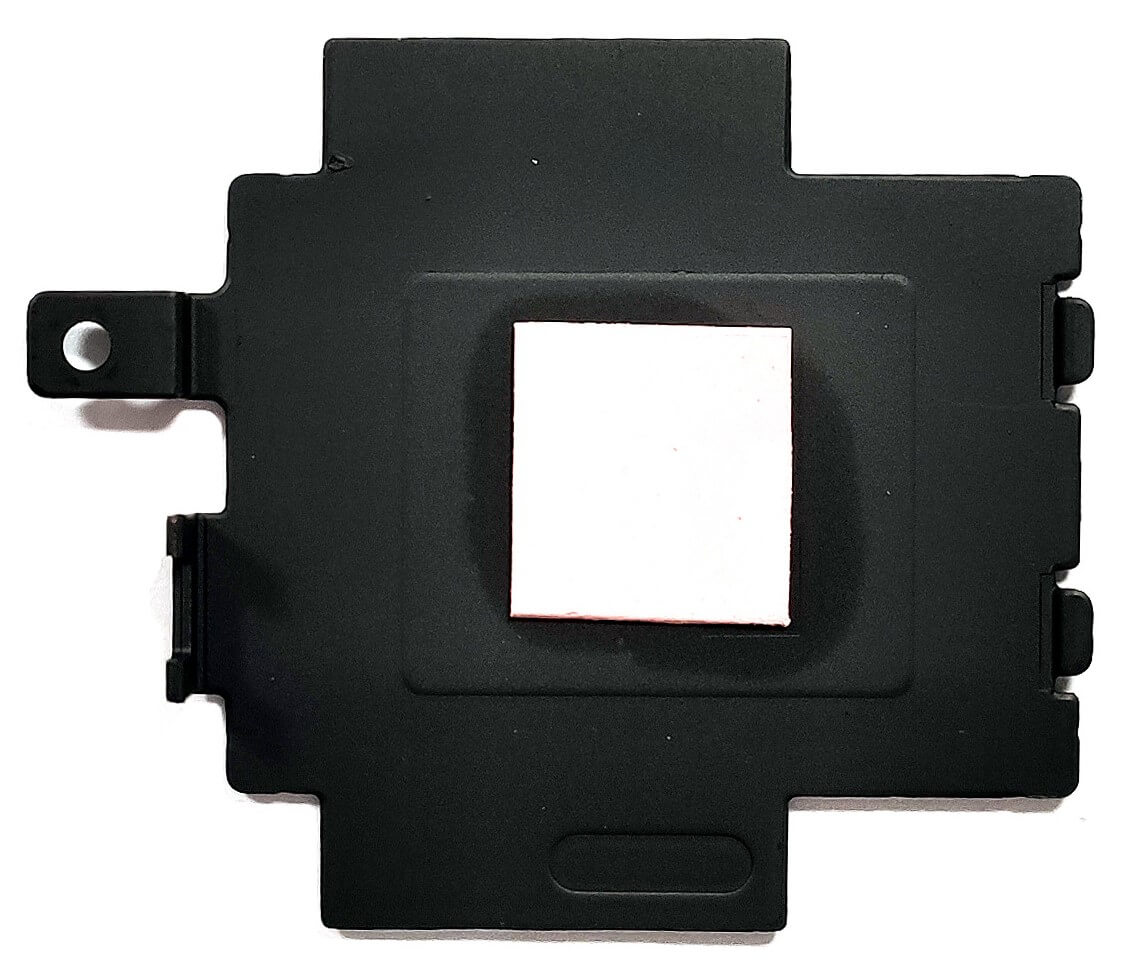
- To access the SSD, remove the single Phillips-head screw from the small metal service cap, which features a thermal pad for cooling.
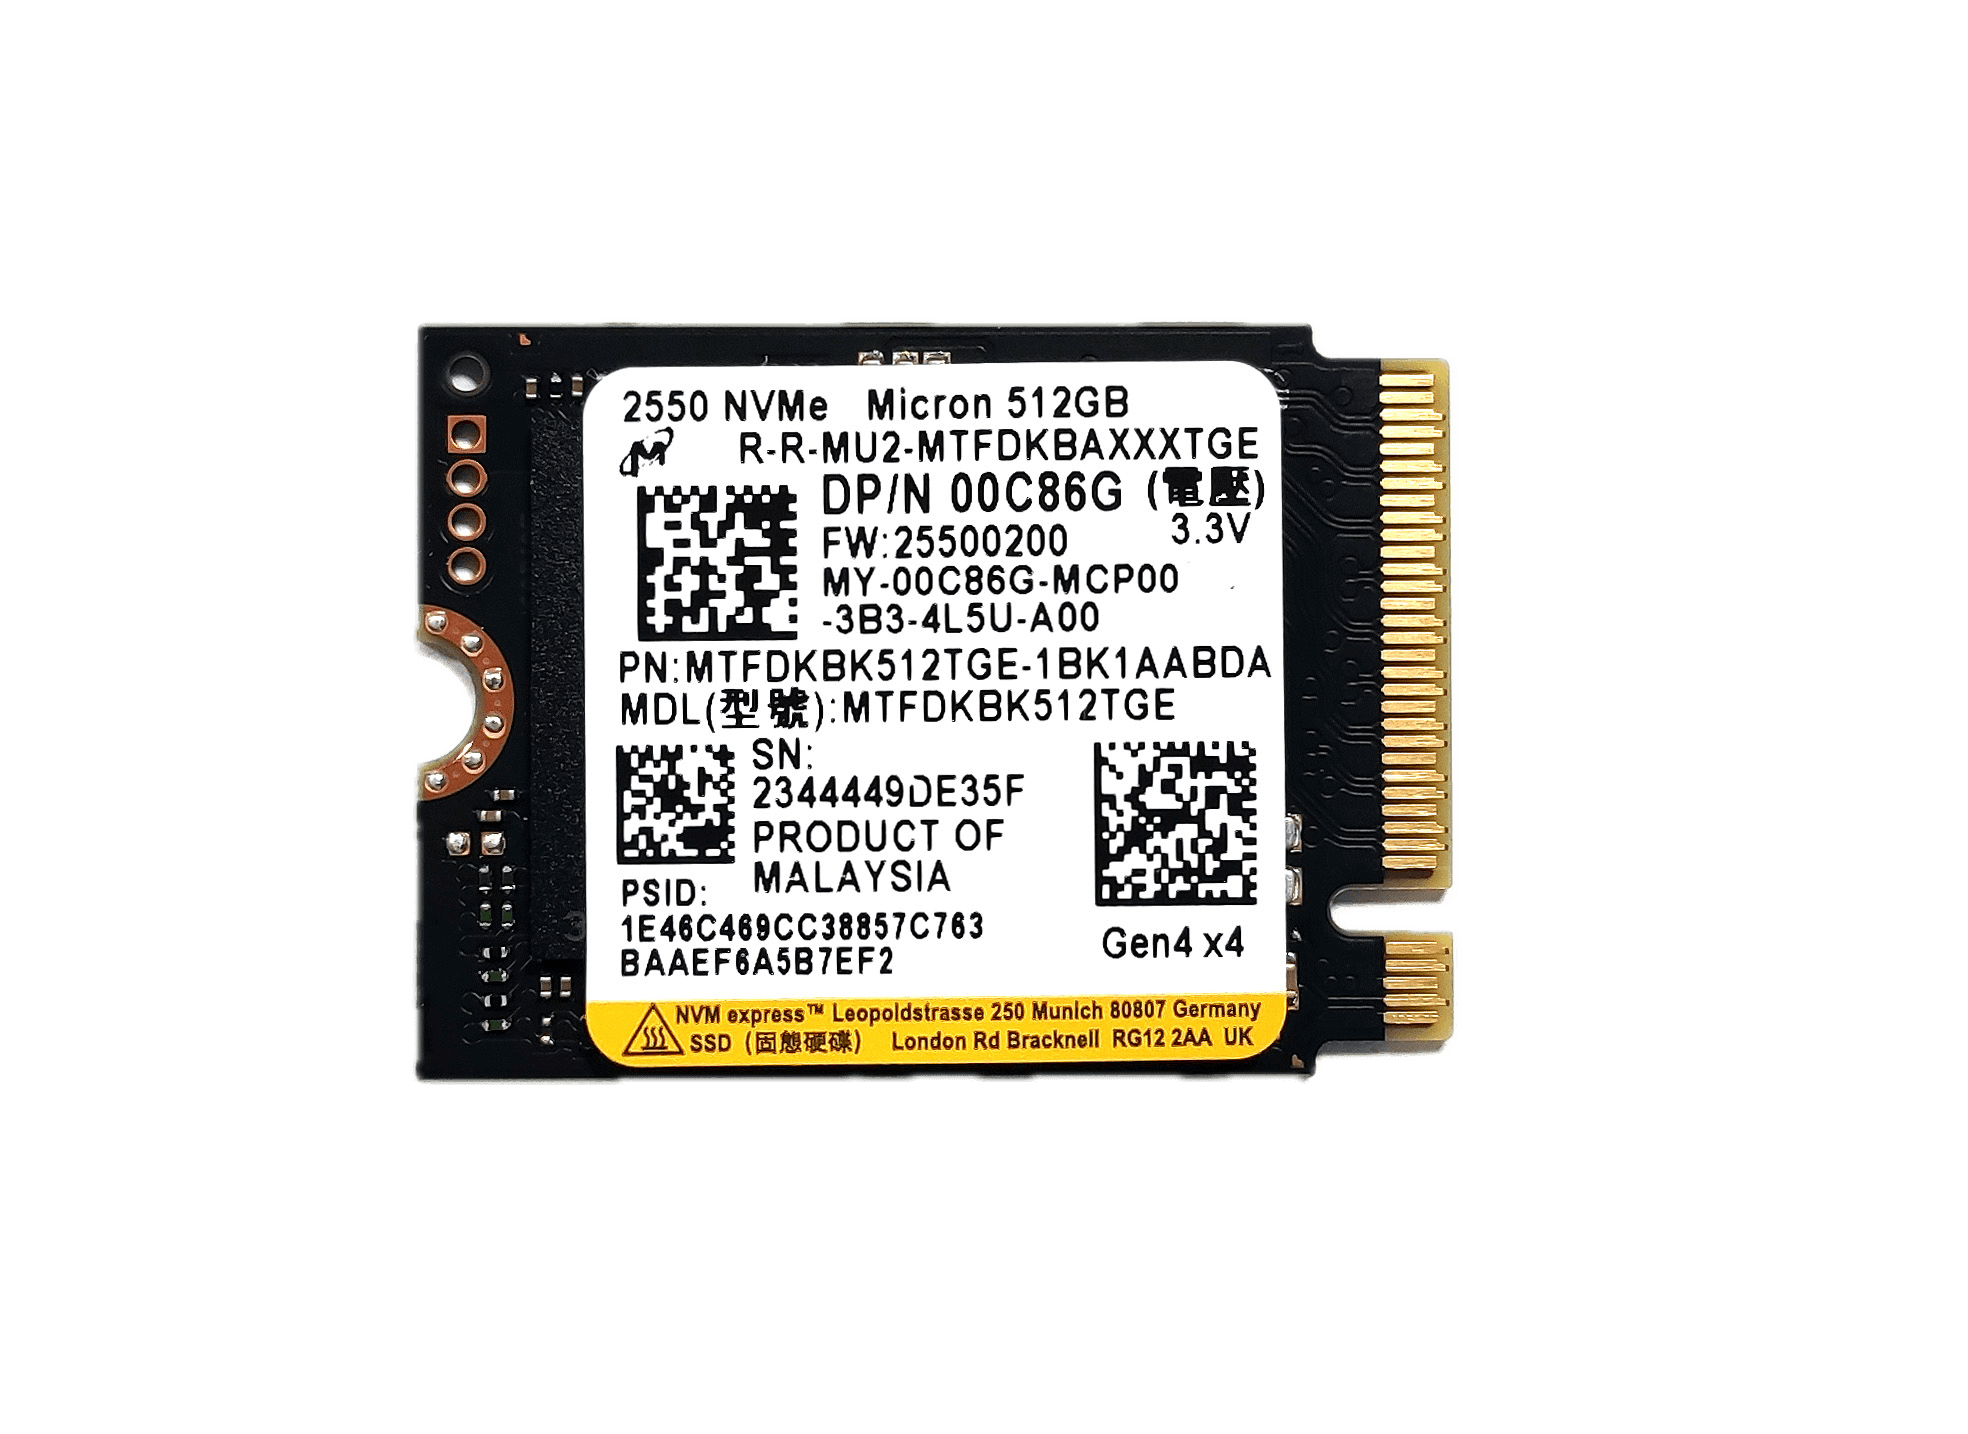
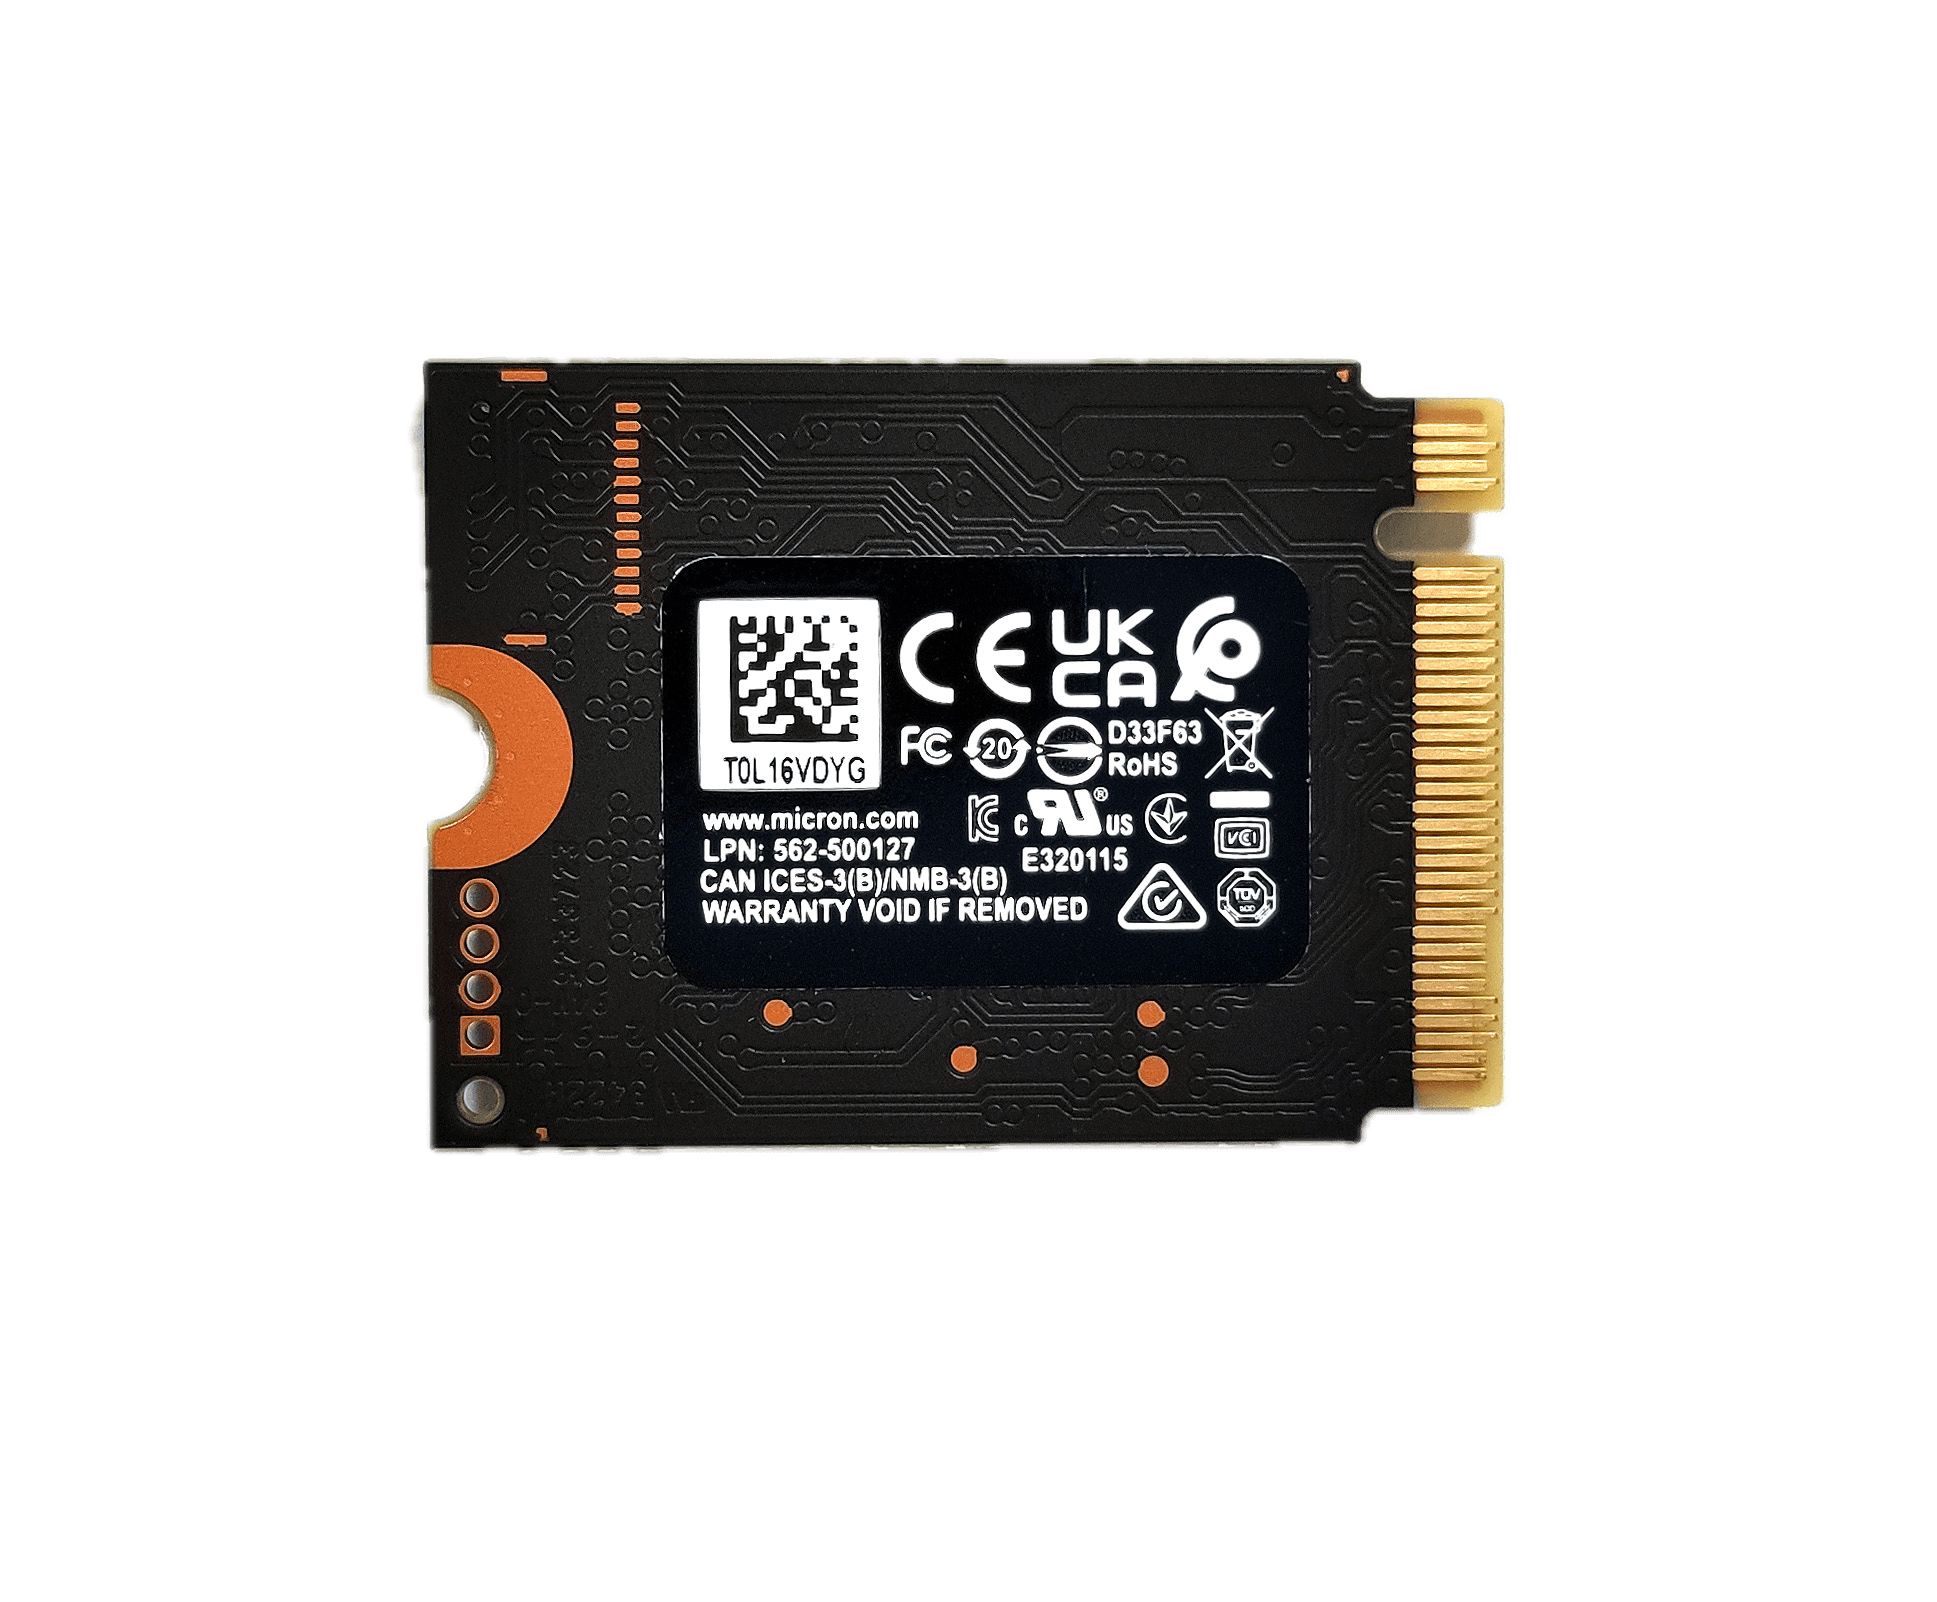
- The laptop has one M.2 slot for 2230 Gen 4 SSDs, allowing for storage upgrades to enhance performance and capacity.
Hint: Don’t forget to check out our Top M.2 SSDs Performance Rankings for the best storage options available.
You can buy Gen 4 M.2 2230 SSD modules here: Buy from Amazon.com (#CommissionsEarned)
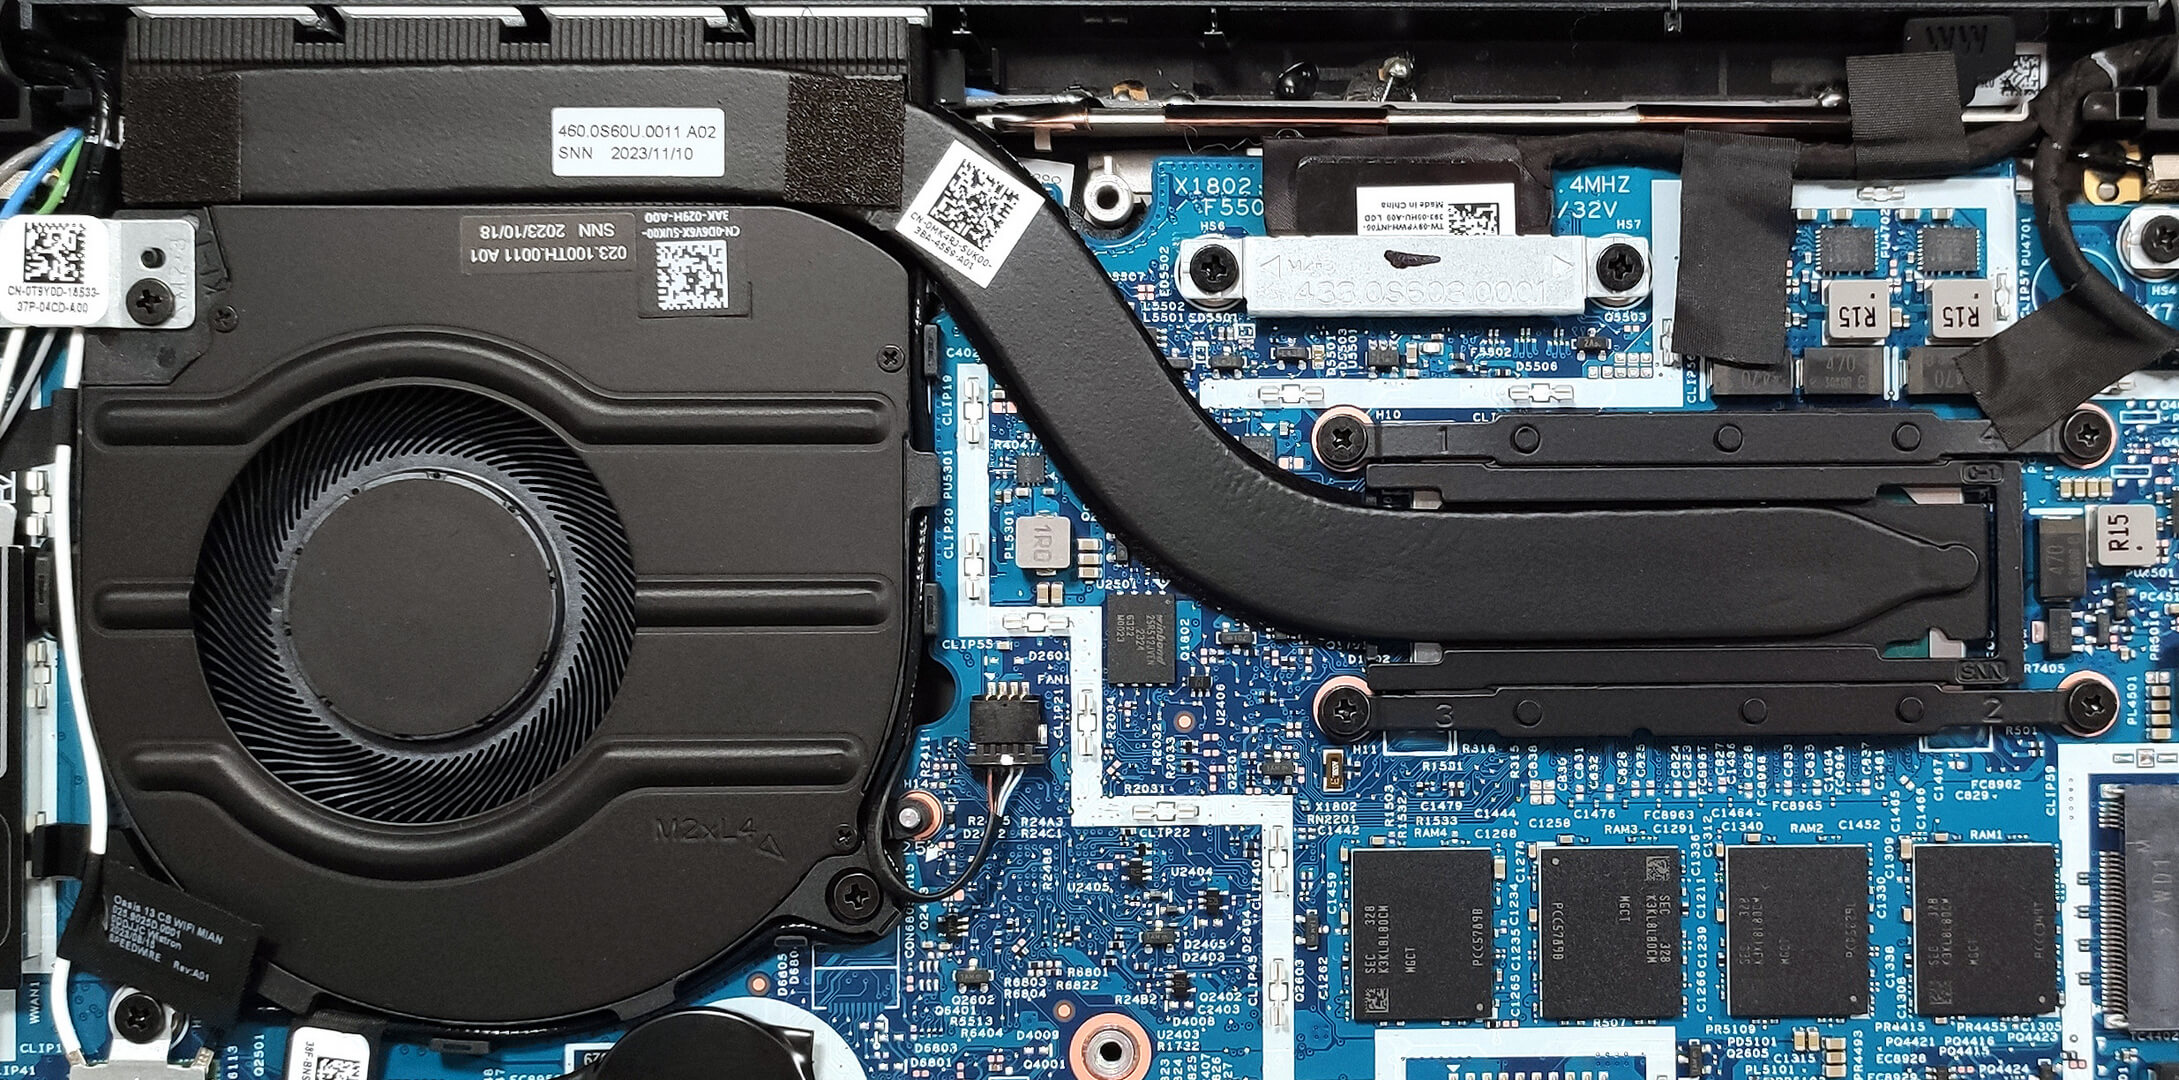
Cooling System Overview
The cooling system consists of one fan, a single heat pipe, a heat sink, and a heat spreader, which efficiently manages the thermal output of a laptop with integrated graphics.