How to open Dell Latitude 14 7440 – disassembly and upgrade options
Step 1: Opening the Dell Latitude 14 7440
- Prepare a clean, soft surface to place the laptop on to avoid scratching its surface.
- Locate and undo the 8 captive Phillips-head screws on the bottom of the laptop.
- Gently lift the bottom panel at one of the hinge areas to create a gap, then use a thin plastic tool to carefully pry the sides first, followed by the front, and finally the backside.
Tip: Proceed with caution around the ports to prevent any damage.

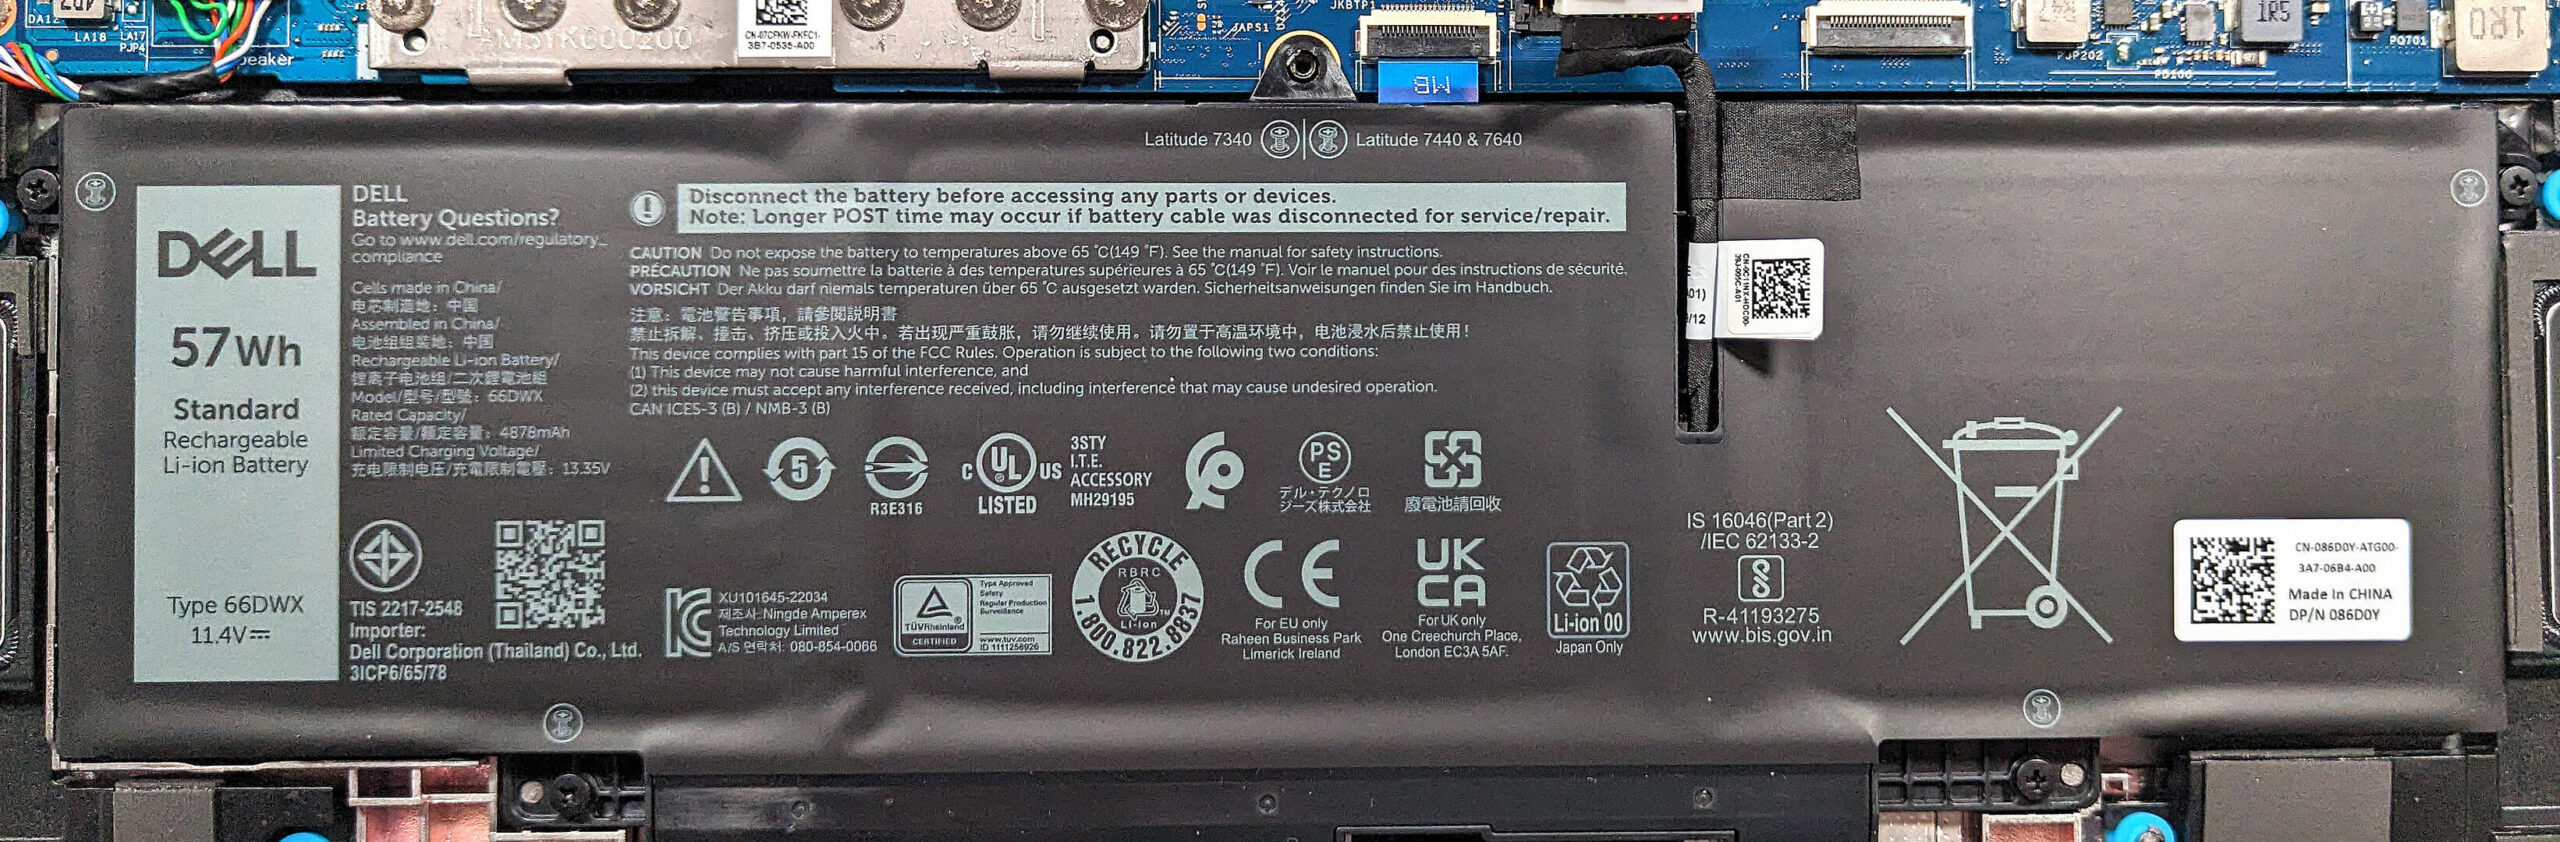
Step 2: Battery Replacement
- Disconnect the battery connector from the motherboard carefully to avoid any damage.
- Remove the 4 Phillips-head screws securing the battery, then lift it away from the chassis.
Note: The optional 57Wh battery provides extended usage times of up to 14 hours and 17 minutes for web browsing, or 11 hours and 7 minutes for video playback.
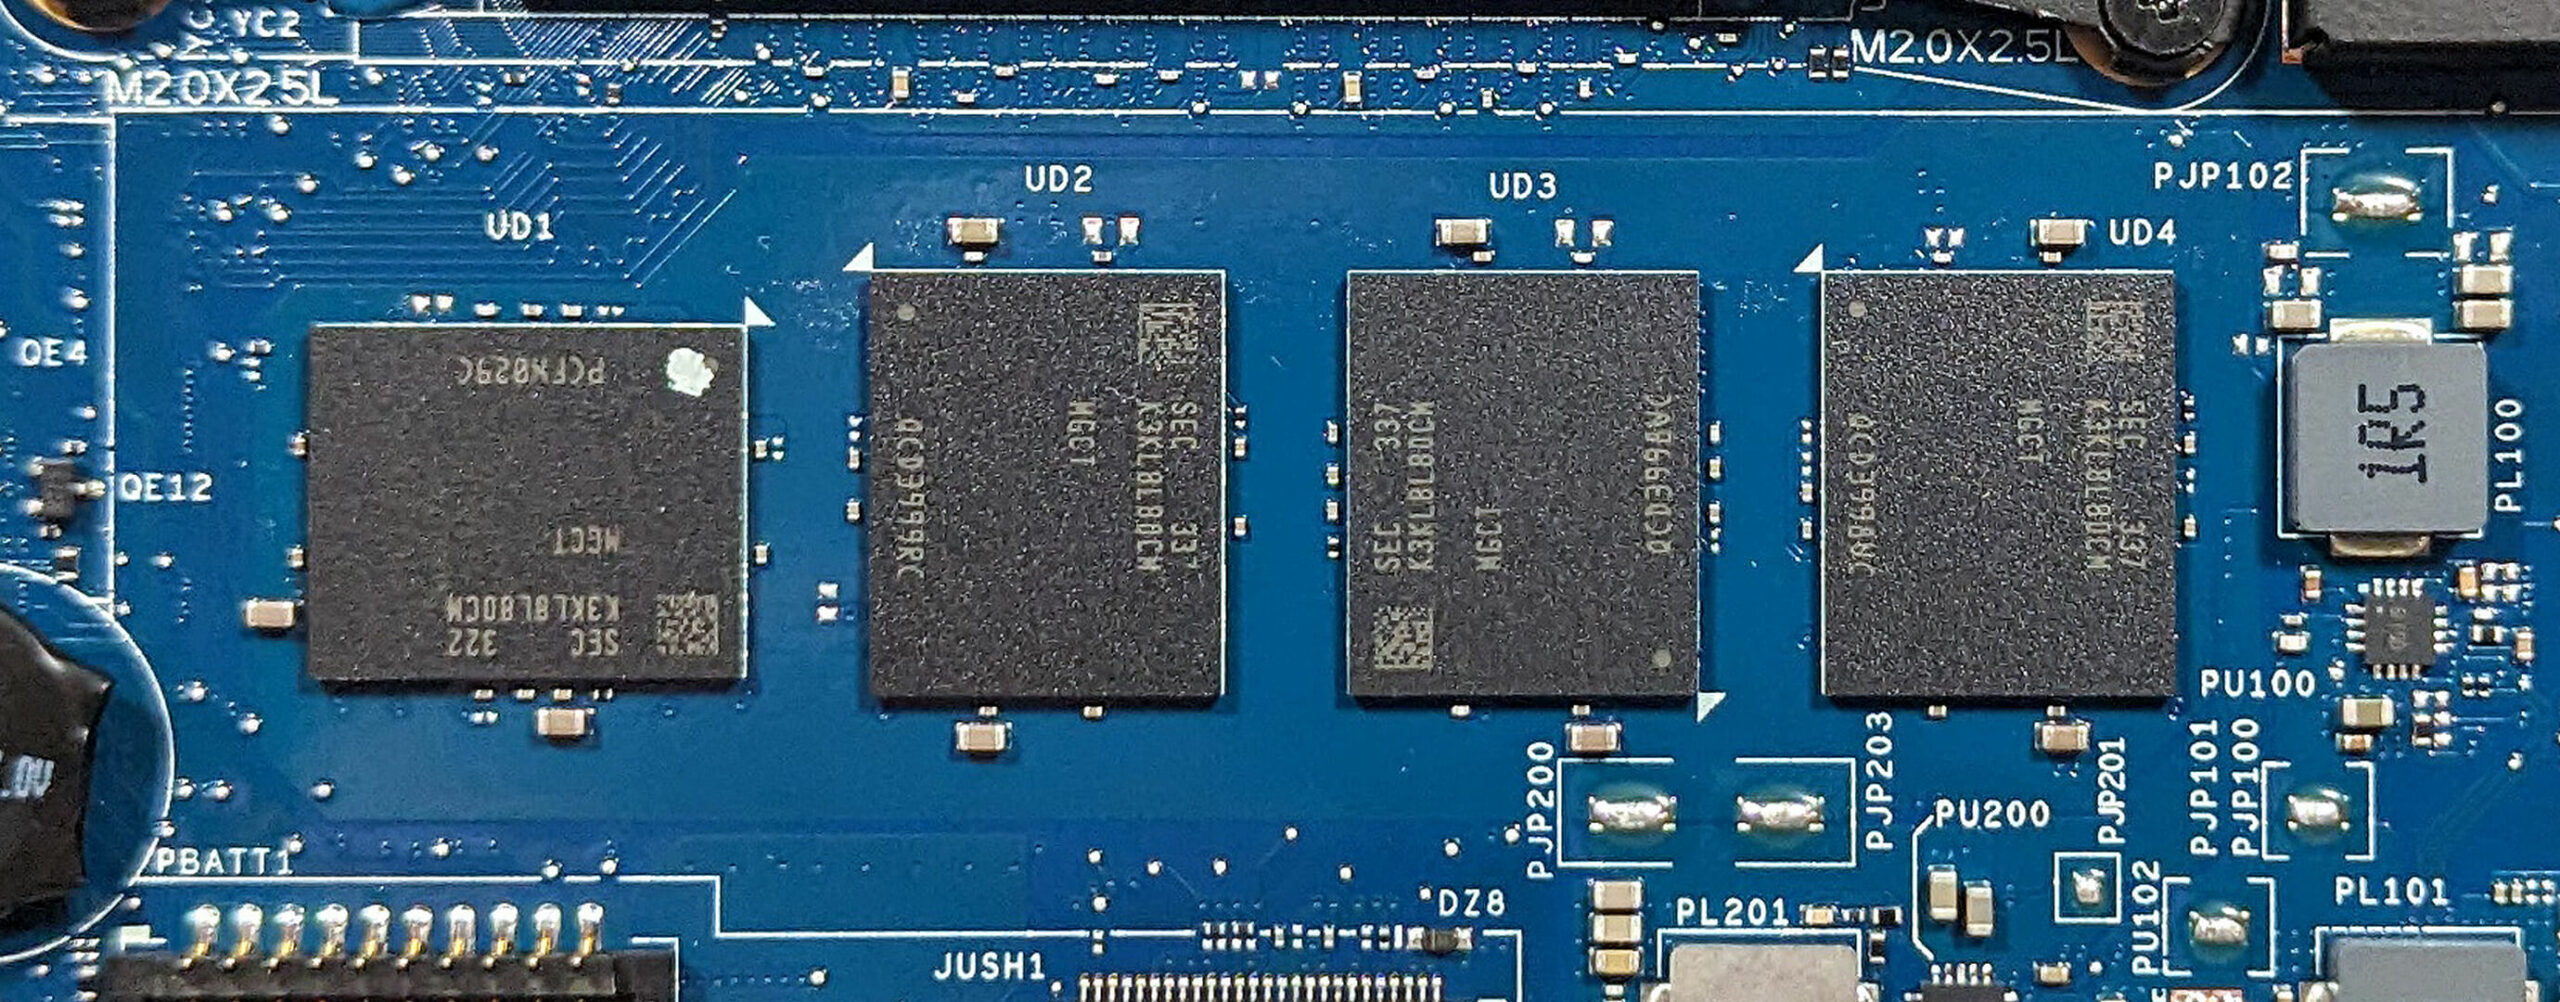
Memory Overview
The laptop’s memory is soldered onto the motherboard, offering a maximum capacity of 32GB LPDDR5-4800MHz in dual-channel mode. This 32GB variant is future-proof for most tasks, though it does not allow for memory upgrades.
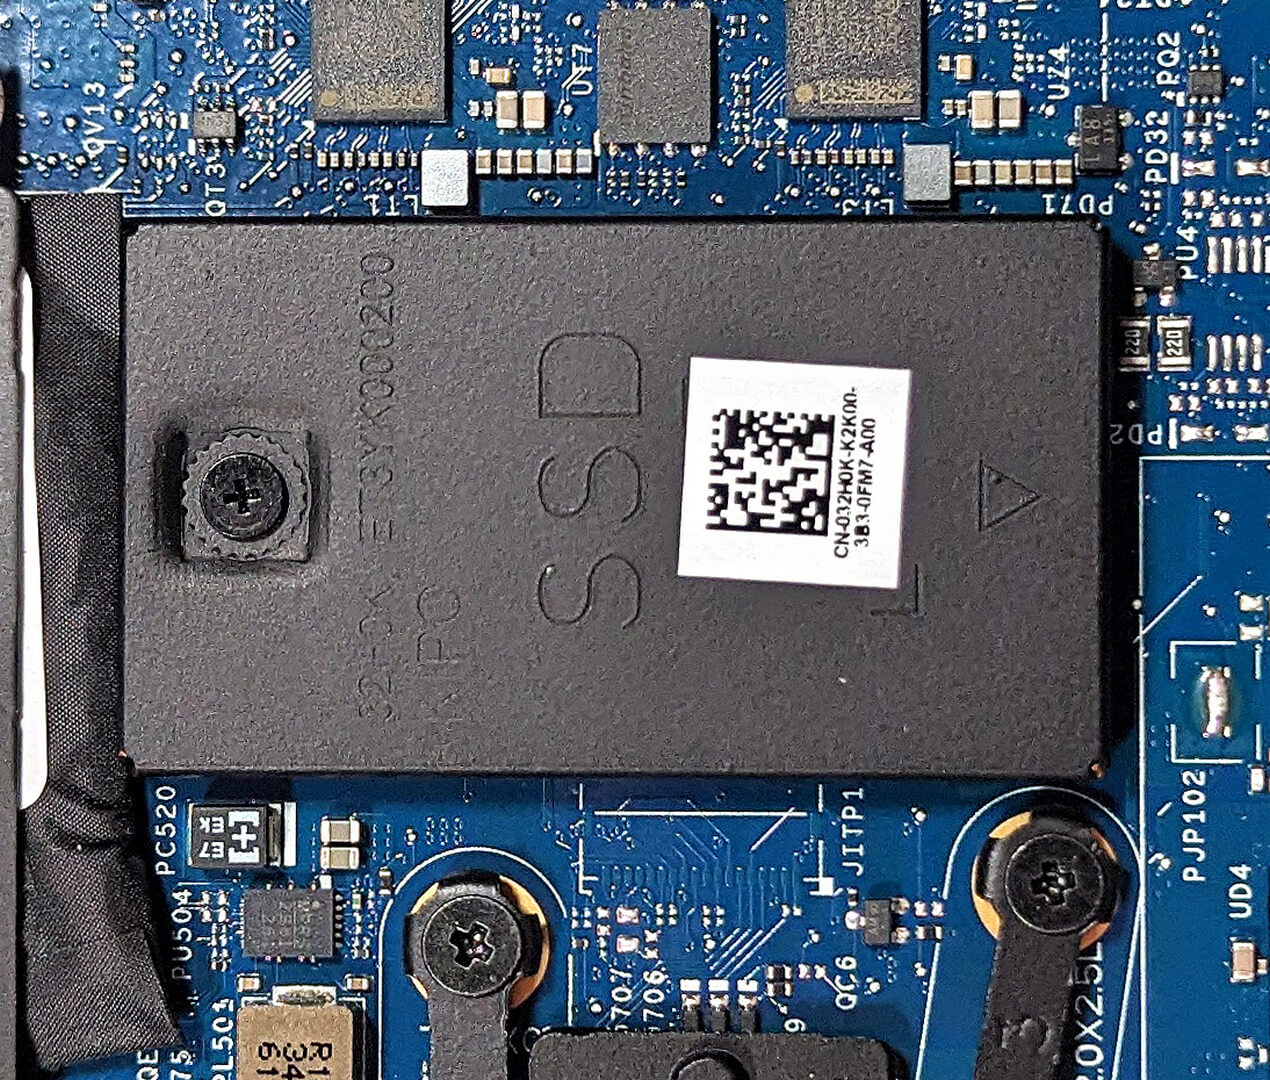
Storage Upgrade
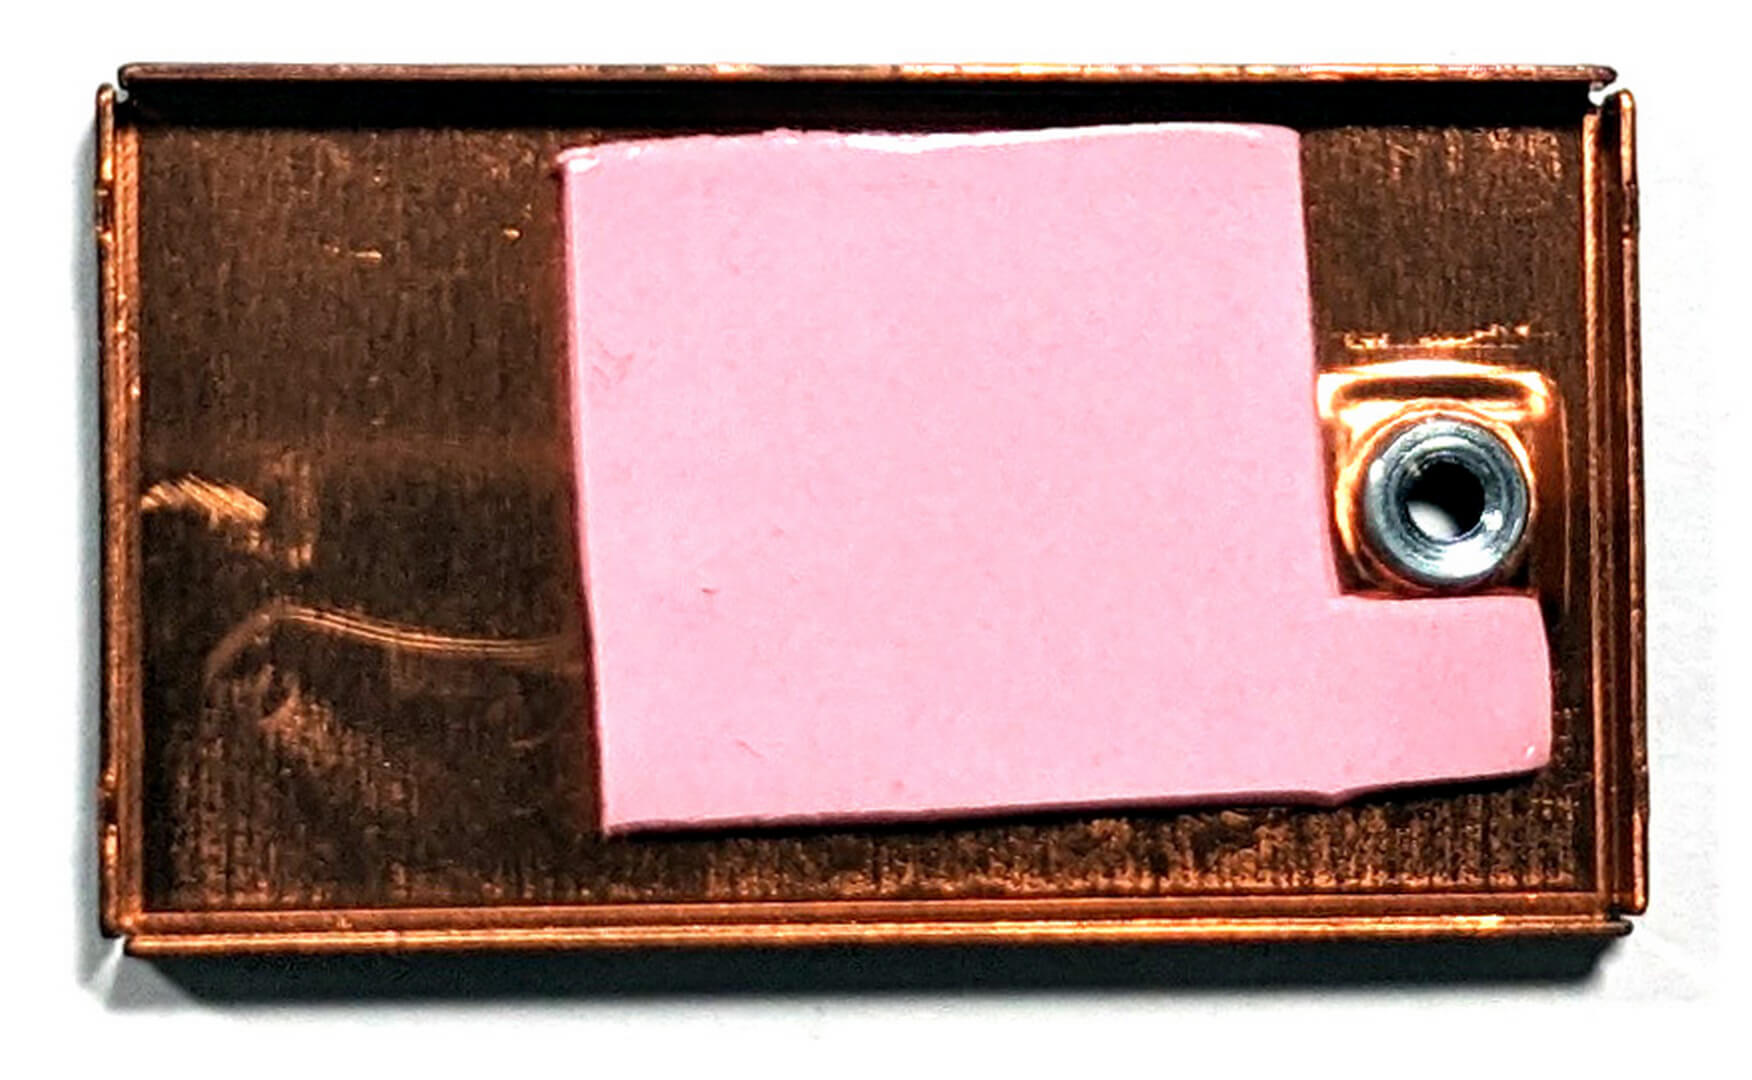
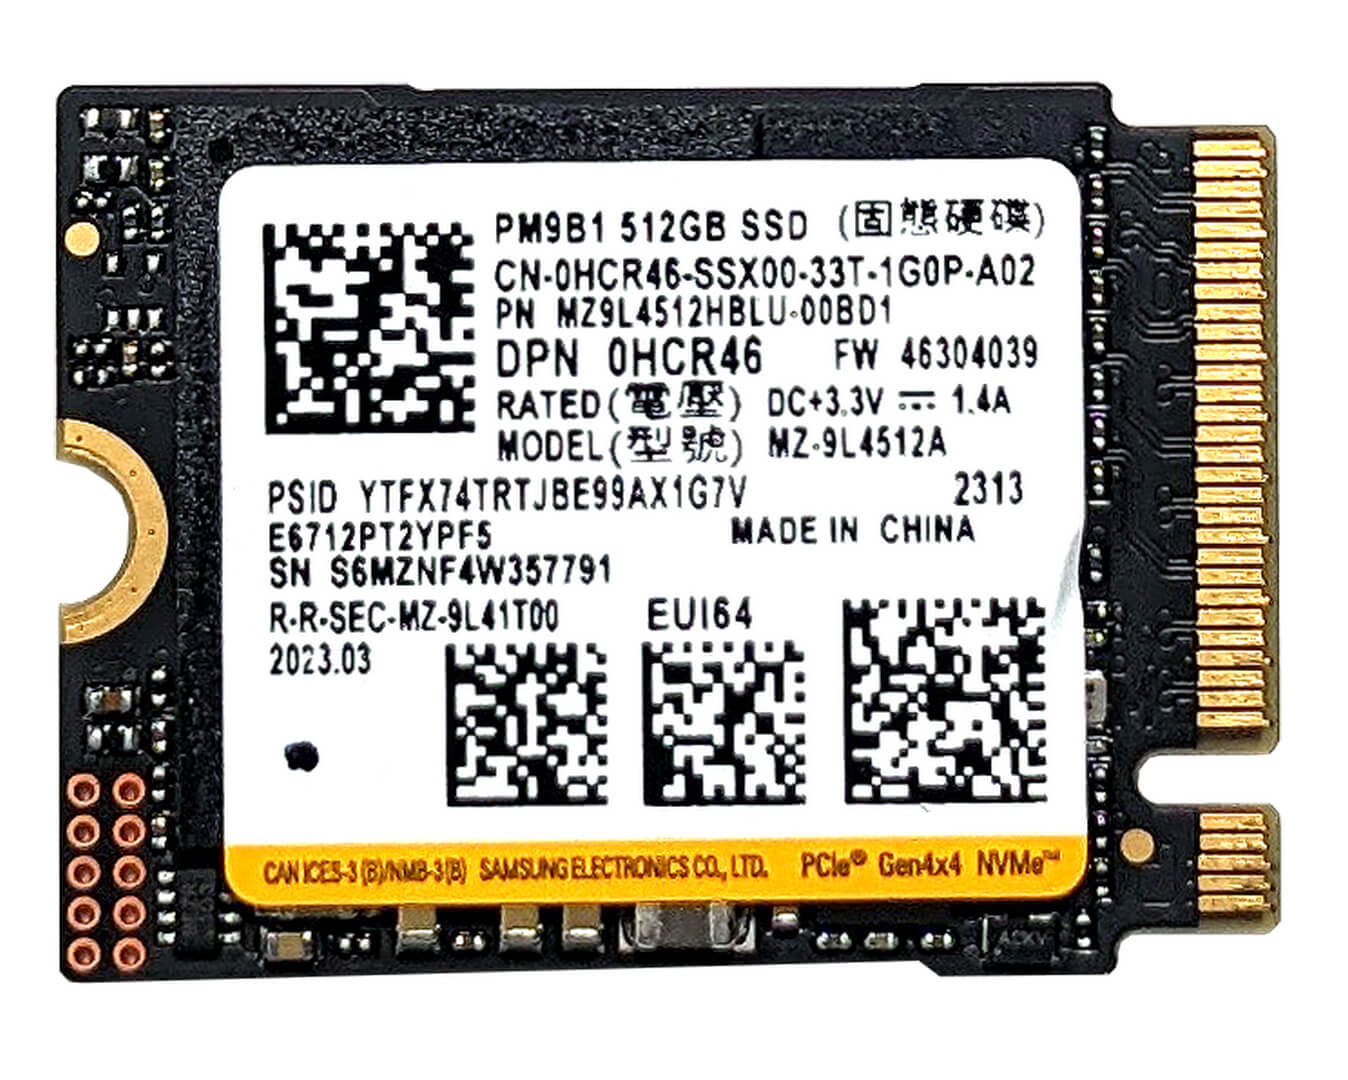
- Locate the single M.2 slot compatible with 2230 Gen 4 SSDs. It is covered by a metal shroud equipped with a thin thermal pad for cooling.
- Remove the shroud to access or replace the SSD.
Don’t forget to check out our Top M.2 SSDs Performance Rankings for insights on the best storage options available.
You can buy Gen 4 M.2 2230 SSD modules here: Buy from Amazon.com (#CommissionsEarned)
Cooling System Overview
The cooling system includes a large fan, a top-mounted heatsink, a thick heat pipe, and a heat spreader, which is efficient for managing the thermal output of an iGPU-only configuration.


![[June 2026] Best-Selling Laptop Brands on Amazon Global – Apple’s Unrivaled Dominance in Units and Revenue](https://laptopmedia.com/wp-content/uploads/2026/07/GLOBAL-Best-Brands-400x225.jpg)
![[June 2026] Amazon Global: Top 10 Best-Selling Laptops – Apple’s New MacBook Neo Storms to #1, Reshaping the Market with Affordability](https://laptopmedia.com/wp-content/uploads/2026/07/Best-Selling-Laptops-GLOBAL-Top-10-400x225.jpg)
![[June 2026] Amazon Global: Top 10 Best-Selling Gaming Laptops – Acer’s Nitro V 16S AI Dominates Sales, While ASUS Leads Overall Revenue](https://laptopmedia.com/wp-content/uploads/2026/07/Best-Selling-Gaming-Laptops-GLOBAL-Top-10-400x225.jpg)
![[June 2026] Global Ranking of Best-Selling Laptop GPUs on Amazon – NVIDIA RTX 5060 is the Top-Selling Dedicated GPU](https://laptopmedia.com/wp-content/uploads/2026/07/Best-Selling-GPUs-GLOBAL-Top-10-400x225.jpg)
![[June 2026] Global Ranking of Best-Selling Laptop CPUs on Amazon – Apple M5 Dominates, AMD Ryzen 7 260 Gets Solid Premium Share](https://laptopmedia.com/wp-content/uploads/2026/07/Best-Selling-CPUs-GLOBAL-Top-10-400x225.jpg)
