How to open HP EliteBook 845 G10 – disassembly and upgrade options

Step 1: Opening the HP EliteBook 845 G10
- Ensure the HP EliteBook 845 G10 is powered off and placed on a soft, clean surface to prevent scratches or damage.
- Remove the 5 captive Phillips-head screws from the bottom of the laptop.
- Gently raise the bottom panel near the top corners to create a small gap, then use a thin plastic tool to pry the panel starting from the back and working your way around.
Hint: Be cautious when prying near ports and connectors to avoid damaging the chassis or internal components.

Step 2: Removing the Battery
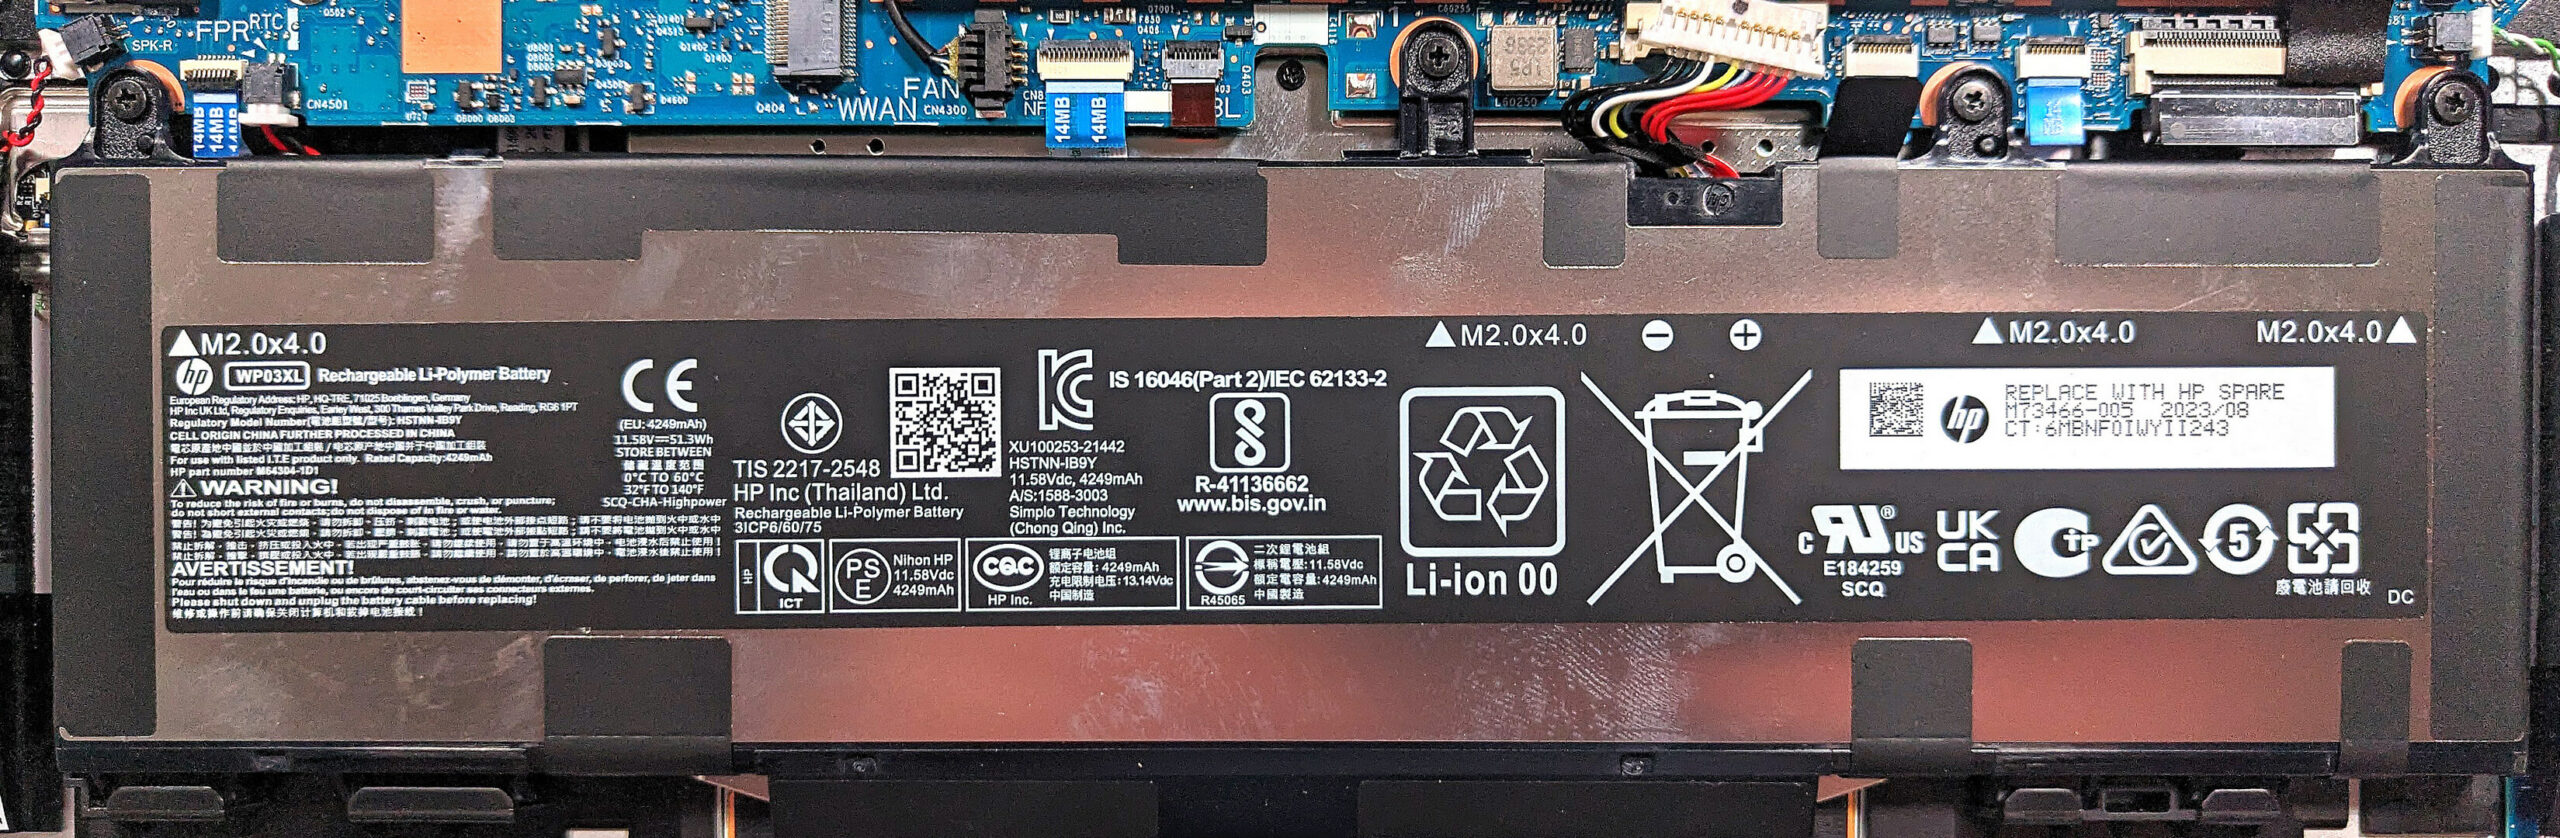
- Disconnect the battery connector from the motherboard to cut off power.
- Remove the four Phillips-head screws securing the 51.3Wh battery, then carefully lift it away from the base.
Caution: Handle the battery with care to prevent any potential damage.
More info: We bought a configuration with the optional 51.3Wh battery which offers up to 12 hours and 30 minutes of web browsing or video playback. The base version is a 38Wh variant.
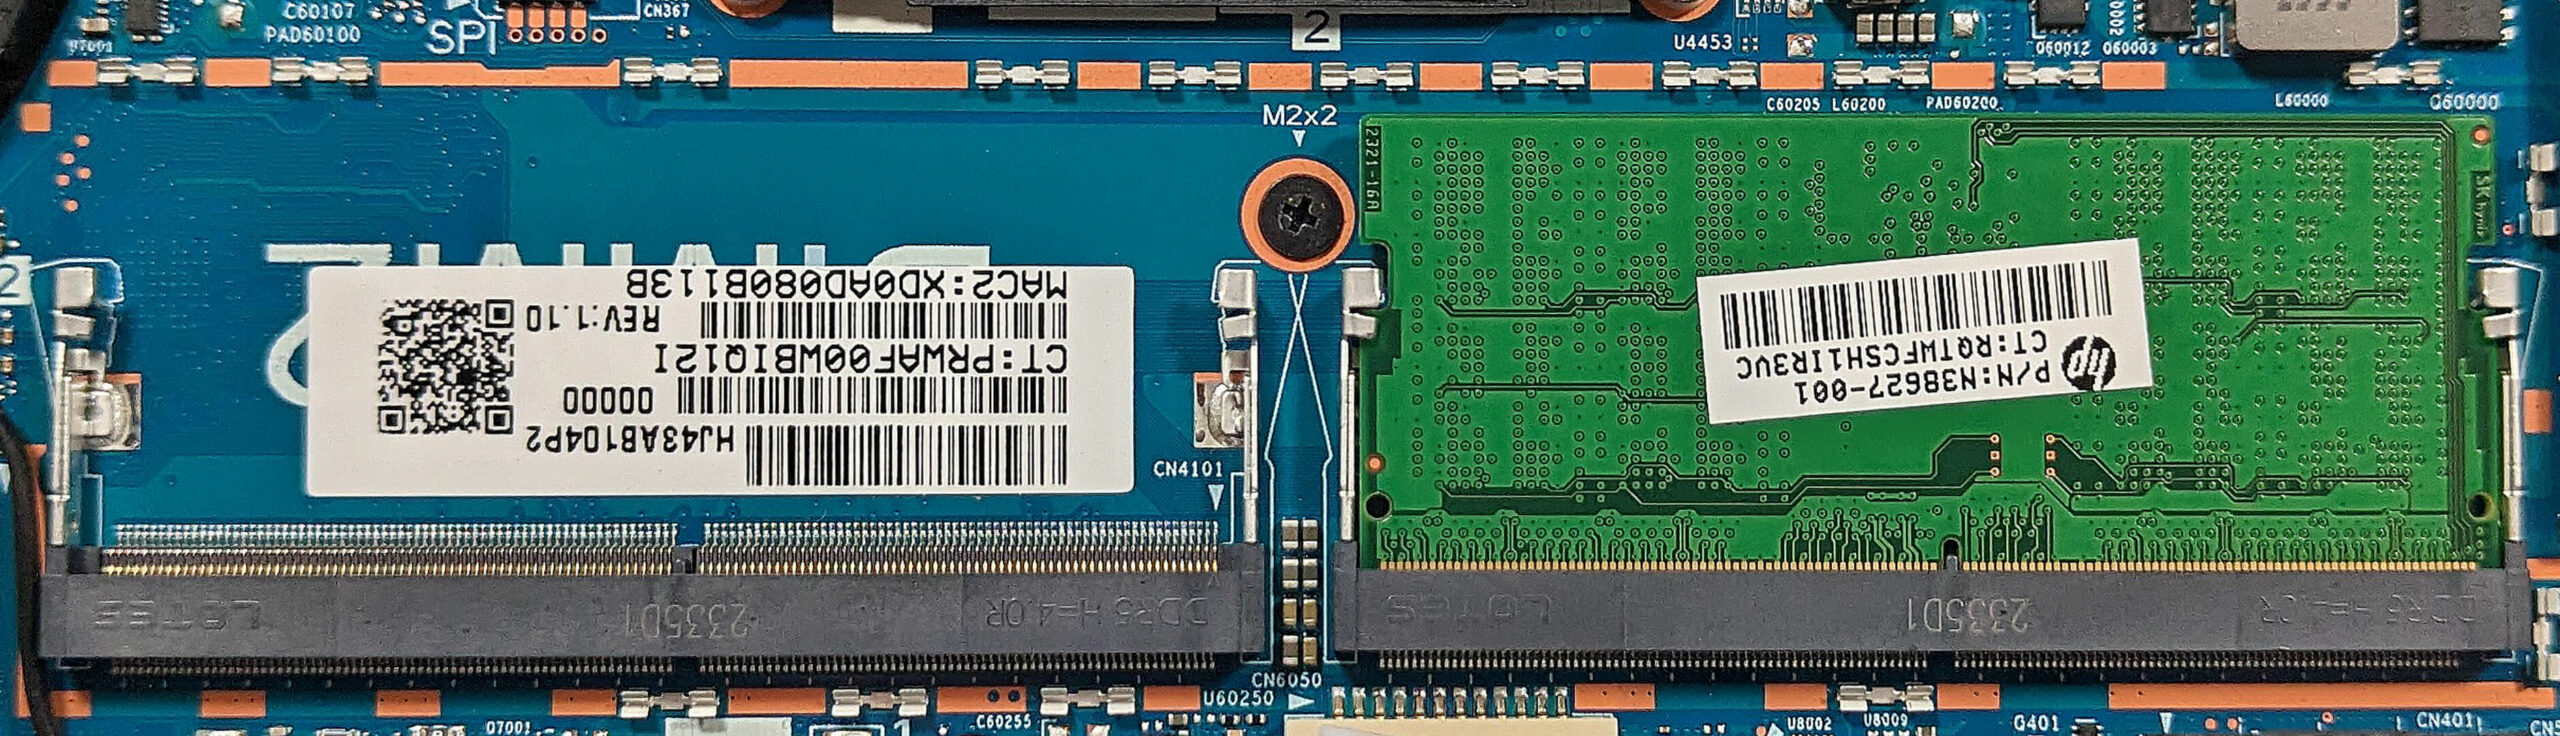
Memory Upgrade
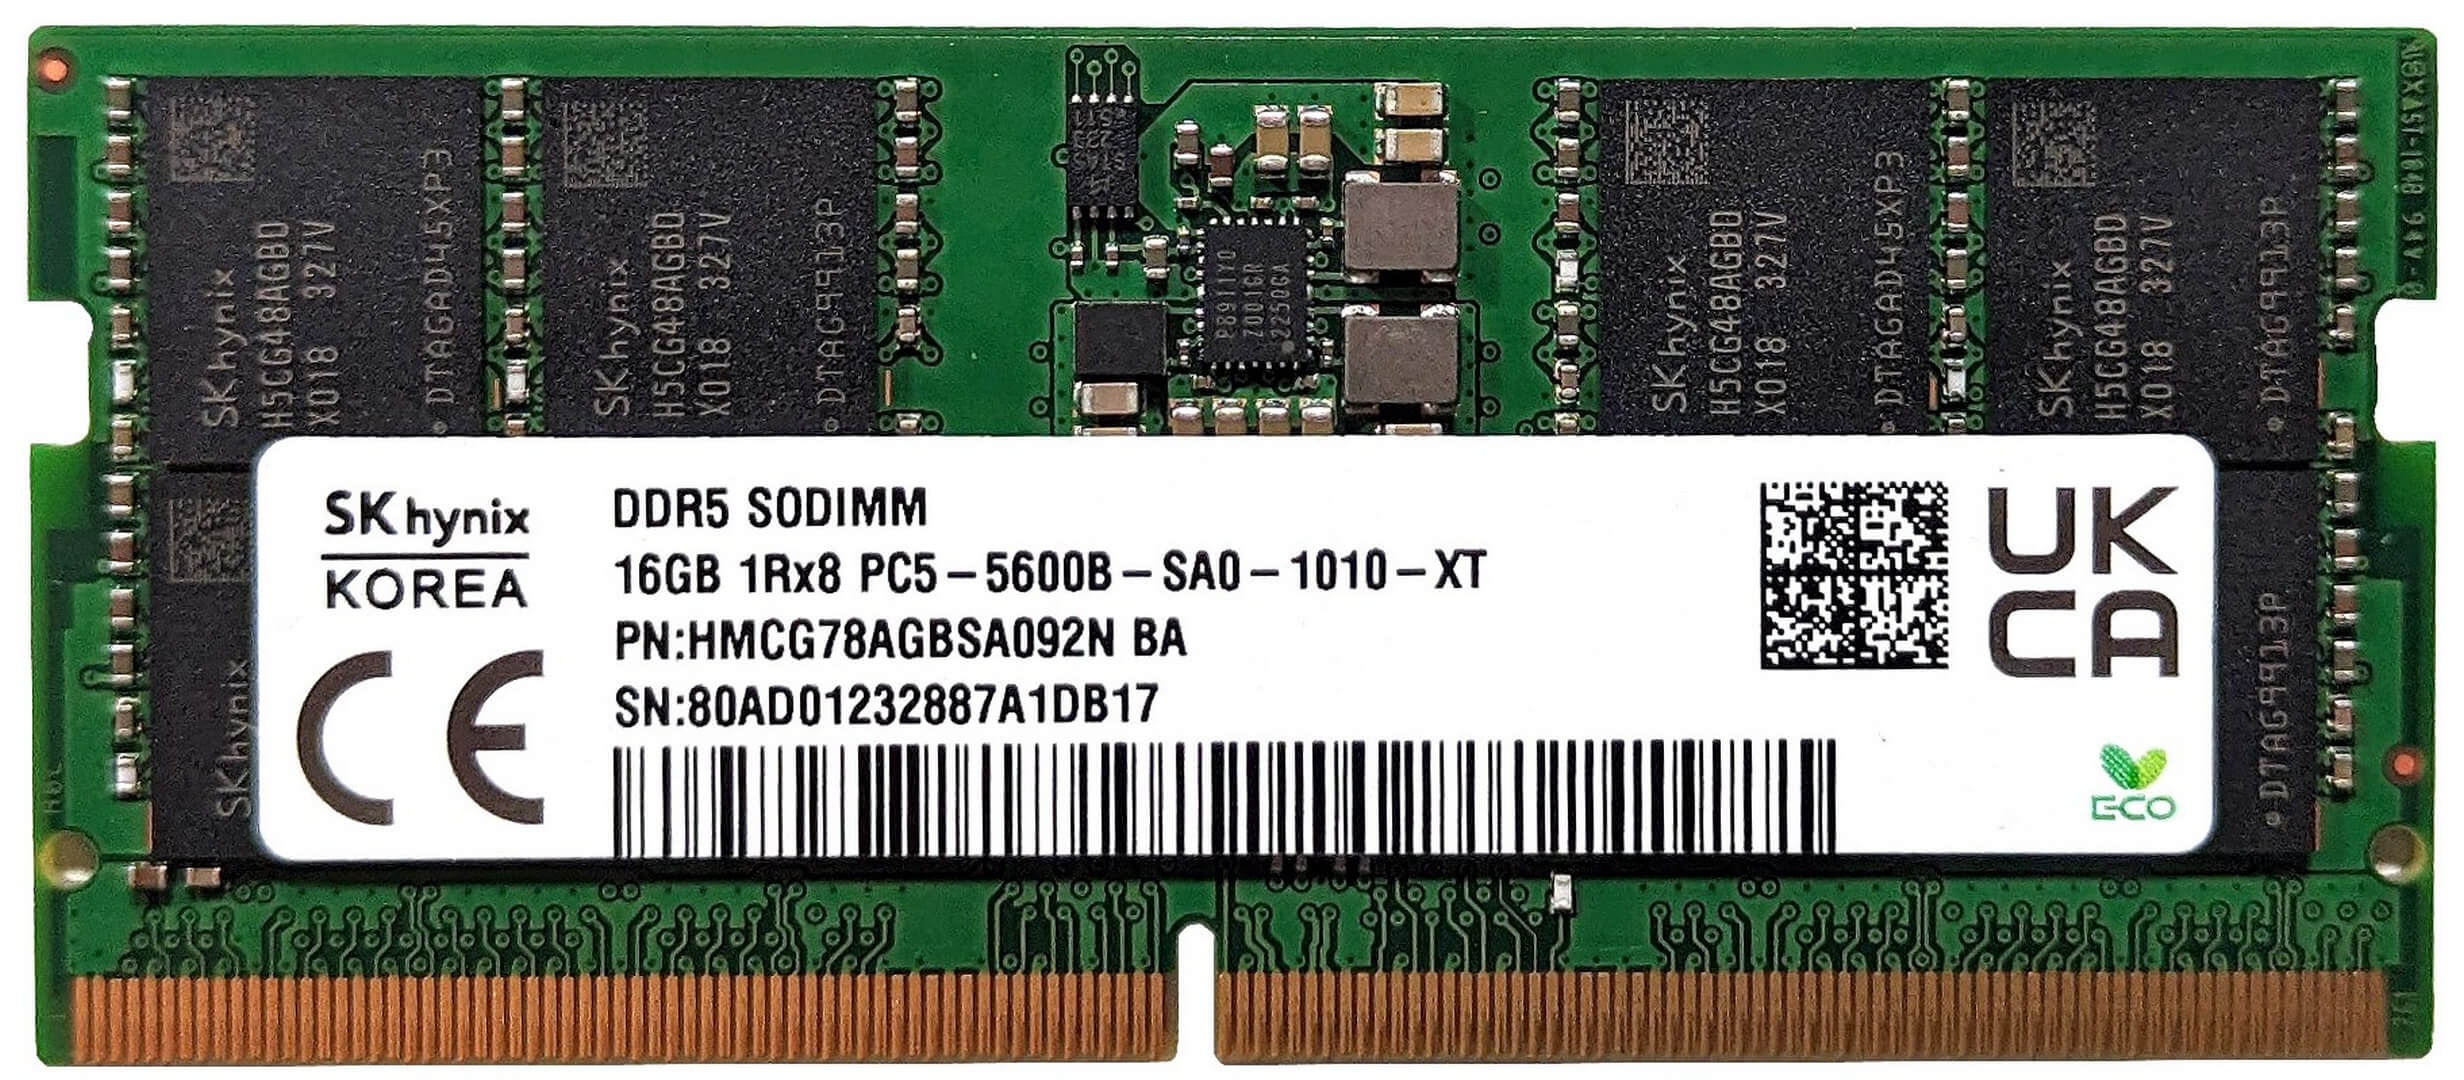
- Locate the two SODIMM slots that support up to 64GB of DDR5-5600MHz RAM in dual-channel mode.
- The RAM section is shielded by a metal shroud for additional protection.
You can buy DDR5 RAM modules here: Buy from Amazon.com (#CommissionsEarned)

Storage Upgrade
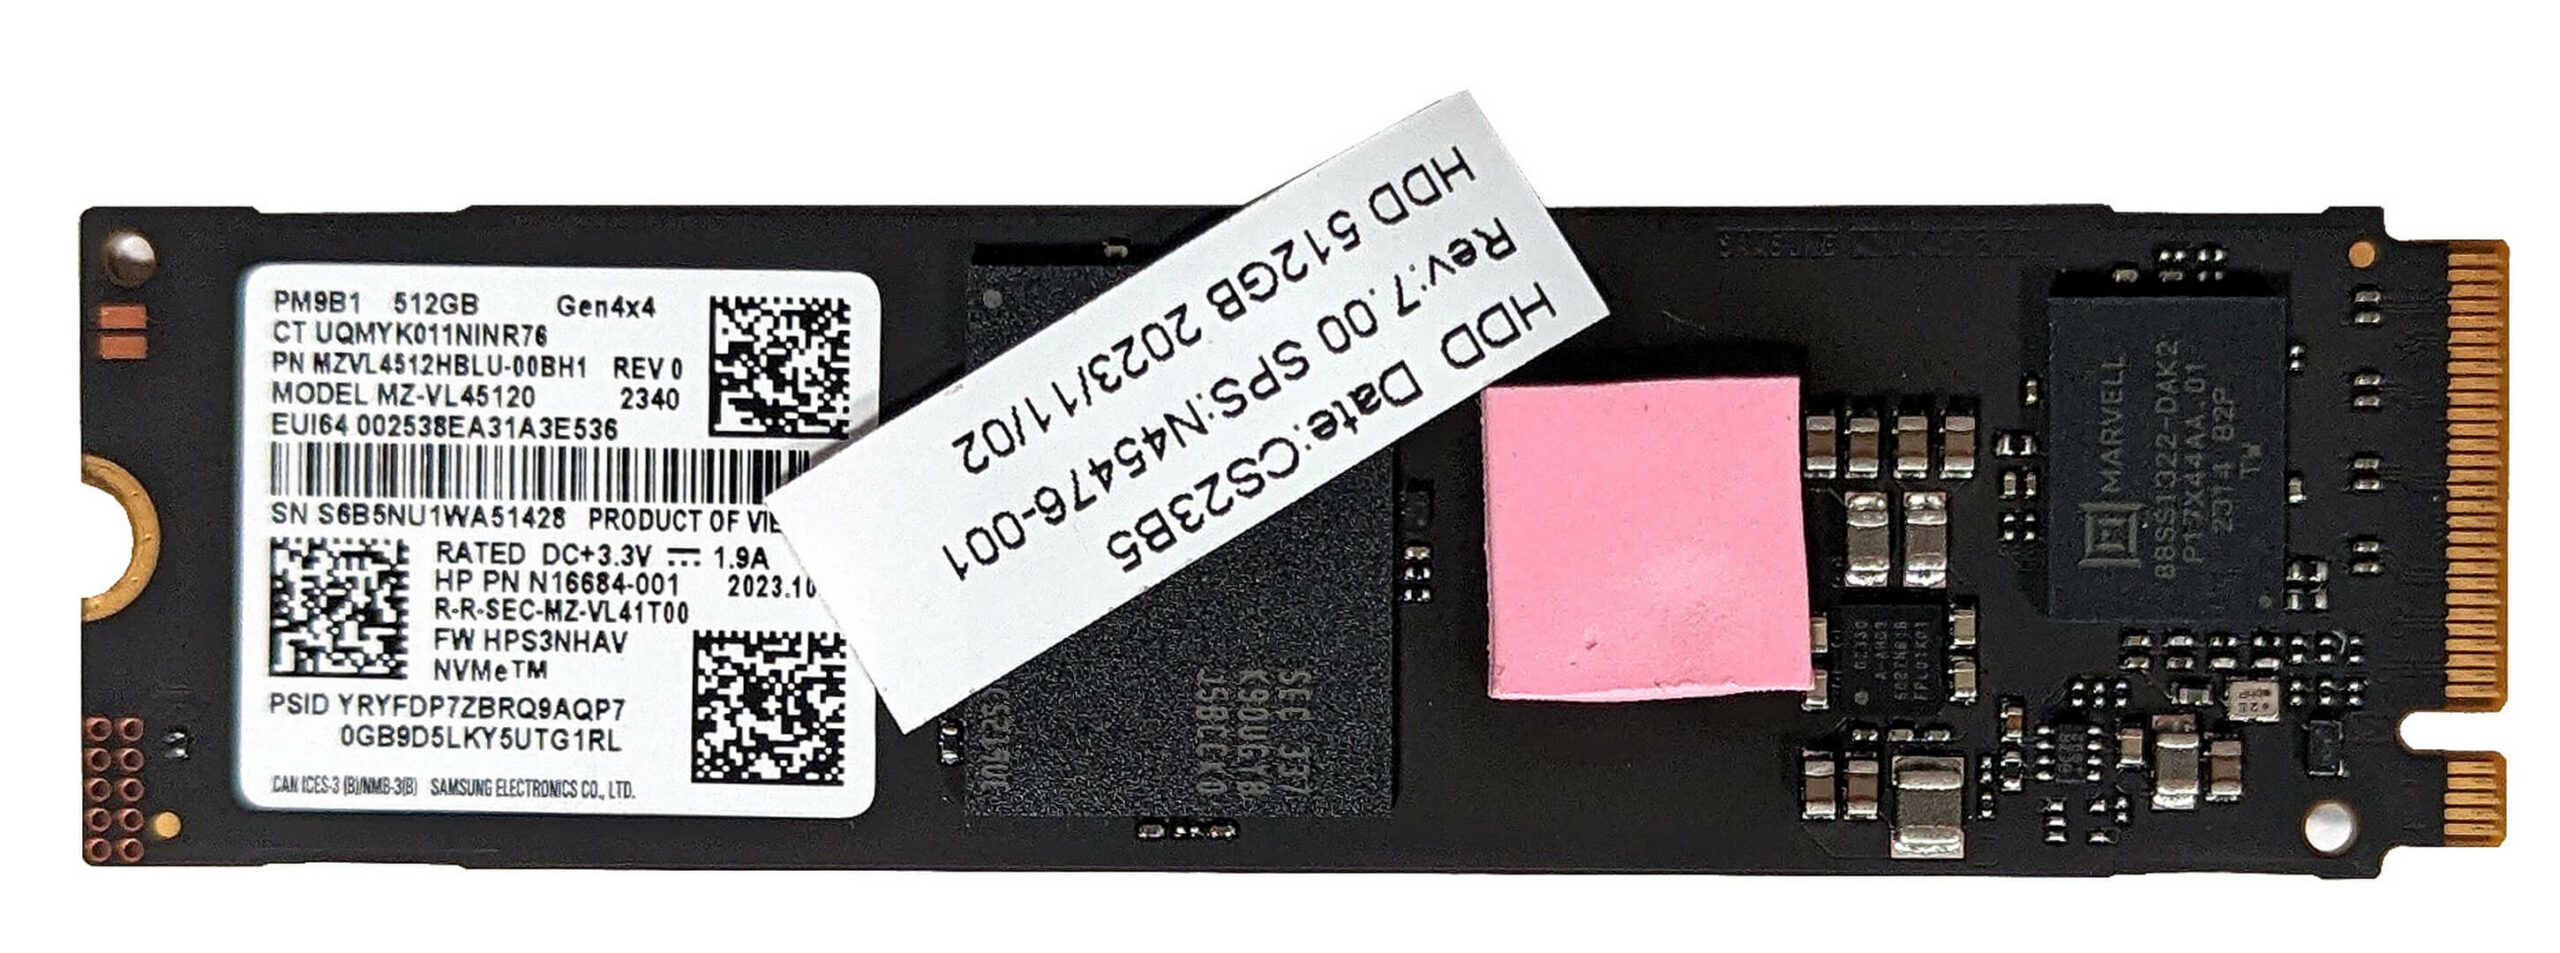
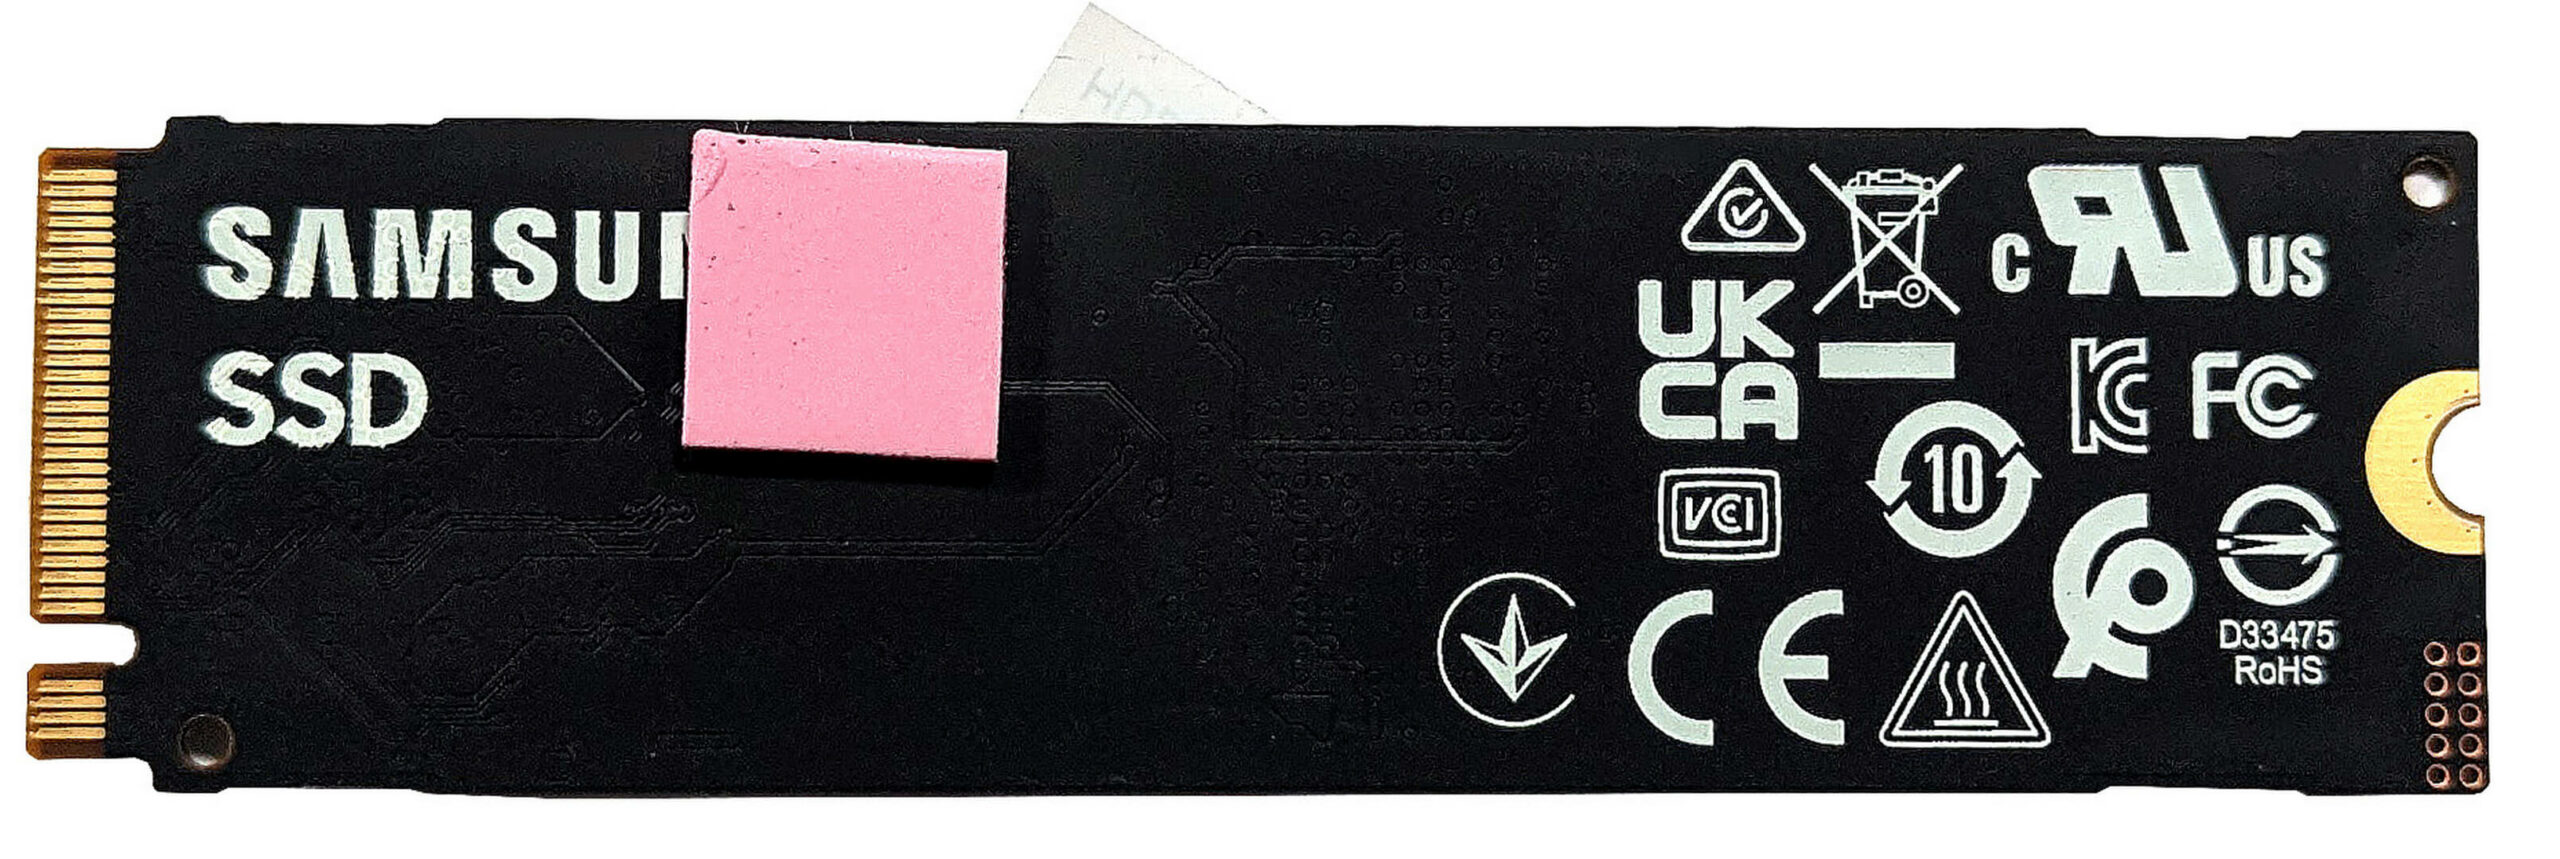
- Identify the M.2 slot compatible with 2280 Gen 4 SSDs for storage upgrades.
- Note the thermal pad on top of the preinstalled NVMe SSD, which aids in heat dissipation by making contact with the metal bottom plate.
Hint: Don’t forget to check out our Top M.2 SSDs Performance Rankings for insights on the best storage options available.
You can buy Gen 4 M.2 SSD modules here: Buy from Amazon.com (#CommissionsEarned)

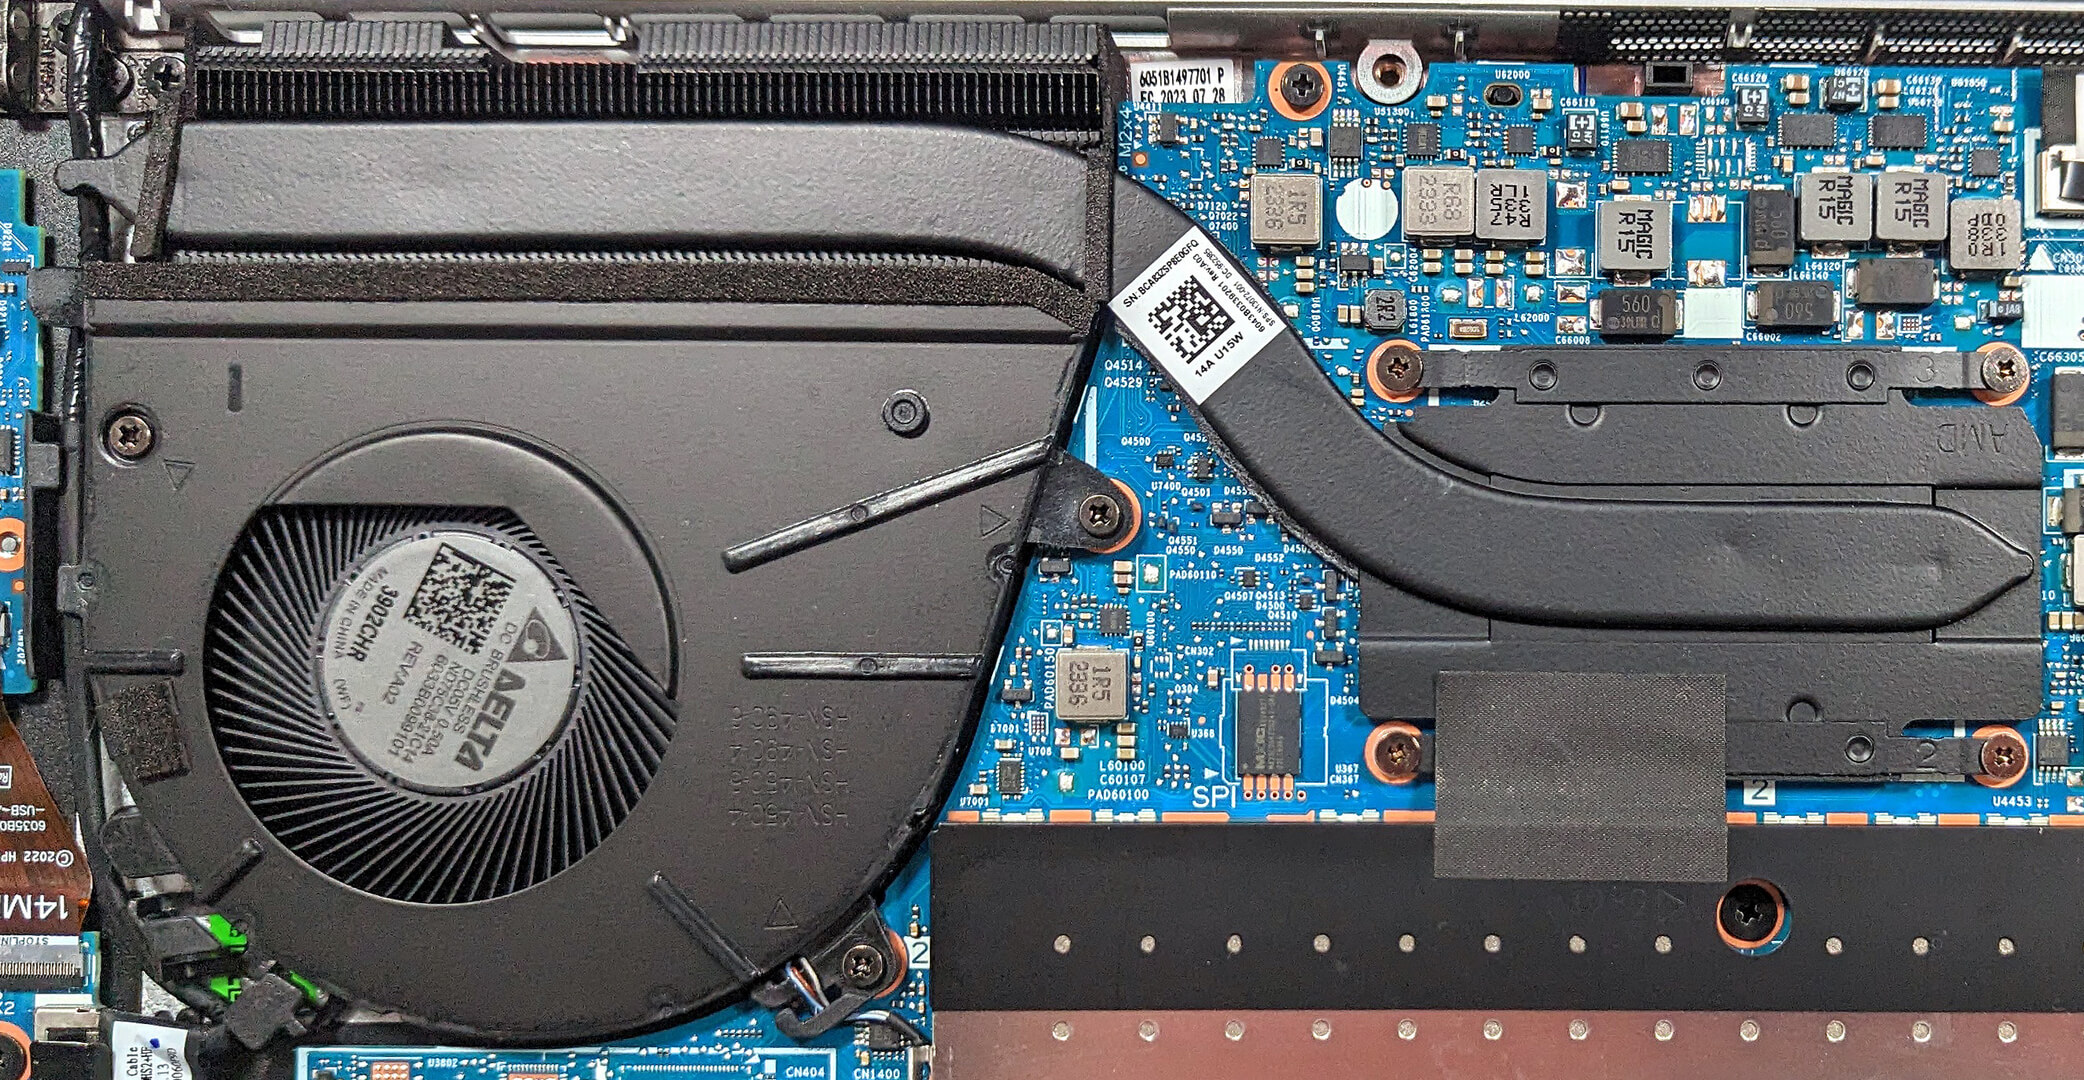
Cooling System Overview
Examine the cooling system, which includes a large fan, a heat pipe, a heat sink, and a heat spreader, designed to efficiently manage the thermal output of the device.