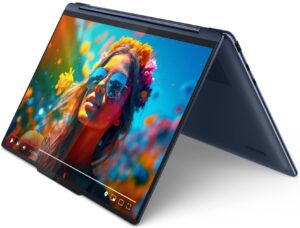
How to open Lenovo Yoga 9i (14, Gen 9) – disassembly and upgrade options
| 0
#CommissionsEarned
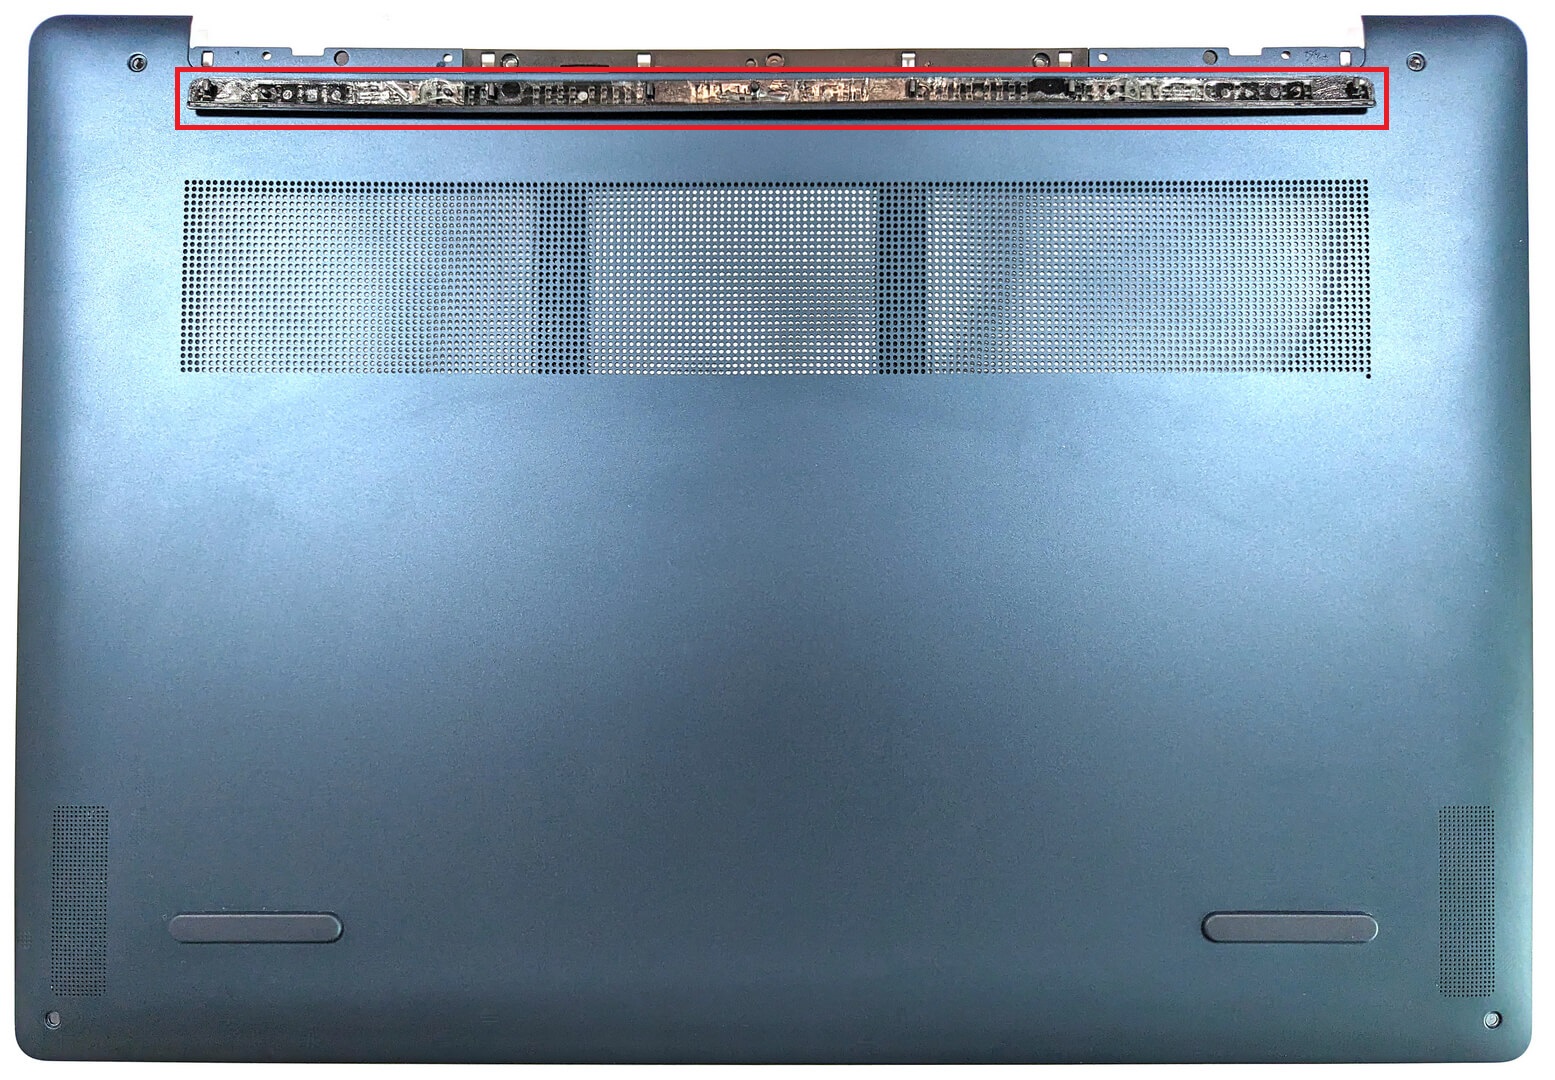
Accessing the Internals
- Power off the device and disconnect all cables.
- Remove the four Torx-head screws and three Phillips-head screws. The Phillips-head screws are located beneath the back rubber foot, which can be removed with a prying tool due to its attachment with plastic clips and double-sided tape.
- Gently lift the panel starting from one of the top corners to create an opening, then continue to pry along the sides, followed by the front and back, to remove the panel completely.
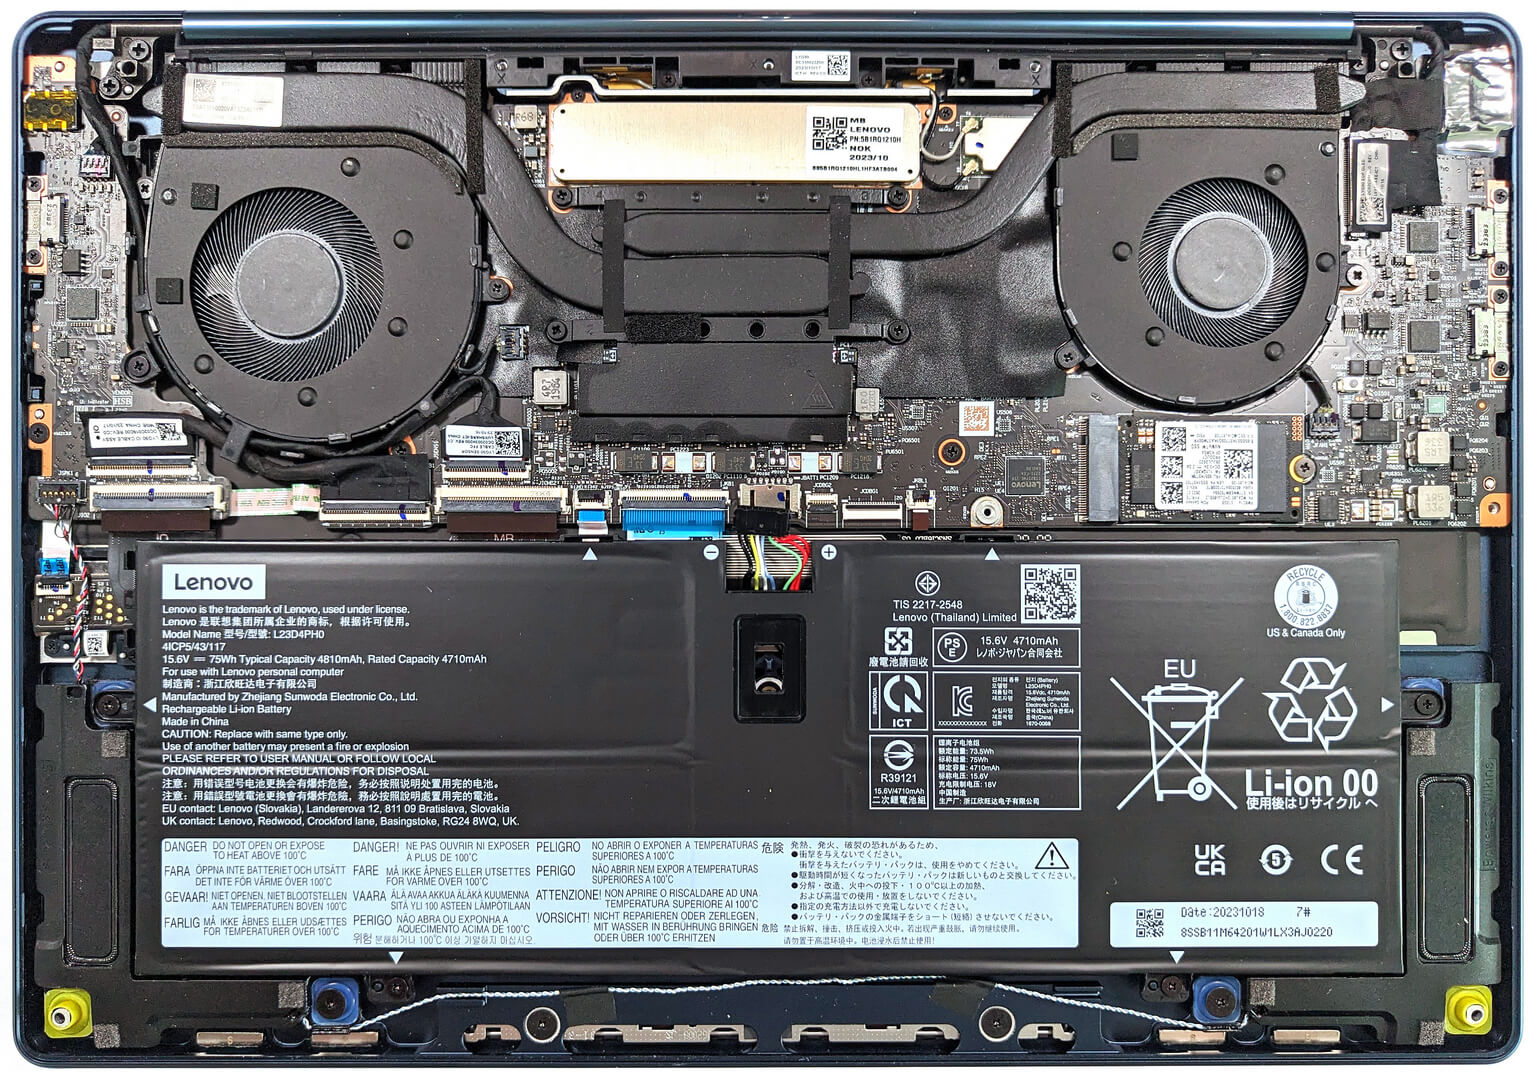
Battery
- Disconnect the battery connector from the motherboard.
- Remove the four Phillips-head screws securing the battery to the base to detach it.
Note: The Lenovo Yoga 9i features a 75Wh battery that offers up to 12 hours and 30 minutes of web browsing or 11 hours and 7 minutes of video playback.

Memory
The device is equipped with up to 32GB of soldered LPDDR5x-7467MHz memory in dual-channel mode. Unfortunately, due to the RAM and its metal shroud being soldered to the motherboard, upgrades are not possible.
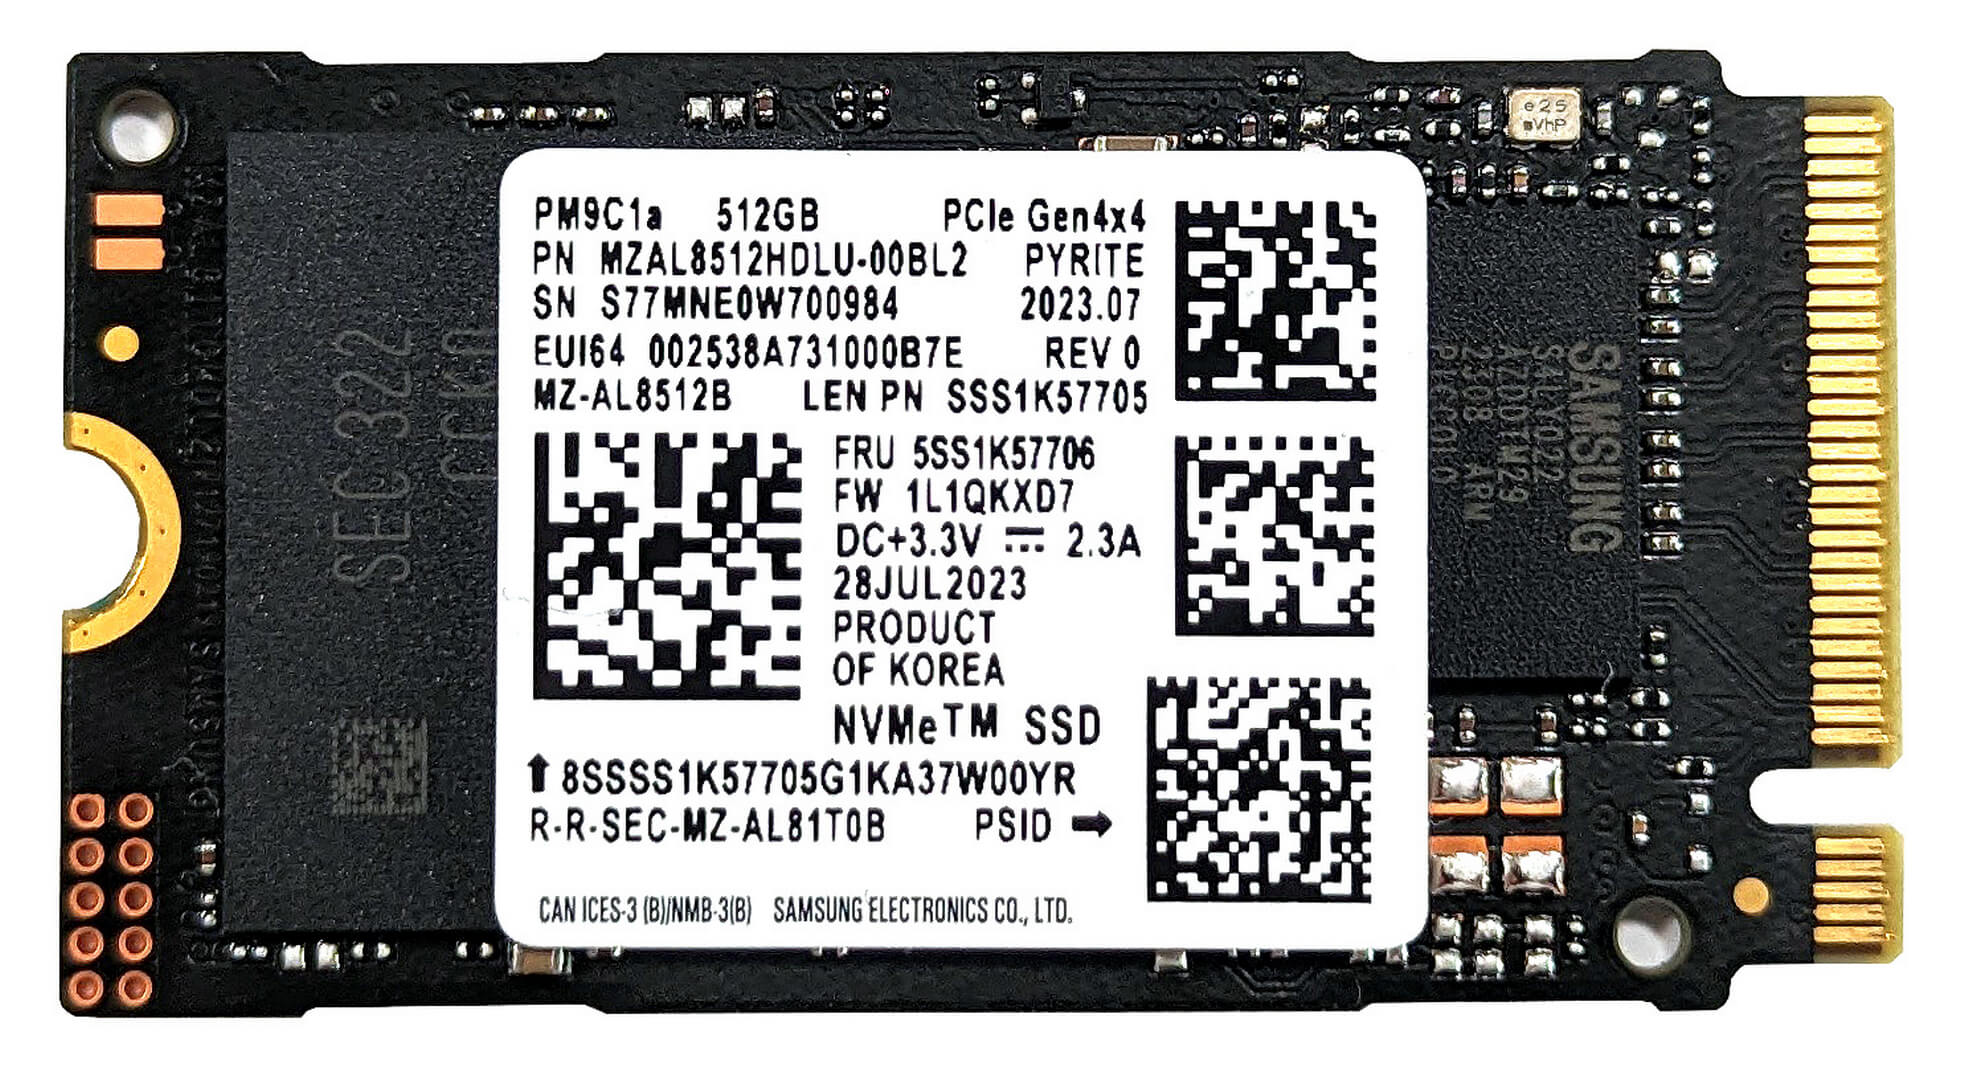
Storage Upgrade
- Locate the single M.2 slot for a 2242 Gen 4 SSD on the motherboard.
- Install or replace the SSD as needed, making sure to properly secure it and replace the thermal pad for optimal heat dissipation.
You can buy 2242 Gen 4 SSDs here: Buy from Amazon.com (#CommissionsEarned)


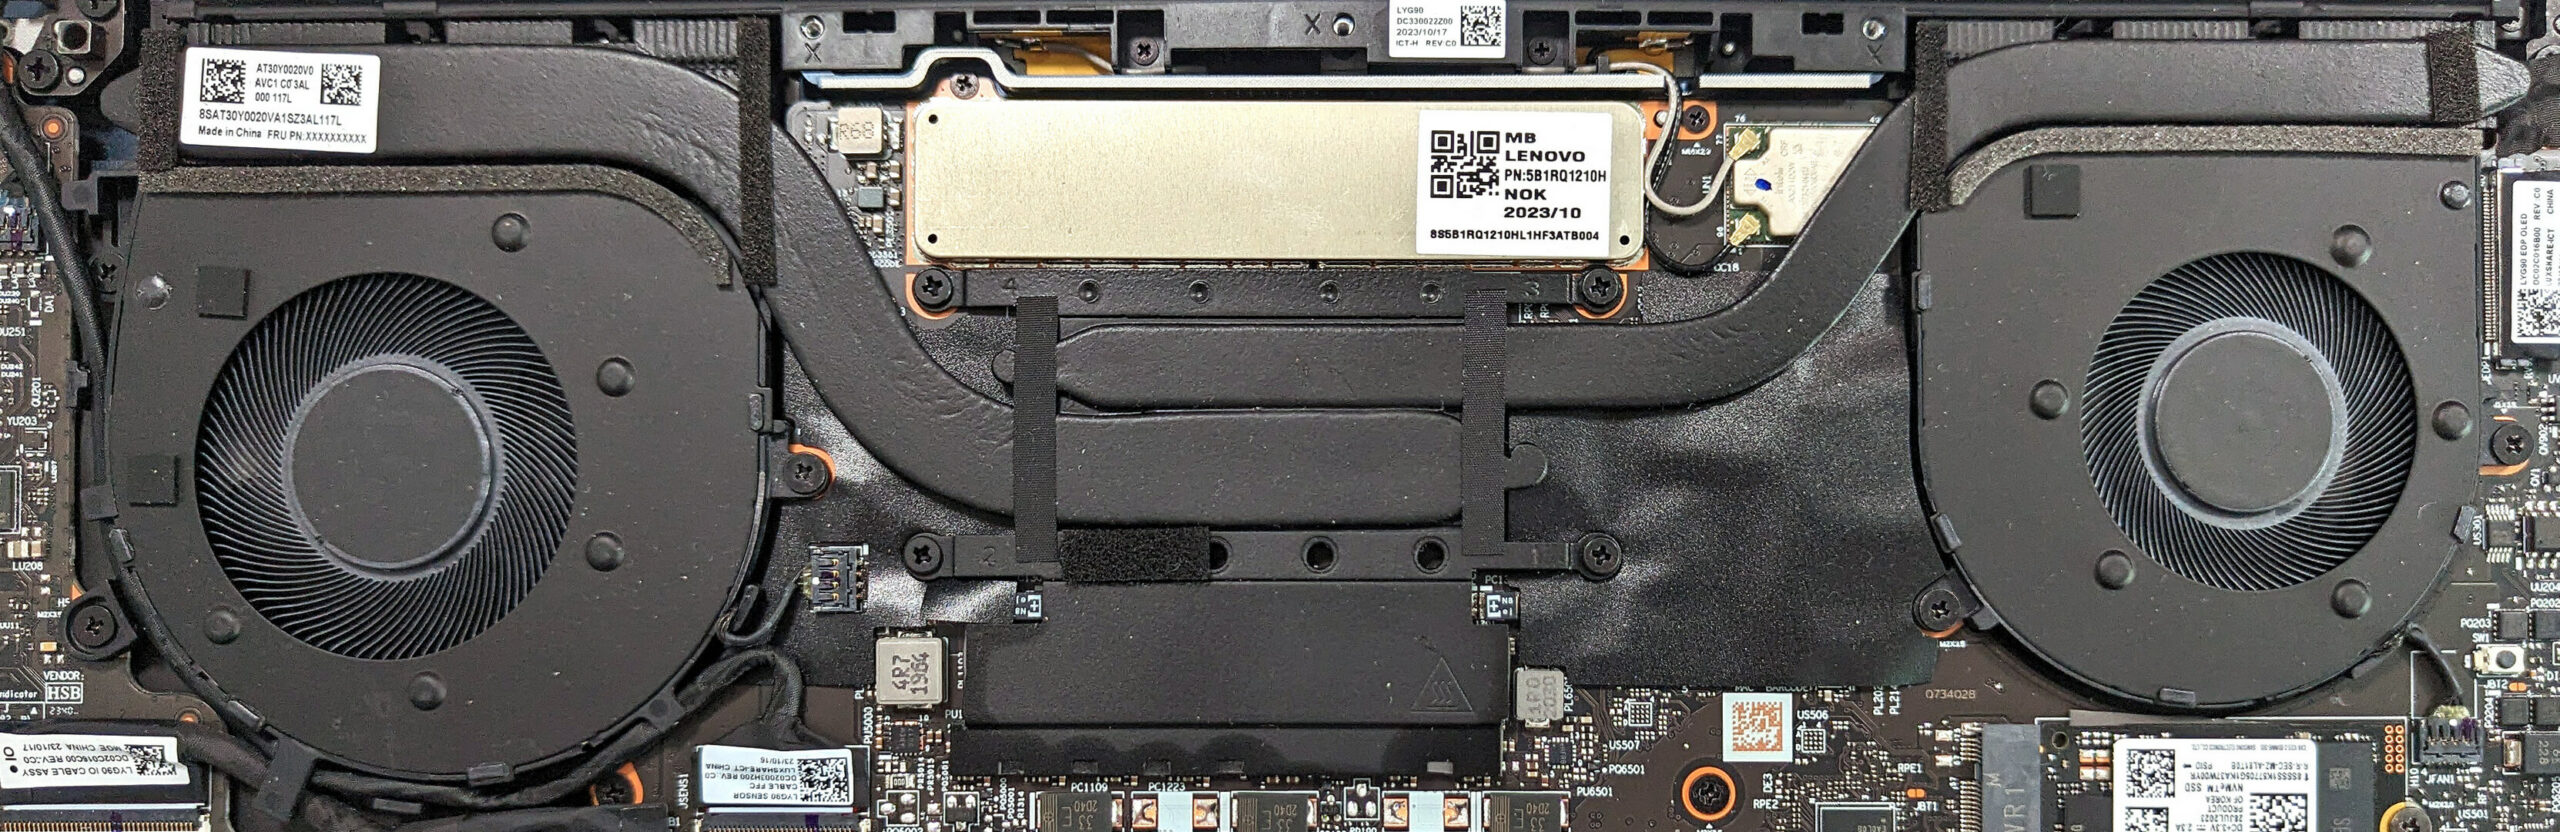
Cooling System
The cooling system includes two fans, two heat pipes, a pair of heat sinks, and a heat spreader, designed to efficiently manage the heat for this model.
#CommissionsEarned
Subscribe
0 Comments