How to open Lenovo Yoga Slim 6i (14, Gen 8, 14IAP8) – disassembly and upgrade options
LaptopMedia.com
Guides
How to open Lenovo Yoga Slim 6i (14, Gen 8, 14IAP8) – disassembly and upgrade options
| 0
#CommissionsEarned

Step 1: Removing the Bottom Plate of Lenovo Yoga Slim 6i (14, Gen 8, 14IAP8)
- Turn off the Lenovo Yoga Slim 6i and place it on a protective surface to prevent damage.
- Remove the 6 Torx-head screws securing the bottom plate.
- Carefully use a plastic pry tool to detach the bottom panel, starting at one of the top corners and proceeding gently around the edges.
Hint: Be meticulous during the prying process to avoid damaging the device.

Step 2: Battery Removal
- Disconnect the battery by detaching its connector from the motherboard.
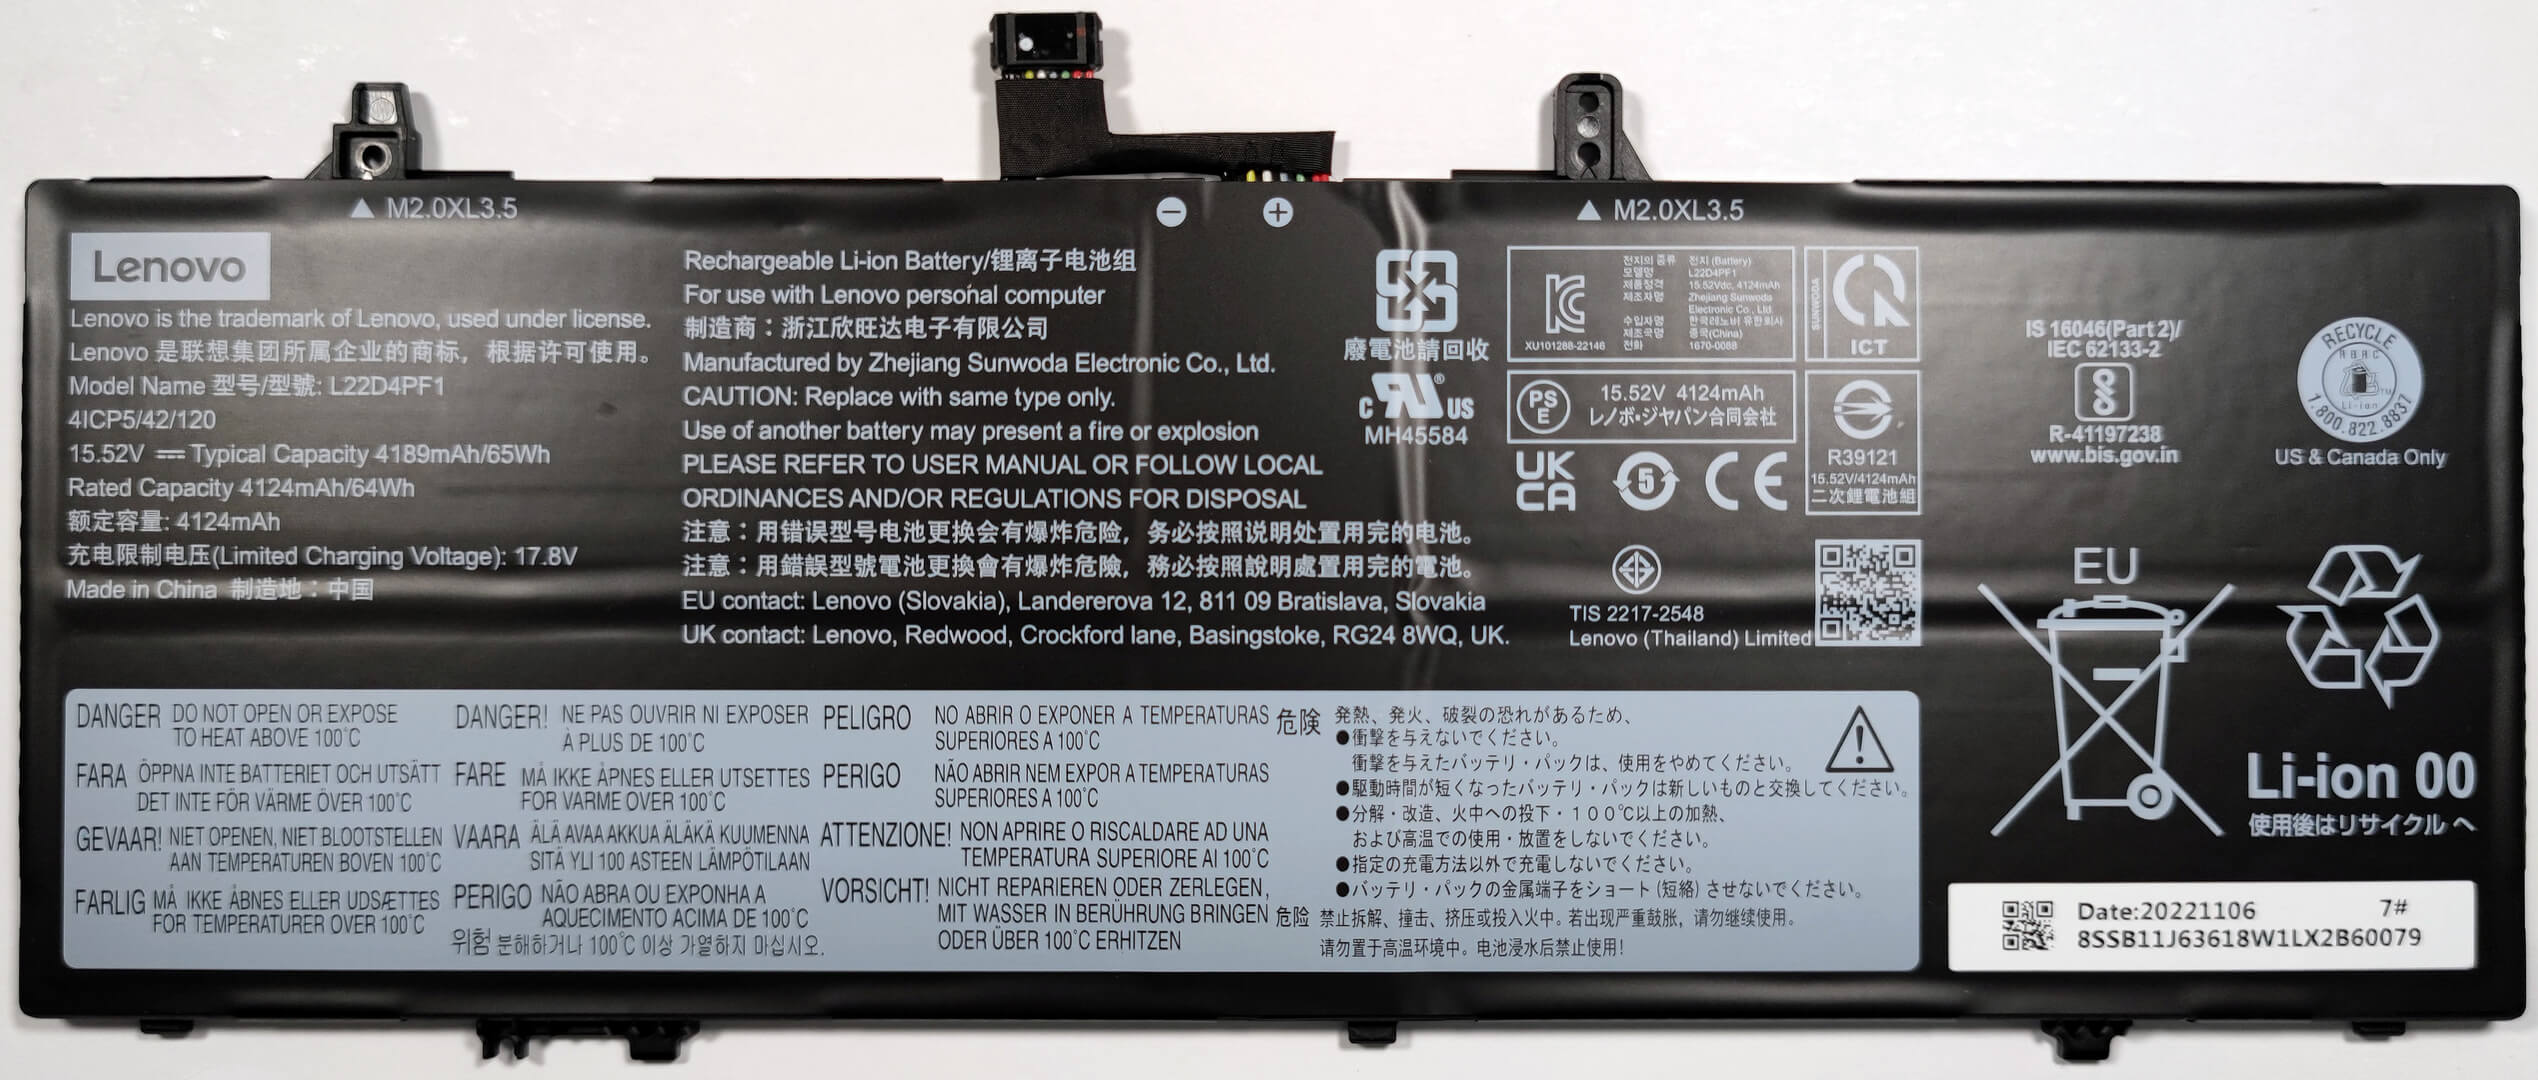
- Remove the 2 Phillips-head screws holding the 65Wh battery and then lift the battery out of the chassis.
More info: The 65Wh battery provides up to 9 hours and 5 minutes of web browsing or 7 hours and 42 minutes of video playback, ensuring reliable usage duration.
Memory Overview
The device includes 16GB of LPDDR5-4800MHz RAM, which is soldered onto the motherboard and operates in dual-channel mode.
Storage Upgrade
- Locate the M.2 slot, which supports both 2242 and 2280 Gen. 4 SSDs, allowing for storage expansion or upgrades to improve system performance and storage capacity.
- The laptop features a single M.2 slot equipped with a thermal pad for improved heat dissipation during intensive storage operations.
- Enhancing storage with a Gen. 4 SSD can significantly increase data transfer speeds and system responsiveness.
Hint: Consider reviewing our Top M.2 SSDs Performance Rankings to select the best storage solution for your needs.
You can buy Gen 4 M.2 SSD modules here: Buy from Amazon.com (#CommissionsEarned)

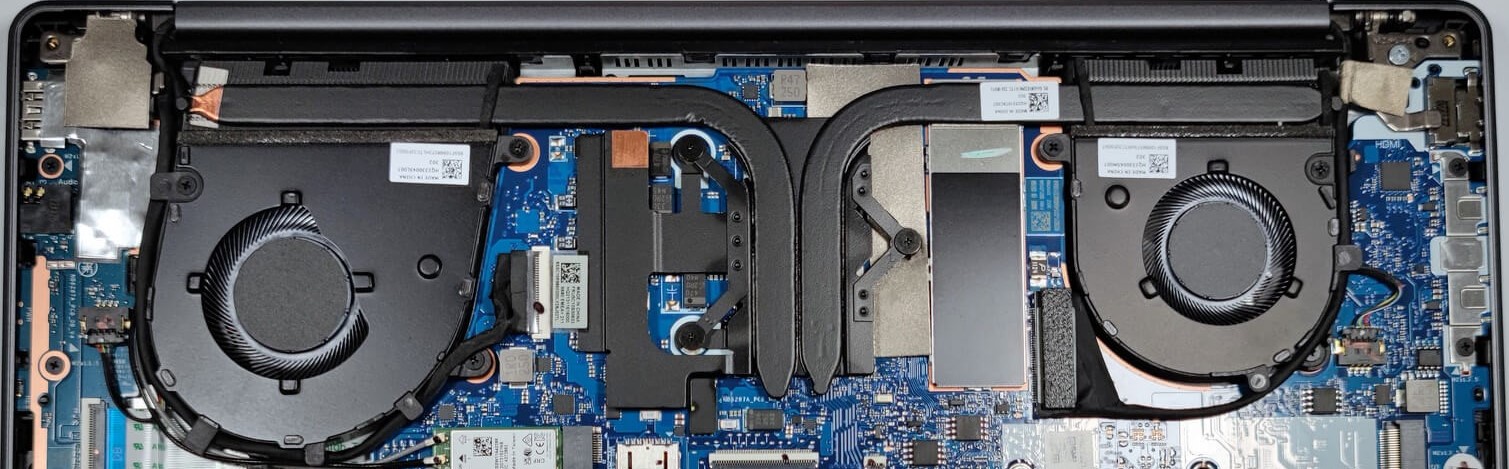
Cooling System Overview
The cooling system in the Lenovo Yoga Slim 6i consists of two fans and two heat pipes, designed to efficiently dissipate heat and maintain optimal device performance under load.
#CommissionsEarned
Subscribe
0 Comments