Acer TravelMate X349-M – disassembly, internal photos and upgrade options
It’s been a while since we posted anything about the new portable TravelMate X349-M but now we are here with the disassembly of the notebook. It reveals several interesting aspects of the device and explains a lot.
You can find some of the available configurations here: http://amzn.to/2fLuG9s
!. Removing the bottom piece
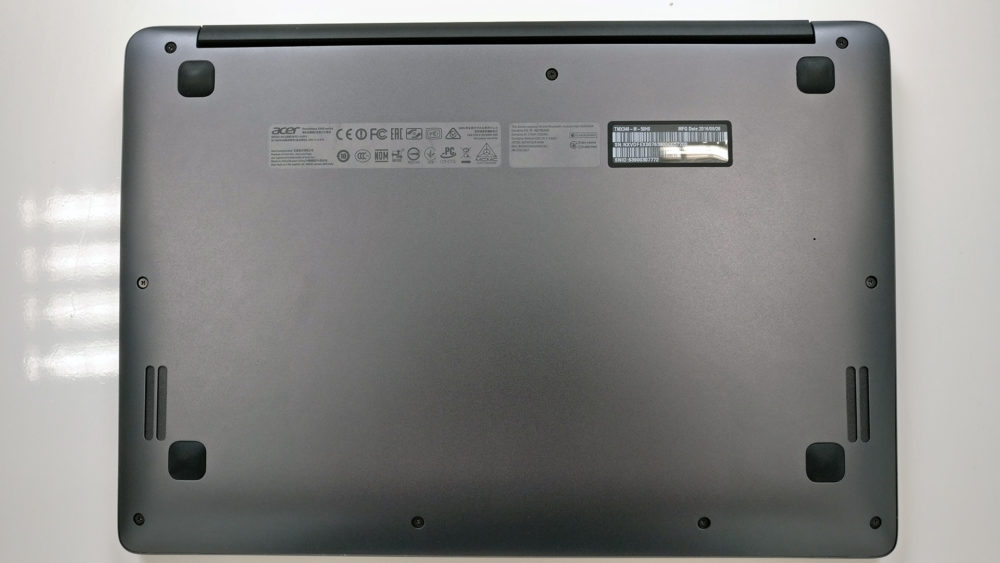
The notebook is quite easy to teardown – you just need a screwdriver to remove the screws around the edges. There are no hidden bolts, you can see all of them in the photos below. Prying up the plate is also easy, just make sure that you use plastic tools so you won’t scratch the anodized surface.
2. Storage and RAM
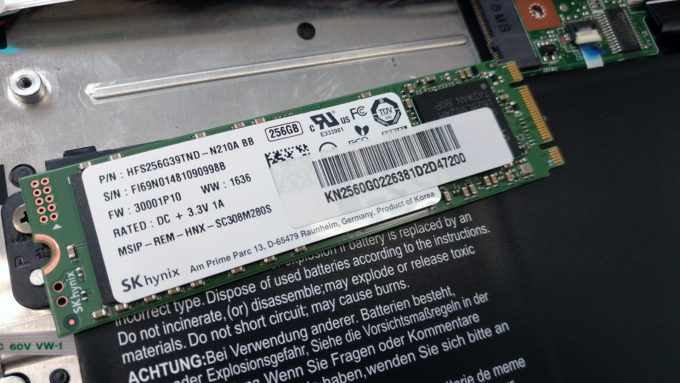
We’ve got some good news and some bad news. The good news is that the device uses a standard 2280 M.2 SATA SSD stick manufactured by SK Hynix but if the 6Gbps bandwidth of the SATA interface isn’t enough for you, it can be upgraded with an M.2 PCIe NVMe SSD. We’ve inserted an NVMe-enabled drive and the motherboard recognized it.
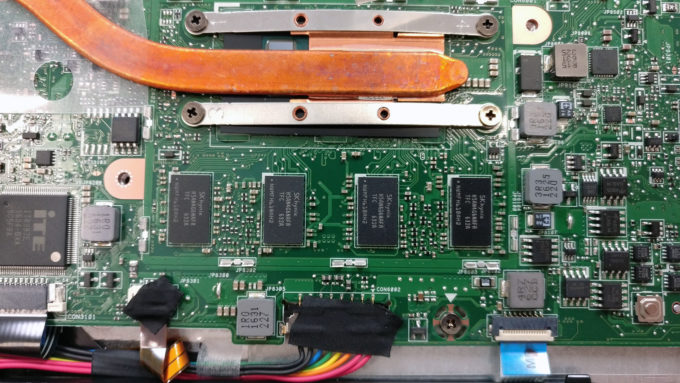
However, the bad news is that the notebook comes with soldered DDR4 RAM. Even the mid-range model sporting Core i5-6200U CPU ships with only 4GB DDR4 RAM, which isn’t enough for most users. You will have to order your’s with 8GB DDR4 and get ready to pay a tad more.
3. Battery and Wi-Fi card
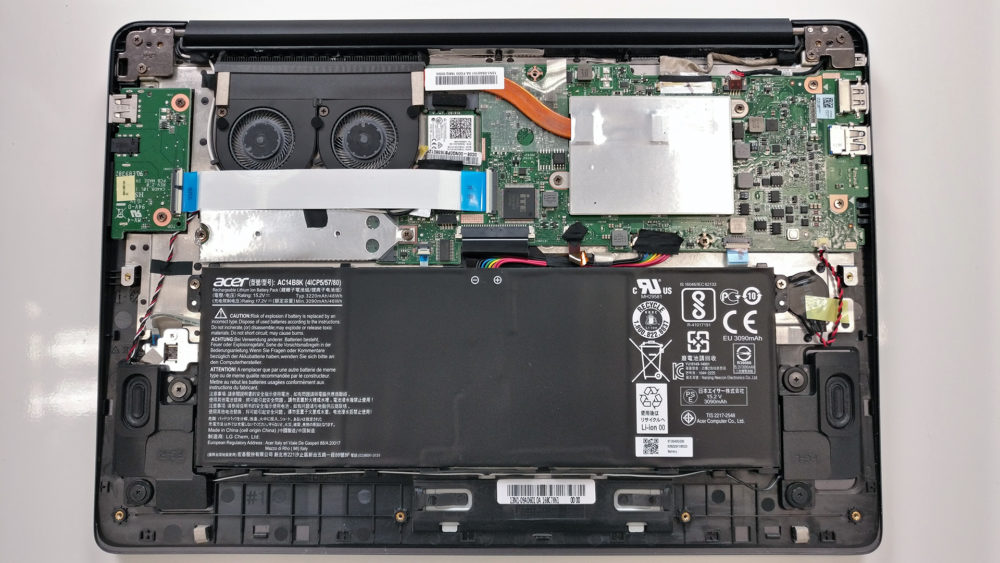
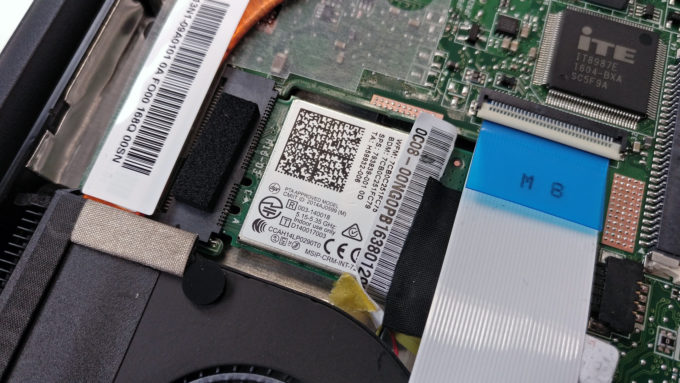
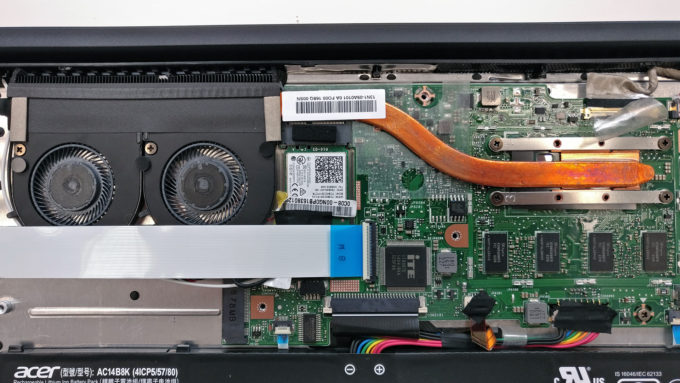
The Wi-Fi card can be found right next to the cooling fans. You can see in the photo below.
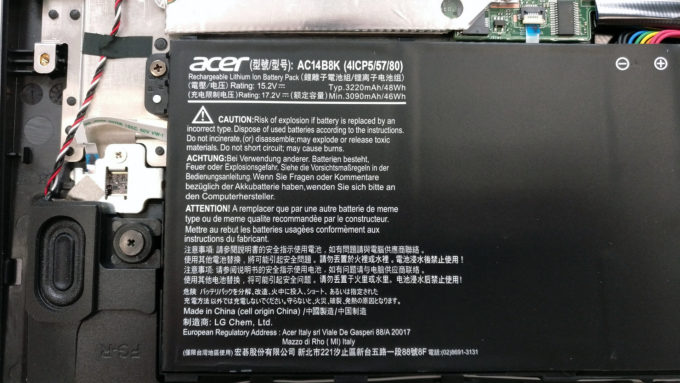
And as for the battery, it’s really hard to miss it and despite the fact that the device scored pretty high in our battery tests, it seems that there’s enough space for a tad larger unit. The 48Wh still perfectly capable of keeping the system running for more than several hours.
4. Cooling system
Just look at this cooling design. It’s not bad by any means but it’s also a bit of an overkill. The Core i7-6500U doesn’t require two relatively big fans – big for an ultrabook – to be cooled off.
You can find some of the available configurations here: http://amzn.to/2fLuG9s


Thanks!