Inside Acer Chromebook Spin 311 (CP311-2H) – disassembly and upgrade options
Due to the nature of Chrome OS, Chromebooks are more complete units. What we mean by that is, you won’t really be able to make some changes. At least not without a soldering iron.
Check out all Acer Chromebook Spin 311 (CP311-2H) prices and configurations in our Specs System or read more in our In-Depth review.
1. Remove the bottom plate
Despite its relatively small size, there are 12 Phillips-head screws holding the bottom panel in place. After you undo them, carefully pry the plate with a plastic tool, preferably starting at the back – around the hinges, where it would be easier to stick your… tool in.
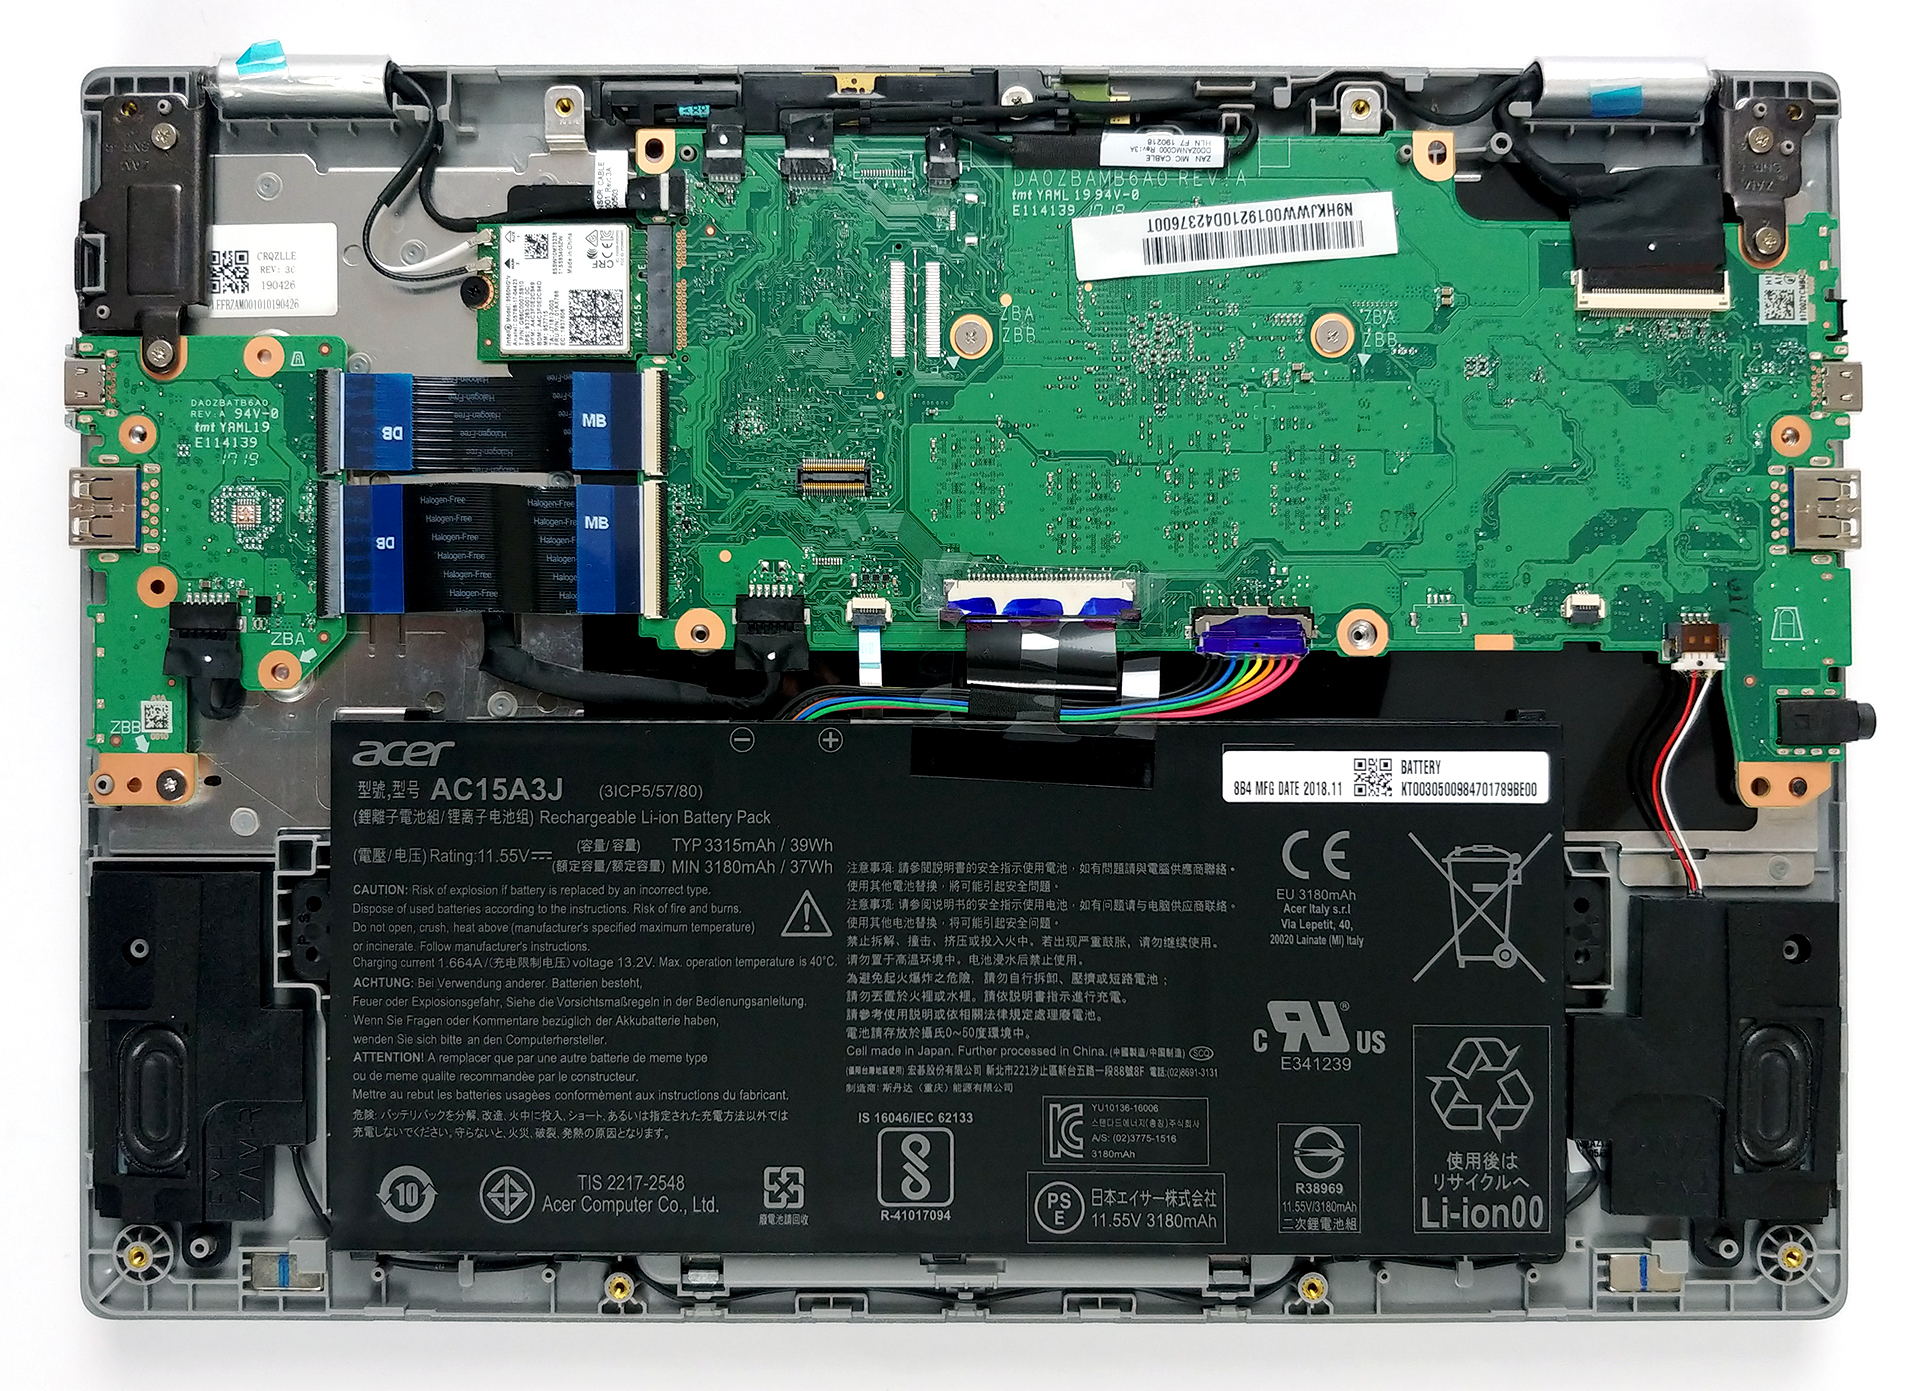
2. Battery
Last but not least – a 39Wh battery. When you consider the tiny display, efficient chipset and the naturally unpretentious Chrome OS, it should deliver a great battery life.

3. Motherboard and Wi-Fi card
Now that we are inside, we can see something expectable – the motherboard is placed upside-down. This prevents us from seeing how the cooling solution is assembled, but by the lack of fan spinning around, we place our bet on a passive single plate. Additionally, upgrading the memory is impossible as the 4GB of LPDDR4 modules are soldered to the motherboard.
While 64GB of eMMC storage is not something to write home about, it is still good to see that you can upgrade it via the MicroSD card slot.
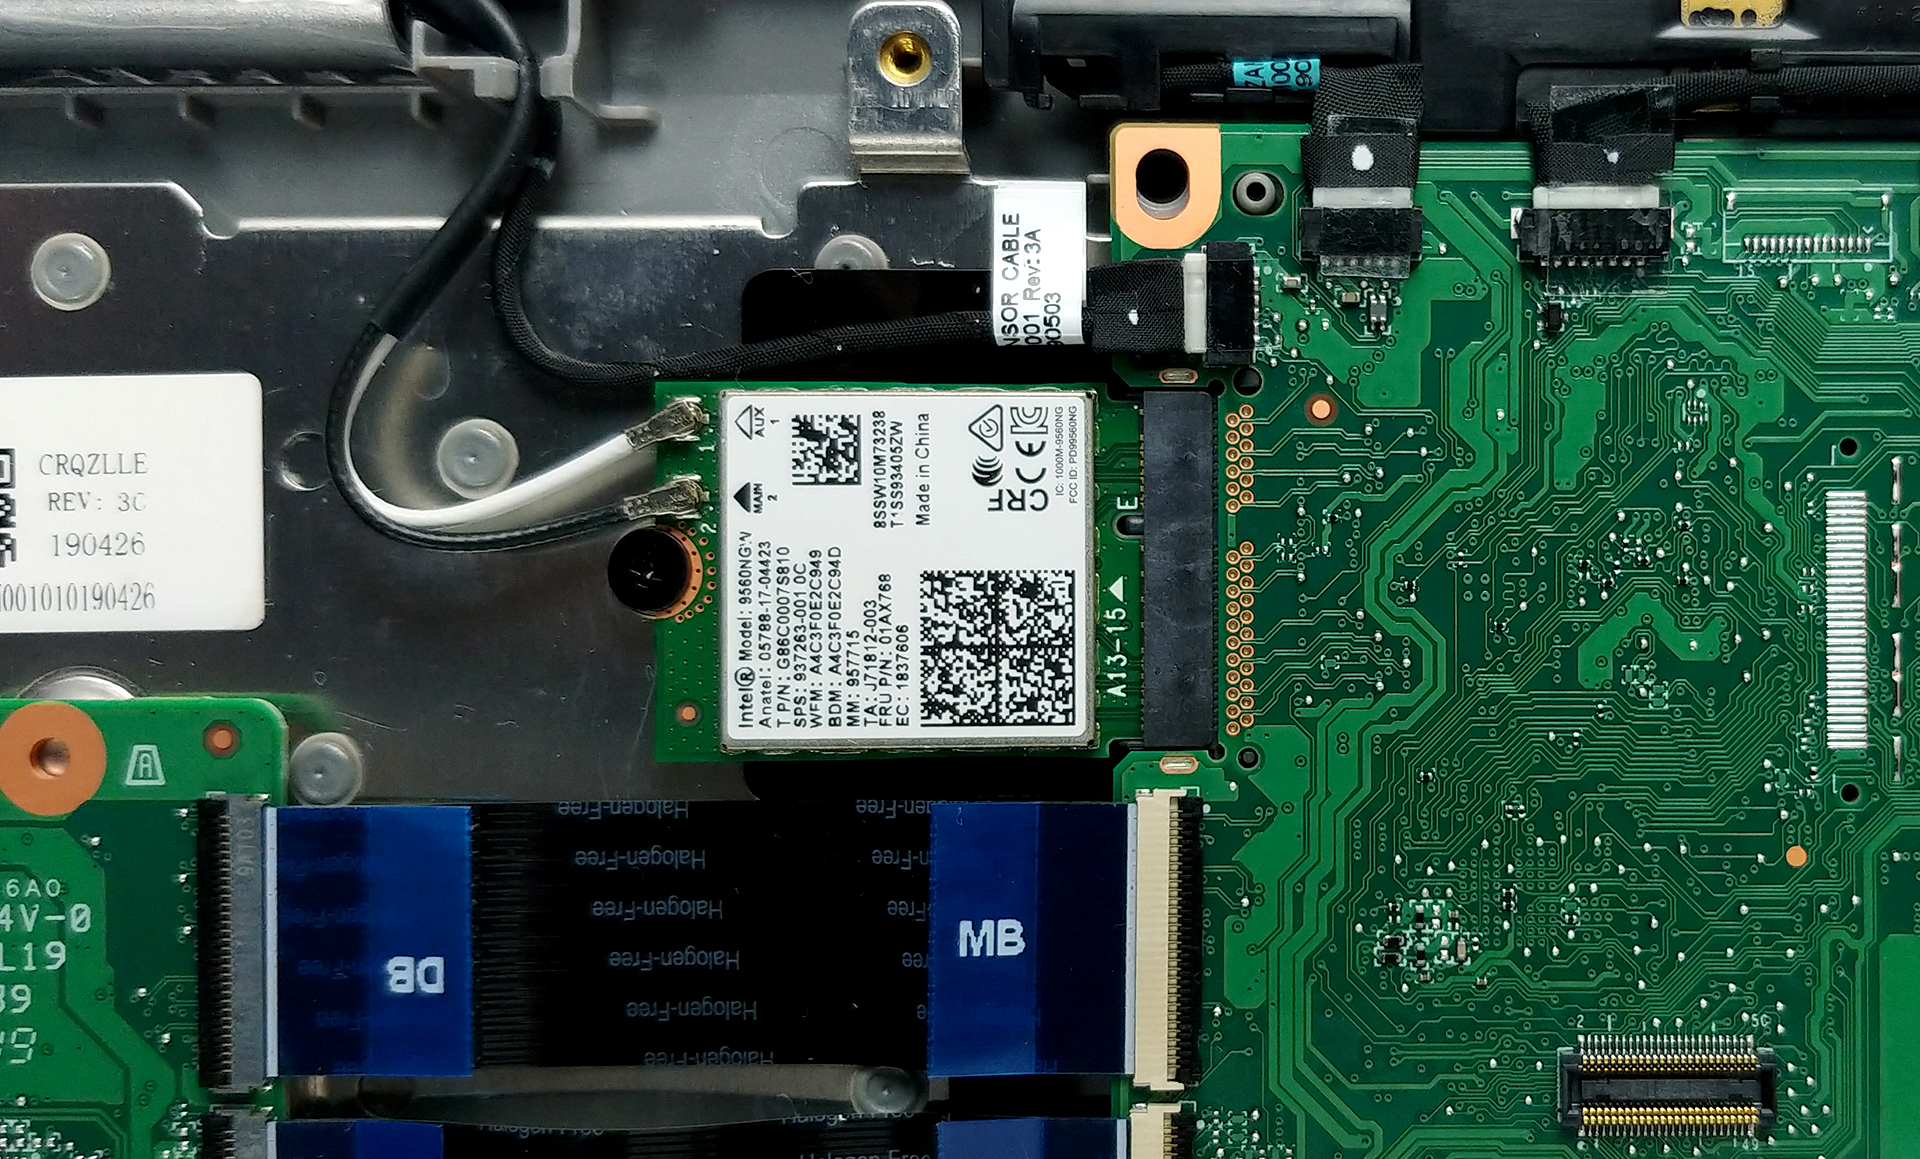
On the image below, you can see the WiFi card of use here. It is made by Intel and has a model number 9560NGW. It supports the 802.11ac WiFi standard.
Check out all Acer Chromebook Spin 311 (CP311-2H) prices and configurations in our Specs System or read more in our In-Depth review.


![[June 2026] Best-Selling Laptop Brands on Amazon Global – Apple’s Unrivaled Dominance in Units and Revenue](https://laptopmedia.com/wp-content/uploads/2026/07/GLOBAL-Best-Brands-400x225.jpg)
![[June 2026] Amazon Global: Top 10 Best-Selling Laptops – Apple’s New MacBook Neo Storms to #1, Reshaping the Market with Affordability](https://laptopmedia.com/wp-content/uploads/2026/07/Best-Selling-Laptops-GLOBAL-Top-10-400x225.jpg)
![[June 2026] Amazon Global: Top 10 Best-Selling Gaming Laptops – Acer’s Nitro V 16S AI Dominates Sales, While ASUS Leads Overall Revenue](https://laptopmedia.com/wp-content/uploads/2026/07/Best-Selling-Gaming-Laptops-GLOBAL-Top-10-400x225.jpg)
![[June 2026] Global Ranking of Best-Selling Laptop GPUs on Amazon – NVIDIA RTX 5060 is the Top-Selling Dedicated GPU](https://laptopmedia.com/wp-content/uploads/2026/07/Best-Selling-GPUs-GLOBAL-Top-10-400x225.jpg)
![[June 2026] Global Ranking of Best-Selling Laptop CPUs on Amazon – Apple M5 Dominates, AMD Ryzen 7 260 Gets Solid Premium Share](https://laptopmedia.com/wp-content/uploads/2026/07/Best-Selling-CPUs-GLOBAL-Top-10-400x225.jpg)

You’d think a person could get one of those low profile usb wifi cards and plug a SSD into the WiFi card slot, what is it mini PCI I think.. I can’t think of a reason that wouldn’t be doable.